
Patch 1.13 adds 8 new Damiane armor pieces, obtained through a mix of maze puzzles, faction quests, a gun challenge, a cleared camp shop, enemy loot, and a final-chapter epilogue quest.
If you are chasing Damiane gear after Crimson Desert Patch 1.13, the important distinction is that this is an eight-piece Damiane armor list, not a list of eight full multi-piece sets. The routes split across puzzles, requests, combat rewards, a vendor unlock, a drop, and one late-story reward, so checking only shops will miss most of them.
This guide keeps the spoiler-gated armor clearly marked before naming the final-chapter requirement. For the rest, you can safely use the table first, then follow the routed unlocks below.
- Patch 1.13 Damiane armor count
- Eight Damiane armor locations at a glance
- 1. Rivenheim Cloth Armor
- 2. Ferenor Plate Armor
- 3. Duskmoon Cloth Armor
- 4. Sermena Cloth Armor
- 5. Blinding Arrow’s Light Leather Armor
- 6. Golden Freeze Wood Light Armor
- 7. Rovenia Cloth Armor
- 8. Dark Executioner Leather Armor (final-chapter spoiler)
- Armor unlocks that fail silently
- Other Patch 1.13 gear to check next
- Frequently Asked Questions
Patch 1.13 Damiane armor count
Patch 1.13 adds 8 Damiane armor pieces, not eight complete armor sets. That wording matters because the same update also adds a separate batch of Kliff/Oongka equipment, including boss equipment and compatibility changes that are not part of this Damiane location list.
One naming note before you start: item spellings may appear as Rivenheim/Rivenheim, Ferenor/Ferenor, Sermena/Sermena, and Rovenia/Rovenia depending on the menu text you are looking at. The acquisition methods below are the same.
Eight Damiane armor locations at a glance
The fastest way through the list is to do the puzzle and challenge rewards while you are already near Pylon, Steel Mountain, and Demeniss, then clean up the faction and story-gated armor pieces after their request chains appear.
| Armor | How to get | Location or requirement |
|---|---|---|
| Rivenheim Cloth Armor | Finish the Ancient Rift maze | Below Pylon; collect three Engraved Stones, insert them, then claim the artifact |
| Ferenor Plate Armor | Complete When Lightning Strikes V | Sealed Abyss Artifact shrine on the upper side of Steel Mountain |
| Duskmoon Cloth Armor | Solve the Force Palm puzzle | Upper side of Demeniss; use Kliff |
| Sermena Cloth Armor | Complete Glory in Ruins | Demeniss Requests > A Favor for Demeniss |
| Blinding Arrow’s Light Leather Armor | Buy from the cleared camp vendor | Bloodsteel Camp equipment shop in Wells Estate, south Demeniss |
| Golden Freeze Wood Light Armor | Pick up enemy loot | Dawn Reach Camp in the lower part of Crimson Desert |
| Rovenia Cloth Armor | Complete The Path to the Crimson Mountains | Crimson Desert Requests > A Favor for Crimson Desert |
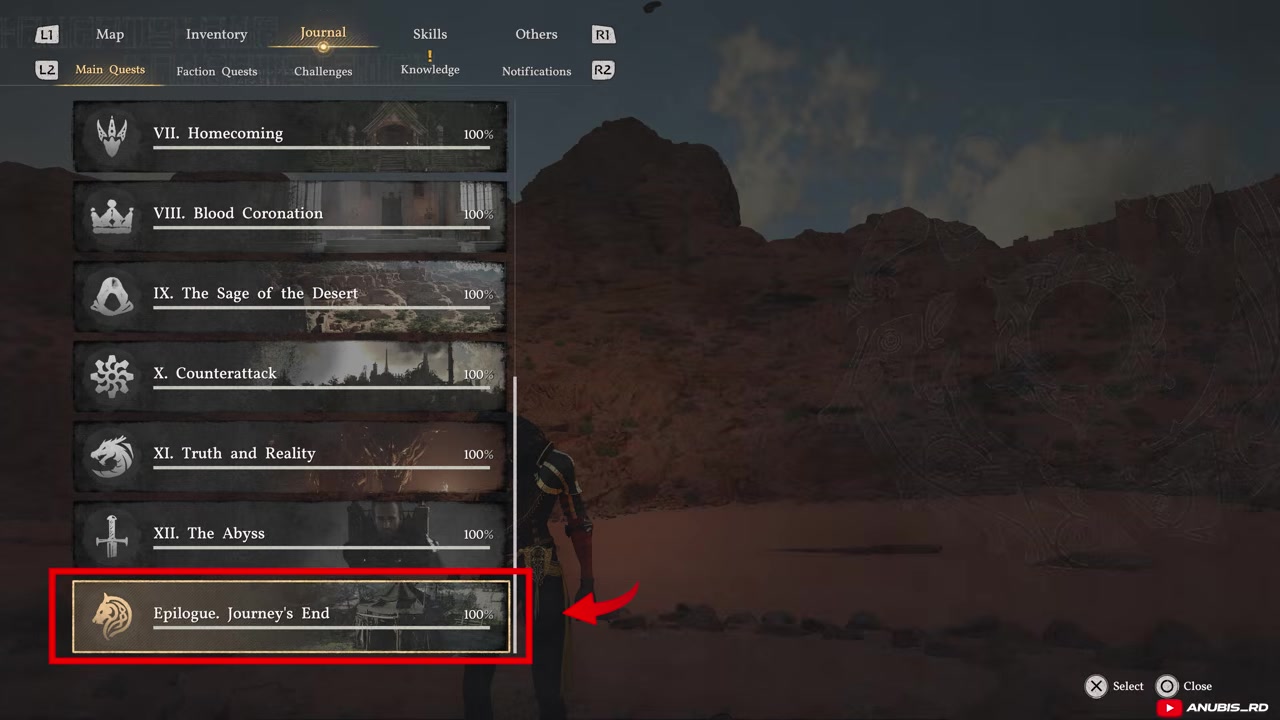
| Dark Executioner Leather Armor | Complete the epilogue quest | Final-chapter spoiler: A Journey’s End > Heart of Pyre |
Work through the eight pieces below in order, or jump straight to the one you need. Each piece has its own route and screenshots.
1. Rivenheim Cloth Armor
Rivenheim Cloth Armor is the easiest Patch 1.13 Damiane armor to miss because the Ancient Rift does not end after the first gate. You need three Engraved Stones, three pillar rooms, and the final mechanism before the reward artifact appears.
STEP 1/21
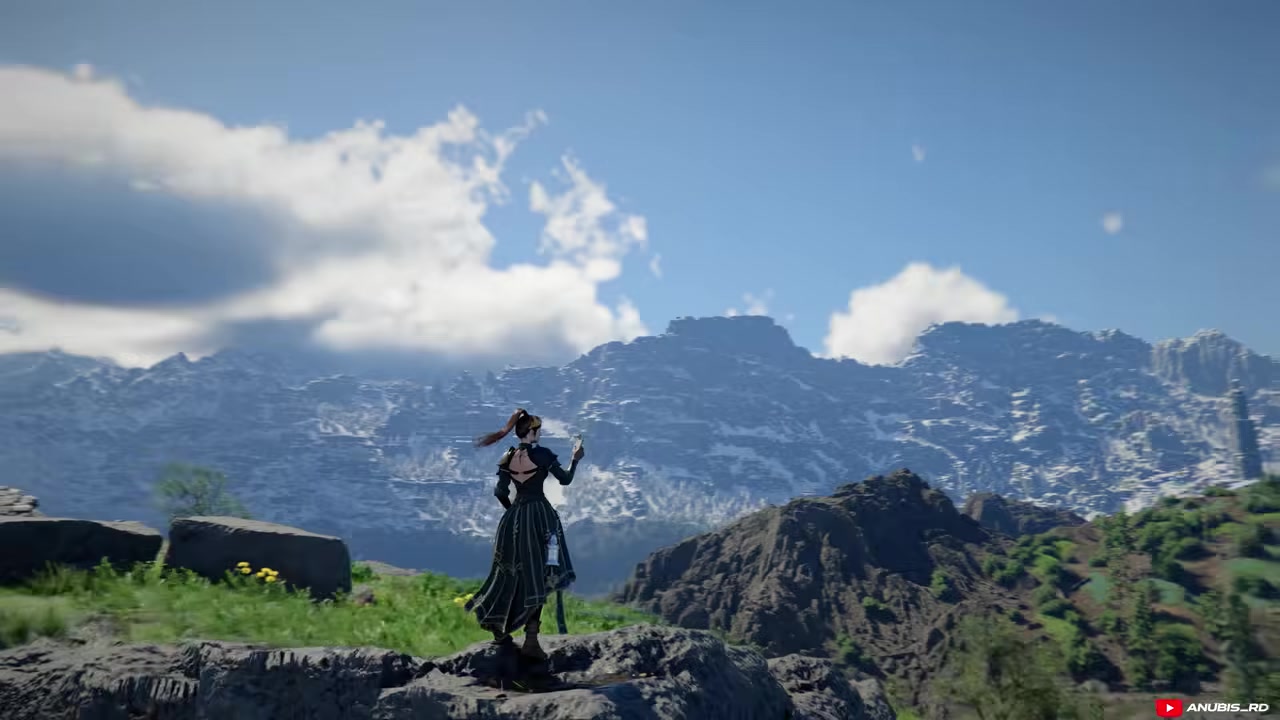
Enter the Ancient Rift below Pylon
Go to the Ancient Rift location below Pylon and start the maze for the Rivenheim Cloth Armor.
STEP 2/21
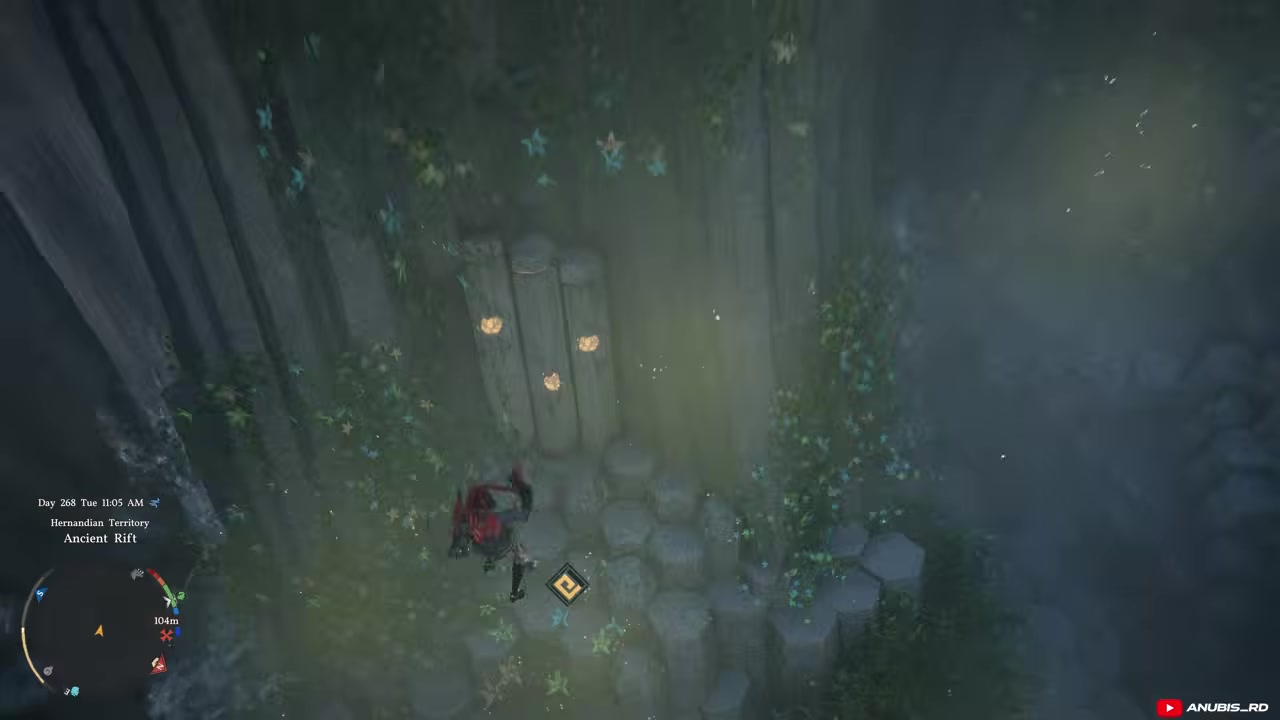
The Rivenheim reward needs three Engraved Stones, each held in a separate pillar room inside the rift.
STEP 3/21
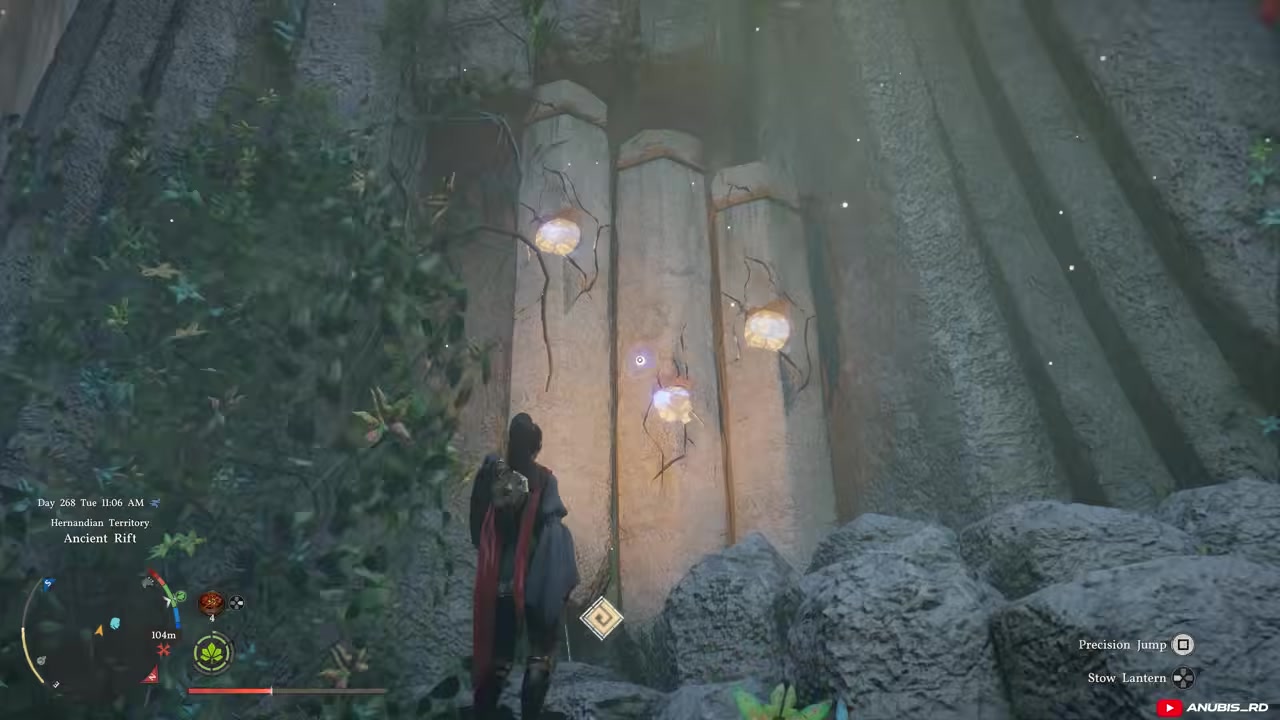
Enter the three-pillar room
Drop into the first room, which holds a set of three pillars.
STEP 4/21
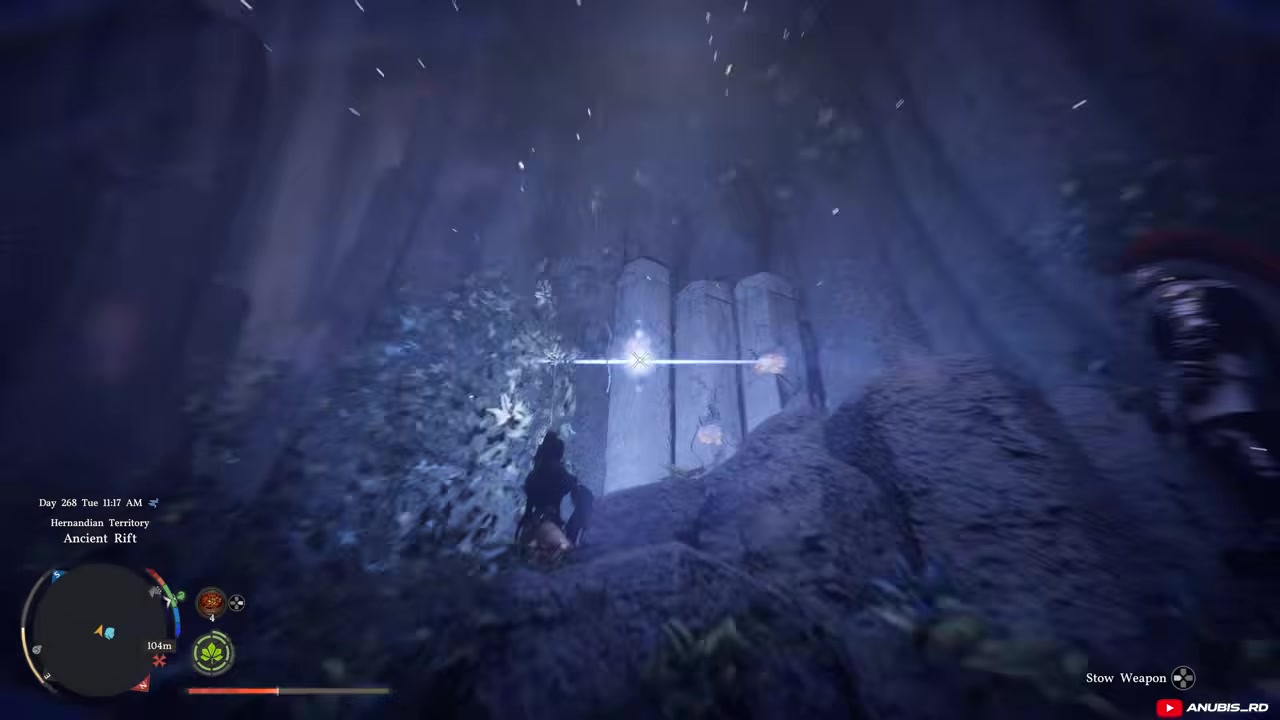
Take the first Engraved Stone
Use Blinding Flash on the leftmost pillar to open the room, then Force Palm the engraved rock to collect the first Engraved Stone.
STEP 5/21
Follow the upper route
Stay in the rift and follow the upper path toward the next room instead of leaving after one stone.
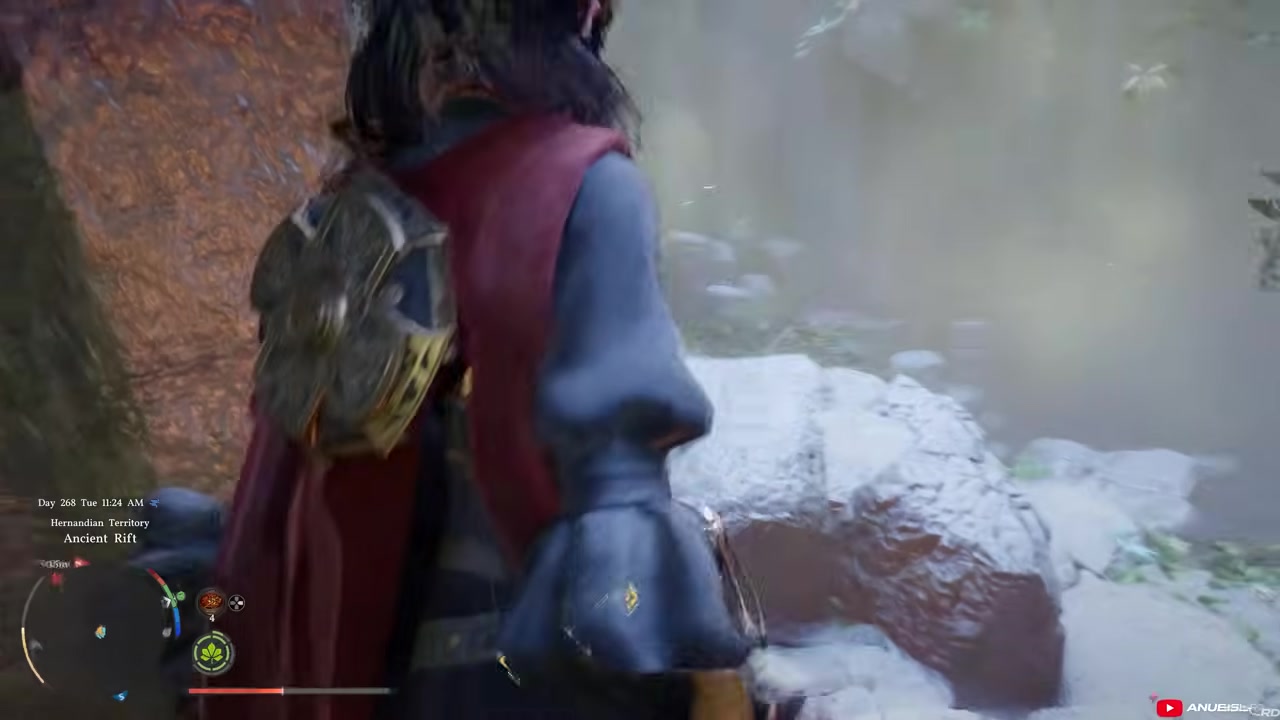
STEP 6/21
Reach the four-pillar room
Continue to the next room, which has four pillars.
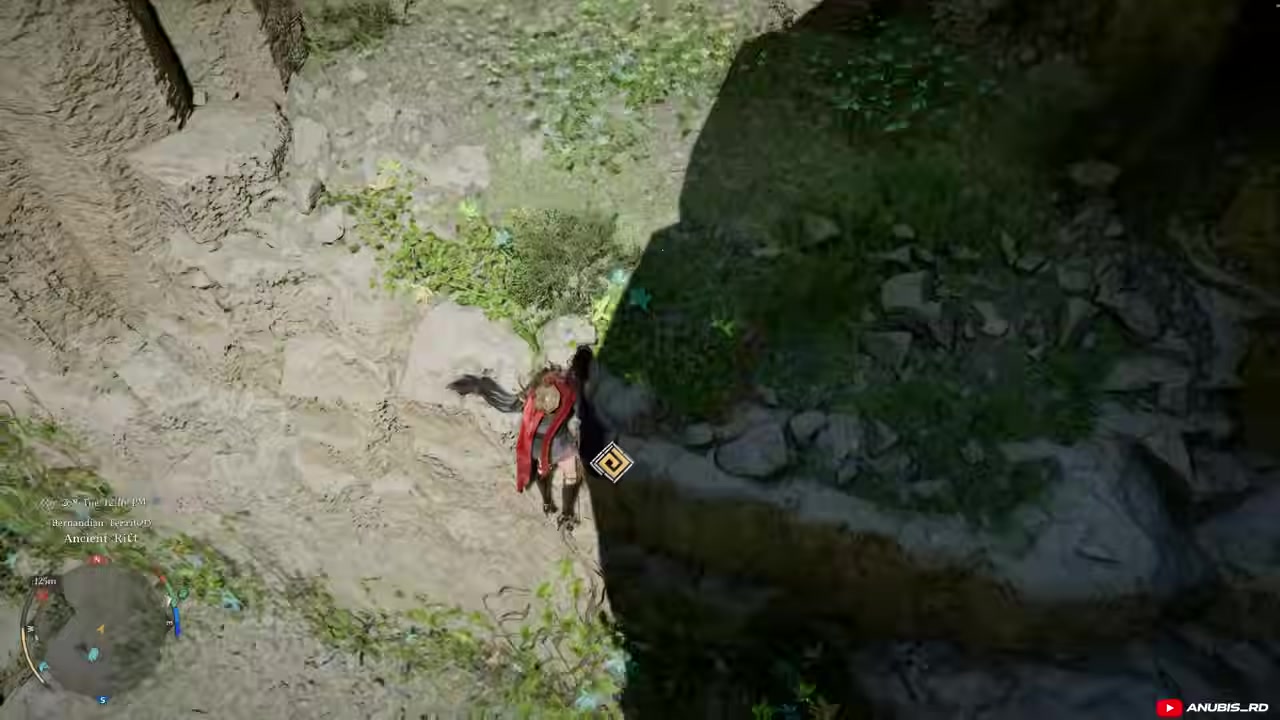
STEP 7/21
Blinding Flash the third pillar
Aim Blinding Flash at the third pillar to open the path into the cave.
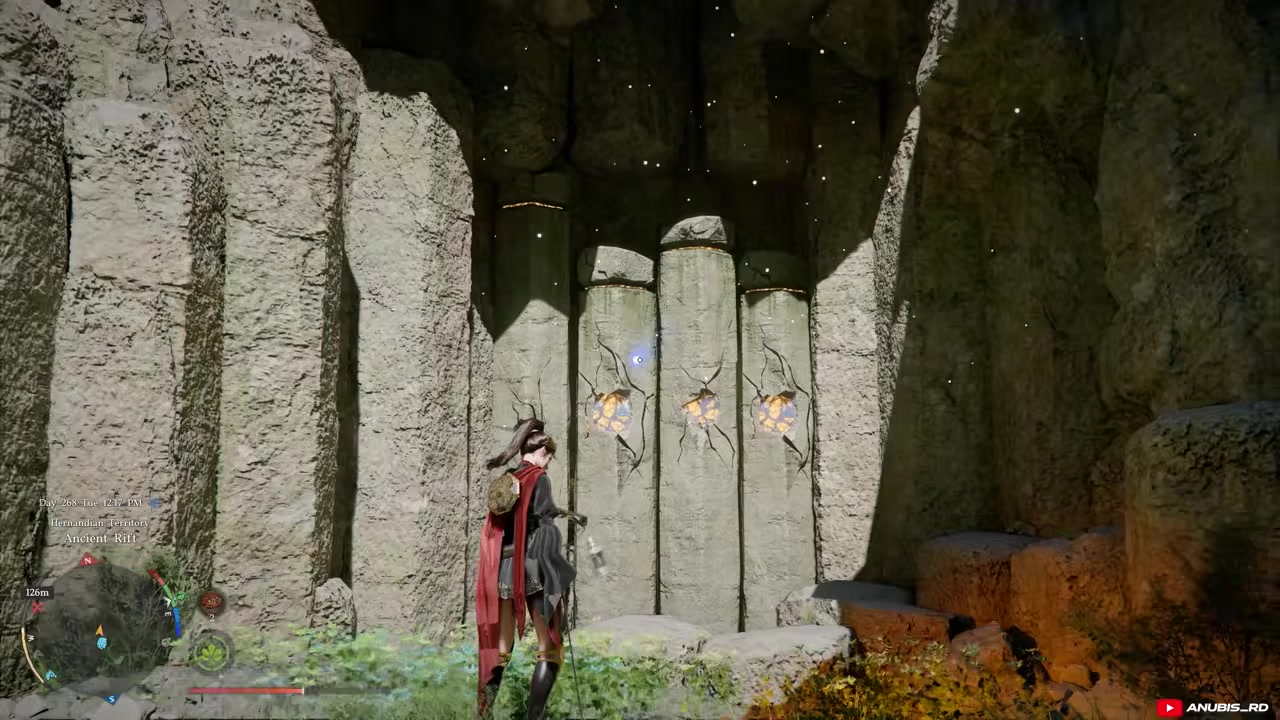
STEP 8/21
Force Palm the engraved rock
Inside the opened room, use Force Palm on the engraved rock.
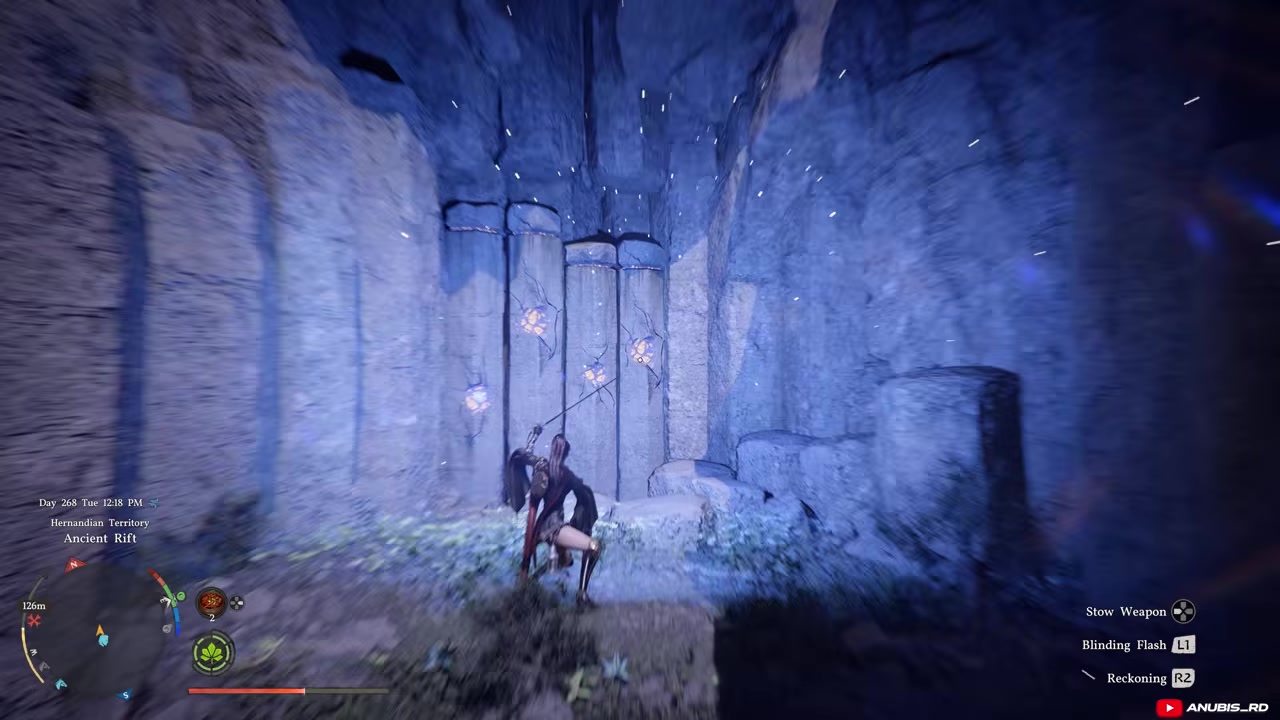
STEP 9/21
Take the second Engraved Stone
Collect the second Engraved Stone.
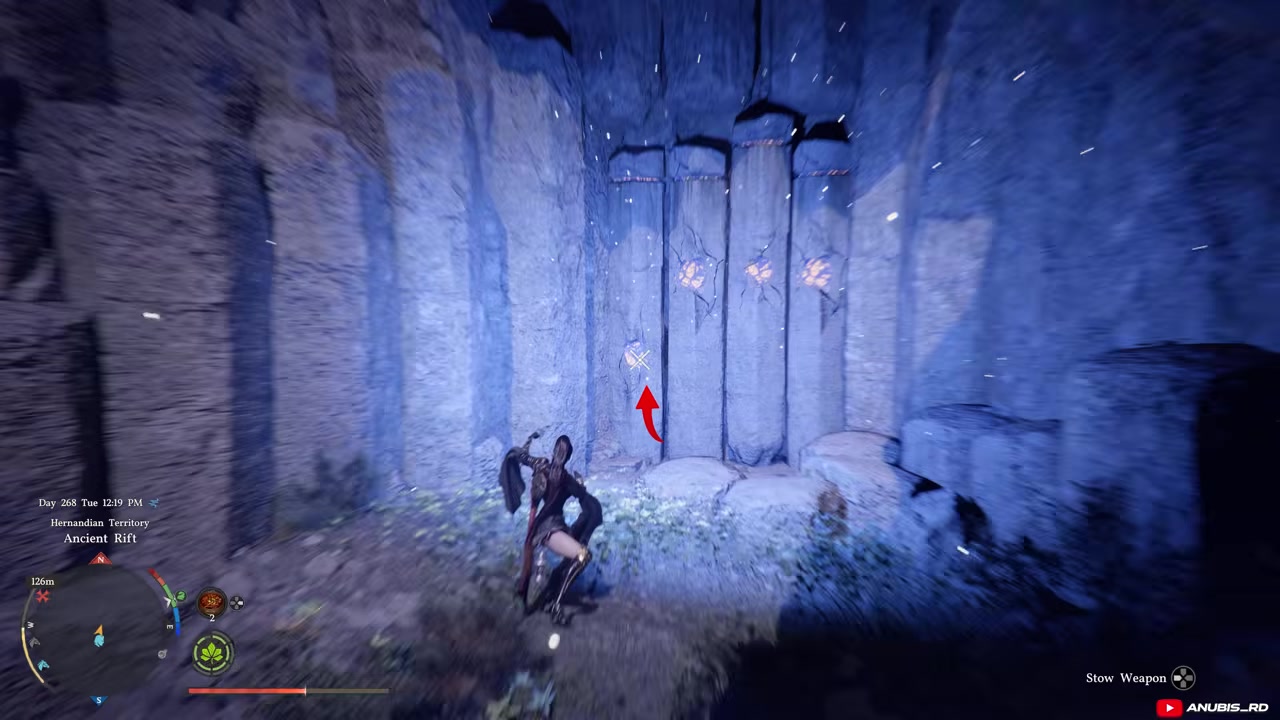
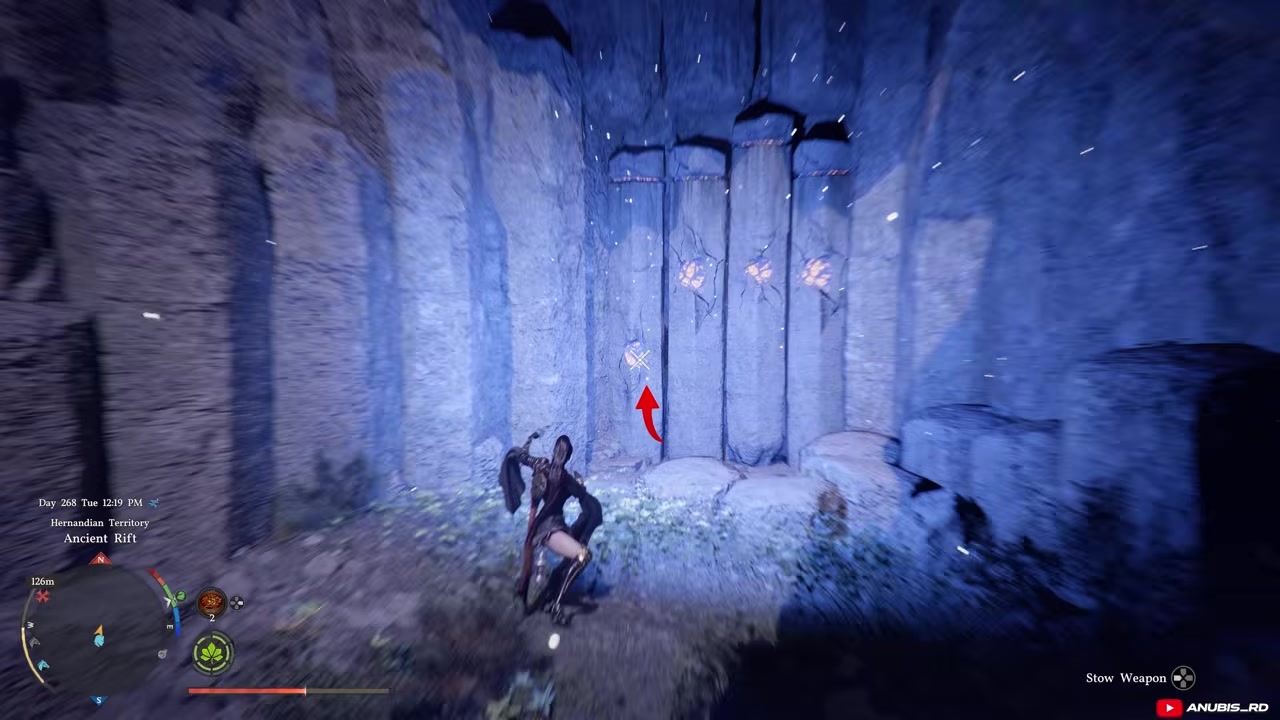
STEP 10/21
Move toward the final room
Leave the room and head for the last pillar room.
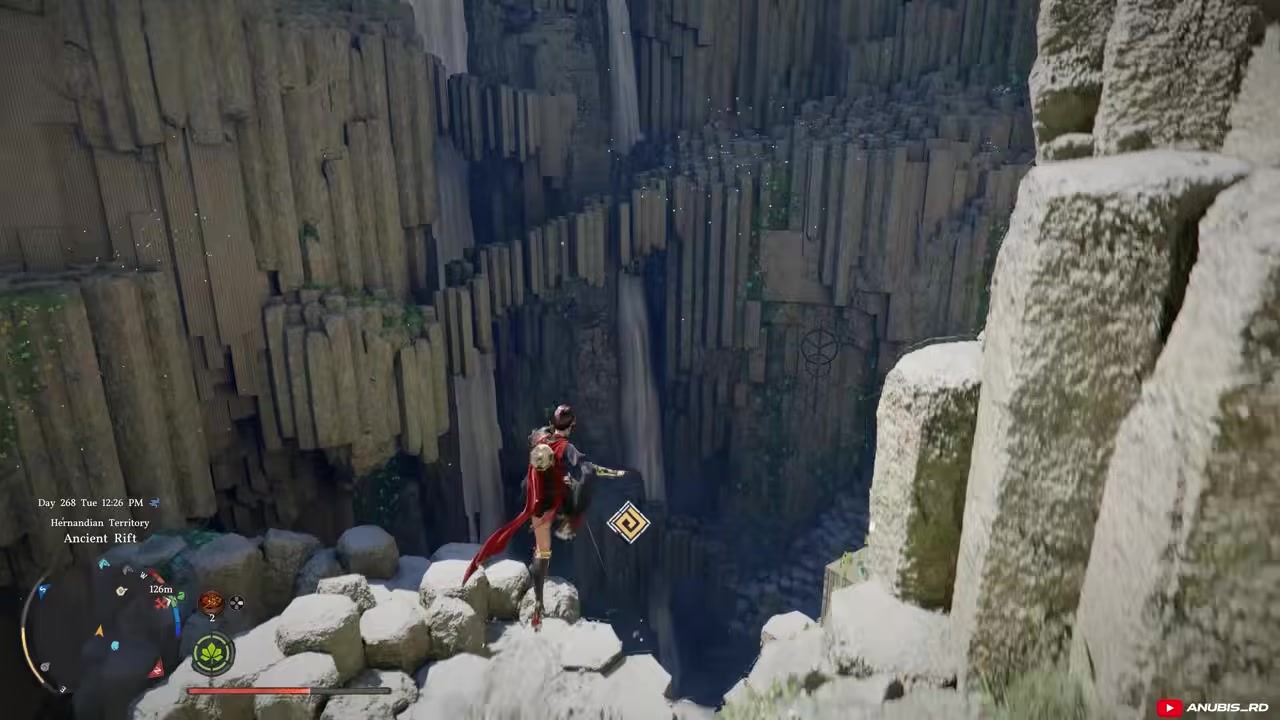
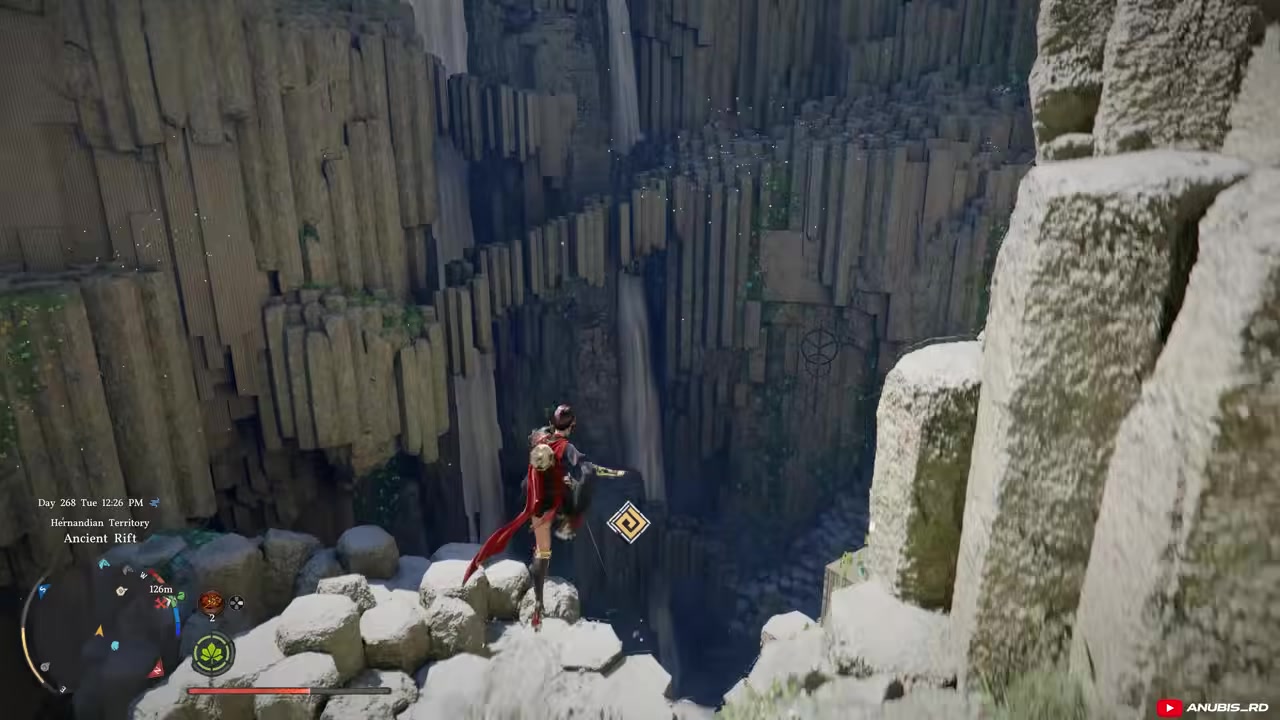
STEP 11/21
Glide to the six-pillar room
Glide down to the six-pillar room at the lower part of the rift.
STEP 12/21
Blinding Flash the first pillar twice
Aim Blinding Flash at the first (leftmost) pillar and hit it twice.
STEP 13/21
Then the sixth pillar twice
Move to the sixth (rightmost) pillar and hit it twice with Blinding Flash to open the room.
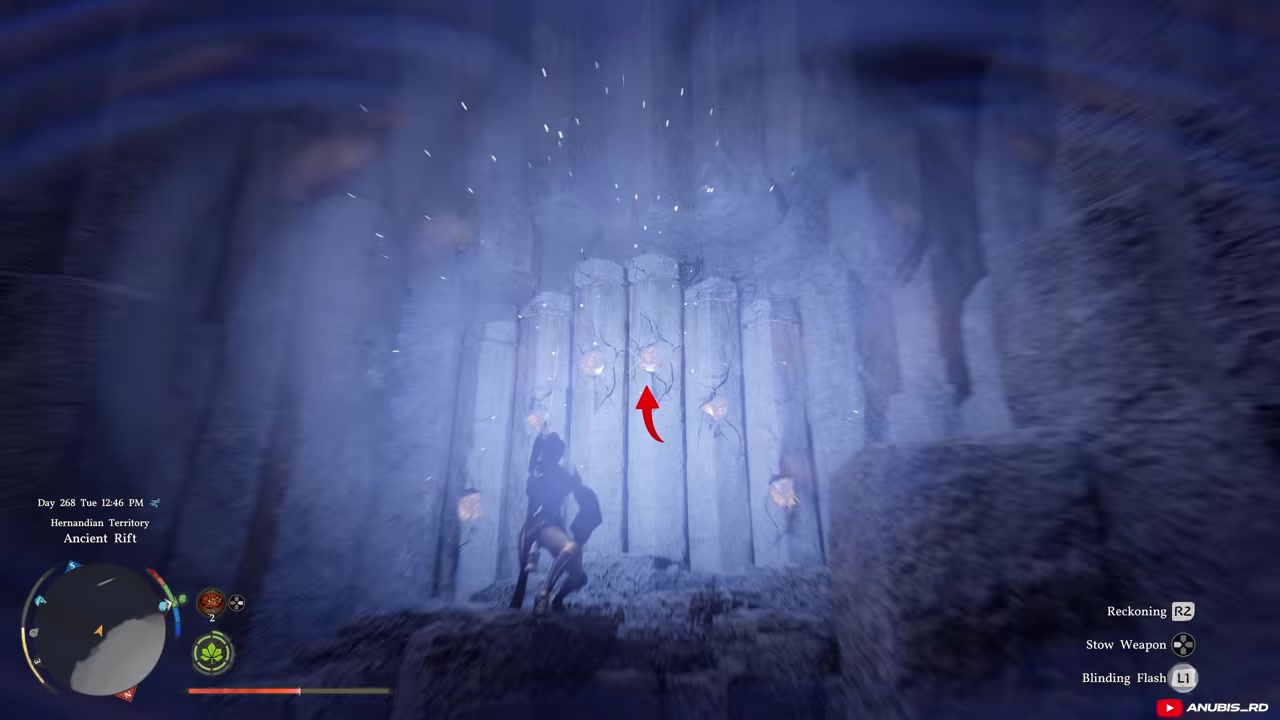
STEP 14/21
Enter the opened room
With the room open, step inside toward the engraved rock.
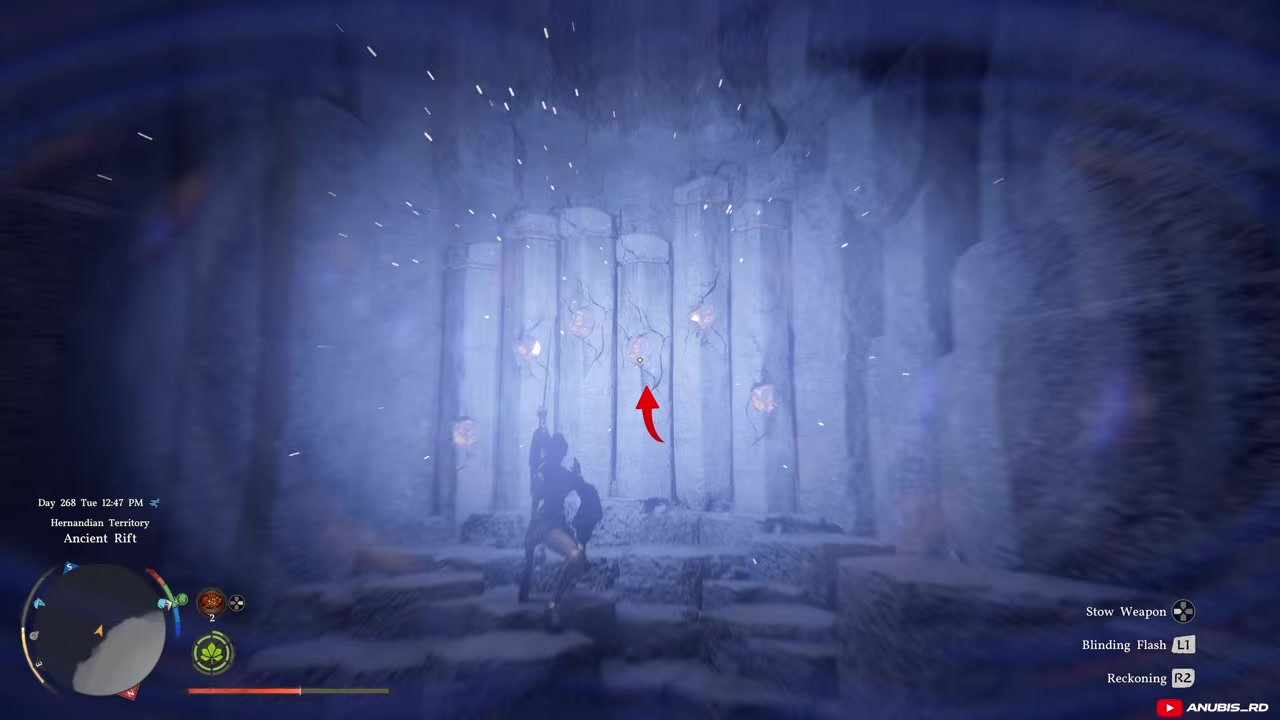
STEP 15/21
Force Palm the engraved rock
Use Force Palm on the engraved rock.
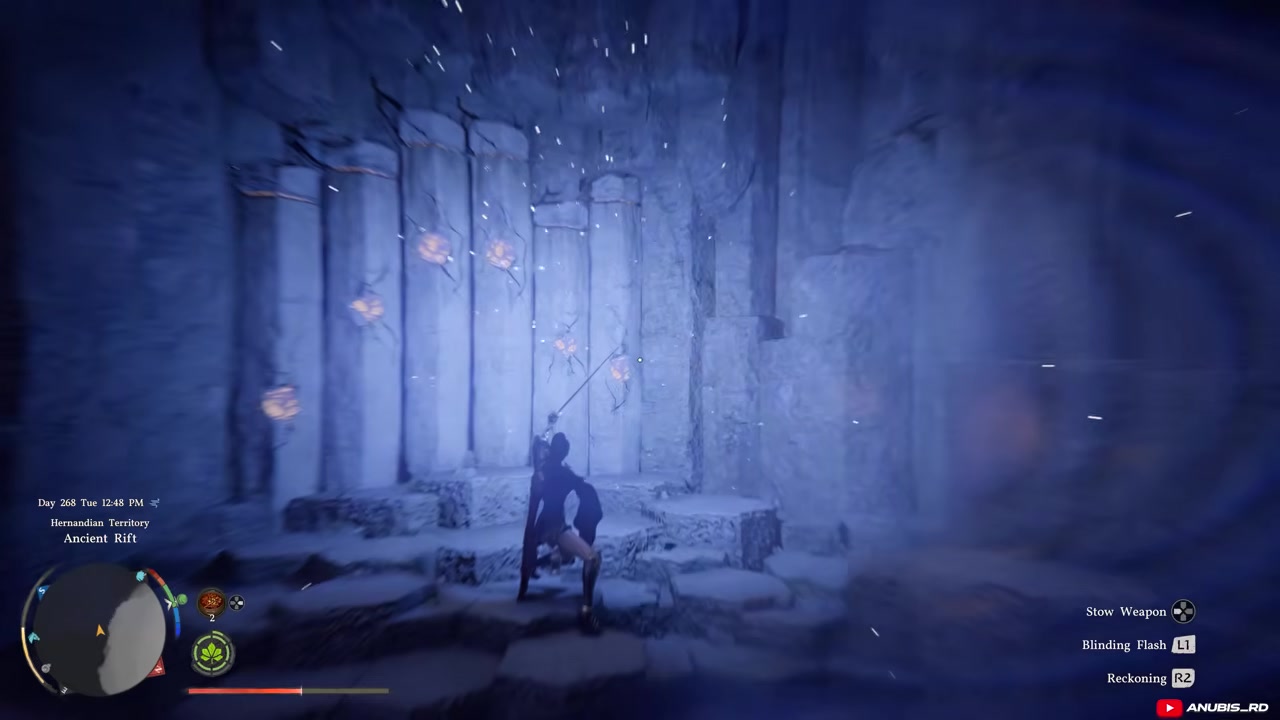
STEP 16/21
Take the third Engraved Stone
Collect the third and final Engraved Stone.
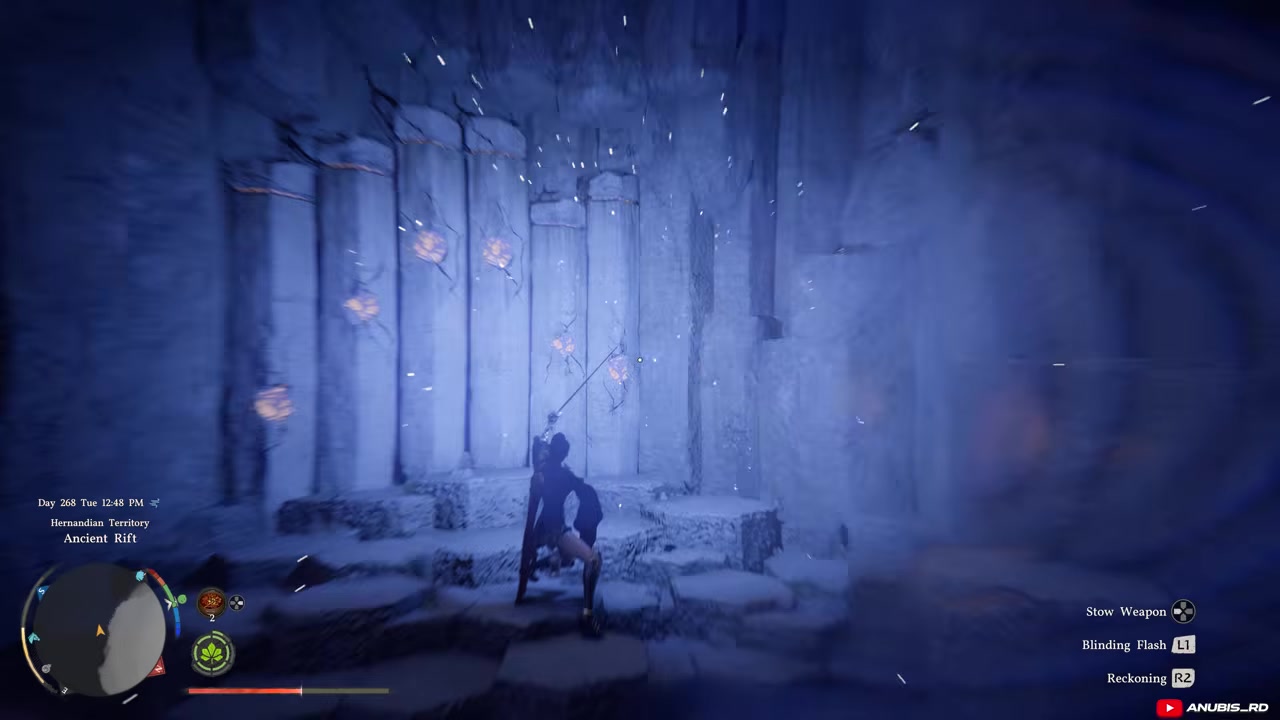
STEP 17/21
Return to the mechanism
Leave the final room and head back to the main mechanism outside.
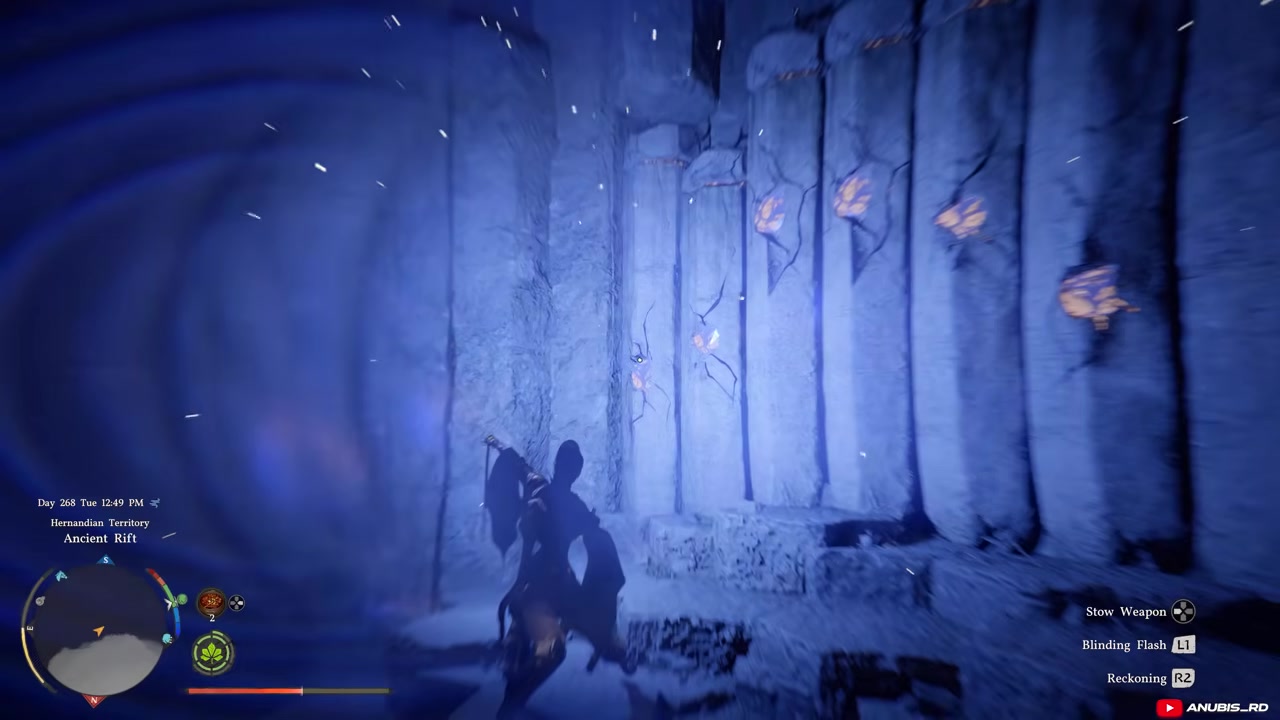
STEP 18/21
Reach the three slots
At the mechanism, find the three stone slots.
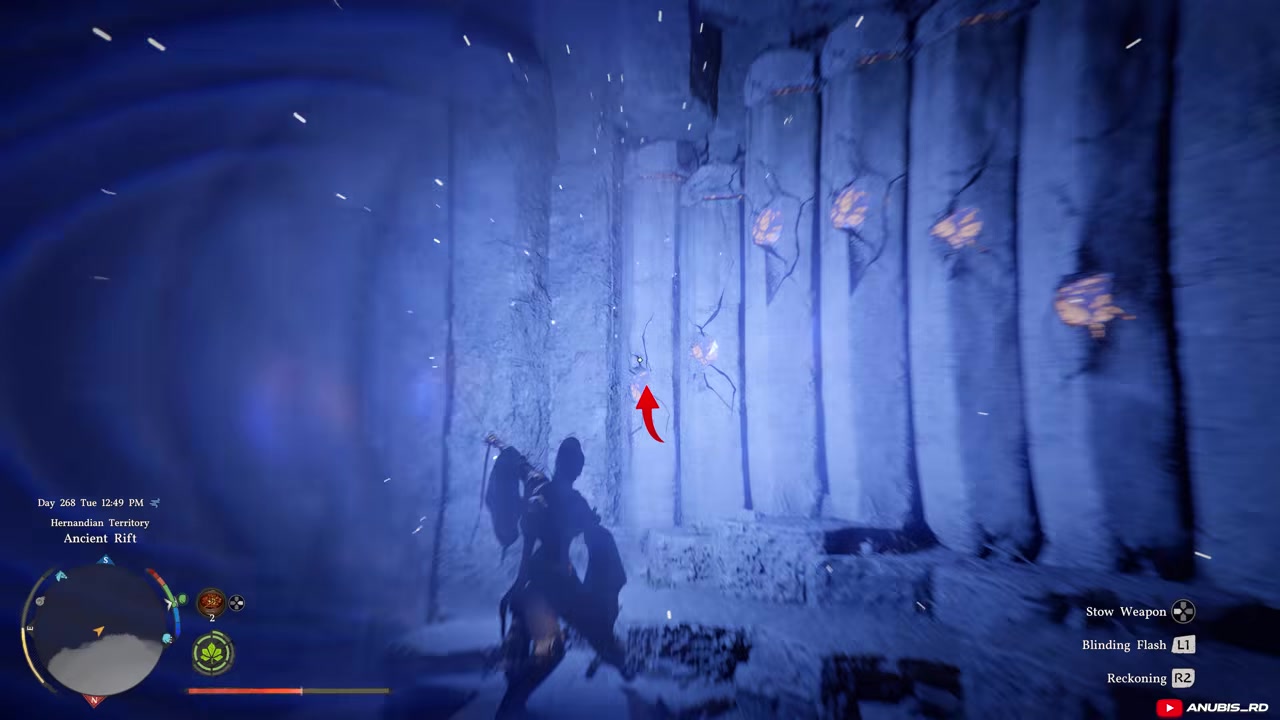
STEP 19/21
Ready the Engraved Stones
Face the mechanism with all three Engraved Stones in hand.
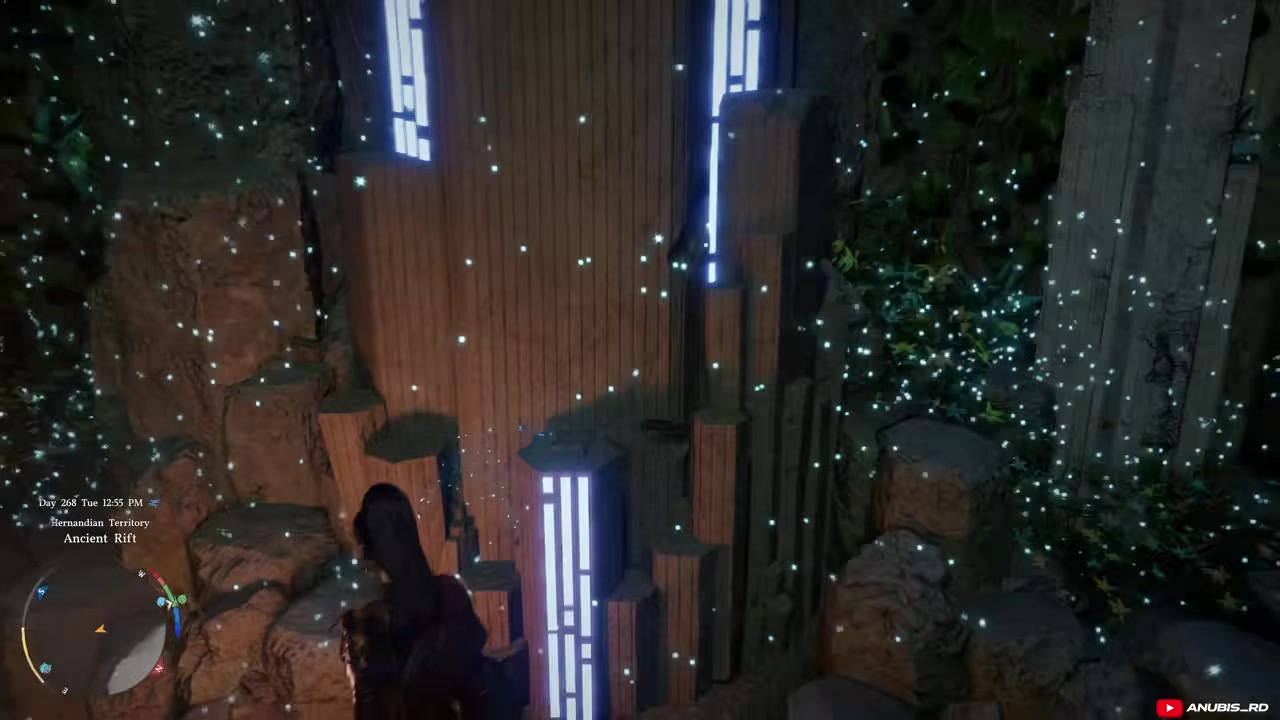
STEP 20/21
Insert all three Engraved Stones
Interact with the mechanism and insert all three Engraved Stones.
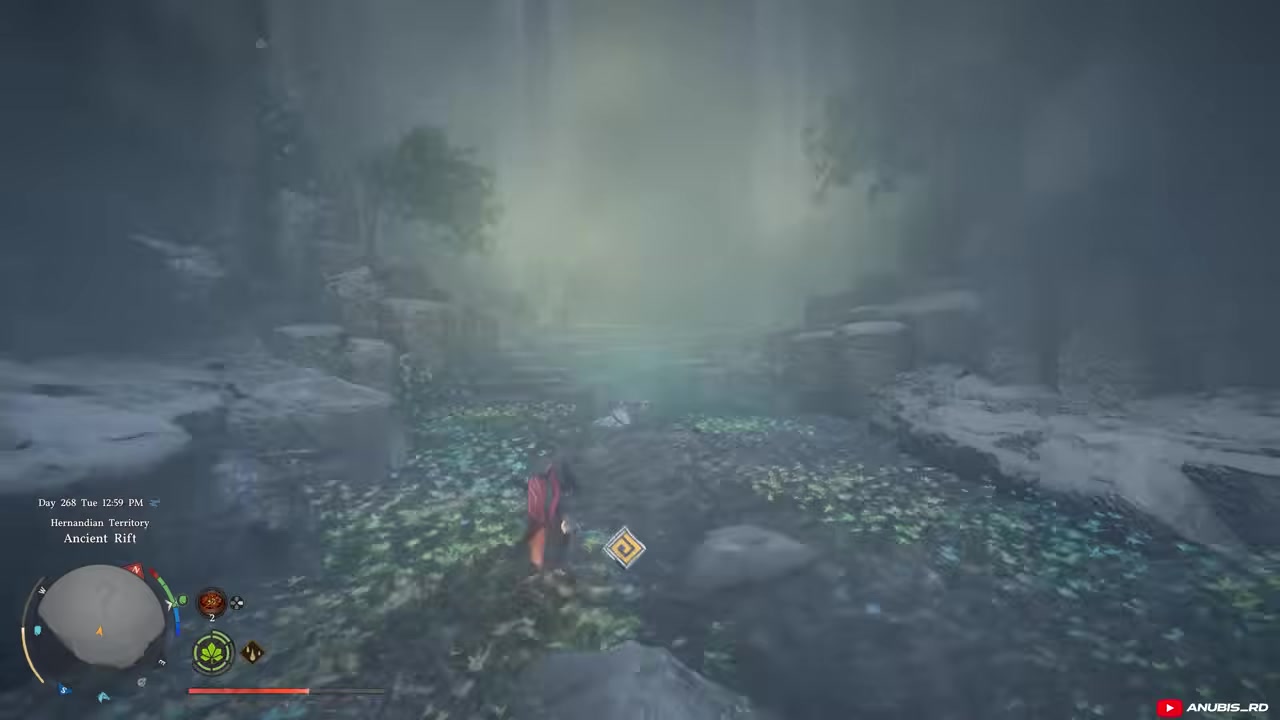
STEP 21/21
Claim the artifact
Take the revealed Abyss Cresset to finish the Ancient Rift maze and earn Rivenheim Cloth Armor.
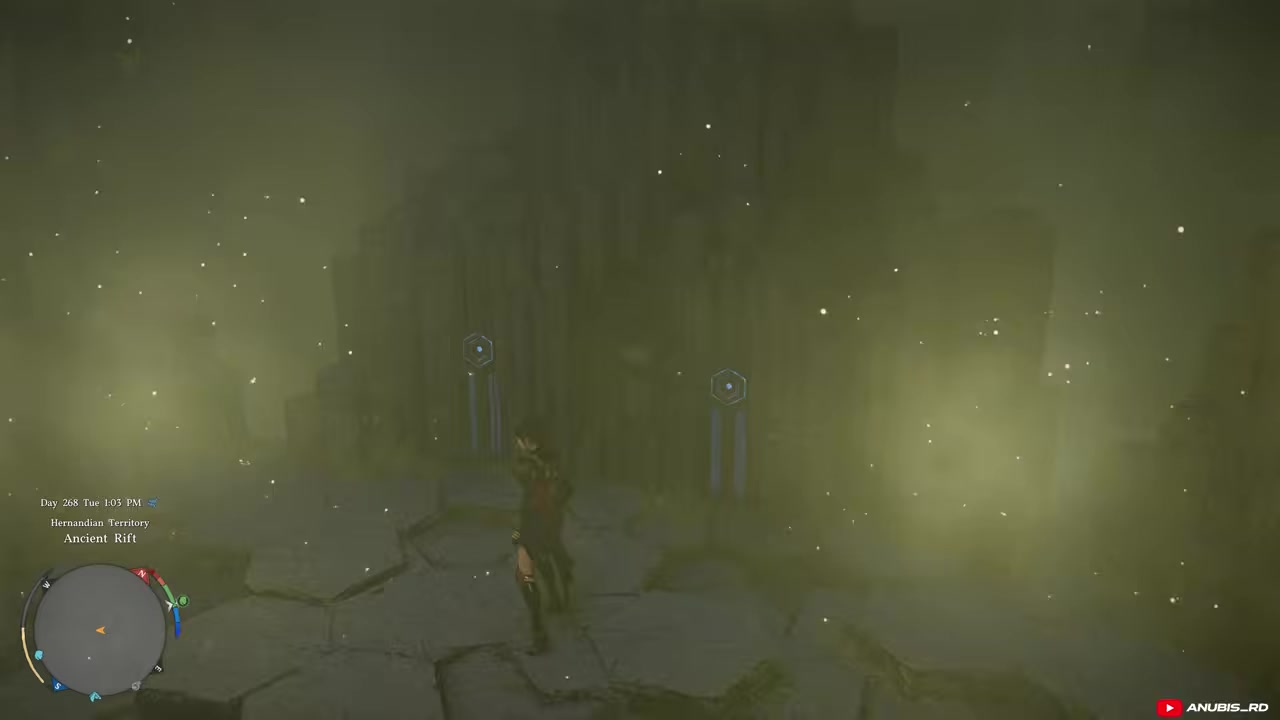
Ancient Rift maze — the exact key sequences
Rivenheim Cloth Armor comes from the Ancient Rift maze below Pylon. Treat the maze as a three-key puzzle, because the reward does not appear after the first gate. Each gate room leads to a stone-pushing room, and each pushed stone gives one Engraved Stone.
The first gate is the simple opener: clear it, enter the room, push the stone, and take the first Engraved Stone. For the second gate, activate the stones in this exact order: 2, 4, 4, 1, 2. Enter the opened room, push the stone, and take the second Engraved Stone.
For the final gate, glide down to the lower puzzle area and use the sequence 4, 6, 4, 4, 6, 1, 1. That opens the third gate. Push the final stone inside and collect the third Engraved Stone, then return outside, move left to the mechanism, insert all three keys, enter the hidden gate, and collect the artifact to finish the maze.
Ancient Rift maze — the exact pillar solution
Rivenheim Cloth Armor comes from the Ancient Rift maze below Pylon in Hernandian Territory. It is three short pillar rooms, and each opened room hides one Engraved Stone. Use Blinding Flash to light the marked pillar, then Force Palm the engraved rock to take the stone.
Three-pillar room: Blinding Flash the first (leftmost) pillar, then Force Palm for the first Engraved Stone. Four-pillar room: Blinding Flash the third pillar, then Force Palm for the second. Six-pillar room: Blinding Flash the first (leftmost) pillar twice, then the sixth (rightmost) pillar twice, then Force Palm for the third.
Carry all three stones to the mechanism at the northwest edge of the rift, insert them into the three slots, and take the revealed Abyss Cresset to claim Rivenheim Cloth Armor.
2. Ferenor Plate Armor
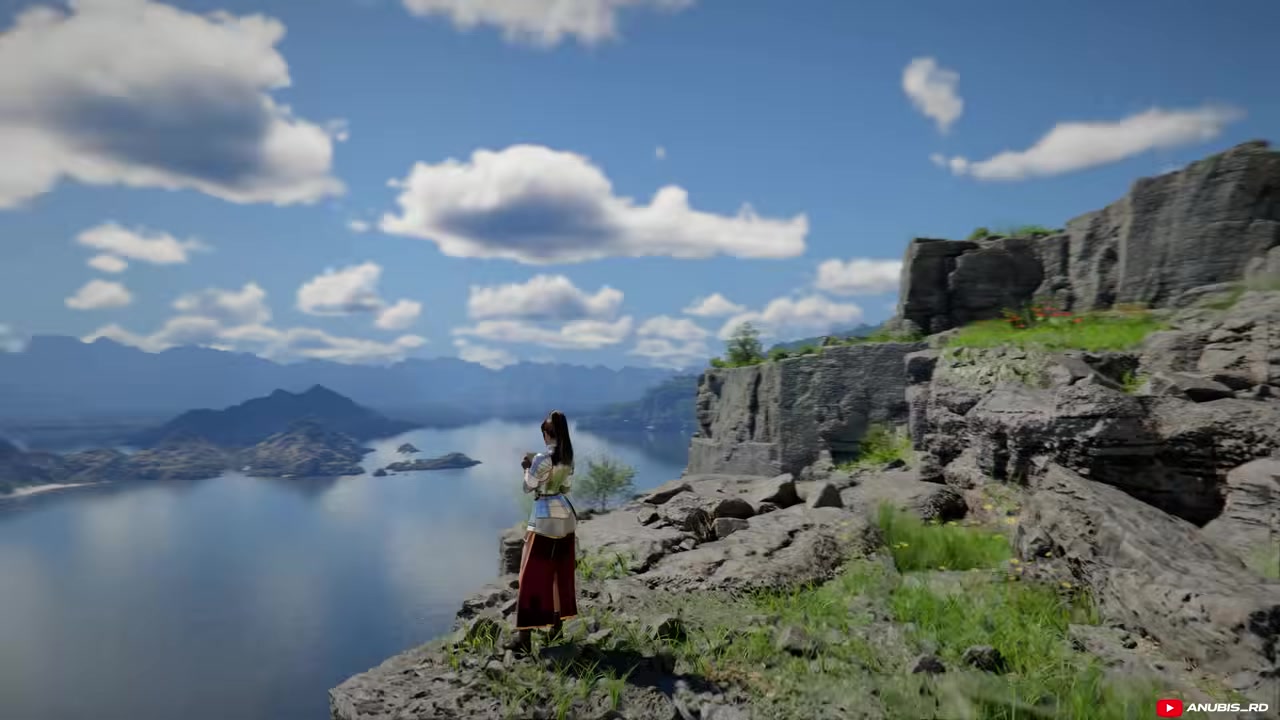
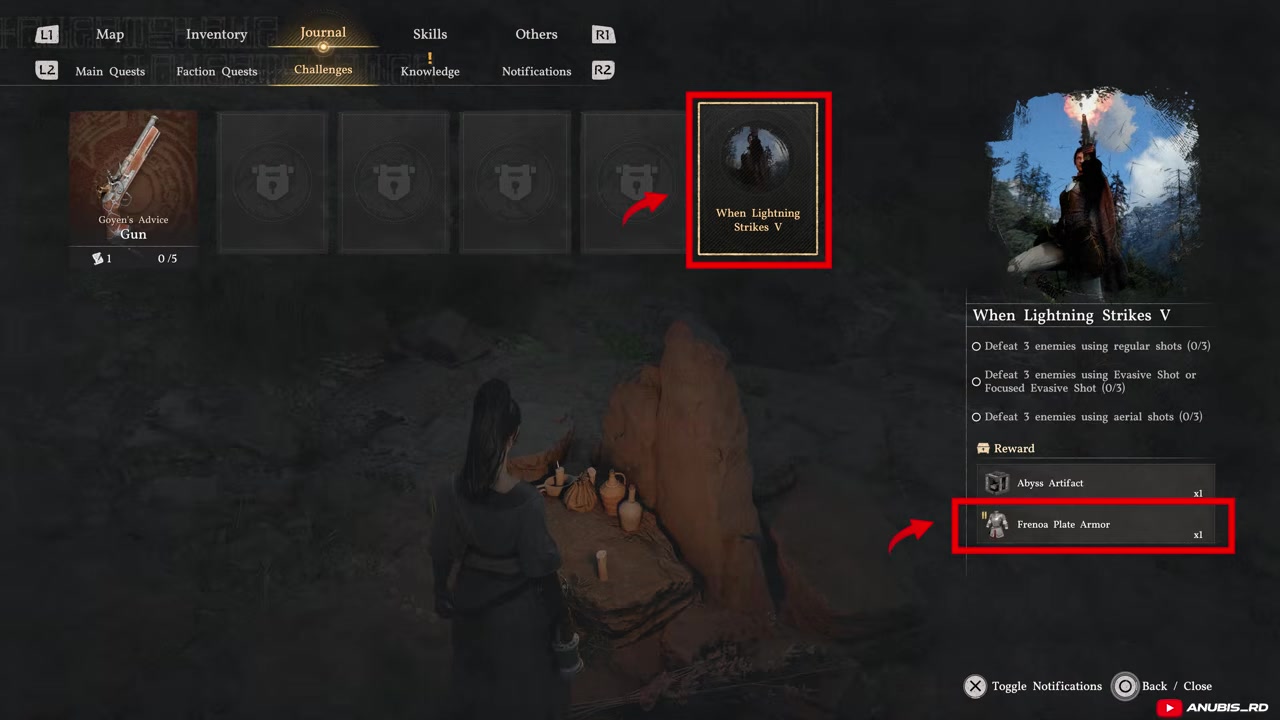
Ferenor Plate Armor is tied to the When Lightning Strikes V gun challenge. To unlock it, go to the shrine near the road on the upper side of Steel Mountain and pick up the Sealed Abyss Artifact.
What you need first
STEP 1/12
Find the Steel Mountain shrine
Go to the upper side of Steel Mountain to start the Ferenor Plate Armor unlock.
STEP 2/12
Pick up the Sealed Abyss Artifact
Take the sealed artifact beside the road shrine to unlock When Lightning Strikes V.
STEP 3/12
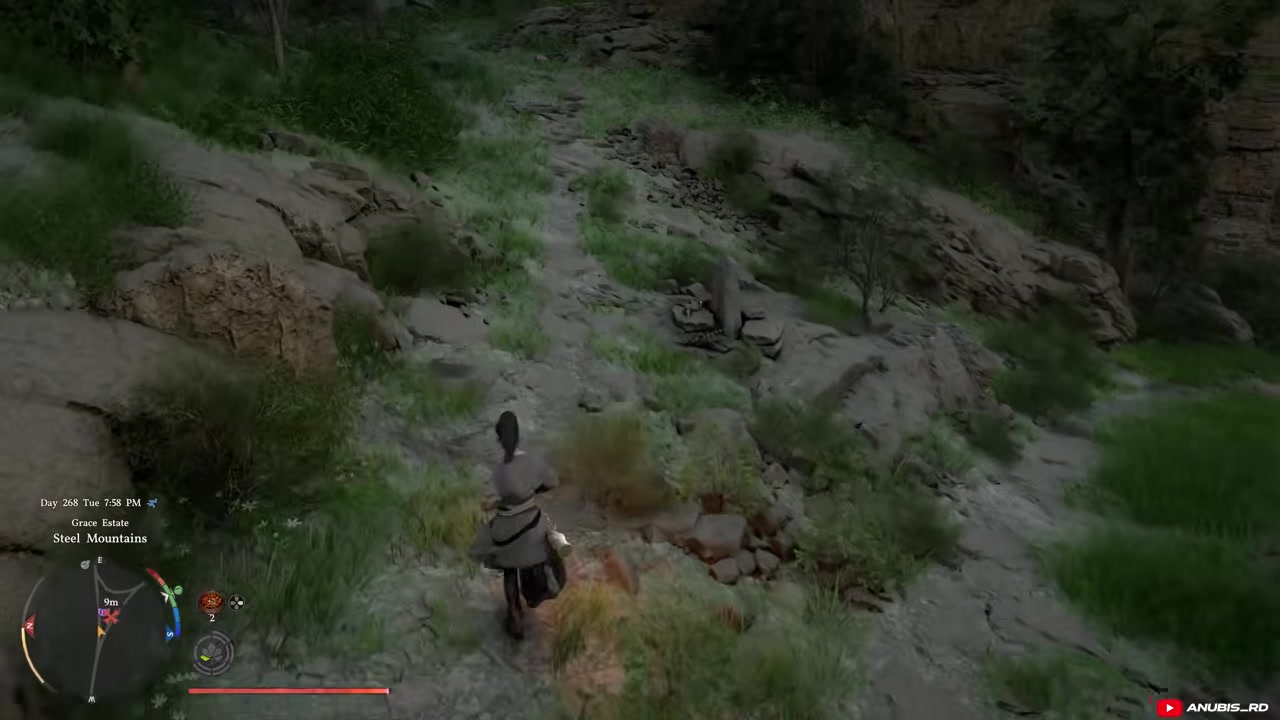
Clear the regular gun-shot objective
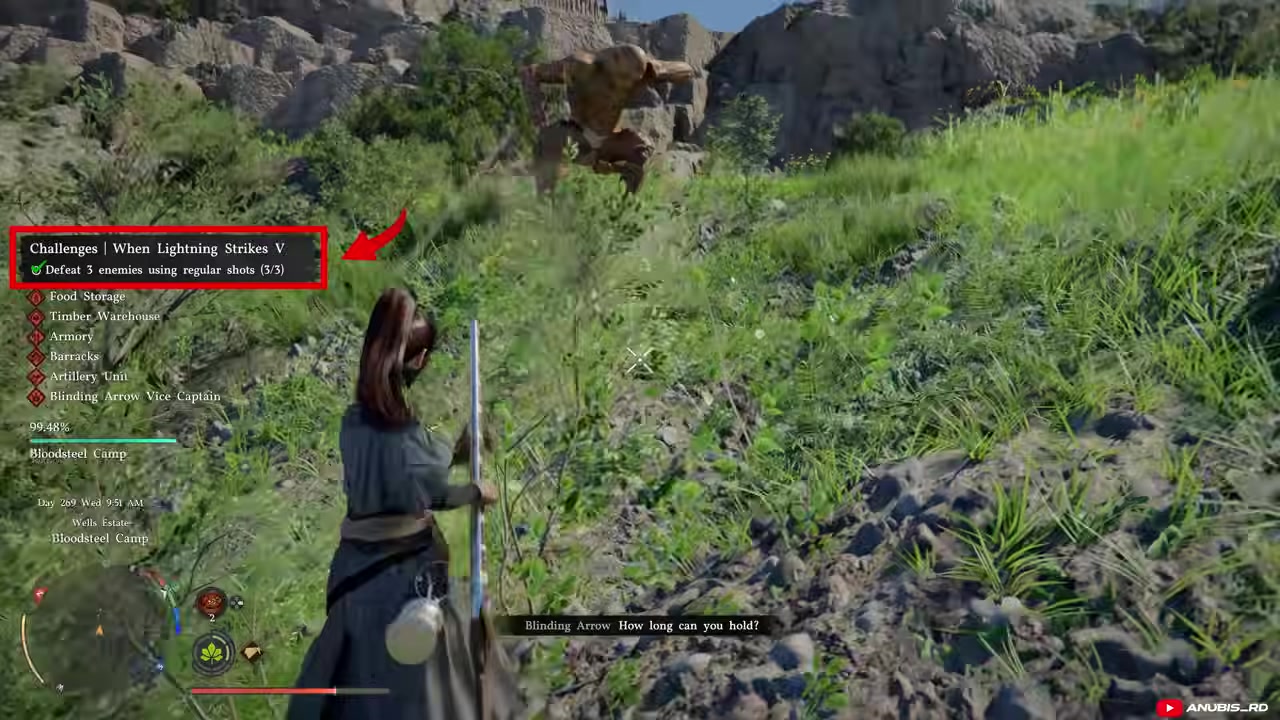
Defeat three enemies with regular gun shots.
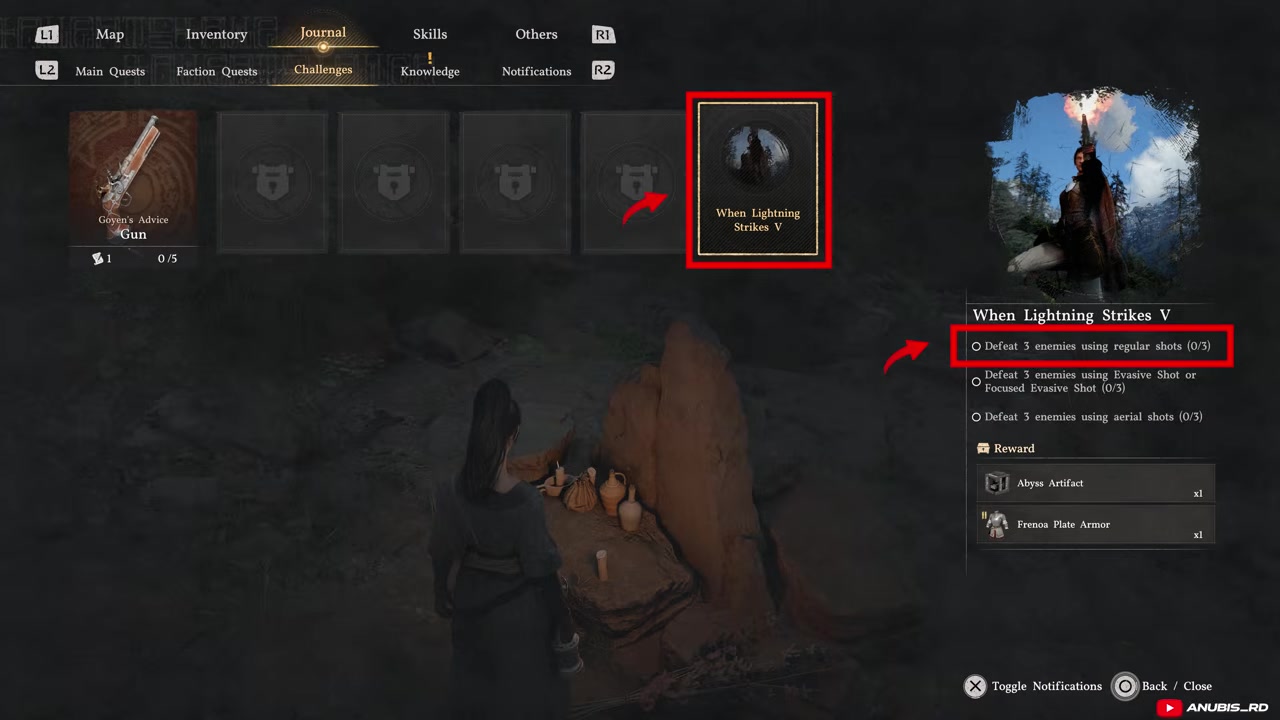
STEP 4/12
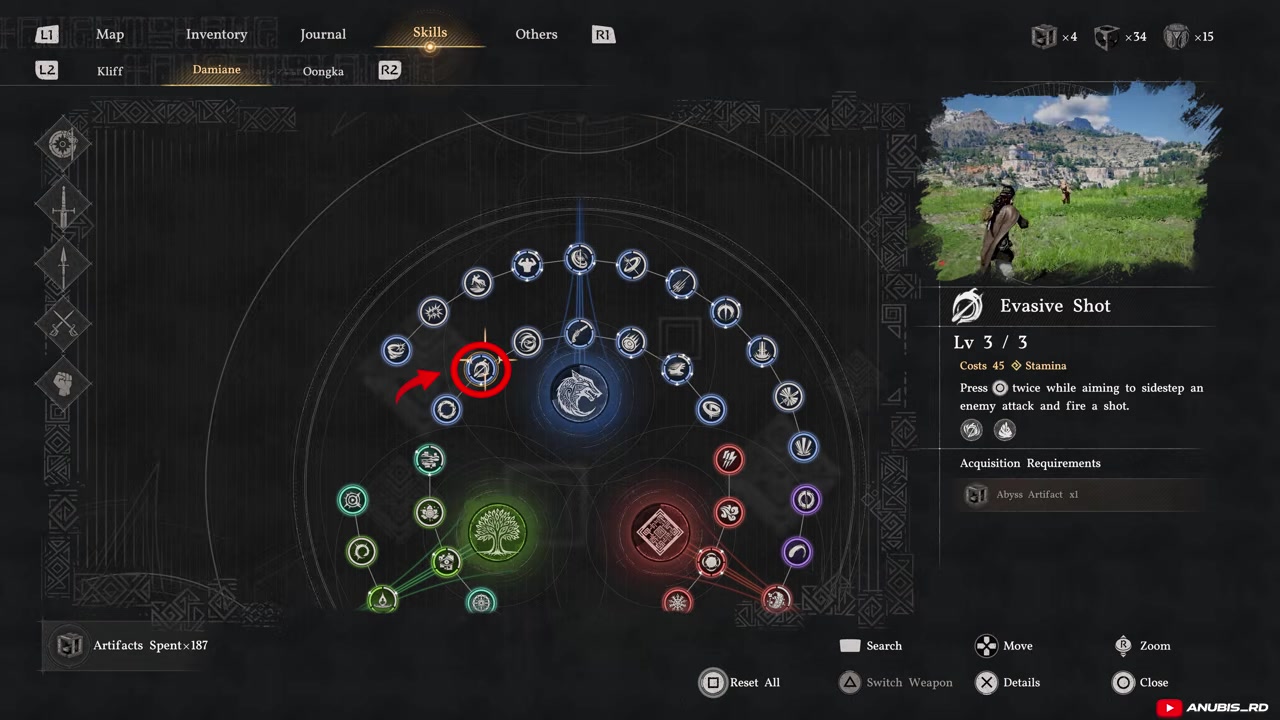
Unlock Evasive Shot and Focus Shot
Get Evasive Shot and Focus Shot before attempting the evasive objective.
STEP 5/12
Move to an enemy camp
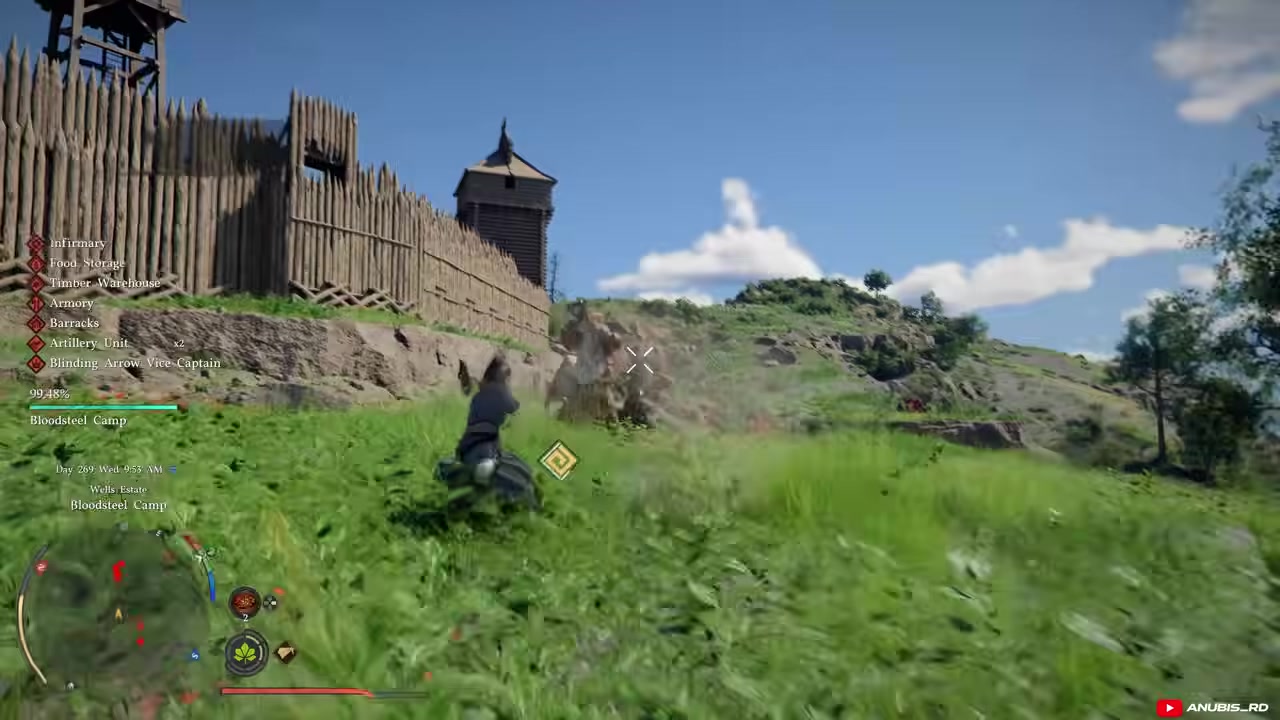
Use any normal enemy camp to complete the shooting objectives.
STEP 6/12
Aim and dodge for evasive shots
Hold L2 to aim, then rapidly press dodge to trigger Evasive Shot.
STEP 7/12
Finish three enemies with evasive shots
Defeat three enemies with Evasive Shot or Focused Evasive Shot.
STEP 8/12
Start the aerial-shot objective
At a normal enemy camp, prepare to finish enemies while airborne.
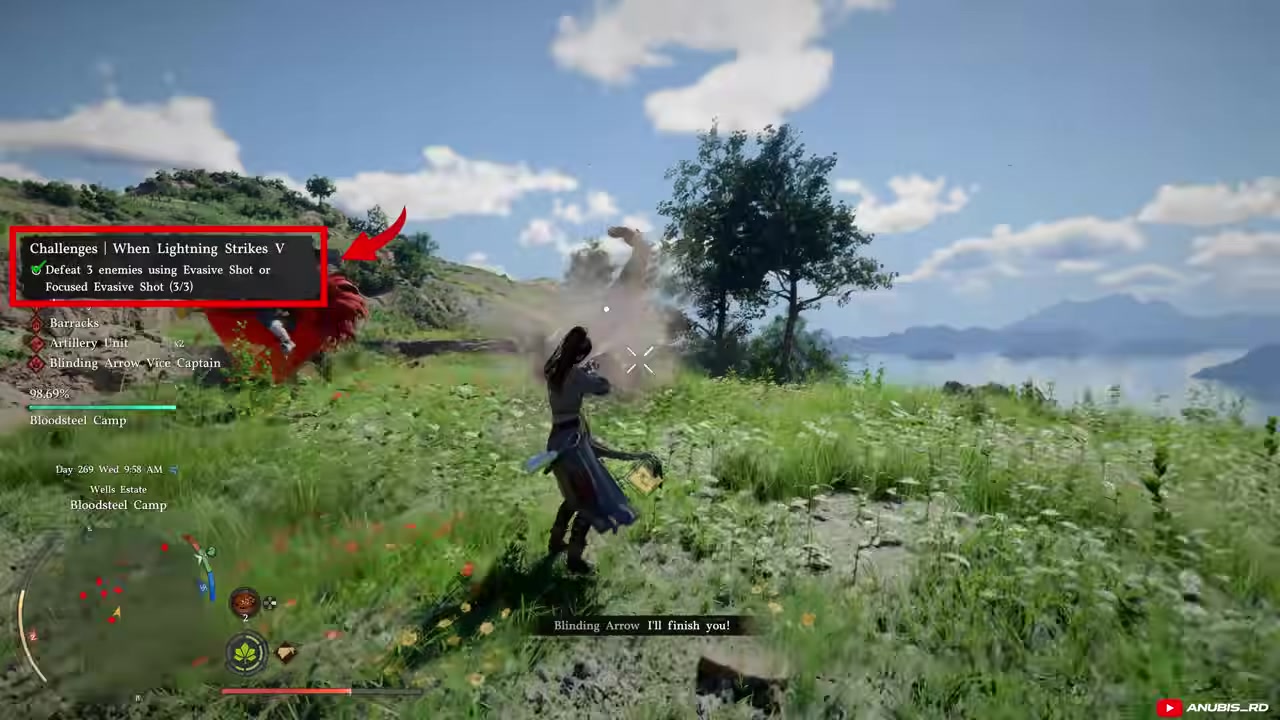
STEP 9/12
Double jump before firing
Perform a double jump, hold aim before landing, and shoot while still in the air.
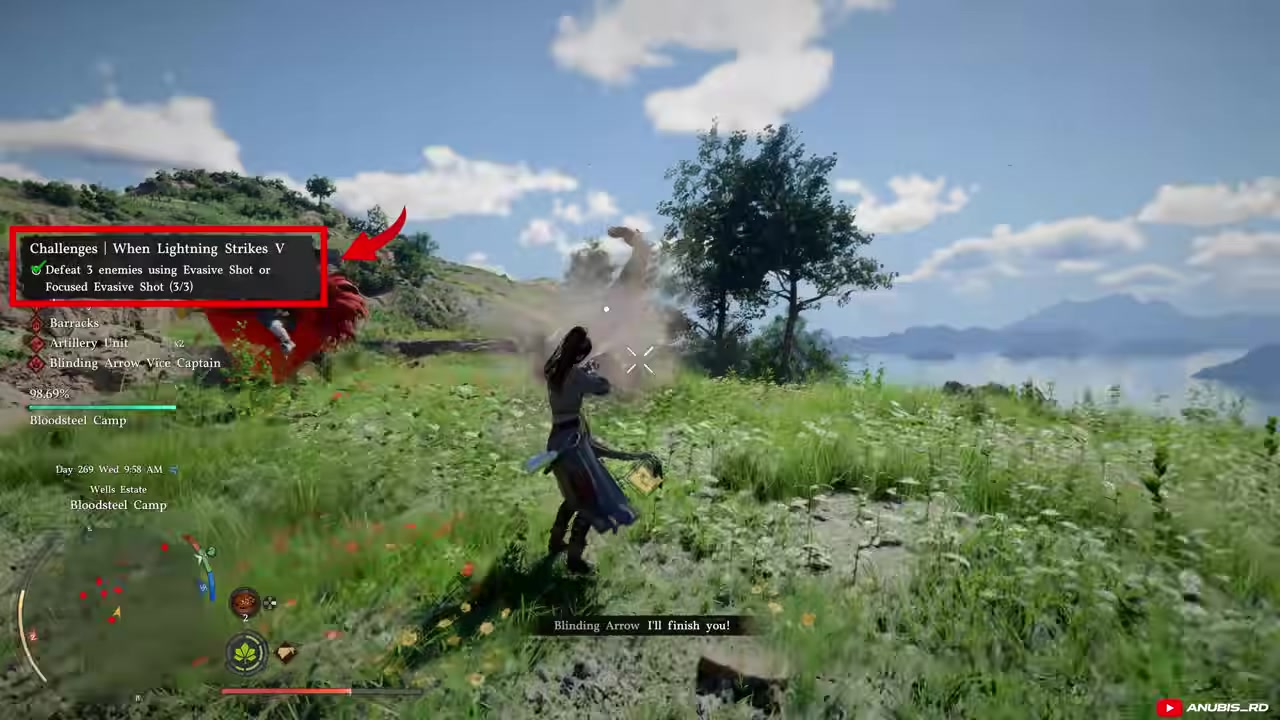
STEP 10/12
Make the aerial shot kill before landing
The enemy must die before you touch the ground, so weaken tough targets first.
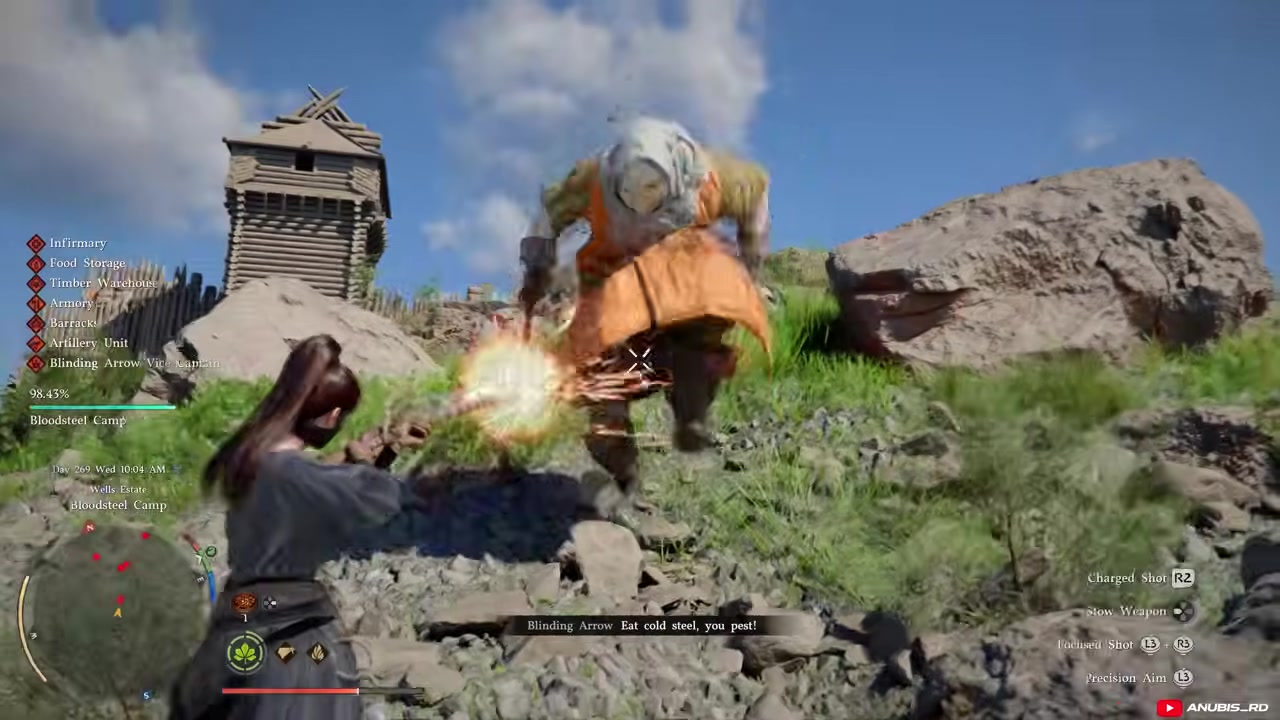
STEP 11/12
Finish weakened enemies in the air
After two or three regular shots, double jump again and land the killing aerial shot.
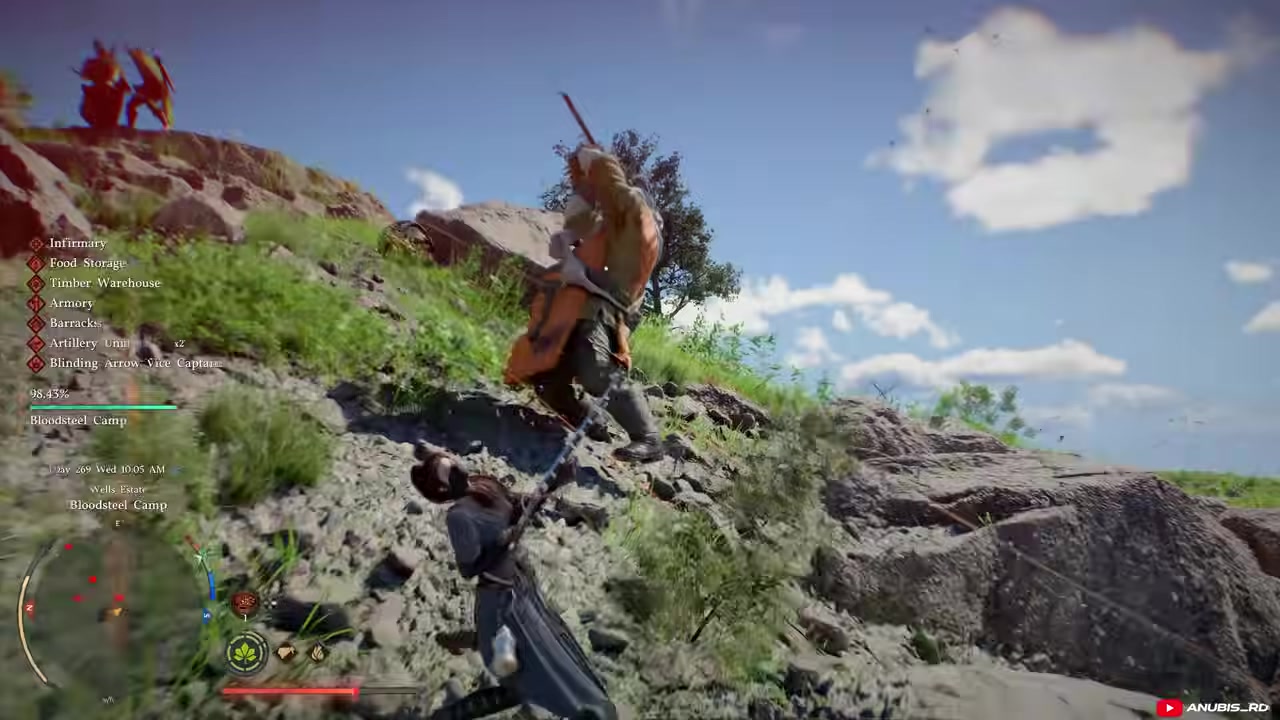
STEP 12/12
Claim the Ferenor Plate Armor
Leave combat and use the Sealed Abyss Artifact to receive the armor reward.
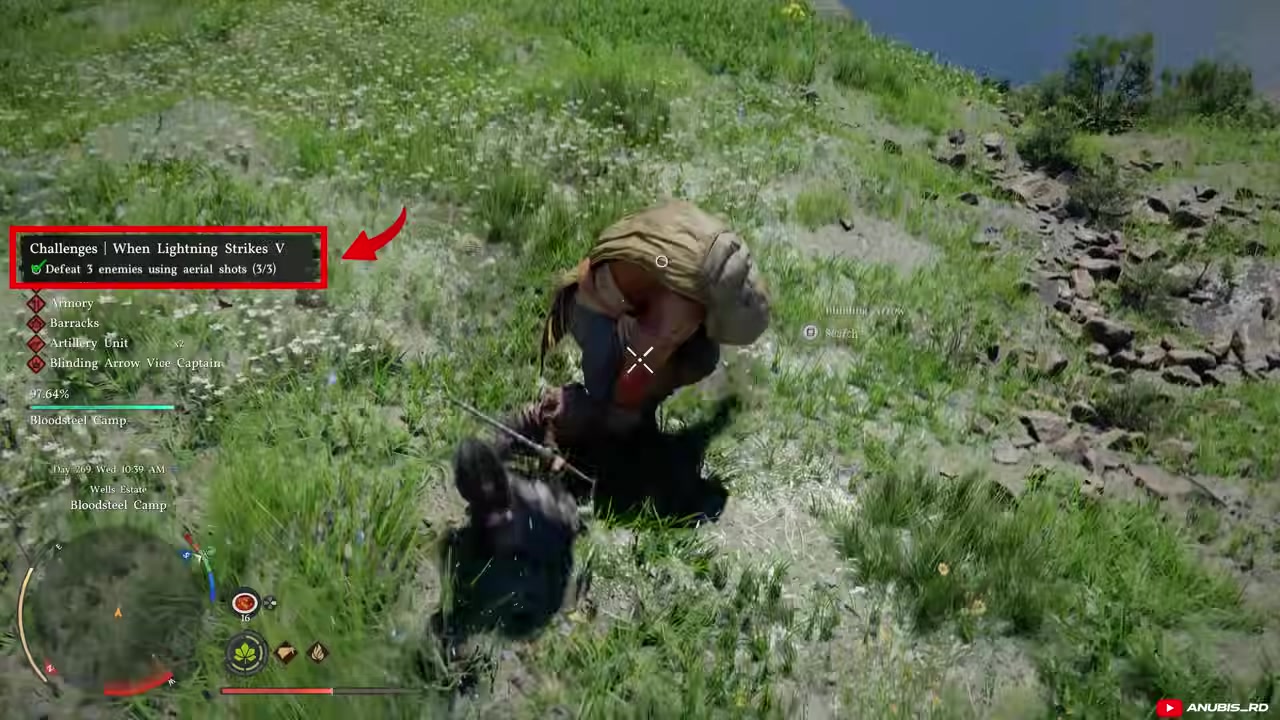
The challenge has three kill requirements: three regular gun-shot kills, three Evasive Shot or Focused Evasive Shot kills, and three aerial shot kills. Regular shots are straightforward, while the evasive objective needs you to hold L2 to aim and rapidly press dodge to fire through the Evasive Shot skill.
The aerial objective is stricter because the enemy has to die before you land. If one air shot is not enough, soften the target with two or three regular shots, double jump again, hold aim while airborne, and make the finishing shot before touching the ground. After all three objectives are complete, leave combat and use the Sealed Abyss Artifact to receive the armor.
For aerial shots, weaken each enemy first, then double jump and make only the killing shot count while Damiane is still in the air.
3. Duskmoon Cloth Armor
Duskmoon Cloth Armor comes from the Force Palm coin puzzle on the upper side of Demeniss. Switch to Kliff before you start, because the puzzle needs Force Palm to flip the marked coins.
STEP 1/4
Reach the Demeniss puzzle area
Go to the upper side of Demeniss and make sure you are using Kliff.
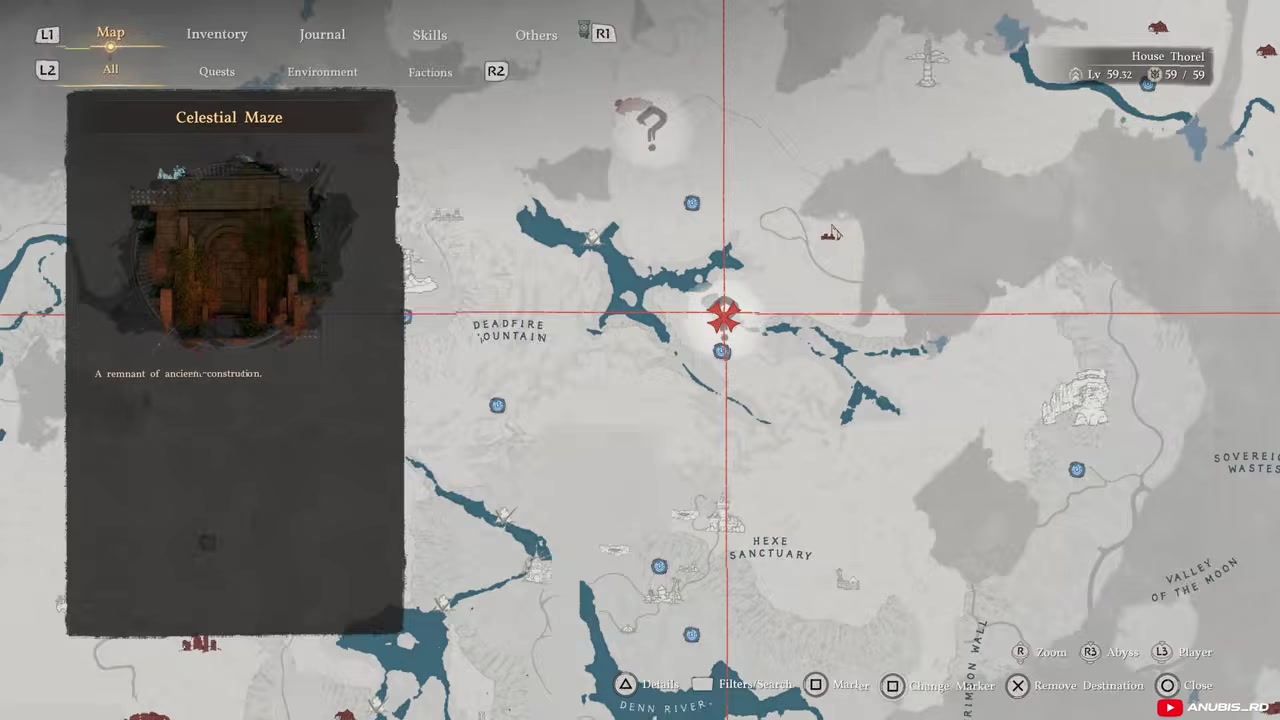
STEP 2/4
Use Force Palm on the puzzle coins
Follow the puzzle map and use Force Palm to flip each marked puzzle coin.
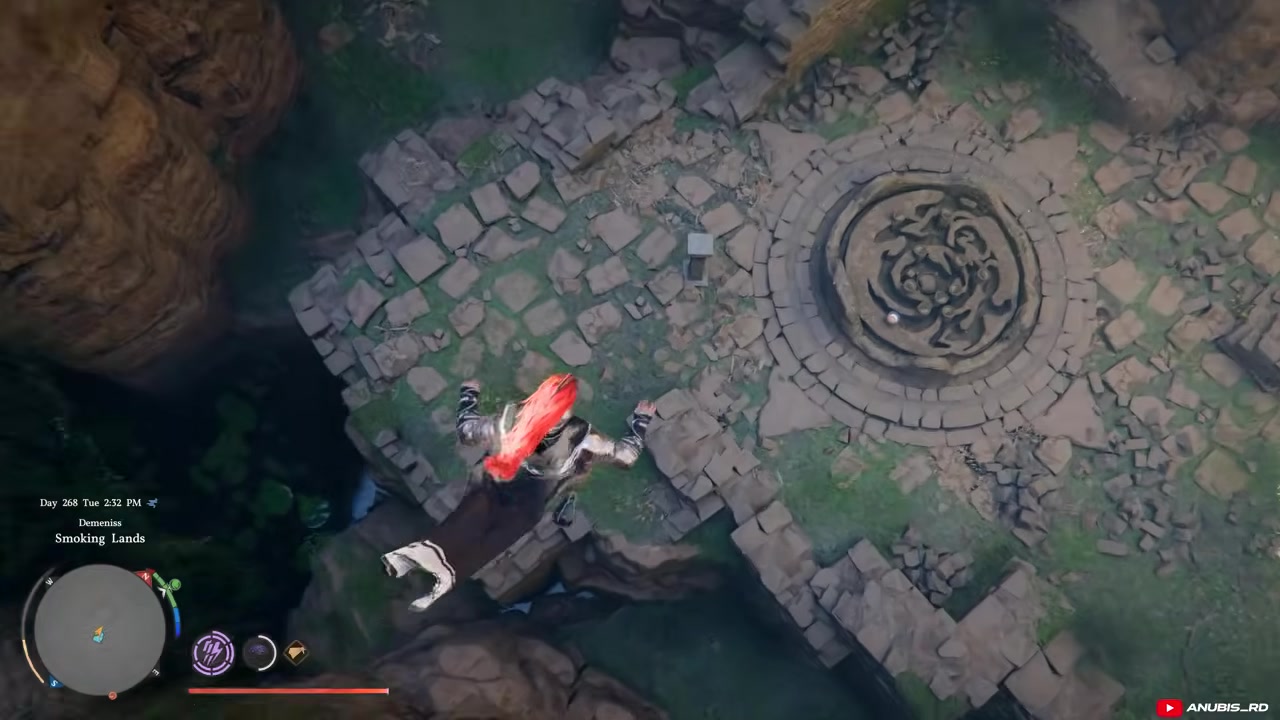
STEP 3/4
Finish the coin puzzle
Once every puzzle coin has been flipped, the puzzle is complete.
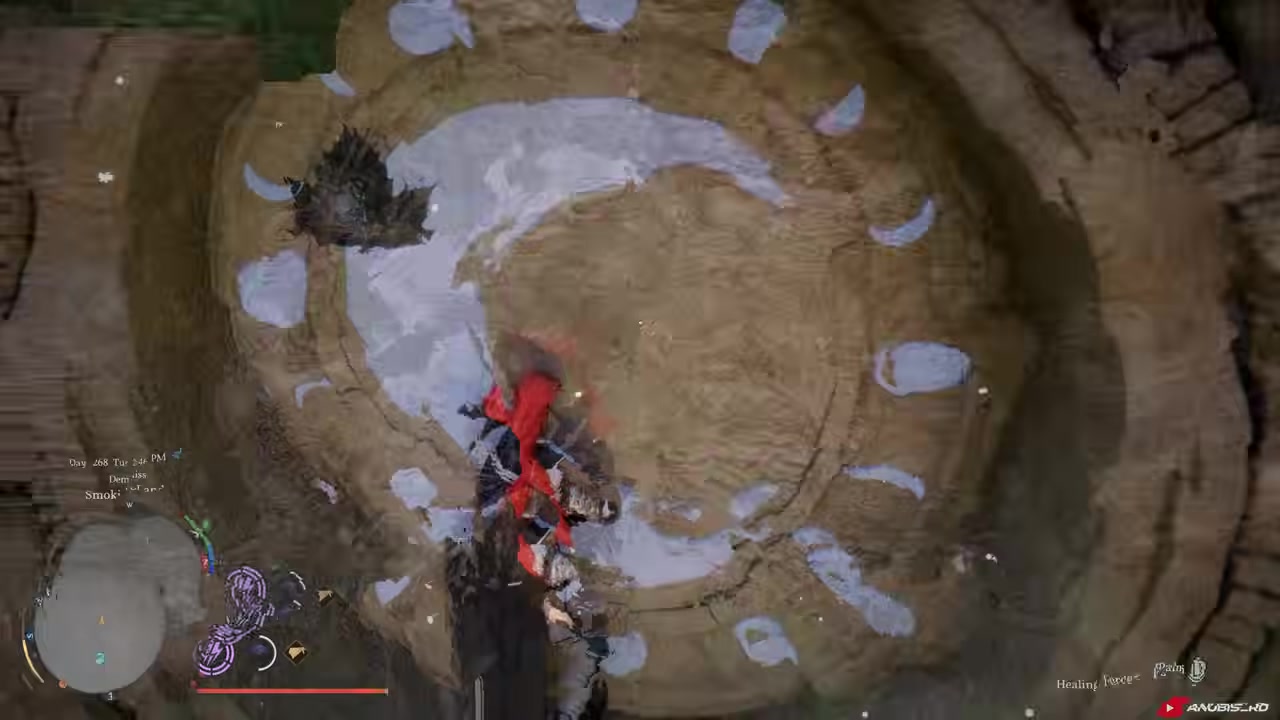
STEP 4/4
Pick up the puzzle artifact
Collect the artifact to receive Duskmoon Cloth Armor.
4. Sermena Cloth Armor
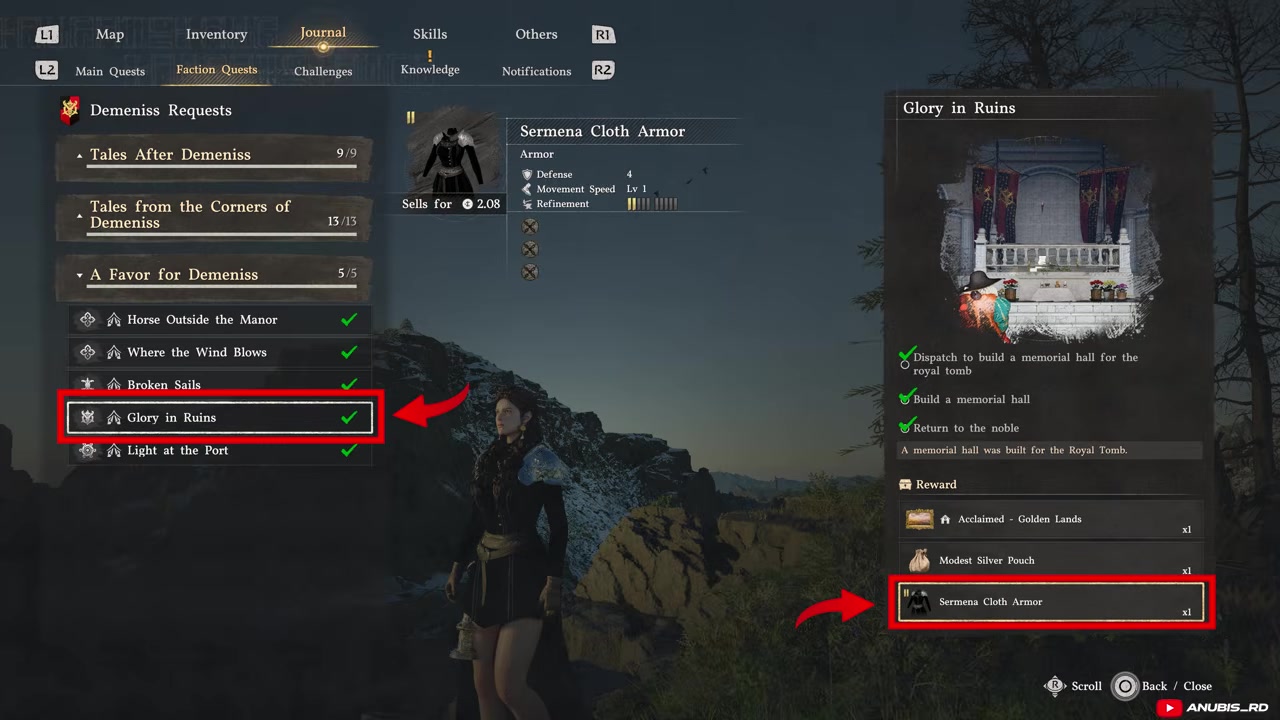
Sermena Cloth Armor is locked behind the Demeniss faction request chain. Open Demeniss Requests, enter A Favor for Demeniss, and complete Glory in Ruins. If that request is missing, keep clearing earlier Demeniss faction quests; this chain appears after enough prior request progress, with Chapter IX progress and the noble in Demeniss tied to the unlock path.
STEP 1/3
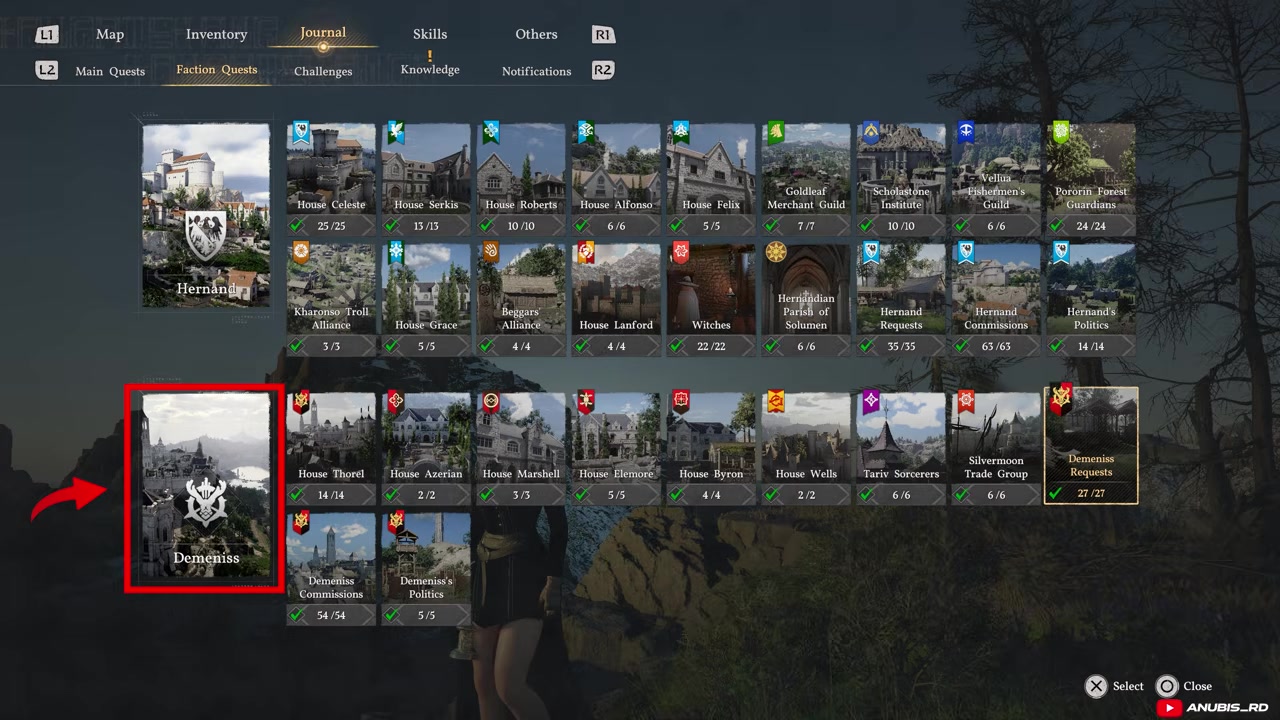
Open the Demeniss faction requests
In the Demeniss faction quest line, open Demeniss Requests.
STEP 2/3
Complete Glory in Ruins
Finish A Favor for Demeniss through Glory in Ruins to receive Sermena Cloth Armor.
STEP 3/3
Clear earlier Demeniss requests if needed
If Glory in Ruins is missing, complete earlier Demeniss faction quests until the next request set appears.
5. Blinding Arrow’s Light Leather Armor
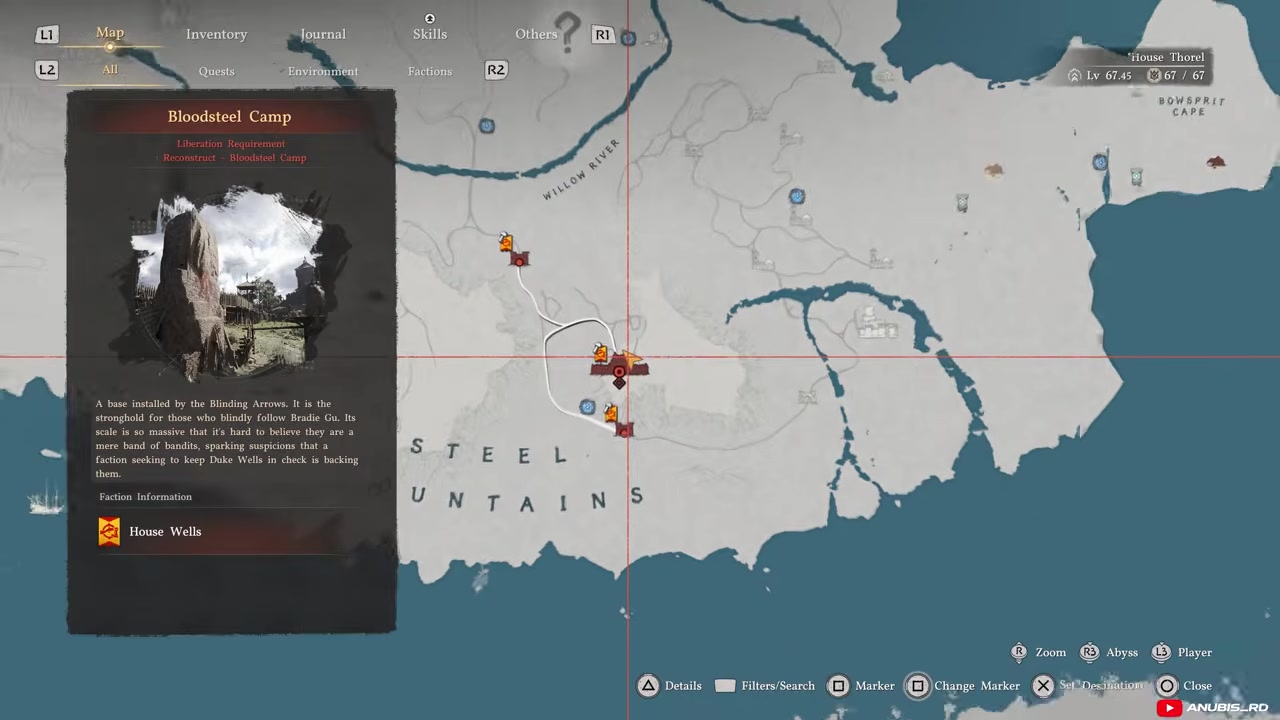
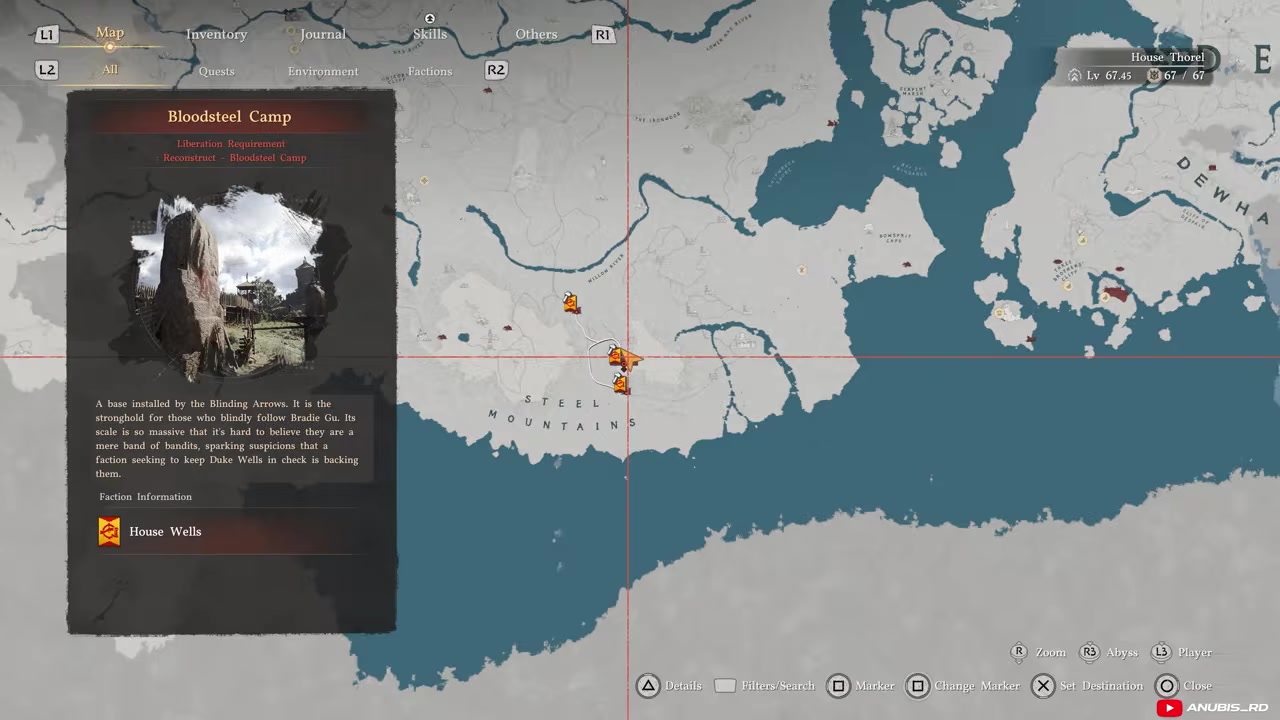
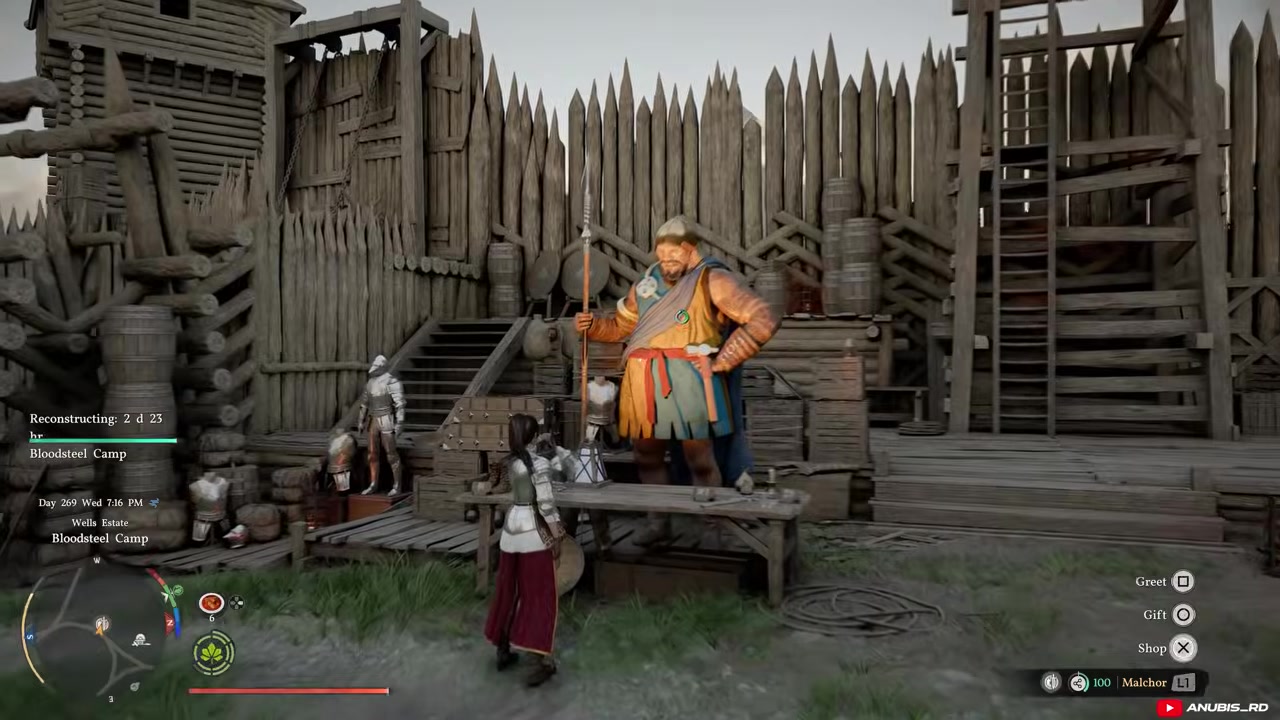
Blinding Arrow’s Light Leather Armor is a straight vendor purchase, but the shop only opens after you clear Bloodsteel Camp in the Wells Estate area of south Demeniss, above Steel Mountain.
STEP 1/3
Go to Bloodsteel Camp
Head above Steel Mountain to Bloodsteel Camp in the Wells Estate area.
STEP 2/3
Clear Bloodsteel Camp
Liberate the camp first, because the equipment vendor appears only after the camp is cleared.
STEP 3/3
Buy Blinding Arrow’s Light Leather Armor
Use the equipment shop vendor at the cleared camp to purchase the armor.
6. Golden Freeze Wood Light Armor
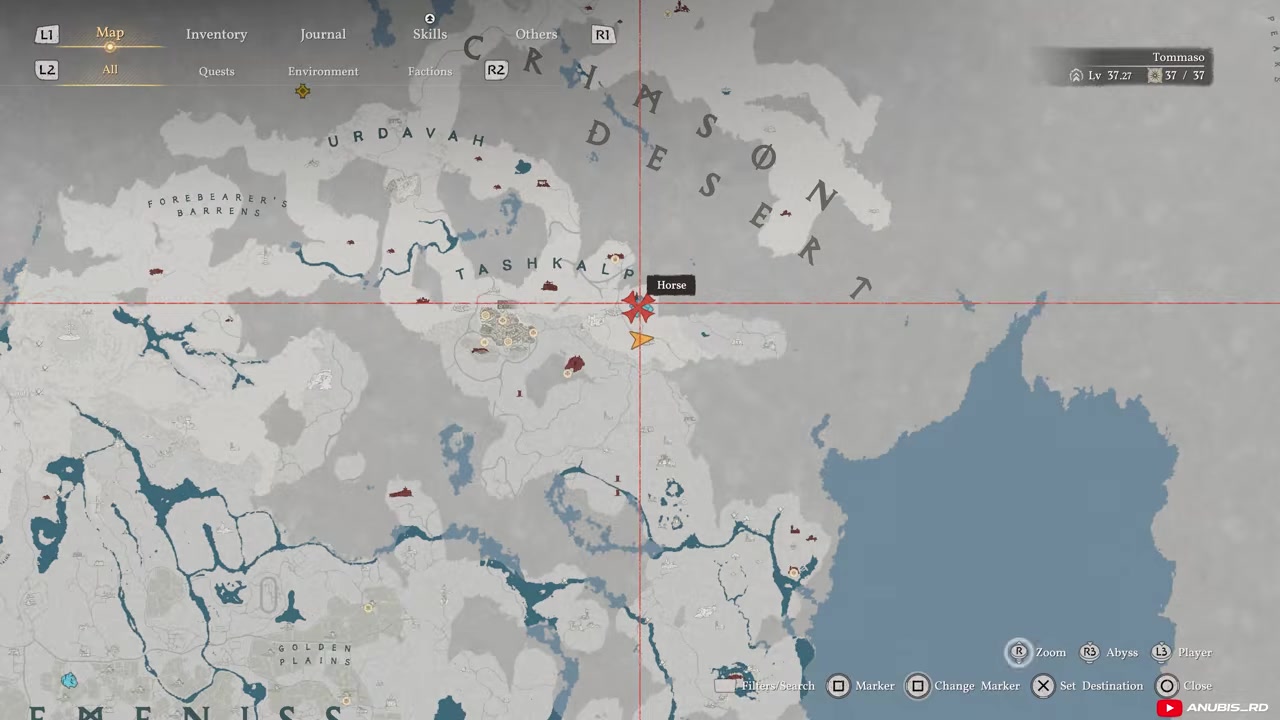
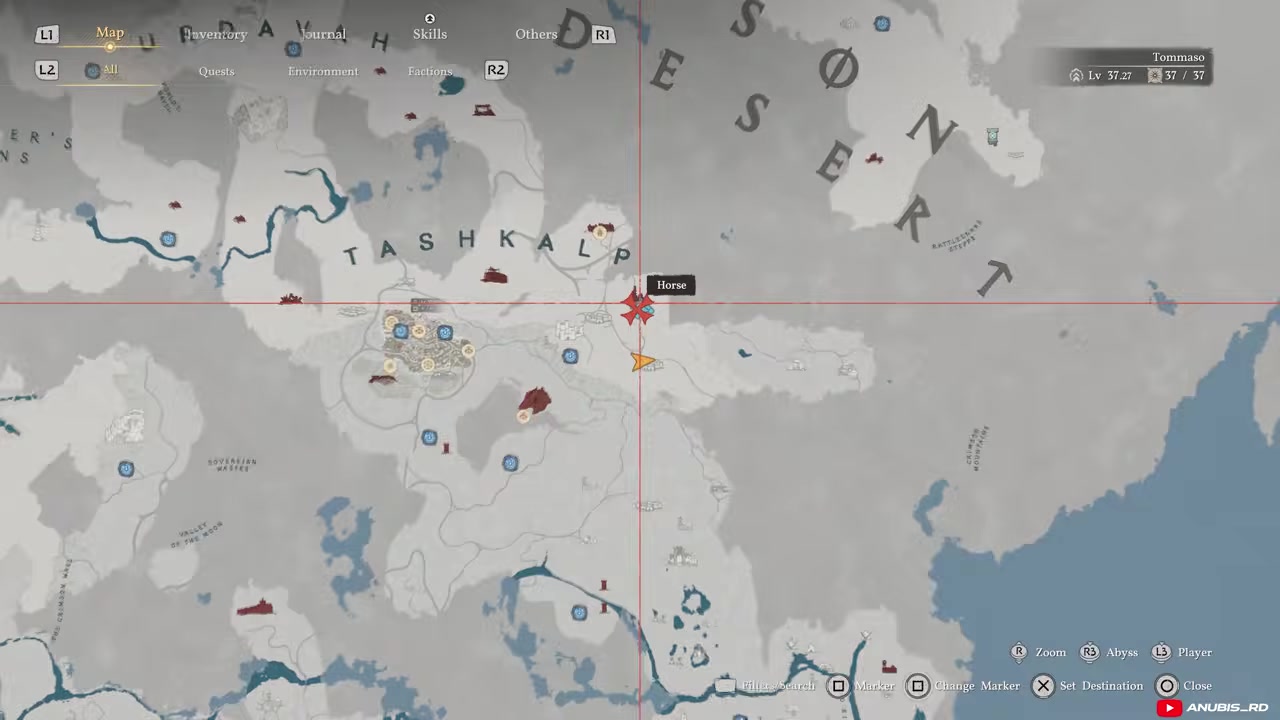
Golden Freeze Wood Light Armor is an enemy drop. Clear the enemies at Dawn Reach Camp in the lower part of Crimson Desert and it drops as loot.
STEP 1/2
Find Dawn Reach Camp
Go to the lower part of Crimson Desert and locate Dawn Reach Camp.
STEP 2/2
Defeat the camp enemies
Kill the enemies at Dawn Reach Camp until Golden Freeze Wood Light Armor drops as loot.
7. Rovenia Cloth Armor
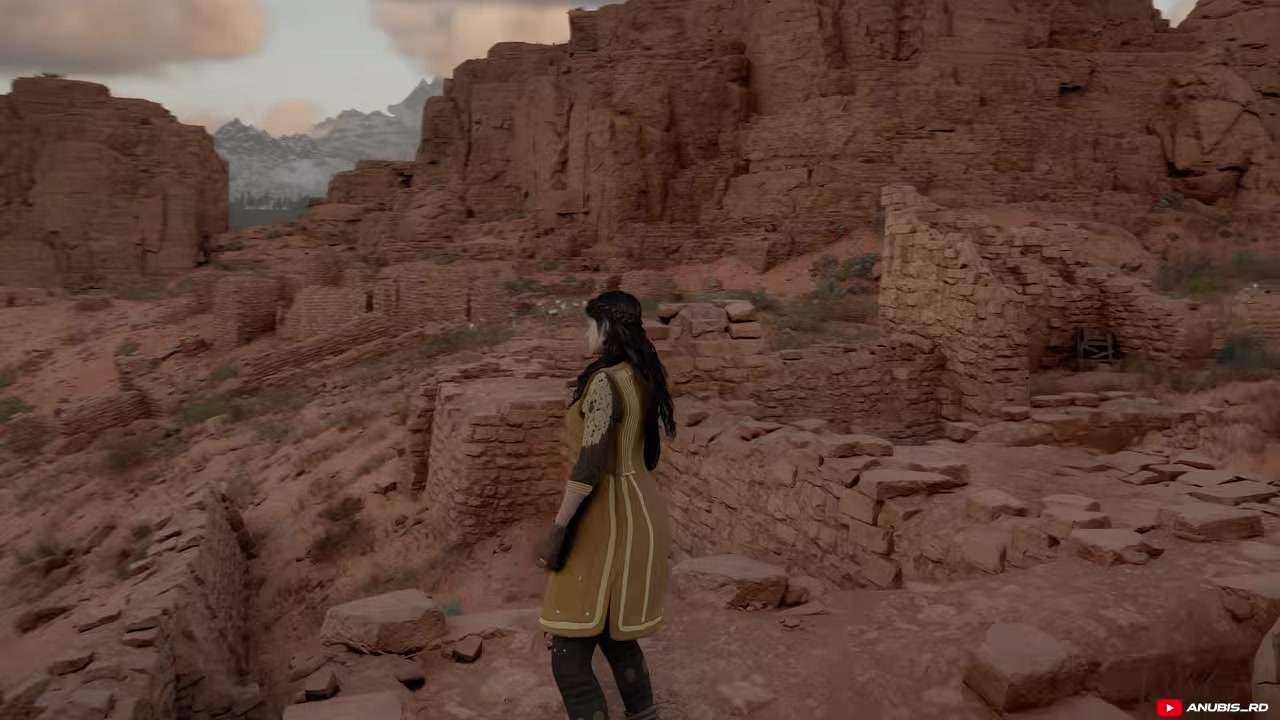
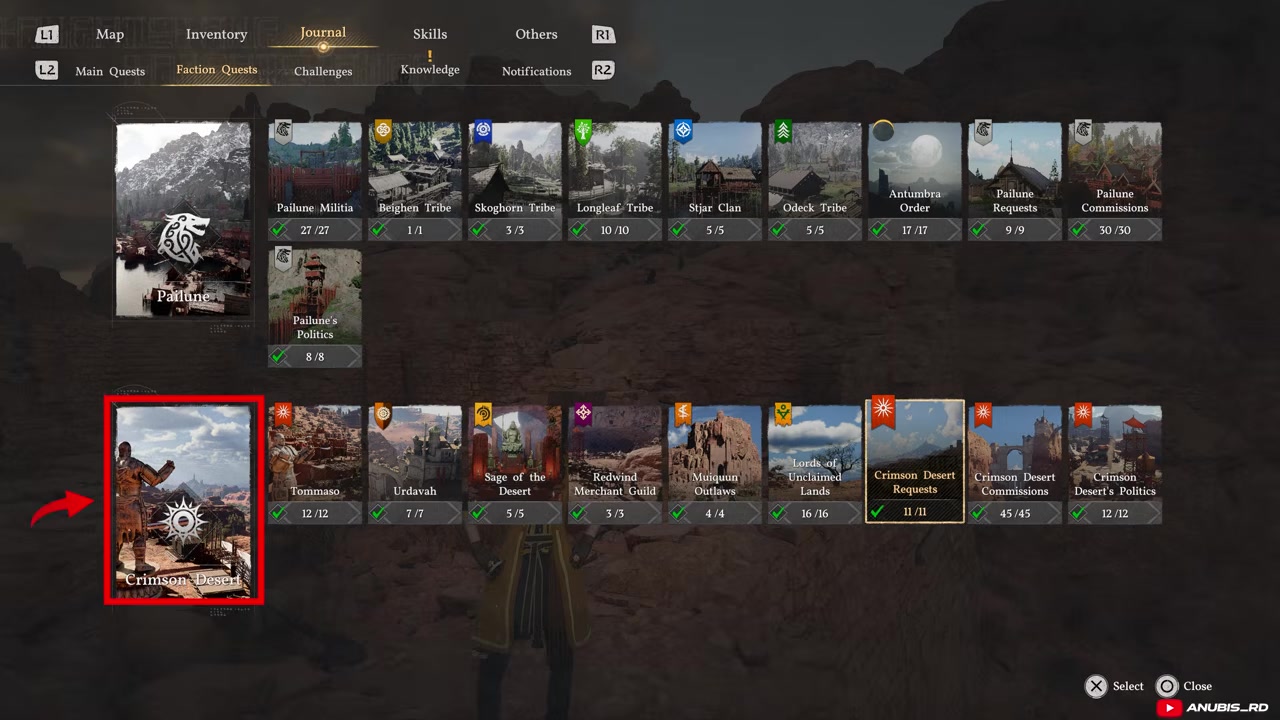
Rovenia Cloth Armor is tied to Crimson Desert Requests. Open A Favor for Crimson Desert and complete The Path to the Crimson Mountains. After the request path and the dispatch work that builds the train station, check both your inventory and the Tailor’s Shop in Tommaso if the armor is not immediately equipped or visible as a direct reward.
STEP 1/2
Open the Crimson Desert requests
In the faction quest menu, open Crimson Desert Requests.
STEP 2/2
Complete The Path to the Crimson Mountains
Finish A Favor for Crimson Desert through The Path to the Crimson Mountains for Rovenia Cloth Armor.
8. Dark Executioner Leather Armor (final-chapter spoiler)
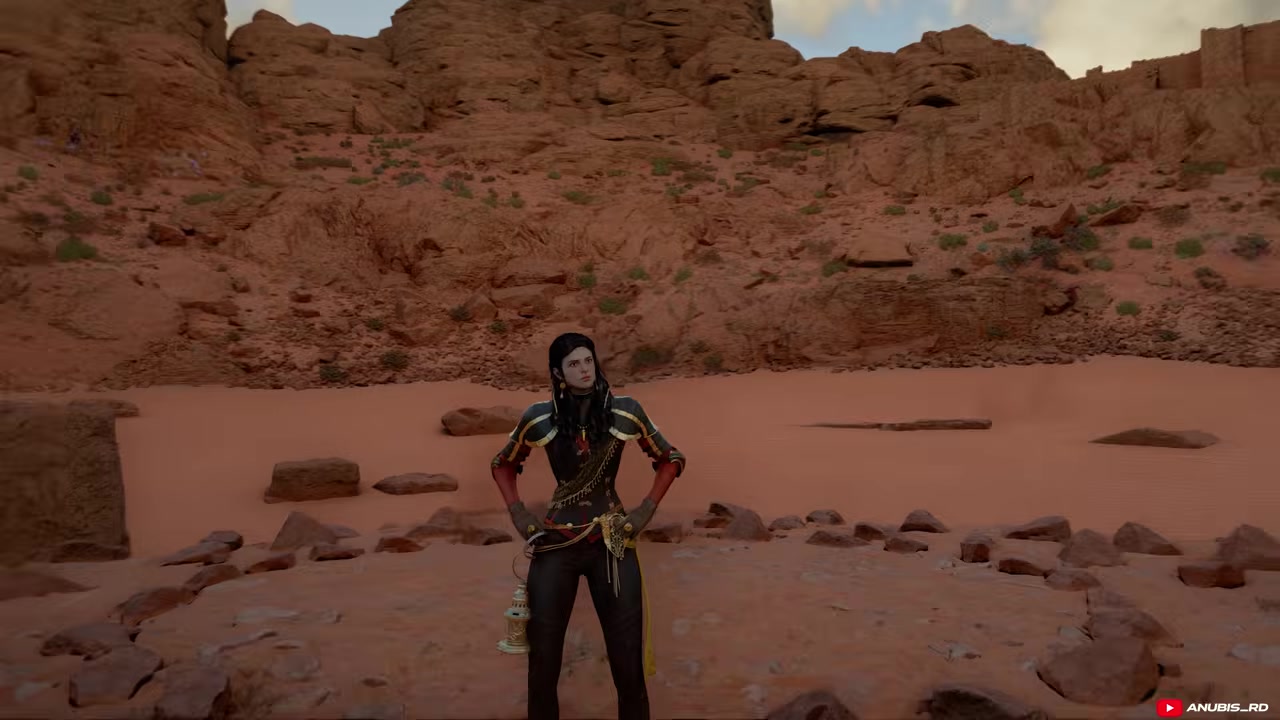
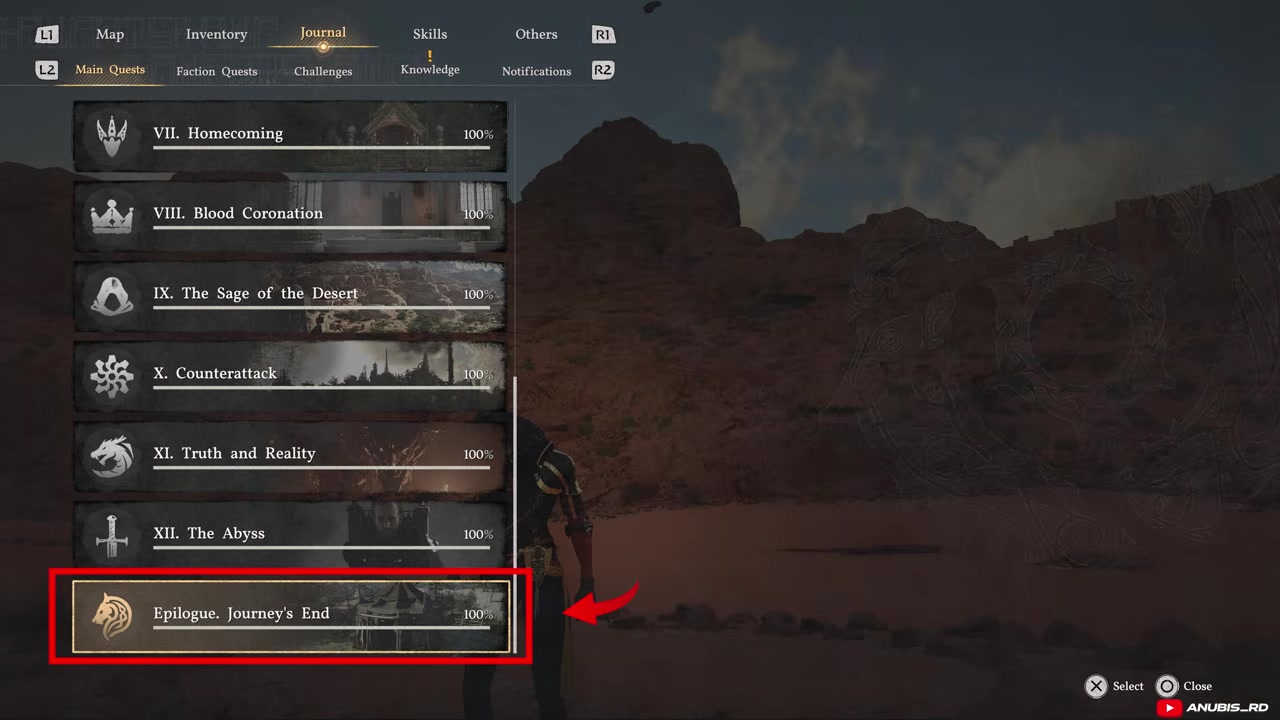
Spoiler warning: Dark Executioner Leather Armor is a final-chapter reward. It unlocks through the epilogue chapter A Journey’s End, specifically after completing Heart of Pyre. Stop before this armor if you are avoiding late-story quest names.
STEP 1/3
Stop here if avoiding final-chapter spoilers
Dark Executioner Leather Armor is tied to the final chapter.
STEP 2/3
Enter the A Journey’s End epilogue
Complete the epilogue chapter A Journey’s End.
STEP 3/3
Complete Heart of Pyre
Finish Heart of Pyre to receive Dark Executioner Leather Armor.
Armor unlocks that fail silently
The Ancient Rift mistake is leaving after the first stone. Rivenheim Cloth Armor needs all three Engraved Stones, all three pillar rooms, and the final mechanism before the artifact reward appears.
The Bloodsteel Camp mistake is looking for the shop too early. The Blinding Arrow’s Light Leather Armor vendor appears only after Bloodsteel Camp is cleared, so a hostile camp means no purchase yet.
Faction armor can also look missing when the prerequisite requests are not done. Keep pushing earlier Demeniss or Crimson Desert faction quests until Glory in Ruins or The Path to the Crimson Mountains appears. For Duskmoon Cloth Armor, make sure you are using Kliff, because Force Palm is required for the coin puzzle.
Finally, do not treat these eight Damiane pieces as the whole Patch 1.13 equipment list. The same patch added separate Kliff/Oongka gear, boss equipment compatibility, and craftable armor routes that sit outside this Damiane collection path.
Other Patch 1.13 gear to check next
Patch 1.13 also expands Kliff/Oongka equipment with 39 new equipment pieces. The boss outfit additions include Tarandus the Ashen with 5 pieces, Unyielding Hero with 5 pieces, Knight of Carnage with 5 pieces, Martial Monk with 3 pieces, and grand general of Demeniss with 2 pieces.
Oongka can now equip most outfits available to Kliff. Kliff/Oongka compatibility also extends to Kuku gear, including Kuku Lightning-Resistant Armor, Kuku Flame-Resistant Armor, Kuku Ice-Resistant Armor, Kuku Breeze-Step Boots, Kuku Rishi’s Boots, and Kuku Marni Laser Helm.
Damiane also gained boss equipment compatibility for guardian of Odeck with 5 pieces, Dark Marksman with 3 pieces, and Masked Liberator with 1 piece. If you are done with the eight Damiane armor pieces above, the next craft targets are Lightning Bolt Plate Armor, Scorchflame Plate Armor, and Frostcursed Plate Armor.
Video help
Frequently Asked Questions
Did Crimson Desert Patch 1.13 add 8 armor sets or 8 armor pieces?
For Damiane, Patch 1.13 adds 8 armor pieces, not eight full multi-piece armor sets. The same patch also adds separate Kliff/Oongka equipment, so keep those lists separate when tracking your collection.
Which new Patch 1.13 Damiane armor should I get first?
If Bloodsteel Camp is already cleared, get Blinding Arrow’s Light Leather Armor first because it is just a vendor purchase. After that, go for Rivenheim Cloth Armor because the Ancient Rift maze is easy to leave unfinished, then do Ferenor Plate Armor once you have the gun skills for When Lightning Strikes V.
Why is the Bloodsteel Camp armor vendor missing?
The vendor appears only after Bloodsteel Camp has been cleared. If the camp is still under enemy control, clear it first, then return to the equipment shop vendor to buy Blinding Arrow’s Light Leather Armor.
How do you make aerial shots count for When Lightning Strikes V?
Use a normal enemy camp, weaken a target with regular shots, then double jump, aim before landing, and make the killing shot while still airborne. The kill must happen before Damiane touches the ground.
Is Dark Executioner Leather Armor missable or spoiler-gated?
Dark Executioner Leather Armor is spoiler-gated behind the final chapter. Complete the epilogue chapter A Journey’s End and finish Heart of Pyre to receive it.






Leave a Reply