

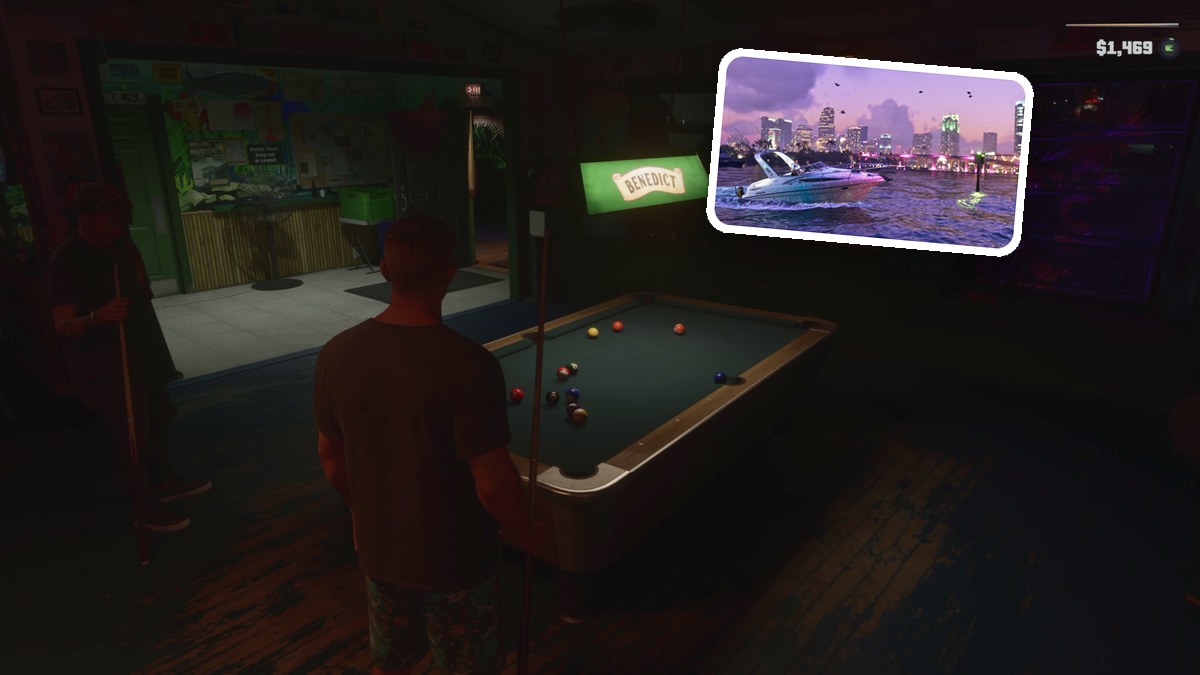
Pick up Lucia at Hamlet Correctional Institution, follow The Rusty Anchor’s social objectives, play pool with Mattia, fight the aviators, and escape with Lucia.
Coming Home begins at Hamlet Correctional Institution in Grand Theft Auto VI. The objective card reads Pick Up Lucia, while arriving at the prison brings up the chapter heading. From there, the objectives take you through a bar visit, social interactions, pool, and an escape before the following morning’s phone call.
The game is listed for PlayStation 5 and Xbox Series X|S; the controls here use PlayStation notation. This guide covers the mission route through Donnie’s morning call and the return to free movement.
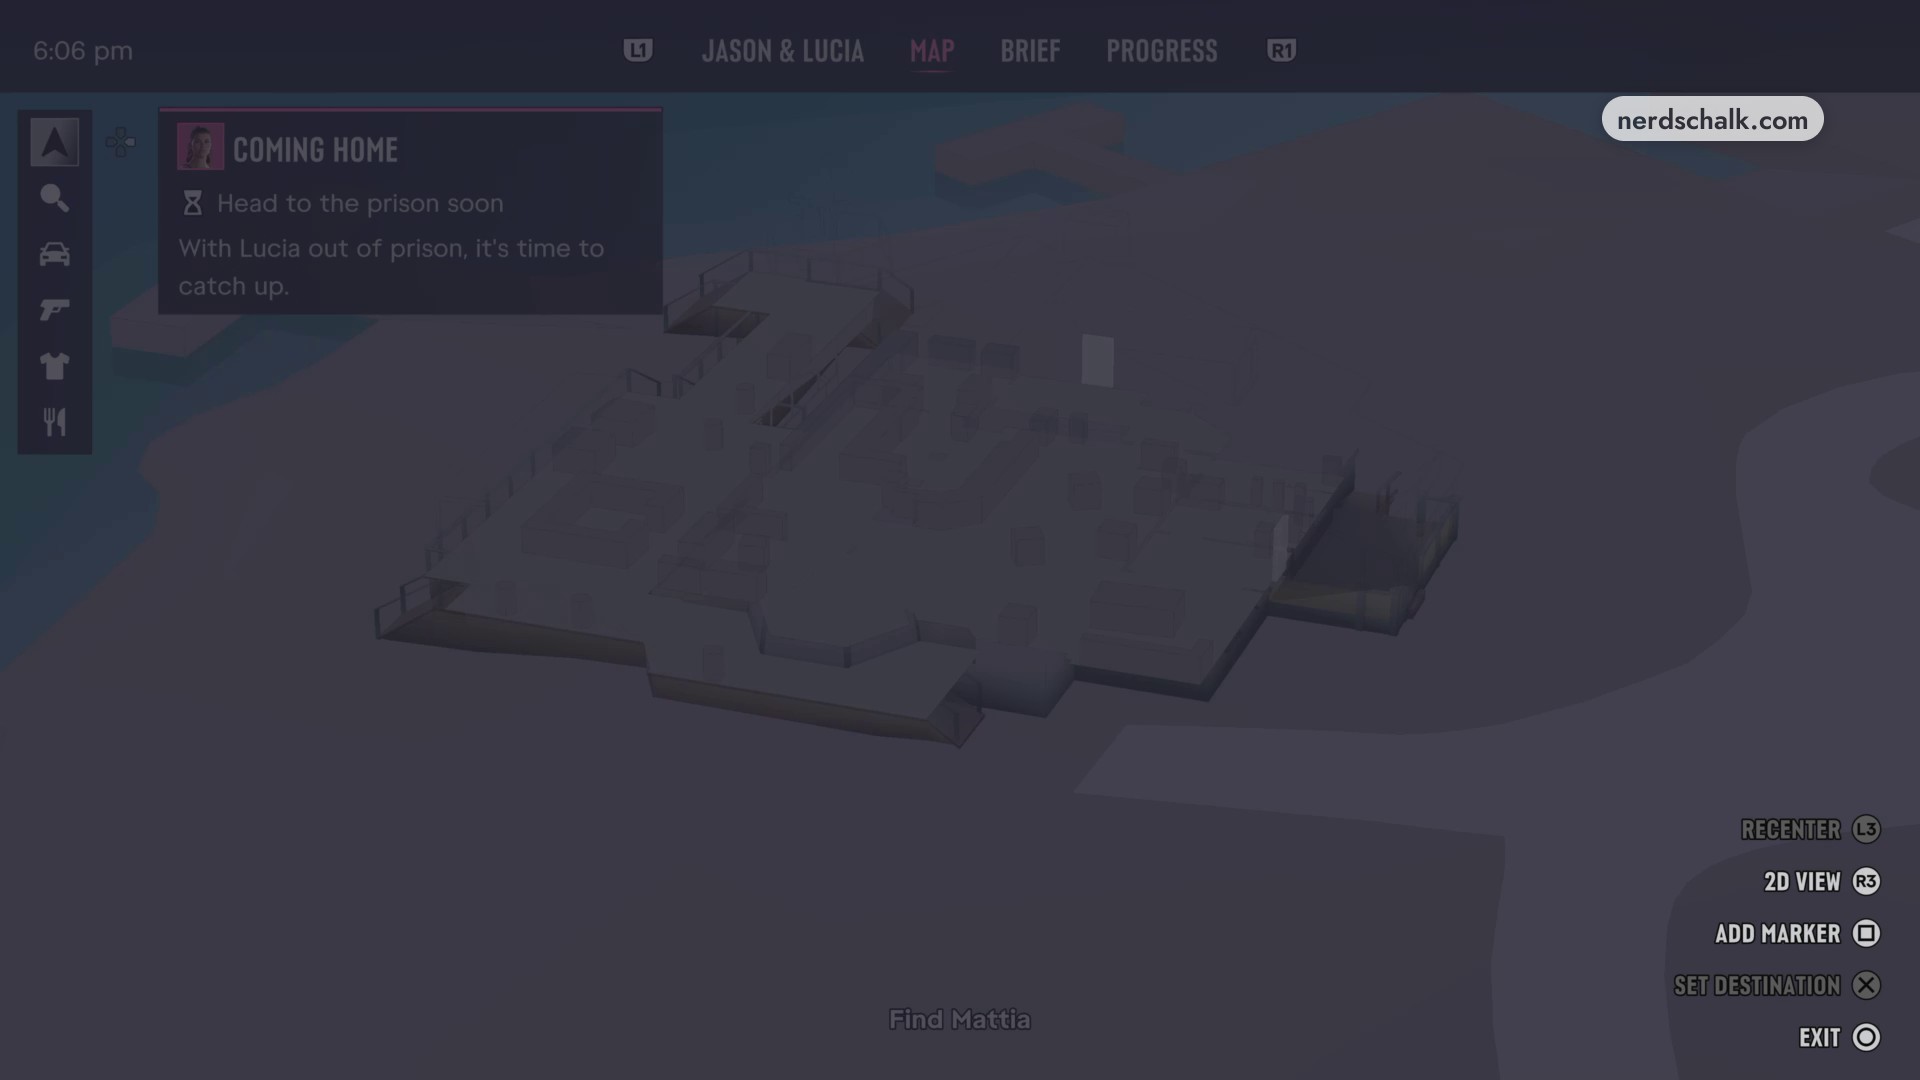
Use the pause-menu map to see your current objective.
- How to progress through Coming Home in Grand Theft Auto VI
- Part 1 – Pick up Lucia at Hamlet Correctional Institution
- Part 2 – Reach The Rusty Anchor and bring Lucia a drink
- Part 3 – Spend time with friends and dance with Lucia
- Part 4 – Find Mattia and play pool
- Part 5 – Fight the aviators and escape with Lucia
- Part 6 – Answer Donnie’s call the next morning
How to progress through Coming Home in Grand Theft Auto VI
Work through the prison pickup, drinks, dancing, pool, fight, and morning call in order.
Part 1 – Pick up Lucia at Hamlet Correctional Institution
Begin with Go to reception, followed by Speak to the prison guard and Get in your vehicle.
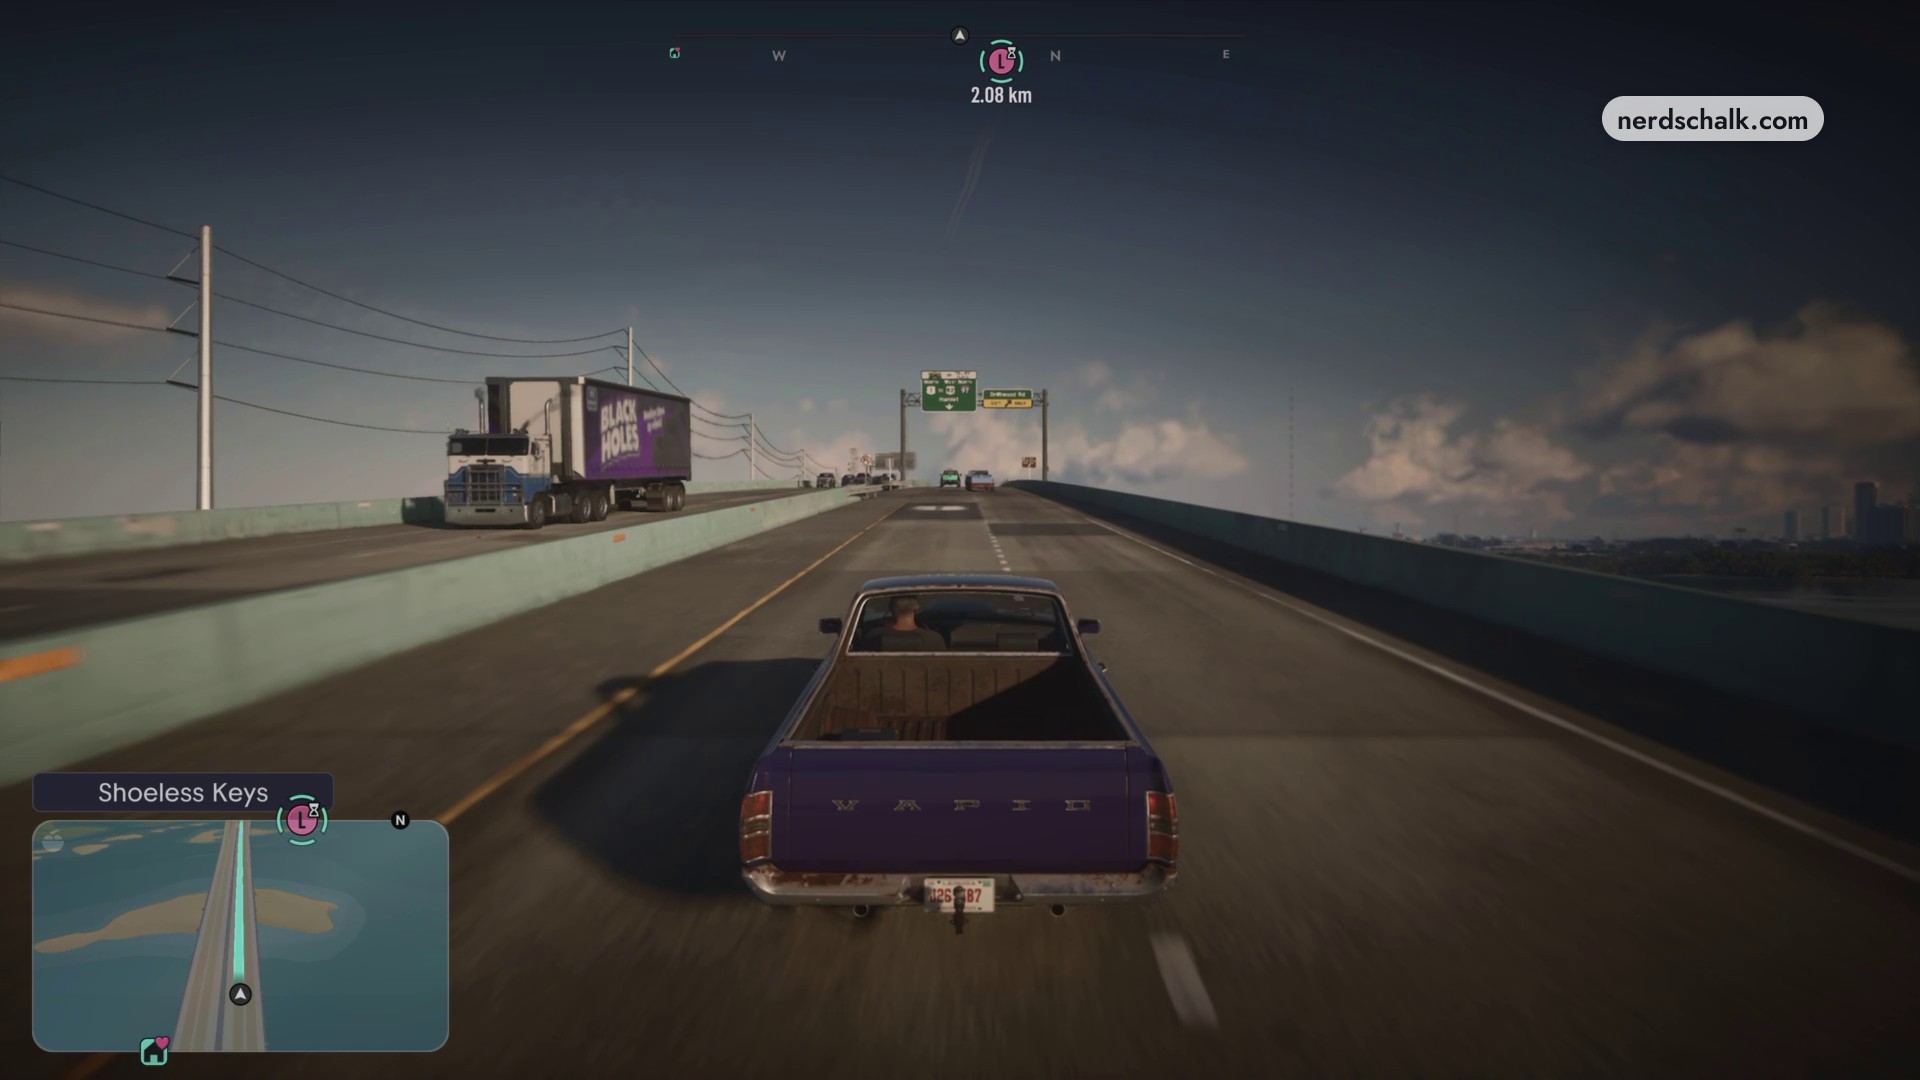
Drive to Hamlet Correctional Institution
Take the pickup through the streets toward Hamlet, following the GPS north across the bridge. A $5 toll is deducted along the way. Look for the Hamlet Correctional Institution sign outside the complex. The mission description on the map reads Head to the prison soon.
Approach the reception booth
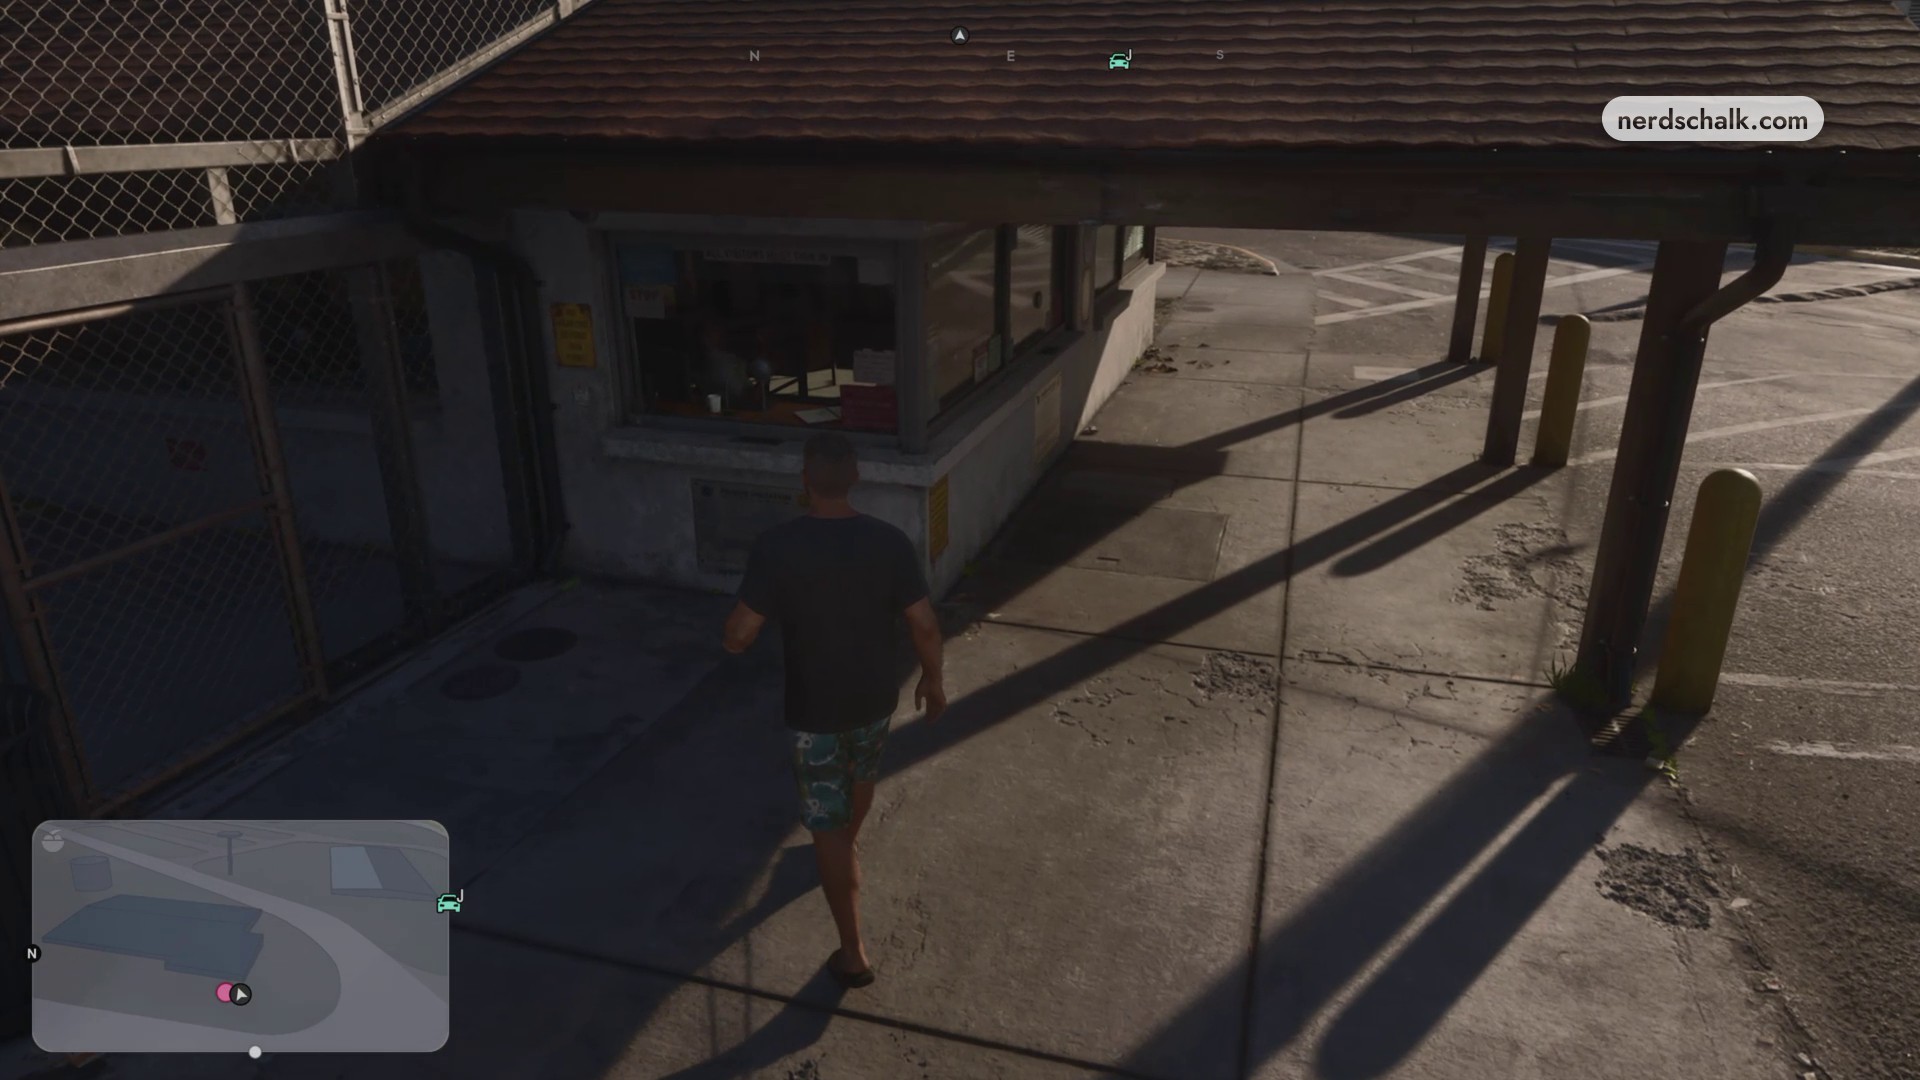
Park and get out. Cross the parking area to the reception booth outside the prison gate.
Speak to the prison guard
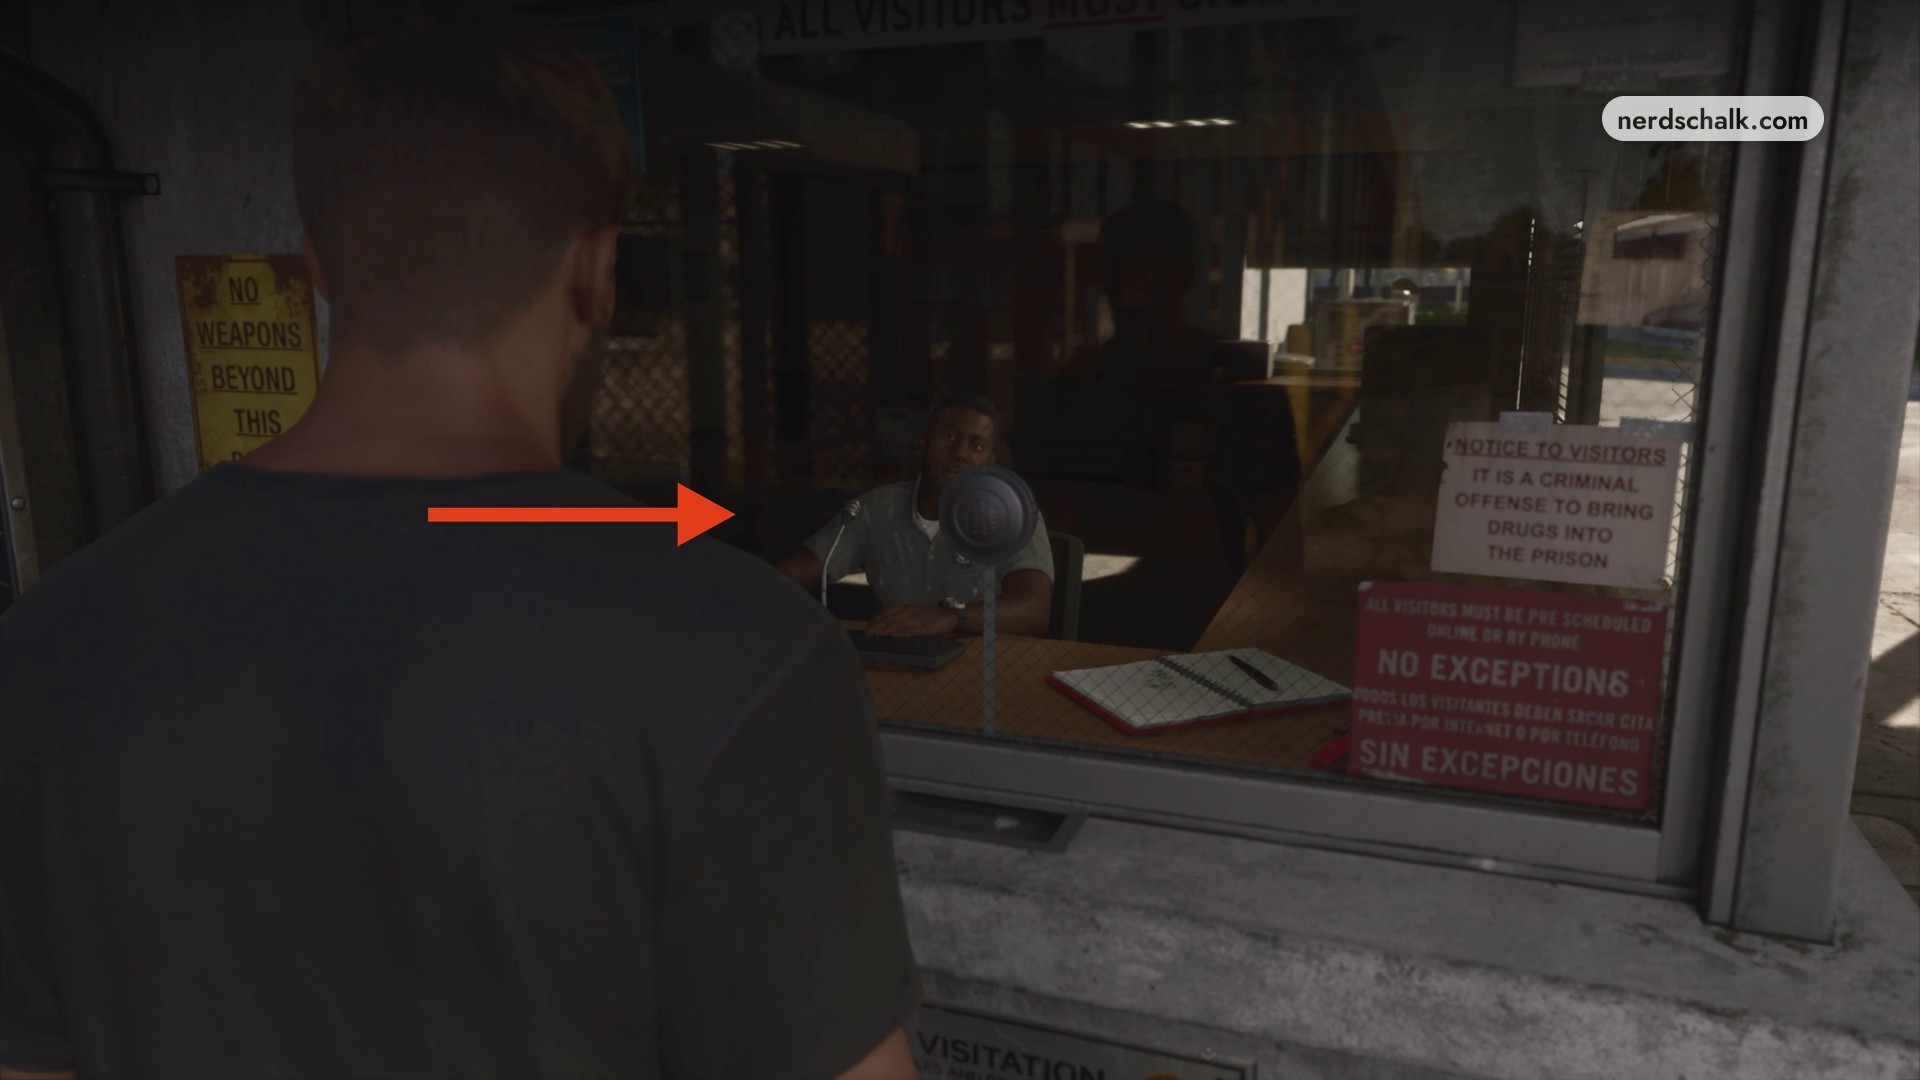
Stand at the reception counter and speak to the guard at the window about picking up Lucia Caminos. A cutscene plays.
Return to your pickup with Lucia
Walk back across the parking lot with Lucia, then get into the pickup together.
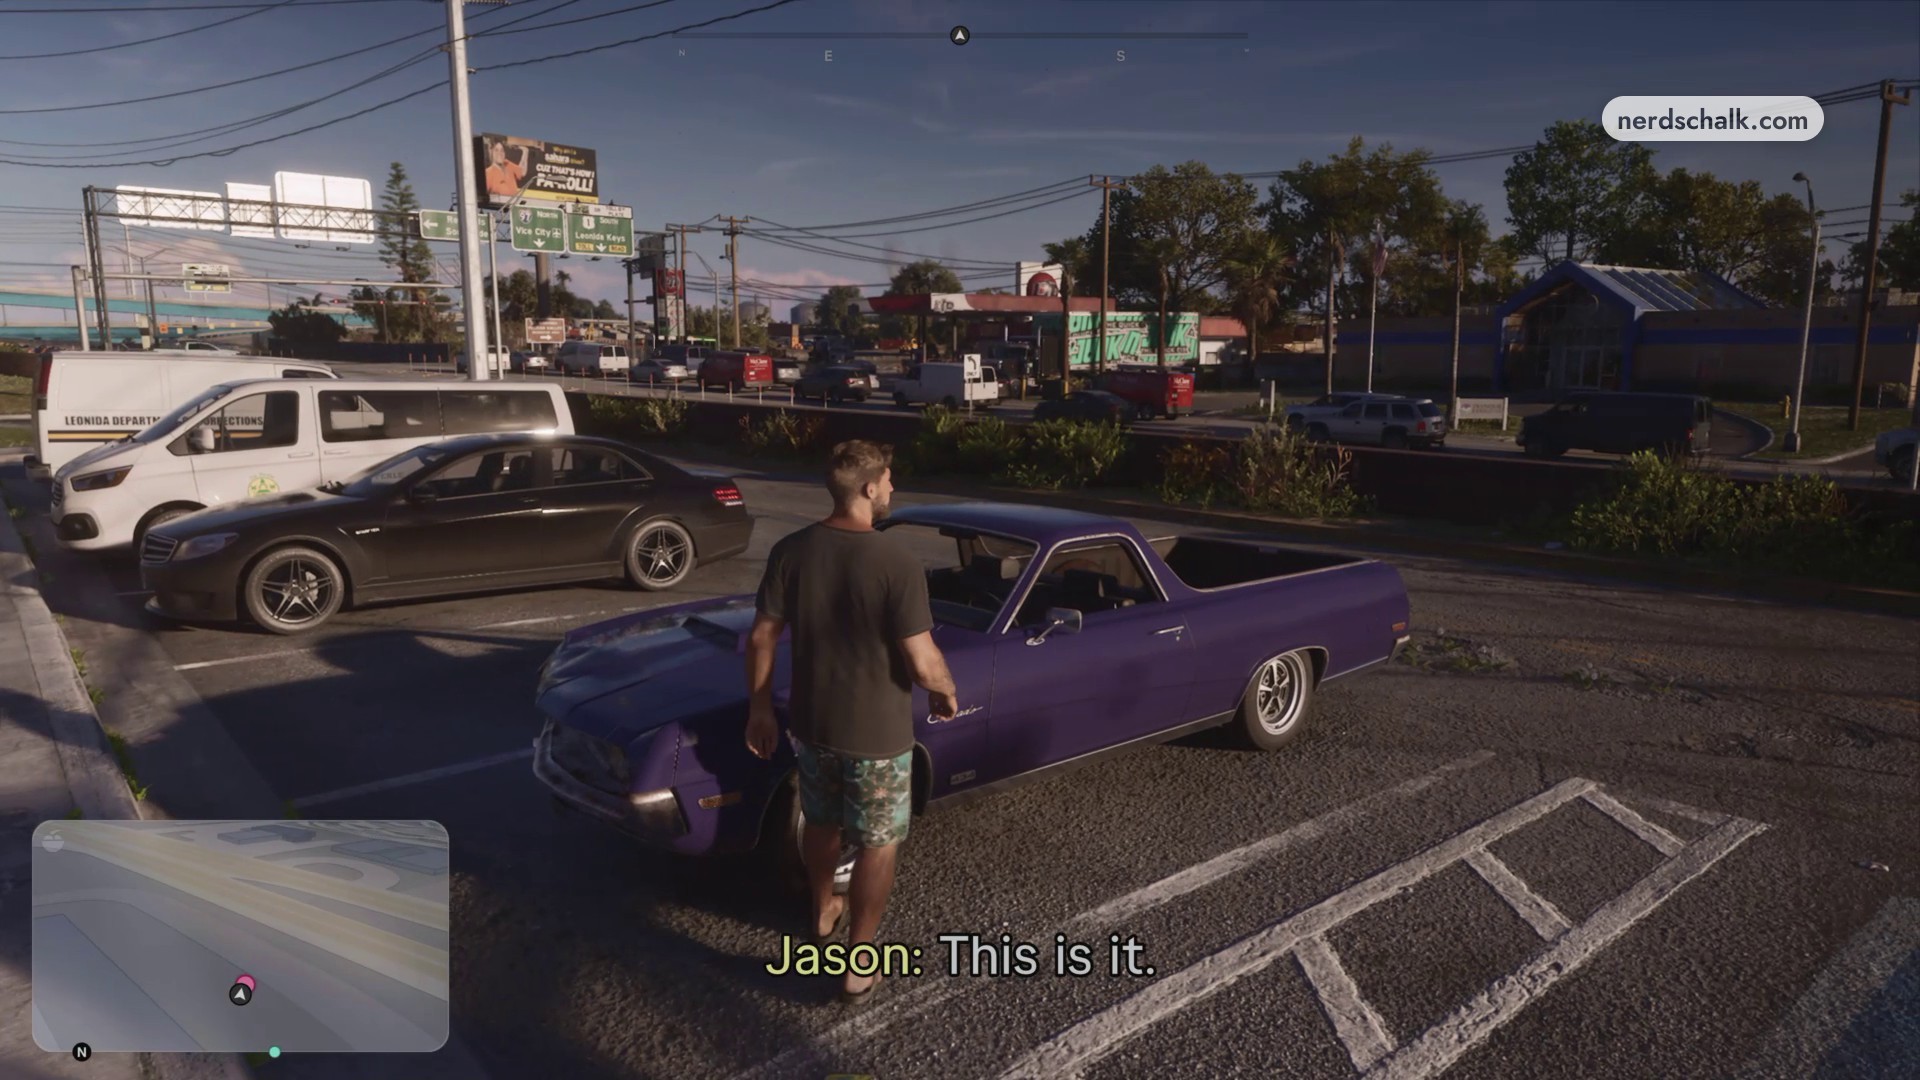
Part 2 – Reach The Rusty Anchor and bring Lucia a drink
Follow Enter the Rusty Anchor, then Hang out in the bar and Order Lucia a drink from a bartender.
Drive to The Rusty Anchor
Follow the GPS route south along the highway and back across the bridge.
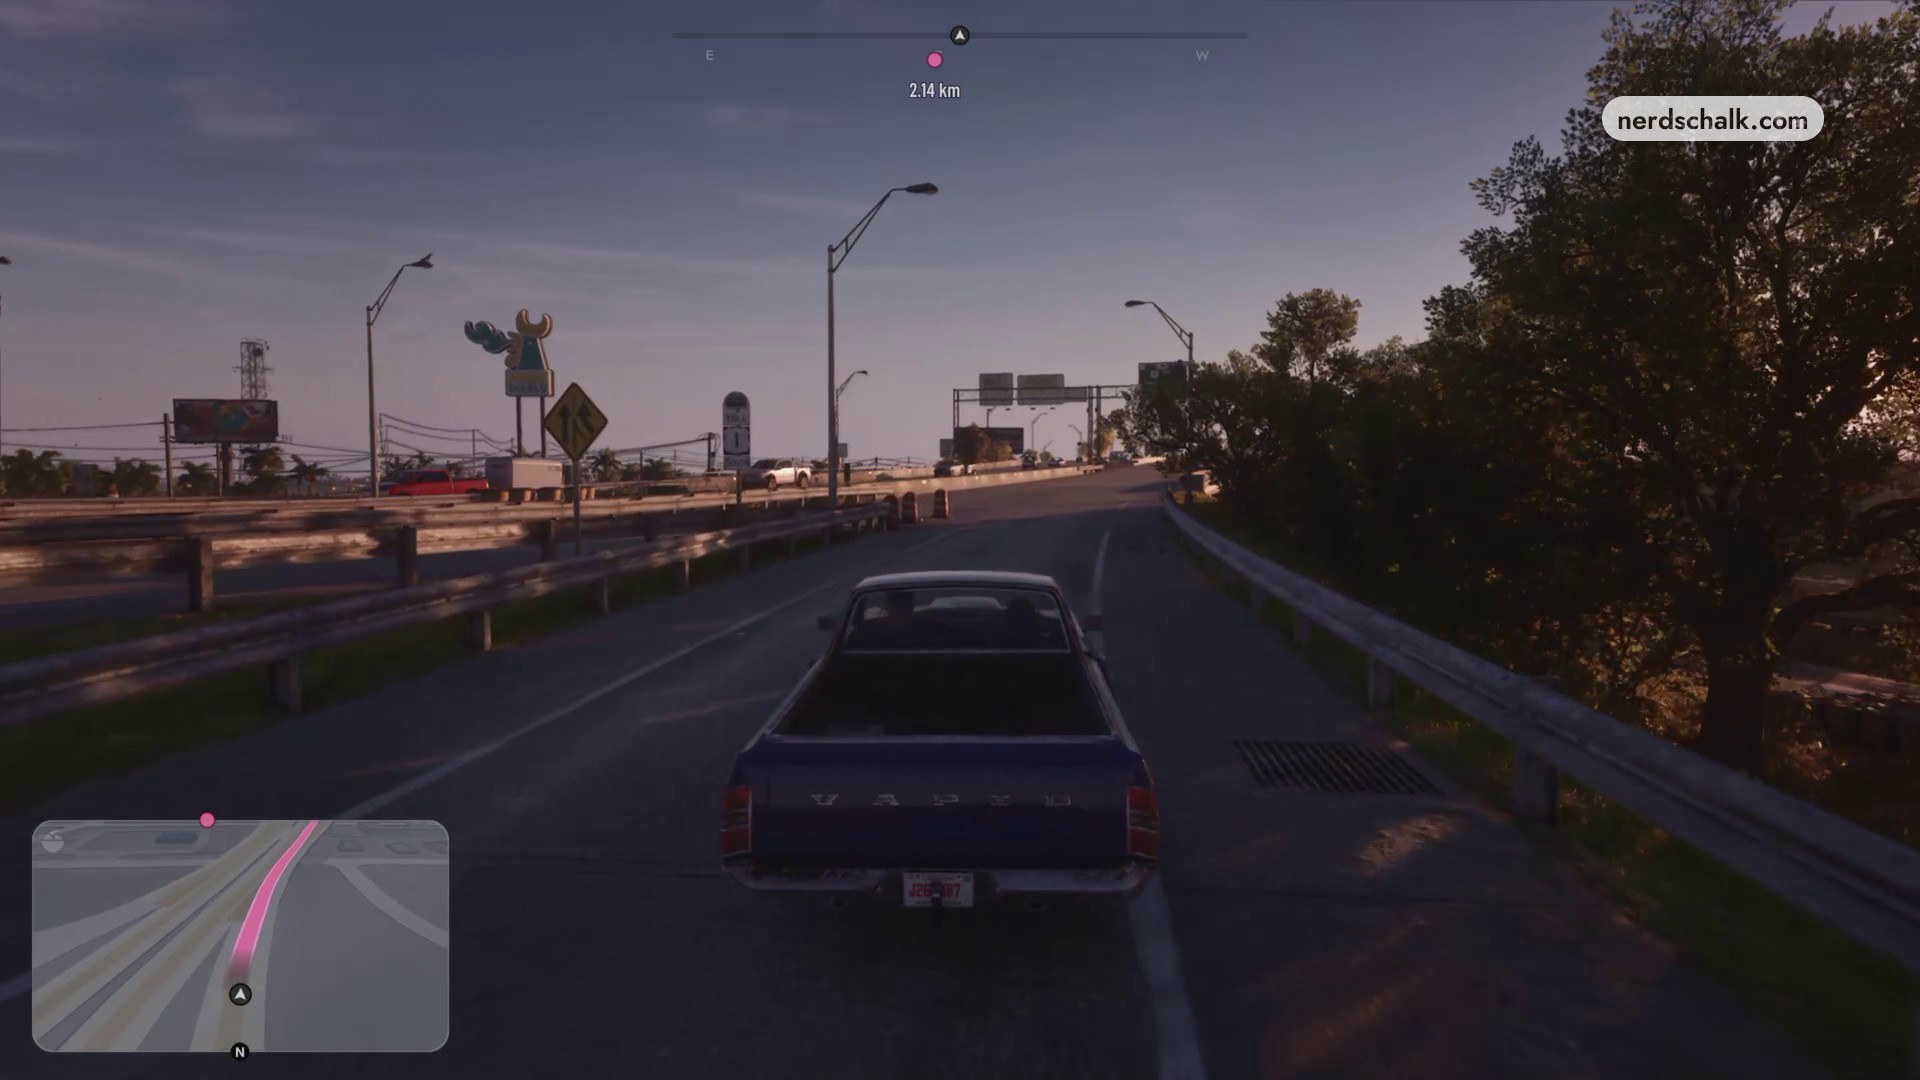
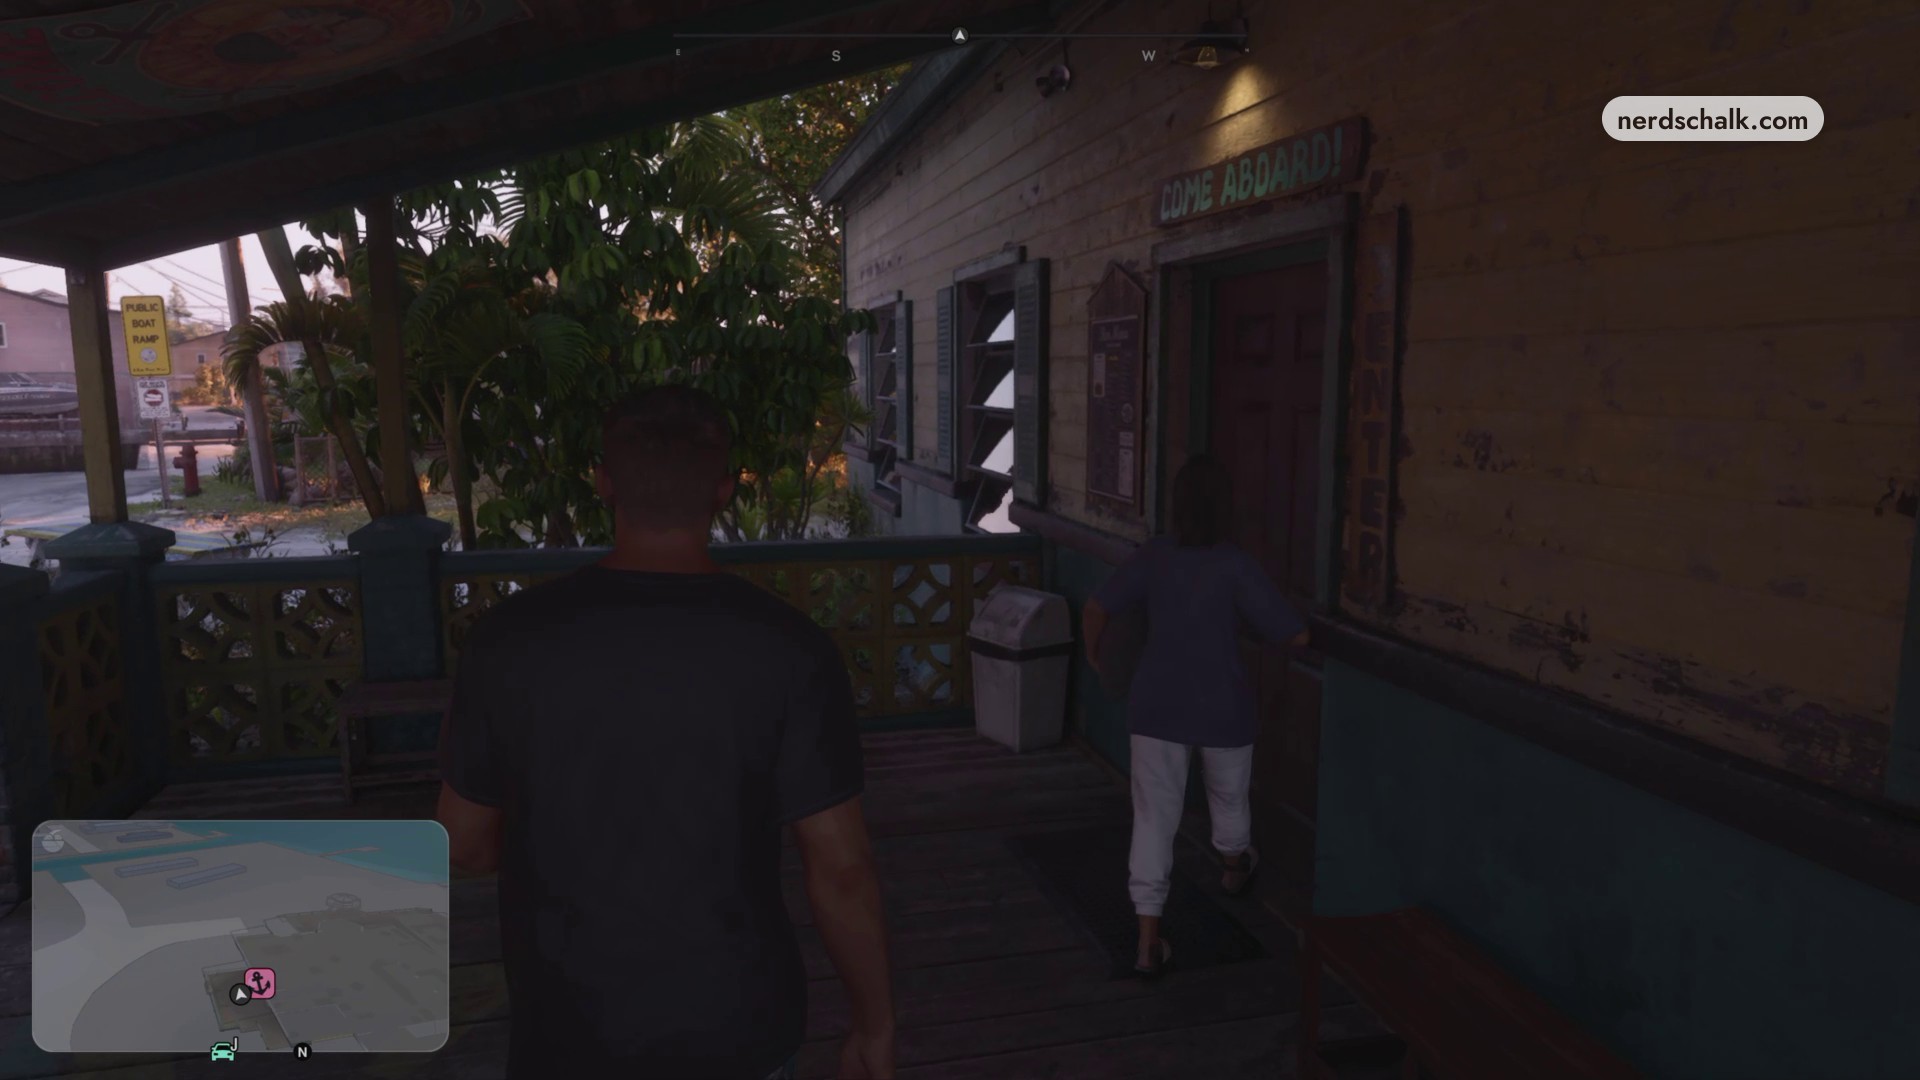
Enter the bar
Walk up the ramp, then go through the front entrance. The location readout and pause-menu map identify the bar as The Rusty Anchor on Key Lento.
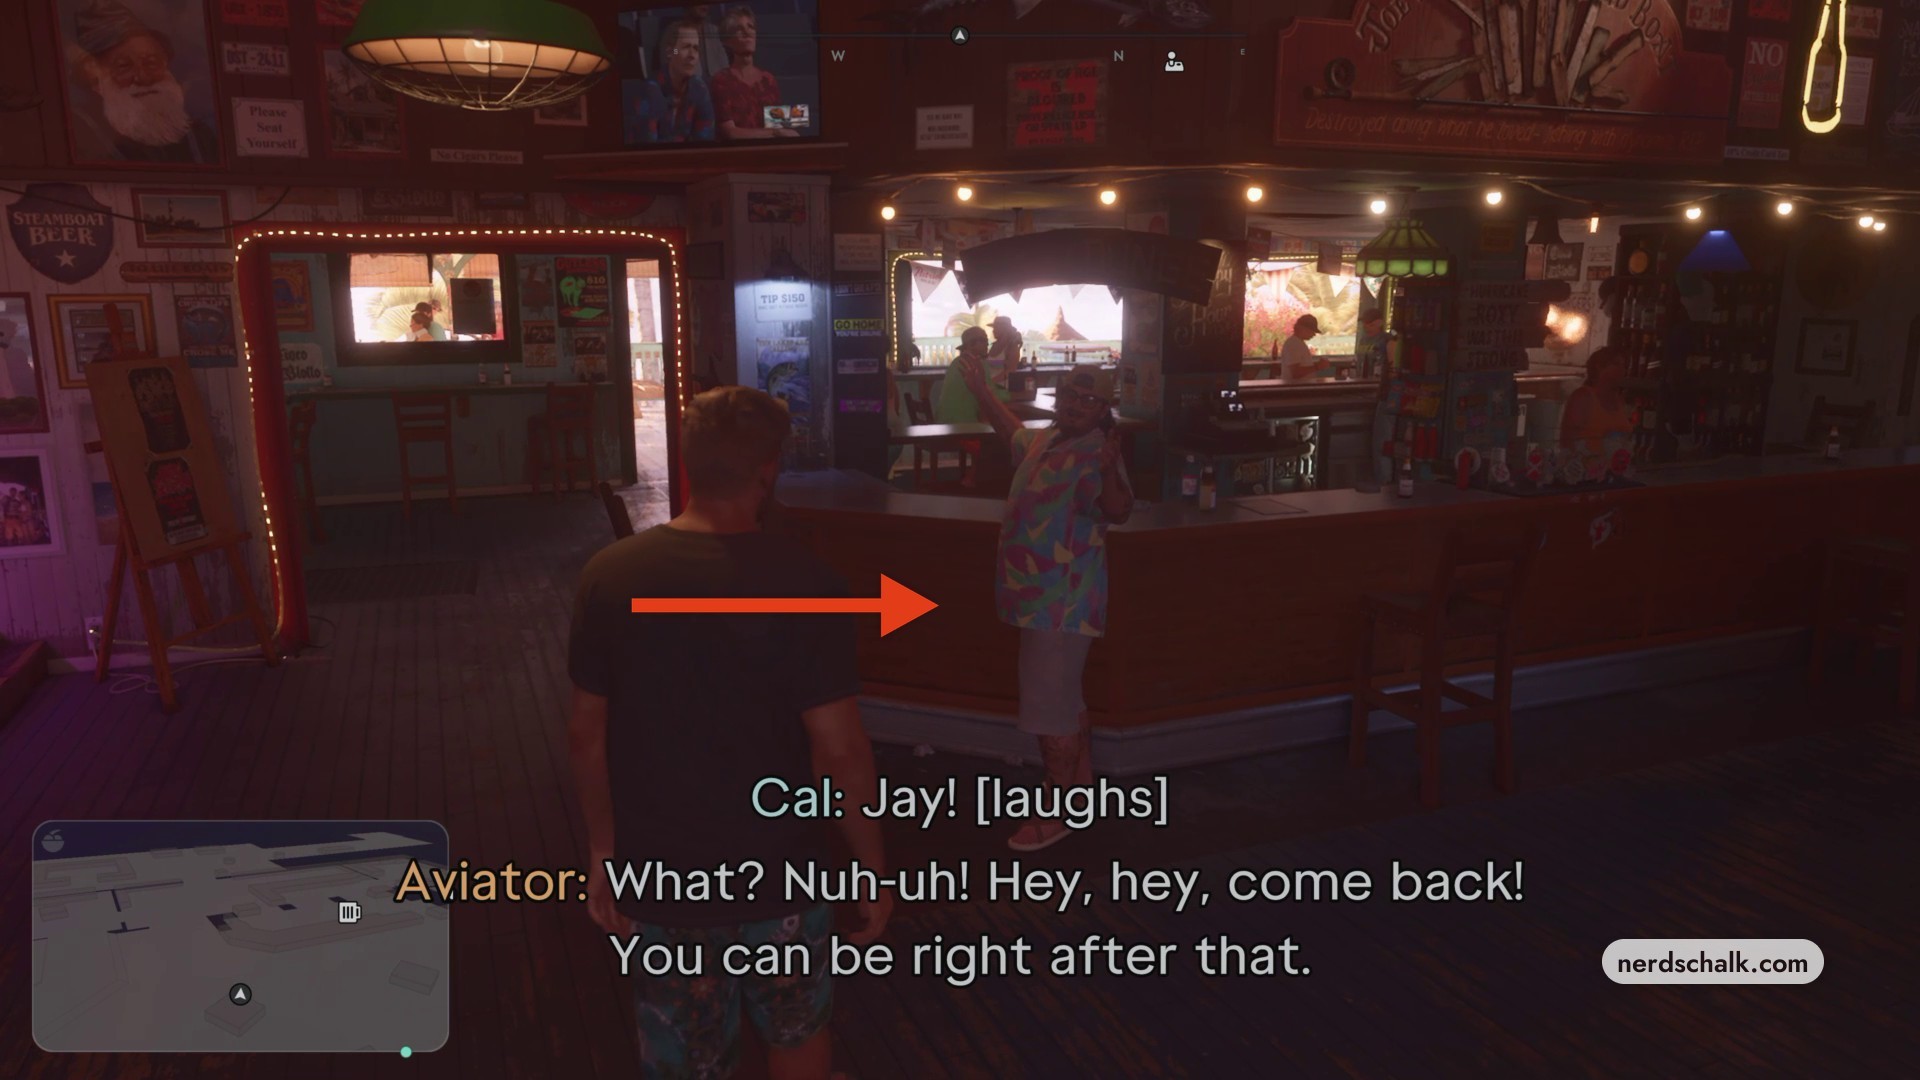
Approach Cal at the counter
Head toward Cal, standing near the bar counter, to trigger the conversation.
Approach the bartender
Once the cutscene ends, move to the bartender behind the counter.
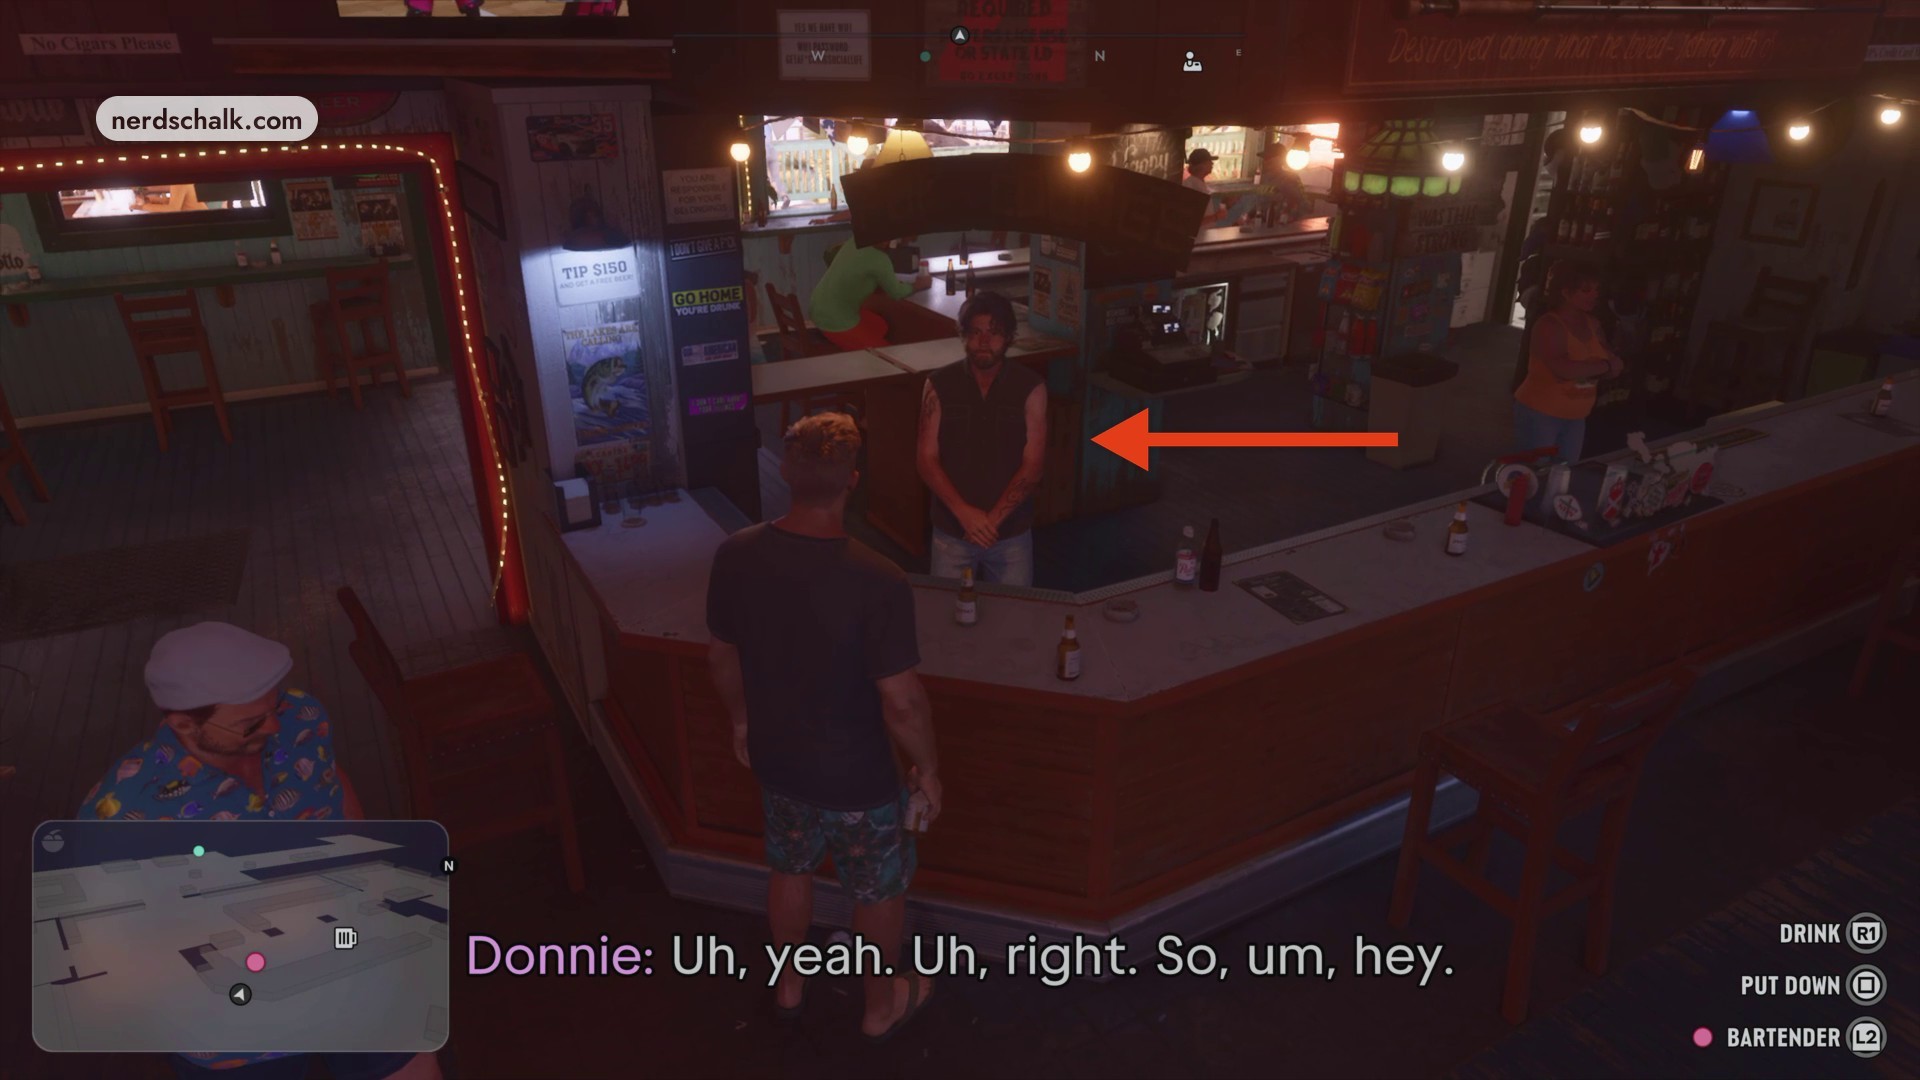
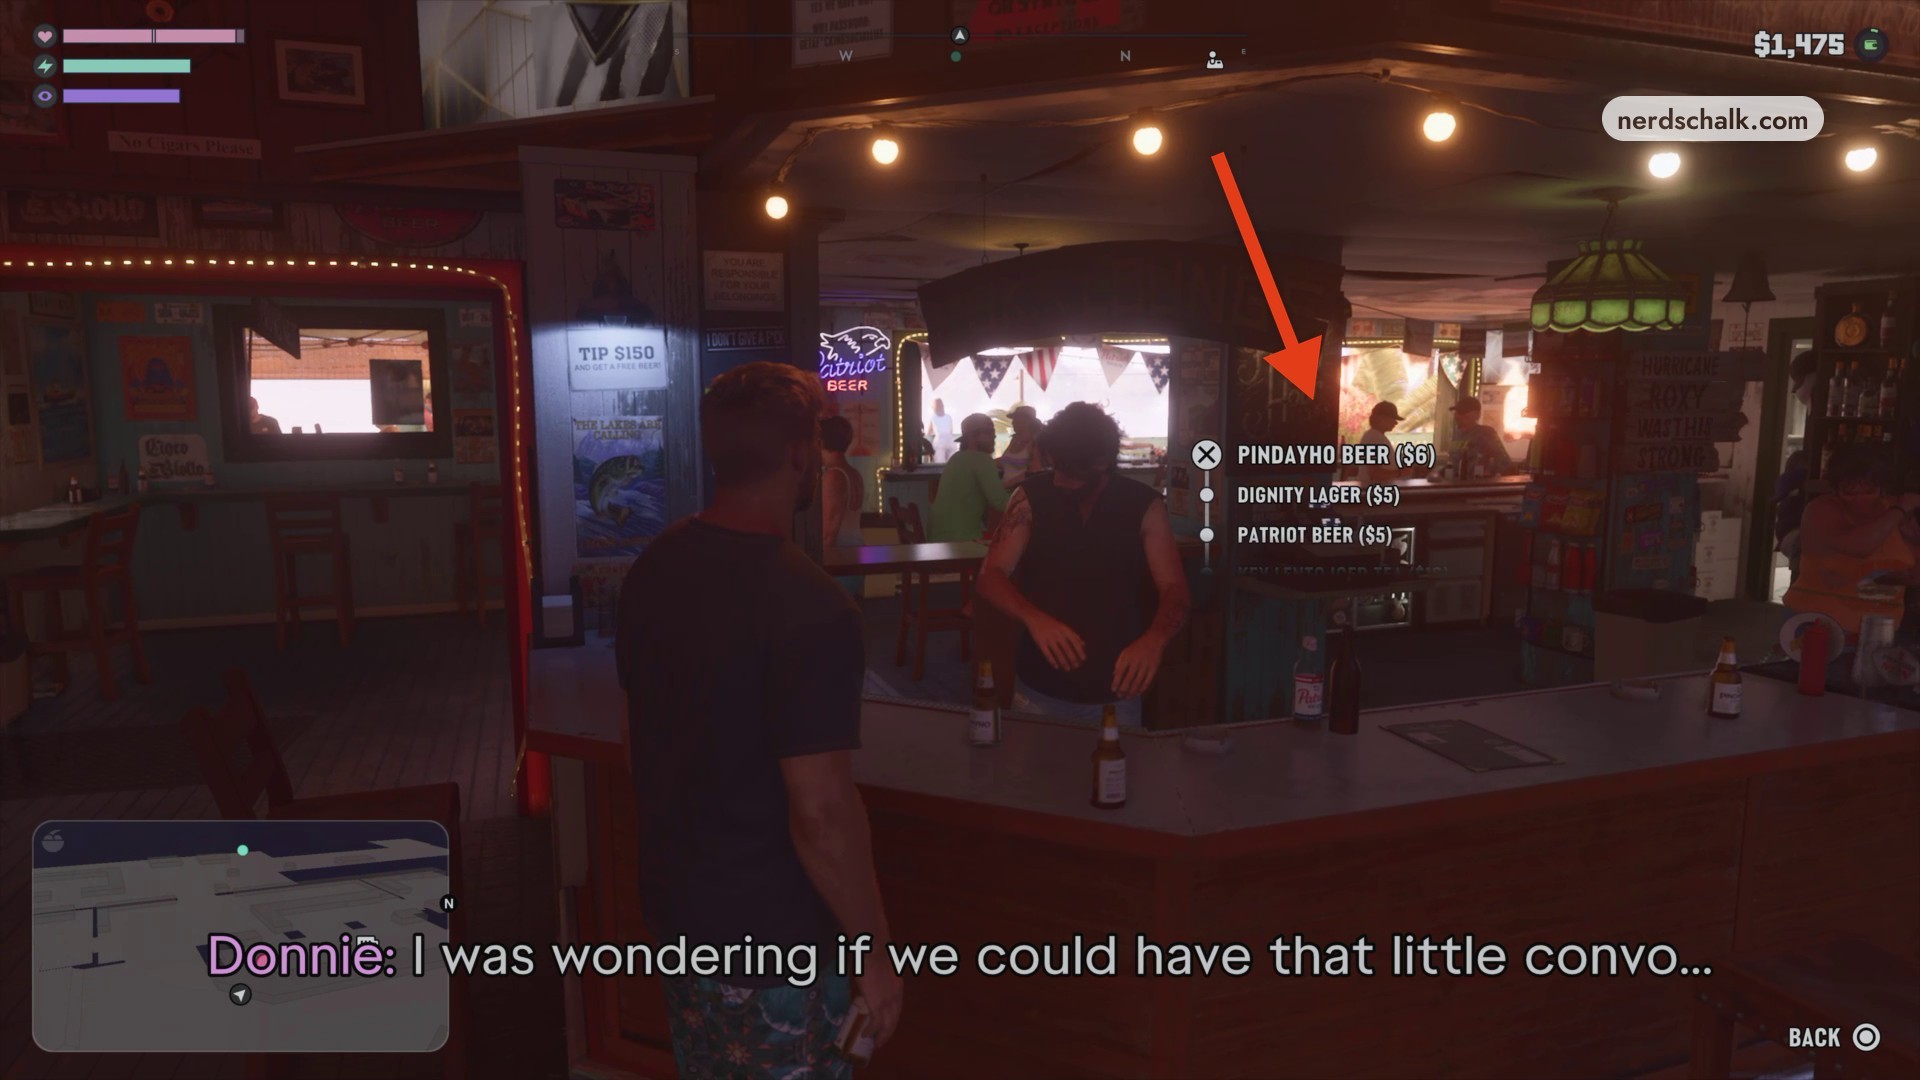
Order Pindayho Beer
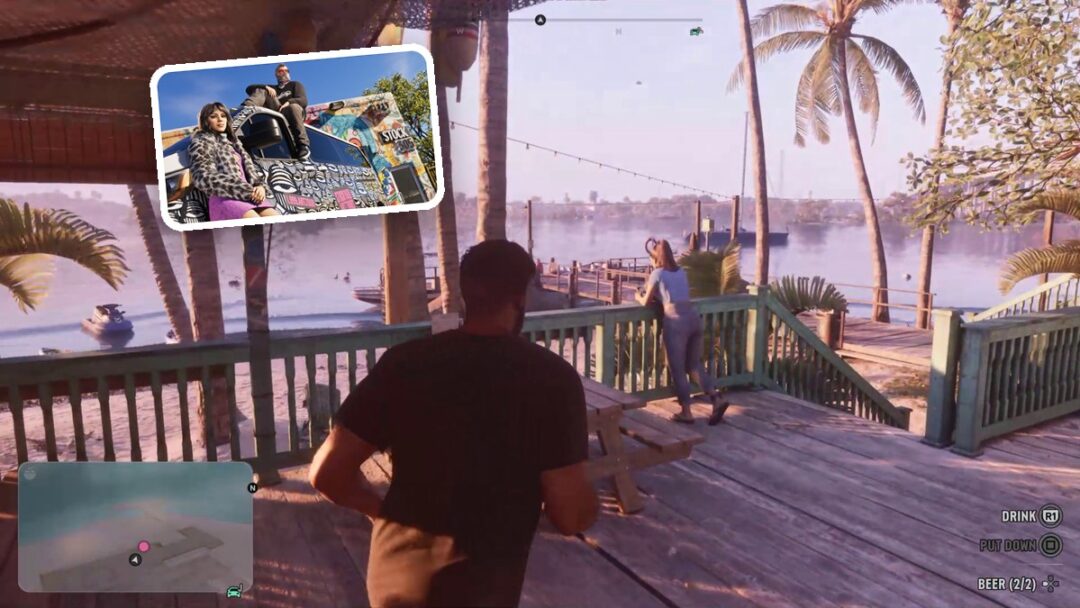
Select Pindayho Beer with Cross. The UI’s beer-bottle count reads 2/2. The menu also offers Dignity Lager and Patriot Beer.
Drink prices
| Drink | Price |
|---|---|
| Pindayho Beer | $6 |
| Dignity Lager | $5 |
| Patriot Beer | $5 |
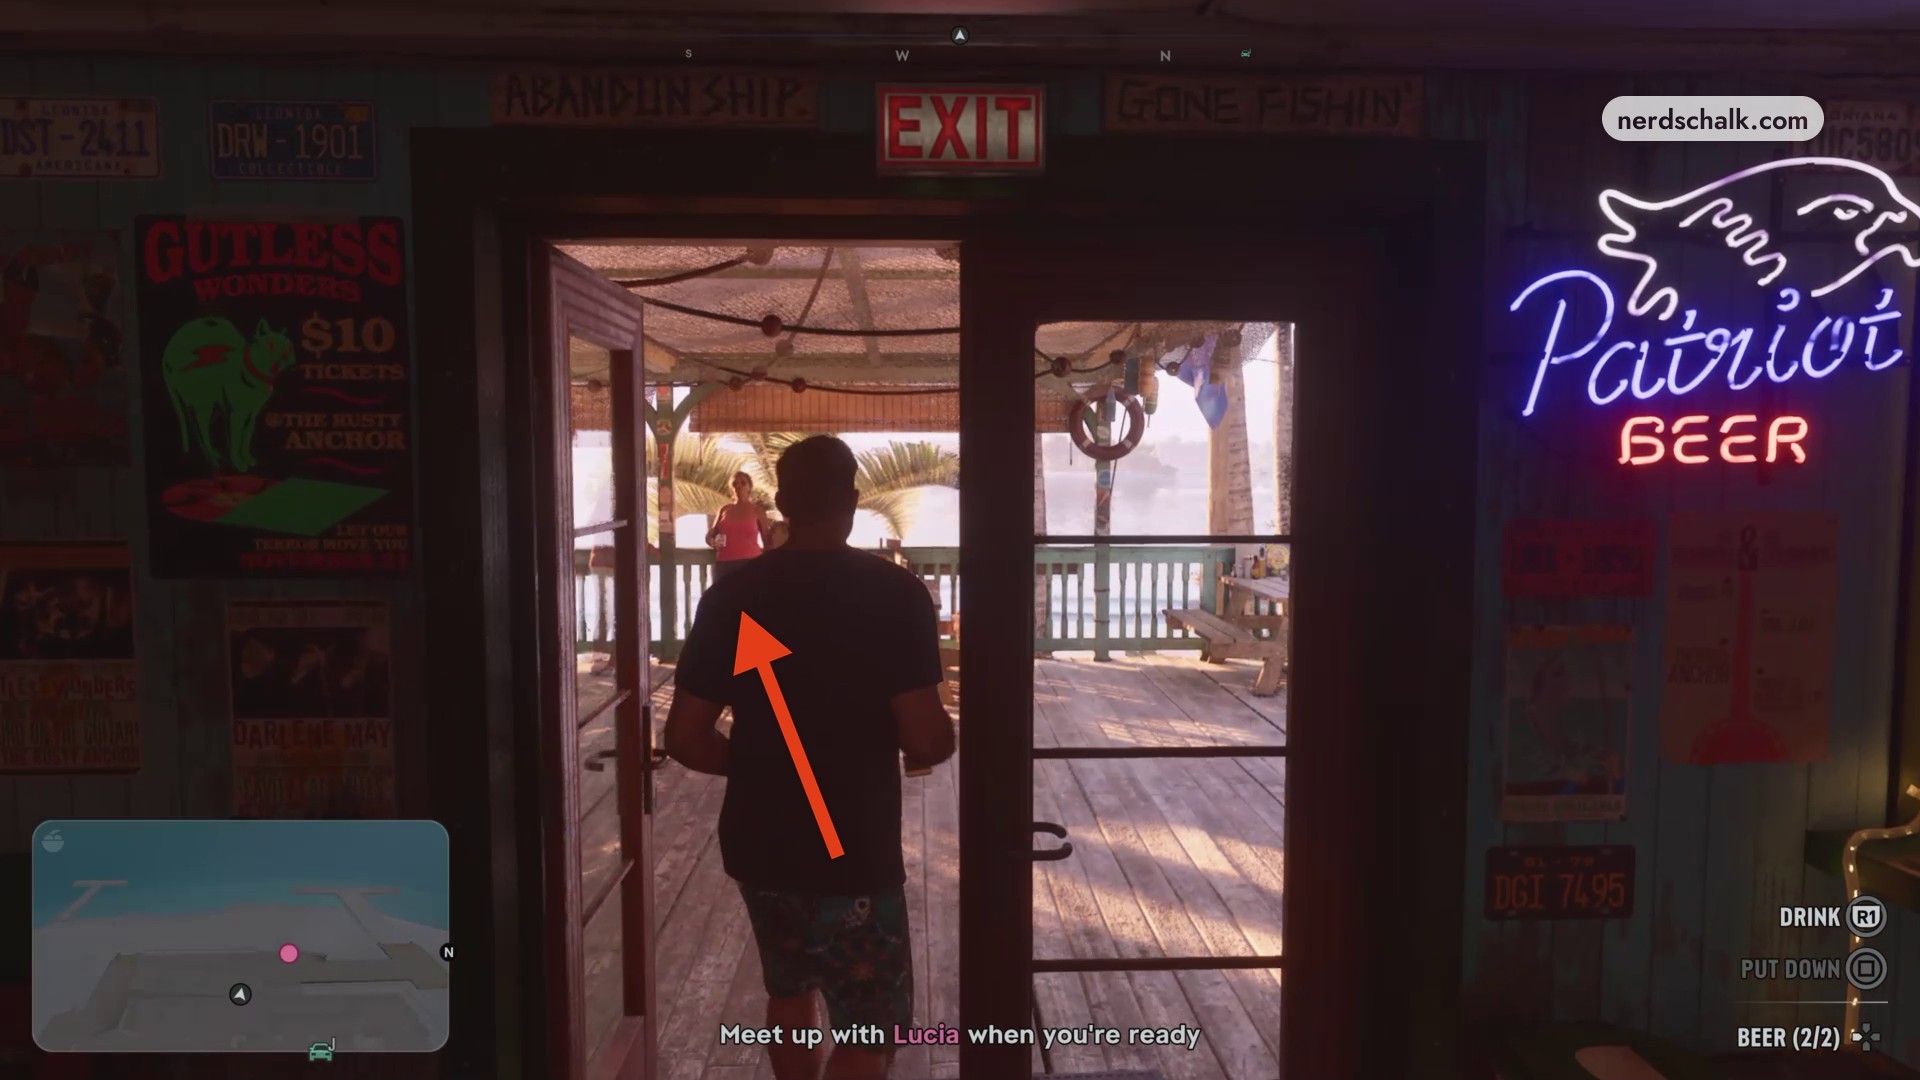
Take the drinks to Lucia
When Meet up with Lucia when you’re ready appears, carry the drinks through the rear doorway onto the patio. Approach Lucia at the railing.
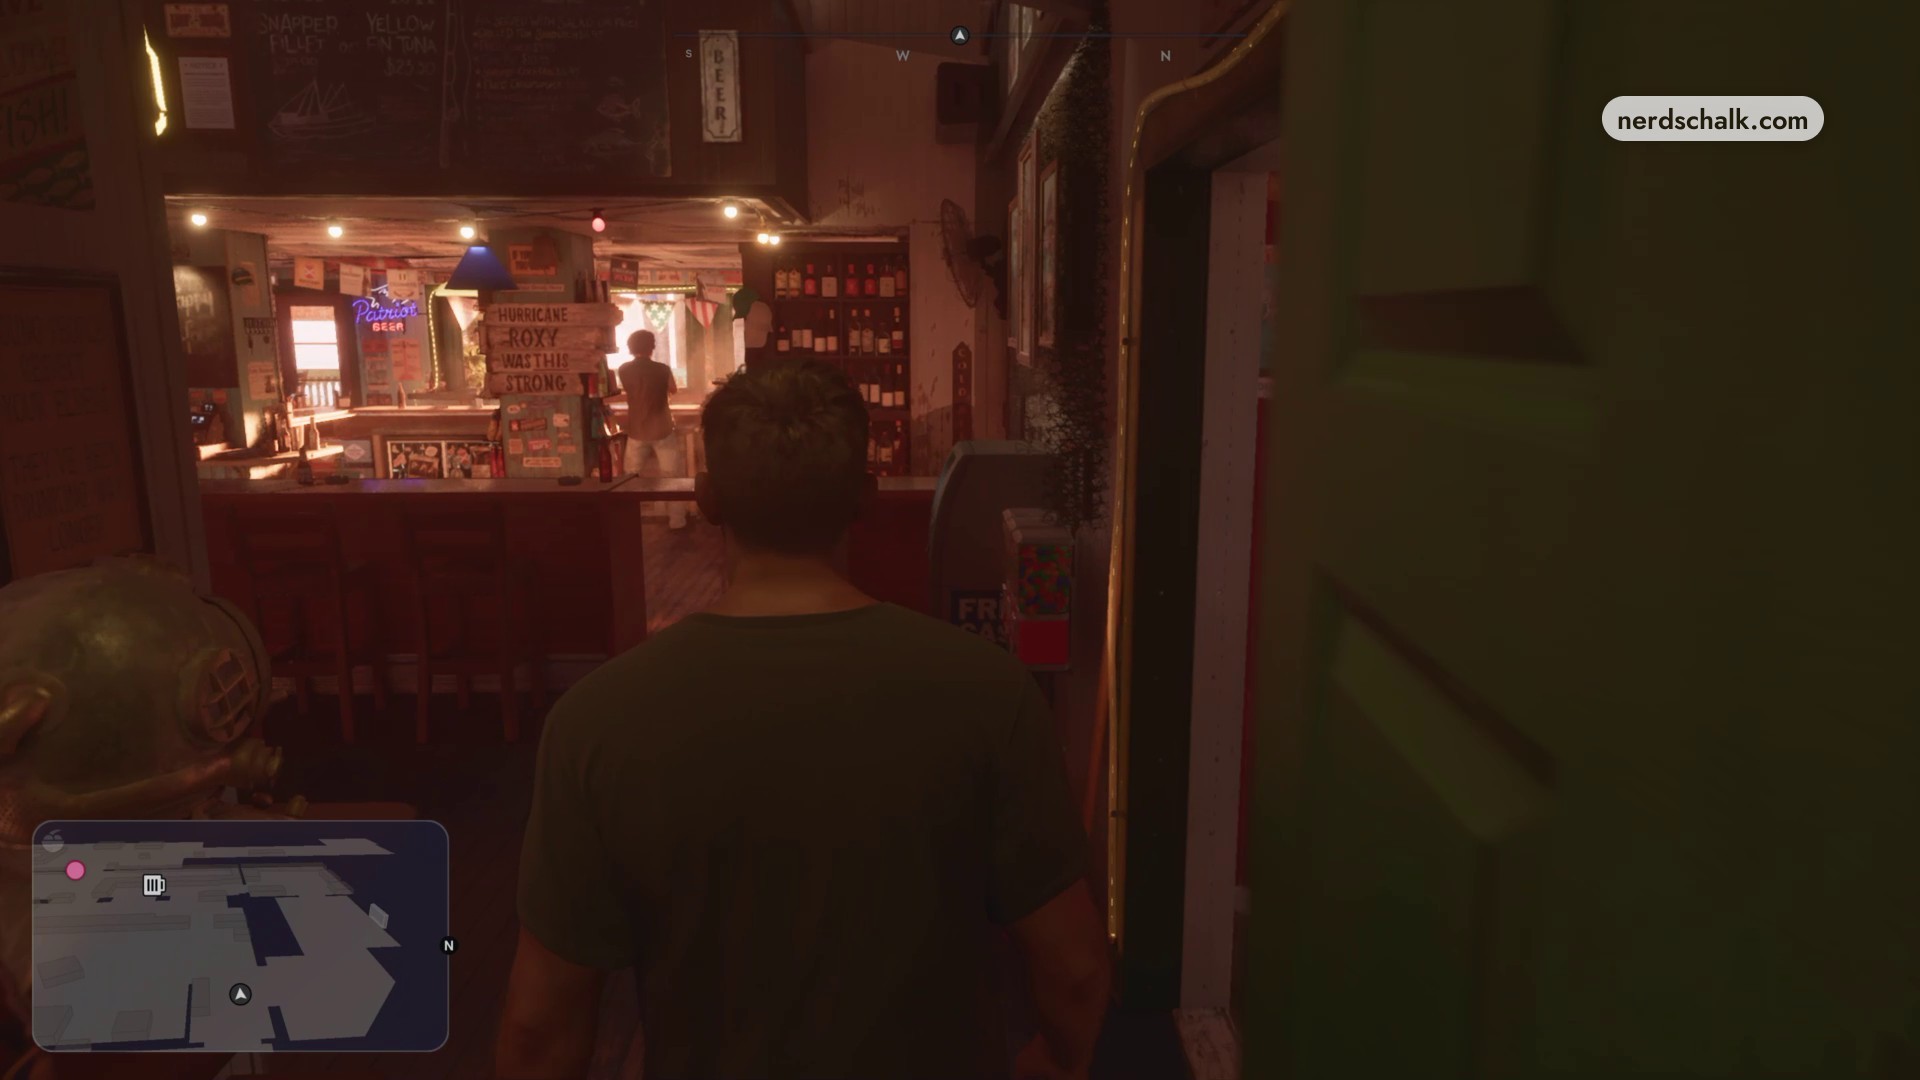
Return to Lucia inside
After the restroom sequence, leave the restroom and pass through the doorway into the main bar area. Locate Lucia to follow the Return to Lucia objective.
Part 3 – Spend time with friends and dance with Lucia
Continue through Hang out with your friends.
Talk to Donnie at the counter
While Lucia takes her call, approach Cal at the counter. Continue with the friends objective, then find Donnie sitting alone on a barstool and press Cross for CHEER UP.
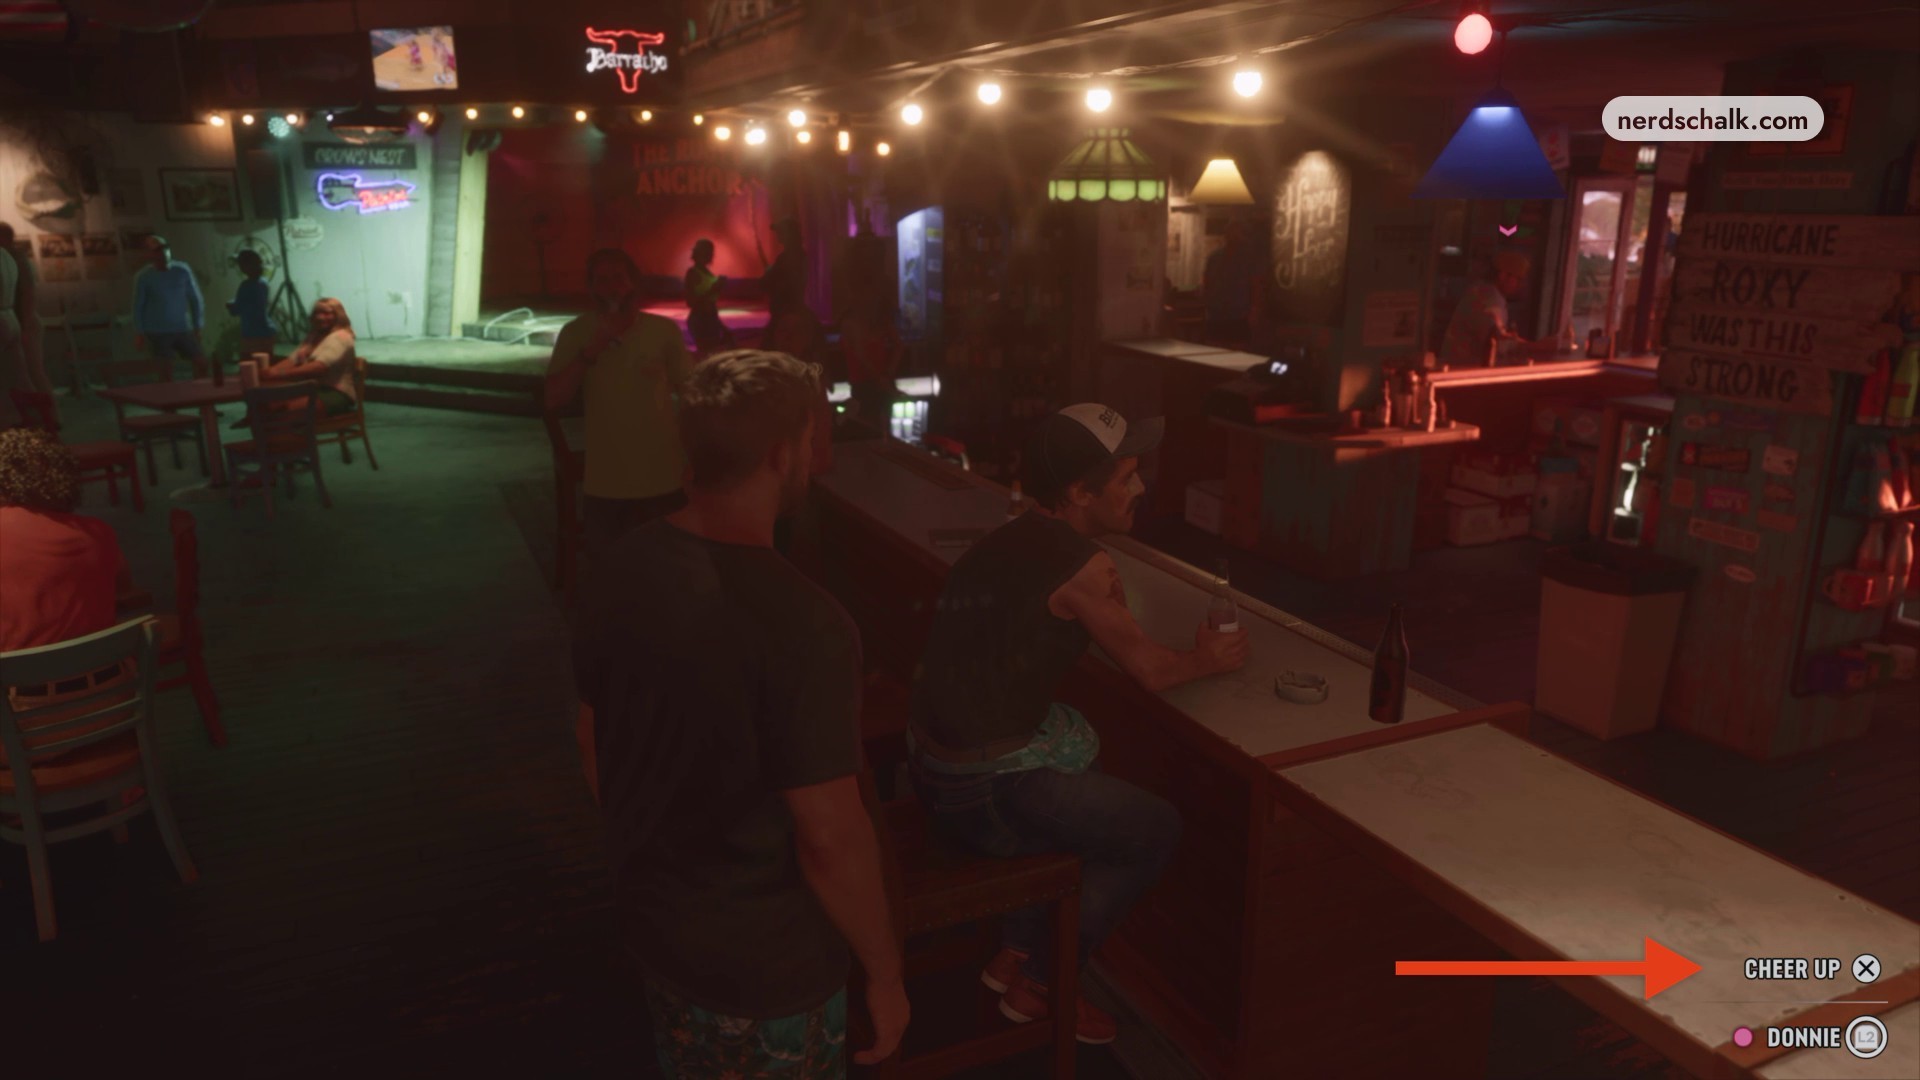
Accept Donnie’s invitation
Press Cross for ACCEPT to accompany Donnie to the restroom.
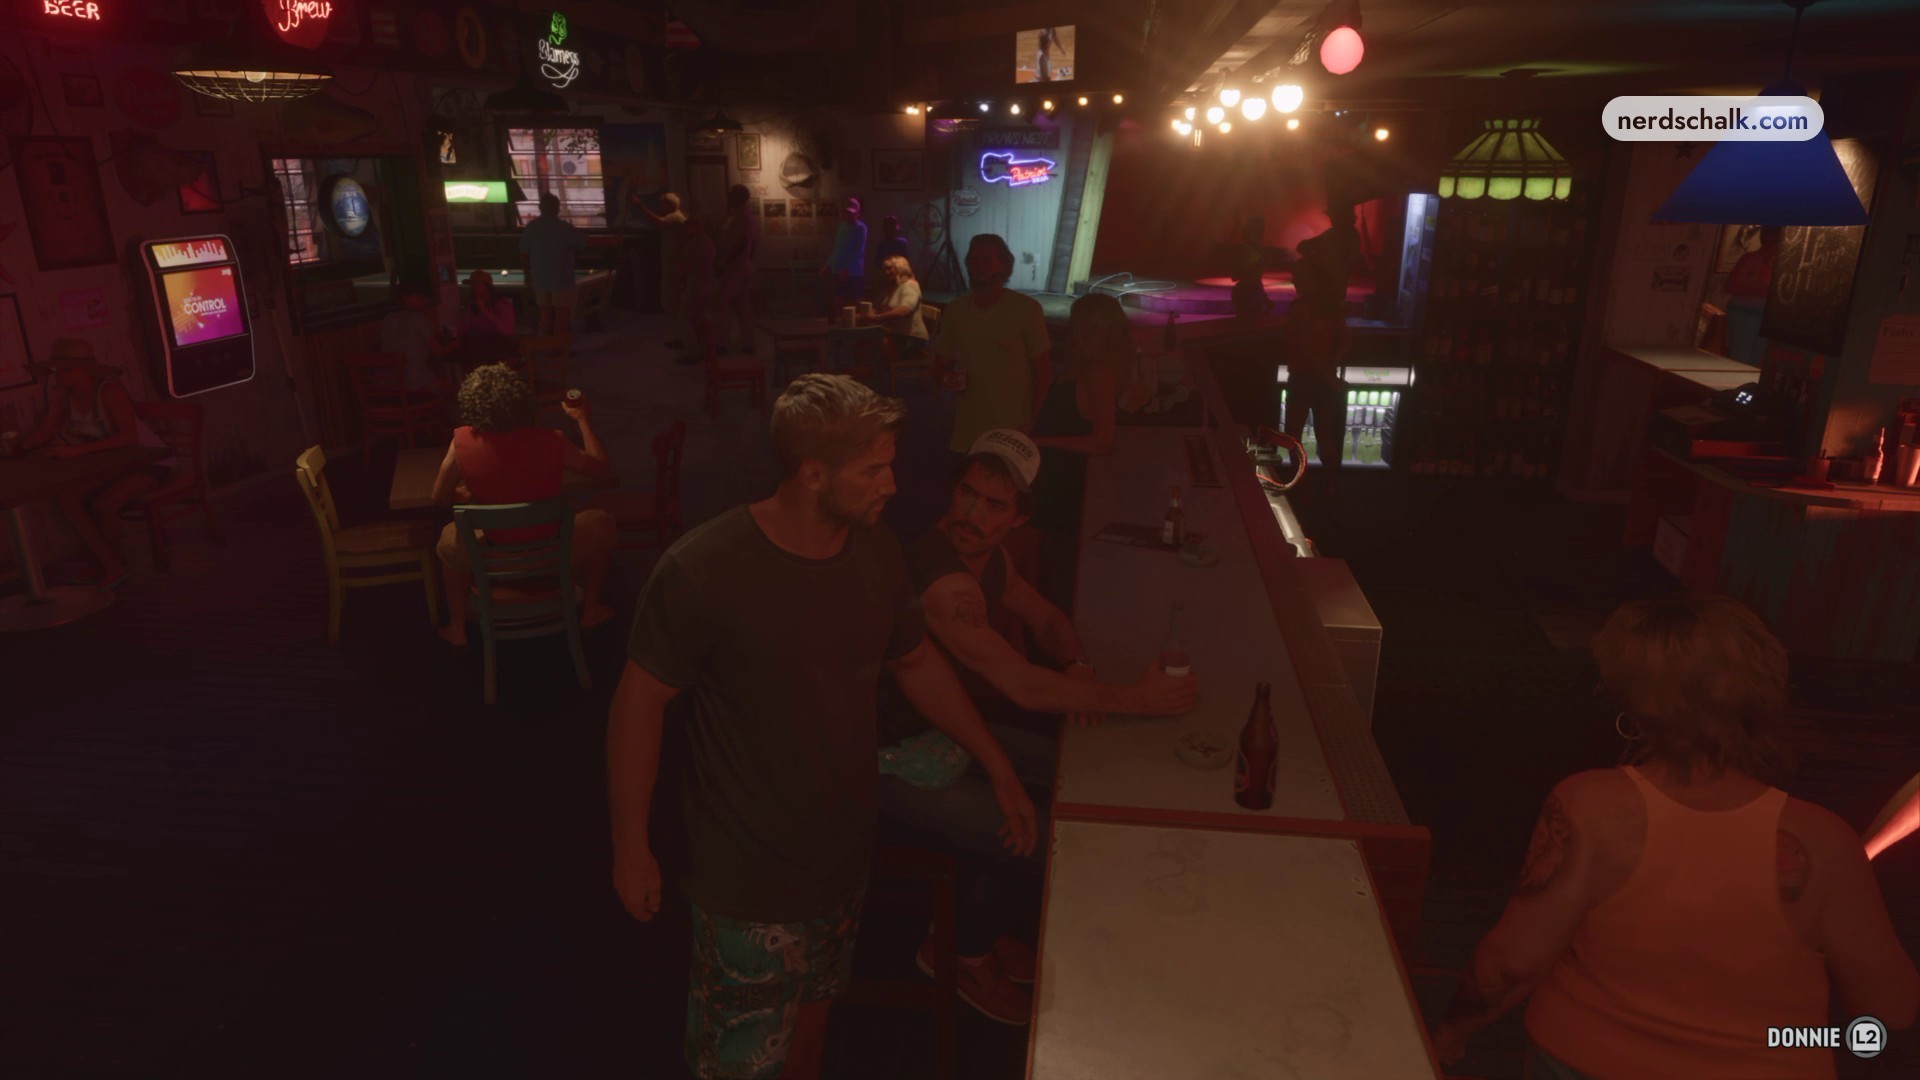
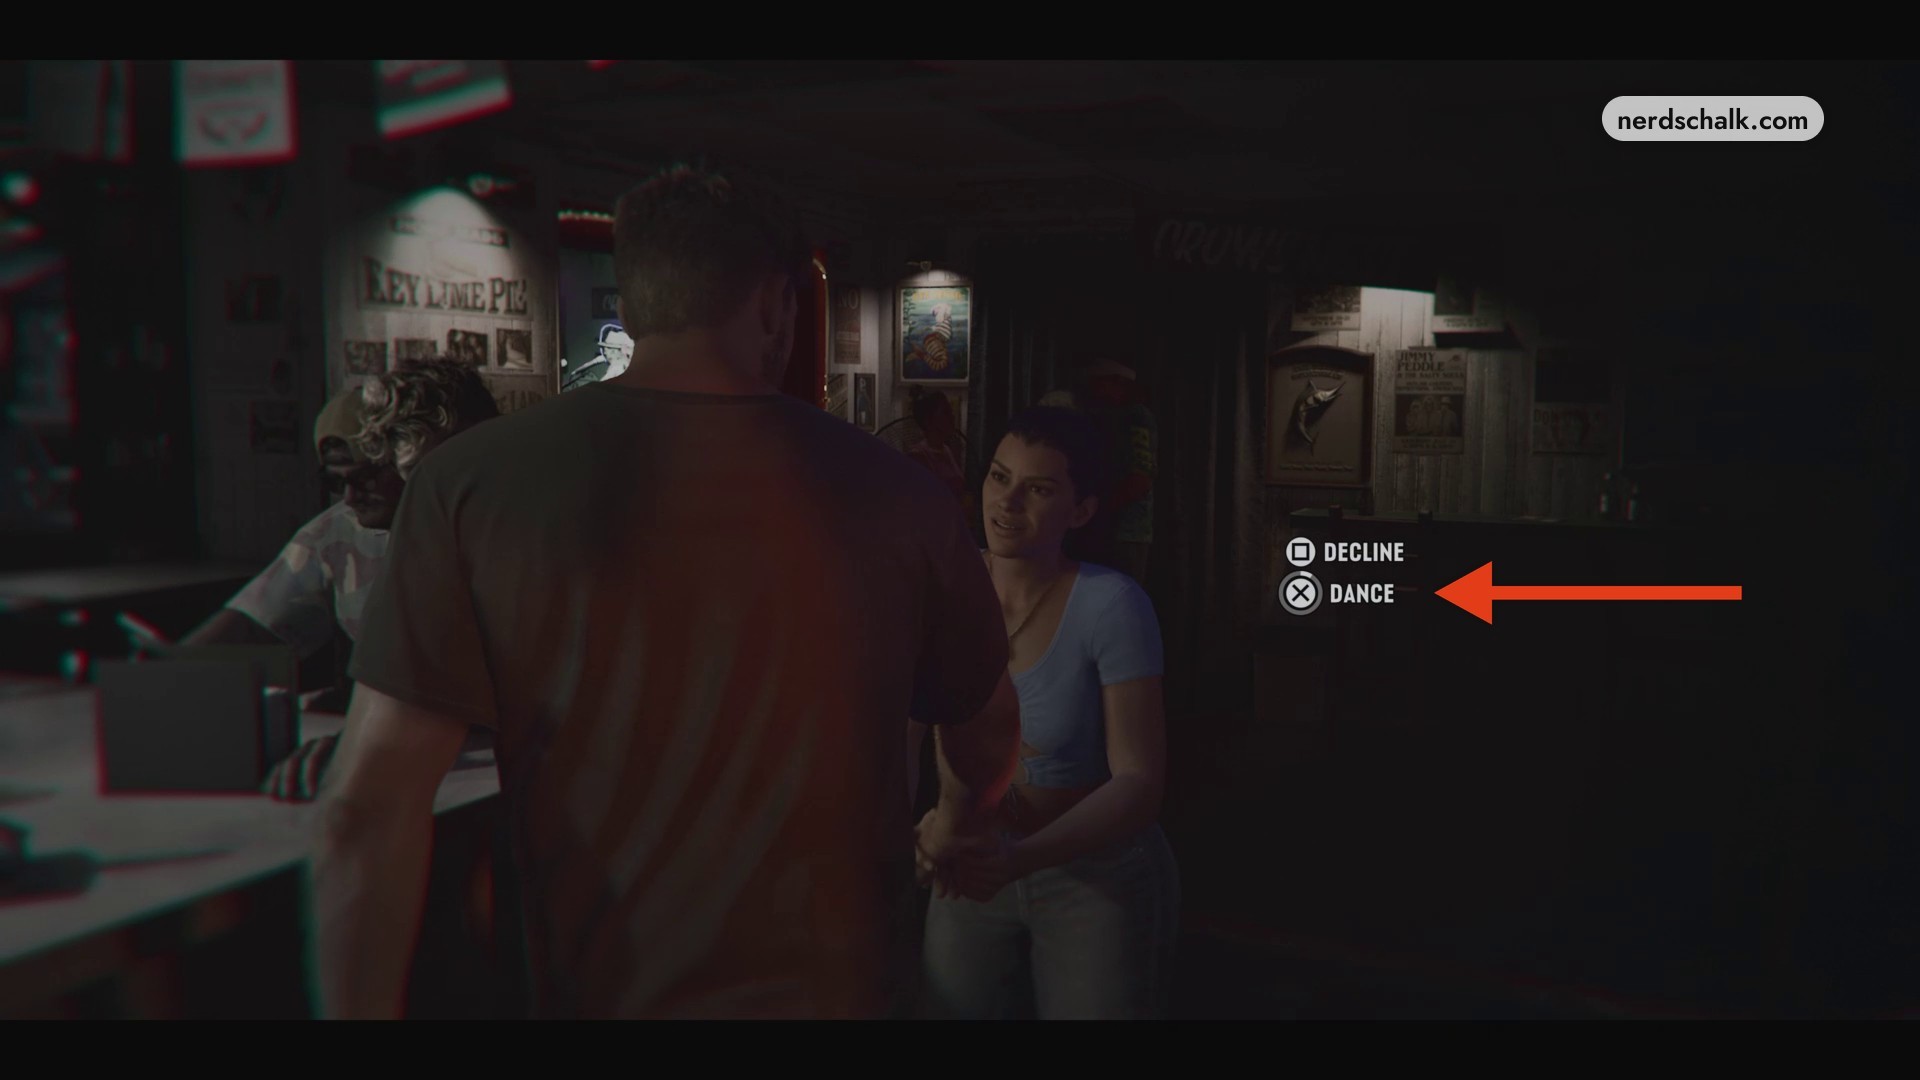
Accept Lucia’s dance invitation
Choose Cross for DANCE when Lucia invites you. The alternative displayed choice is Square for DECLINE.
Join Lucia on the dance floor
Move forward toward Lucia and onto the dance floor.
Start dancing
Hold R2 to begin dancing with Lucia. Follow the button prompts as the dance continues.
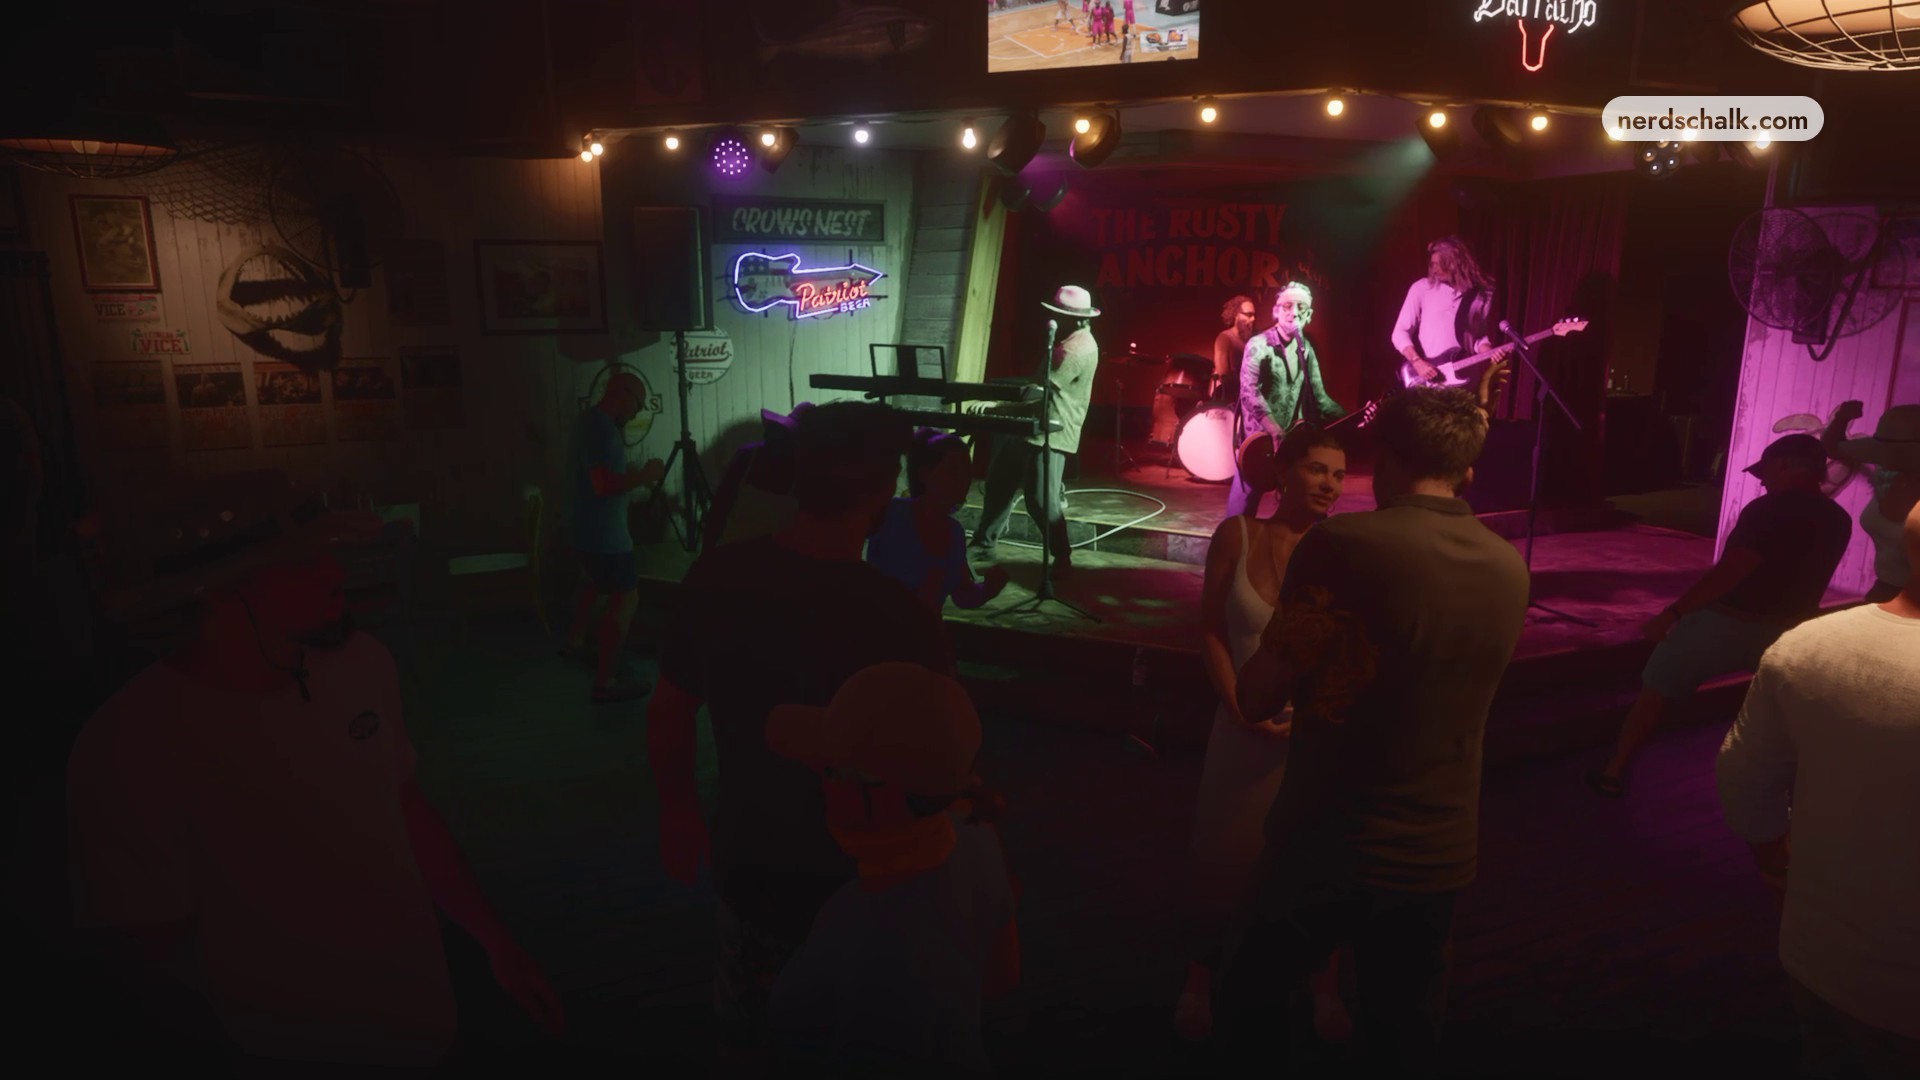
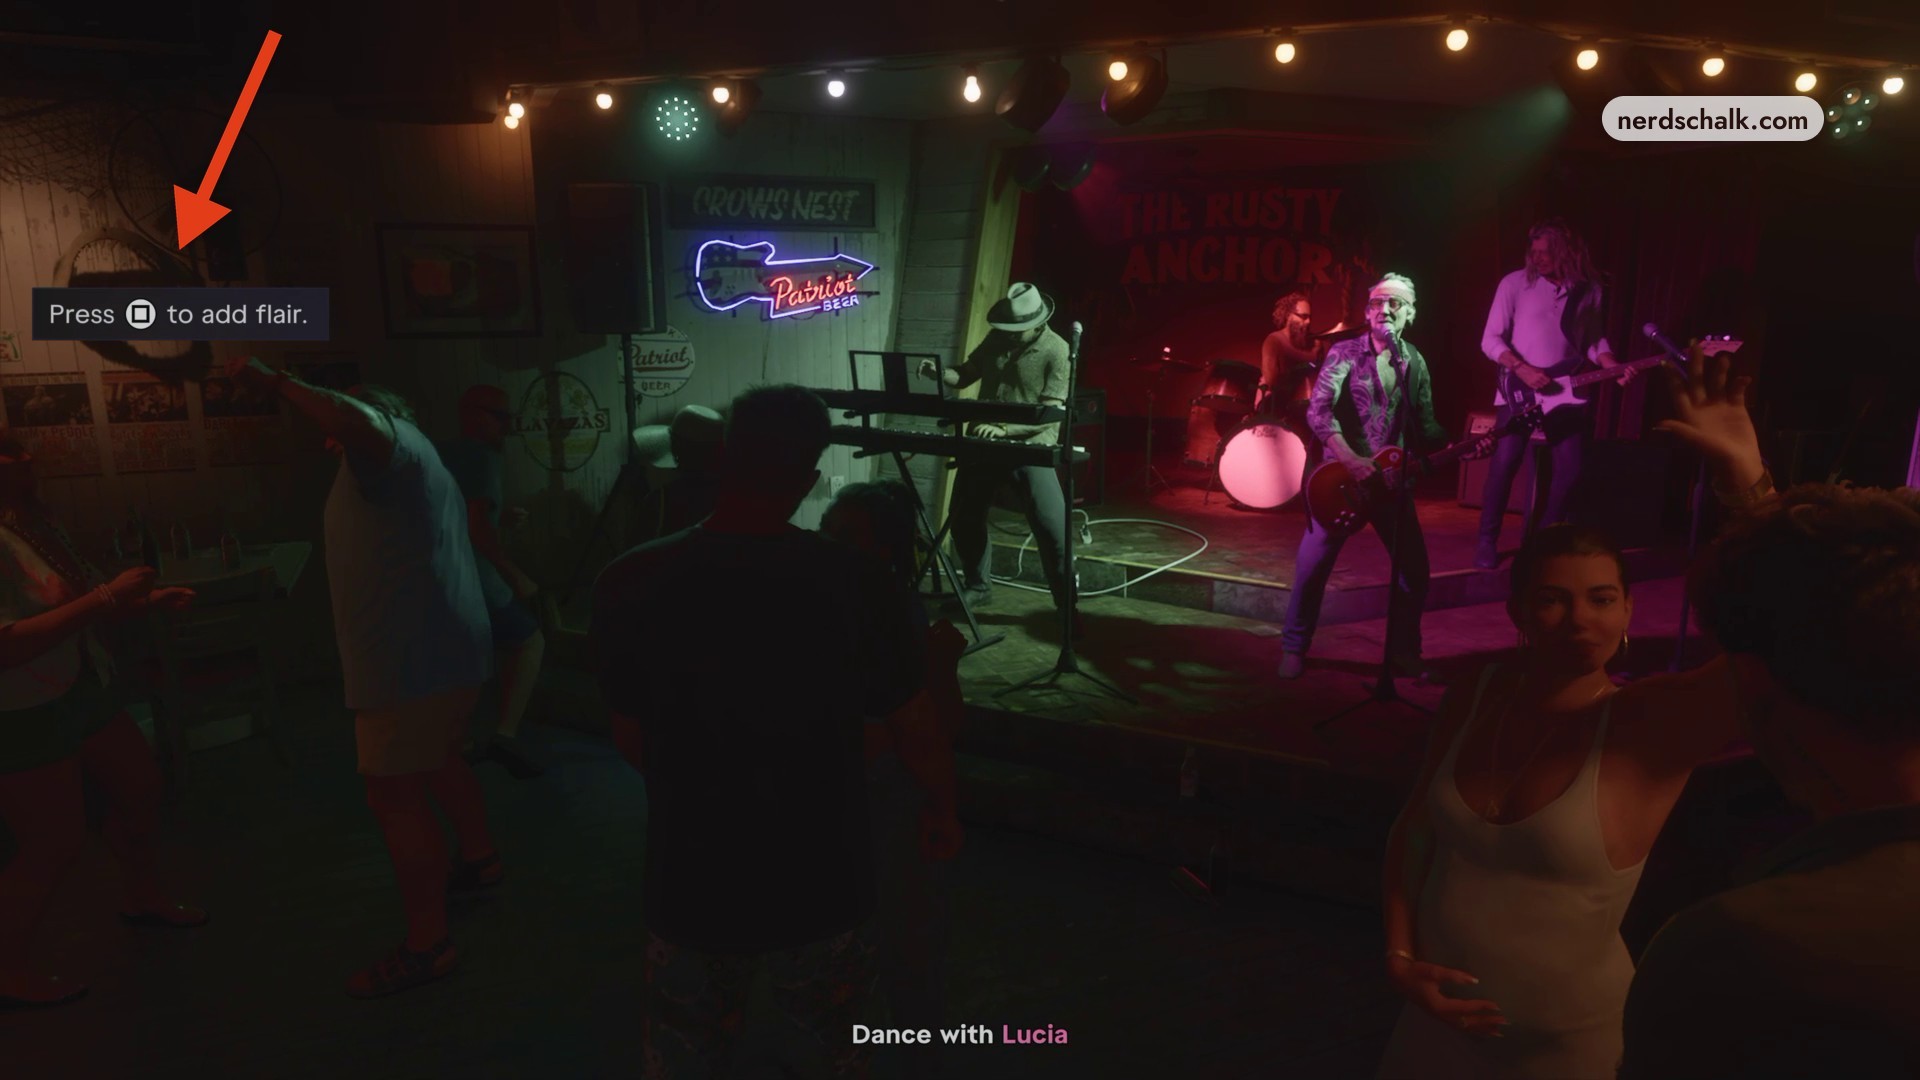
Add flair
Press Square while dancing to add flair to Jason’s moves.
Continue dancing with Lucia
Keep the rhythm and stay close to Lucia as the dialogue continues.
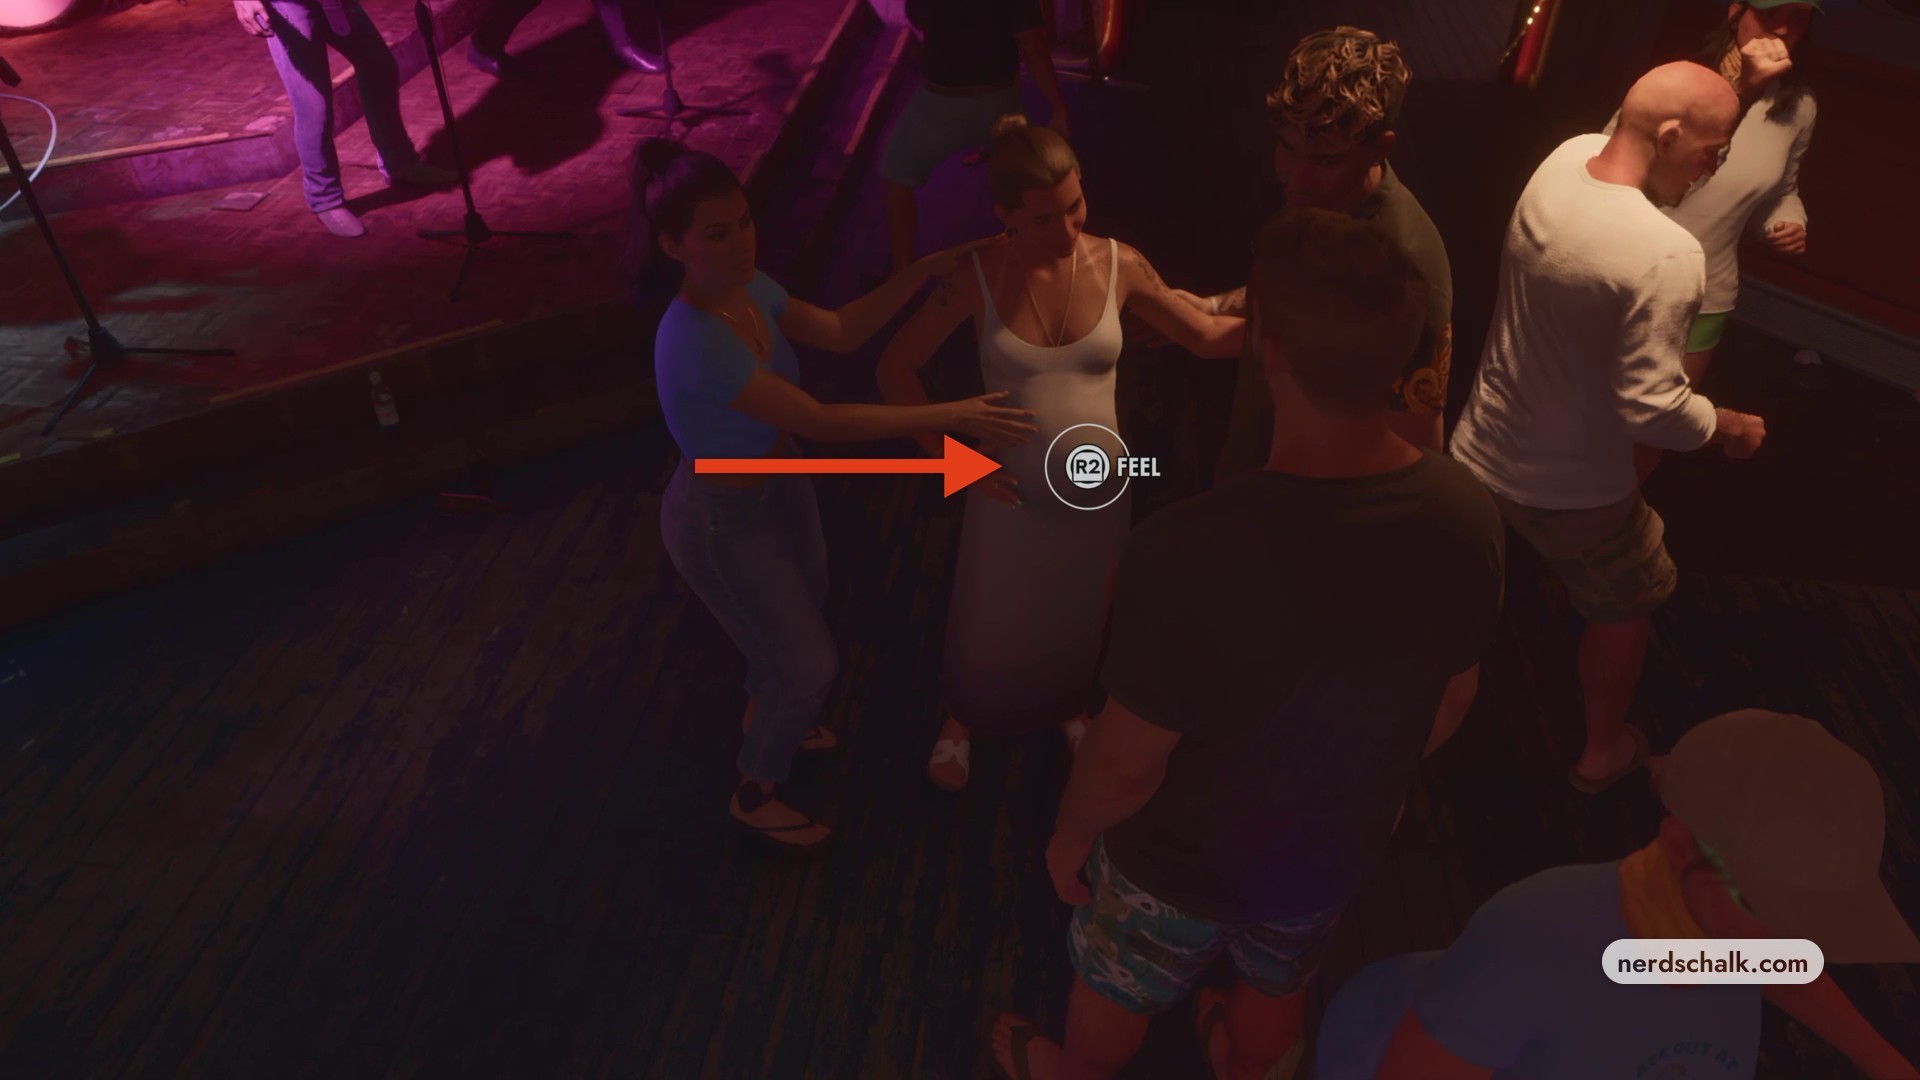
Use Kat’s interaction prompt
Press R2 for FEEL when prompted to feel the baby kicking.
Resume dancing
Continue dancing with Lucia until Andy arrives and the scene moves on.
Part 4 – Find Mattia and play pool
Follow Find Mattia, another Hang out with your friends objective, then Pick up a pool cue, Take your break shot, and Play pool with Mattia.
Leave the dance floor to find Mattia
Head across the barroom toward the seating corner. Use the objective marker and The Rusty Anchor’s interior map if you need to locate the next interaction.
Follow the group to the booth
Walk after Cal, Lucia, and Kat to the booth beside the window during the socializing objective.
Approach Mattia at the counter
Leave the booth and head back to the counter, where Mattia is talking with Brian. Listen beside the bar as their conversation continues.
Sit beside Mattia
Approach the empty barstool next to Mattia and sit down to discuss work after Lucia directs you to him. Let the conversation continue into his invitation to play pool.
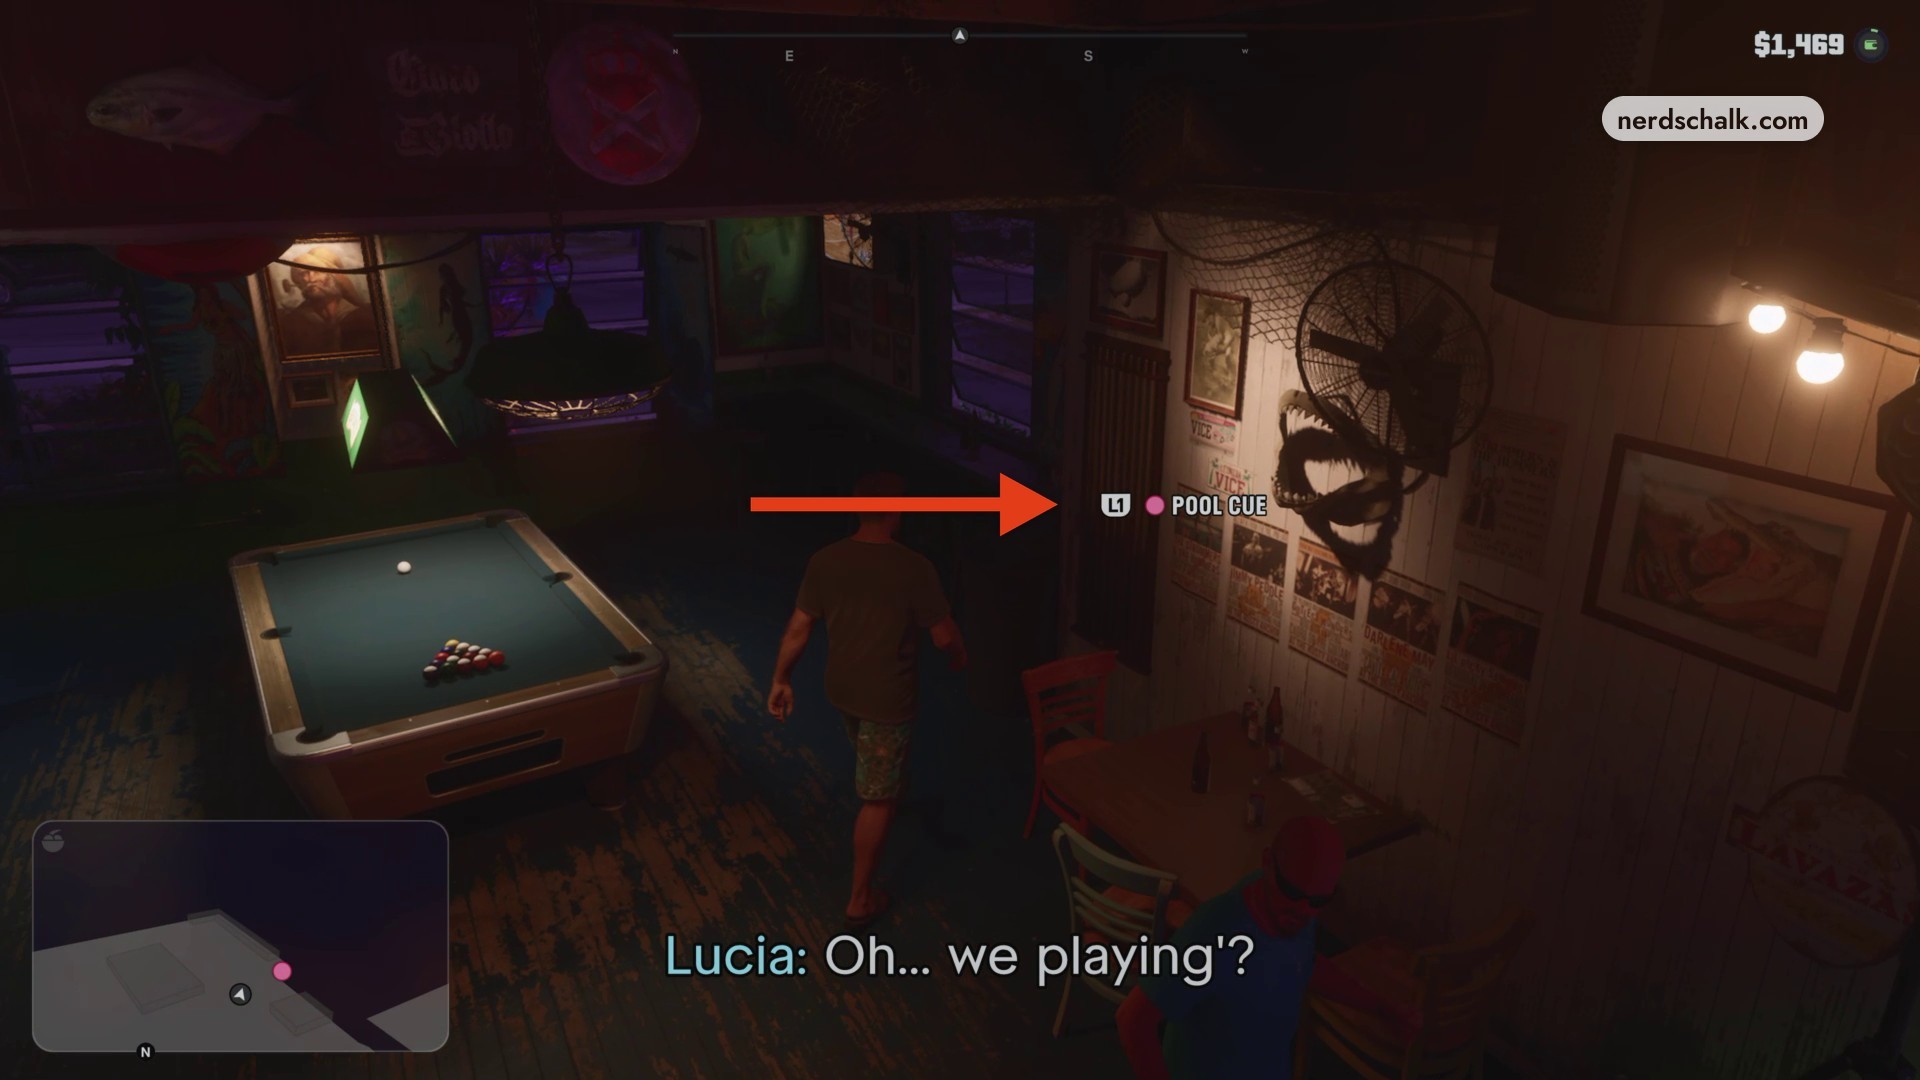
Pick up a pool cue
Get up and walk to the wall-mounted cue rack beside the pool table. Press L1 for POOL CUE to equip one.
Aim the break shot
Position the cue for the break. Use Triangle for ADJUST CUE and hold L2 for AIM to aim at the racked balls.
Take your break shot
Press R2 to strike the cue ball and break the racked balls.
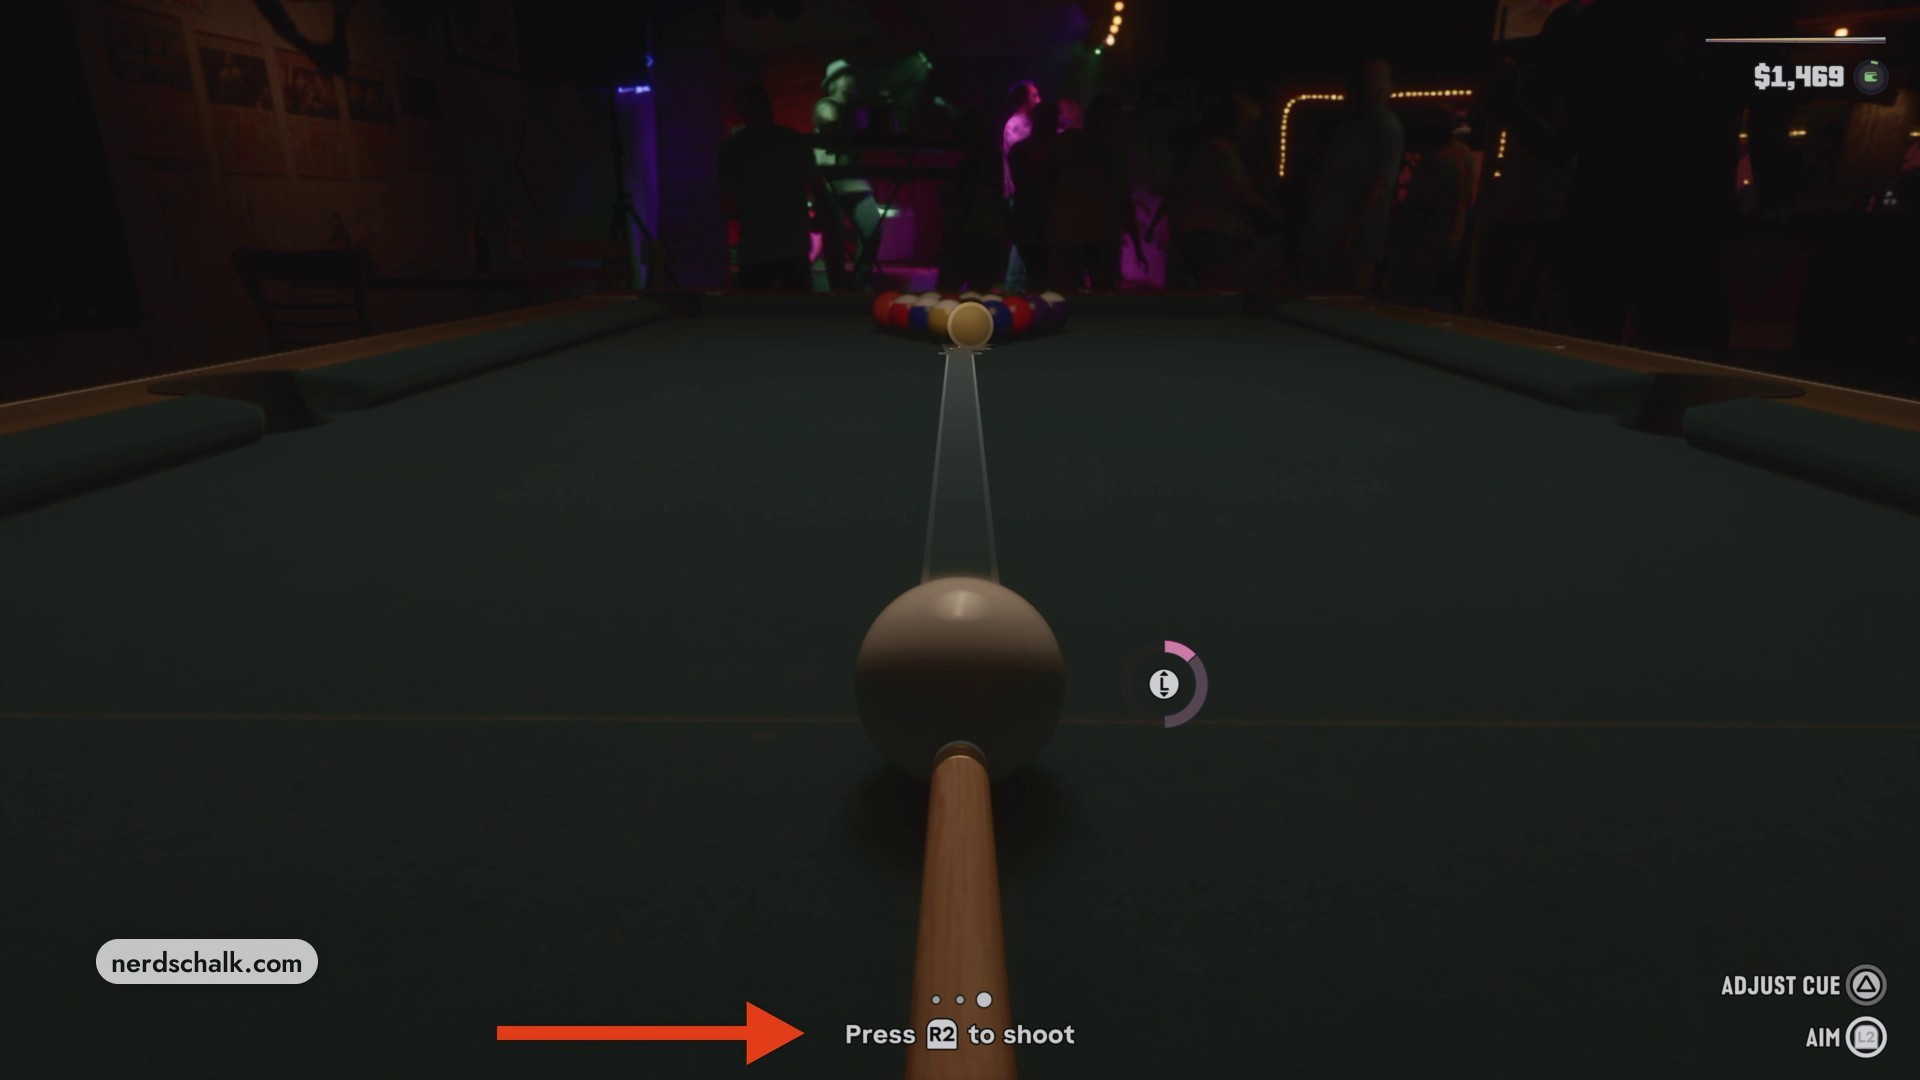
Play pool with Mattia
Keep lining up shots and pocketing balls as turns alternate with Mattia; control returns for further shots. A STRIPES ASSIGNED notice can identify your ball category. During play, Stripe pocketed marks a pocketed stripe, SOLID HIT FIRST appears after a solid hit, CUE BALL POCKETED identifies a pocketed cue ball, and NO BALLS HIT flags a shot that hits no balls. Continue until the interruption.
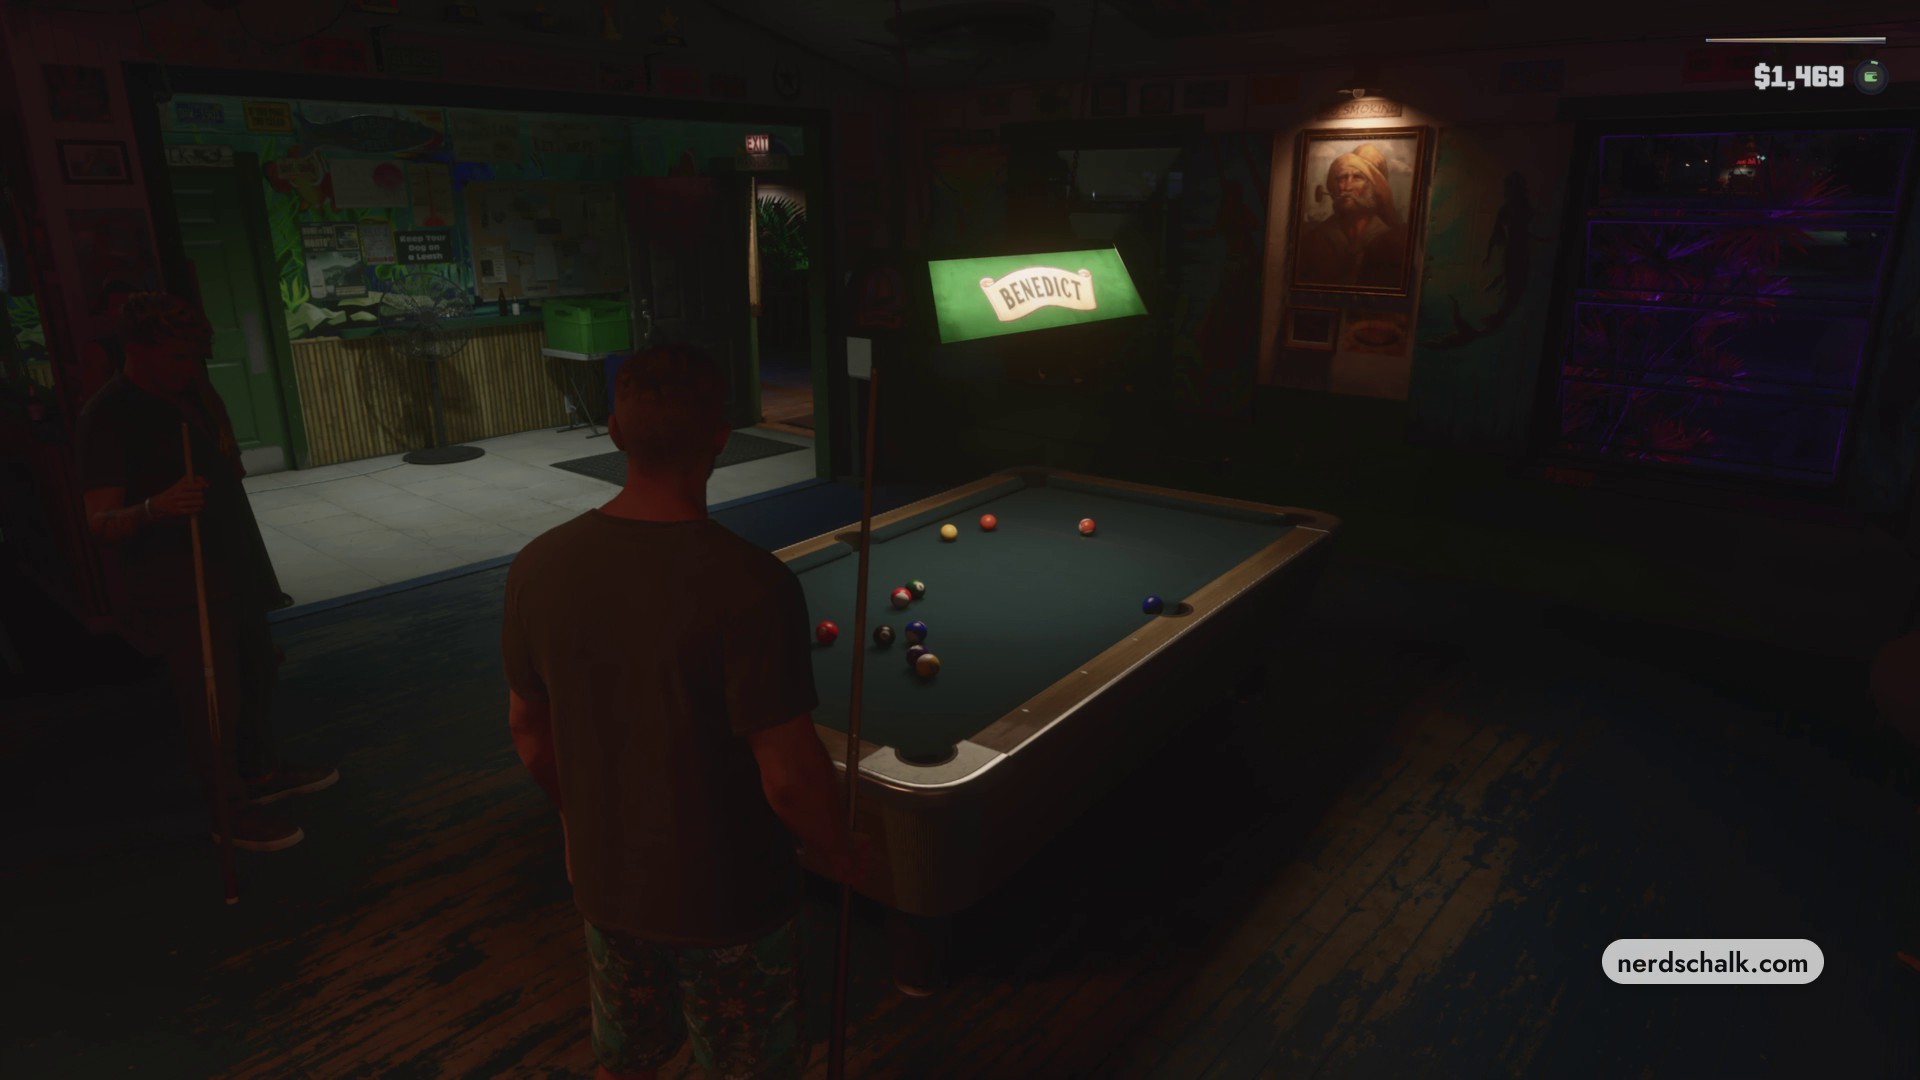
Part 5 – Fight the aviators and escape with Lucia
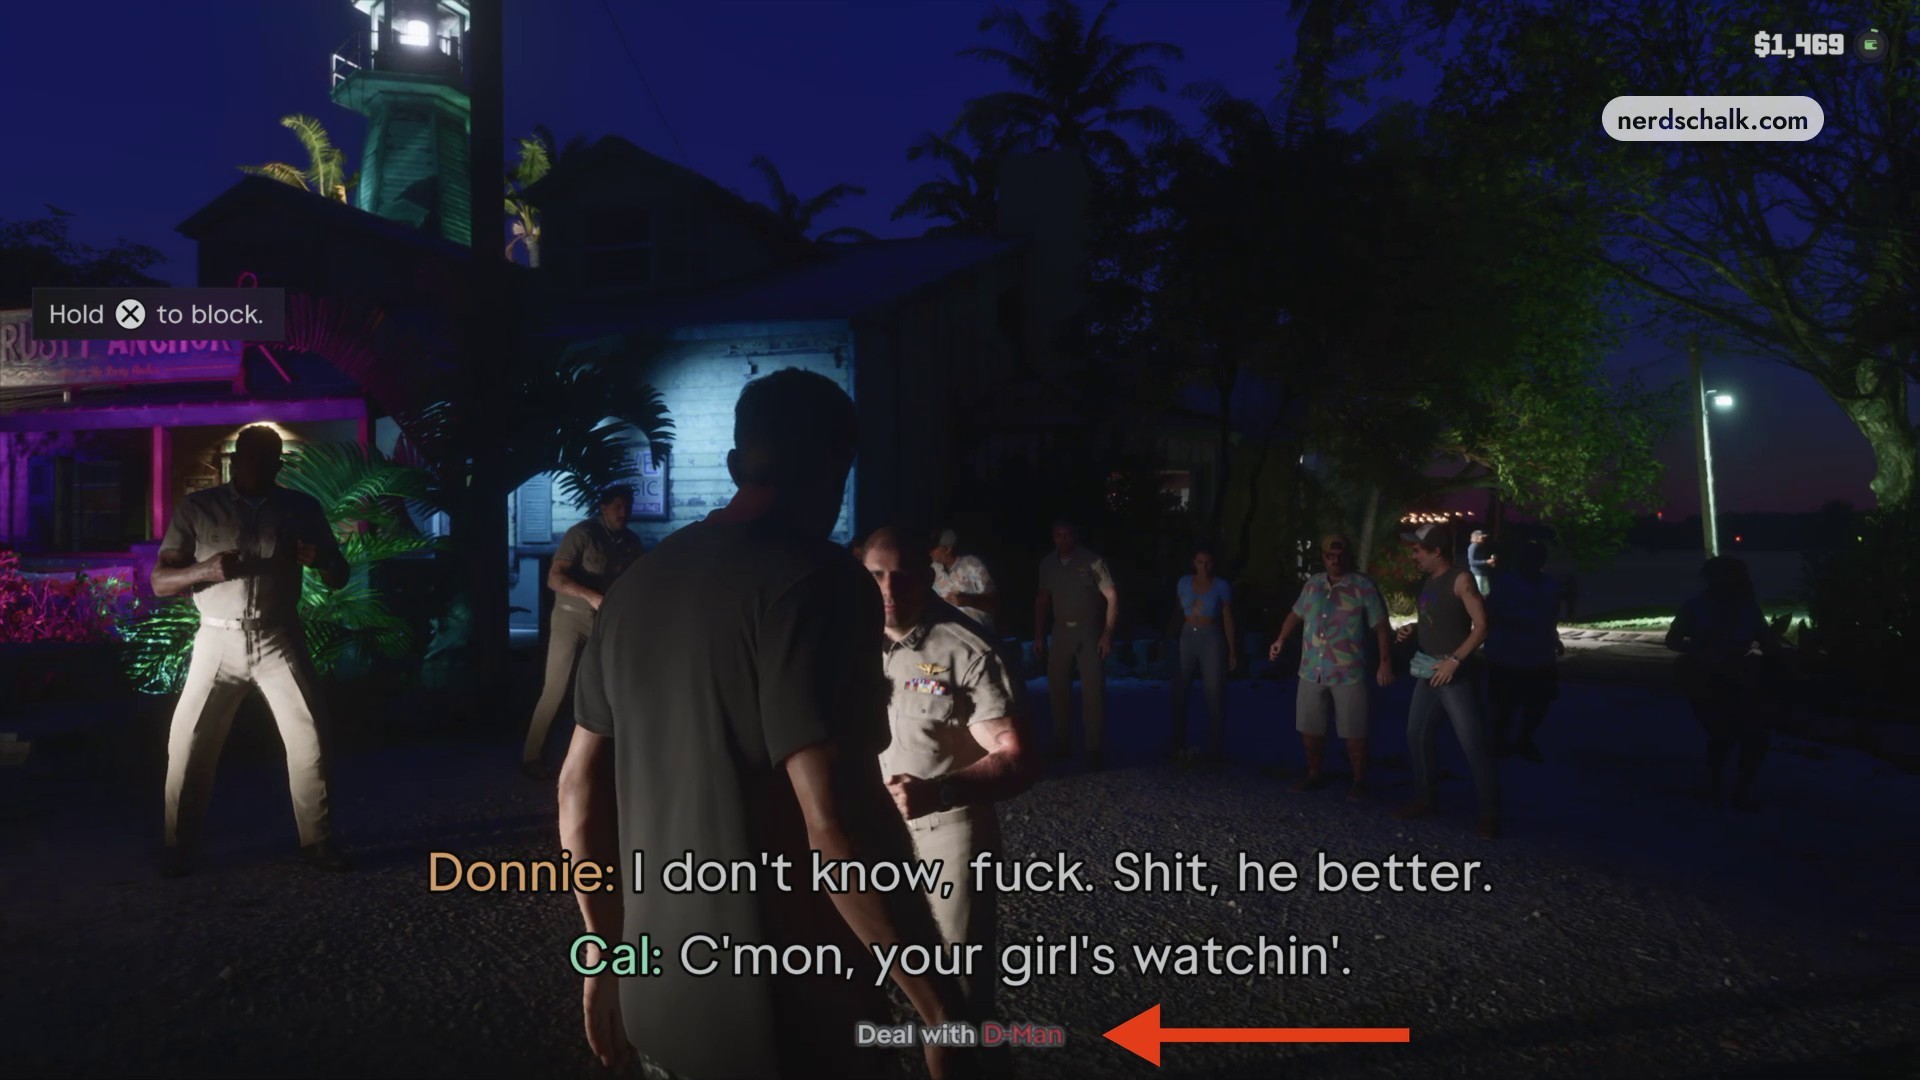
The next objectives are Deal with D-Man and Follow Lucia.
Defeat D-Man
After the pool interruption takes you outside the bar, hold Cross to block incoming strikes. Punch D-Man until he is knocked out.
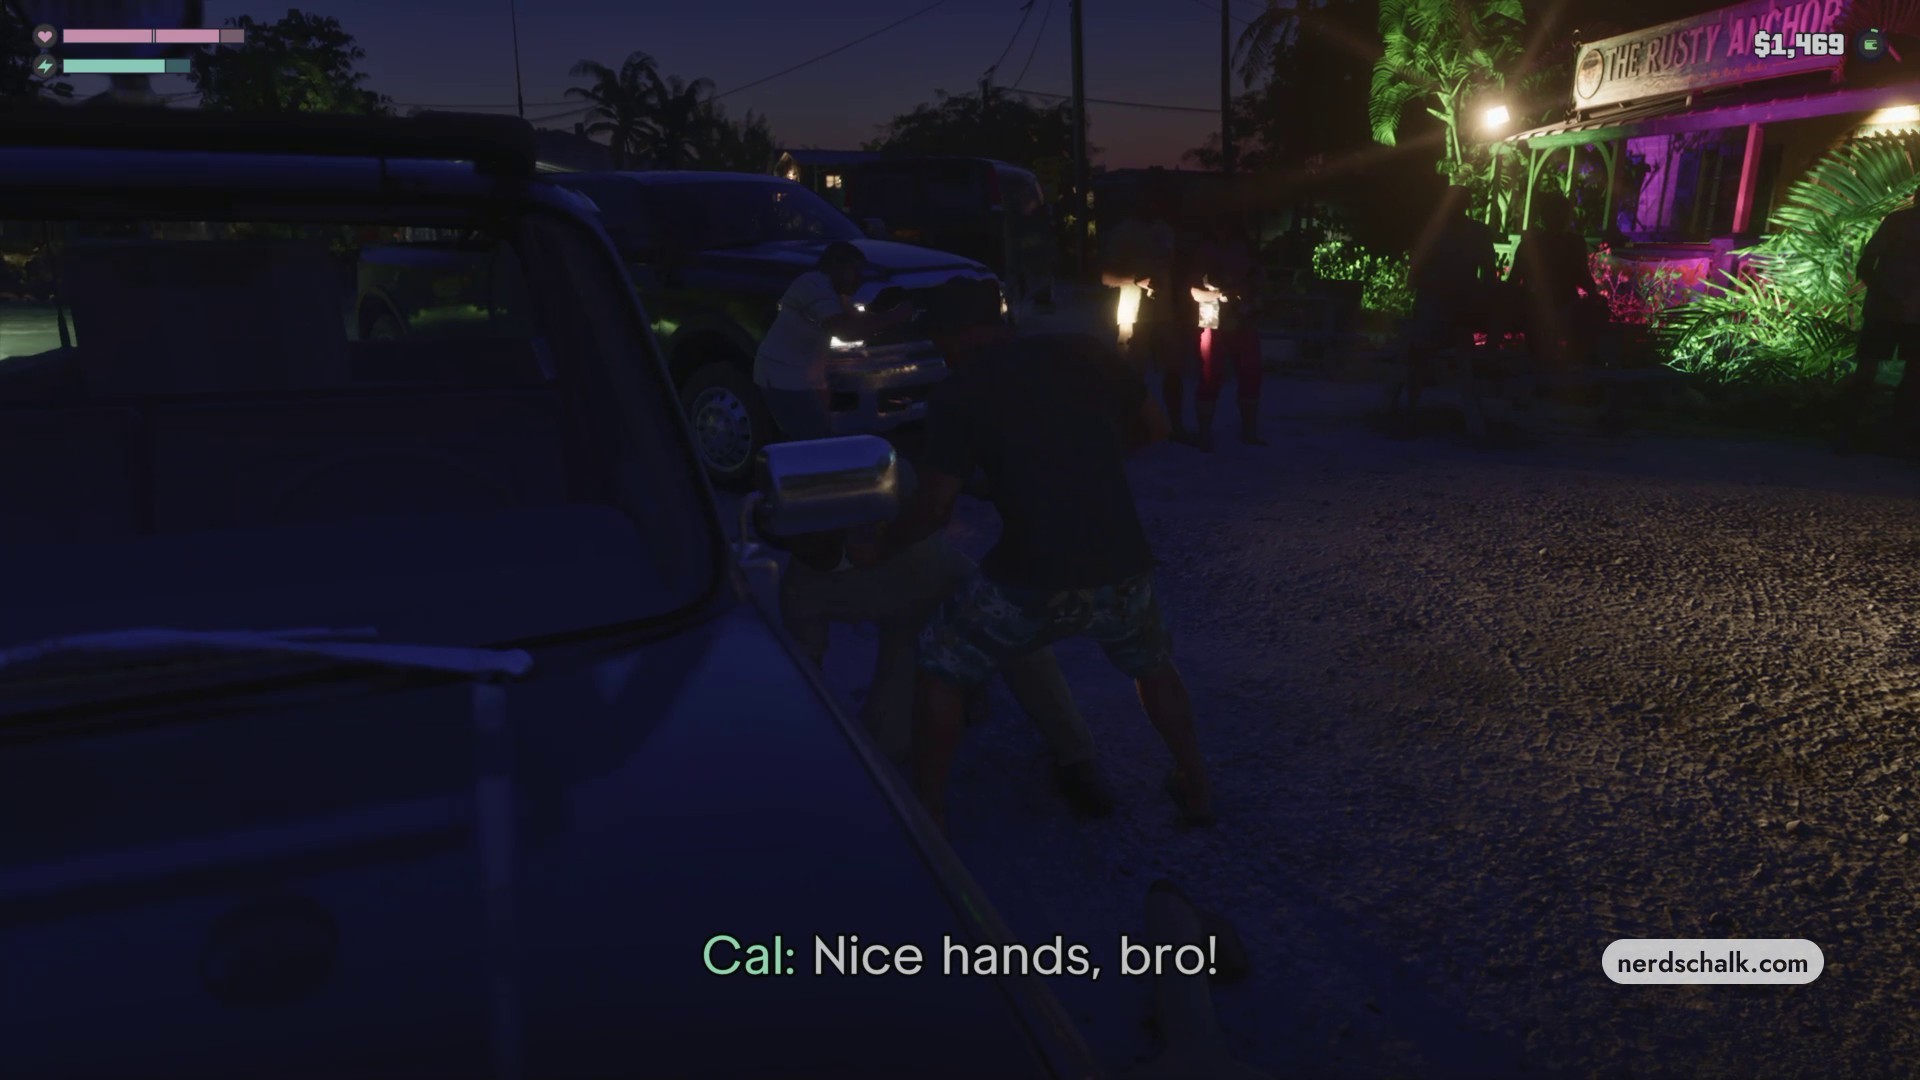
Defeat the remaining aviators
Fight and knock out the other aviators attacking you in the parking area.
Follow Lucia
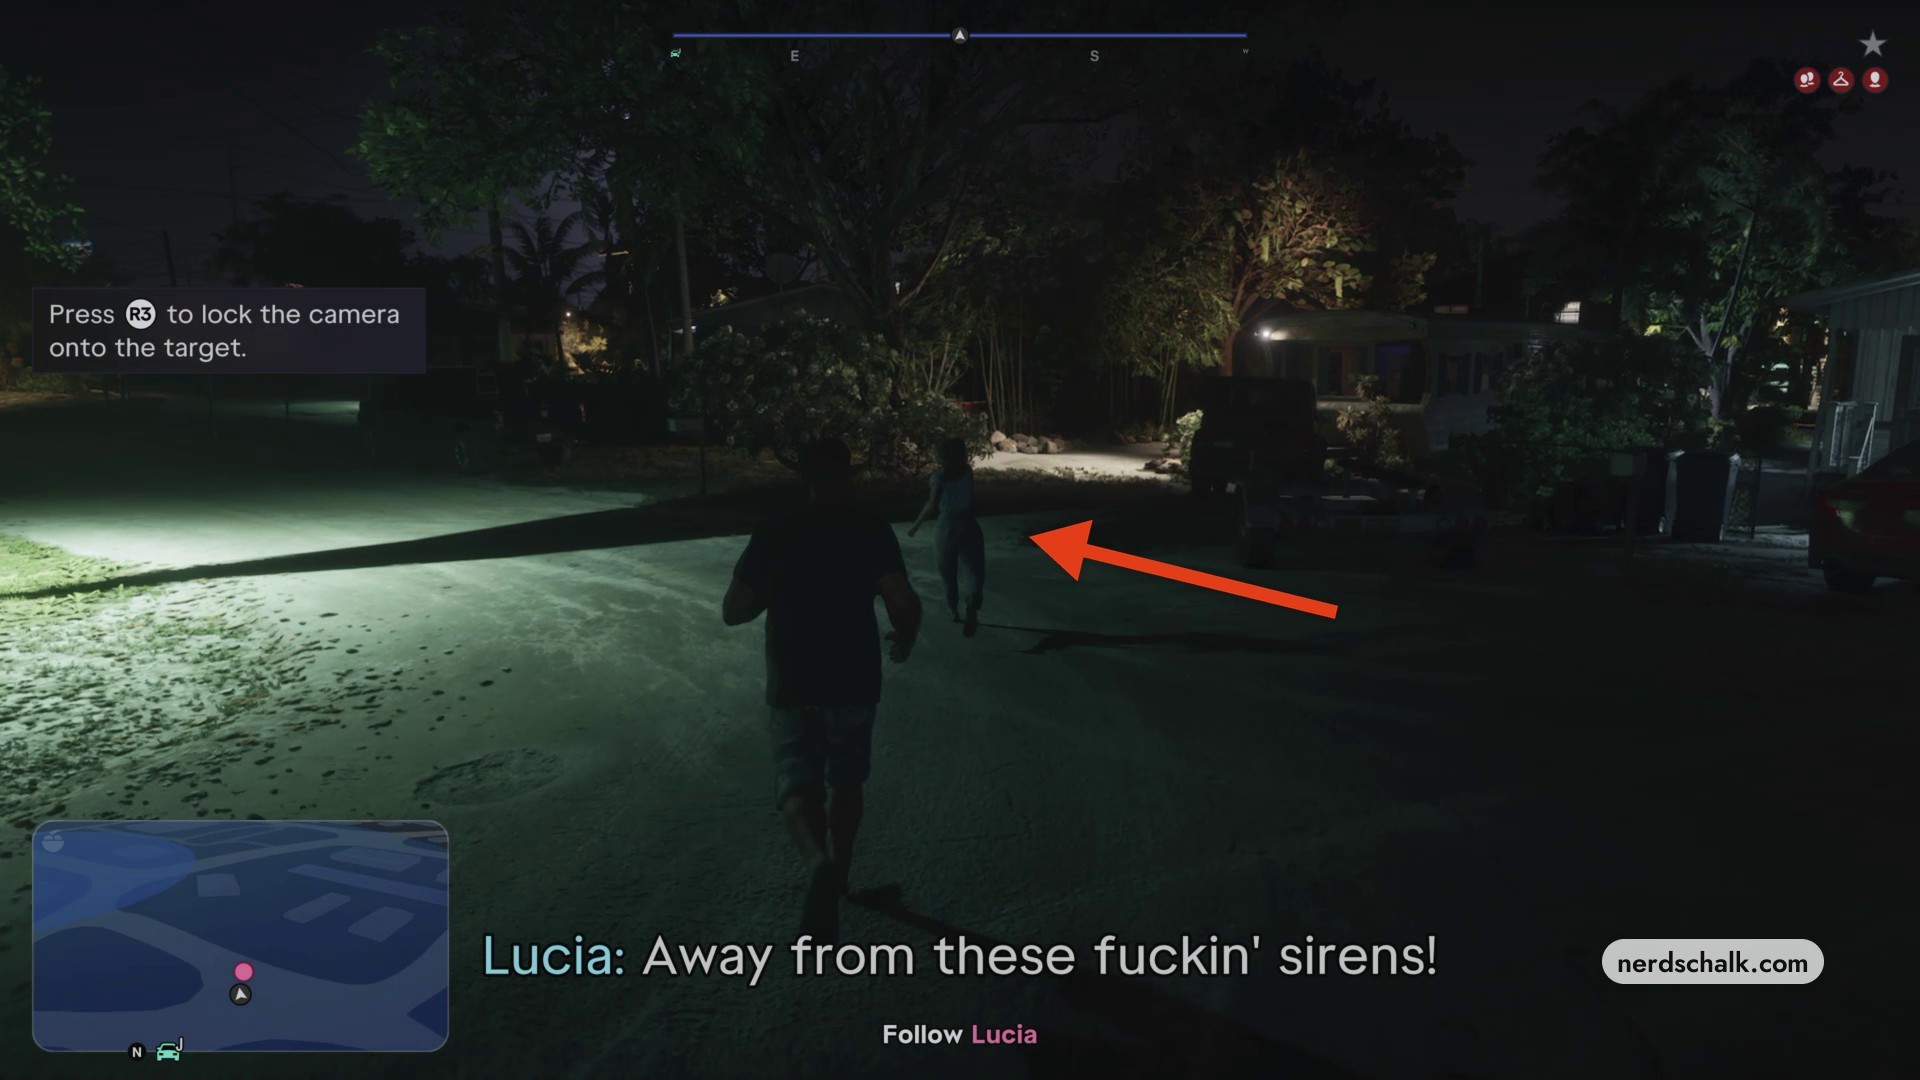
Once the police-arrival cutscene ends, sprint after Lucia through the residential yards, fences, and parked vehicles toward the beach. The running prompt assigns R3 to lock the camera onto the target. If you need to retry, the pause menu offers restart and checkpoint options; reloading plays the police-arrival sequence again.
Part 6 – Answer Donnie’s call the next morning
A cutscene plays before the morning phone interaction.
Answer Donnie’s phone call
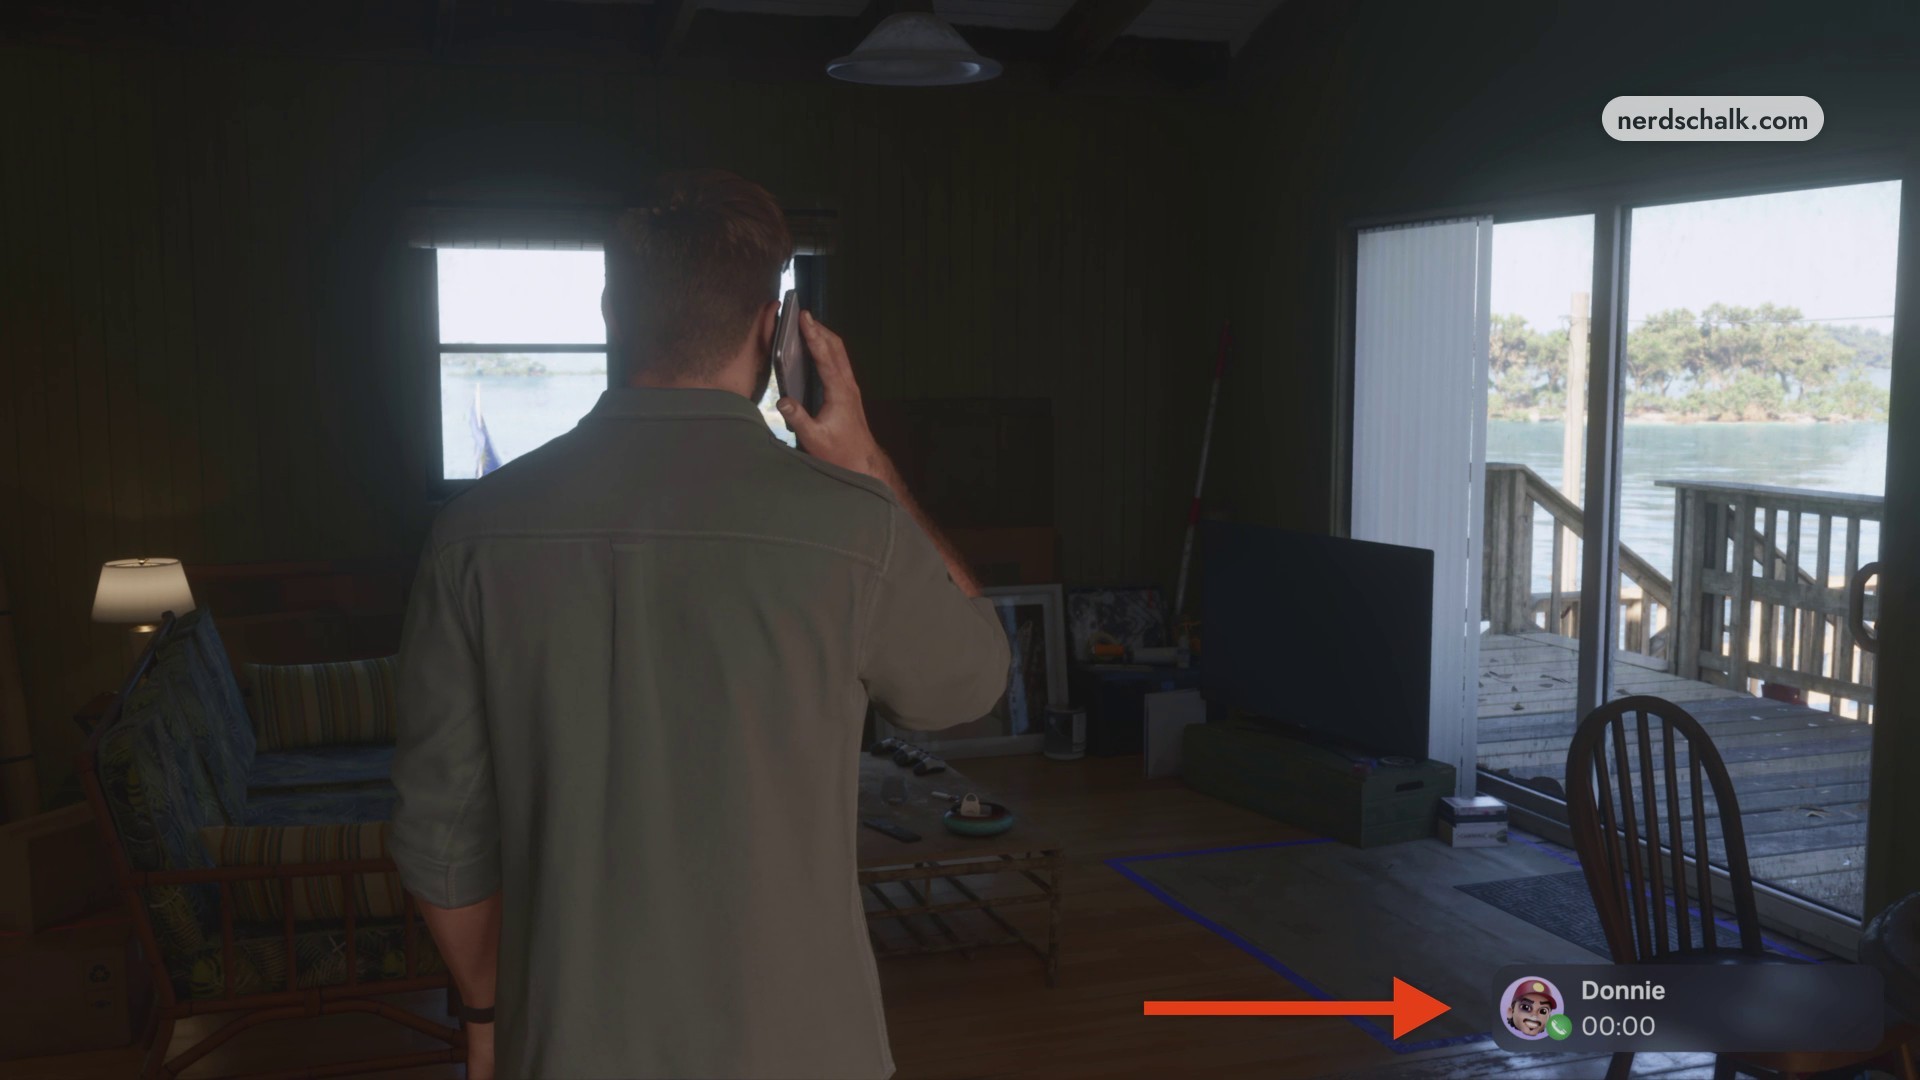
When the phone rings while Jason has coffee, answer the call identified as Donnie. Listen to his request and let the call finish.
› story detailsSpoilers for the story. Open to read.
Coming Home transitions
After Lucia receives a message about Kat visiting, Jason heads to the restroom before returning to the bar.
Cutscenes carry Jason and Lucia from the beach to Jason’s stilt house and into the bedroom.
Jason wakes the next morning, and Lucia leaves for work detail before his coffee and phone call.
Donnie asks Jason to retrieve misplaced contraband plane drops scattered along the rivers.
After the call ends, free movement returns in the living room and the HUD displays Stamina buffed. Donnie’s river-drop request sets up the next task.
Related Grand Theft Auto VI guides
Leave a Reply