
In Chapter 5 (“Desolation It Wrought”), raise the Sphere and switch it to Splitting Light so its red, green, and blue beams each land on the matching-colored gem or dial at once — lighting all three simultaneously opens the way forward.
Chapter 5 of Resonance: A Plague Tale Legacy is the second Trial, and it hands you Sophia’s upgraded Sphere alongside more than one light-based puzzle. That’s exactly why “Colored Lights” trips people up: two different rooms in this chapter fit the description, and the fix for one won’t touch the other. This is the launch build of the game (released August 27, 2026), so minor layout differences are possible, but the solutions below hold.
Which Chapter 5 colored-lights puzzle are you stuck on?
| Puzzle | Where in Chapter 5 | Core solution |
|---|---|---|
| Bull-pillar gem puzzle | Camp with the large bull pillar, past the four-socket green bull door | Stand on the plate at the end of the left pillar, switch to Splitting Light, and align the red, green and blue beams onto the matching gems. |
| Colour Reflector Chamber | Trial chamber built around a central column with three coloured dials | Burn away the petrified growths, then route each colour off its reflector to the matching dial on the column. |
Key The one most players mean is the bull-pillar gem puzzle tucked in an abandoned camp, where you stand on a floor plate and split the Sphere’s light onto three gems. The other is the Colour Reflector Chamber, which swaps the standing plate for a set of mirrors you rotate around the room. Find your room in the table, then jump to its section.
Set the Sphere to Splitting Light, not Reveal Light — Reveal Light only exposes hidden markings on walls and floors, so the puzzle emits no coloured beams at all until you switch modes.
How to solve the colored light puzzle in Chapter 5
Start at the four-socket room
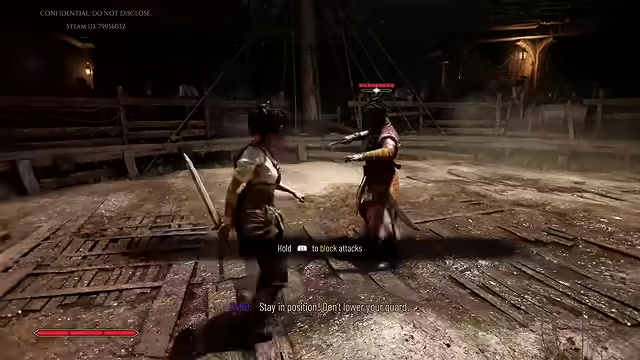
From the room with the four sockets and the large green bull door, face the door and take the front-right path, marked by a symbol that looks like an “O with three lines” set between the statues.
Cross the bridge and drop down
Cross the bridge, go left, and drop down to clear the group of enemies waiting below.
Head away from the bull door
Don’t climb the stairs toward the bull door — head the opposite way to the abandoned camp built around a large bull pillar.
Climb the rocks on the left
On the left side of the ruins, climb the rocks to the top, where four greenish floor plates sit along the pillars.
Stand on the end plate
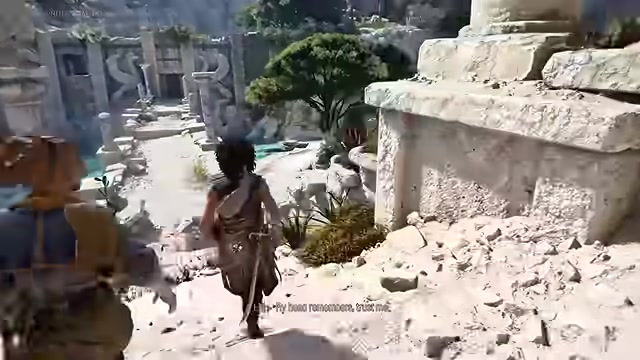
Step onto the plate at the end of the left pillar — this is the spot that lines the Sphere’s beams up with the gems on the bull pillar.
Switch to Splitting Light
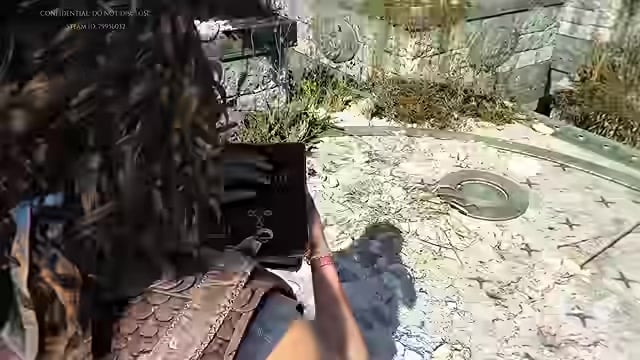
Raise the Sphere and switch it to Splitting Light so it throws three coloured beams: red, green and blue.
Match each beam to its gem
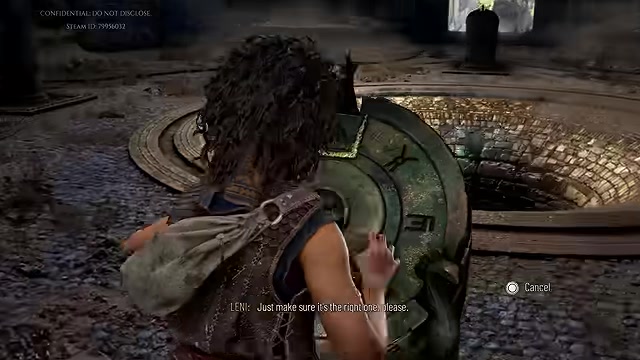
Rotate the Sphere until the red beam hits the red gem, green hits green, and blue hits blue — all three lit at the same time.
Drop into the crypt
With every gem lit, the axe symbol on the floor opens onto stairs down into a crypt, where a large chest holds an Artefact relic.
Colour Reflector Chamber: routing red, green and blue to the column
Burn the petrified growths
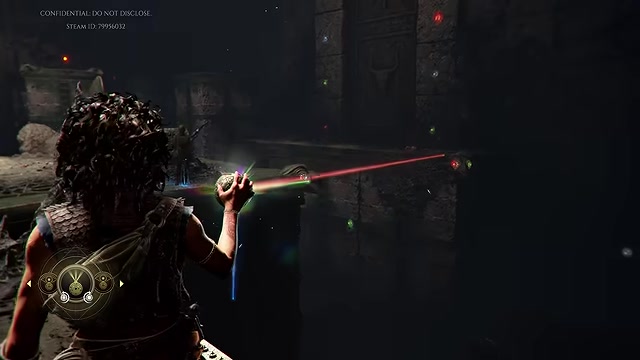
Use a beam to burn away the petrified growths covering the reflectors before you try to aim anything, or the mirrors you need will stay blocked.
Solve red first
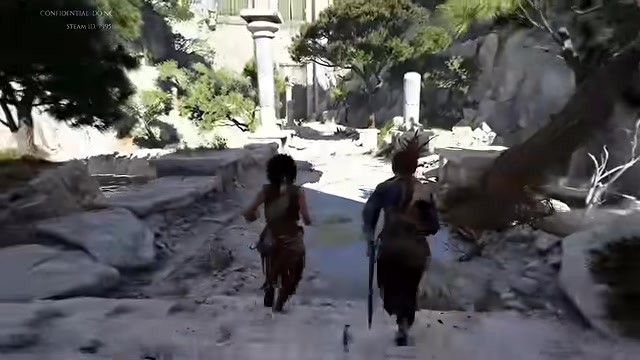
Aim the red source at the reflector on the right side, then rotate that reflector until the beam lands on the red dial on the central column.
Solve green next
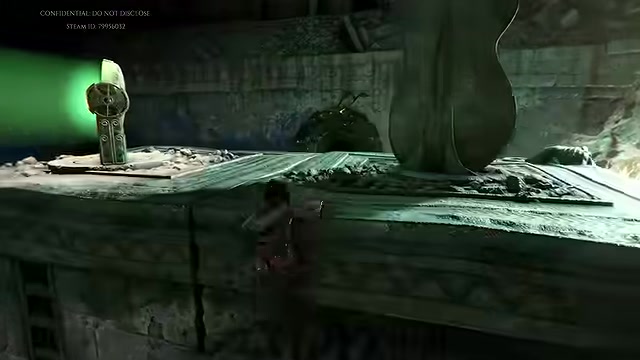
Move the green light onto the reflector sitting directly opposite its source, then turn that reflector to hit the green dial.
Solve blue last
Route the blue beam through the left-side reflector chain, clearing any growths along the way, until the final reflector can be turned onto the blue dial.
Reveal the pillar symbol
With all three dials charged, the symbol on the pillar appears and the chamber opens.
Why the beams won’t line up
At the bull pillar, the usual snag is the floor plate. If the gems keep flickering but never all hold their light together, you’re standing on the wrong one — step off and move to the plate at the very end of the left pillar, since that’s the only position where the geometry lets all three beams converge.
In the Colour Reflector Chamber, a dial that refuses to charge almost always means you’re trying to shine a colour straight from its source to the column instead of bouncing it through the reflector chain. Check that you’ve burned away every petrified growth first, too — a single covered mirror is enough to break the whole route.
Frequently Asked Questions
What collectibles are near the Chapter 5 colored-light puzzles?
The bull-pillar puzzle’s crypt holds a large chest with an Artefact relic, and there are more chests dotted around the Trial rooms, including one near the spike-pit ruins. In total, Chapter 5 contains 1 Blade, 5 Artefacts, and 5 Charms.
What do you get for finishing Chapter 5 “Desolation It Wrought”?
Completing the chapter awards the Gold trophy “Desolation It Wrought”.
Video help






Leave a Reply