
To open the outer Black Temple door in Chapter 7 (Death It Sowed), stand on the pedestal and use the Sphere’s Reveal Light, then press the four skull buttons in this order — 4th (rightmost), 3rd, 1st, 2nd — each once, and the door opens immediately.
The Black Temple in Chapter 7 (Death It Sowed) keeps Sophia out with four skull buttons mounted on the columns outside the door, and the whole trick is that the order you press them in is not the code the door shows you. Line the sequence up correctly and the door swings open the moment you hit the fourth skull; get it wrong and nothing moves. Here is the exact press order, why the gemstone code misleads people, and the Light Splitting door waiting right behind it.
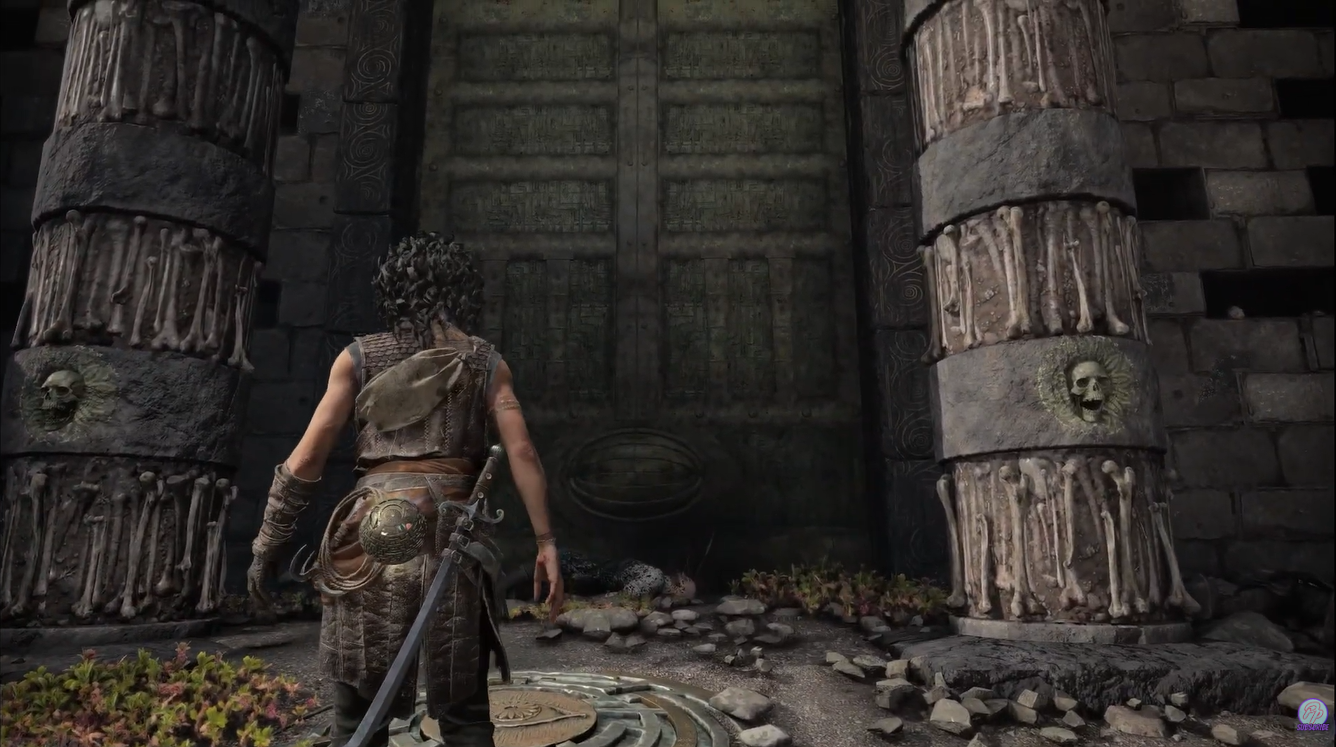
| Press | Skull button (column, left-to-right) |
|---|---|
| 1st press | 4th column (rightmost) |
| 2nd press | 3rd column |
| 3rd press | 1st column (leftmost) |
| 4th press | 2nd column |
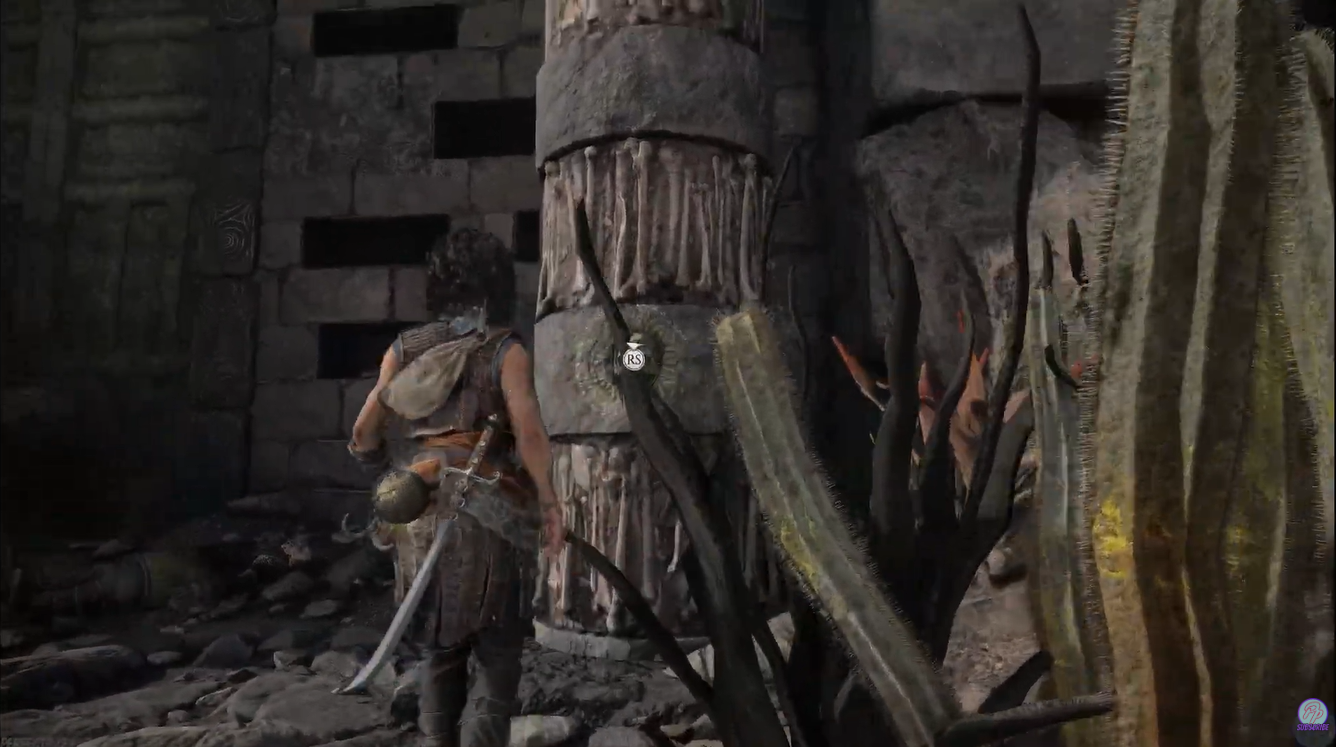
Start on the stone circle pedestal directly in front of the door. Aim the Sphere’s Reveal Light at the door to light up the glowing gemstones tied to each column — this is what maps every gemstone to its skull, so do it before you touch anything. Count the columns left to right, then walk to each pillar and press its skull in the sequence below.
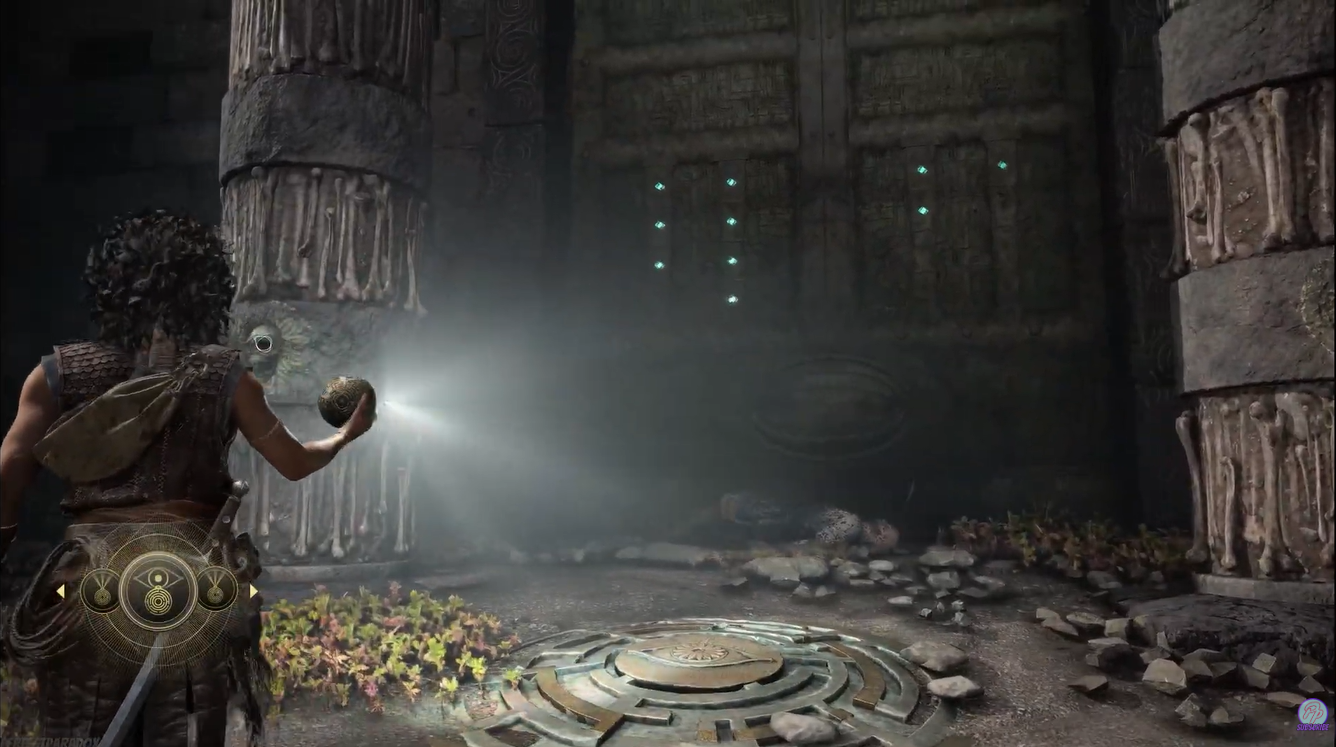
So the rightmost pillar is pressed first, the door reads as 4th → 3rd → 1st → 2nd, and each skull takes a single press. As soon as the fourth skull goes in, the outer door opens and you can head inside.
Fire the Sphere’s Reveal Light from the pedestal before you touch a single skull — reveal the gemstones first, or the columns stay unmapped and you are only guessing.
Gemstone code is the pressing order
The four gemstones spell out 3 – 4 – 2 – 1 read left to right, and that number is exactly what traps people: it looks like a press sequence, but it is only a visual hint pointing at which columns matter, not the order to hit them. The buttons are pressed 4th → 3rd → 1st → 2nd instead. Two other habits keep the door shut — hammering the skulls before using Reveal Light, so you never see which gemstone belongs to which column, and assuming a skull needs several taps. One press per column is all it takes; a single press is the working solution.
Solving the interior door’s Light Splitting puzzle
| Light color | Reflector |
|---|---|
| Green | Center reflector |
| Blue | Right reflector |
| Red | Upper-left reflector |
Once the outer door opens and you step in, the interior Black Temple door throws a Light Splitting puzzle at you almost right away. Press the skull button on the main pedestal so you end up facing the central hole, position the central reflector, then split the Sphere’s light across the three coloured spots — matching each colour to the reflector below.
With green on the center, blue on the right, and red on the upper-left, the platforms appear and you descend the hole to continue the chapter.
Video help






Leave a Reply