What to know
- Between Alpha and Omega in Mouse P.I. For Hire is a short investigative side job tied to the “To Catch a Mockingmouse” mission.
- You must interact with the BMP Yes-Man and complete a simple photo objective.
- The quest revolves around tracking and photographing a key NPC connection.
- Completion rewards are modest but useful early-to-mid progression bonuses.
You’ll encounter Mouse P.I. For Hire as a quick but memorable side job that blends light investigation with a simple objective chain. While it may seem straightforward, missing small details—like where to go or when to return—can delay completion. This guide walks you through everything clearly so you can finish it in one smooth run.
Here is a quick overview of Between Alpha and Omega in Mouse P.I. For Hire:
| Aspect | Details |
|---|---|
| Quest Name | Mouse P.I. For Hire |
| Trigger Mission | Between Alpha and Omega |
| Starting NPC | BMP Yes-Man |
| Main Objective | Take a photo of target (his wife) |
| Difficulty | Easy |
| Estimated Time | 5–10 minutes |
| Rewards | XP, minor currency/items |
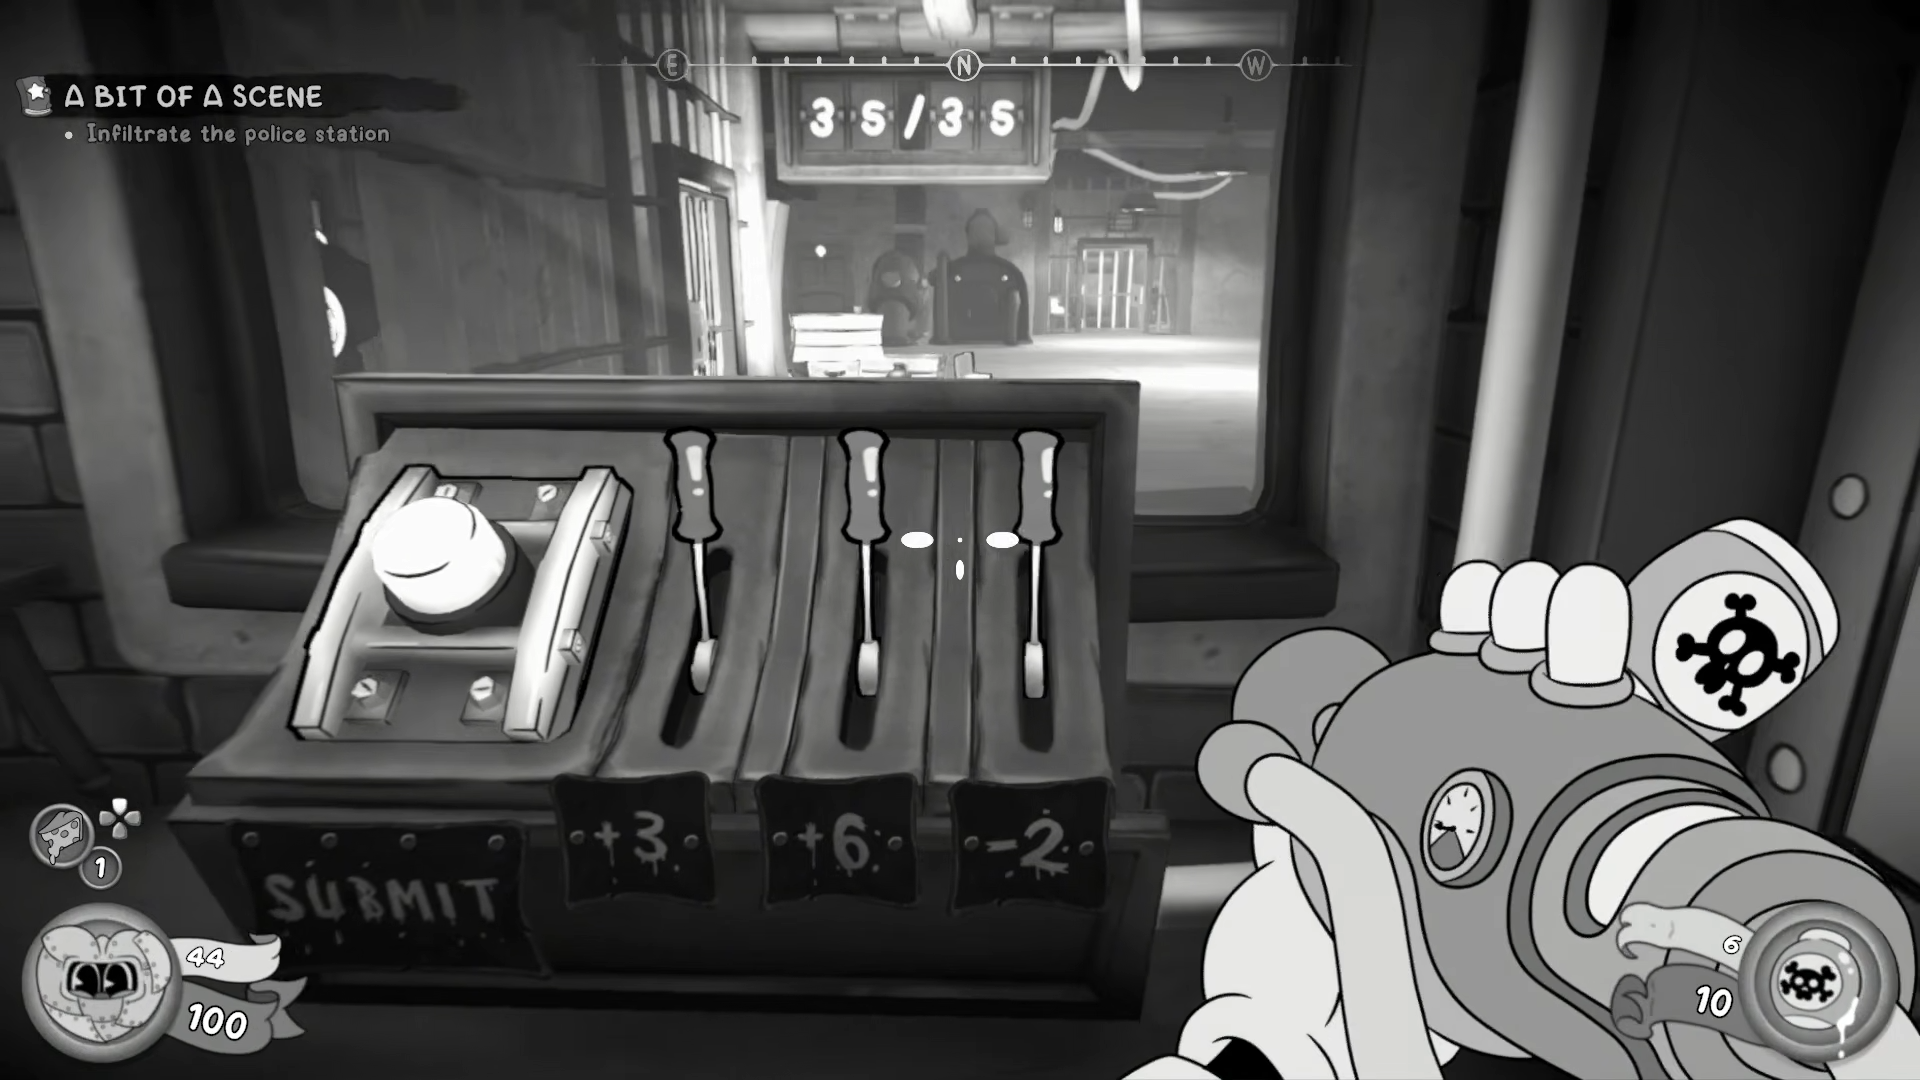
How and where the side job begins
To begin Between Alpha and Omega, you need to talk to the BMP Yes-Man during the “To Catch a Mockingmouse” mission segment. This interaction triggers the side job and adds it to your quest log.

The BMP Yes-Man assigns you a simple investigative task, asking you to gather proof by taking a photo. The instructions are straightforward, but the game expects you to use the correct tool to progress.
How to complete Between Alpha and Omega side job in Mouse P.I. For Hire
Step 1
Speak with the BMP Yes-Man to accept the side job.
Ensure the quest is actively tracked so your objective marker appears.

Step 2
Follow the objective marker to locate the target (his wife).
The target is usually nearby within the same district, but may not be immediately obvious in crowded areas.
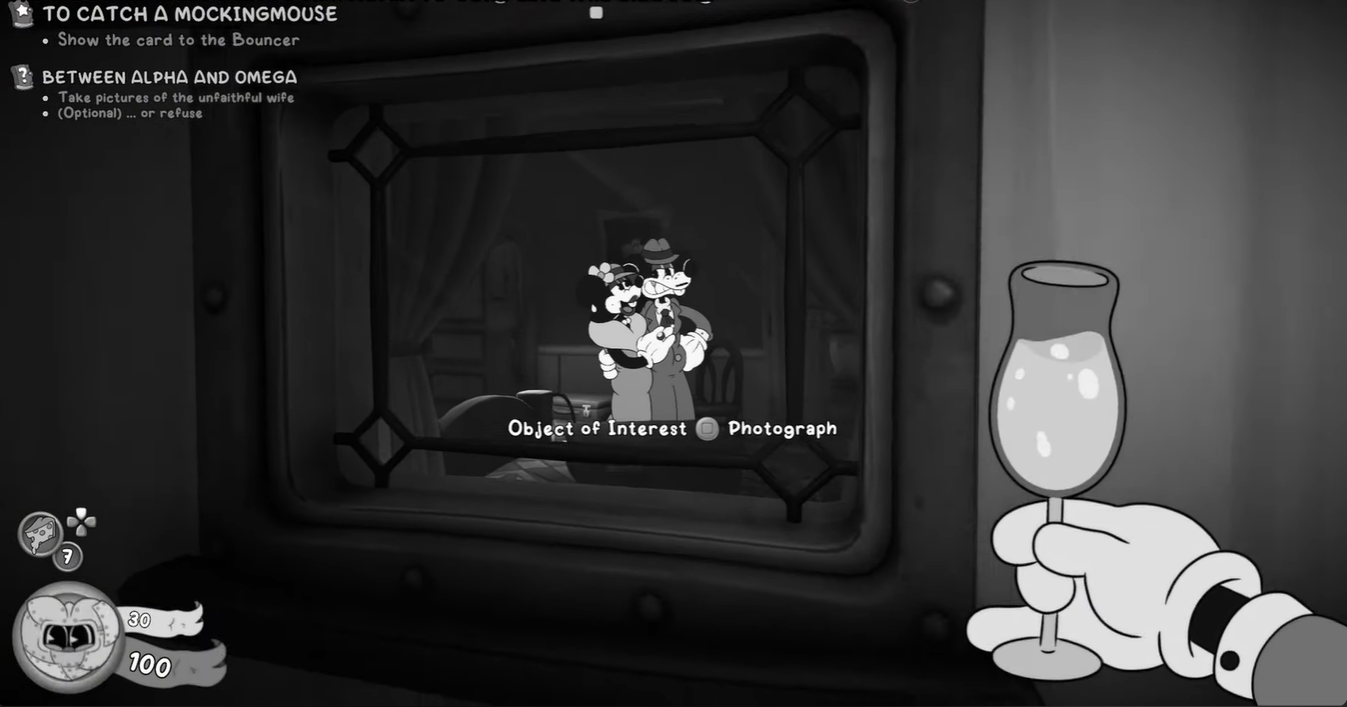
Step 3
Activate your camera or scanning tool.
This is the key mechanic for this quest—without using it, the objective will not progress.
Step 4
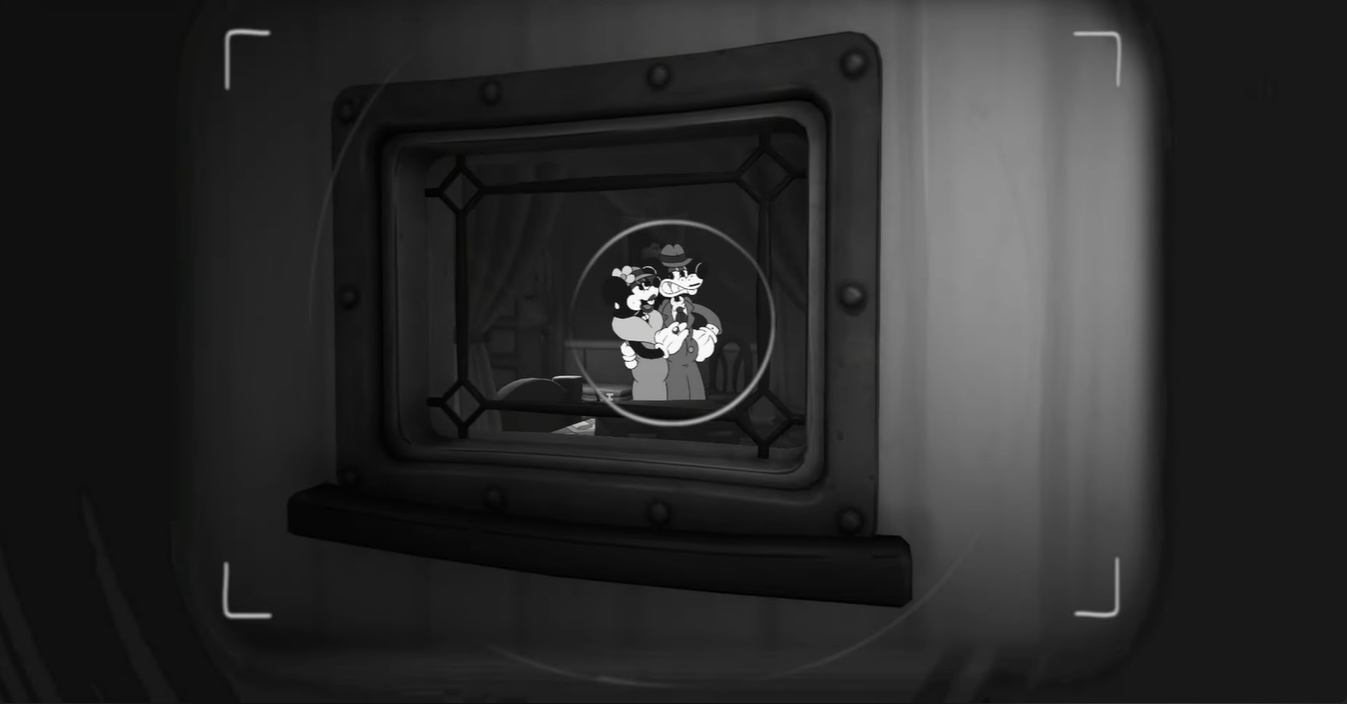
Take a clear photo of the target.
Make sure the subject is centered and visible. If the game doesn’t register it, adjust your angle or move closer.

Step 5
Wait for the objective update confirming the photo was accepted.
Do not leave the area until you see confirmation in your quest log and then go to the BMP Yes-Man.

Step 6
Return to the BMP Yes-Man and speak to him again.
This final interaction completes the side job and rewards you.

Rewards for Between Alpha and Omega
| Reward Type | Details |
|---|---|
| Experience Points | Moderate |
| Currency | 50 Coins |
| Progression | Contributes to side job completion |
While the rewards are modest, the quest is quick and adds to your overall progression, making it worth completing whenever it becomes available.
Common mistakes to avoid during the quest
One of the most frequent issues players face is forgetting to actually take the photo. Simply finding the target does not progress the quest. You must use the correct camera or scanning function for it to count.
Another common oversight is leaving the area too early. If the photo doesn’t register, double-check your quest log before heading back. The game will only update once the image is successfully captured.
You should also ensure that you return to the same NPC who gave the quest, as speaking to other characters won’t trigger completion.
Between Alpha and Omega highlights the investigative side of Mouse P.I. For Hire, shifting away from action and focusing on observation. You’re essentially playing the role of a detective, using tools instead of combat.
If you follow the correct sequence—talk, locate, photograph, and return—you’ll complete Between Alpha and Omega in just a few minutes. The key is remembering that the photo is the actual trigger for progression.
This kind of mission reinforces the game’s core theme—solving problems through awareness and interaction rather than force—and provides a refreshing change of pace.


Leave a Reply