
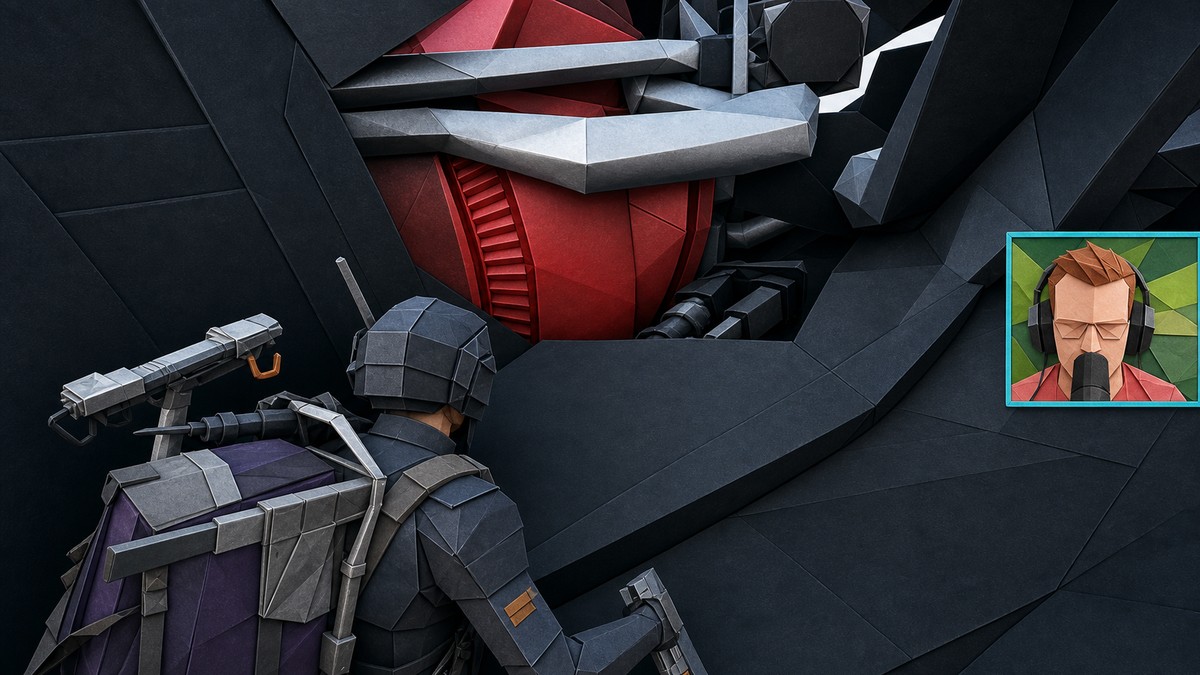
The best high-score method is to queue solo into squads, sneak to the Matriarch, farm Rascal damage from inside her body, and extract once adds, players, or broken shields make the run unsafe.
The Damage ARC using Rascal Trial is built around sustained launcher damage, so your score depends on finding enough ARC health before other players interrupt the farm. The Matriarch route is the strongest high-score play because it gives the Rascal one huge target while most squad lobbies are busy fighting elsewhere.
- Matriarch farming is the best Rascal high-score route
- Damage ARC using Rascal scoring and targets
- Matriarch Rascal loadout
- How to farm Rascal damage on the Matriarch in ARC Raiders
- Matriarch positioning, splash damage, and shield survival
- Fallback Rascal farms when the Matriarch is contested
- Rascal Trial mistakes that waste score
- Frequently Asked Questions
Matriarch farming is the best Rascal high-score route
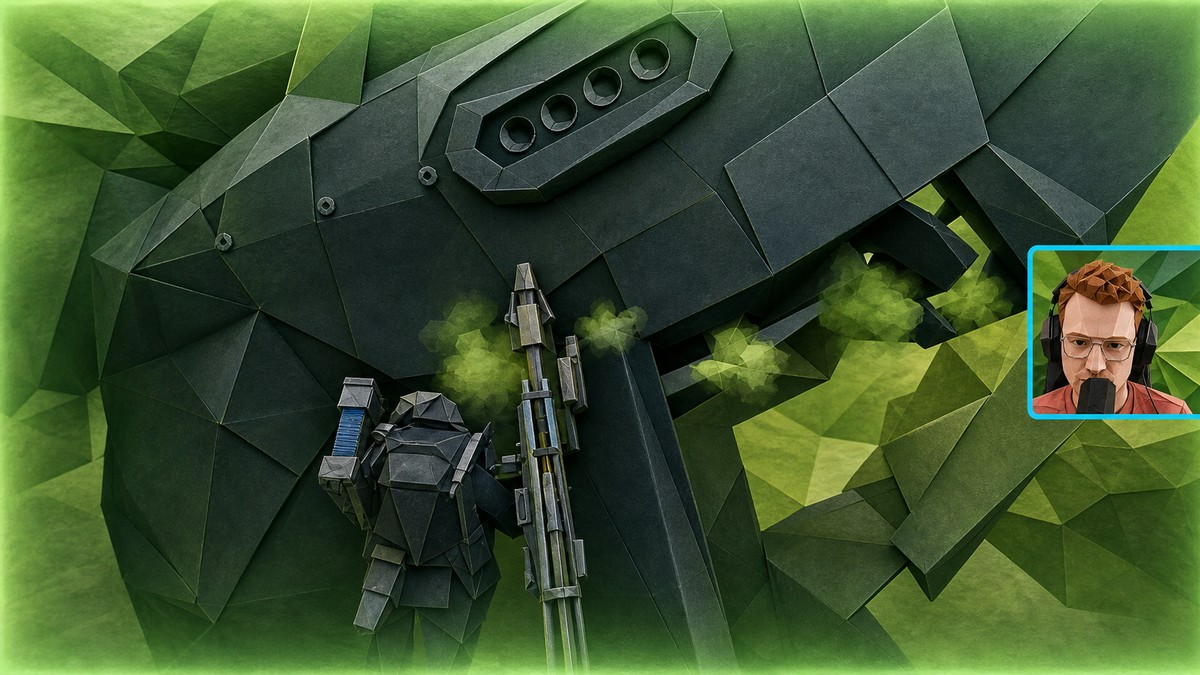
Queue solo-vs-squads, get to the Matriarch quietly, and use her body as your Rascal damage farm. This is not a loot route first; it is a score route where the win condition is damaging ARC, staying alive, and leaving before the lobby collapses on you.
Normal high-value ARC farms are crowded during Trials. Spaceport runs can produce good Bombardier damage, but the Rascal fires slowly, and every reload becomes a window for another player to steal the target or force PvP.
KEY!The Matriarch route avoids that problem by moving your run to a boss many trios ignore. In squad lobbies, teams often spend their time fighting each other instead of committing to the Matriarch, which gives a solo player enough space to build a serious score if the entry is clean.
Damage ARC using Rascal scoring and targets
| Detail | Value |
|---|---|
| Trial | Season 5, Week 2 Damage ARC using Rascal |
| Weapon | Rascal grenade launcher |
| Scoring rate | About 0.7 Trial score per 1 Rascal damage |
| Score banking | Successful extraction is the priority |
| 3-star target | Plan around 3,000-4,000 score and keep going until the 3-star icon appears |
| Matriarch showcase score | 8,354 |
| Matriarch-only ceiling | About 11,700 score in early theorycrafting |
| Live counter | Use the Trial counter, since some Rascal math can land roughly 25% below raw damage projections |
Only the Rascal damage is the score engine here. Use another weapon when survival demands it, but any ARC damage you want counted toward the Trial needs to come from the Rascal.
The target is not just reaching 3 stars; it is extracting with a score that can compete. Once the run is already strong, every extra Rascal shot has to be weighed against your shield, nearby players, and whether you can still get out.
Matriarch Rascal loadout
| Slot | Bring |
|---|---|
| Main weapon | Rascal |
| Ammo | Plenty of Launcher Ammo |
| Backup weapon | Reliable gun for Wasps, Hornets, and emergencies |
| Shield | Strong shield, plus a spare shield if possible |
| Shield sustain | Shield Rechargers |
| Healing | 5-10 Bandages and Adrenaline Shots |
| Utility | Shock waves for player pressure and disengages |
| Augment | Survivor MK.3 Augment if you want a sustain-focused setup |
The Rascal is a single-shot grenade launcher with a slow reload, so the loadout has to protect you between shots. Build for durability and sustain first, then bring only the utility you need to escape pressure.
Do not treat the inventory like a looting build. Free Loadouts leave you short on ammo and support gear, and the Matriarch route punishes that immediately when the shield starts breaking or adds begin hovering over the fight.
How to farm Rascal damage on the Matriarch in ARC Raiders
This route turns the Matriarch into a high-health target while you manage splash damage, shields, adds, and extraction timing.
STEP 1/12
Queue solo-vs-squads
Enter a squads lobby alone so the Matriarch is more likely to be ignored while teams fight each other.

STEP 2/12
Route quietly to the Matriarch
Move toward the Matriarch without picking unnecessary fights, because every early duel risks the ammo and shield sustain the farm needs.
STEP 3/12
Respect the map-edge side
Watch the Dam edge where the Matriarch can push through an invisible wall that your raider cannot pass.

STEP 4/12
Drop inside the Matriarch
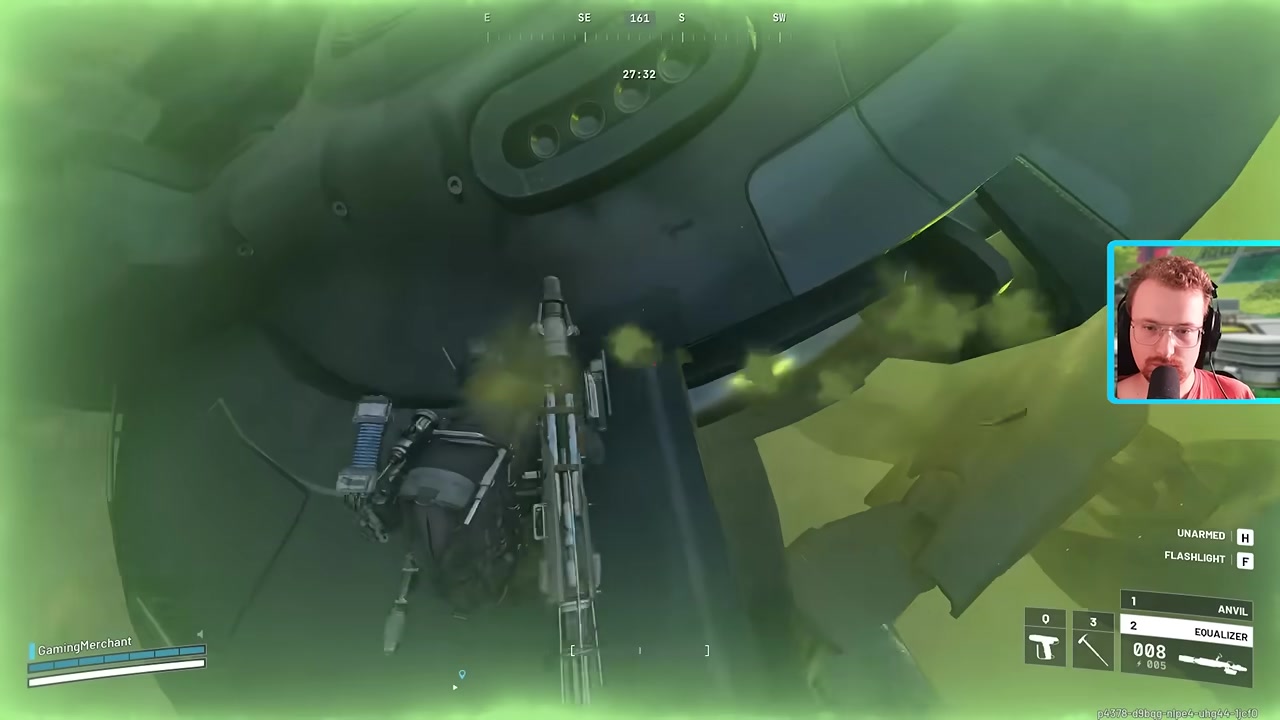
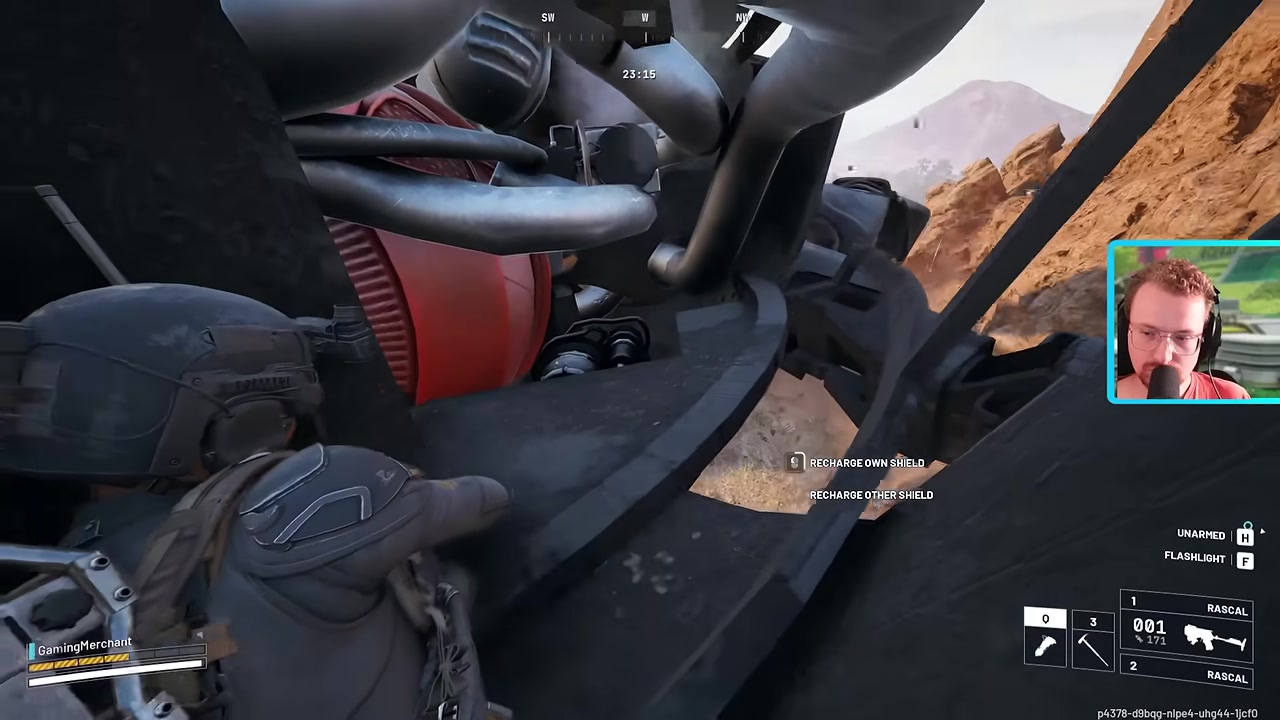
Get inside the Matriarch’s body, then settle before firing so her movement does not knock your aim into the floor.
STEP 5/12
Angle Rascal shots off-center
Aim slightly away from the core when needed so the blast still scores without splashing straight back into your shield.

STEP 6/12
Hip-fire if it reduces splash
Use hip-fire when aiming down sights makes your shots catch the wrong panel or bounce damage into you.

STEP 7/12
Swap off the Rascal for adds
If Hornets start shredding your shield, pause the farm and use your backup weapon to clear them.

STEP 8/12
Let your shield recover
Stop shooting long enough for shield recovery instead of burning a spare shield too early.
STEP 9/12
Prepare to disengage when players arrive
If raiders show up, keep shock waves ready and avoid turning a strong Trial run into a losing 1v3.

STEP 10/12
Use missile phases for clean damage
Fire during Matriarch missile phases because she stands still and your splash angles are easier to control.

STEP 11/12
Stop when the shield breaks
Once your shield is busted, treat every stomp, add, or player angle as a run-ending threat.

STEP 12/12
Call the run and extract
Extract with the score instead of greeding one more Rascal shot.

Video help
Matriarch positioning, splash damage, and shield survival
The Dam version of the Matriarch fight has a nasty edge-of-map problem. If she walks toward the boundary while you are inside or pressed against her, she can move through space that blocks you, which can shove you out of position and expose you at the worst time.
Do not sit too deep in the corner of her body. When she wobbles, stomps, or shifts plating, your Rascal can hit the floor, a side panel, or a close piece of armor instead of the scoring angle you wanted, and that splash can chew through your own shield.
Aiming slightly away from the core is the balance point. You still want the blast close enough to register Matriarch damage, but not so close that every shot detonates into your feet; hip-fire can help when the tighter sight picture keeps pulling shots into your own cover.
Missile phases are your best firing windows because the Matriarch holds still. Broken plating and nearby Wasps or Hornets can turn the farm quickly, though, either by knocking you out of the pocket or forcing you to show yourself while your shield is already low.
Fire during Matriarch missile phases; she stays still, your Rascal angles are cleaner, and you spend less shield on accidental splash.
Fallback Rascal farms when the Matriarch is contested
| Method | Best use |
|---|---|
| Matriarch solo-vs-squads | Highest-score attempts when you can reach her quietly and extract before pressure arrives |
| Stellar Montis light-ARC farming | Safer runs around Shredders, Fireballs, Pops, and Ticks in indoor POIs such as Medical Research |
| Spaceport Bombardier farming | Backup runs when you can avoid player competition during slow Rascal reloads |
Use these as backup plans, not replacements for a serious high-score push.
Rascal Trial mistakes that waste score

The most common mistake is contesting the same popular ARC farms as everyone else. If you are fighting players for Bombardiers, Bastions, or light ARC clusters, the Rascal reload speed works against you and the score gets split before the run can scale.
Underpacking is the next run-killer. Too little Launcher Ammo, weak shielding, no spare shield plan, or light healing turns a good Matriarch entry into a short farm that ends the first time a Hornet damages your shield or the boss knocks you out of position.
Bad shot placement also drains runs fast. Shooting too close causes self-damage, shooting too far from the core can waste the Matriarch angle, and finishing valuable ARC damage with the wrong weapon leaves score on the table.
The final mistake is greed. If players arrive, your shield breaks, or the Matriarch is about to become a loot scramble, leave; the Trial rewards the score you extract with, not the corpse you almost looted.
Frequently Asked Questions
Does only Rascal damage count for the Trial?
Yes. Use your backup weapon to survive, but switch back to the Rascal for any ARC damage you want added to the Trial score.
What score can the Matriarch route hit?
A clean Matriarch attempt has already reached 8,354, and early theorycrafting puts the Matriarch-only upper range around 11,700 if the damage window stays stable.
Why queue solo into squads?
Squad lobbies can leave the Matriarch less contested because trios are often focused on fighting each other, giving a solo player a better chance to farm without sharing the boss.
Should you loot the Matriarch after farming damage?
Only if the area is quiet and your shield situation is healthy. For a strong Trial score, extracting beats looting under pressure.
What should you do if Hornets, Wasps, or players show up?
Stop the Rascal cycle, recover shield, clear or avoid the add with your backup weapon, and use shock waves or extraction if player pressure turns the fight.
More questions⤵
Is Stellar Montis better than the Matriarch route?
Stellar Montis is safer for light-ARC farming, but the Matriarch route is the better high-score attempt when you can reach her uncontested.






Leave a Reply