Find the best accessory stats in Storage Hunters: Open World, including Bid Zone Width, Luck, movement speed, Energy Drink Time, and NPC Offers Bonus for smarter farming and profit.
The best accessories in Storage Hunters: Open World are not the most expensive ones, but the ones that roll strong modifiers like Bid Zone Width, Energy Drink Time, movement speed, Luck, and NPC Offers Bonus.
Accessories are worth checking every time you pull one from a storage unit because the same item name can roll different modifiers. A cheap hat or wrist item can be better for your grind than a high sell-value accessory if it has the right stat for auctions, movement, farming, or selling.
Accessory value comes from modifiers, not cosmetics

Accessories in Storage Hunters: Open World are both cosmetic and functional. They change how your character looks, but they can also add useful boosts that affect movement, auction control, luck, tips, and profit.
The important part is that accessory modifiers are randomized. Two copies of the same accessory can have different rolls, and accessories can also roll negative modifiers that reduce a stat instead of improving it.
Inspect every accessory before selling it, especially low-value items, because one strong roll can be more useful than the cash from selling it.
Best accessory stats to prioritize
| Priority | Stat | Why it matters | Best use |
|---|---|---|---|
| Top | Bid Zone Width | Makes the bidding zone bigger and auctions easier to control. | Winning storage units more consistently. |
| Top | Energy Drink Time | Extends energy drink effects for longer farming sessions. | Money routes and fast grinding. |
| High | Walk Speed, Vehicle Speed, Aerial Speed | Reduces travel time and helps keep up with fast opportunities. | General farming and map movement. |
| High | NPC Offers Bonus | Raises how much NPC buyers are willing to pay. | Selling valuable finds for better profit. |
| Useful | Luck | Improves your overall luck and can support better outcomes over time. | General looting and long sessions. |
| Useful | Tip Chance, Tip Amount | Improves how often buyers tip and how much they tip. | Customer selling and diamond tips. |
| Niche | Bid Recovery | Refills the auction bid meter faster. | Auction-heavy play. |
| Risky | Bid Arrow Speed | Chance the bidding arrow speed, which may help or hurt depending on control. | Only keep if it feels better for you. |
| Avoid | Negative modifiers | They reduce stats instead of improving them. | Usually sell unless the positives clearly outweigh the penalty. |
The strongest accessory stats are the ones that save time or improve the actions you repeat constantly. For most players, that means better bidding first, then faster farming routes, then selling and tip bonuses.
Bid Zone Width is one of the best practical rolls because it makes auction bidding more forgiving. Energy Drink Time is also extremely valuable for money routes because it keeps drink effects active longer, while walk speed, vehicle speed, and Aerial Speed help you move between units, buyers, and farming spots faster.
Accessory builds worth keeping
| Build | Stats to look for | When to use it |
|---|---|---|
| Bidding set | Bid Zone Width, Bid Recovery, comfortable Bid Arrow Speed | Use before auction-heavy runs where winning units cleanly matters most. |
| Movement/farming set | Energy Drink Time, Walk Speed, Vehicle Speed, Aerial Speed | Use for money routes, map traversal, and long grinding sessions. |
| Selling/profit set | NPC Offers Bonus, Tip Chance, Tip Amount, Luck | Use when cashing out items through NPC buyers or chasing better tips. |
You can equip one Head, one Back, and one Wrist accessory at the same time, so the best setup is usually a loadout, not a single item. Keep accessories that work together around one job instead of wearing whatever has the highest listed sell price.
A good long-term setup is to keep at least three kinds of sets: one for bidding, one for movement and farming, and one for selling profit. Swap between them when your activity changes.
Where accessories come from
| Accessory example | Slot | Known area or source | Listed sell value |
|---|---|---|---|
| Cardboard Hat | Head | Storage units | $40 |
| Party Hat | Head | Junk Yard | $120 |
| Straw Hat | Head | Junk Yard | $220 |
| Scrap Valk | Head | Junk Yard | $415 |
| Safe Wristband | Wrist | Back Alley | $475 |
| Scrap Dominus | Head | Junk Yard | $565 |
| Flower Wristband | Wrist | Farmyard | $750 |
| Rider Helmet | Head | Back Alley | $800 |
| Spike Wristband | Wrist | Back Alley | $2,600 |
| Skull Domino Crown | Head | Back Alley | $4,500 |
| Gangster Valk | Head | Back Alley | $7,500 |
| C4 Wristband | Wrist | Back Alley | $12,500 |
| Gangster Dominus | Head | Storage units | $15,000 |
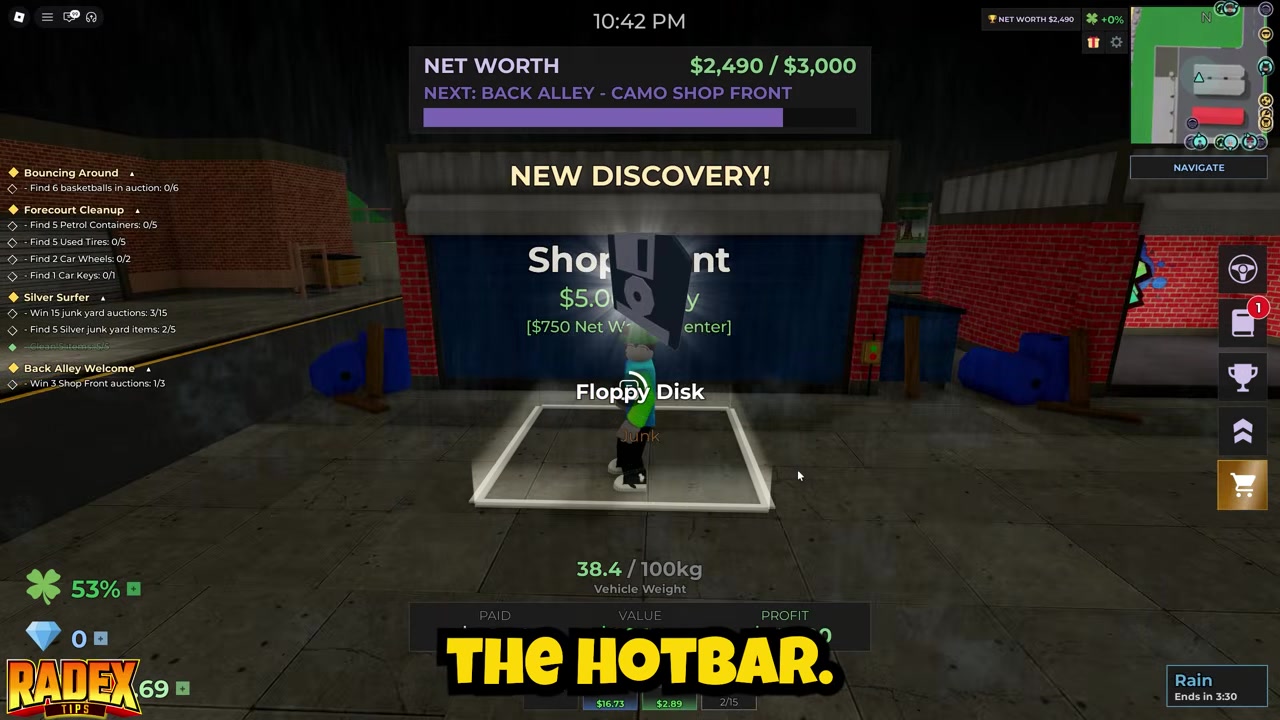
Accessories are mainly found inside storage units across map areas such as Junk Yard, Back Alley, and Farmyard. After you win units and collect items, accessories can appear in the Accessories tab and may also be sold for their listed cash value.
The examples below are not a full accessory list. They are useful reference points for the kinds of Head and Wrist items you may find, along with known areas and sell values where listed.
How to equip accessories in Storage Hunters: Open World
If you are new, unlock normal inventory access first. Once the inventory is available, equipping accessories is quick.
Open inventory
Press T or use the inventory button on the hotbar.
Open accessories
Go to the Accessories section in your inventory.
Choose a slot item
Pick a Head, Back, or Wrist accessory.
Equip it

Click the accessory to equip it in its matching slot.
Video help
Mistakes that waste good accessories
The biggest mistake is selling low-value accessories too quickly. A Cardboard Hat with a strong modifier can be more useful than a pricey item with weak bonuses or a bad negative roll.
Another common mistake is chasing cosmetics or listed sell value alone. The best-looking item is not automatically the best accessory, and the highest cash value is not always worth more than Bid Zone Width, Energy Drink Time, NPC Offers Bonus, or movement speed.
Finally, avoid using one loadout for every activity. A bidding setup, a farming setup, and a selling setup solve different problems. Also make sure you are not mixing Storage Hunters systems with unrelated Roblox games that use different currencies, vendors, or gear rules.
Frequently Asked Questions
Do accessories only change how your avatar looks?
No. Accessories can be cosmetic, but they can also roll functional modifiers for movement, auctions, luck, tips, and money-making.
How many accessories can you equip at once?
You can equip up to three accessories at the same time: one Head, one Back, and one Wrist accessory.
Should you sell expensive accessories or keep low-value ones with good stats?
Keep the accessory with the better modifier for your grind. A low-value item with Bid Zone Width, Energy Drink Time, walk speed, Luck, or NPC Offers Bonus can be worth keeping over an expensive item with poor stats.
Can accessories roll bad stats?
Yes. Accessories can roll negative modifiers, so always inspect the full stat list before equipping or selling one.
Is there a confirmed best accessory in Storage Hunters: Open World?
No single confirmed best accessory beats everything else because modifiers are randomized. The strongest choice is the item in your Head, Back, or Wrist slot that rolls the best stats for what you are doing.