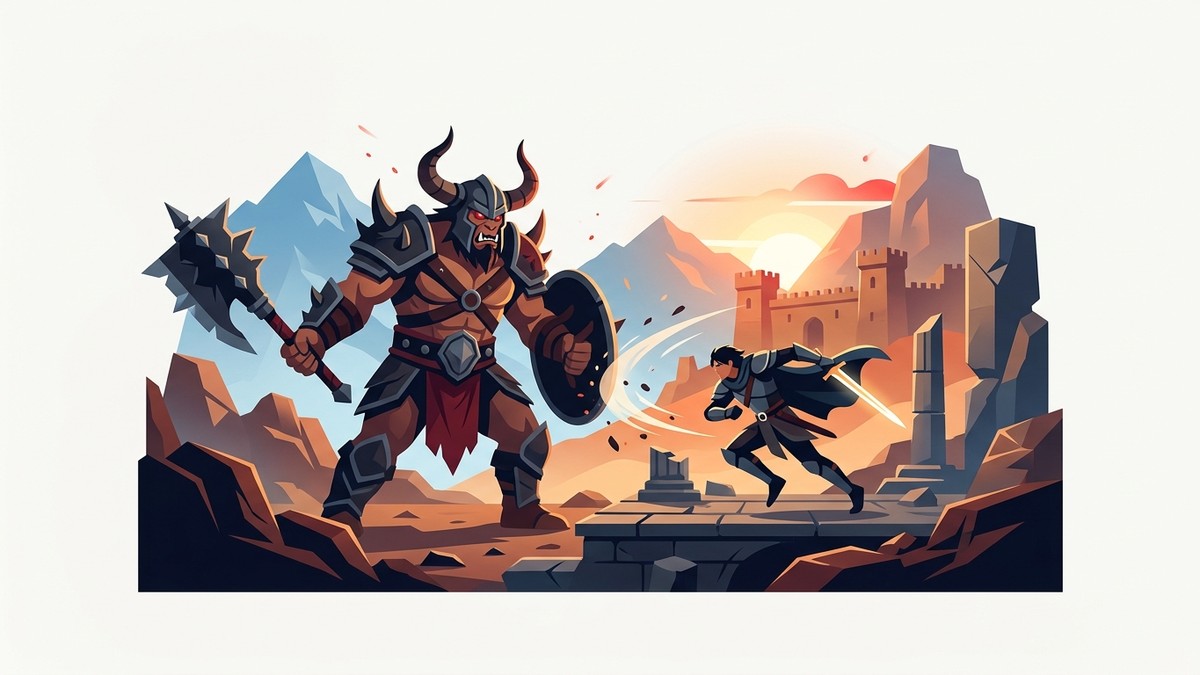
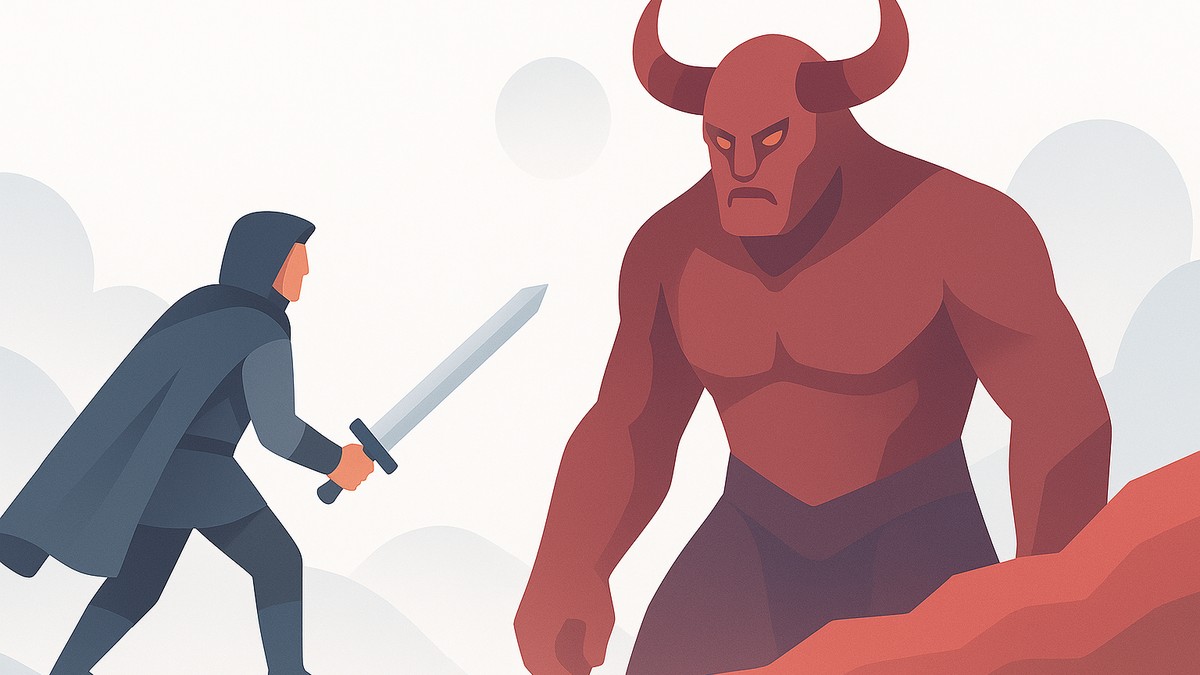
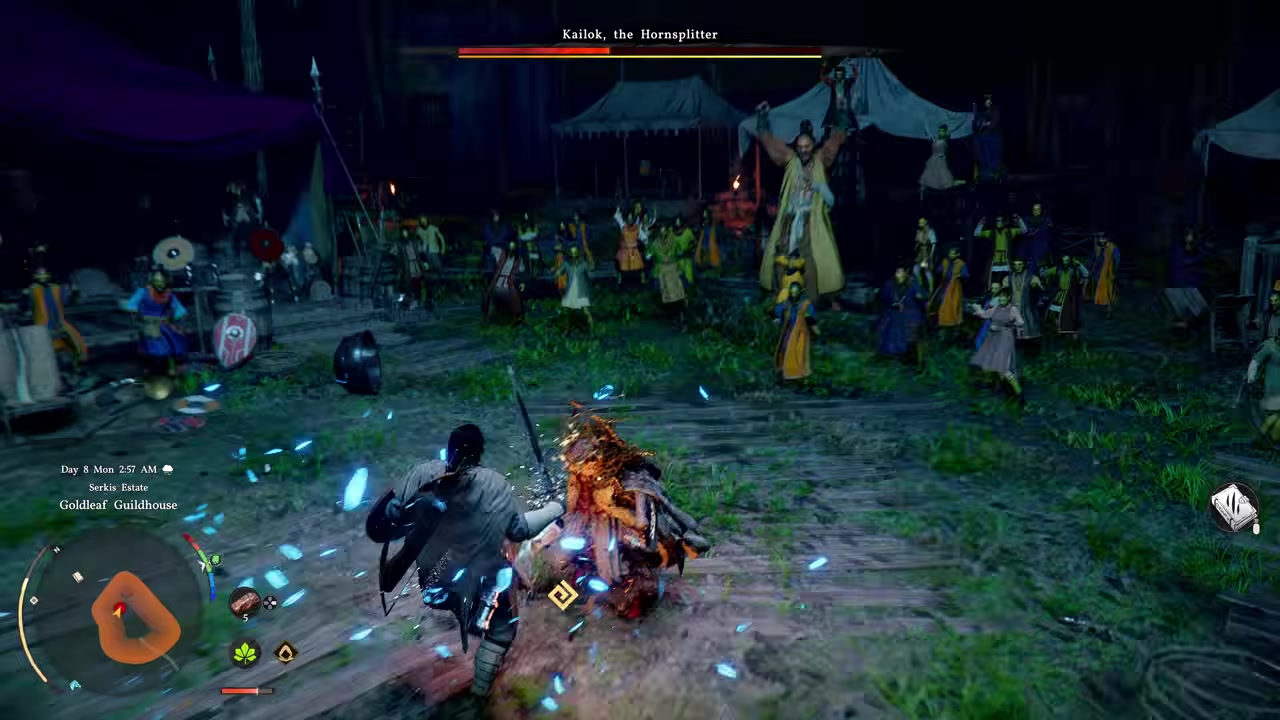
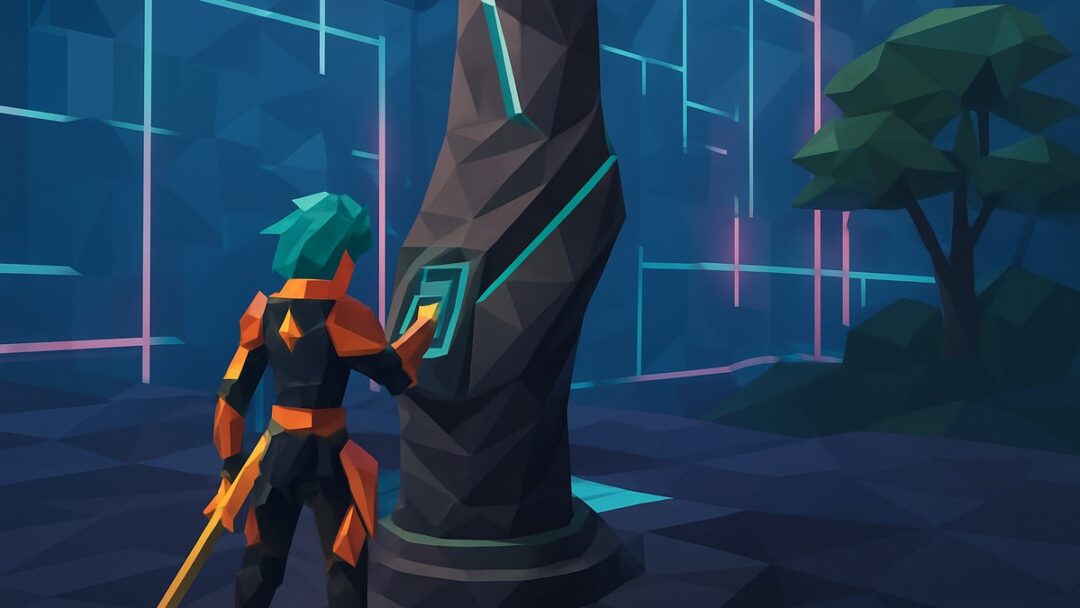
Kailok the Hornsplitter is the mandatory boss at the climax of Chapter 2’s “End of Greed” questline, fought in an arena atop Unicorn Cliff above the Nas River — you beat him by blocking his sword combos, dodging (not blocking) his blue projectile waves and Wind Slash, and punishing each opening with Force Palm staggers and one or two heavy hits.
By the time you reach Kailok — his name also turns up spelled Kaliok, so don’t be thrown if your quest log shows it differently — the whole chapter has been pointing at him. Every robbed farmer, every sky-stone rumor and every shady Gold Leaf dealing traces back to one branchmaster, and this is where the questline finally lets you settle it. He’s a real boss with a real solution, so the fight rewards discipline over panic: block what’s meant to be blocked, dodge what isn’t, and never get greedy.
Who Kailok is and why he matters
Kailok the Hornsplitter is the tyrannical branchmaster of the Gold Leaf merchant guild, the figure who turned a band of coin-grubbing merchants into something closer to organized bandits. The marshal of Hernand and the townsfolk all point at him as the rot behind the region’s chaos and the obsessive hunt for the boulders falling from the sky. You’ve spent the chapter chasing the symptoms — stolen cows, kidnapped healers, missing livestock — and he’s the cause.
This is a story wall you can’t walk around. Following the main quest leads you straight to him, and there’s no skip or alternate route. When he falls, Chapter 2 ends and the game pushes you into Chapter 3, with the marquee directing you to a new camp at Howling Hill. Treat what follows as walkthrough context rather than a surprise — knowing the shape of the fight is exactly what gets you through it.
What to bring before the fight
| Priority | Why it matters |
|---|---|
| Stamina (via Abyss Artifacts) | You dodge constantly — low stamina means you can’t evade his waves. |
| Force Palm / Pump Kick | Stagger and interrupt — your main punish and anti-charge tools. |
| An evasive skill | Lets you roll out after landing punishes instead of eating a counter. |
| Shield | Safely blocks his standard light sword strings. |
| Cooked food + reinforced armor | Use the nearby camp’s bonfire and anvil before you trigger the fight. |
This encounter is built around constant dodging, so the single best investment is stamina — without it, chaining evades through his wave attacks simply isn’t possible. Pour Abyss Artifacts into stamina and you’ve already solved half the fight. Pick up the early skills that carry you the rest of the way: Force Palm to stagger him after a combo, Pump Kick to interrupt his charges, and an evasive option so you can roll out of punishes cleanly. Bring a shield too — it lets you eat his light sword strings safely instead of trading health for them.
There’s a small camp just before the arena with a bonfire and an anvil: cook healing food there and reinforce your armor before you commit. Stock plenty of cooked meals — the fight is long and his pressure is relentless. The exact level breakpoints vary between accounts (some suggest a few levels of Health Upgrades and Armed Combat far enough to grab Evasive Slash), so treat these as priorities rather than fixed requirements. The judgment is simple: more stamina, a reliable heal, and armor that won’t crumble.
Reading Kailok’s attacks and countering them
| Attack / tell | What it does | How to counter |
|---|---|---|
| Standard sword combos | Multi-hit melee strings | Block with your shield, counter on his recovery. |
| Blue projectile waves (red glint, side stance) | Fires several blue AoE waves across the arena | Don’t block — hold dodge in one direction and weave through them. |
| Wind Slash (arena dims) | Charged, untankable sweeping slash sequence | Time your dodges; blocking through can be an instant kill. |
| Red-glint shielded stance | Gains a shield that blocks weapons and powers | Never attack into it — wait it out. |
| Stagger opening | Brief window after a Force Palm | Force Palm, then one or two heavies, then roll out. |
The whole fight comes down to sorting which attacks you block and which you dodge, then staying patient on the punish. His standard sword combos are the safe ones: keep your shield up with LB (or B on keyboard), let him finish the string, and counter as he recovers. The mistake-makers are his ranged and charged attacks, which are designed to be evaded — try to tank them and you’ll fold fast.
Watch for the red glint as he angles his sword to the side: that’s the tell for his blue projectile waves. Blocking does nothing here. Instead, hold dodge in one direction and weave through or around them. Then there’s the moment the arena dims and he winds up his Wind Slash — these hits are effectively untankable, and trying to block through can simply kill you outright. Time your dodges and ride it out. Crucially, never swing into his red-glint shielded stance: while it’s active he gains a shield that blocks both weapons and powers, so attacking is wasted at best and a free opening for him at worst.
Your damage comes from discipline, not aggression. When you stagger him — Force Palm with Right Stick (or Mouse Wheel) is the cleanest opener — get in only one or two heavy attacks with RT (or the Right Mouse Button), then roll away before he recovers. A Clothesline can also knock him down during a punish window if you have it. The temptation to squeeze in a third hit is exactly what gets people killed. One or two, then out, every single time.
Dodge his blue waves and Wind Slash, never block them — those two attacks are designed to be evaded, and trying to shield through the Wind Slash can kill you outright.
Rewards and the road into Chapter 3
| Reward | Detail |
|---|---|
| Sword of the Lord | Unique one-handed sword, ~13 Attack, Level 2 Attack Speed, grants Wind Slash. |
| Seal of Greed – Goldleaf Merchant Guild | Guild seal drop. |
| Iron Ore | Reported drop; one account lists ×7, amounts not confirmed. |
| Copper Ore | Reported by some accounts; not confirmed to always drop (amount unknown). |
| Chapter transition | Ends Chapter 2 and opens Chapter 3 at Howling Hill. |
The headline reward — and the one every account agrees on — is the Sword of the Lord, a unique one-handed sword that grants the Wind Slash ability you just spent the fight dodging. It’s reported at around 13 Attack with Level 2 Attack Speed, and the Wind Slash triggers on every third standard melee attack and after a successful parry. You’ll also pick up the guild seal, the Seal of Greed – Goldleaf Merchant Guild.
Ore drops are where the sources stop agreeing. Iron Ore shows up consistently (one account lists it as ×7), and Copper Ore is reported by some but not all, with no confirmed amounts — so treat the exact counts and whether Copper Ore always drops as unsettled. Beating Kailok closes out Chapter 2 and opens Chapter 3, sending you across the river to your new camp at Howling Hill to meet Marshal Midler.
Mistakes that get players killed
Almost every death here is self-inflicted. The big one is trying to block or tank the blue waves and the Wind Slash — those exist to be dodged, and the Wind Slash in particular can one-shot you through a raised shield. The second is getting greedy after a stagger: land your one or two heavies and leave, because that extra swing is when he catches you.
The rest are prep failures. Swinging into the red-glint shielded stance wastes your opening and leaves you exposed. And arriving with low stamina, no cooked food, or unreinforced armor turns a manageable fight into an impossible one — without stamina you can’t chain the dodges that keep you alive in the first place.
How to beat the Hornsplitter boss
Cross to Unicorn Cliff

Once the defeat-Hornsplitter objective begins, head across the narrow path over the Nas River to the arena.
Break the shielded guards
The Gold Leaf guards block with shields — land about two heavy attacks to drop their guard, then finish them off before pushing in.
Open defensively on Kailok

Keep your shield up and let him commit to the first attack rather than rushing him.
Heal through the pressure
The fight is a damage race with heavy damage-over-time and AoE, so heal aggressively whenever he’s cooking you.
Lean on kicks and spirit moves
Wrestling and kick moves plus your focus/spirit options are your mainstays for opening him up.
Fill the stagger meter
Keep stacking hits to fill his stagger gauge, which sets up the finisher.
Land the finisher
Trigger the finisher prompt to end the fight and close out Chapter 2.
Related Crimson Desert guides
Video help
Frequently Asked Questions
Can you skip or avoid the Hornsplitter fight?
No. Kailok is a mandatory main-story boss at the end of Chapter 2’s “End of Greed” questline — following the main quest leads you straight into the arena, and there’s no alternate route or skip.
What’s the best skill to use against Kailok?
Force Palm is the standout — it staggers him at the end of a combo and opens your punish window. Pair it with Pump Kick to interrupt his charge attacks. Together they let you reliably create and exploit openings rather than waiting on lucky gaps.
When do you actually unlock Evasive Roll?
This one isn’t fully settled. Some reports say Evasive Roll auto-unlocks mid-fight once Kailok drops below 50% HP, making the second half easier; others list it as a reward for defeating him, or tie it to the end of Chapter 2 after seeing him use it. What’s clear is that the Hornsplitter encounter is the trigger for gaining it — whether it appears during or after the fight may vary by patch, so don’t count on having it from the opening.
Is the Sword of the Lord worth using, and what is Wind Slash?
It’s a solid pickup. The Sword of the Lord is a unique one-handed weapon (around 13 Attack, Level 2 Attack Speed) whose draw is Wind Slash — the same charged ranged attack Kailok used on you. It reportedly launches on every third standard melee hit and after a successful parry, though the third slash can fail if your third hit connects directly, so it rewards a bit of spacing.
What chapter and questline is this fight part of?
Kailok the Hornsplitter is the climax of the “End of Greed” questline in Chapter 2. Defeating him ends the chapter and moves you into Chapter 3 at Howling Hill.


Leave a Reply