

To beat Level 80 Hartalis Ultra in Palworld 1.0 with 15 base Pals and level-65-tier gear, build around survivable raid Pals, Electric damage for the Water/Grass first phase, Dark damage for the Neutral second phase, and fast barrier breaks — the new AoE and aggro changes make old player-tank raid setups unreliable.
Palworld’s 1.0 update turned every Ultra raid into a level 80 endgame fight, and Hartalis Ultra is one of the meanest examples. It still uses the familiar two-phase pattern, but the reworked aggro and the new area attacks mean your Pals now have to survive damage you can no longer pull off them. This guide clears it with a 15-base-Pal constraint and level-65-tier gear on a level 80 character — not a maxed 20-Pal raid-base showcase.
- What Palworld 1.0 changed for Ultra raids
- Reading Hartalis Ultra’s two phases
- Your 15-Pal and player loadout
- Picking phase-one and phase-two base Pals
- How to clear Level 80 Hartalis Ultra with 15 base Pals
- Raid mechanics that wipe underbuilt teams
- Common Hartalis Ultra mistakes to avoid
- Hartalis Ultra rewards and what to farm next
- Frequently Asked Questions
What Palworld 1.0 changed for Ultra raids

The headline change is scaling: all Ultra raids are now tuned to level 80, so your gear and Pals have to be at their best going in. The 1.0 patch also raised the player cap from 65 to 80 and reworked how raids behave, adding wide AoE attacks and tightening aggro. The single biggest shift is that you can no longer keep aggro away from your Pals — even with two Overheat Rifles pulling the boss’s attention, its area attacks still land on your team.
That one change breaks the old raid plan. Setups that leaned on the player tanking every hit while base Pals sat safely behind them no longer work, because the new AoEs force your Pals to take damage regardless. In practice, this raid asks a simple question: can your Pals eat a big hit and keep fighting? If they can’t, they die, and the run falls apart.
To start the fight you’ll summon Hartalis with a Hartalis Slab, crafted from 4 Hartalis Slab Fragments, placed in a Summoning Altar (unlocked around level 32 for 3 technology points). The altar is single-use and vanishes after you summon, and the battle runs on a 10-minute timer. One quality-of-life win from 1.0: defense structures no longer consume ammunition, so wall- and turret-heavy raid bases are far more viable here.
Reading Hartalis Ultra’s two phases
Hartalis fights across two health bars. The first phase is Water/Grass typed and weak to Electric damage; when that bar breaks, the boss revives to full as a Neutral type for phase two, which is best answered with Dark damage. Getting the element wrong for either phase is the fastest way to hit the 10-minute timer.
The normal version of this boss carries 909,000 HP — the Ultra’s pool is higher, though the exact number isn’t pinned down, so don’t plan around the normal figure. What matters more is the attack set you’ll cycle through: opening grass AoEs, then Sacred Rain, Holy Burst, and Ticker Drain in the later phase, with elemental barriers gating your progress at set damage thresholds. Every one of those attacks is a survivability check on your Pals first and a DPS check second.
Your 15-Pal and player loadout
| Need | Recommended setup |
|---|---|
| Player level | Level 80 character |
| Armor | Level-65-tier, high-rarity armor |
| Weapon | Overheat Rifle, or a Terraprisma-style route for a player-damage clear |
| Damage boost (player route) | 3 Attack Pendants |
| Phase-one mount | Beakon to infuse Electric into rifle shots (Fenglope Lux for a mobility/player-damage route) |
| Buff Pals | Up to 4 fully condensed Gobfin for stacked buffs |
| Phase-one base Pals | Electric attackers — Orserk, Beakon |
| Phase-two base Pals | Dark attackers — Shadowbeak, Frostallion Noct, Necromus |
| Defense benchmark | ~4,000 defense per Pal to survive the AoEs |
| Base setup | Walls around the Palbox to block nukes and AoEs |
Scan the table first, then tune to your route. There are two workable approaches: a player-damage clear that stacks 4 Gobfin, 3 Attack Pendants, and a Terraprisma or Overheat Rifle, and a Pal-led clear that leans entirely on tanky, hard-hitting base Pals. A reported day-80 clear on default settings pulled it off with the player-damage build — the exact passives, IVs, and Pal skills on that Fenglope Lux team aren’t fully laid out — while a Pal-led run reaches the same result by making the Pals durable enough to grind the boss down on their own.
Picking phase-one and phase-two base Pals
| Phase | Damage plan |
|---|---|
| Phase 1 — Water/Grass | Electric damage (Orserk, Beakon); tank passives and ~4,000 defense to survive the grass AoEs |
| Phase 2 — Neutral | Dark damage (Shadowbeak, Frostallion Noct, Necromus); swap the Electric Pals out through the Palbox |
Treat these as roles, not a fixed roster. For phase one you want Electric attackers that can also take a hit — Orserk is the most common all-rounder, and plenty of players run a full Orserk army for the first bar, with Beakon pulling double duty as an Electric mount and a barrier breaker. For phase two you shift to Dark damage against the Neutral typing: Shadowbeak, Frostallion Noct, and Necromus all fit, and a Diamond Body Shadowbeak is especially strong because it survives the grass AoEs and still hits hard.
KEY!
Whatever you bring, survivability is the deciding stat. Older Pals with a Diamond Body tank passive can hold up through Sacred Rain, Holy Burst, and Ticker Drain, so full awakening isn’t strictly mandatory — but the more defense and tank passives you stack, the more forgiving the fight becomes. Aim your team at the ~4,000 defense mark and the AoEs stop being lethal.
Get your raid Pals to around 4,000 defense through awakening and tank passives — that is the point where they survive every grass AoE, Sacred Rain, Holy Burst, and Ticker Drain without you babysitting them.
How to clear Level 80 Hartalis Ultra with 15 base Pals
Work through the two phases in order, leading with survivable Pals and matching the right element to each barrier so your team never stalls on the timer.
STEP 1/17
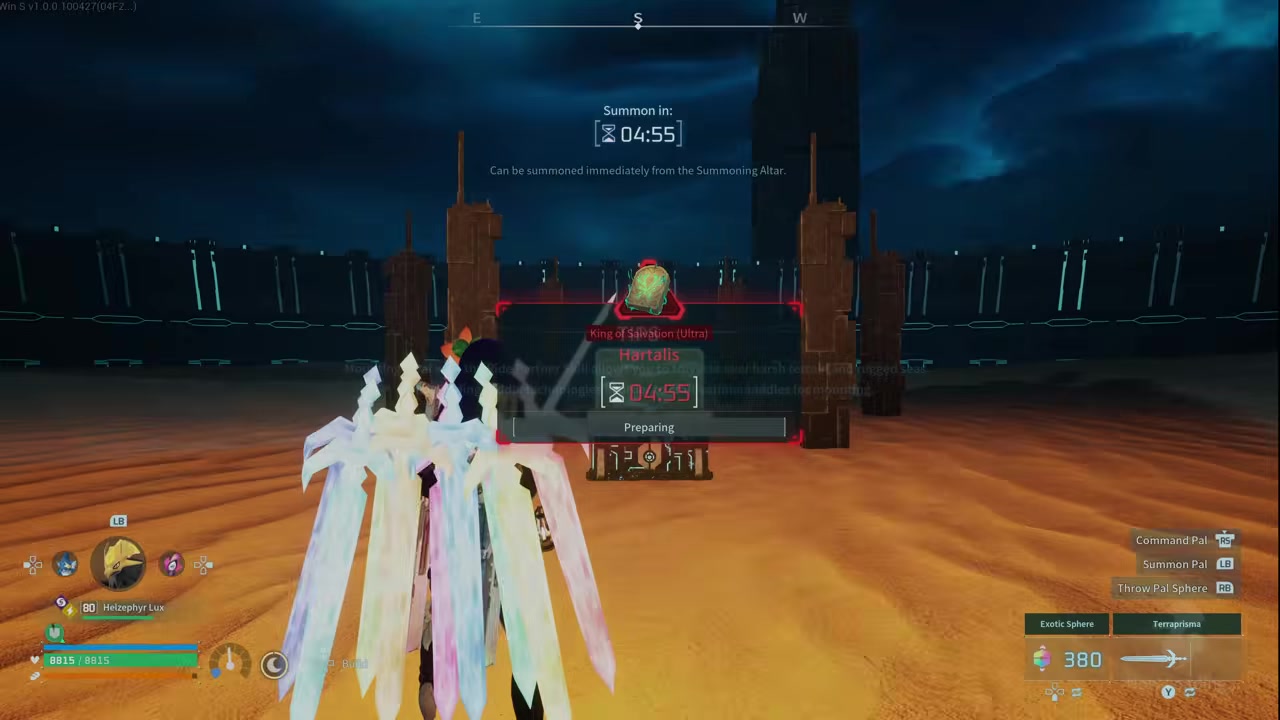
Open with tanky Pals
Send out high-defense tank Pals first — aggro no longer stays off your Pals, so they will take hits no matter what you do.
STEP 2/17
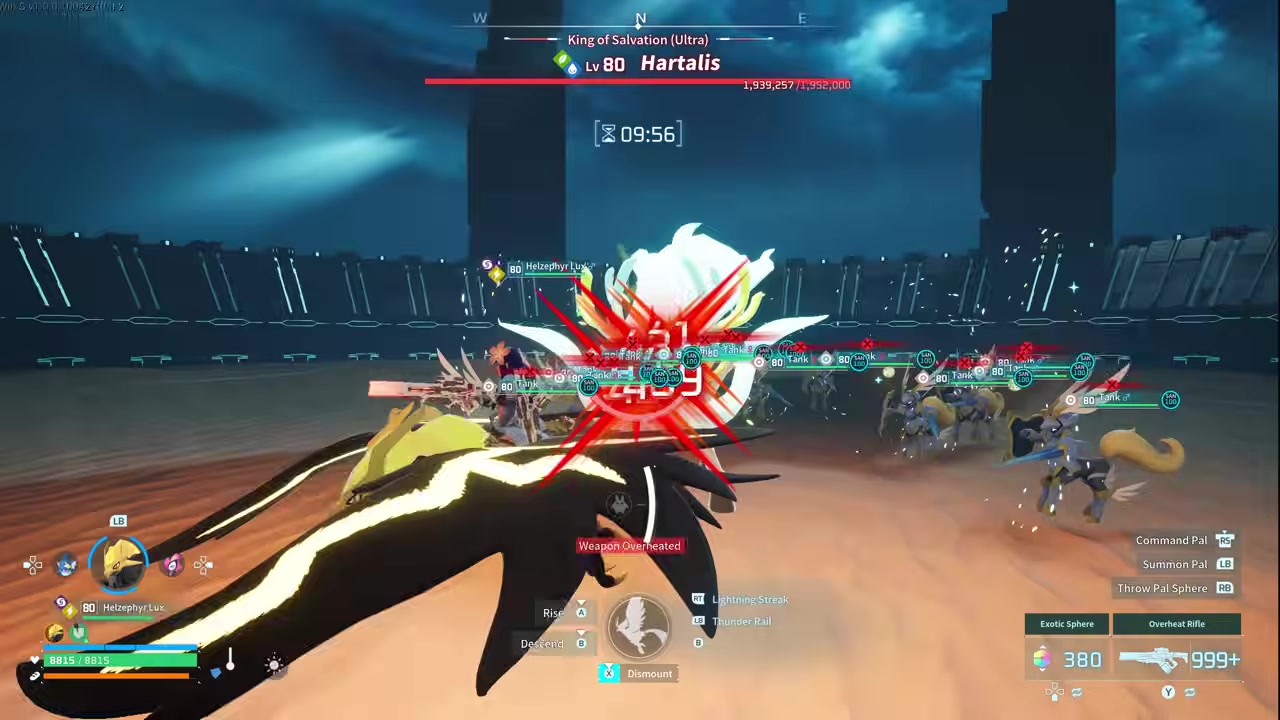
Survive the opening grass AoE
The boss’s first attack is a wide grass AoE that lands on your Pals even while you hold aggro, so they must be built to tank it.
STEP 3/17
Send out Beakon for the first shield
When the first shield goes up, deploy Beakon and crack it with Electric (lightning) damage.
STEP 4/17
Replace fallen Pals with Shadowbeak
Swap dying Pals for Diamond Body Shadowbeaks to keep both damage and survivability on the field.
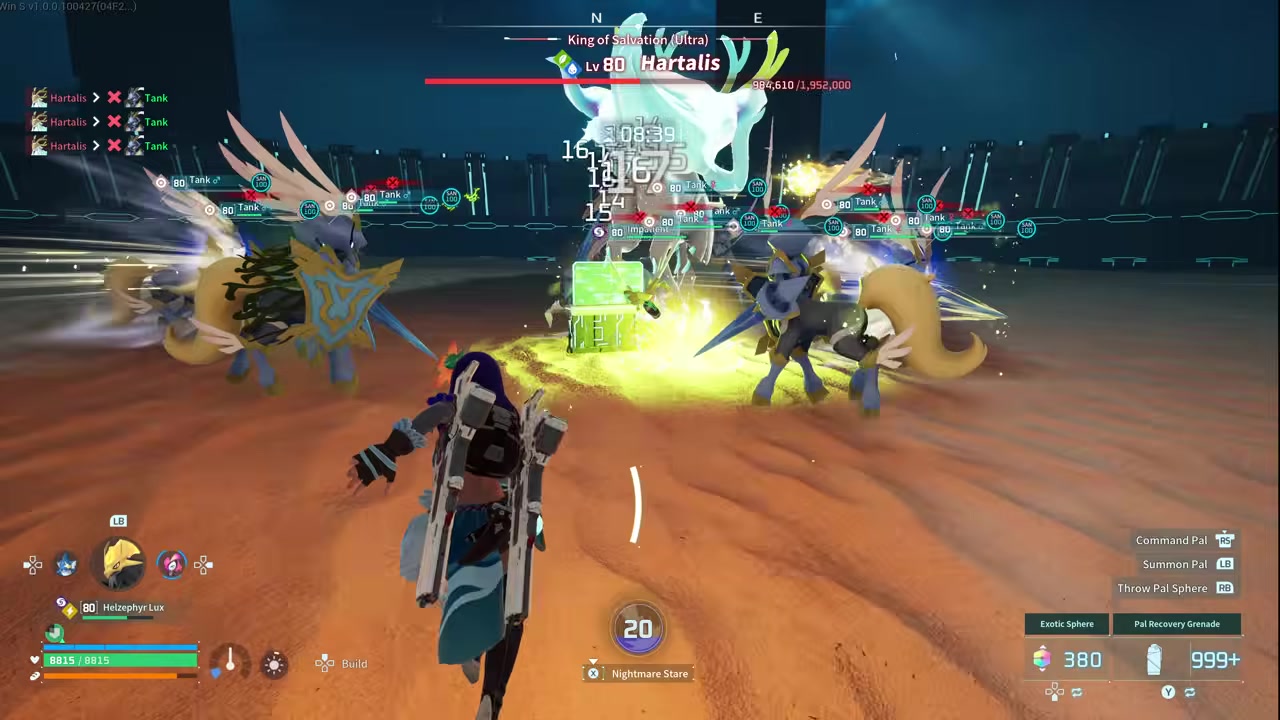
STEP 5/17
Keep healing between AoEs
Heal your Pals constantly — with back-to-back grass AoEs, your healing has to be on point or the team collapses.
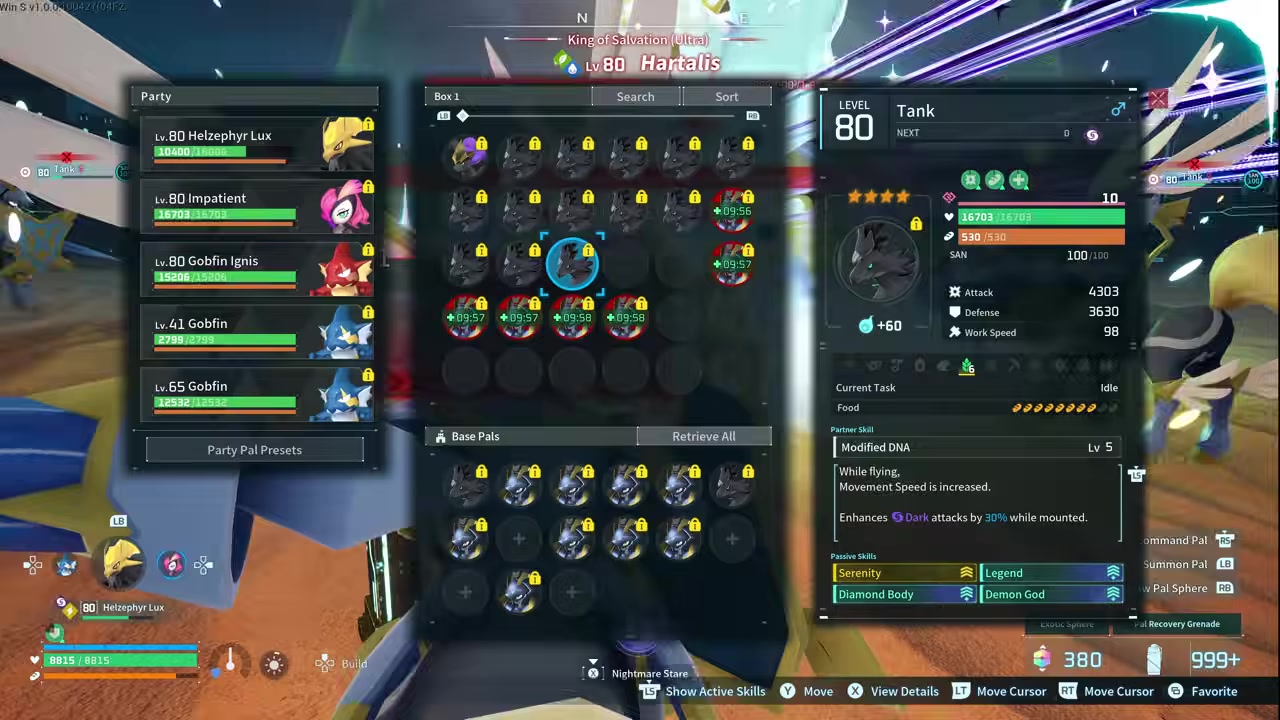
STEP 6/17
Break the barrier with lightning
Around 400k damage a barrier appears; crack it with Electric damage to keep phase one moving.
STEP 7/17
Mount Frostallion Noct for healing and mobility
Hop on Frostallion Noct to focus on healing and repositioning while your Pals do the damage.

STEP 8/17
Box every Pal at the phase transition
At the end of phase one, put all your Pals in the Palbox before the boss revives to full.

STEP 9/17
Redeploy tanky Pals for phase two
Phase two plays the same way — bring out tanky Pals, now leaning on Dark damage for the Neutral typing.
STEP 10/17
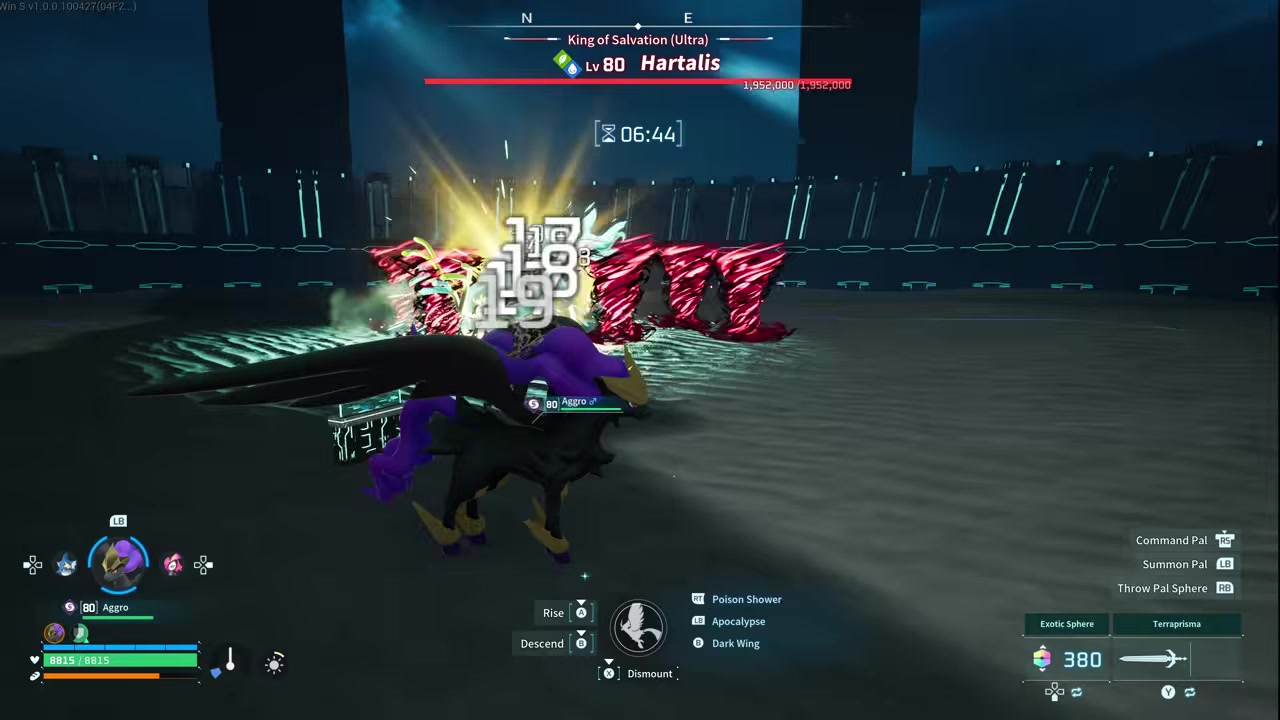
Watch Sacred Rain
Track who Sacred Rain targets; high-defense Diamond Body Pals survive it, giving you time to react.
STEP 11/17
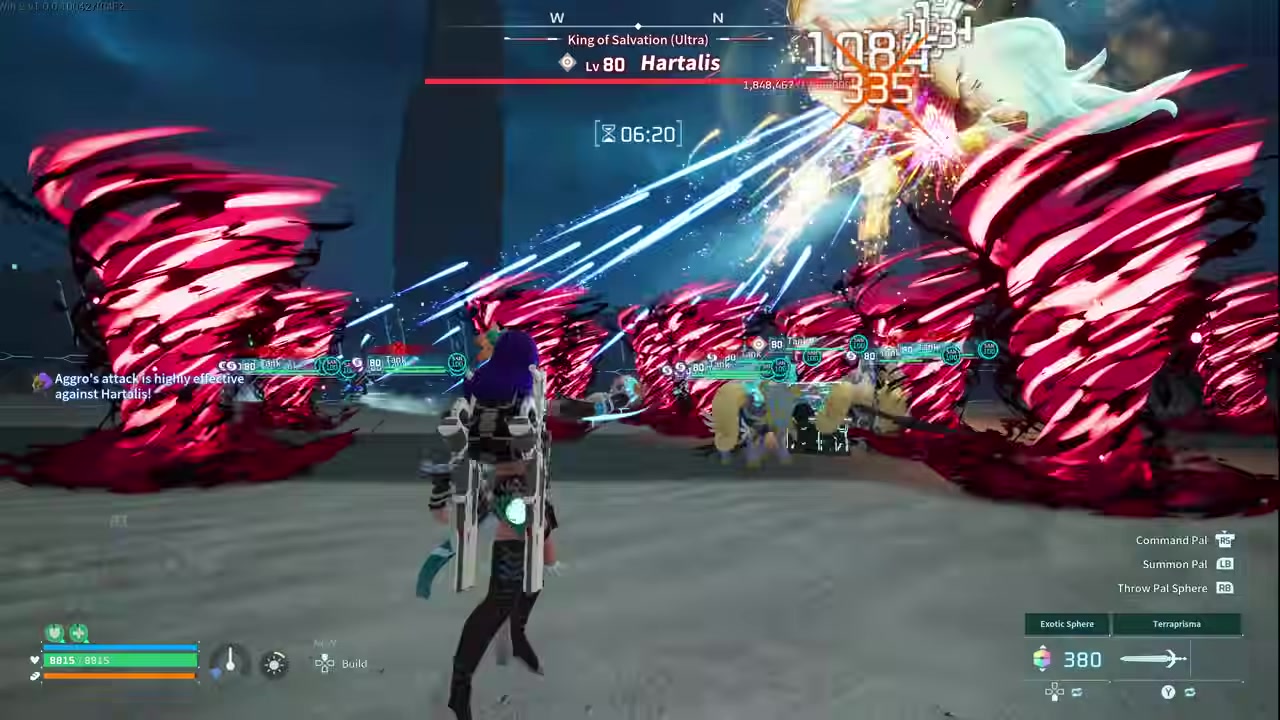
Tank Holy Burst
Holy Burst hits the group, but high-defense Pals counter it cleanly.
STEP 12/17
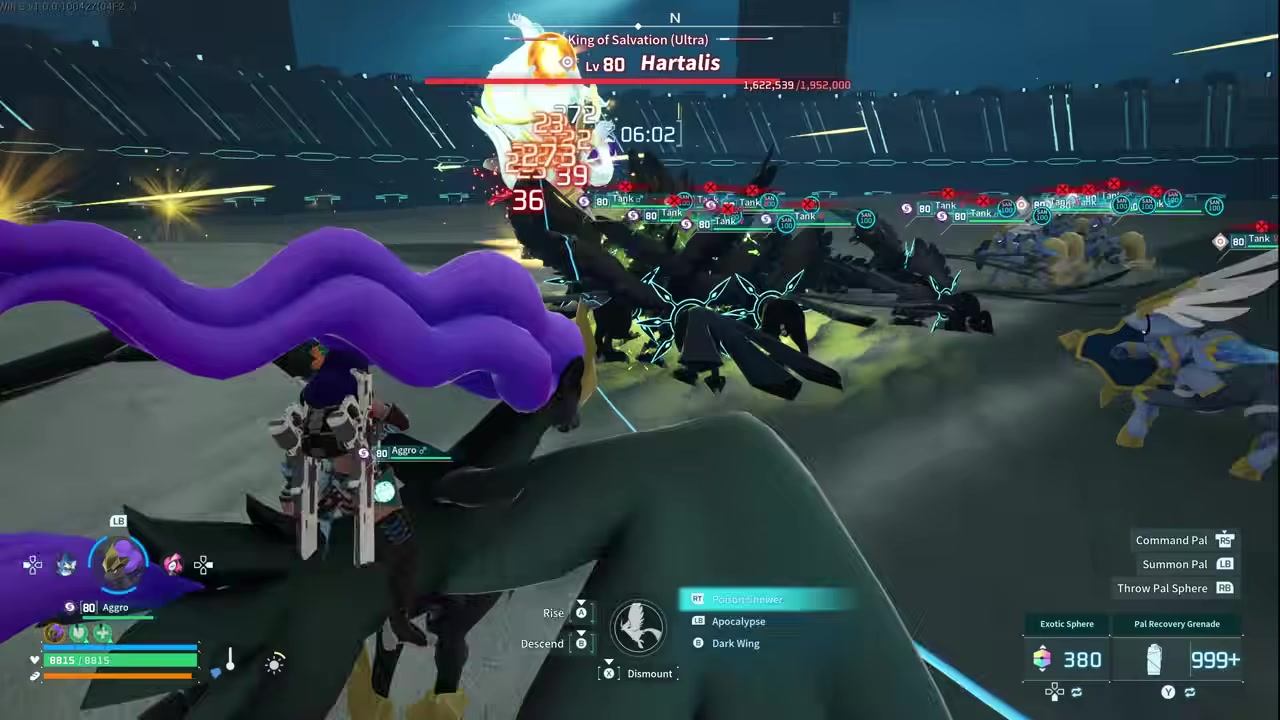
Ready the withdraw for the ~1M phase switch
Around 1 million damage the boss shifts phase — be ready to withdraw Pals as it swaps.
STEP 13/17
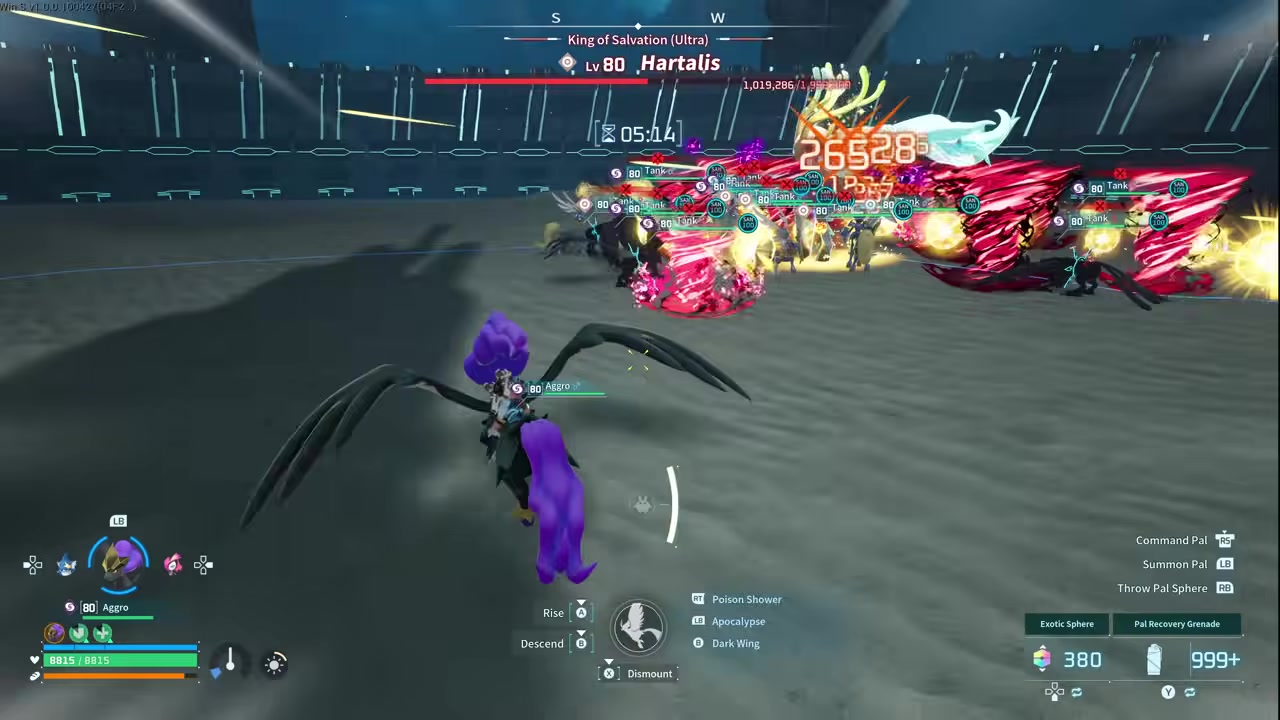
Dodge Ticker Drain
Ticker Drain is a targeted attack you can still dodge, and tanky Pals survive it if it lands.

STEP 14/17
Hit the ~4,000 defense benchmark
With about 4,000 defense per Pal you survive every AoE in the fight without trouble.

STEP 15/17
Break the final dark barrier
The late barrier is a Dark-style barrier — break it to open the boss up for the finish.

STEP 16/17
Finish with Pal damage
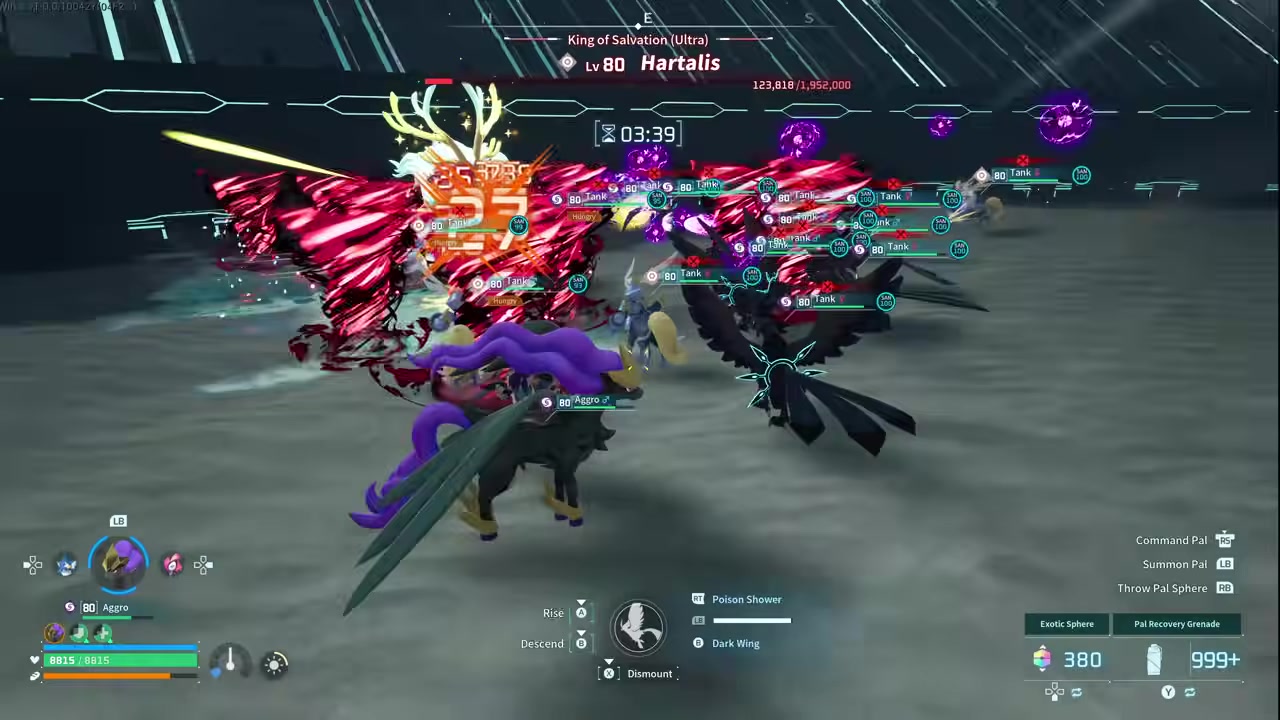
Let Diamond Body Shadowbeak and your other Pals grind the boss down; their damage is strong enough that guns aren’t needed.
STEP 17/17
Confirm the level 80 clear
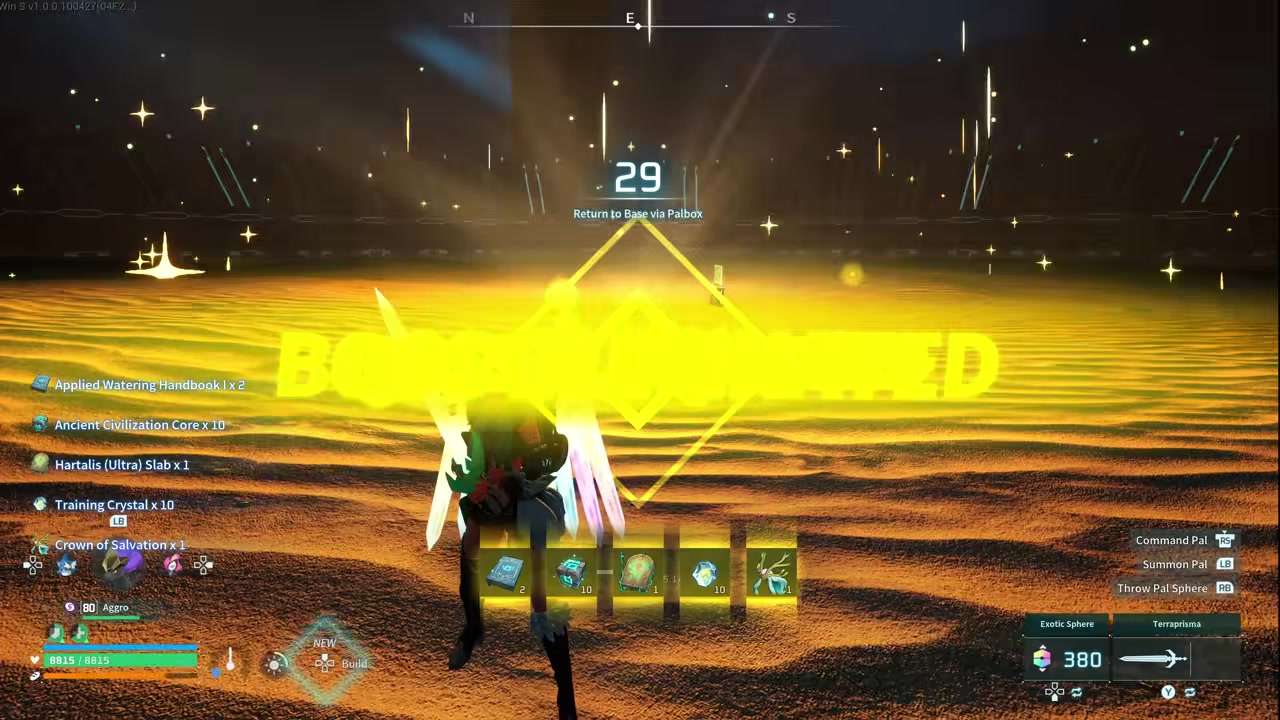
The boss goes down at level 80 on fully default (1/1/1/1/1) settings.
Video help
Raid mechanics that wipe underbuilt teams
| Mechanic | Response |
|---|---|
| Grass AoEs | Bring ~4,000-defense, tank-passive or awakened Pals — the AoEs hit Pals even when you hold aggro |
| Sacred Rain | High-defense Pals survive it; watch who it targets and react |
| Holy Burst | Tank it with high defense — Diamond Body Pals counter it well |
| Ticker Drain | Dodge the targeted attack; high defense survives it if it lands |
| Barriers / shields | Break with the phase’s element — Electric (Beakon) in phase one, Dark in the late phase |
| Crystal / nuke AoE | Wall the Palbox and take cover before the big hit |
| Aggro no longer protects Pals | You can’t pull damage off your Pals — build survivability instead of a player tank |
Most failed runs die to the same handful of mechanics, and every one of them has a clean answer. The grass AoEs are the real filter — they ignore aggro entirely, so the fix is defense, not positioning. Everything else is about reacting fast and matching the element.
Common Hartalis Ultra mistakes to avoid
| Mistake | Fix |
|---|---|
| Keeping Electric Pals in phase two | Swap to Dark Pals through the Palbox at the transition |
| Bringing Fire or Ground into phase one | Use Electric against the Water/Grass phase |
| Ignoring crystal spawns before a big AoE | Hide behind crystals or walls before the hit lands |
| Fighting inside a valuable base | Fight in a Raid Area or a throwaway base away from your main |
| Forgetting the altar is consumed | The Summoning Altar is single-use — rebuild it for each summon |
| Skipping Gobfin or damage buffs on a player-damage clear | Stack 4 Gobfin (and Attack Pendants) before you start |
| Assuming old aggro behavior still works | Aggro no longer keeps hits off Pals — tank up instead |
The failure modes here are mostly about element and prep, not mechanics you can’t handle. The two most costly are forgetting to swap your Electric Pals out for the Neutral phase and assuming the old aggro rules still keep your team safe.
Hartalis Ultra rewards and what to farm next
| Drop pool | Items |
|---|---|
| Normal Hartalis | 3 Ancient Civilization Core, 10 Ancient Civilization Parts, Training Crystal, Power Fruit, Stout Fruit, Ruby, lotus items, Huge Common Egg (Hartalis), Ring of Freight +2, Ring of Neutral Resistance +2 |
| Ultra-exclusive (reported) | Crown of Salvation, Power Lotus (L), Life Lotus (L), Stamina Lotus (L), Carrying Lotus (L), Speed Lotus (L), Diamon |
Drop rates vary, so treat this as a repeat-farm target rather than a one-and-done. To make future clears smoother, farm more Hartalis Slab Fragments from cave and dungeon chests and Pal Expedition Station rewards, push your Orserk and Dark raid Pals higher, and keep raising defense and awakening so the AoEs stop being a threat at all.
Frequently Asked Questions
Is Hartalis Ultra level 80 or level 65 in Palworld 1.0?
Ultra raids now scale to level 80 for the new player cap, so that’s the tuning you’re fighting. Recommended gear still sits around the level 65 tier, and some in-game UIs may still show 65, but plan for the level 80 Ultra fight.
Can 15 base Pals really beat Hartalis Ultra on default settings?
Yes. Players have cleared it with only 15 base Pals on fully default 1/1/1/1/1 settings, either by leaning on a player-damage build or by making the Pals durable enough to carry the fight themselves.
What damage type should I use for each Hartalis Ultra phase?
Use Electric for phase one (the Water/Grass bar) and Dark for phase two (the Neutral bar). Swap your Pals at the transition so you’re never hitting the wrong element.
Do I need player damage, or can my Pals handle most of the fight?
Your Pals can carry it if they’re tanky enough — a Pal-led run finishes the boss on Pal DPS alone, to the point that guns feel optional. A player-damage route with Terraprisma or an Overheat Rifle, 4 Gobfin, and 3 Attack Pendants also clears it cleanly.
What defense should my raid Pals have for the new AoE attacks?
Aim for about 4,000 defense per Pal. At that point they survive the grass AoEs, Sacred Rain, Holy Burst, and Ticker Drain without dying, which is the whole battle in 1.0.
More questions⤵
What are Hartalis Ultra’s reported exclusive rewards?
The Ultra-exclusive pool includes the Crown of Salvation, the large-size lotuses (Power, Life, Stamina, Carrying, and Speed), and an item listed as Diamon. Rates aren’t fixed, so expect to farm repeats for specific drops.





Leave a Reply