
To beat the Level 9 Rangifer fight, open with ranged damage, prioritize parries to build mana, spend that mana on Koo’s abilities, then punish the boss hard whenever its yellow stagger bar fills.
Rangifer is the first real boss check in Beast of Reincarnation, and the Level 9 version punishes you for playing too greedy. This guide is for the first Chapter 1 encounter, not the later Level 12 lair fight, so the plan here is simple: survive the close-range pressure, build mana through parries, and cash out every short opening.
Level 9 Rangifer fight setup
| Detail | Info |
|---|---|
| Boss | Rangifer |
| First fight level | Level 9 |
| Location | Oguchi Buffer Zone, Chapter 1 |
| Boss type | First major Nushi boss |
| Recommended level | Level 6 or Level 7 minimum |
| Useful gear | Chain Mail from the approach strongbox helps if you have it |
| Weakness | Fire |
| Main tactic | Parry up close, build mana, use Koo, and punish stagger |
| Rematch warning | This guide is not for the later Level 12 lair fight |
KEY!This first Rangifer battle happens in the Oguchi Buffer Zone and introduces the game’s first major Nushi fight. You can attempt it below the boss’s level, but Level 6 or Level 7 is the sensible floor before the fight starts feeling fair.
Stay close enough to parry Rangifer’s front attacks; running backward gives up mana, control, and punish windows.
How to beat Rangifer at Level 9 in Beast of Reincarnation
Use this loop for the first Rangifer fight: ranged pressure at the start, parries when it closes, Koo abilities once mana is ready, and burst damage during stagger.
STEP 1/11
Open with full-auto crossbow shots
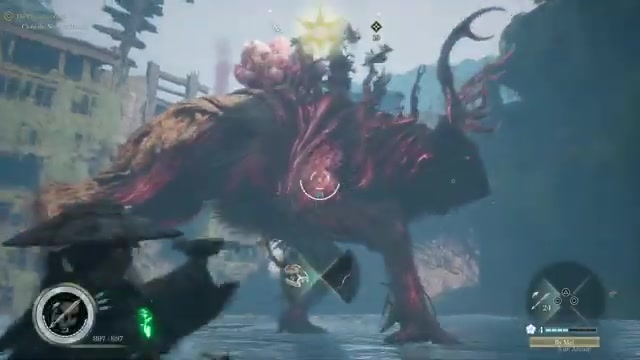
As soon as you drop in, pull out the crossbow and fire in full auto to strip early health before Rangifer reaches you.
STEP 2/11
Switch from ranged pressure to parries
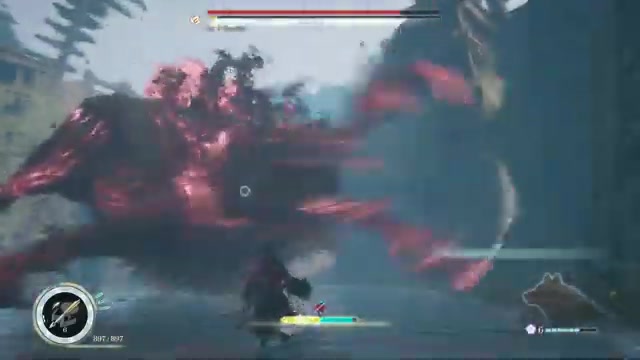
When Rangifer closes the gap, stop forcing attacks and focus on parrying its front-facing strikes instead of trying to outrun it.
STEP 3/11
Hit during the first fatigue opening
After Rangifer strings together a few attacks and slows down, take a short melee punish, then prepare to defend again.
STEP 4/11
Turn successful parries into mana
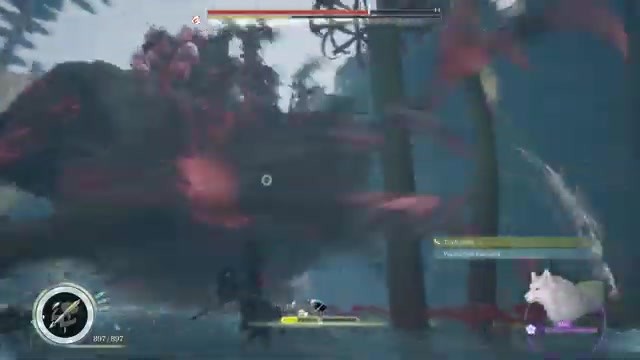
Each clean parry gives you mana, so surviving the pressure is also how you charge your strongest answers.
STEP 5/11
Spend mana on Koo’s abilities
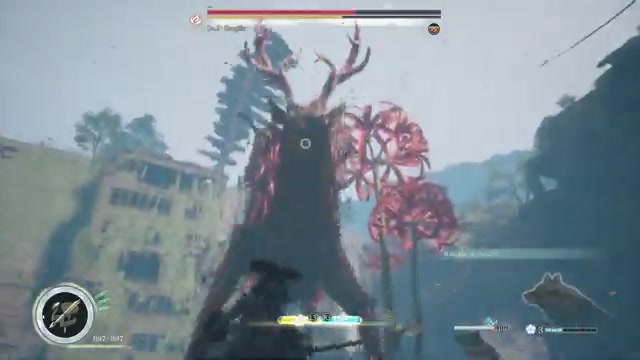
Use Koo once mana is available to turn your parries into damage, space, or a safer recovery moment.
STEP 6/11
Take small close-range openings
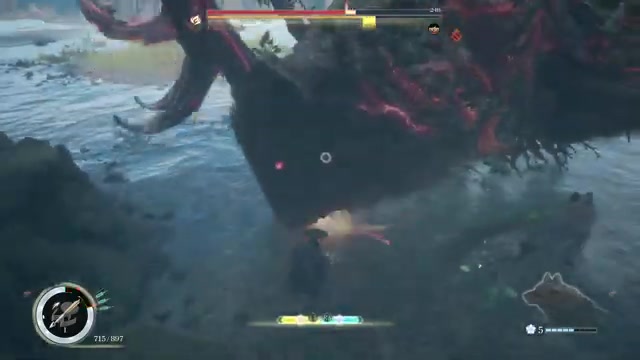
When Rangifer stays near you, land a quick punish after its recovery and then return to watching the next attack.
STEP 7/11
Shoot when Rangifer backs off
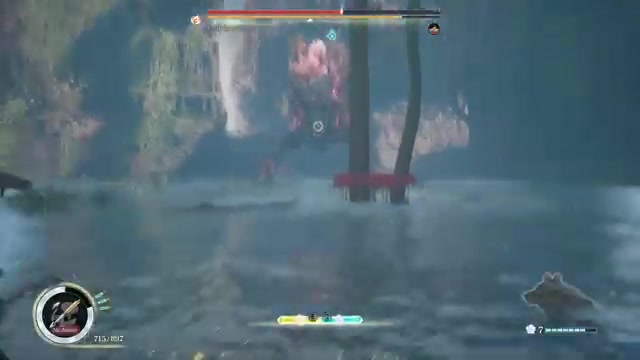
If Rangifer creates distance or flies away, swap back to the crossbow and fire before it closes in again.
STEP 8/11
Watch the yellow stagger bar
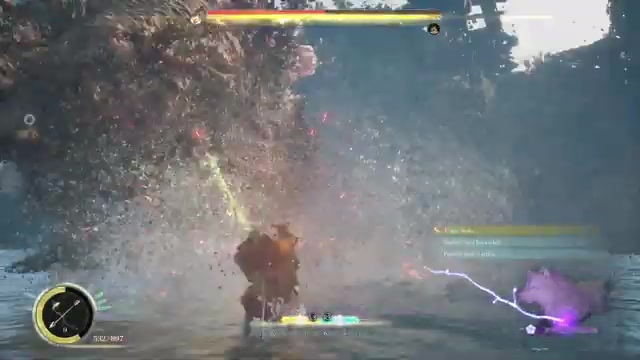
Keep an eye on the yellow bar under Rangifer because it marks how close the boss is to collapsing.
STEP 9/11
Unload damage during the collapse
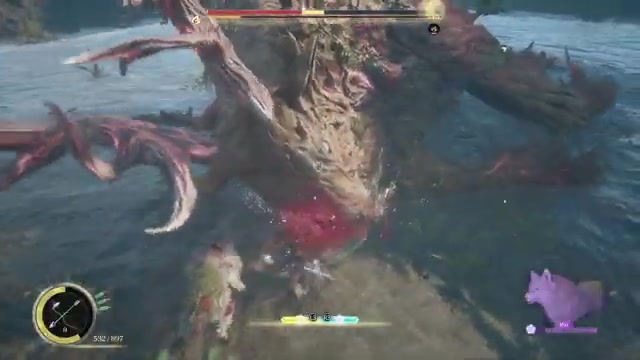
Move in immediately and use your hardest attacks while Rangifer is down, because the stagger window is short.
STEP 10/11
Swap to the bow if ammo runs out
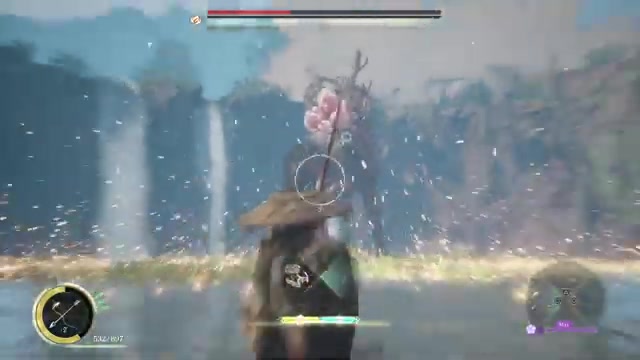
If you burn through crossbow ammo during distance windows, switch to the bow and keep ranged damage going.
STEP 11/11
Repeat the whole fight loop
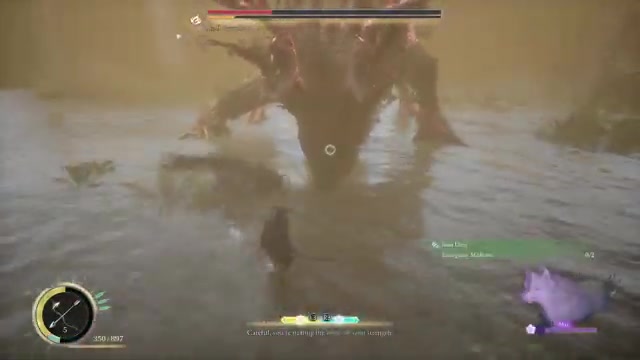
Keep cycling parries, Koo abilities, ranged shots, and stagger punishes until Rangifer’s health is gone.
Video help
Rangifer attacks and counters
| Attack | Response |
|---|---|
| Head slam | Stay near the front hooves, parry the downward hit, then punish the recovery. |
| Front leg stomp | Watch the leg lift, parry or dodge sideways, then take one or two hits. |
| Sideways head swipes | Hold your ground and time the parries across the swing chain. |
| Antler rock throw | Keep the antlers in view, dodge the projectile path, then shoot or close in. |
| Gap-closing rush | Do not sprint straight back; meet it with parry timing and reset near the front. |
Rangifer’s moves are built to punish panic movement. It can close distance fast, so the safer rhythm is to hold near the front hooves, parry what you can, dodge only when the angle demands it, and punish the brief recovery after each attack.
When Rangifer finishes a move and its head is reachable, aim your counterattacks there. Do not chase long combos unless the boss is fatigued or fully staggered.
Koo mana abilities and healing
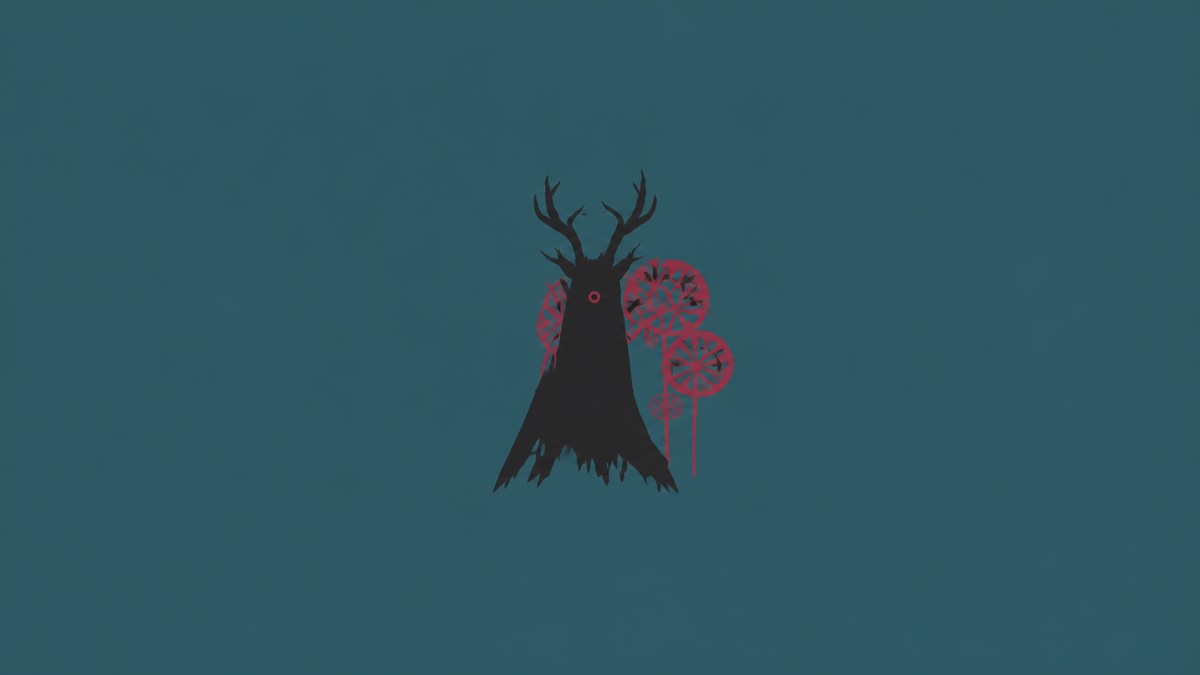
Koo is what turns defensive play into progress. The mana you gain from parries lets you open Koo’s ability menu, which briefly slows the fight’s flow and gives you a safer moment to choose damage, space, or recovery.
Koo’s abilities also restore a bit of health when used, so do not ignore them while waiting for a perfect damage window. They help you stay alive while still pushing Rangifer toward stagger.
You also get access to Emergency Medicine through Koo’s menu once during the fight. Save that single use for a real danger moment, because regular Koo ability healing can often cover smaller mistakes.
Rangifer mistakes to avoid
| Mistake | Fix |
|---|---|
| Panic dodging backward | Stay close to the front hooves and parry unless you need a side dodge. |
| Overcommitting to melee | Stop after a short punish unless Rangifer is fatigued or staggered. |
| Forgetting ranged weapons | Use the crossbow or bow whenever Rangifer backs off. |
| Missing the yellow bar punish | Watch the bar under the boss and move in as soon as it fills. |
| Entering without resting | Use the camp in the middle of the arena area before serious attempts. |
| Ignoring Hunger setup | Keep Emma and Koo fed so out-of-combat HP refill is ready between attempts. |
Most failed attempts come from trying to force the fight into a chase or a pure melee race. Rangifer is too fast for that, and the fight becomes much cleaner when every choice feeds the same loop: parry, gain mana, use Koo, punish, reset.
Level 12 Rangifer rematch changes
The later Rangifer battle in its lair is a separate, tougher encounter. It happens at Level 12 and runs across two phases with two health bars, so do not use this Level 9 plan as your full rematch strategy.
The familiar attack shapes return, but the longer structure changes how you budget healing, mana, and patience. Treat the rematch as its own boss fight once you reach it.
Rangifer progression rewards
Rangifer’s Oguchi sequence ties into Rangiferine Memories and the Sakura Storm Nushi Skill. Later Rangifer progression also connects to additional Sakura arts, including Sakura: Javelin Bloom Art and Sakura Blade Art/Finisher.
For the Level 9 fight, the important part is clearing the first gate: beat Rangifer here, then prepare for the lair rematch and the broader Sakura unlock path.
Frequently Asked Questions
What level should I be for the first Rangifer fight?
Rangifer is Level 9 in the first fight, and Level 6 or Level 7 is the minimum range where attempts start making sense.
Is parrying required to beat Rangifer?
Parrying is the reliable answer because it handles Rangifer’s close-range pressure while feeding the mana you need for Koo.
What does the yellow bar under Rangifer mean?
The yellow bar is Rangifer’s stagger buildup. When it fills, the boss falls and becomes vulnerable for a short burst window.
How many times do you fight Rangifer?
You fight Rangifer twice in Chapter 1: first at Level 9, then again at Level 12 in its lair.
Should I use crossbow or bow against Rangifer?
Use the crossbow first because it fires full-auto, then switch to the bow if crossbow ammo runs out.
More questions⤵
How does Koo heal you during the boss fight?
Koo helps through regular ability healing and one Emergency Medicine use from Koo’s menu during the fight.




Leave a Reply