
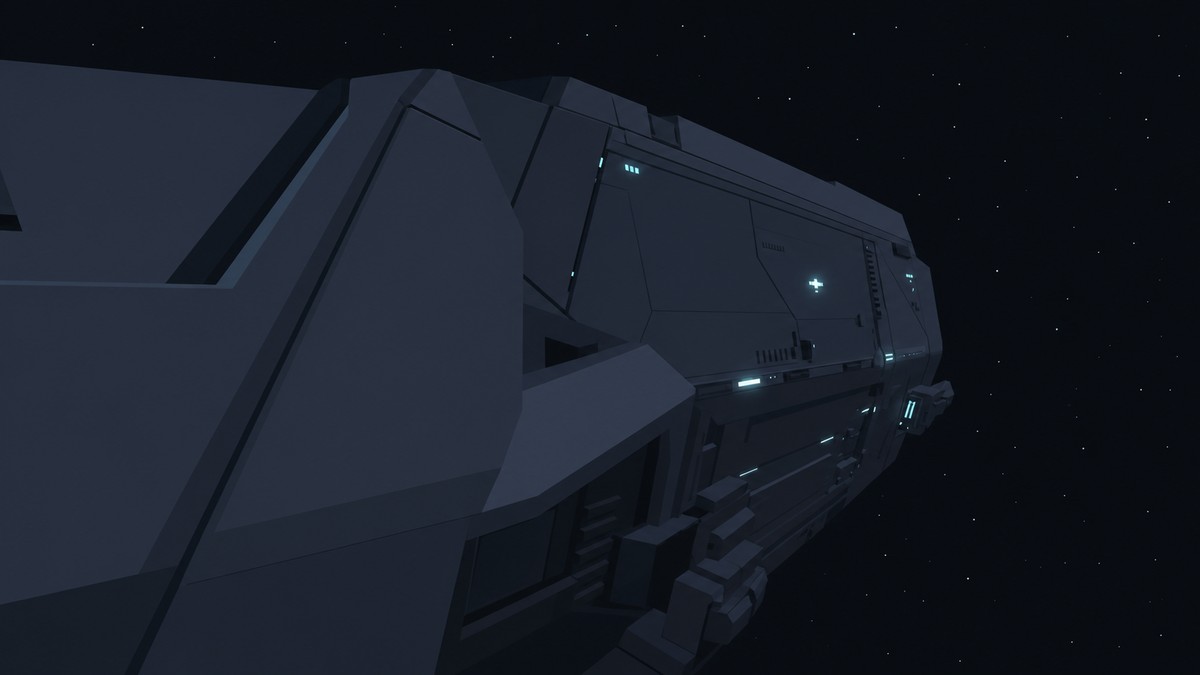
Arm’s Length unlocks by getting through the first-floor stretch of 343 Guilty Spark without taking any shield or health damage, and the safest route is to play on Easy, move slowly, use grenades at known spawns, and lean on the SMG/Assault Rifle for the Flood rooms.
Arm’s Length is a control run, not a speed run. The safest approach is to start 343 Guilty Spark clean, treat every hallway as live, and only enter rooms after every Grunt, Jackal, or Flood form that can shoot or tag you is dead.
Arm’s Length requirement and safest setup
| Requirement | Answer |
|---|---|
| Achievement/trophy | Arm’s Length, 10G / Bronze |
| Mission | 343 Guilty Spark, from Rally Point Alpha |
| Difficulty recommendation | Easy |
| Damage rule | No shield or health damage |
| Key weapons | Pistol early, then Assault Rifle and SMG |
| Checkpoint reload note | Reload immediately after a hit or bad Flood release |
| Unlock point | Keep the run clean until the Arm’s Length notification appears |
Arm’s Length is worth 10G and is also a Bronze trophy. The requirement is simple but strict: on 343 Guilty Spark, complete the first-floor stretch without taking a hit, including any shield damage.
Run it on Easy and load the mission from the start at Rally Point Alpha. Skulls and difficulty modifiers may be allowed, but this route does not depend on them; a clean Easy run keeps the setup simple and removes the only unclear variable.
KEY!The endpoint can differ by route description, so keep playing as if the achievement is still active until the notification appears. In this route, that happens after the final doorway near the Shotgun prompt.
Damage that voids Arm’s Length
Shield damage counts. Do not wait for health damage; if the shield flashes, you hear a hit connect, or you are not sure whether a stray round landed, reload the checkpoint immediately.
The first Flood room has the harshest reset trigger. If infection forms escape the doorway spray and spread around the room, reload instead of trying to clean up a messy room with a clean run still alive.
Reload the checkpoint the moment infection forms slip out of the first Flood doorway; a chase around that room creates more risk than restarting.
How to earn Arm’s Length in Halo: Campaign Evolved
This route takes you from mission start through the final safe doorway while keeping every shield pip untouched.
STEP 1/21
Load 343 Guilty Spark

Start on Easy from Rally Point Alpha and treat the no-hit attempt as active immediately.
STEP 2/21
Clear the first Covenant group
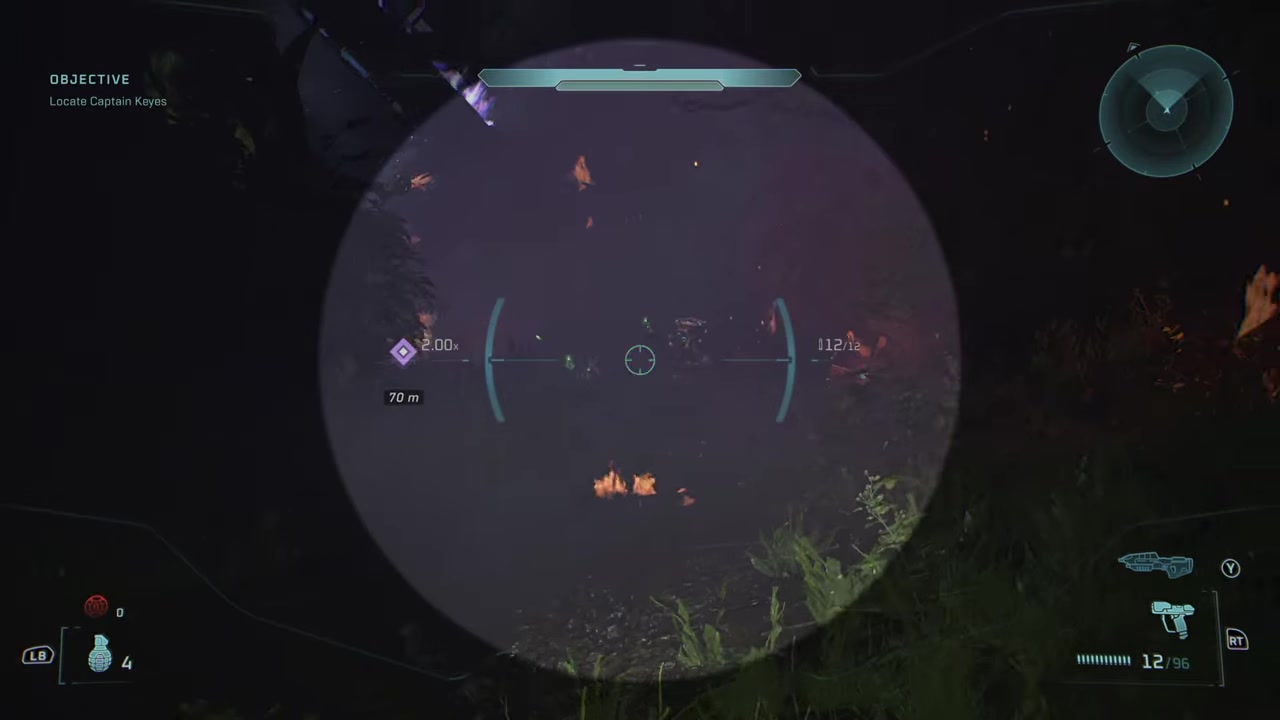
Pick off the Grunts and Jackals slowly, count the Grunts before entering, and stay back from exploding backpacks.
STEP 3/21
Kill the two corner Jackals
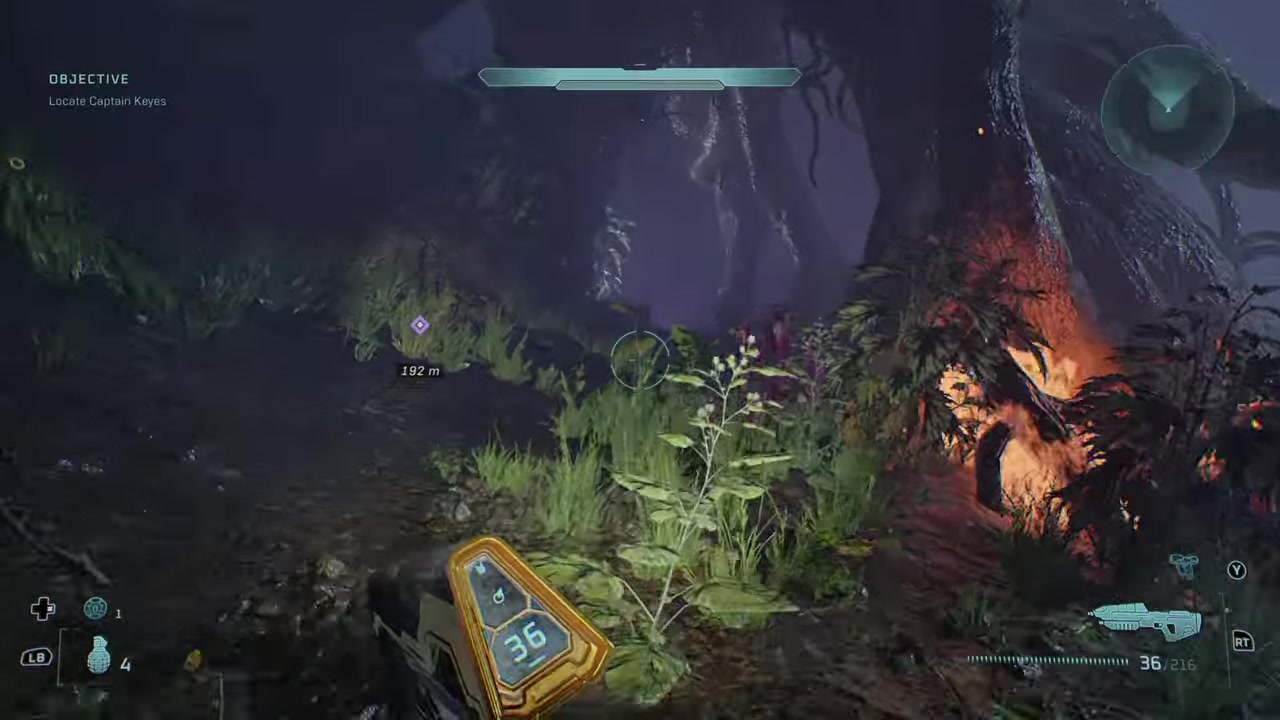
Peek around the corner and hold the Assault Rifle on both Jackals until they drop.
STEP 4/21
Stop the elevator-room group
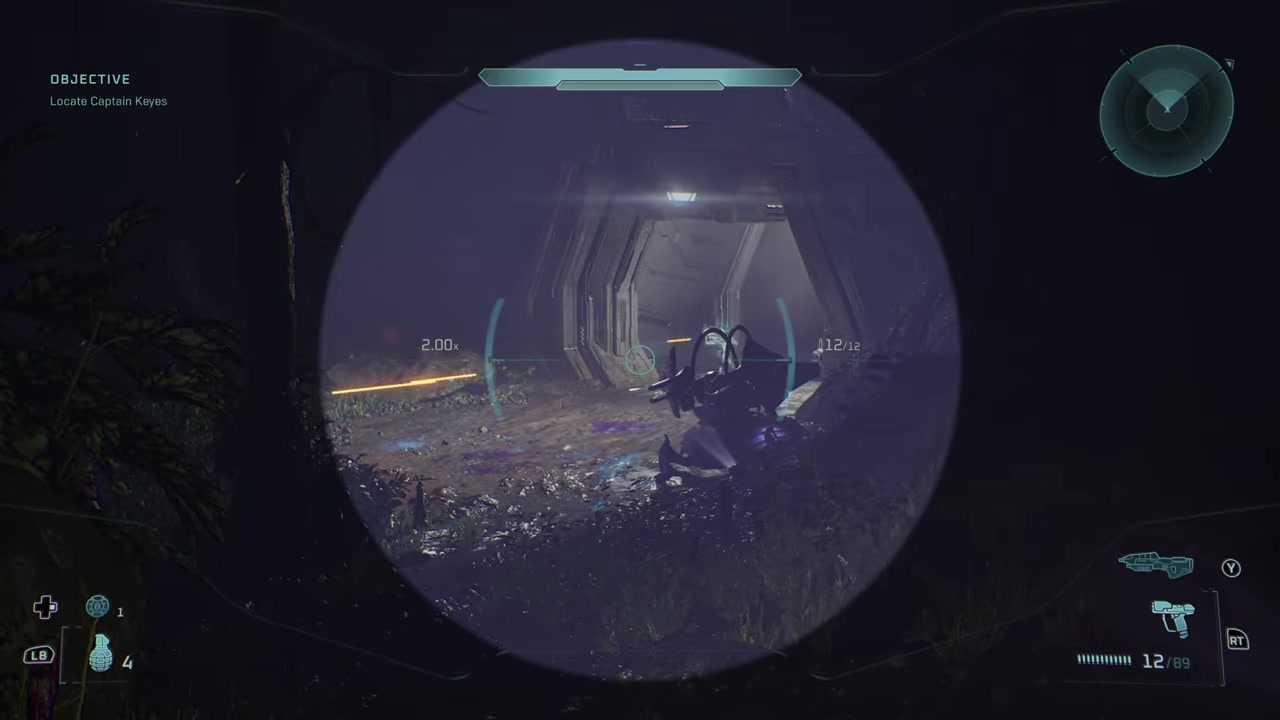
Shoot as many Grunts and Jackals as possible as they run out, then enter only after checking for enemies waiting outside.
STEP 5/21
Take the lift down
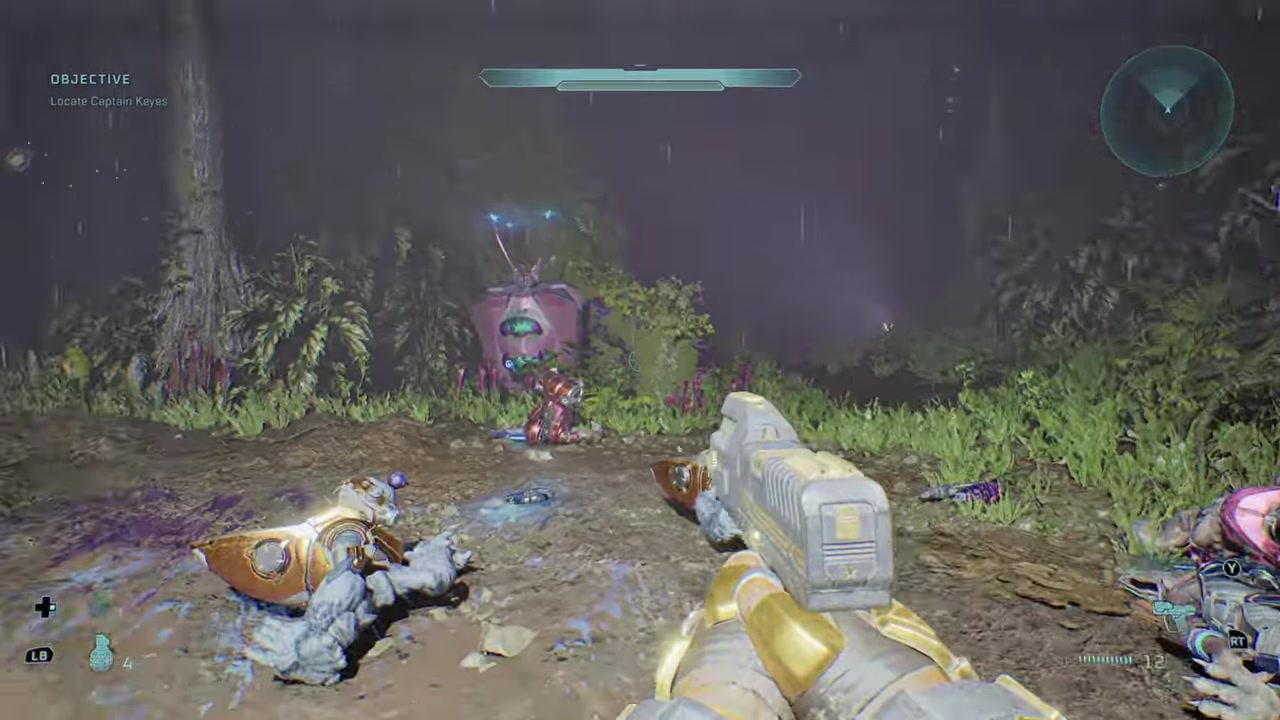
Ride the elevator after the entrance is clear and keep the attempt clean before the first-floor fight begins.
STEP 6/21
Grenade the lower hallway
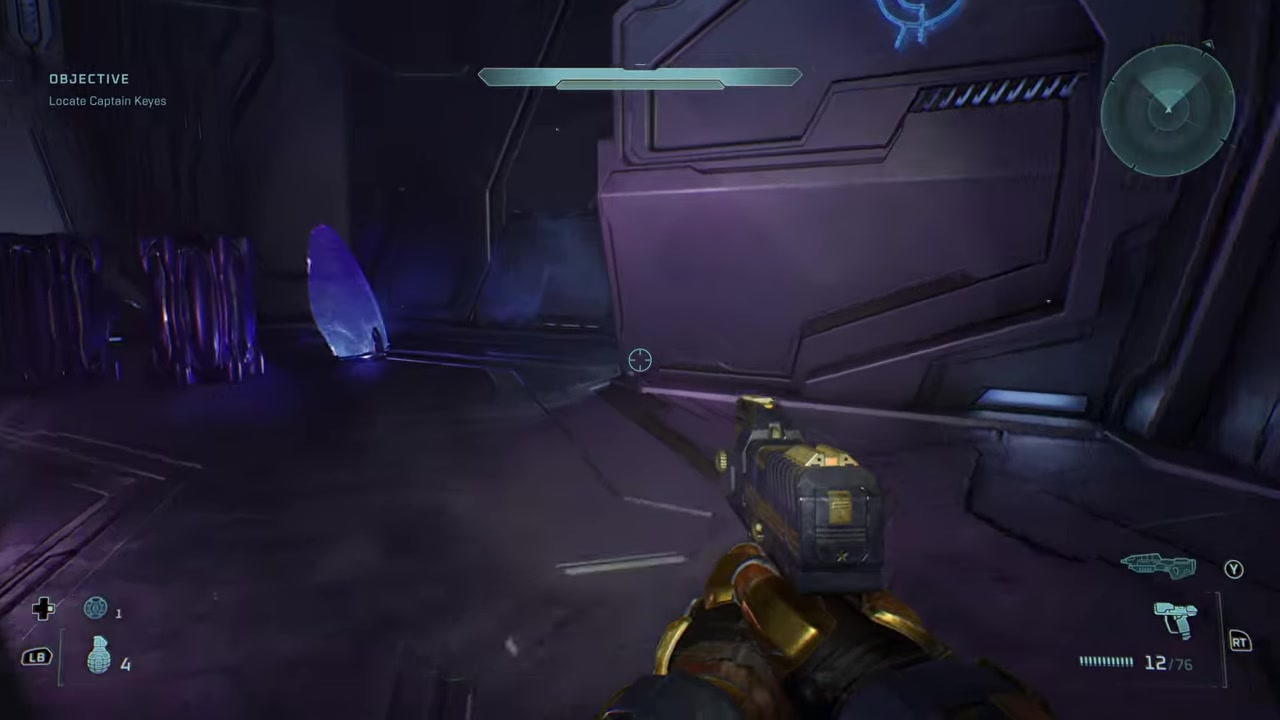
Throw a grenade into the Grunts and Jackals, then wait out any exploding backpacks before moving in.
STEP 7/21
Check the right-side Jackals
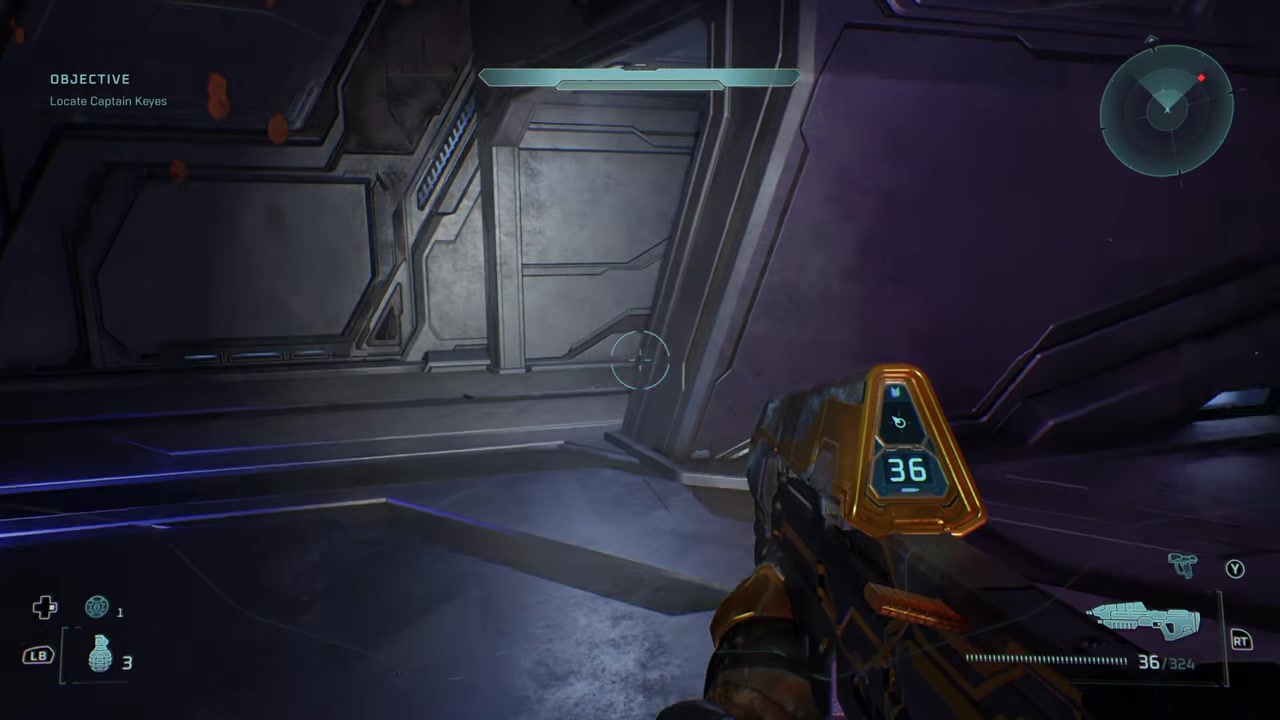
Kill the two Jackals that may come through the door or hang to the right, using a grenade if they group up.
STEP 8/21
Clear the lower platform spawns
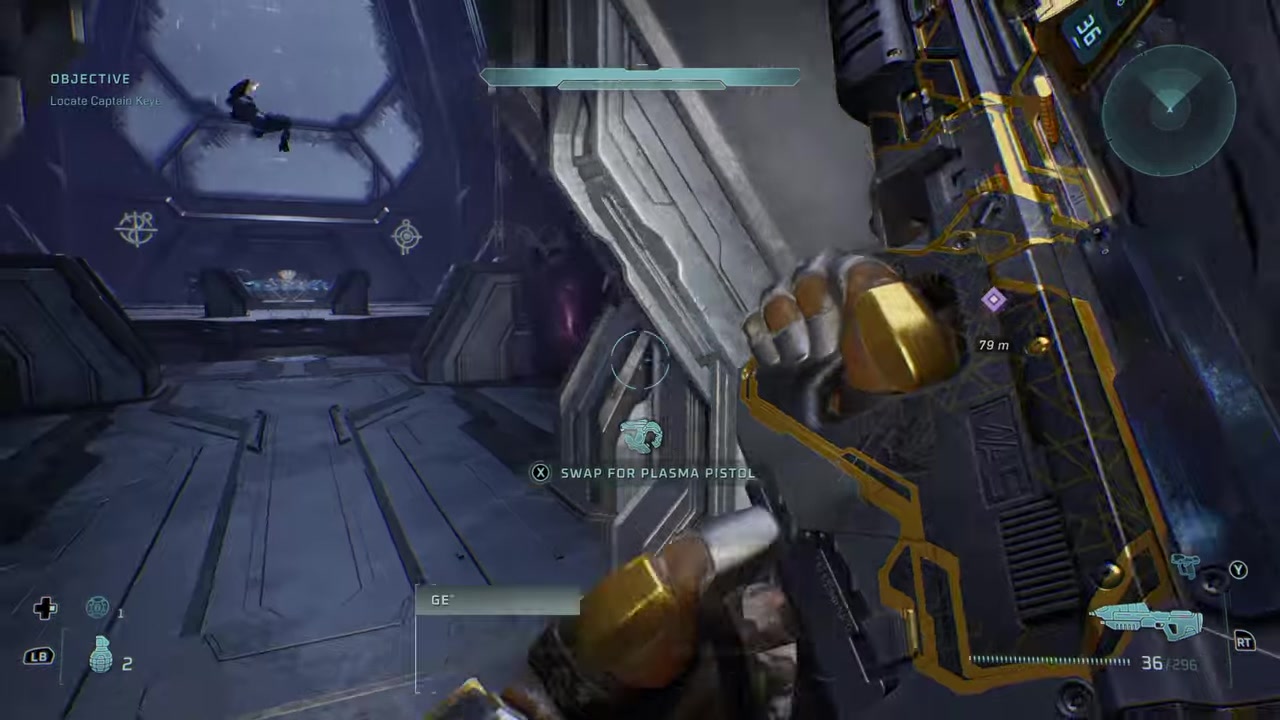
Look down to the right for three Grunts and watch the door for one more Jackal.
STEP 9/21
Pick up the SMG
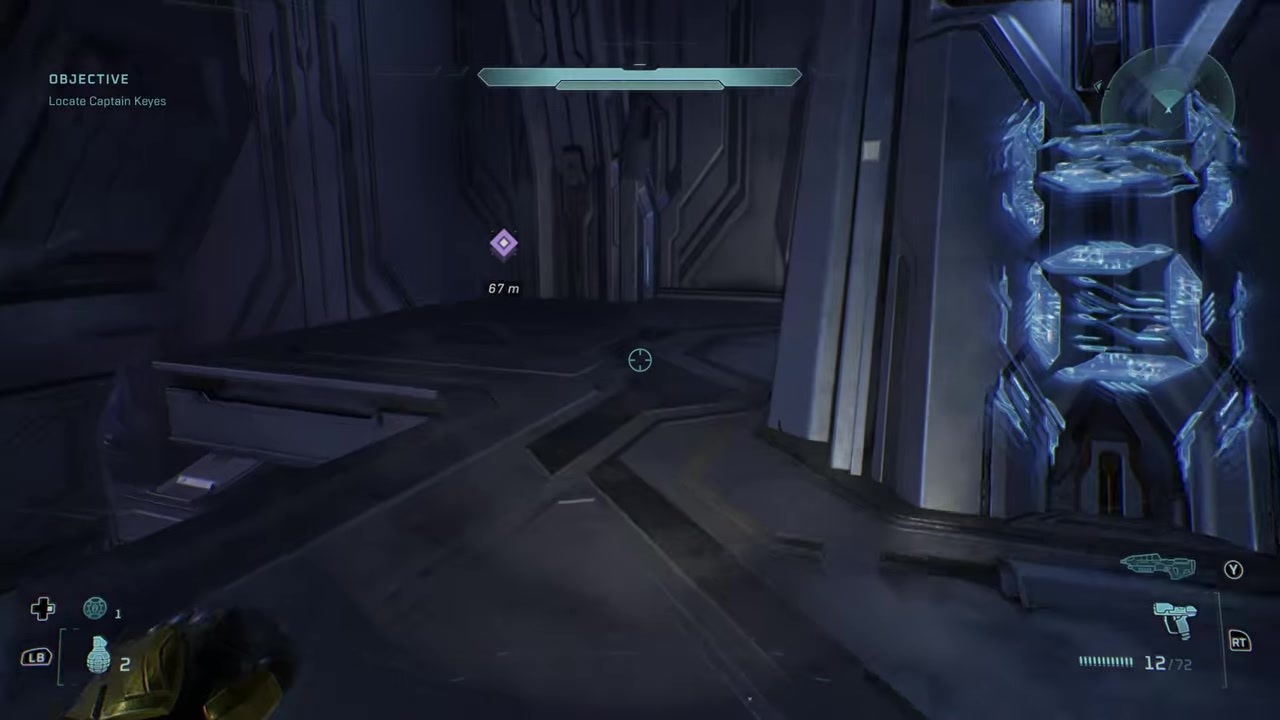
Grab the SMG in this room, since it carries the first Flood room alongside the Assault Rifle.
STEP 10/21
Grenade the three Jackals
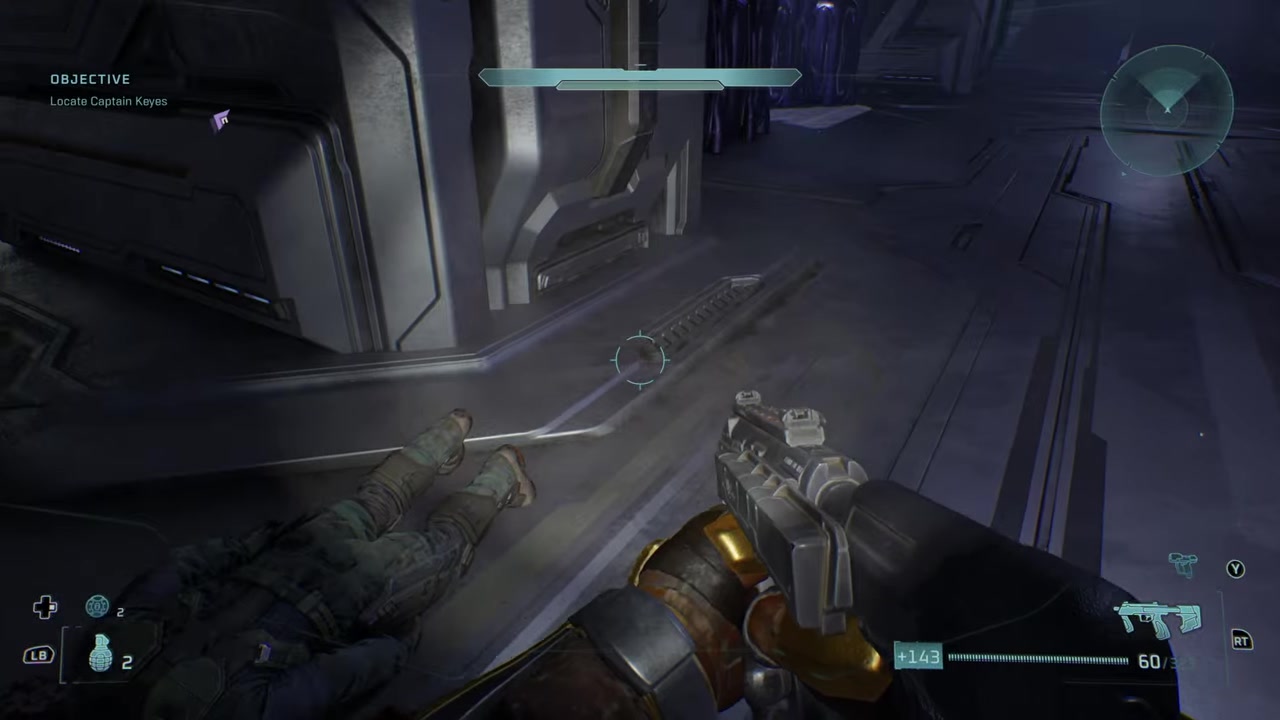
Go through the door, turn left, and grenade the three Jackals near the next doorway before cleaning up any survivor.
STEP 11/21
Remove the hostile Marine
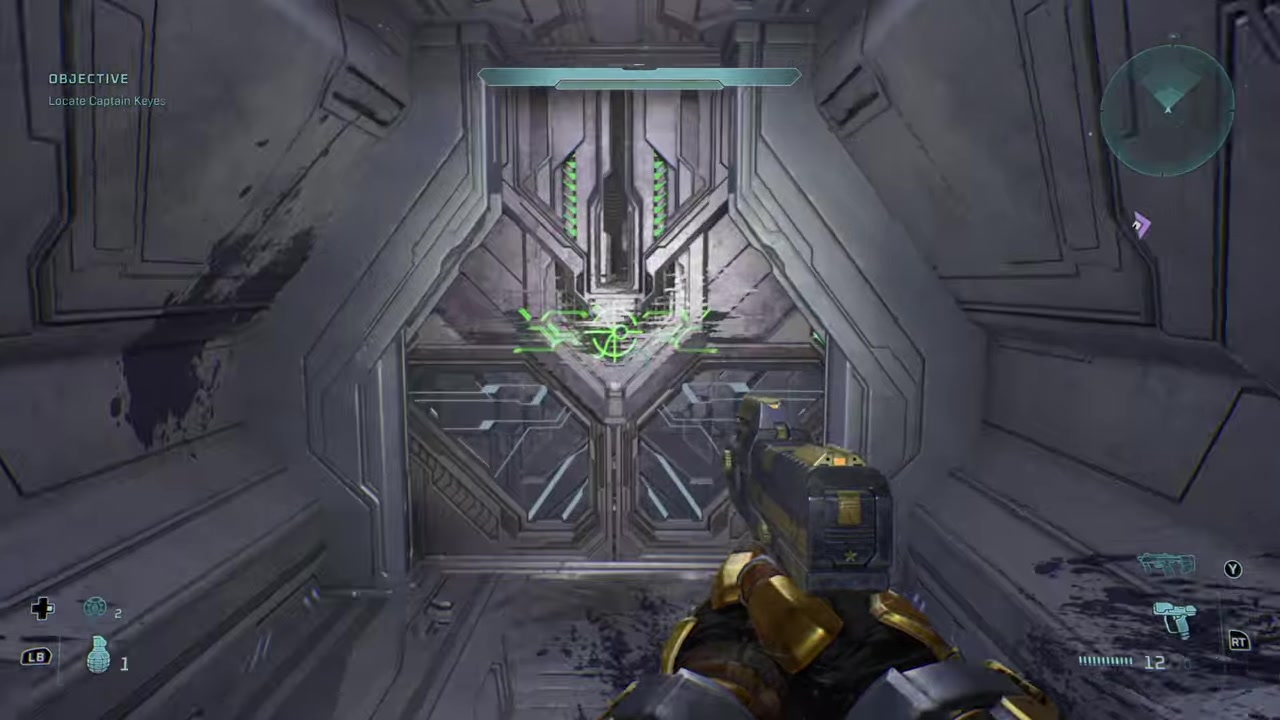
Hop up into the next area and kill the Marine before he can shoot you.
STEP 12/21
Activate the light bridge
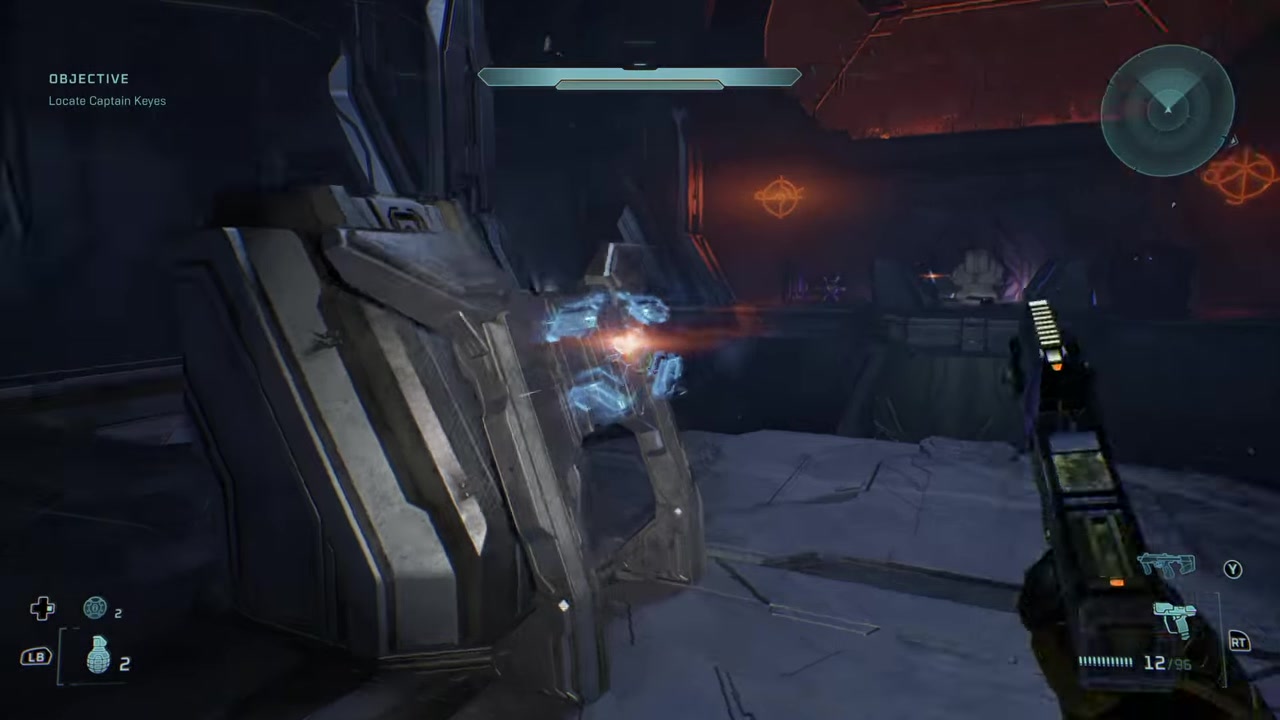
Extend the light bridge, cross into the glass room, and pick up the Assault Rifle for the Flood stretch.
STEP 13/21
Hold the first Flood door
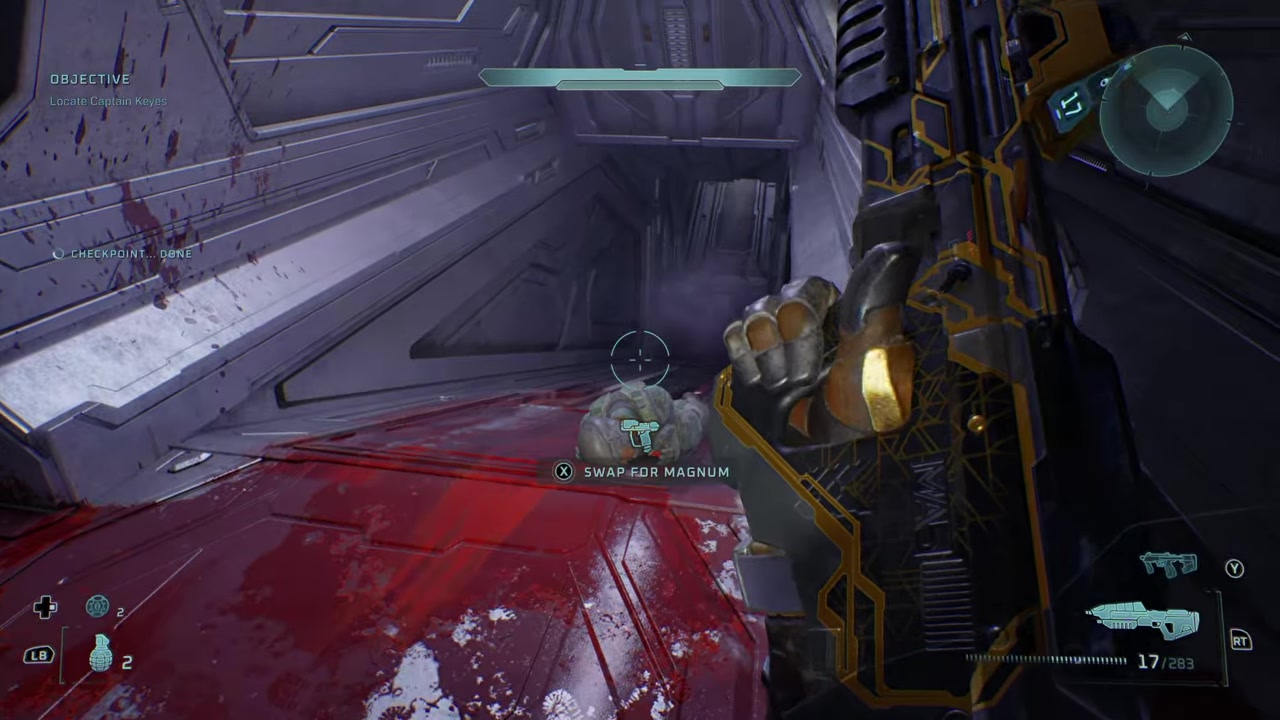
Stand in front of the first door and spray the infection forms as soon as it breaks.
STEP 14/21
Grenade the fourth Flood door
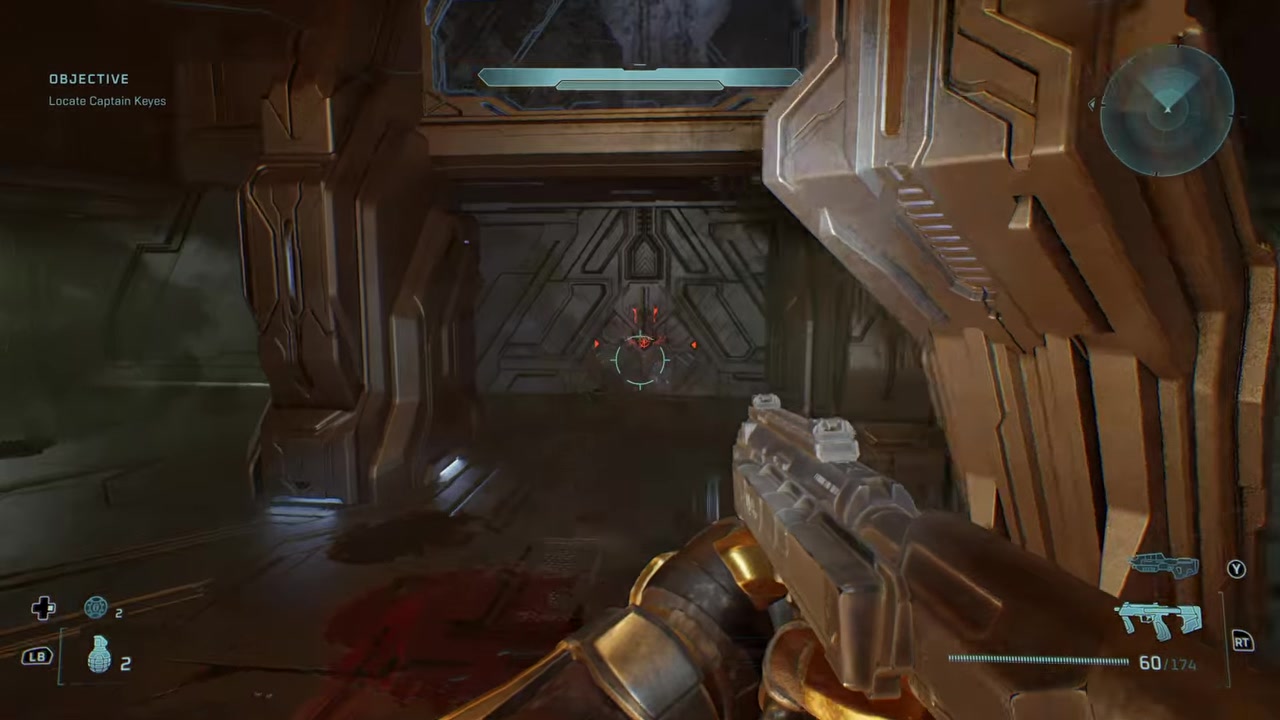
Throw a grenade at the fourth door because larger Flood come through with the smaller forms.
STEP 15/21
Clear the exit wall
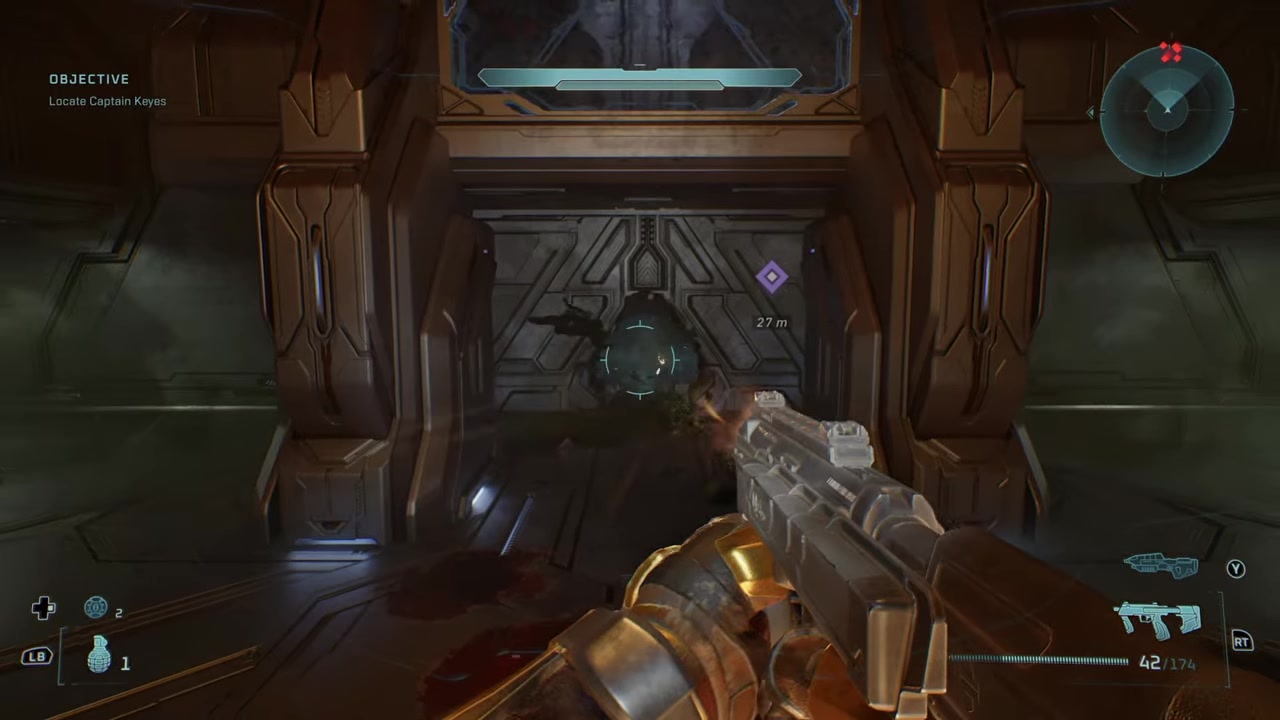
Watch radar and kill Flood stuck by the exit door or above the doorway before leaving.
STEP 16/21
Sweep both ramps
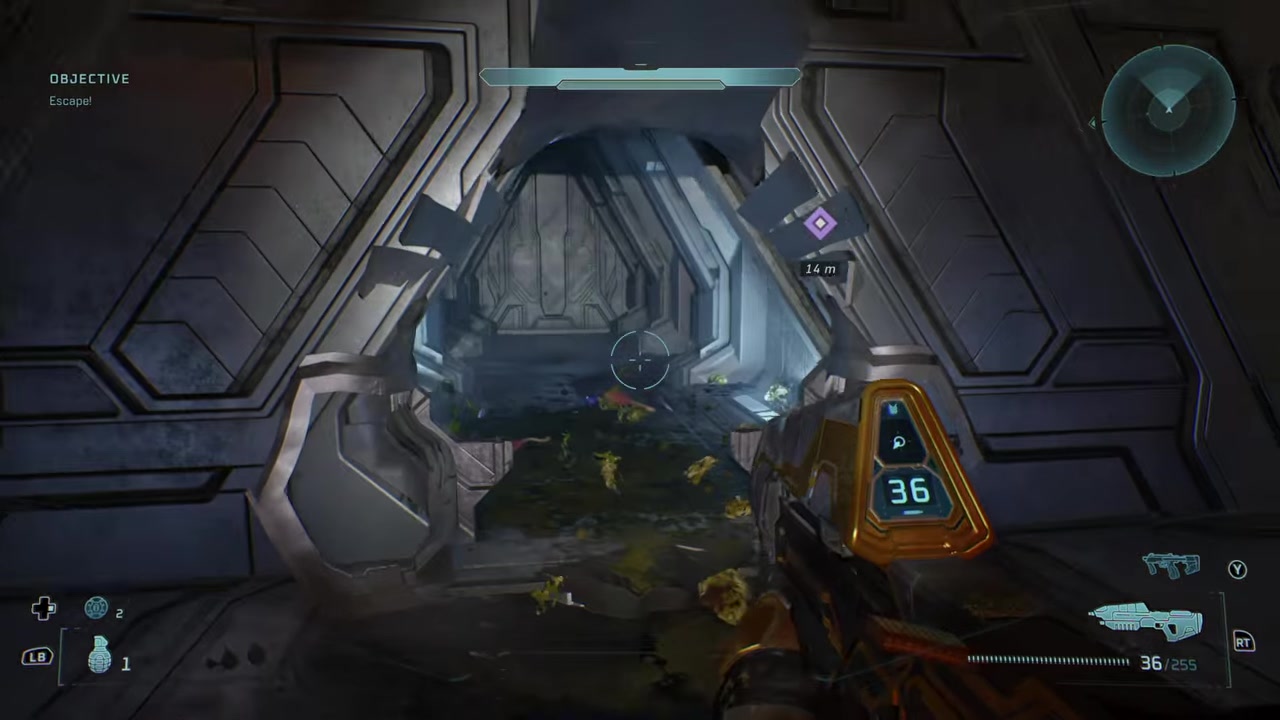
Check the left and right ramps and clear the Flood that spawn from both directions.
STEP 17/21
Pass the Covenant-Flood fight
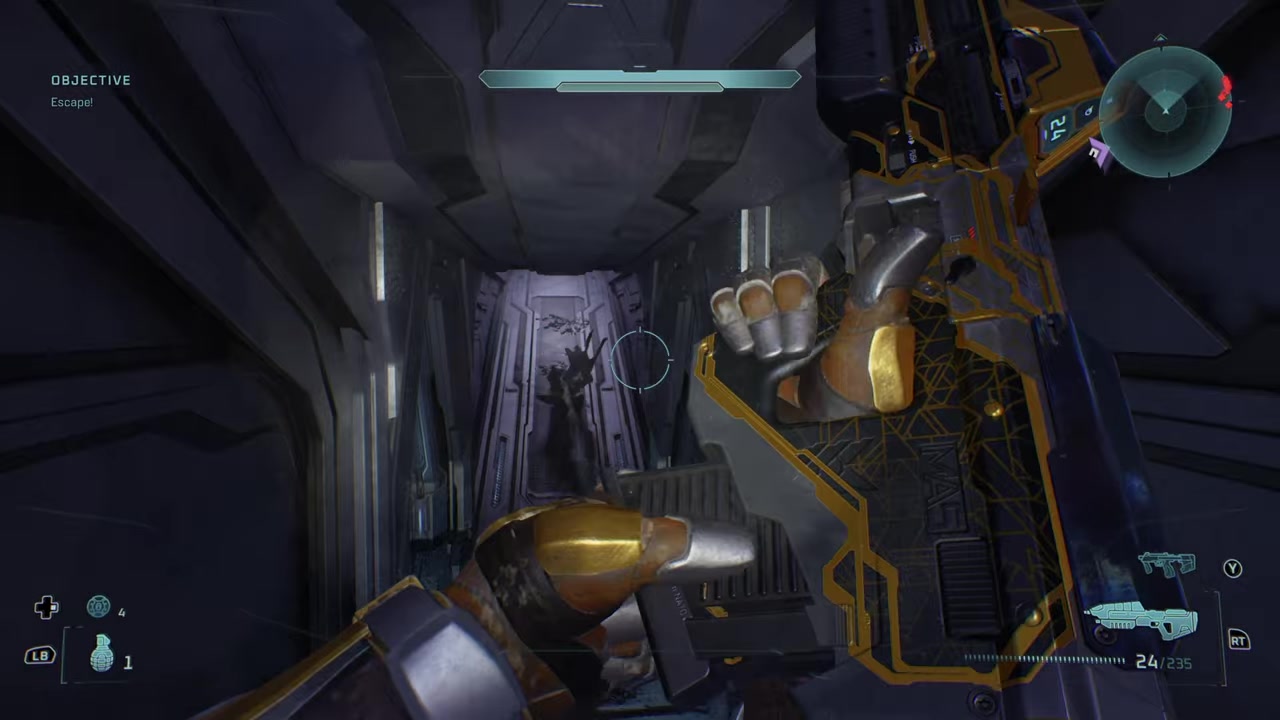
Move through the room where the Covenant and Flood are fighting instead of taking unnecessary angles.
STEP 18/21
Clear the next room’s right side
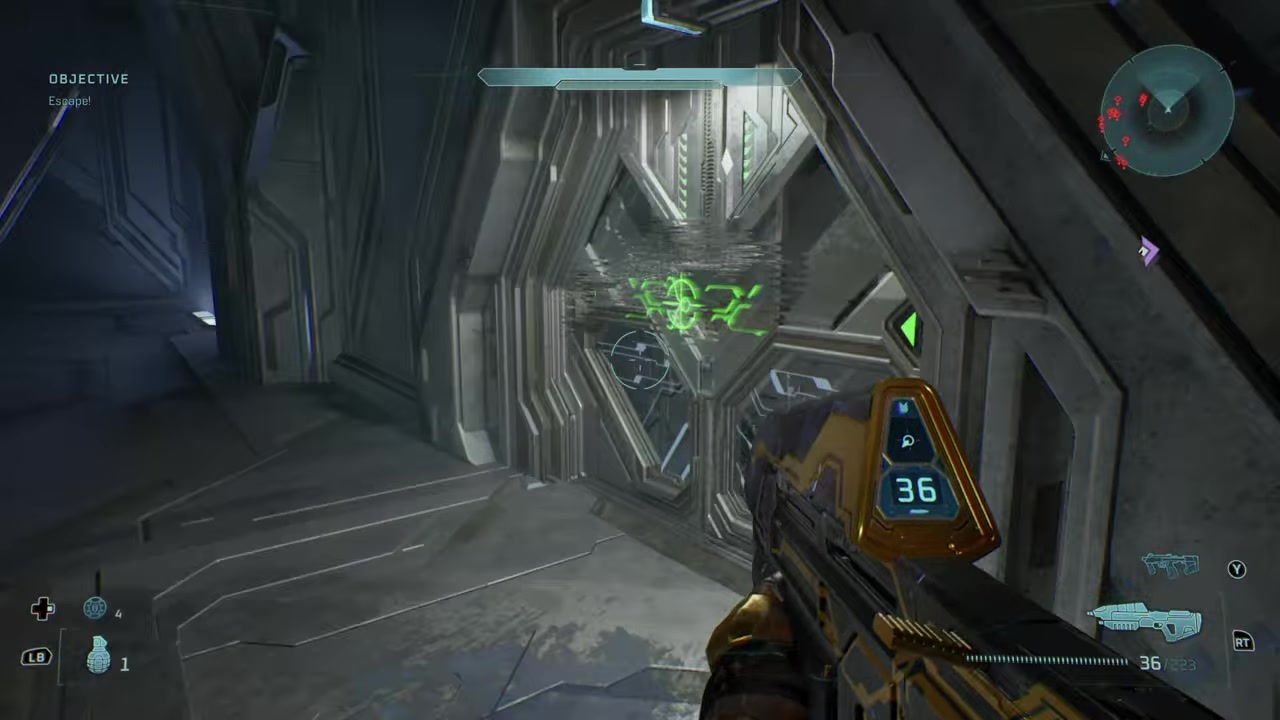
Stay right, kill the larger Flood and nearby infection forms, then run through once the lane is safe.
STEP 19/21
Wait on the light bridge
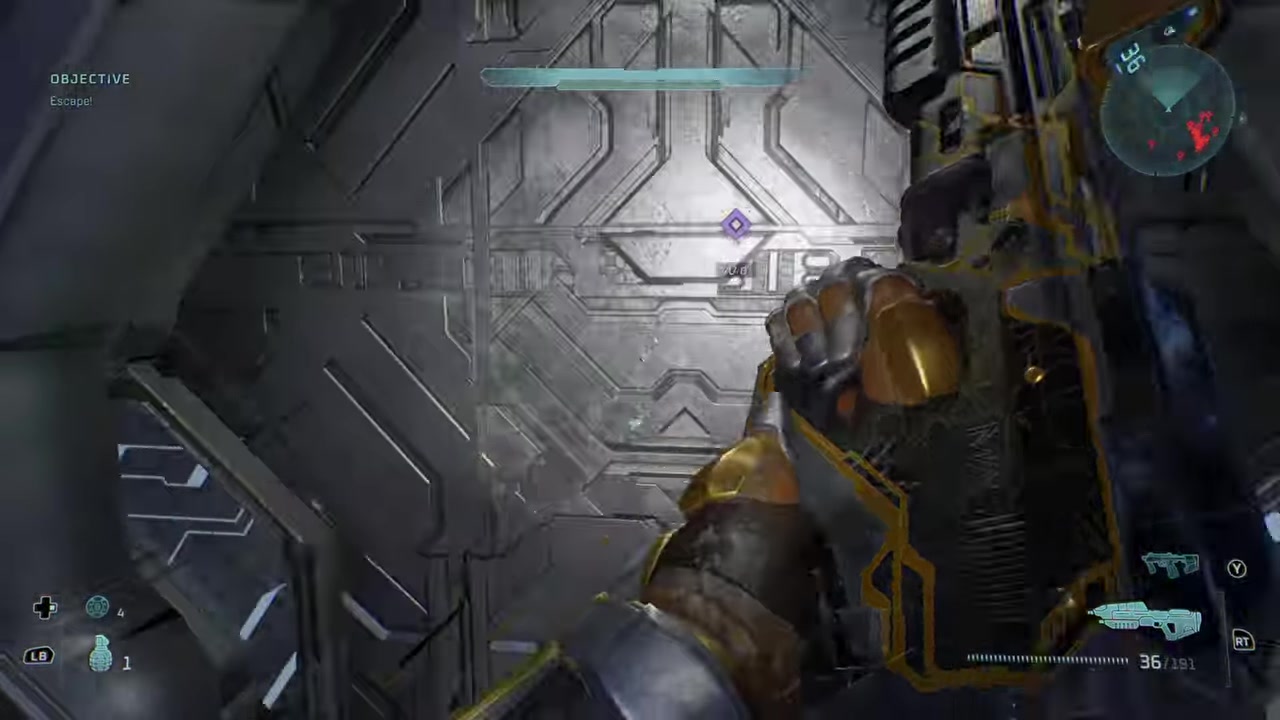
Jump onto the light bridge and let enemies fight for a moment if they engage each other.
STEP 20/21
Grenade the final doorway
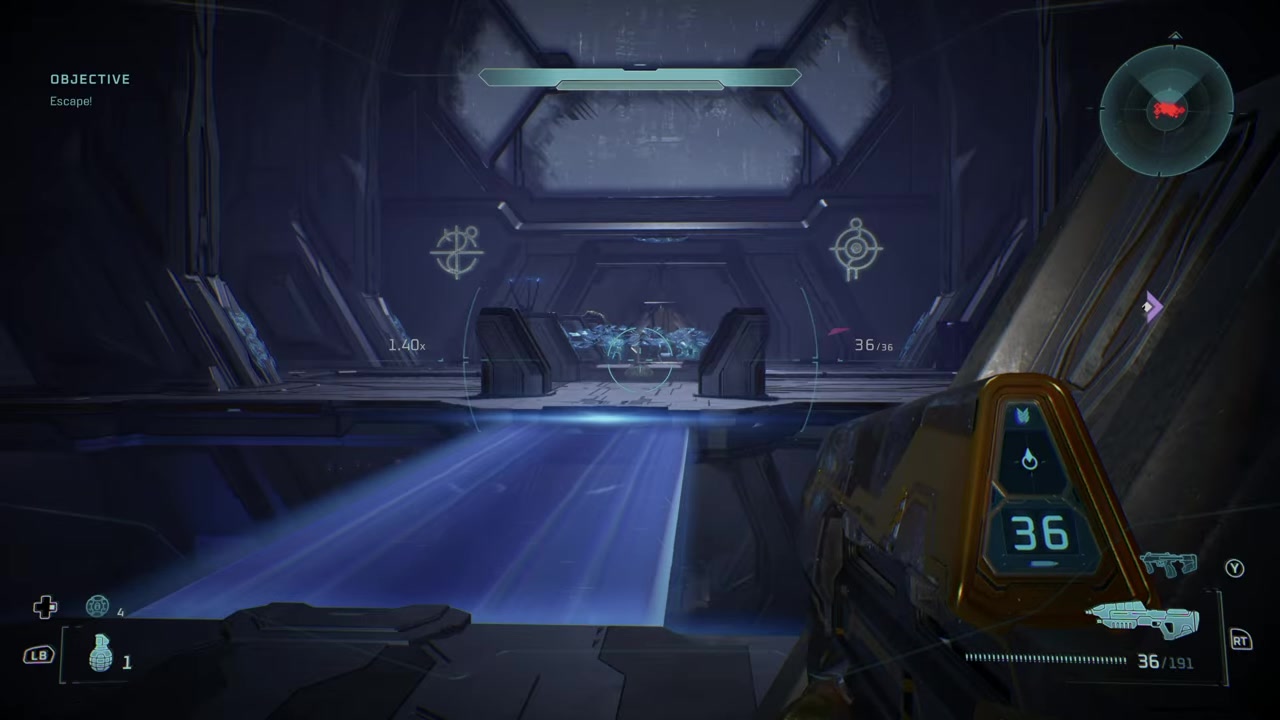
Spend your leftover grenades on the last doorway before pushing through.
STEP 21/21
Pass the Shotgun prompt
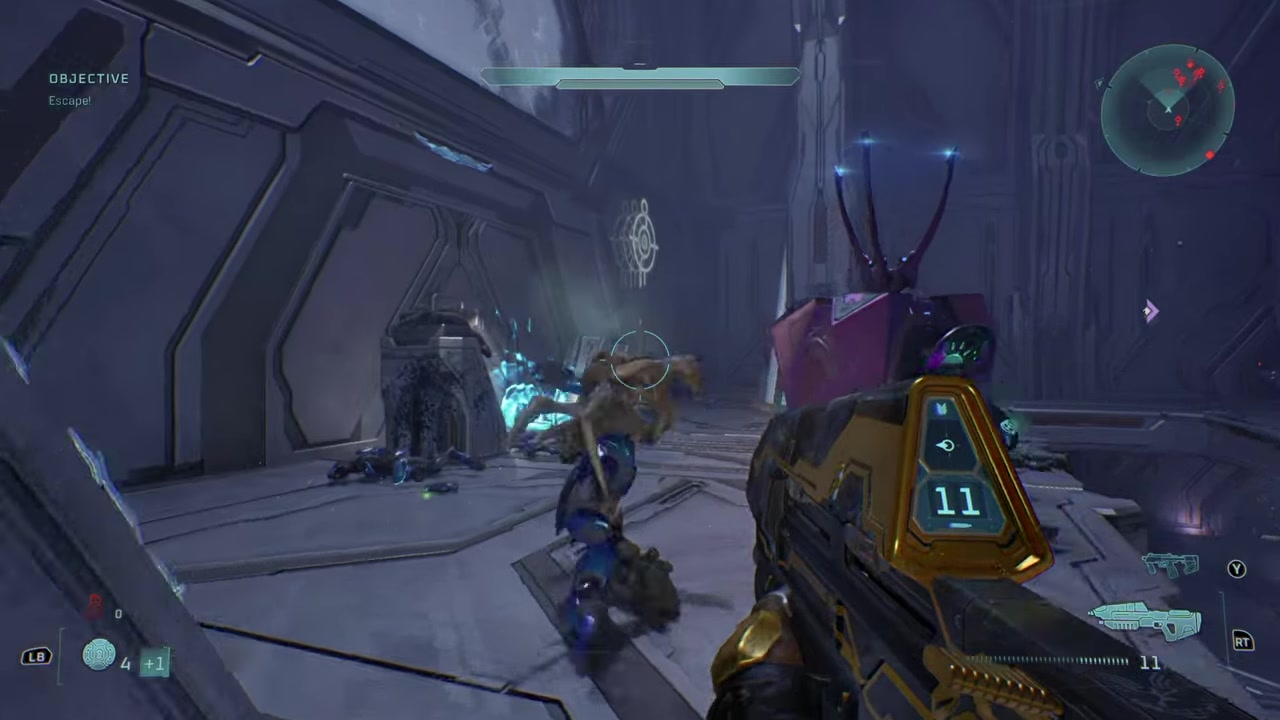
Ignore the Shotgun, walk through the door, and keep moving until Arm’s Length appears.
Video help
Danger spots that break clean runs
The Covenant half is won by refusing blind corners. Exploding Grunt backpacks can clip your shields after the enemy is already dead, and the two-Jackal corners punish sprinting because one shield flash ruins the attempt.
The Marine encounter is not harmless. He can shoot you, so remove him before moving deeper into the facility.
In The Flood chapter room, infection forms are the real reset threat. Hold each doorway, keep spraying until the spawn is gone, and use a grenade on the fourth door because larger Flood arrive there.
Before leaving that room, watch for enemies stuck near the exit wall or above the doorway. At the last doorway, spend leftover grenades instead of saving them for a close-range fight you do not need.
Common Arm’s Length mistakes
The most common failure is rushing into rooms before all Grunts and Jackals are dead. Slow peeking matters more than fast clearing, especially when enemies hang back or wait just outside a doorway.
Do not ignore the shield bar, do not take risky close-range fights, and do not treat the Shotgun as required. Missing the SMG makes the Flood rooms harder than they need to be, and finishing a damaged attempt only wastes time.
Frequently Asked Questions
Does shield damage void Arm’s Length?
Yes. Any hit to shields voids the attempt, even if your health bar never moves.
Can you play on Easy for Arm’s Length?
Yes. Easy is allowed and is the recommended difficulty for this route.
Can you reload a checkpoint after taking damage?
Yes. Reloading a checkpoint after damage still lets you earn Arm’s Length, as long as the successful attempt from that checkpoint stays hit-free.
Do skulls or difficulty modifiers prevent the unlock?
They are not required here. Use a clean Easy run if you want the least ambiguous setup.
Where does Arm’s Length unlock in this route?
Expect it after you pass the final doorway near the Shotgun prompt, and keep avoiding damage until the notification appears.
More questions⤵
Do you need the Shotgun for Arm’s Length?
No. The safer loadout is the SMG and Assault Rifle, because they clear infection forms before they reach you.






Leave a Reply