
Palworld 1.0 has four Yakumo Effigies to collect: one on Feybreak Island, one in the Sunreach Islands, and two in the World Tree region.
The 1.0 release scattered its new collectibles across the areas it added, so hunting Yakumo Effigies means touring most of the endgame map. Each one is a static world object — interact once and it’s permanently recorded on that save, so there’s no farming loop to worry about. Below is every location, followed by the route to each.
- All four Yakumo Effigies at a glance
- What to bring before the hunt
- Yakumo Effigy 1 on Feybreak Island
- Yakumo Effigy 2 in the Sunreach Islands
- Yakumo Effigy 3 at the Gilded City Ruins lakefront
- Yakumo Effigy 4 on the Abandoned Laboratory statue
- What Yakumo Effigies are used for
- Mistakes that cost people the full set
- Frequently Asked Questions
All four Yakumo Effigies at a glance
| Effigy | Where to find it |
|---|---|
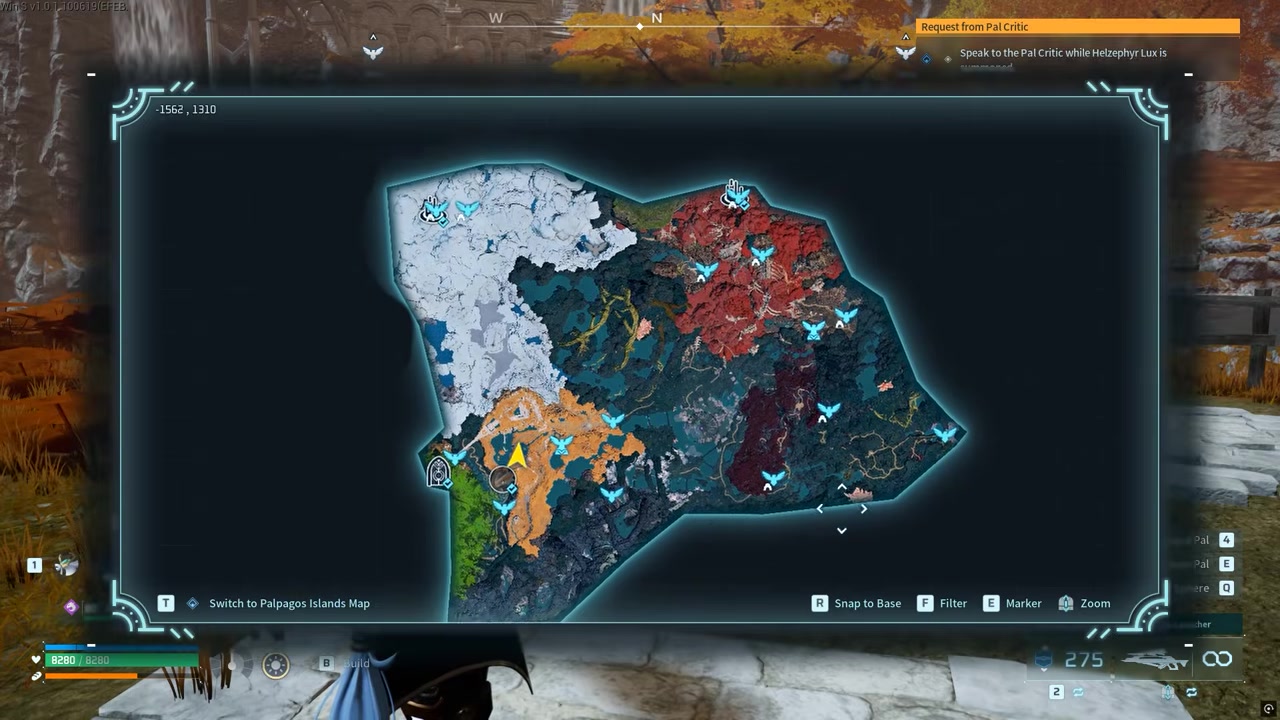
| Effigy 1 | Feybreak Island, Frozen Coral Hill — on top of the circular stone structure above the Oculus Gate fast travel point |
| Effigy 2 | Sunreach Islands — inside the shrine on the eastern floating island, north of Sunreach Watchtower |
| Effigy 3 | World Tree — outside the entrance of the lone lakeside building west of Gilded City Ruins Watchtower |
| Effigy 4 | World Tree — on the huge Anubis Statue outside the Abandoned Laboratory |
KEY!Two of the four sit in the World Tree region, which is where most people lose track of their count. Work the list top to bottom and you’ll clear all four in one trip.
What to bring before the hunt
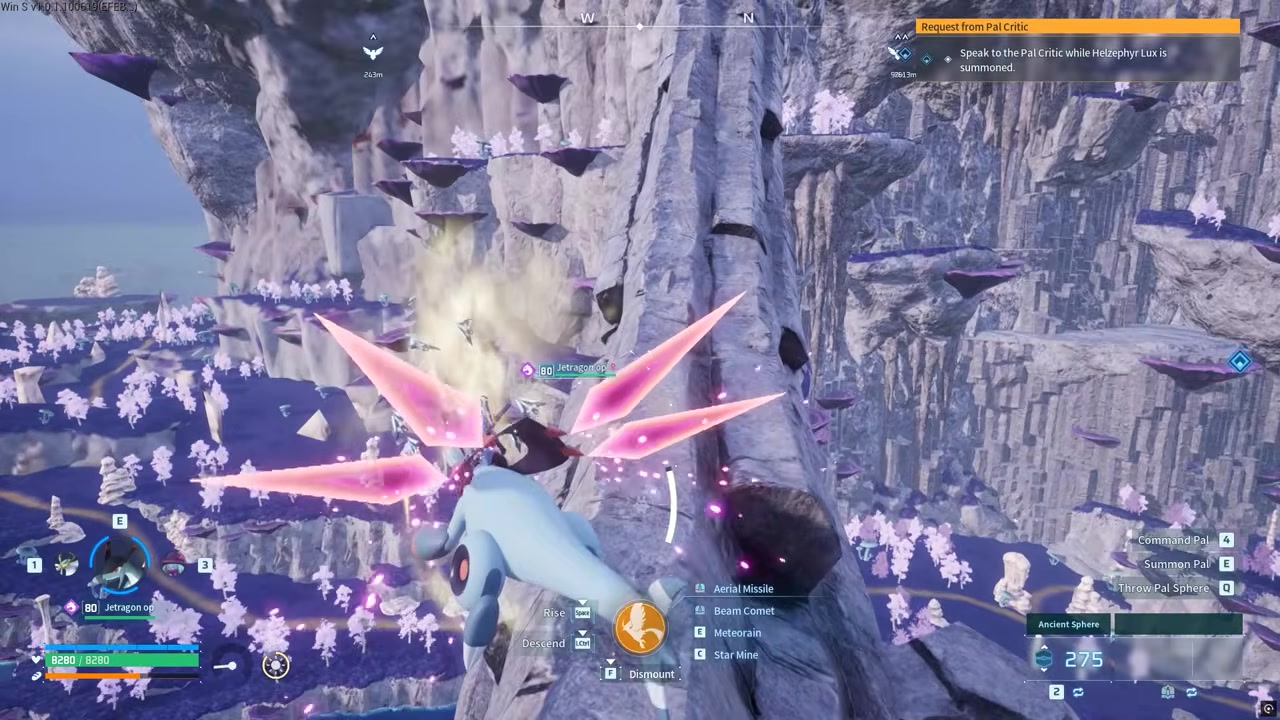
These are strictly endgame routes. If you’re still working through the early islands, come back later — the regions involved are gated behind late progression, and there’s nothing you can do with the effigies until then anyway.
Bring a flying mount. Three of the four pickups sit above ground level, and climbing a stone tower or a statue leg by hand is slower and easier to fall off of than simply landing on top. Pack cold-resistant armor too, since Feybreak’s Frozen Coral Hill and the tundra stretch of World Tree will chip away at your health while you search.
Yakumo Effigy 1 on Feybreak Island
Fast travel to Oculus Gate
Warp to the Oculus Gate point in the Frozen Coral Hill area of Feybreak Island.
Look up at the circular structure
A giant circular stone structure sits above the gate — the effigy rests on its top platform.
Get to the top platform
Climb the structure or fly straight up with a mount and interact with the effigy.
The southern stretch of this area has a road running upward toward the structure, which is the easiest ground-level way in if you’d rather walk it.
Yakumo Effigy 2 in the Sunreach Islands
Start at Sunreach Watchtower
Fast travel to Sunreach Watchtower on the Sunreach Islands.
Head north across the lake
Cross the small lake sitting north of the watchtower.
Follow the narrow cliff path
Take the narrow path that climbs the cliff toward the upper part of the island.
Enter the eastern shrine
Continue to the shrine on the eastern floating island — the effigy is inside, near the portal.
Community maps put this one at roughly -280, -1460, though the exact figures drift a little between them. The shrine itself is unmistakable once you’re up top, so aim for the landmark rather than the numbers.
Unlock every fast travel point in Feybreak, Sunreach, and World Tree first — all four routes start from a warp point, and the run collapses from an expedition into a fifteen-minute loop.
Yakumo Effigy 3 at the Gilded City Ruins lakefront
Fast travel to Gilded City Ruins Watchtower
Warp to the Gilded City Ruins Watchtower in the World Tree region.
Head west toward the lake
Move west until a lone building near a lake comes into view — its roof is clearly visible on the map.
Grab it at the entrance
The effigy sits just outside the building’s main entrance, so interact with it there.
You don’t need to go inside. Walk up to the front of the building and it’s right there on the ground.
Yakumo Effigy 4 on the Abandoned Laboratory statue
Travel toward the Abandoned Laboratory
Head to the Abandoned Laboratory on the western side of World Tree, reached through the Moldron Cryst boss gorge.
Find the Anubis Statue
A huge Anubis Statue stands outside the laboratory — that’s the marker you’re looking for.
Climb the statue
Get up between or above the statue’s legs, toward the upper section, and claim the effigy there.
This one sits in the tundra portion of World Tree, so it’s the pickup where cold protection actually matters. Sources place it around -1945, 1612, and placement wording varies slightly between them — the statue is the reliable landmark. A flying mount saves a lot of fumbling on the climb.
What Yakumo Effigies are used for
Take your effigies to the Statue of Power to spend them. Each one increases the chance that wild Pals you encounter will roll better passive skills, which is why the collection is worth doing before you start hunting for a perfect capture.
That payoff is entirely endgame-facing, which is the real reason to hold off until you’ve cleared the new regions rather than detouring for effigies mid-run.
Mistakes that cost people the full set
The most common one is losing track of the two World Tree effigies. They’re in the same region but nowhere near each other — one is at the lakefront building west of Gilded City Ruins, the other is on the Anubis Statue by the Abandoned Laboratory. Collect one, assume you’ve done World Tree, and you’ll finish the tour with three.
The second trap is old information. Guides written before 1.0 place the fourth effigy in Sakurajima, and some claim more than four exist. Neither holds up — 1.0 adds exactly four, and all of them are in the regions listed above.
Last, don’t set out unprepared. Turning up at Frozen Coral Hill or the World Tree tundra without cold gear turns a quick pickup into a retreat, and trying these routes without any vertical traversal option makes three of the four unnecessarily painful.
Frequently Asked Questions
How many Yakumo Effigies are in Palworld?
Four. That’s the complete set added in the full release, spread across Feybreak Island, the Sunreach Islands, and two spots in World Tree.
Do Yakumo Effigies respawn after you collect them?
No. Each effigy is a one-time pickup that’s permanently recorded on your save file once you interact with it, so there’s no way to farm them on a single character.
What do Yakumo Effigies do?
They’re spent at the Statue of Power to raise the odds of wild Pals spawning with stronger passive skills — a stat-shaping tool rather than a direct upgrade to your own character.
Do you need cold-resistant armor to collect every Yakumo Effigy?
Not for all four, but for two of them. The Feybreak and World Tree tundra pickups both sit in cold biomes, while the Sunreach shrine and the Gilded City Ruins building don’t demand it.
Which Yakumo Effigy is easiest to miss?
The Anubis Statue one at the Abandoned Laboratory. It’s the only pickup that isn’t near a fast travel point you’d naturally use, it’s mounted well off the ground where a ground-level sweep won’t spot it, and it’s the second World Tree effigy — the one people forget exists after grabbing the lakeside pickup.
Video help




Leave a Reply