
Complete any campaign level on Heroic or Legendary without taking health damage; the easiest method is to clear The Pillar of Autumn on Heroic while letting shields recharge before your health bar is touched.
All Shield, No Yield is a clean-run challenge built around Master Chief’s shield system. You do not need a flawless no-damage mission, but you do need a run where the red health bar stays untouched from start to finish.
The opening mission, The Pillar of Autumn, is the best place to do it because the route is short, the fights are predictable, and there are enough corners, Marines, and access ways to reset between encounters.
- All Shield, No Yield requirement and easiest mission
- All Shield, No Yield at a glance
- How to finish The Pillar of Autumn without health damage in Halo: Campaign Evolved
- Health damage that ends the attempt
- Legendary-to-Easy replay workaround
- Mistakes that ruin All Shield, No Yield
- Frequently Asked Questions
All Shield, No Yield requirement and easiest mission
To unlock All Shield, No Yield, complete any campaign level on Heroic difficulty or higher without taking health damage. Shield damage is allowed, so the blue shield bar can drop as long as the red health bar beneath it never loses health.
KEY!Pick The Pillar of Autumn on Heroic unless you specifically want to do the challenge on Legendary. Heroic satisfies the requirement while giving you more room to back off, wait for shields, and keep the run under control.
All Shield, No Yield at a glance
| Fact | Detail |
|---|---|
| Name | All Shield, No Yield |
| Reward | Bronze trophy / 10 Gamerscore |
| Requirement | Complete any level without health damage |
| Difficulty | Heroic or Legendary |
| Recommended mission | The Pillar of Autumn |
| Damage rule | Shield damage is allowed; health damage fails the run |
| Unlock point | End-of-level check after boarding the escape lifeboat |
Use these details before loading the mission so you do not waste a clean run on the wrong difficulty or a failed damage state.
Hide the moment your shields break; wait for the full blue shield recharge before re-entering a corridor fight.
How to finish The Pillar of Autumn without health damage in Halo: Campaign Evolved
This route uses the opening mission because its early corridors, allies, and maintenance access ways give you repeatable places to reset shields.
STEP 1/11
Choose The Pillar of Autumn on Heroic
Start the mission on Heroic so the run meets the Heroic-or-higher requirement from the first load.
STEP 2/11
Leave cryo and move with the crew
After Master Chief wakes, follow the ship route instead of lingering, because no fighting is needed before weapons.

STEP 3/11
Follow the crewman to the bridge
Stay behind the guide through the breached corridors and let the scripted chaos play out without stepping into enemy fire.
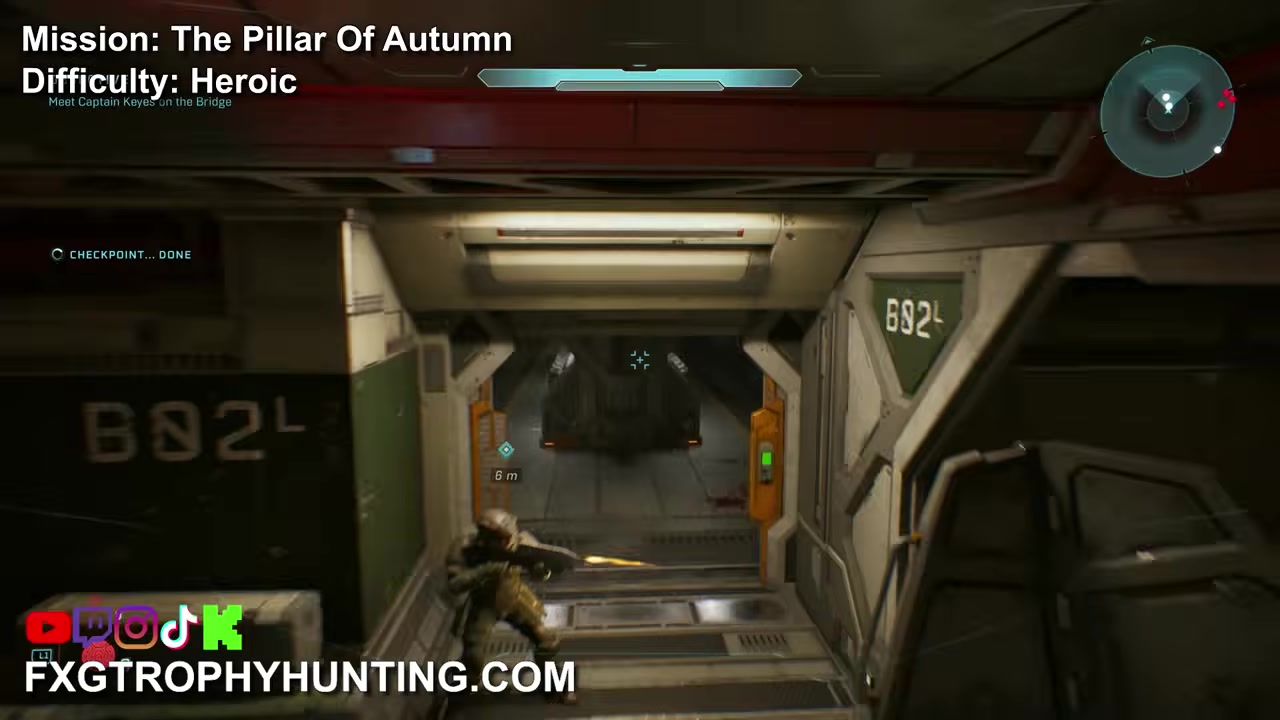
STEP 4/11
Clear the command deck breach
Once the Covenant reach the command deck, fight from the Marines’ side of the room and break line of sight when shields drop.
STEP 5/11
Pick up the Covenant overshield
Grab the Covenant overshield in the first major corridor section to add a buffer before the tighter hallway fights.
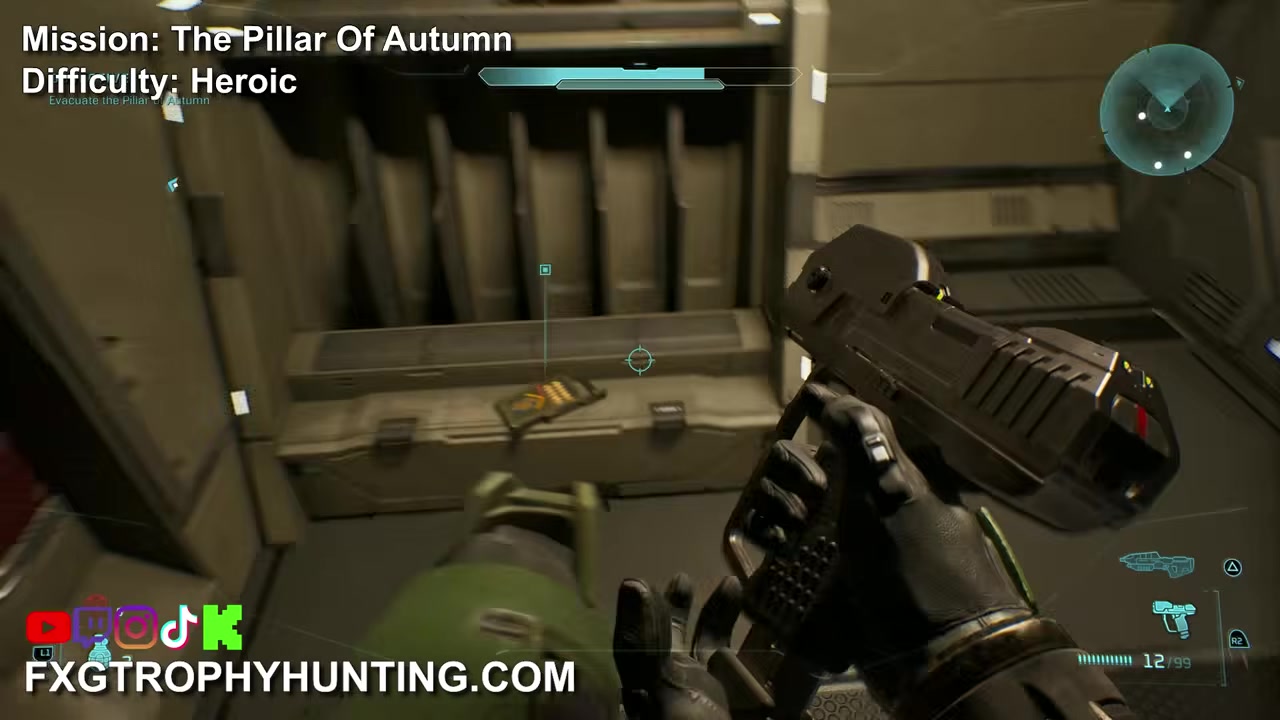
STEP 6/11
Fight corridor groups from range
Backpedal through the hallways, use corners, and wait for blue shields to refill before chasing Grunts or Elites.
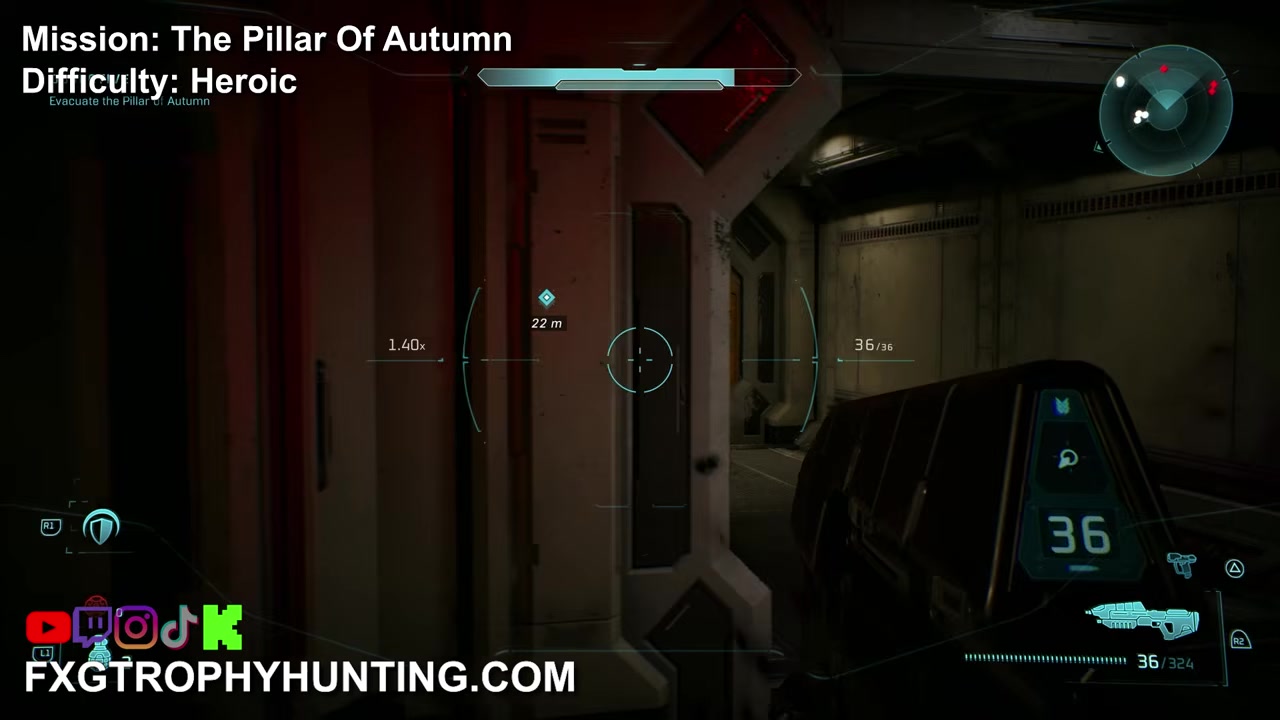
STEP 7/11
Let Marines cover the upper landing
When enemies appear above the landing and the blast door starts closing, stay in cover and let allied fire thin the group.
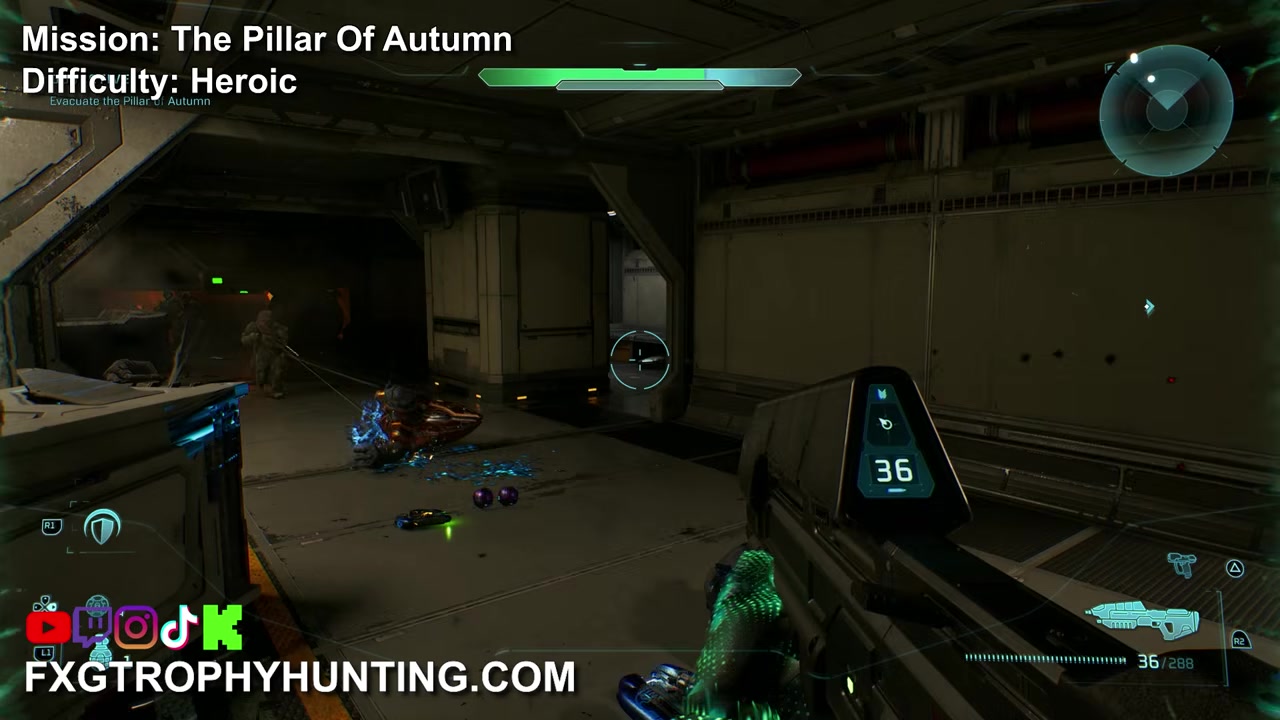
STEP 8/11
Enter the maintenance access ways
Follow the nav point into the ship’s maintenance access route once the lifepods are being destroyed.
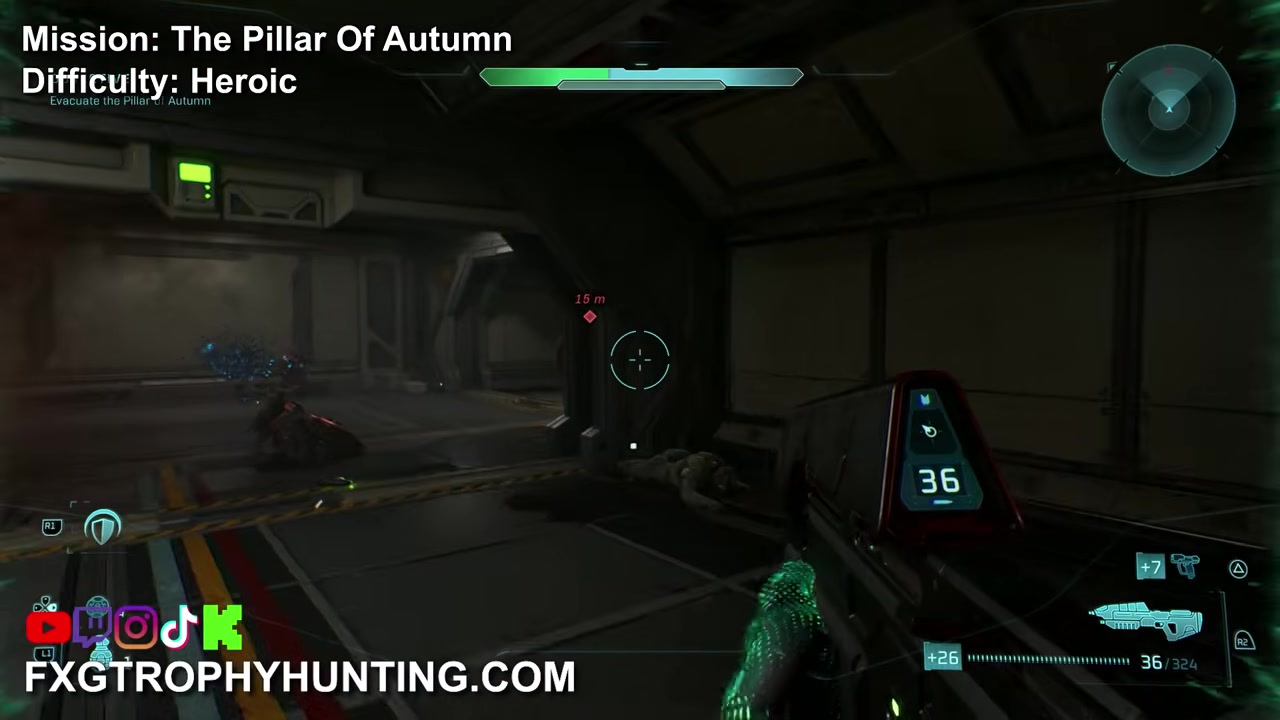
STEP 9/11
Attack from behind when the route opens
Use the access ways to come out behind Covenant patrols, where a back melee can remove most hostiles quickly.
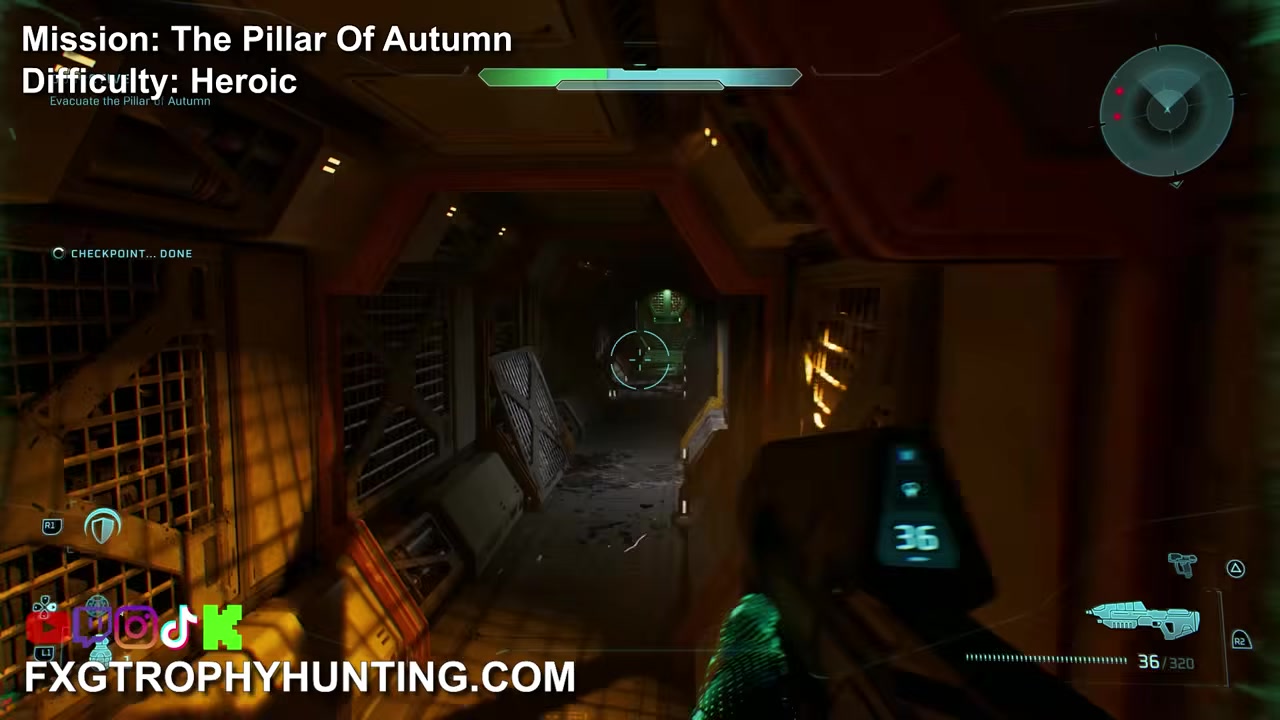
STEP 10/11
Push toward your transport
After the route opens near the evacuation area, move with the remaining crew and avoid stopping in the middle of crossfire.

STEP 11/11
Board the last lifeboat
Get into the final lifeboat before it launches to finish The Pillar of Autumn and trigger the end-of-level check.
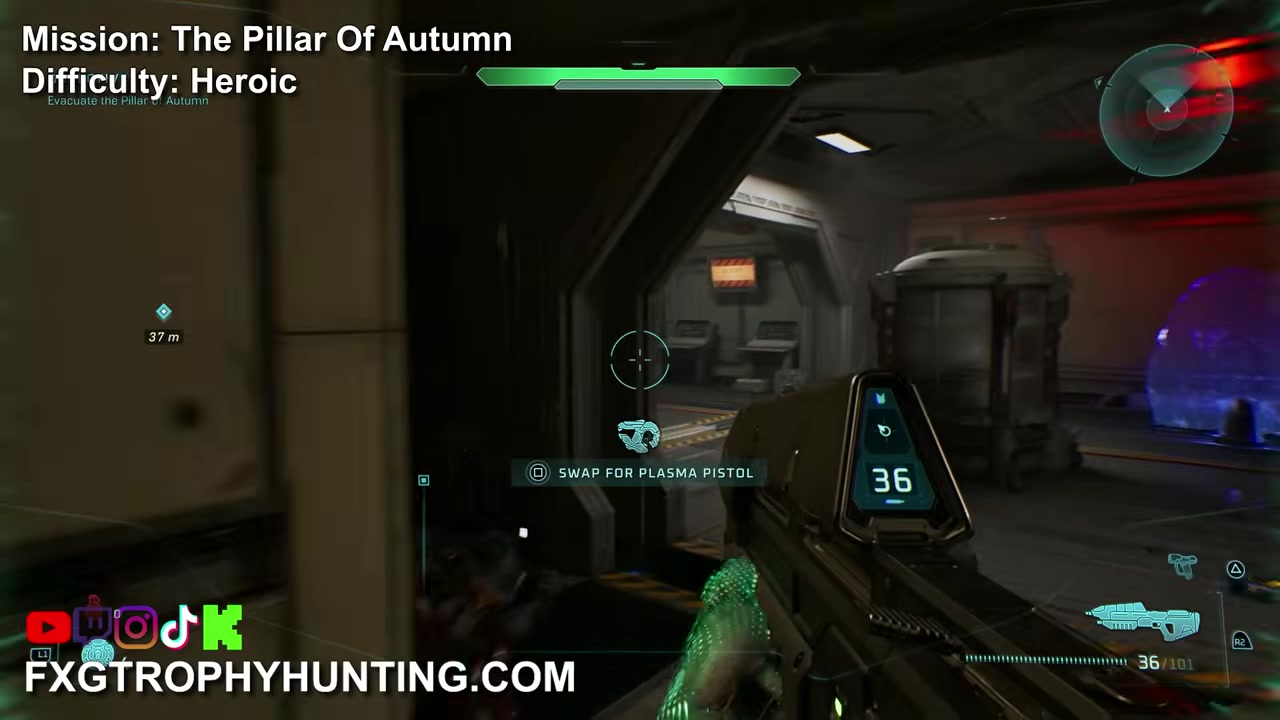
Video help
Health damage that ends the attempt
The fail state is health damage: your shields are gone, enemy fire or splash damage gets through, and the red health bar loses even a small amount. You can take shield hits all mission, but the health bar has to remain full for the run to count.
Do not try to save a failed attempt with a health pack. Health packs restore survival, not achievement eligibility, because the condition is based on never taking the health damage in the first place.
Restart the mission immediately if you see health loss, take explosive splash after shields break, or suffer fall damage that reaches the health bar. Restarting early is faster than finishing a run that has already failed the check.
Legendary-to-Easy replay workaround
A single early workaround has circulated: complete The Pillar of Autumn on Legendary, then replay from Rally Point Alpha on Easy and finish the mission again. It may trigger the unlock, but it is patch-sensitive and should stay secondary to the clean Heroic or Legendary method.
Mistakes that ruin All Shield, No Yield
Easy and Normal are dead ends for this achievement. If you want the least demanding valid run, choose Heroic; if you load below Heroic, even a perfect no-health-damage clear will not count.
Another common mistake is restarting every time shields break. Shield loss is normal on Heroic, especially in The Pillar of Autumn’s corridors; the correct response is to retreat, wait for the recharge, and then resume fighting.
The real time-waster is continuing after health loss or forcing fights while shields are empty. Avoid close grenade trades, do not rush exposed chokepoints, and be careful around drops because explosive and fall damage can turn a good run into an instant restart.
Frequently Asked Questions
Does losing shields void All Shield, No Yield?
No. Shields are your allowed buffer, so let them absorb damage and pause behind cover until they fully recharge.
Can you unlock it on Legendary instead of Heroic?
Yes. Legendary qualifies because the requirement is Heroic difficulty or higher, though Heroic is the easier valid setting.
What is the easiest mission for this achievement?
The Pillar of Autumn is the easiest recommended mission because it is the opening level and ends by reaching the escape lifeboat.
Do health packs save the attempt after taking health damage?
No. A health pack can refill Master Chief’s health, but it does not erase the damage event that ruined the clean run.
When should the trophy or achievement pop?
It should pop after the mission completion check, once you board the escape lifeboat and the level ends.
More questions⤵
Does the Easy replay workaround work?
Some players have triggered it, but the clean Heroic or Legendary clear is the method to rely on because the replay behavior can change with patches.






Leave a Reply