
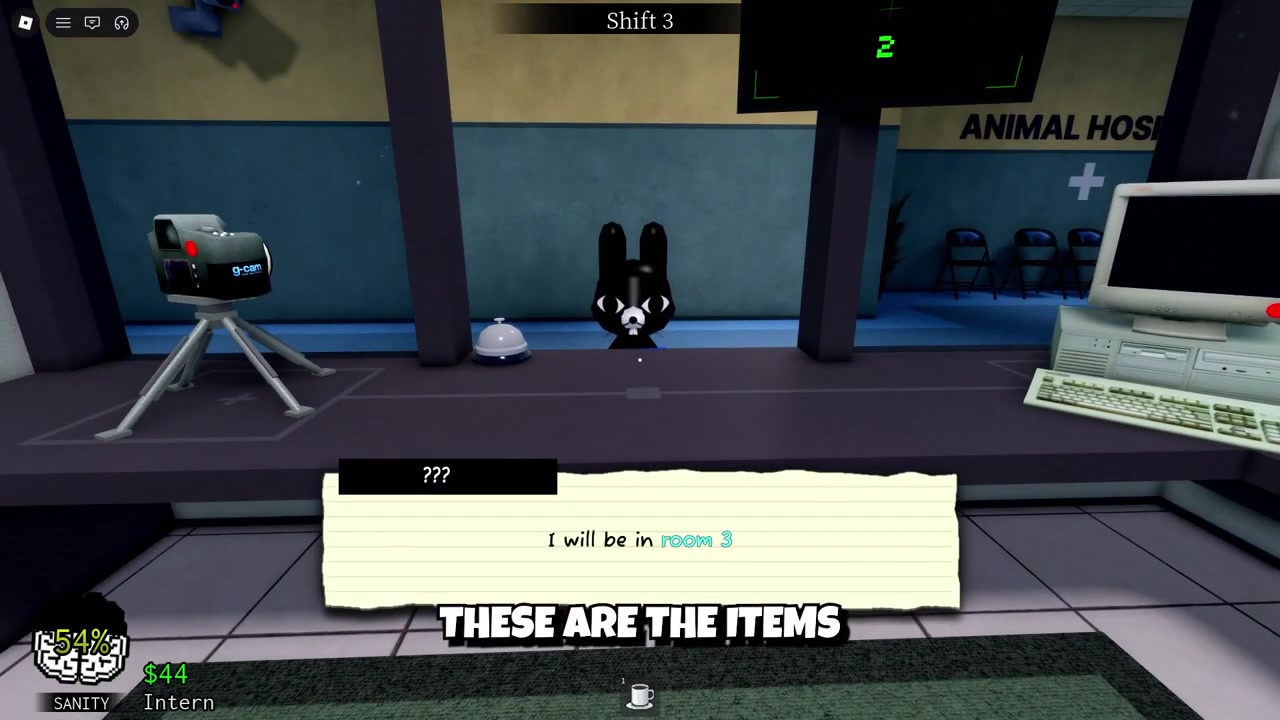
Animal Hospital Anomaly‘s items split into three groups — tools you carry to survive shifts and anomalies, hospital upgrades you buy to work faster, and free treatment items that cure each patient’s diagnosed illness.
Between survival gear, efficiency upgrades, and the medical supplies you use on patients, there’s a lot to keep straight in Animal Hospital Anomaly, and the game never really sits you down to explain any of it. The good news is that once you know which of the three buckets an item belongs to, knowing what to grab in any situation becomes second nature. Here’s every item that matters and exactly what it does.
The three item groups and where to find them
Everything in the hospital falls into one of three categories. Tools keep you alive and let you deal with anomalies — you pick these up around the hospital and handle them through the Supplies Shop and the check-in booth. Hospital upgrades are bought to make the place run faster, and they’re permanent quality-of-life boosts rather than items you hold. Treatment items are the medical supplies you actually use to cure patients.
The single most common beginner mistake is hunting for treatments in the shop. Don’t — treatment items are free and sit outside the patient rooms, ready to grab the moment a diagnosis comes up. You buy tools and upgrades; you simply pick up treatments. One thing worth flagging up front: no reliable source lists the in-game cash prices for any item or upgrade, so treat any specific cost you see elsewhere as unconfirmed.
Survival tools and what each one does
| Tool | What it does | Notes / trade-off |
|---|---|---|
| Teddy Bear | Revives a downed teammate | Cannot be used on yourself; co-op only |
| Coffee (Coffee Machine) | Restores 5 sanity per sip | Up to 3 sips per machine; main sanity recovery |
| Taser | Shocks anomalies and dangerous patients | Costs sanity each use |
| Gun | Kills anomalies | Found in the check-in booth; Secret Agent class starts with one |
| Cola | Temporary movement-speed boost | Good for racing between rooms or beating a timer |
| Fire Extinguisher | Puts out room fires | In a case near the check-in booth; fires drain sanity if ignored |
The two tools that change the most about a run are the Teddy Bear and your coffee supply. The Teddy Bear is a revive — if a teammate goes down, this brings them back, which makes it close to mandatory on high-risk shifts in co-op. The catch is that you can’t use it on yourself, so it only matters when you’re playing with friends. Coffee is your sanity lifeline: each sip restores 5 sanity, and you can take up to three sips, making the Coffee Machine the main way to recover after an anomaly attack rattles you. Sources don’t fully agree on whether to file coffee under tools or under upgrade equipment, but functionally what you care about is the Coffee Machine as your sanity source.
The rest of the kit covers combat and emergencies. The Taser shocks anomalies and dangerous patients, but it costs sanity every time you fire it — worth it when something is tearing up the hospital, not worth burning casually. The Gun is your direct kill option for anomalies; you can find one on the ground inside the check-in booth, and the Secret Agent class starts with one. If you’re caught without a weapon, you can swing with M1 or hold E from behind an anomaly, but unarmed fighting drains your sanity, so it’s a last resort. Cola gives a temporary movement-speed boost for sprinting between rooms or racing a patient’s timer, and the Fire Extinguisher — kept in a case near the check-in booth — puts out room fires, which otherwise drain your sanity for as long as you stand in the flames.
Hospital upgrades and their efficiency boosts
| Upgrade | Effect |
|---|---|
| DNA Analysis | +50% analysis speed |
| Patient Recovery Speed | +25% recovery speed |
| Printer | +25% printer speed |
| Patient Check-in | Removes some dialogue to speed up admissions |
| Additional Check-in Window | Adds a second window so two patients process at once |
Upgrades don’t go in your hands — they make the whole hospital faster, and they compound as shifts get busier. The standout is Patient Recovery Speed, which boosts recovery by +25% and clears rooms quicker so beds free up before the next wave. Pair it with the DNA Analysis upgrade (+50% analysis speed), which identifies illnesses faster and stops cases from stacking up while you wait on a diagnosis. The Printer upgrade adds +25% speed for smoother paperwork, the Patient Check-in upgrade removes some of the admission dialogue to process visitors faster, and the Additional Check-in Window opens a second window so two patients can be admitted at once during a rush.
If you don’t know where to spend first, buy Patient Recovery Speed and DNA Analysis before anything else — they directly speed up treatment and let you handle far heavier patient loads.
Treatment items and the illness each cures
| Treatment item | Cures |
|---|---|
| Herbs | Headaches |
| Medicine | Stomach aches |
| Thermometer | Fever |
| Medkit | Bruises and lacerations |
| Ointment | Burns and rashes |
| Bandage | Bleeding |
| Cough Syrup | Flu symptoms |
| Maple Syrup | Low sugar |
| Eye/IV drops | Dry eyes |
This table is the heart of the game’s loop, and the workflow around it is simple once you’ve seen it. When a patient enters a room, the DNA analysis machine identifies their illness, and the monitor behind the bed tells you exactly which item to bring. You then grab the matching supply from the hallway and apply it. The one rule you cannot break: using the wrong item kills a normal patient and loses you points, so read the monitor before you commit. The item that cures dry eyes goes by more than one name — it shows up described as “four drops” in one place and as “IV drops” or “eye drops” in another — so don’t get hung up on the exact label; just know it’s the drops you use for dry eyes.
Some cases call for surgery instead of a single item, and those use their own set: the Scalpel, Scissors, Organ, and Transplant. When a procedure requires it, you’ll match the on-screen prompts with the correct surgical tool to finish the operation. Early players also report that surgery involving tentacles has a tight time limit — somewhere around 45 seconds before the patient is lost — though that figure comes from a single account and isn’t fully confirmed. A separate claim that Maple Syrup can banish a “red area” or “bed” monster also floats around, but it conflicts with its consistent use as the low-sugar cure, so treat the monster angle as unverified.
What new players should focus on first
If you’re starting out, learn the treatment items first — they’re what you’ll touch in nearly every room, and memorizing the illness-to-item map removes most of the guesswork. Once that’s automatic, start collecting the survival tools that keep you alive, and only then sink money into upgrades as your shifts get busier. Progression gets noticeably smoother in that order because you stop hesitating over what to grab.
A few item mistakes catch almost everyone. Don’t waste coffee while your sanity is still high — save the sips for after a bad encounter. Remember the taser costs sanity, so don’t spam it on minor threats. And the big one: treating a disguised anomaly as a normal patient instead of rejecting it will get you killed and drain sanity — when something’s off, turn it away by closing the shutters rather than admitting it. Players have also floated that holding “cursed photos” drains sanity, that some enemies steal items on contact, and that the “don’t look up” anomaly can be countered with eye drops, but those come from scattered single reports and aren’t confirmed yet, so don’t build your run around them.
Frequently Asked Questions
Which upgrade should I buy first?
Prioritize Patient Recovery Speed (+25%) and DNA Analysis (+50% analysis speed). Both directly improve how fast you can diagnose and clear patients, which is what lets you survive heavier loads later in a shift.
Where do I find the gun?
A gun can be found on the ground inside the check-in booth. On top of that, the Secret Agent class starts a run with one already equipped.
How much sanity does coffee restore?
Each sip of coffee restores 5 sanity, and you can take up to three sips from a Coffee Machine. It’s your most reliable way to recover after an anomaly encounter, so hold it until your sanity is actually low.
Does the taser really cost sanity?
Yes. Firing the taser to shock an anomaly or a dangerous patient drains some of your sanity, so it’s best saved for genuine threats rather than used freely.
Which item cures each illness?
Herbs cure headaches, Medicine treats stomach aches, the Thermometer handles fever, a Medkit fixes bruises and lacerations, Ointment treats burns and rashes, Bandages stop bleeding, Cough Syrup clears flu, Maple Syrup covers low sugar, and the drops treat dry eyes. The monitor behind the bed always tells you which one a patient needs — and using the wrong item kills a normal patient.
More questions⤵
Can the Teddy Bear revive me, and how do revives work?
The Teddy Bear revives a downed teammate, but you cannot use it on yourself. That makes it a co-op item — extremely valuable when playing with friends, and effectively useless solo.
Video help


Leave a Reply