
- What to know
- The temple areas where Bonsai Trees appear
- How to find Bonsai Tree #1 near the mission start
- How to locate Bonsai Tree #2 after exiting the vent
- How to find Bonsai Tree #3 near the bed puzzle
- How to locate Bonsai Tree #4 after the Ra’s al Ghul battle
- Final Bonsai Tree before escaping the temple
- Rewards for destroying every Bonsai Tree
- Completing the Infiltration collectible challenge efficiently
What to know
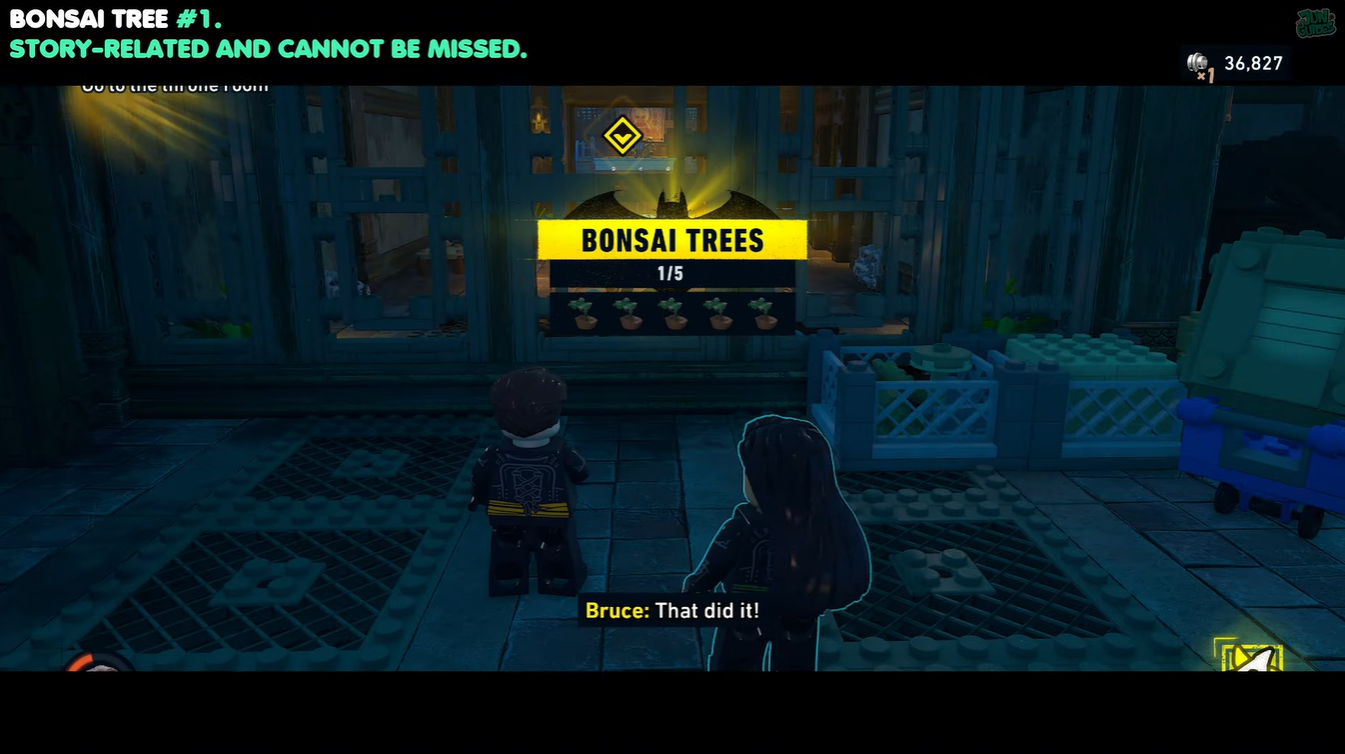
- There are 5 Bonsai Trees hidden throughout the Infiltration level in LEGO Batman: Legacy of the Dark Knight.
- The first Bonsai Tree is mandatory, so you will automatically destroy it during story progression.
- Most collectibles are located near side paths or after puzzle sections, making them easy to miss while rushing objectives.
- Destroying all Bonsai Trees completes the collectible challenge for the mission and contributes toward full completion progress.
If you are aiming for 100% completion in LEGO Batman: Legacy of the Dark Knight, the Infiltration mission includes a hidden collectible challenge centered around destroying Bonsai Trees scattered across the temple. While some are placed directly in your path, others require checking corners or briefly moving away from the main objective. Missing even one means replaying the mission, so knowing the exact locations beforehand saves a lot of time.
| Collectible | Area | Requirement | Easy to Miss? |
|---|---|---|---|
| Bonsai Tree #1 | Opening section | Story progression | No |
| Bonsai Tree #2 | After first vent | Drop to left side | Yes |
| Bonsai Tree #3 | Bed puzzle area | Explore left path | Yes |
| Bonsai Tree #4 | Post Ra’s al Ghul fight | Look left after falling | Yes |
| Bonsai Tree #5 | Temple escape section | Check left side | Moderate |
The temple areas where Bonsai Trees appear
The Bonsai Tree collectibles are spread across the ancient temple sections of the Infiltration mission. Most of them appear shortly after combat encounters or environmental puzzles involving vents, movable objects, and collapsing structures. Since the level constantly pushes you forward through narrow corridors and scripted sequences, it is easy to overlook side corners where several trees are hidden.
How to find Bonsai Tree #1 near the mission start
Step 1
Proceed through the opening section of the mission normally until you encounter debris blocking the path.
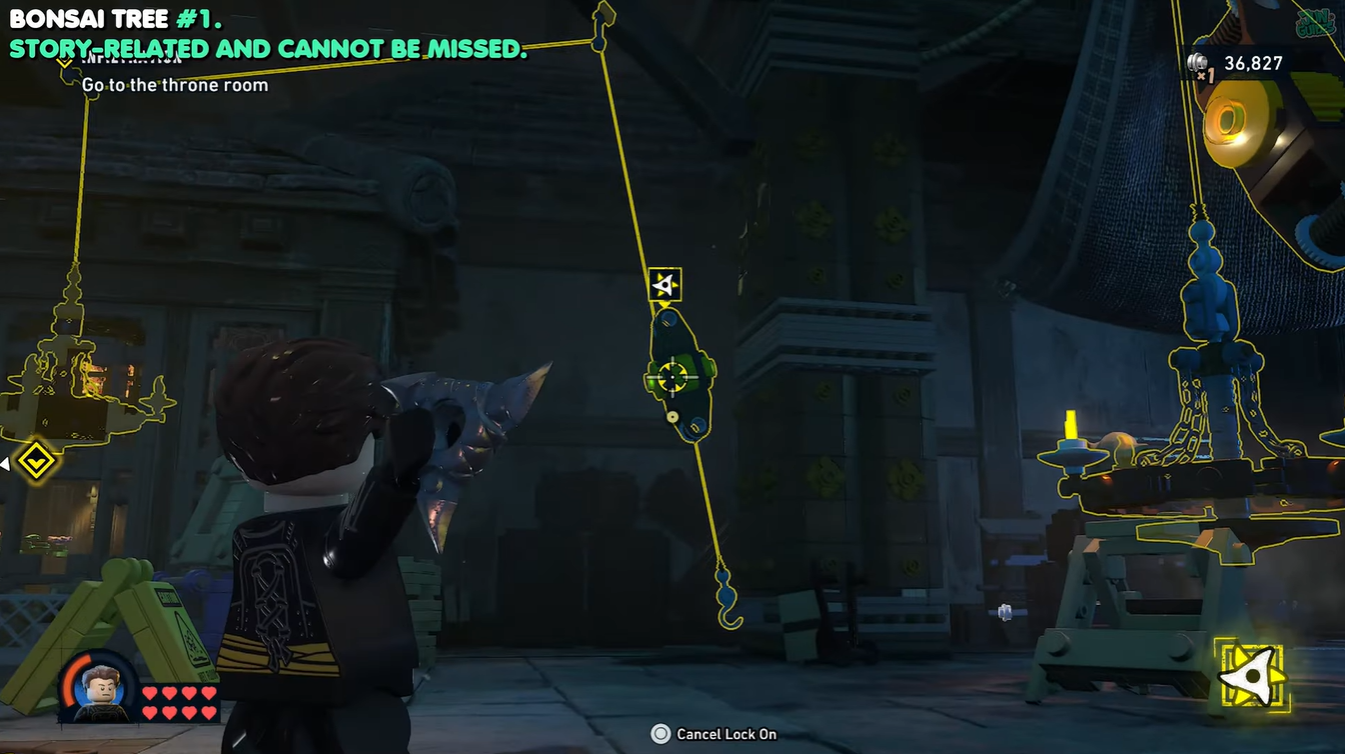
Step 2
You will notice the first Bonsai Tree directly ahead. This collectible must be destroyed as part of the story progression.
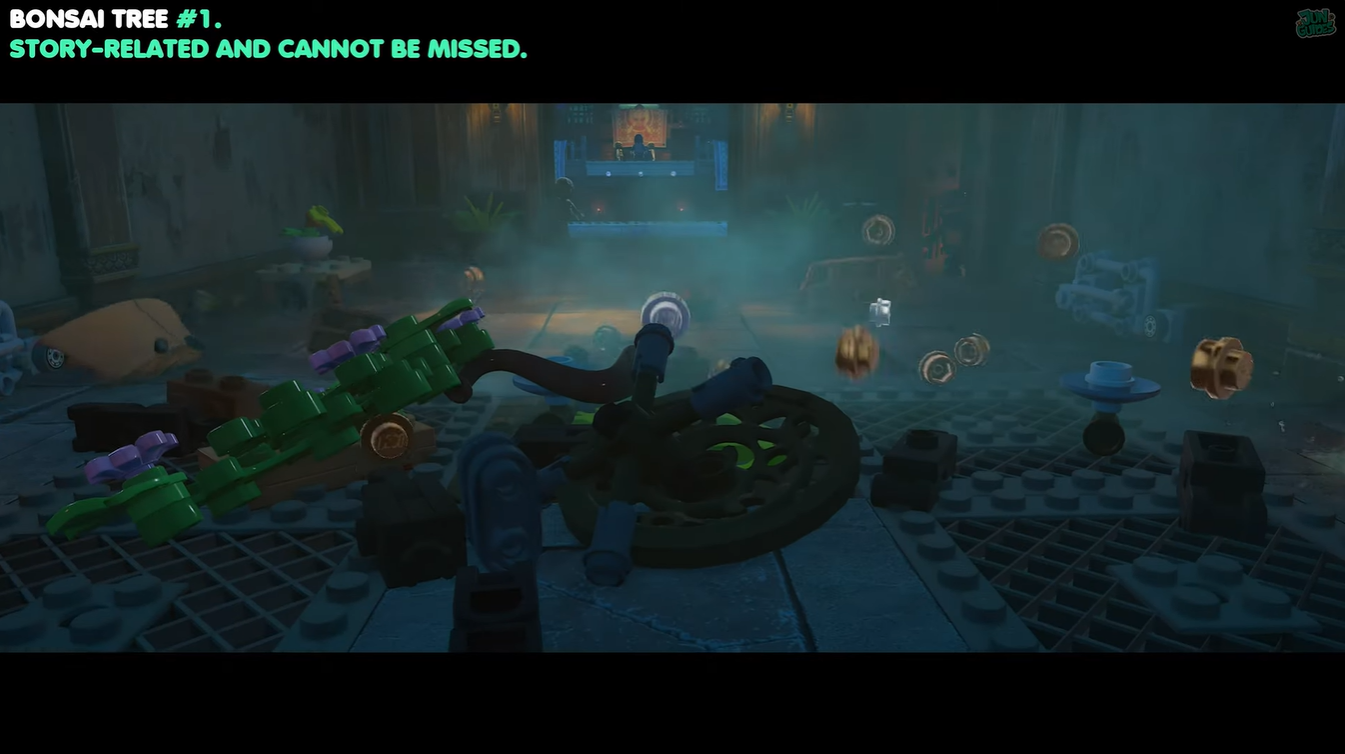
Step 3
Break the Bonsai Tree to clear the obstacle and continue forward. Since the game requires this interaction, it is impossible to miss.
How to locate Bonsai Tree #2 after exiting the vent
Step 1
Continue through the mission until you crawl through the first vent section.
Step 2
Immediately after exiting the vent, stop instead of moving toward the objective marker.
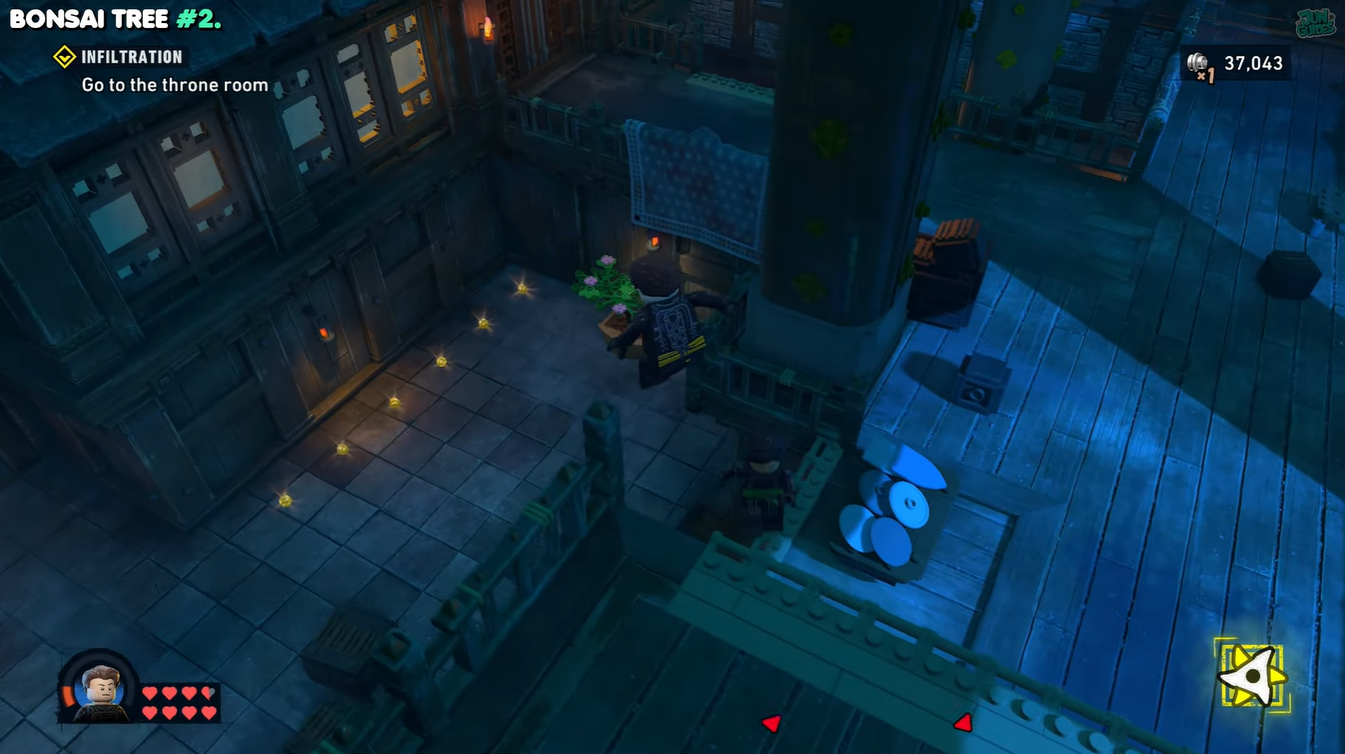
Step 3
Drop down to the left side of the area.
Step 4
The second Bonsai Tree is hidden below and can be destroyed instantly once spotted.
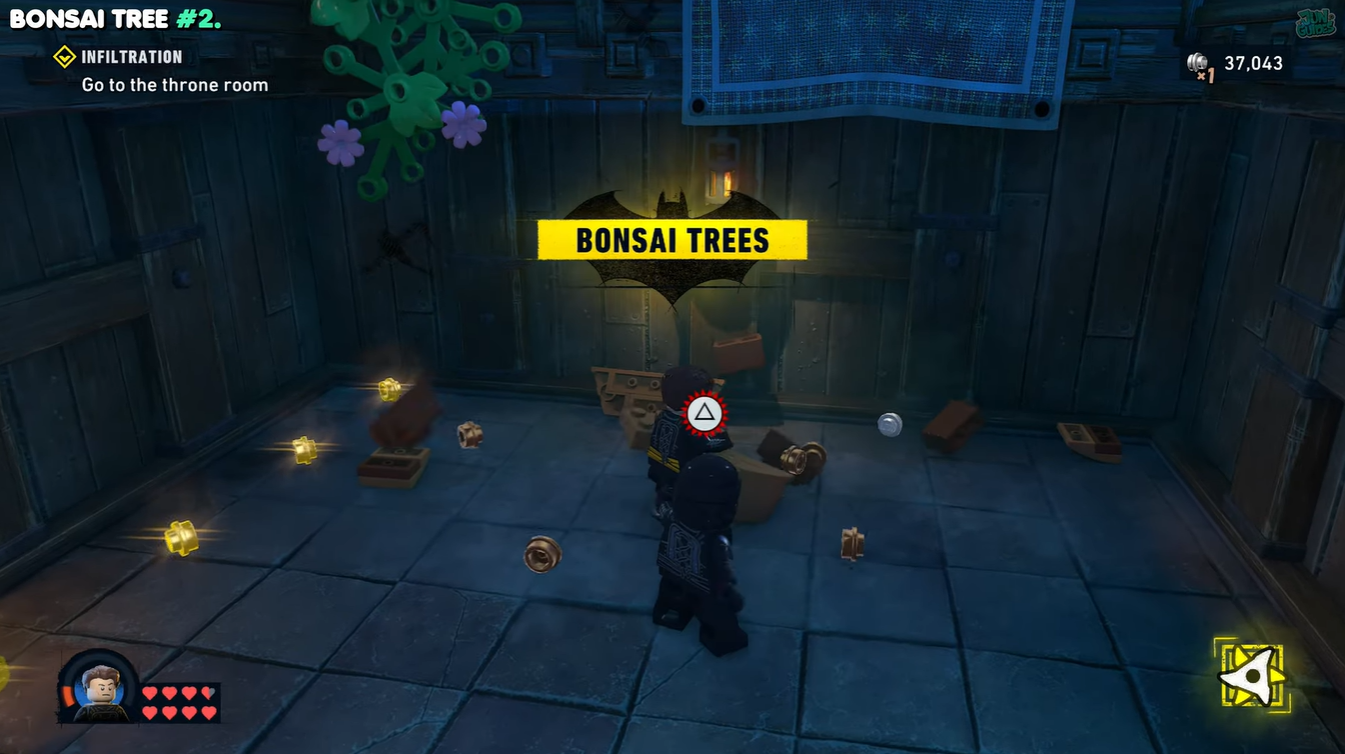
This is one of the easiest collectibles to miss because the level naturally guides you forward toward the next puzzle.
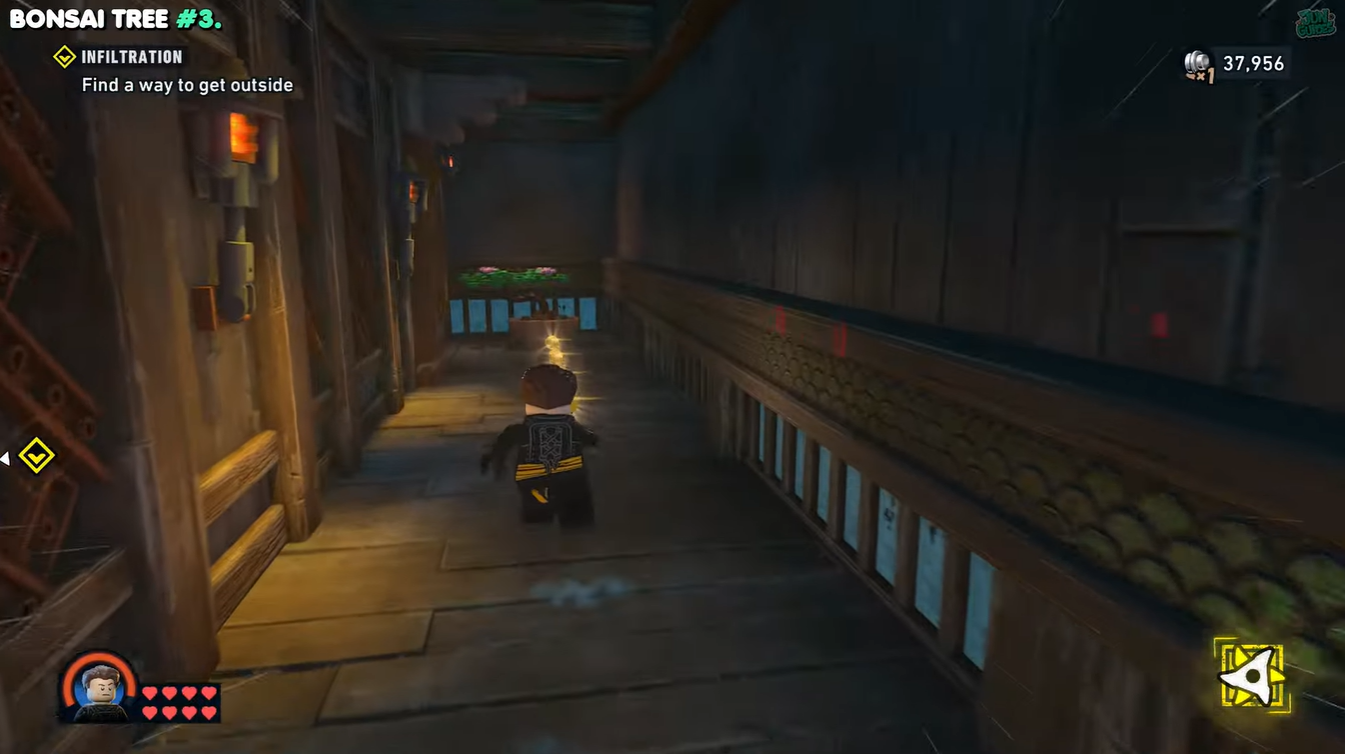
How to find Bonsai Tree #3 near the bed puzzle
Step 1
Advance through the mission until you reach the section where you must pull a bed out to progress.
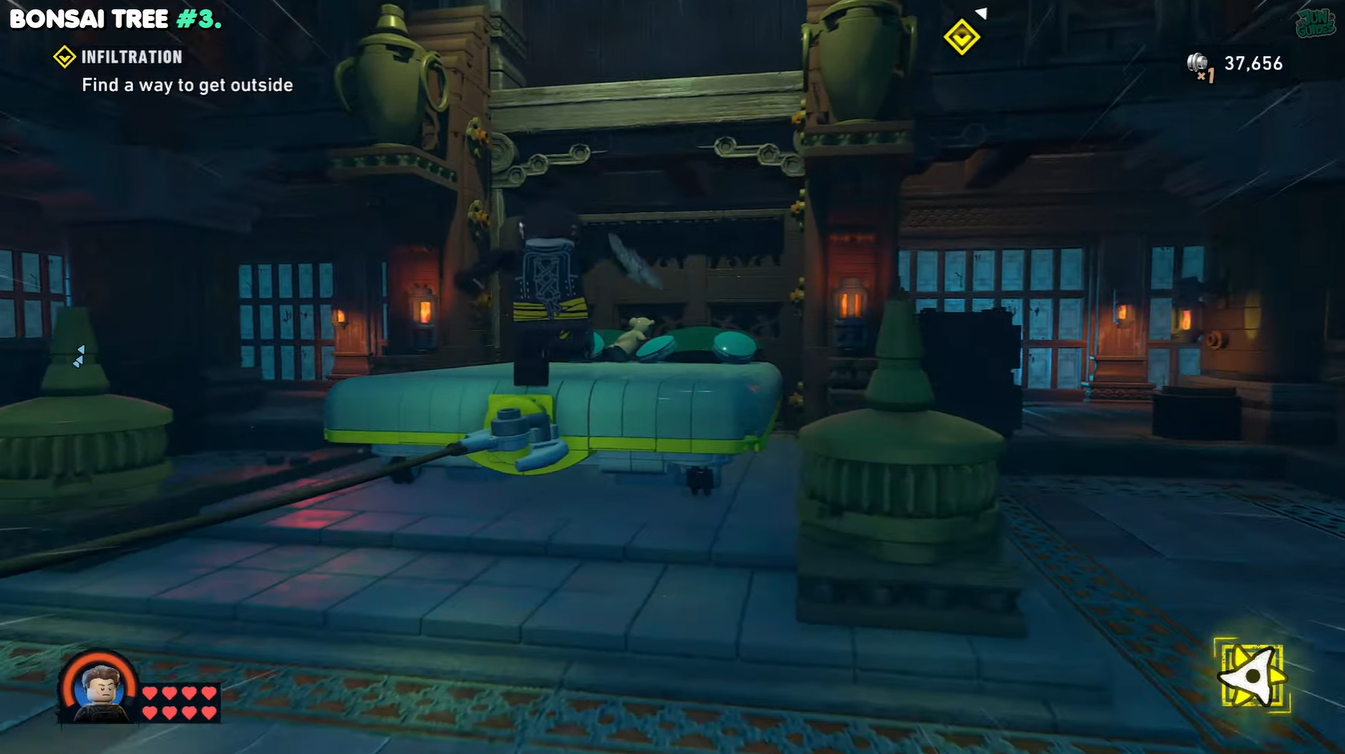
Step 2
After moving the bed, avoid continuing straight ahead immediately.
Step 3
Head around toward the left side of the room. Look for a small trail of gold studs leading toward the collectible.
Step 4
Destroy the third Bonsai Tree hidden in that corner before progressing.
The gold studs serve as a subtle hint, but it is still very easy to walk past this area during fast gameplay.
How to locate Bonsai Tree #4 after the Ra’s al Ghul battle
Step 1
Complete the boss fight against Ra’s al Ghul.
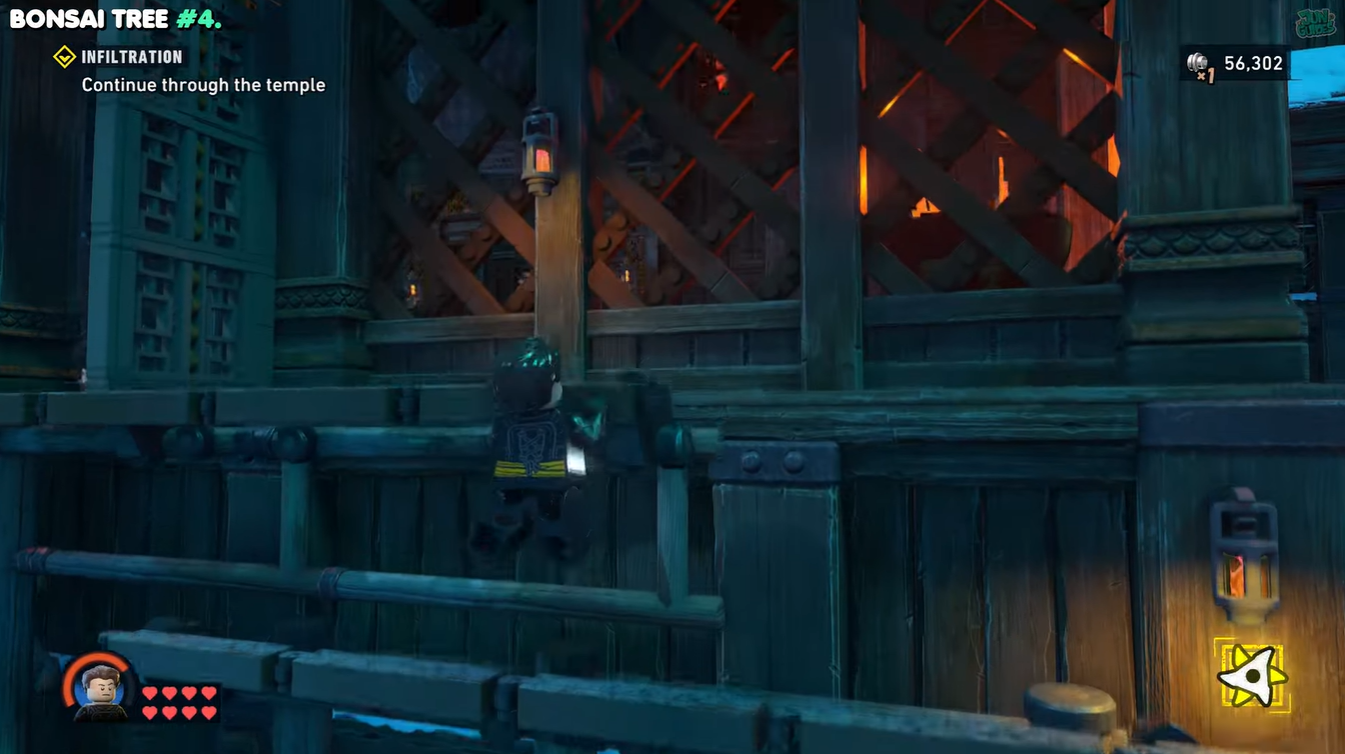
Step 2
After the fight concludes, your character will fall into the next stage of the mission.
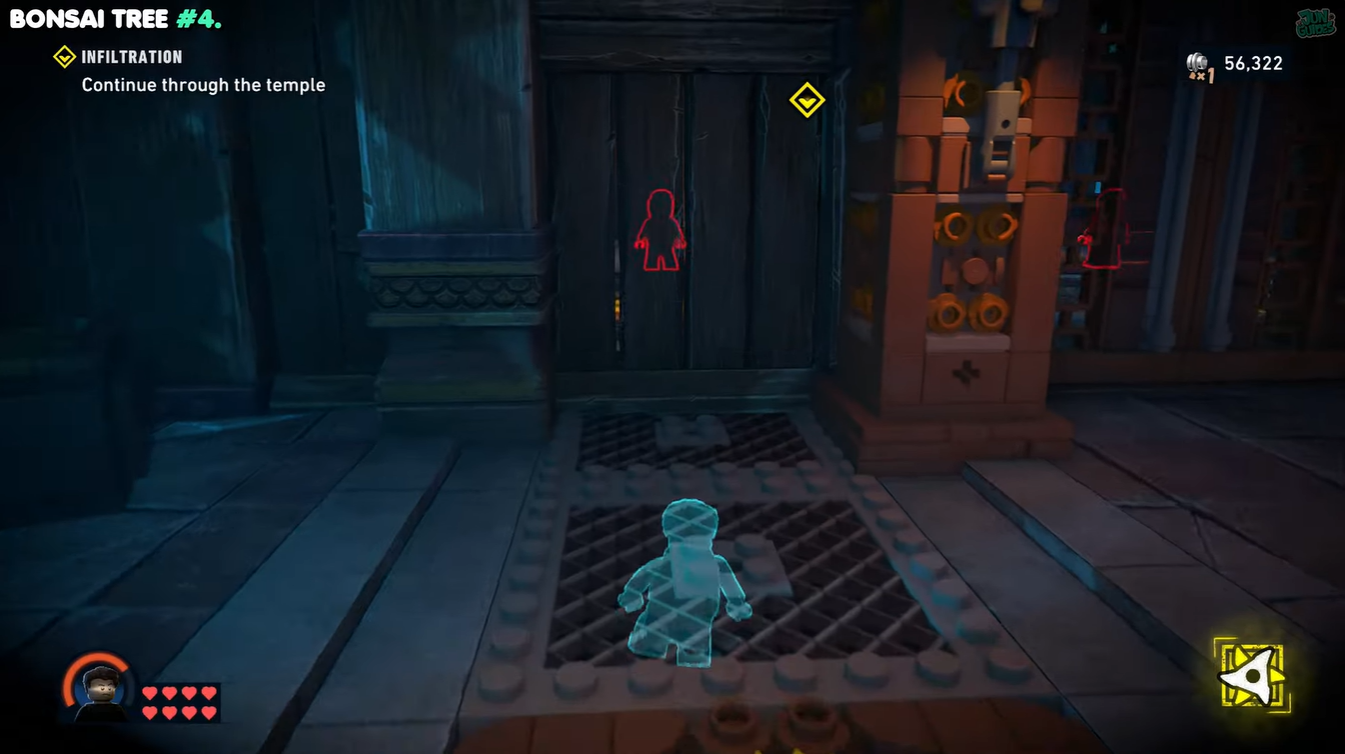
Step 3
As soon as you regain control, turn left immediately.
Step 4
The fourth Bonsai Tree is positioned nearby and can be destroyed before continuing.
This collectible is hidden during a transition moment, which makes many players accidentally skip it while focusing on the next objective marker.
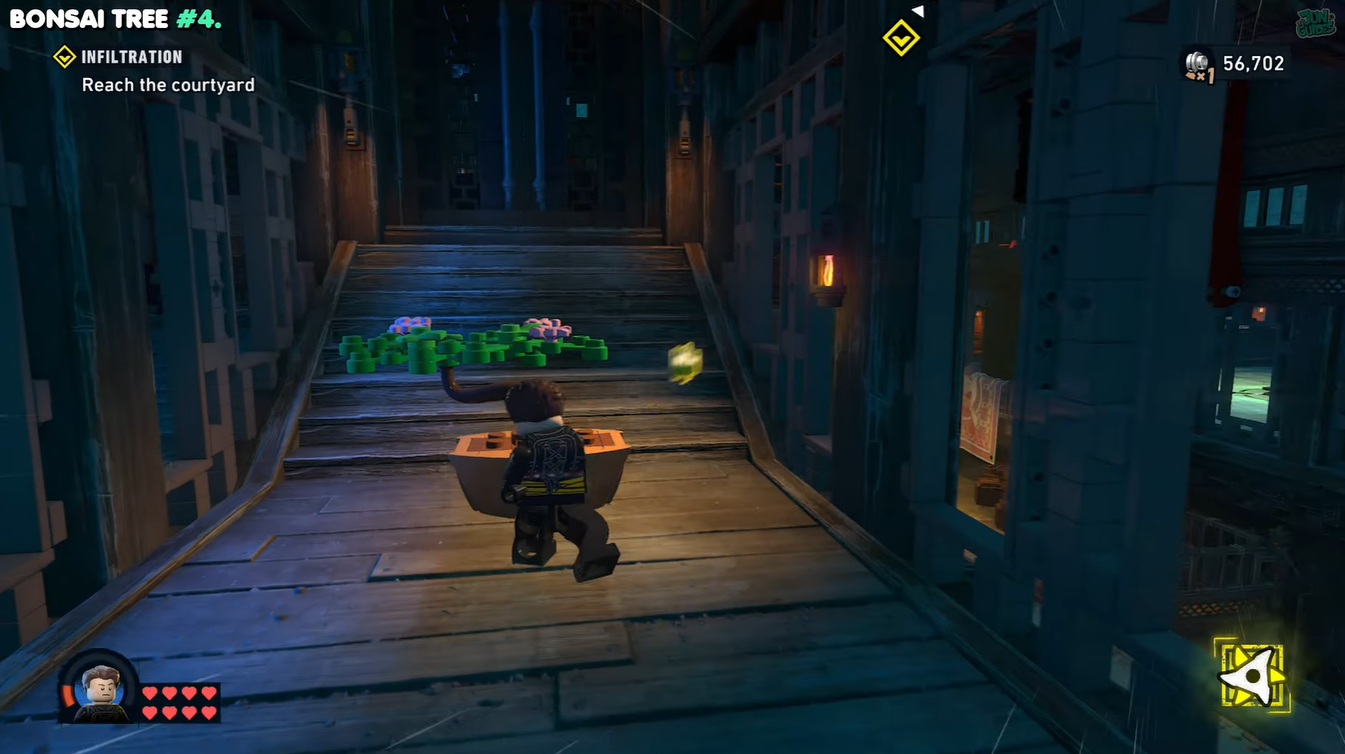
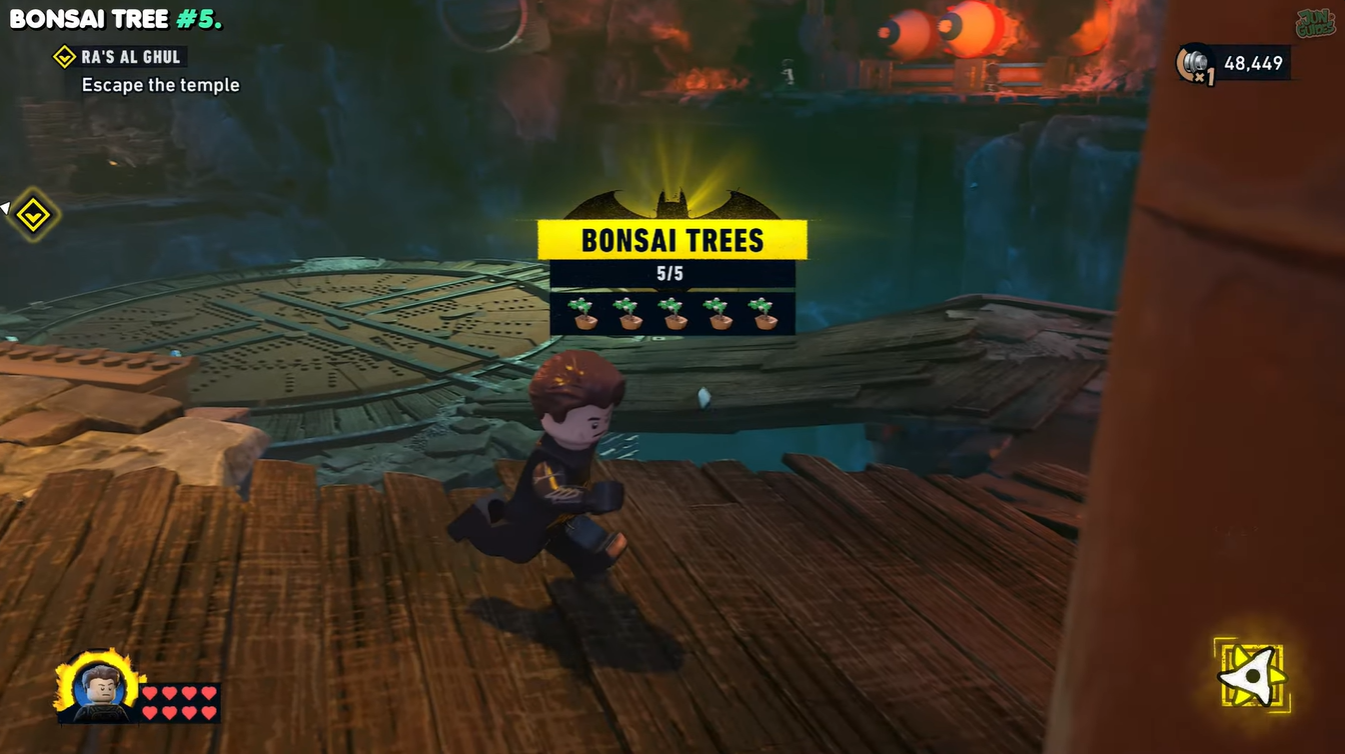
Final Bonsai Tree before escaping the temple
Step 1
Continue through the escape sequence near the end of the level.
Step 2
Before fully leaving the temple area, check the left side of the path.
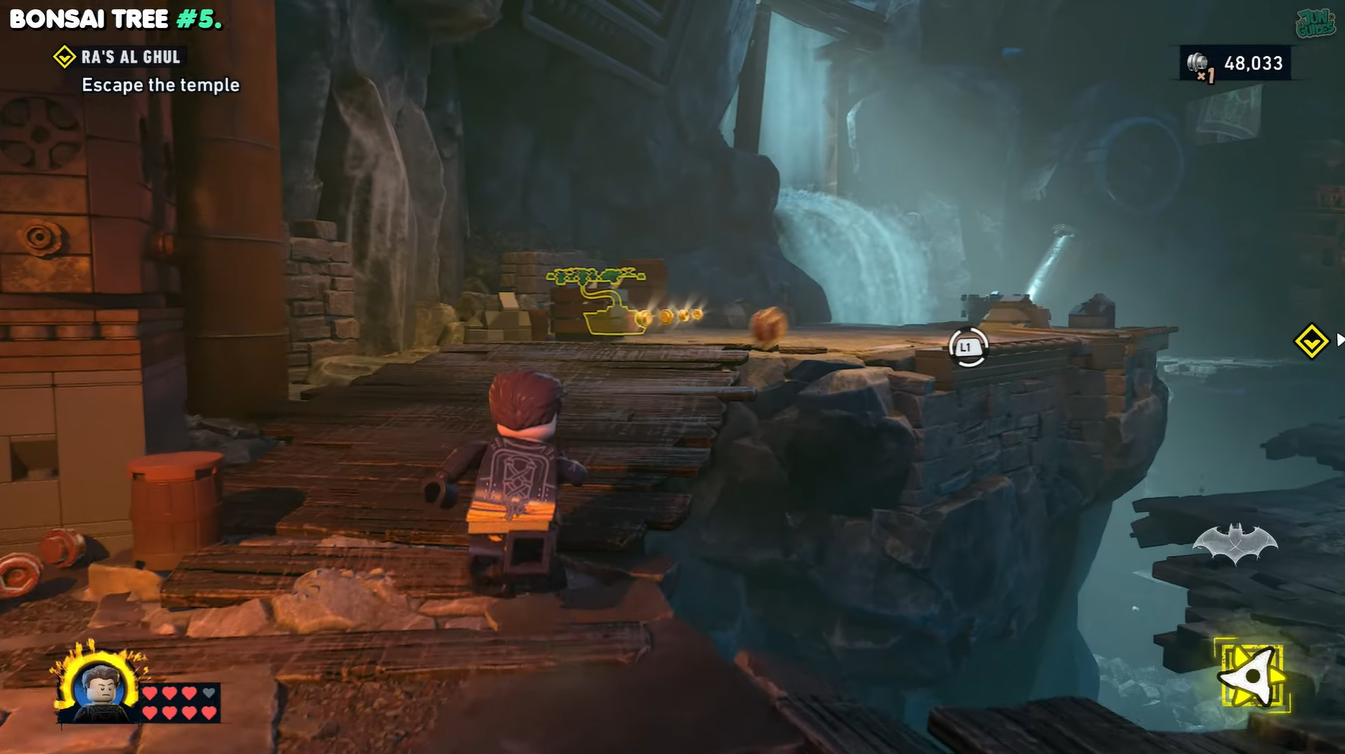
Step 3
The fifth and final Bonsai Tree is positioned there shortly before the exit.
Step 4
Destroy it to complete the entire collectible challenge for the mission.

This final collectible is much easier to spot if you slow down during the escape section instead of sprinting directly toward the end marker.
Rewards for destroying every Bonsai Tree
| Reward Type | Details |
|---|---|
| Completion Progress | Counts toward 100% mission completion |
| Collectible Challenge | Fully completes the Bonsai Tree objective |
| Stud Rewards | Additional studs from destruction |
| Replay Reduction | Prevents needing another collectible run |
Completing the Infiltration collectible challenge efficiently
The Infiltration mission hides several collectibles in transitional areas where the game encourages you to move quickly. The safest strategy is to thoroughly check both sides of every new room before activating switches or entering doors. Since multiple Bonsai Trees are located immediately after scripted moments, pausing briefly after each sequence helps prevent accidental misses.
Players replaying the mission in Free Play may find navigation easier because they can focus entirely on collectibles without worrying about story pacing or combat pressure.
Finding all five Bonsai Trees in LEGO Batman: Legacy of the Dark Knight is fairly straightforward once you know where each one appears. The biggest challenge comes from the level’s fast pacing and narrow progression paths. By carefully checking left-side corners, vent exits, and post-fight transition areas, you can clear the collectible challenge in a single run without needing to replay the mission.


Leave a Reply