What to know
- You must collect exactly 4 Black Marks from specific chests tied to enemies.
- Each Black Mark comes from “Richard’s Crew Chest” after clearing an area.
- The quest spans three main locations: island, camp, and ship.
- Defeating marked NPCs is mandatory to unlock the loot chests.
The “Revenge Is Best Served Cold” quest in Windrose is a structured combat-and-loot mission where your progression depends entirely on clearing enemy-controlled zones and unlocking special chests. You are not just exploring—you are systematically dismantling Richard’s crew across multiple locations. Understanding the flow of the quest is key to getting all 4 Black Marks without missing any.
Here is a quick overview of the Revenge is Best Served Cold quest in Windrose:
| Section | Objective | Key Enemy | Reward |
|---|---|---|---|
| Starting Island | Clear marked enemies | Special NPCs | 2 Black Marks |
| Camp Area | Defeat grouped enemies | Camp guards | 1 Black Mark |
| Final Ship | Kill lieutenant | Richard’s Lieutenant | Final Black Mark |
| Total | Complete all zones | All enemies | 4 Black Marks |
How the Black Marks system works in this quest
Black Marks are not random drops—they are guaranteed rewards from specific chests tied to cleared enemy zones. This means you cannot skip fights or rush ahead. Each area locks its rewards behind combat encounters, making it essential to eliminate all marked targets before accessing the chests.
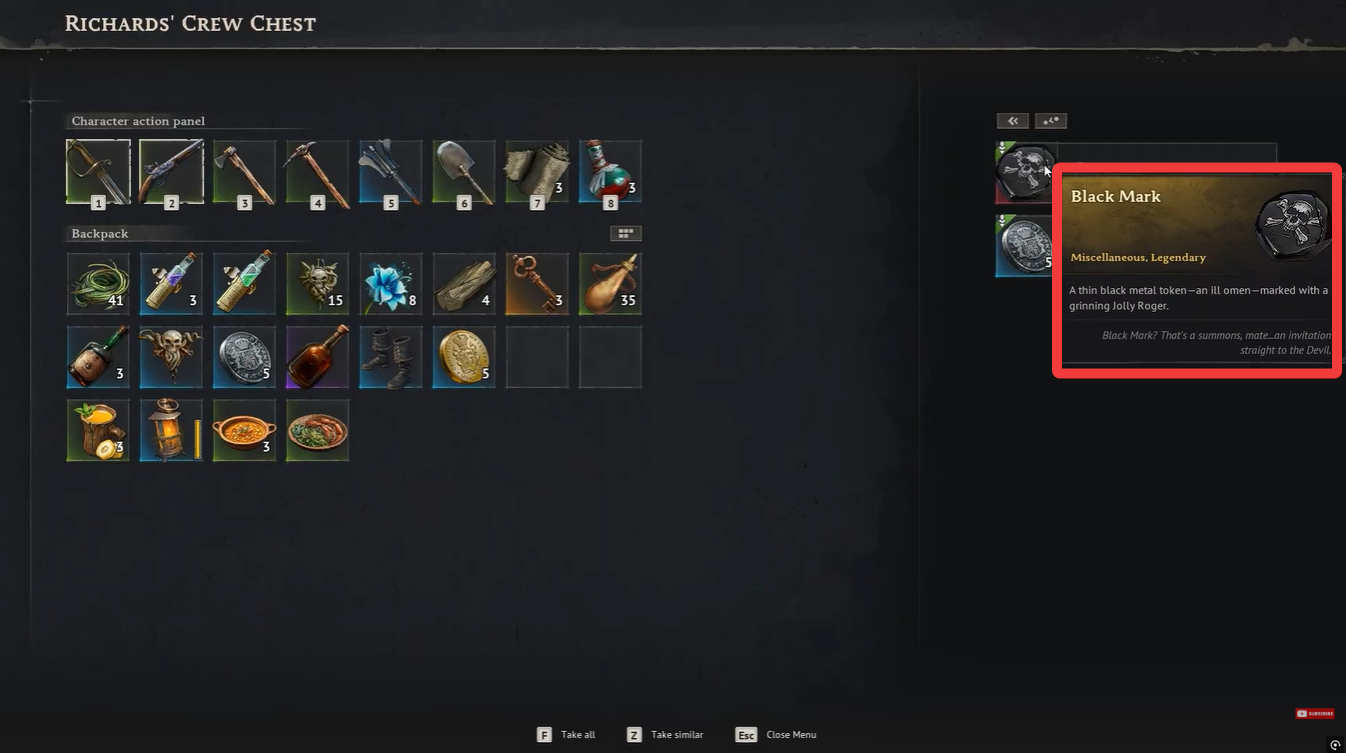
The chests you are looking for are called “Richard’s Crew Chests,” and they only appear or unlock after defeating the required enemies in each zone. If you don’t see a chest, it usually means an enemy is still alive nearby.
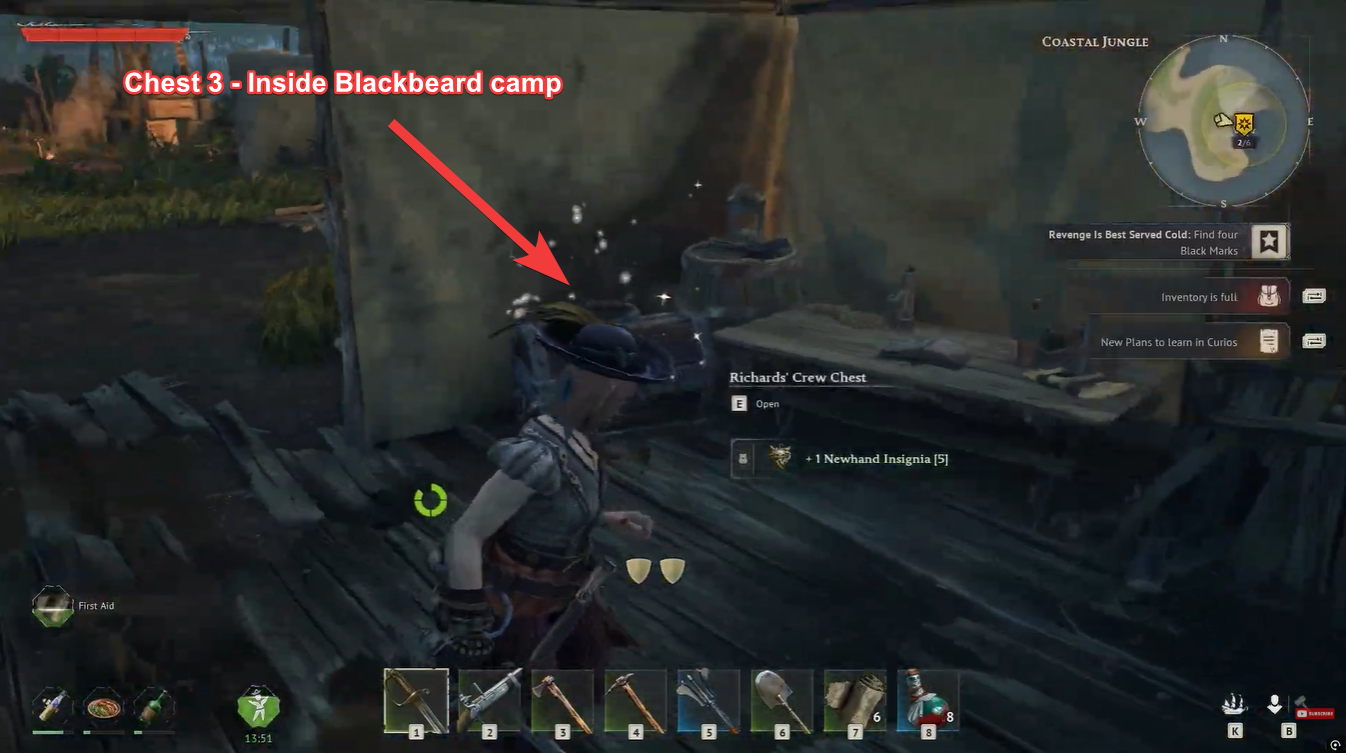
All 4 Black Marks locations in Windrose quest
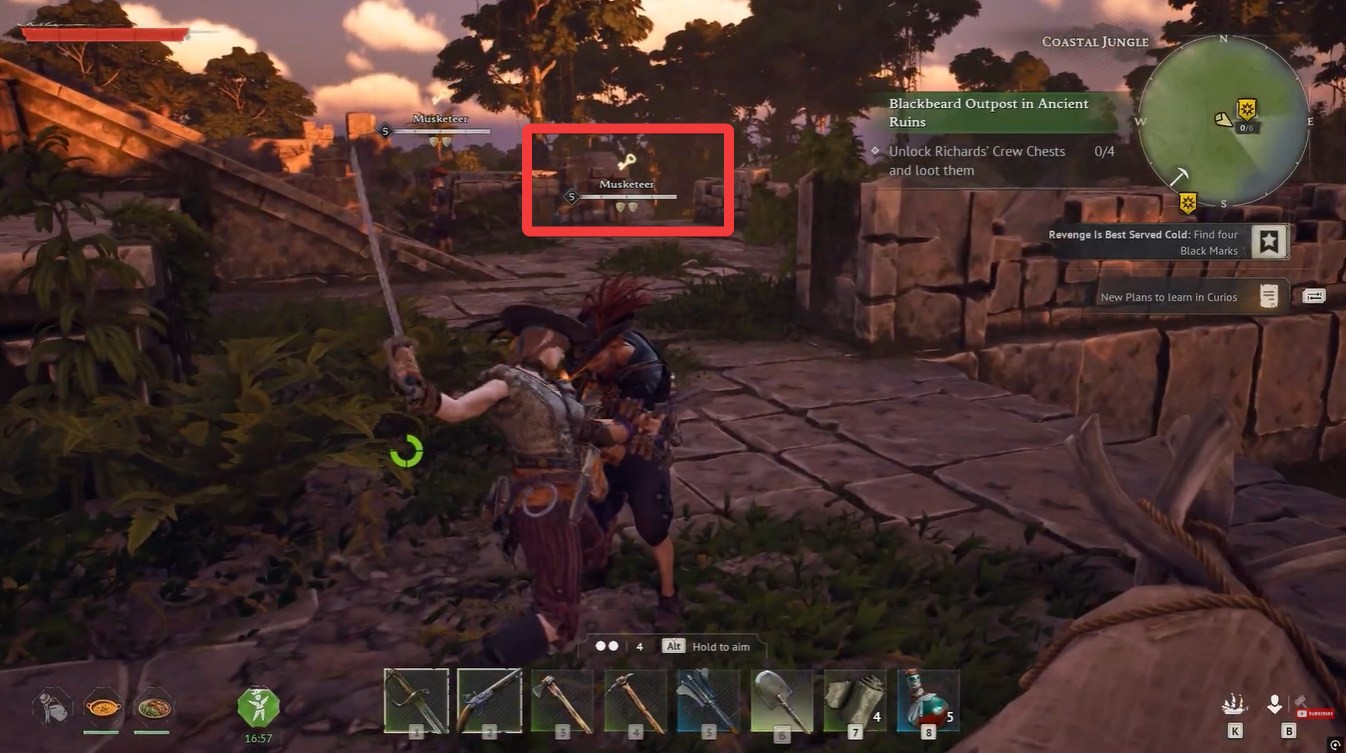
Step 1
Start on the initial at Blackbeard Outpost in Ancient Ruins island and locate the marked NPCs with icons above their heads. These enemies are your primary targets and must be eliminated first. Once defeated, the area becomes safe and reveals multiple chests.
Step 2
Open all four chests in the starting area after clearing enemies.
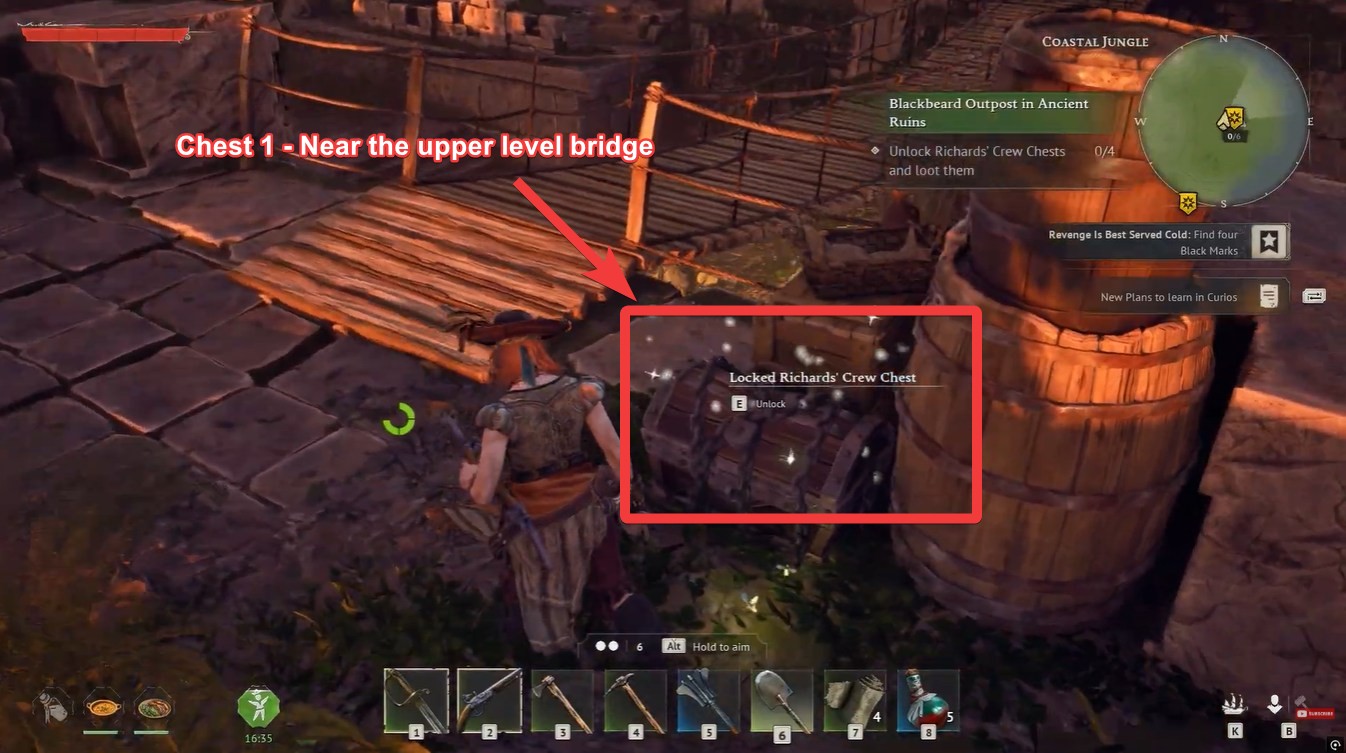
Among the loot, you will obtain your first 2 Black Marks along with additional quest items. Make sure you check every chest, as missing one can delay your progress.
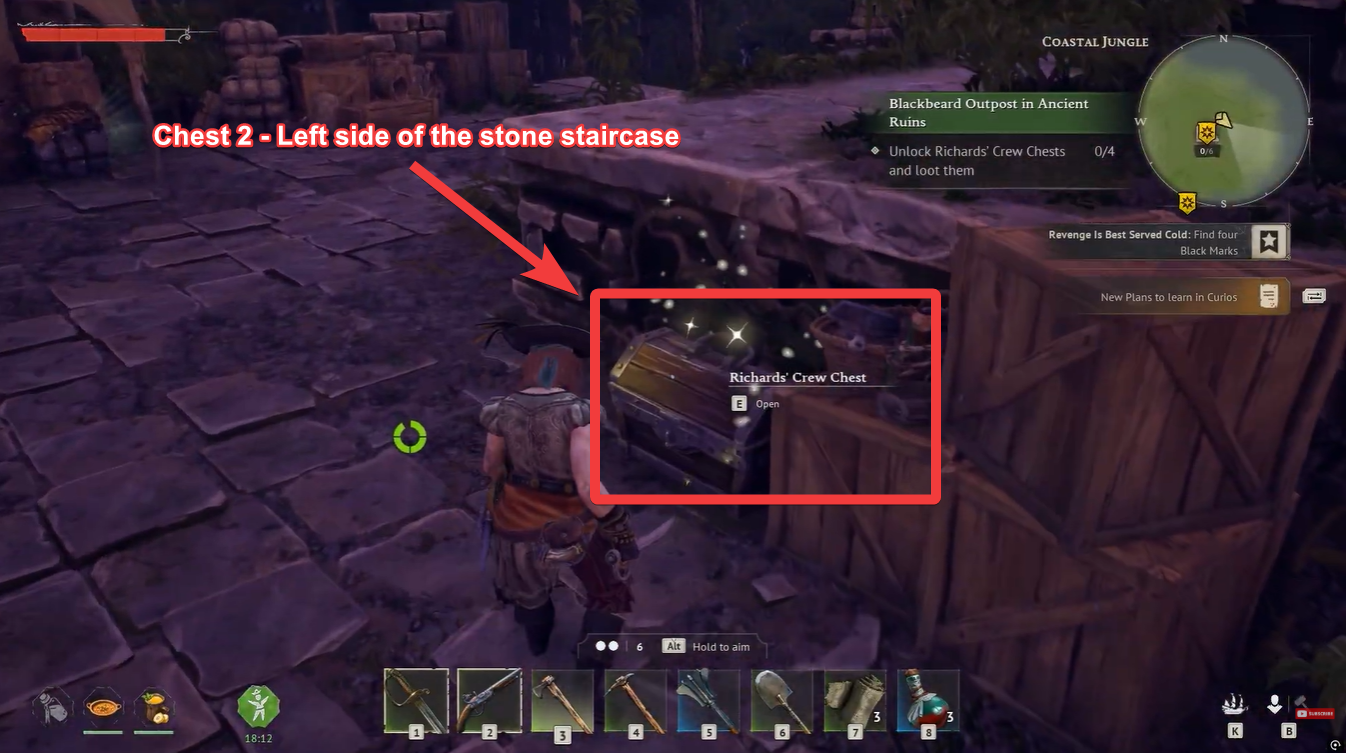
Since there are 4 chests in the first area, some players have found Black Marks in chests apart from the ones shown above. We advice to check each and every chest in the location.
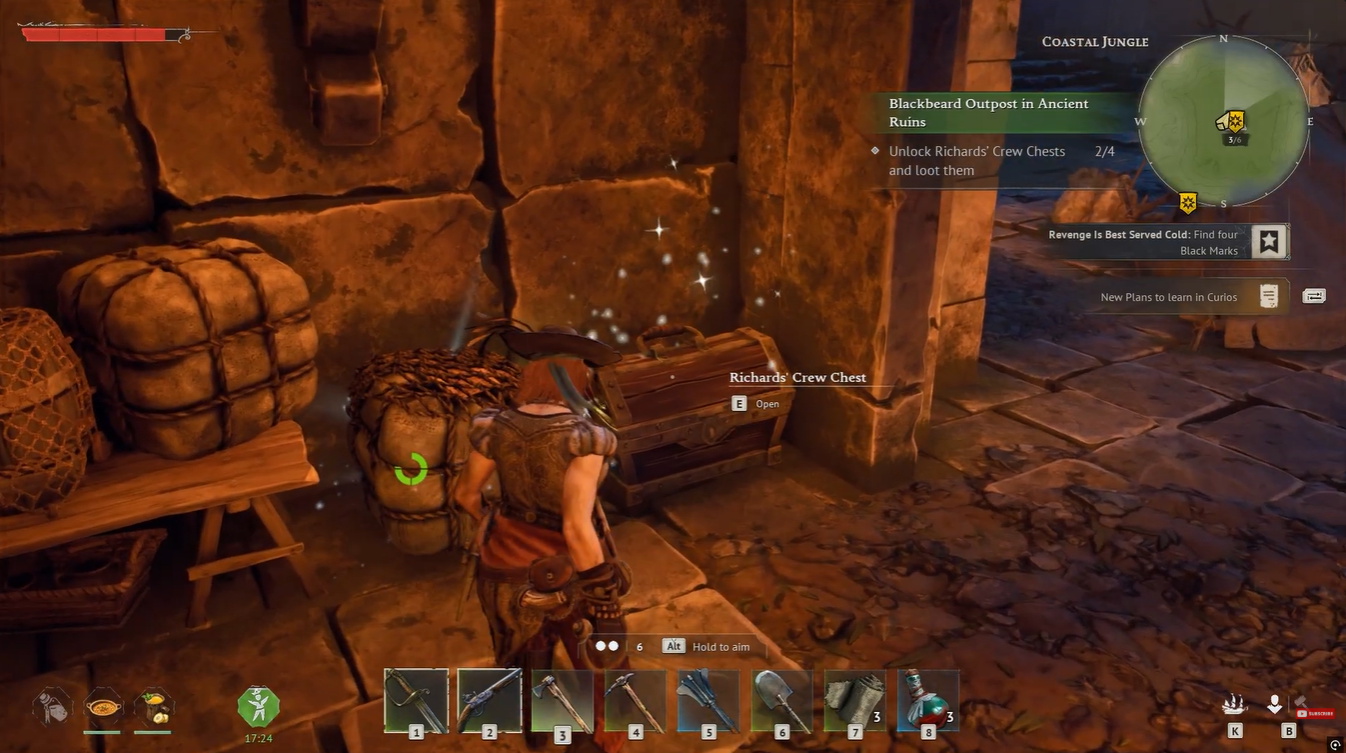
Step 3
Move to the second location—the enemy camp. This area is more crowded, so prepare for a tougher fight with multiple enemies attacking at once. Focus on clearing the area methodically instead of rushing.
Step 4
After defeating all enemies in the camp, locate and open the chest. This chest contains your third Black Mark, bringing your total to three.
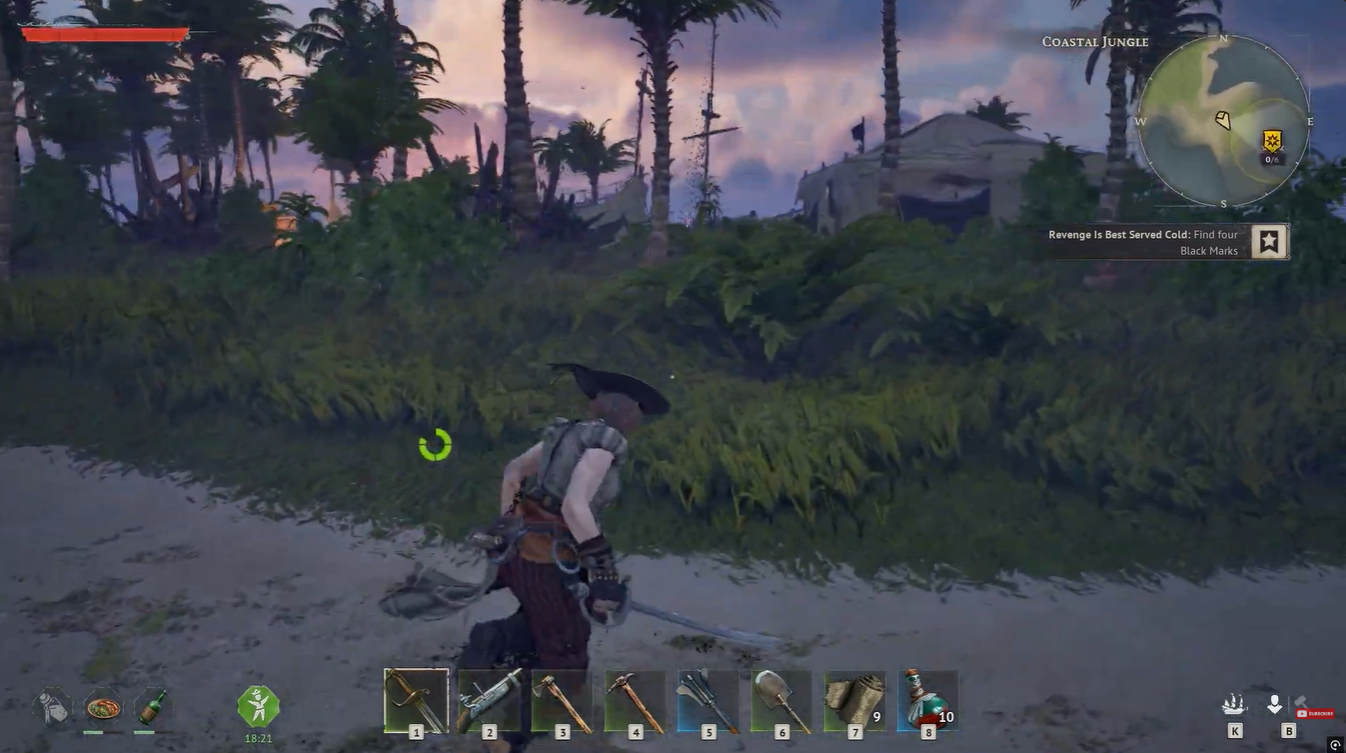
Step 5
Proceed to the final location: the ship. This is where you will encounter Richard’s Lieutenant, the strongest enemy in the quest. Be cautious, as this fight can be more demanding than previous encounters.
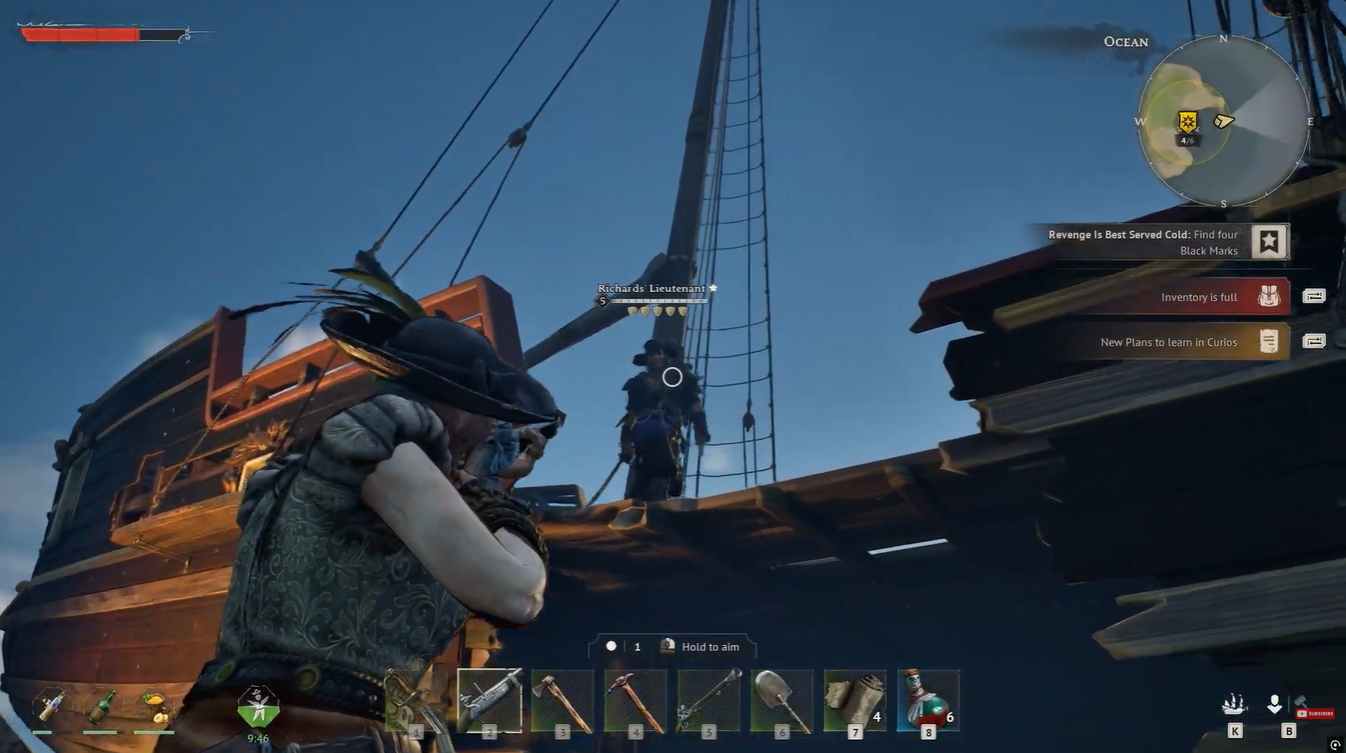
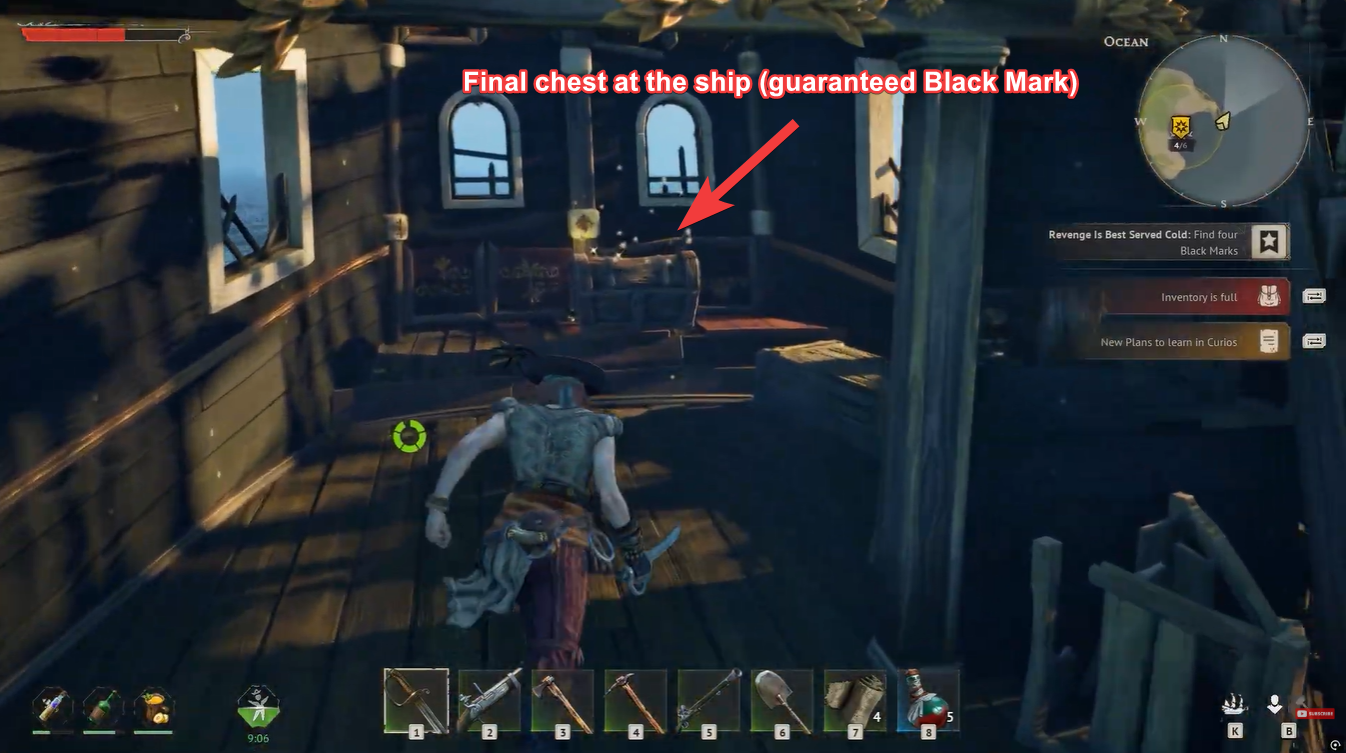
Step 6
Defeat Richard’s Lieutenant to unlock the final set of chests on the ship. Once the enemy is down, loot the chests to obtain your fourth and final Black Mark, completing the quest requirements.
Enemy difficulty and combat tips
The difficulty ramps up gradually, so your approach should evolve with each area. On the starting island, you can play aggressively, but the camp requires better positioning and crowd control. By the time you reach the ship, you should focus on dodging, timing attacks, and isolating the lieutenant to avoid unnecessary damage.
Healing items and stamina management become especially important in the final fight. If you rush, you risk being overwhelmed, particularly in tighter spaces like the ship deck.
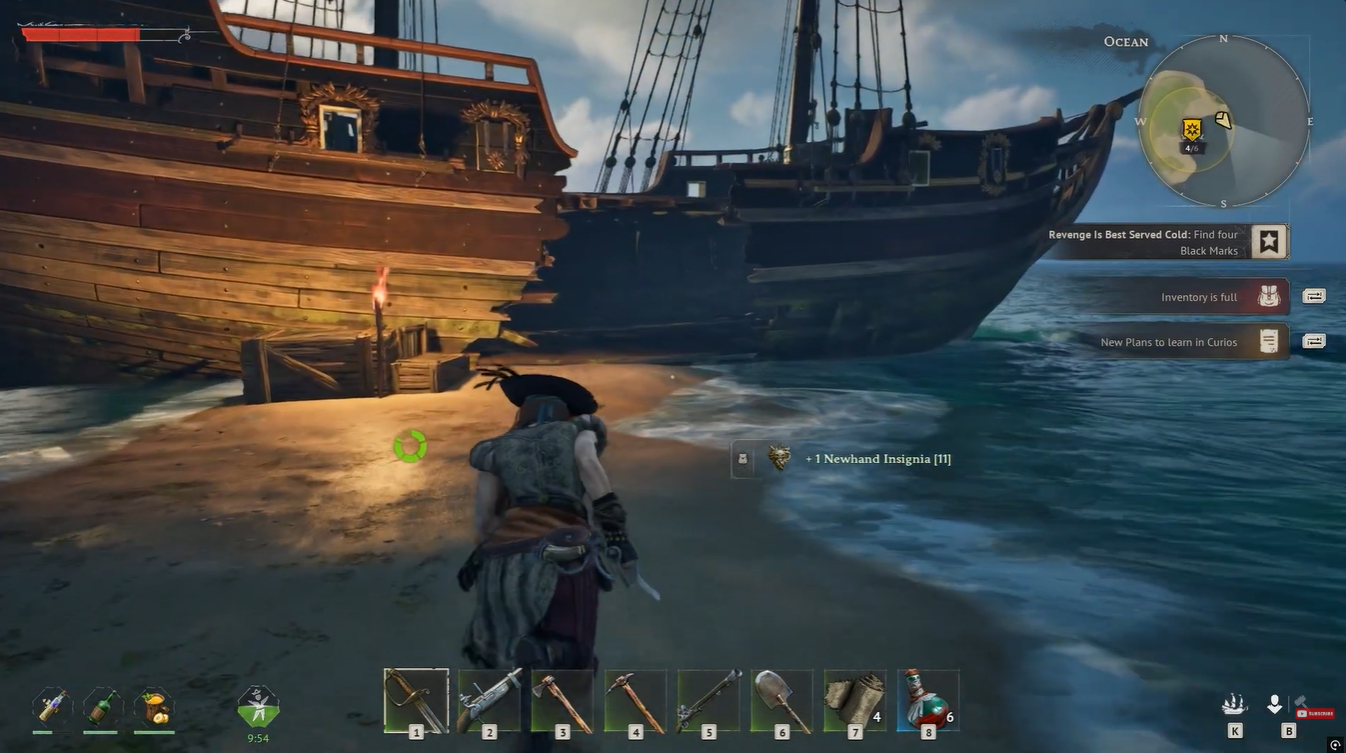
Revenge is Best Served Cold loot pool – Boss, NPCs, and Chest
| Category | Items You Can Get | Source |
|---|---|---|
| Resources | Plant Fiber, Gunpowder, Whiskey | NPCs, Chests |
| Equipment | Flibustier’s Boots (Rare Armor) | Chests |
| Currency | Guinea Coins, Piastre | NPC Drops, Chests |
| Insignias | Newhand & Deckhand Insignia | NPC Drops |
| Ammo | Copper Bullets | NPC Drops |
| Keys | Richard’s Crew Key | Boss, NPC Drops |
Common mistakes to avoid during the quest
Getting all 4 Black Marks in the “Revenge Is Best Served Cold” quest is straightforward once you understand the structure: clear enemies, unlock chests, and move forward. The game rewards careful progression rather than speed, so taking your time to fully clear each area ensures you won’t miss any objectives.
One of the most common issues players face is missing a chest in the starting area. Since there are multiple chests, it’s easy to assume you’ve collected everything when you haven’t.
Another frequent mistake is trying to rush the camp or ship fights without clearing all enemies properly. This can prevent chests from unlocking, leaving you stuck and confused about missing Black Marks.
By following the correct order—Island → Camp → Ship—you can complete the quest smoothly and secure every Black Mark without backtracking.


Leave a Reply