
Artifacts in Survive Zombie Arena are passive gear items from Artifact Crates, and the best setups depend on whether you want more credits, higher damage, or better survival.
Artifacts sit alongside weapons and classes as the progression system that keeps paying off long after your gun stops being the thing holding you back. Every one of them is a random pull from an Artifact Crate, and with three slots to fill, the combination you run matters as much as the individual pieces. This guide covers every artifact in the game, what each one does, how to get and equip them, and which three you should be wearing depending on what you’re trying to do.
- What artifacts actually do for your character
- Crate rarities and the 50-crate Legendary pity
- Unlocking your second and third artifact slots
- Every artifact and what it does
- Best artifact builds for farming, damage and survival
- Farming artifacts efficiently
- What to chase first as a new player
- Frequently Asked Questions
What artifacts actually do for your character

Artifacts are wearable items that grant passive bonuses for the entire match. Some raise your weapon damage or maximum HP, some fire off automatically at nearby zombies without you doing anything, and others quietly increase how many Credits and resources you walk away with. They’re always on — there’s nothing to activate and nothing to time.
KEY!Because you can eventually equip three at once, artifacts stop being individual upgrades and start being a build. A player stacking income bonuses and a player stacking crit chance are running the same character very differently, and both are correct depending on the run. That’s also why artifacts stay relevant deep into progression: they scale your farming speed, your damage, and your survivability at the same time, and none of that gets replaced when you unlock a stronger weapon.
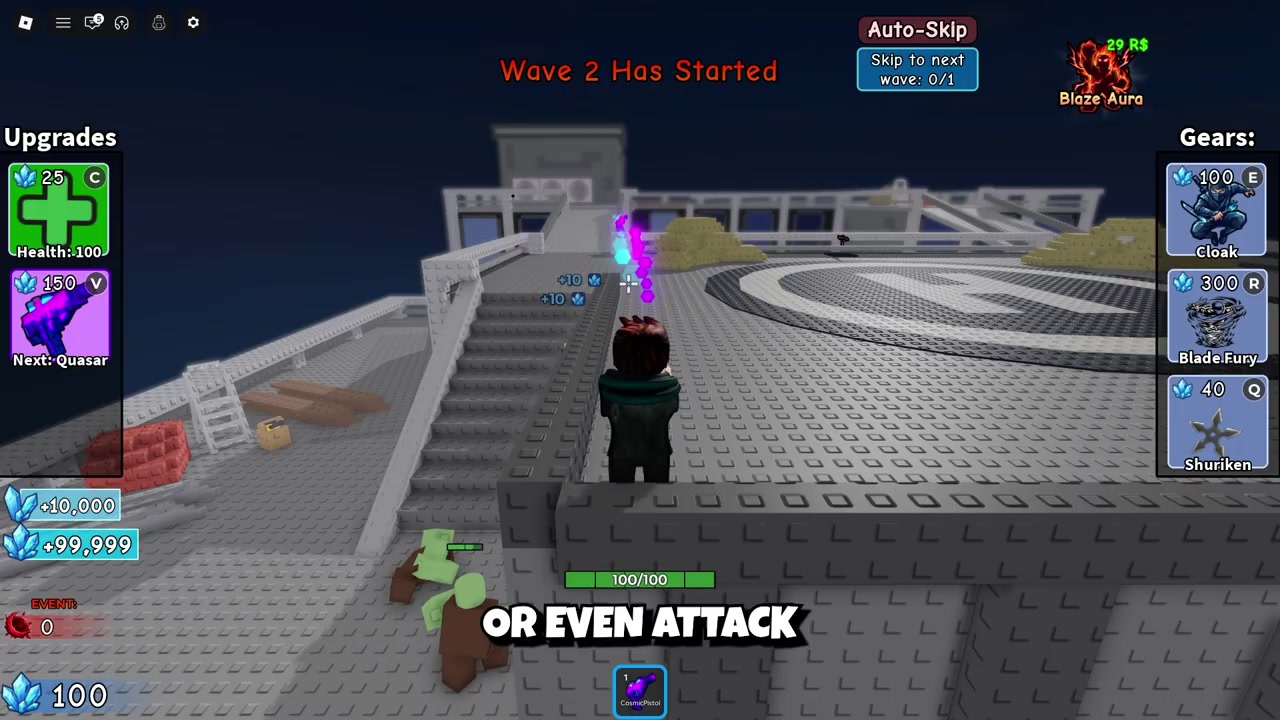
How to unlock Artifact Crates and equip artifacts in Survive Zombie Arena
Artifacts come from one vendor next to the Upgrade Shop, and equipping them happens in a separate menu that’s easy to forget about.
- Spawn in and go to the Upgrade Shop — Load into a match and walk to the Upgrade Shop, which is your reference point for finding the artifact vendor.
- Head left to the Artifacts Shop and press E — From the Upgrade Shop, move left until you reach the Artifacts Shop, then press E to interact with it.
- Choose Open 1 or Open 5 — The shop lets you crack a single crate or five in one go, and each crate always gives exactly one random artifact.
- Pay in Credits or Robux — Open 1 costs 100,000 Credits or 99 Robux, while Open 5 costs 500,000 Credits or 379 Robux.
- Open your Loadout and press E — Click Loadout, then press E to bring up the menu where your equipped gear lives.
- Select the Artifacts tab — Switch to the Artifacts tab to see everything you’ve pulled so far.
- Click the artifact you want to equip — Selecting an artifact slots it in immediately, and it starts working from your next match.
Crate rarities and the 50-crate Legendary pity
| Rarity | Drop rate |
|---|---|
| Common | 45% |
| Uncommon | 30% |
| Rare | 15% |
| Epic | 8% |
| Legendary | 2% |
Artifacts come in five rarity tiers, and the higher tiers are where the build-defining effects live. Community figures for the exact per-tier chances circulate at different numbers, but the ordering below is consistent and the tier you’re realistically chasing is Legendary.
Since several artifacts share each tier, landing one specific Legendary is roughly a 1% proposition per crate — which sounds brutal until you factor in pity. Open 50 Artifact Crates without a Legendary and the next one is guaranteed to be Legendary, which turns crate spending from a gamble into a countdown. Every crate you open is progress, so stopping at 40-something is the one genuinely wasteful thing you can do here.
Unlocking your second and third artifact slots
You start with one artifact slot for free. The second slot costs 5,000 Credits and the third slot costs 15,000 Credits, both bought outright with no other requirement.
Buy both as early as you can. 20,000 Credits total is a rounding error next to the 100,000 a single crate costs, and running one artifact when you could be running three throws away most of your passive power every match. Do this before you spend anything on crates.
Every artifact and what it does
| Artifact | Effect |
|---|---|
| Attack Orb (Common) | Increases weapon damage by 8% |
| Combat Helmet (Common) | Increases maximum HP by 15% |
| Lucky Coin (Common) | 20% chance to earn double event currency |
| Recycler (Common) | 20% chance for extra Credits after every zombie kill |
| Thorns (Common) | Reflects 150% of the damage zombies deal to you |
| Sword (Common) | Automatically attacks nearby zombies every 4 seconds |
| Energy Drink (Uncommon) | Increases movement speed and fire rate by 10% |
| Iron Dagger (Uncommon) | Automatically throws a dagger every 4 seconds |
| Red Toolbox (Uncommon) | Increases HP, damage and healing of all deployed gears by 25% |
| Blood Vial (Uncommon) | Restores 5 HP after every 5 kills |
| Cryofuel (Uncommon) | 10% chance for guns to slow zombies by 35% |
| Healing Orb (Rare) | Restores HP to you and nearby teammates every 8 seconds |
| Midas Touch (Rare) | 15% chance for kills to reward double minerals |
| Frost Orb (Rare) | Releases a slowing pulse every 6 seconds |
| Special Drone (Rare) | Summons a flying drone that continuously attacks nearby zombies |
| Bank (Epic) | Increases Credits earned by 10% after finishing a run; leaving early removes the bonus |
| Gravity Core (Epic) | Creates a singularity every 10 seconds that pulls zombies together |
| Electric Pillar (Epic) | Effect not officially revealed yet |
| Gaming Controller (Legendary) | Increases damage by 15%, HP by 10%, movement speed by 10% and critical hit chance by 10% |
| Chronocore (Legendary) | Creates a stasis field every 12 seconds that traps nearby zombies for 4 seconds |
Two things stand out reading down that list. The Commons and Uncommons are not filler — an 8% damage bump or a flat 15% HP increase is real value on a low-level character, and the auto-attacking pieces do work while you reposition. And the crowd-control Legendaries and Epics change how a wave plays rather than just nudging a stat, which is why they anchor most late builds.
Best artifact builds for farming, damage and survival
| Build | Artifacts |
|---|---|
| Credits farming | Recycler, Bank, Midas Touch |
| Damage | Gaming Controller, Attack Orb, Special Drone |
| Survival | Combat Helmet, Blood Vial, Healing Orb |
The farming trio is the one most players should live in while they’re still building a collection. Recycler pays out during the run, Midas Touch doubles mineral drops, and Bank adds a flat percentage on top at the end — three different income levers stacking on the same run. It’s the fastest way to fund the crates that get you everything else.
Swap to the damage build once you have Gaming Controller and you’re pushing waves rather than grinding them. It pairs a broad stat boost with a straight weapon damage increase and a drone chipping away at everything nearby, so your effective DPS goes up whether you’re aiming or not. The survival set is the one to reach for on harder difficulties or when you keep dying mid-run: extra maximum HP from Combat Helmet, kill-triggered top-ups from Blood Vial, and steady passive regeneration from Healing Orb that also covers your teammates.
If you’re spending Robux, always use Open 5 — five rolls for 379 Robux instead of 495, with identical progress toward pity.
Farming artifacts efficiently

The single biggest earner is simply committing to full runs while wearing the economy set. Bank only pays out if you actually finish, so bailing on a wave you could have cleared deletes the bonus you’ve been building toward all match. Treat the economy artifacts as a farming uniform you put on for grinding sessions and take off when you’re pushing for a record.
Beyond that, keep opening. Pity is the reason crate spending works at all, and every crate — Credits or Robux, single or bundled — moves the counter. Players who stop in the 40s and come back later with a fresh mindset are the ones who never seem to land a Legendary.
The last one costs nothing and catches almost everyone: equip what you pull. New artifacts sit in the Artifacts tab doing absolutely nothing until you click them into a slot, and it’s very easy to open five crates, get something genuinely good, and then run three more matches with your old loadout still on.
What to chase first as a new player
Order of operations is straightforward. Buy the second and third slots immediately, then run whatever your best three artifacts are — including Commons and Uncommons, which are strong enough to carry you a long way. There’s no reason to leave a slot empty waiting for something better.
From there, build toward the credit farming set, because it funds everything else. Once Credits stop being the bottleneck, specialize: damage if you want to clear waves faster, survival if you keep dying before the run pays out. That decision is yours to make per session, and switching between saved sets costs nothing.
Frequently Asked Questions
How many artifacts can you equip in Survive Zombie Arena?
Three, once you’ve bought all the slots. You can only wear one until you pay for the other two, and there’s no way to exceed three.
How much does an Artifact Crate cost?
A single crate is 100,000 Credits or 99 Robux, and a five-pack is 500,000 Credits or 379 Robux. The Credits price scales exactly, so the bundle only saves you money on the Robux side.
What is the best artifact build for farming credits?
Recycler, Bank and Midas Touch together. Recycler and Midas Touch pay out on kills during the run, Bank adds its percentage at the end, and the three don’t overlap so nothing is wasted.
Does Survive Zombie Arena have Legendary pity for artifacts?
Yes. Fifty crates without a Legendary guarantees one on the next open, and the counter carries across sessions — you don’t need to open them all in a row.
What does Electric Pillar do?
Its effect hasn’t been officially revealed. It’s an Epic-tier artifact and shows up in crate pulls, but there’s no published description for what it changes yet.
Video help






Leave a Reply