What to know
-
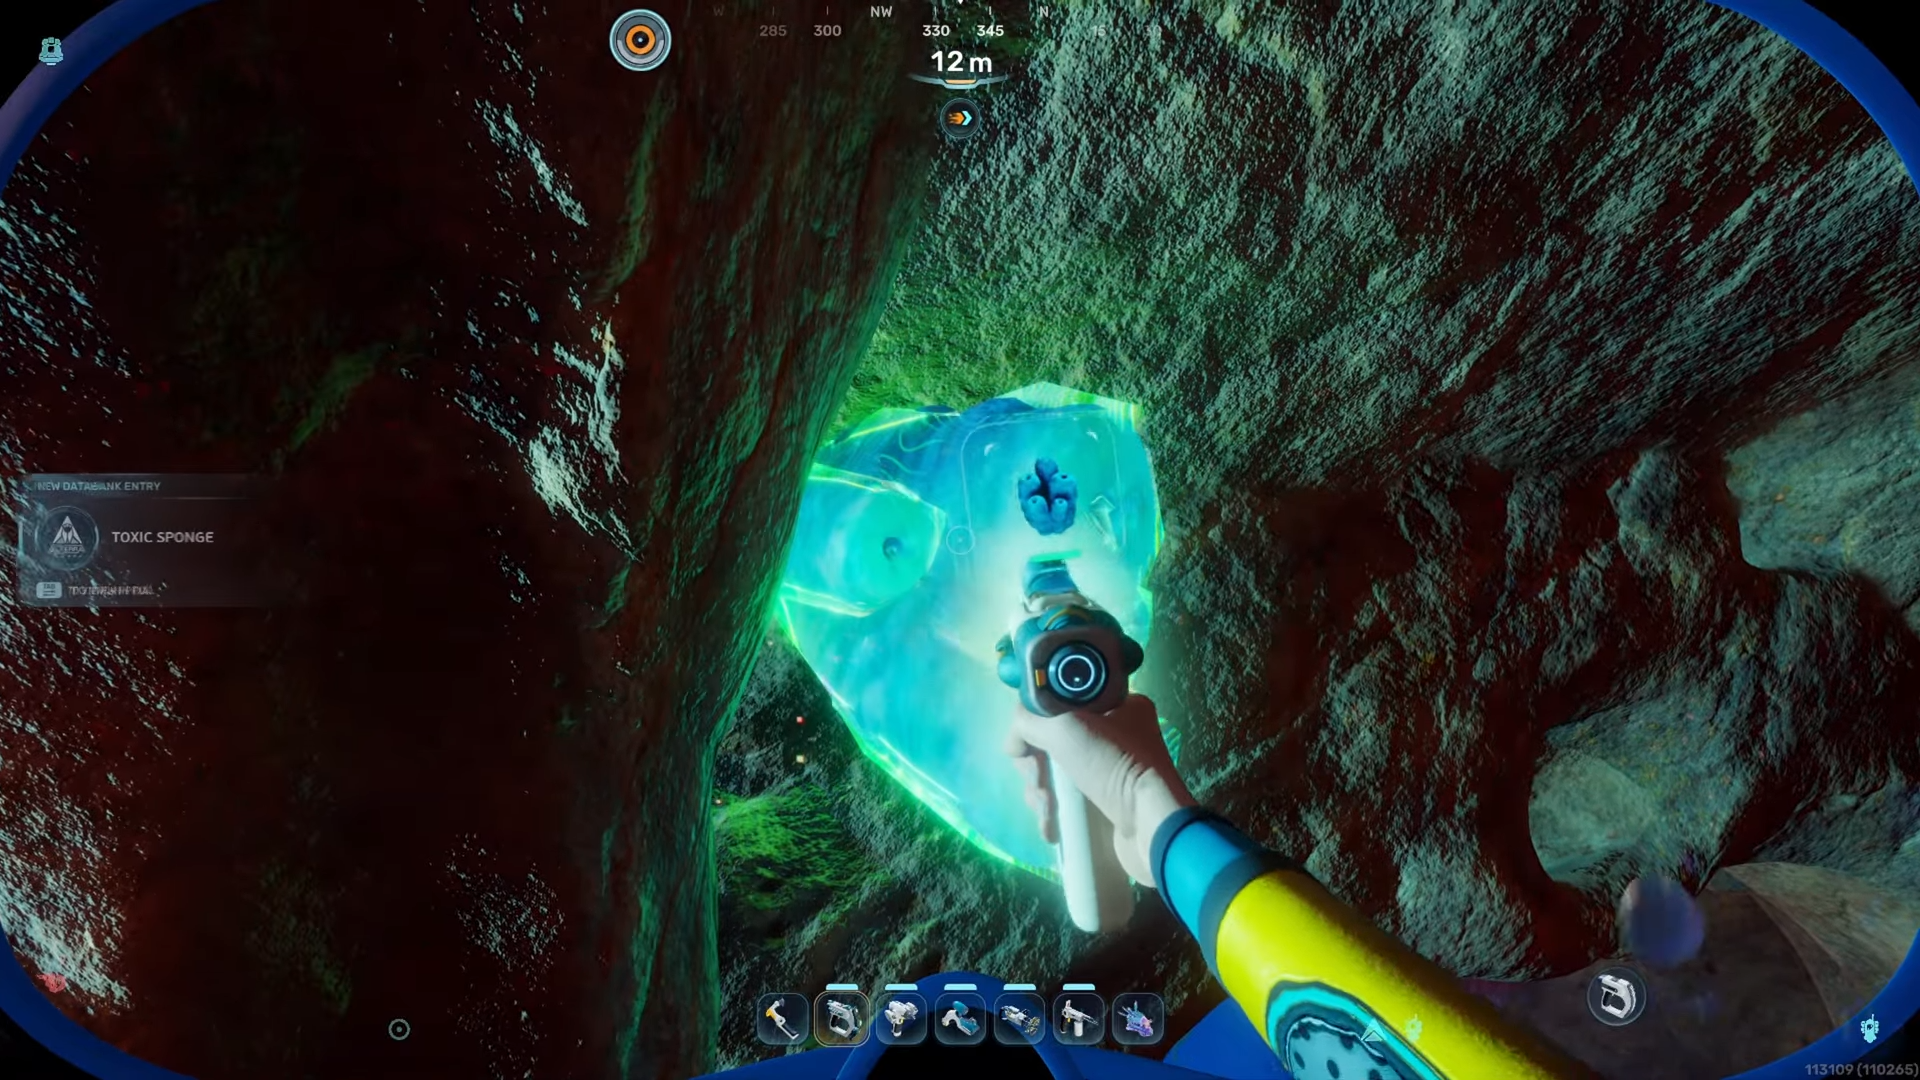
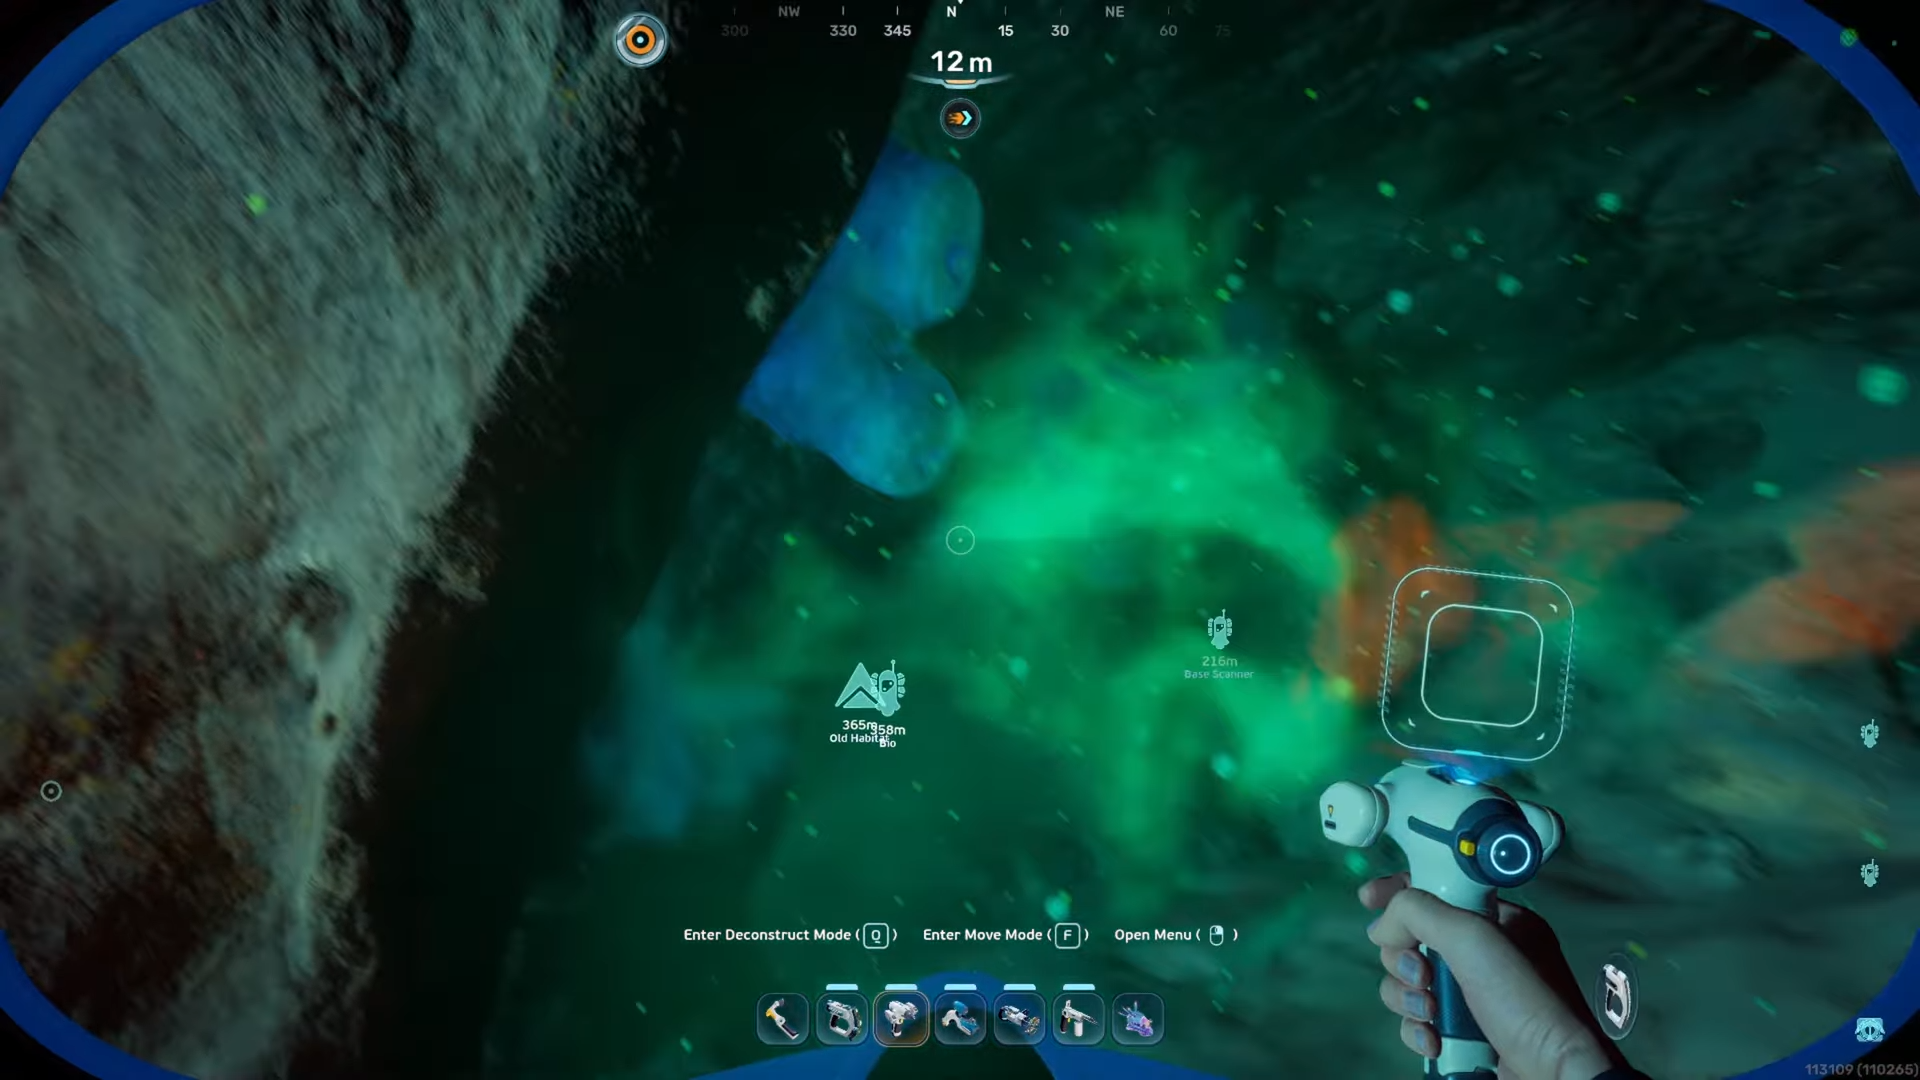
The toxic sponge is located in a cave right near the starting life pod.
-
Approaching the plant will cause it to aggressively blast you with poison.
-
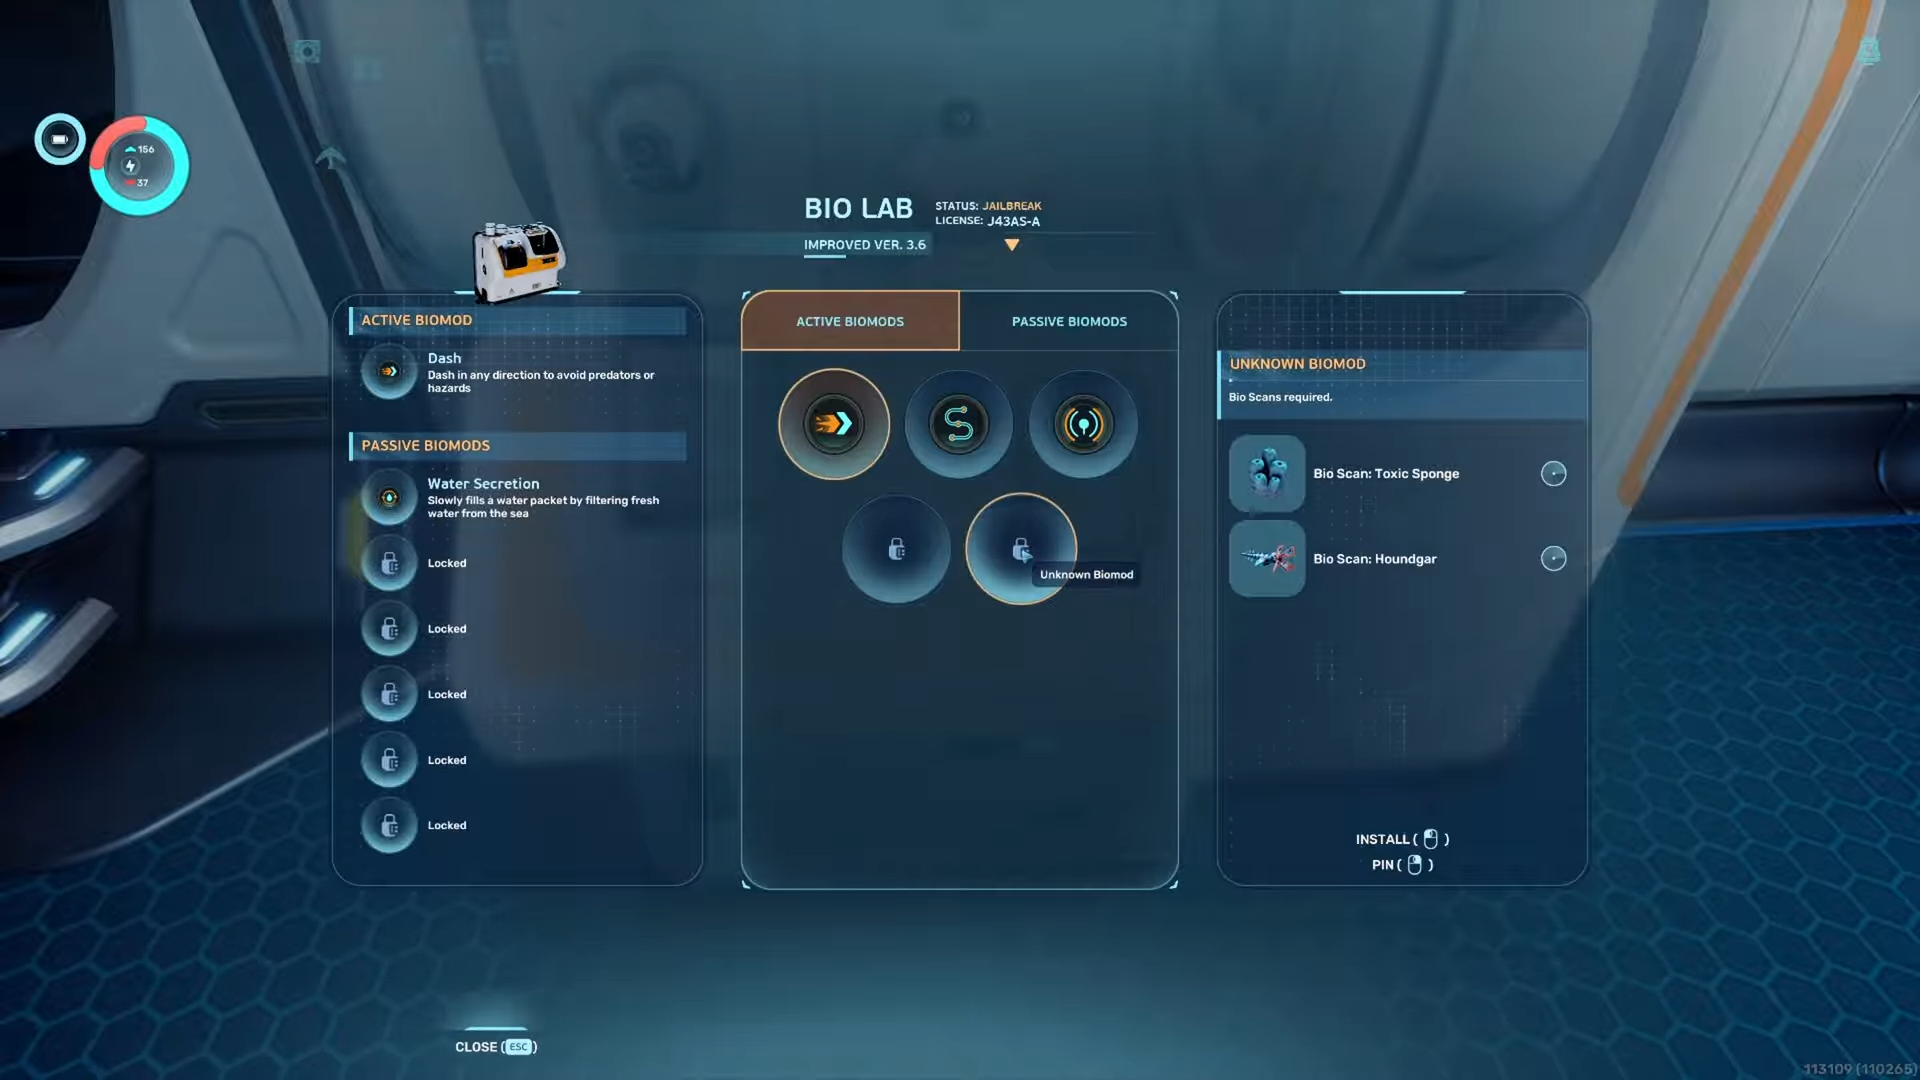
Equipping your scanner before diving is crucial for a quick interaction.
-
Enduring the initial poison blast is simply part of the scanning process.
Finding and scanning the toxic sponge in Subnautica 2 requires a bit of courage since this poisonous plant actively defends itself. Getting the scan means venturing into a nearby cave and enduring a face full of toxins, but having the right approach makes it a quick and successful mission.
Bio Scanning Toxic Sponge details
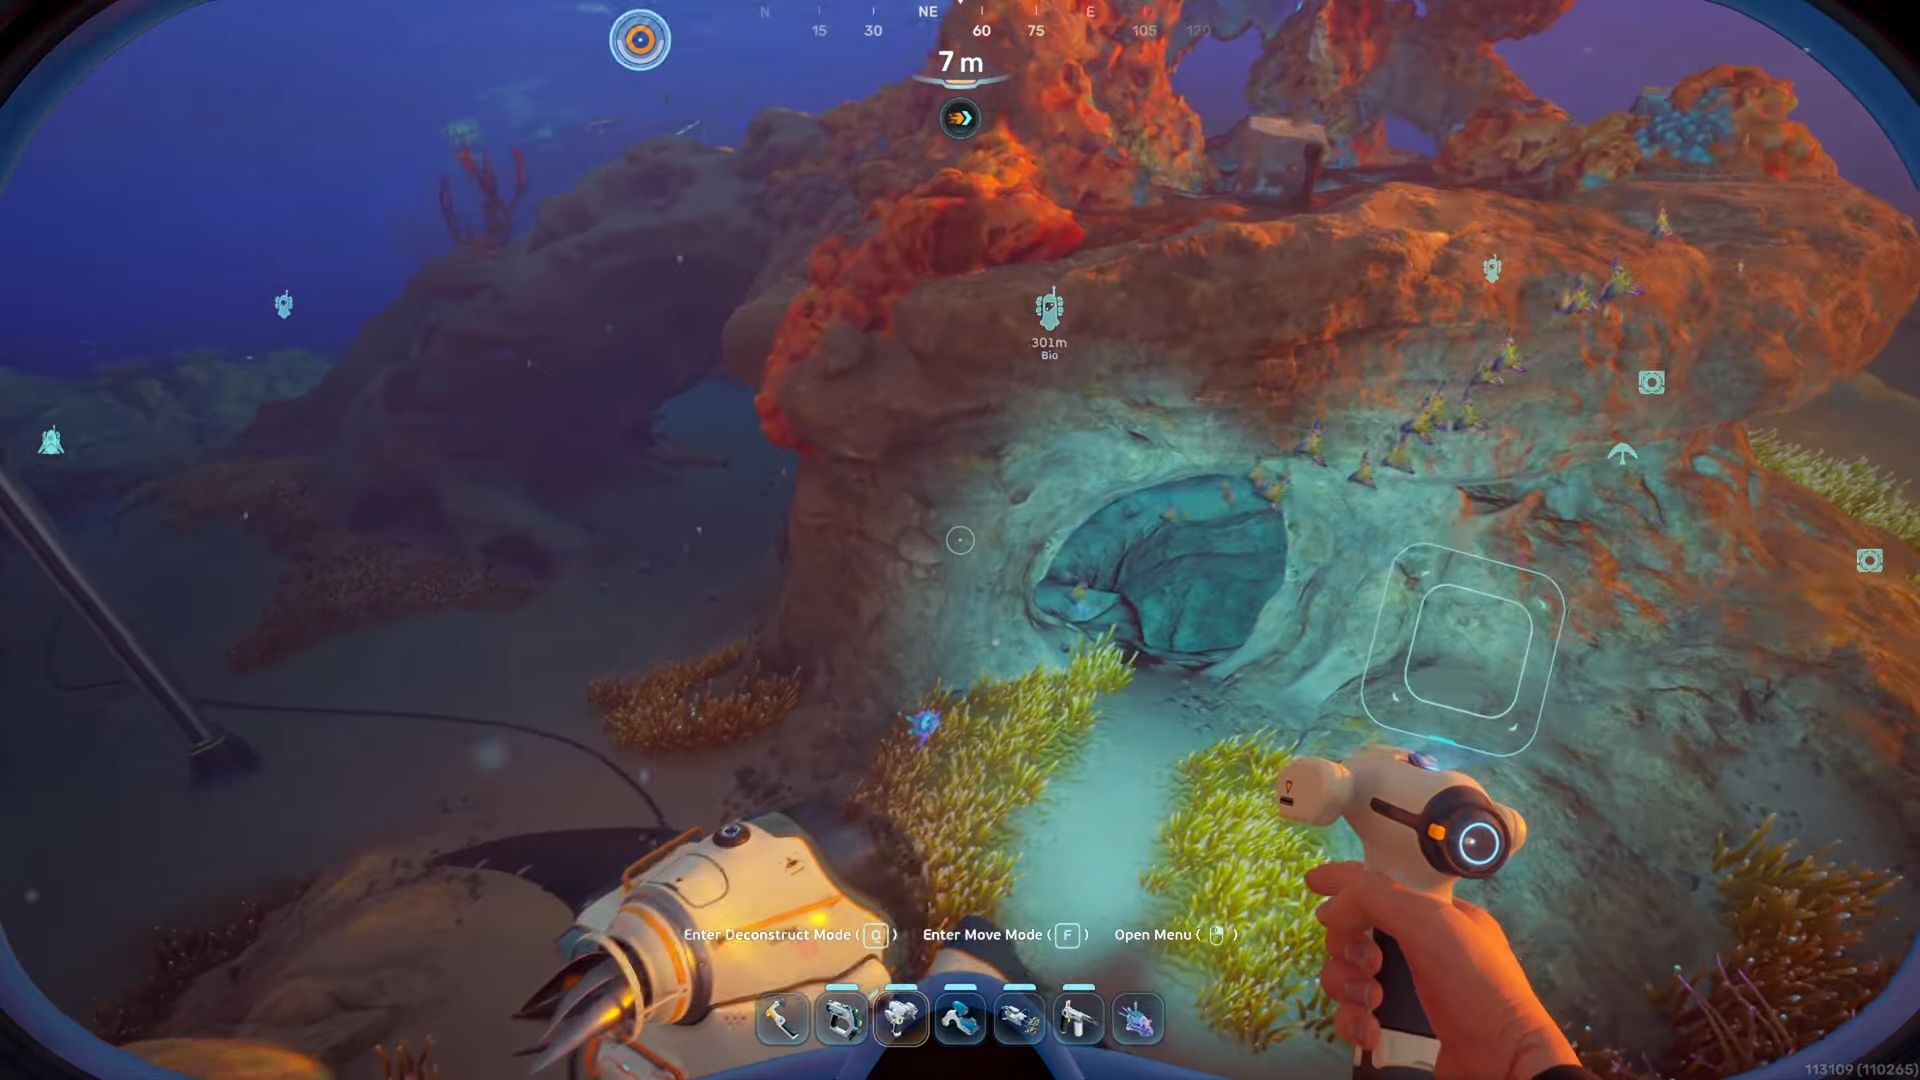
Toxic sponge cave location
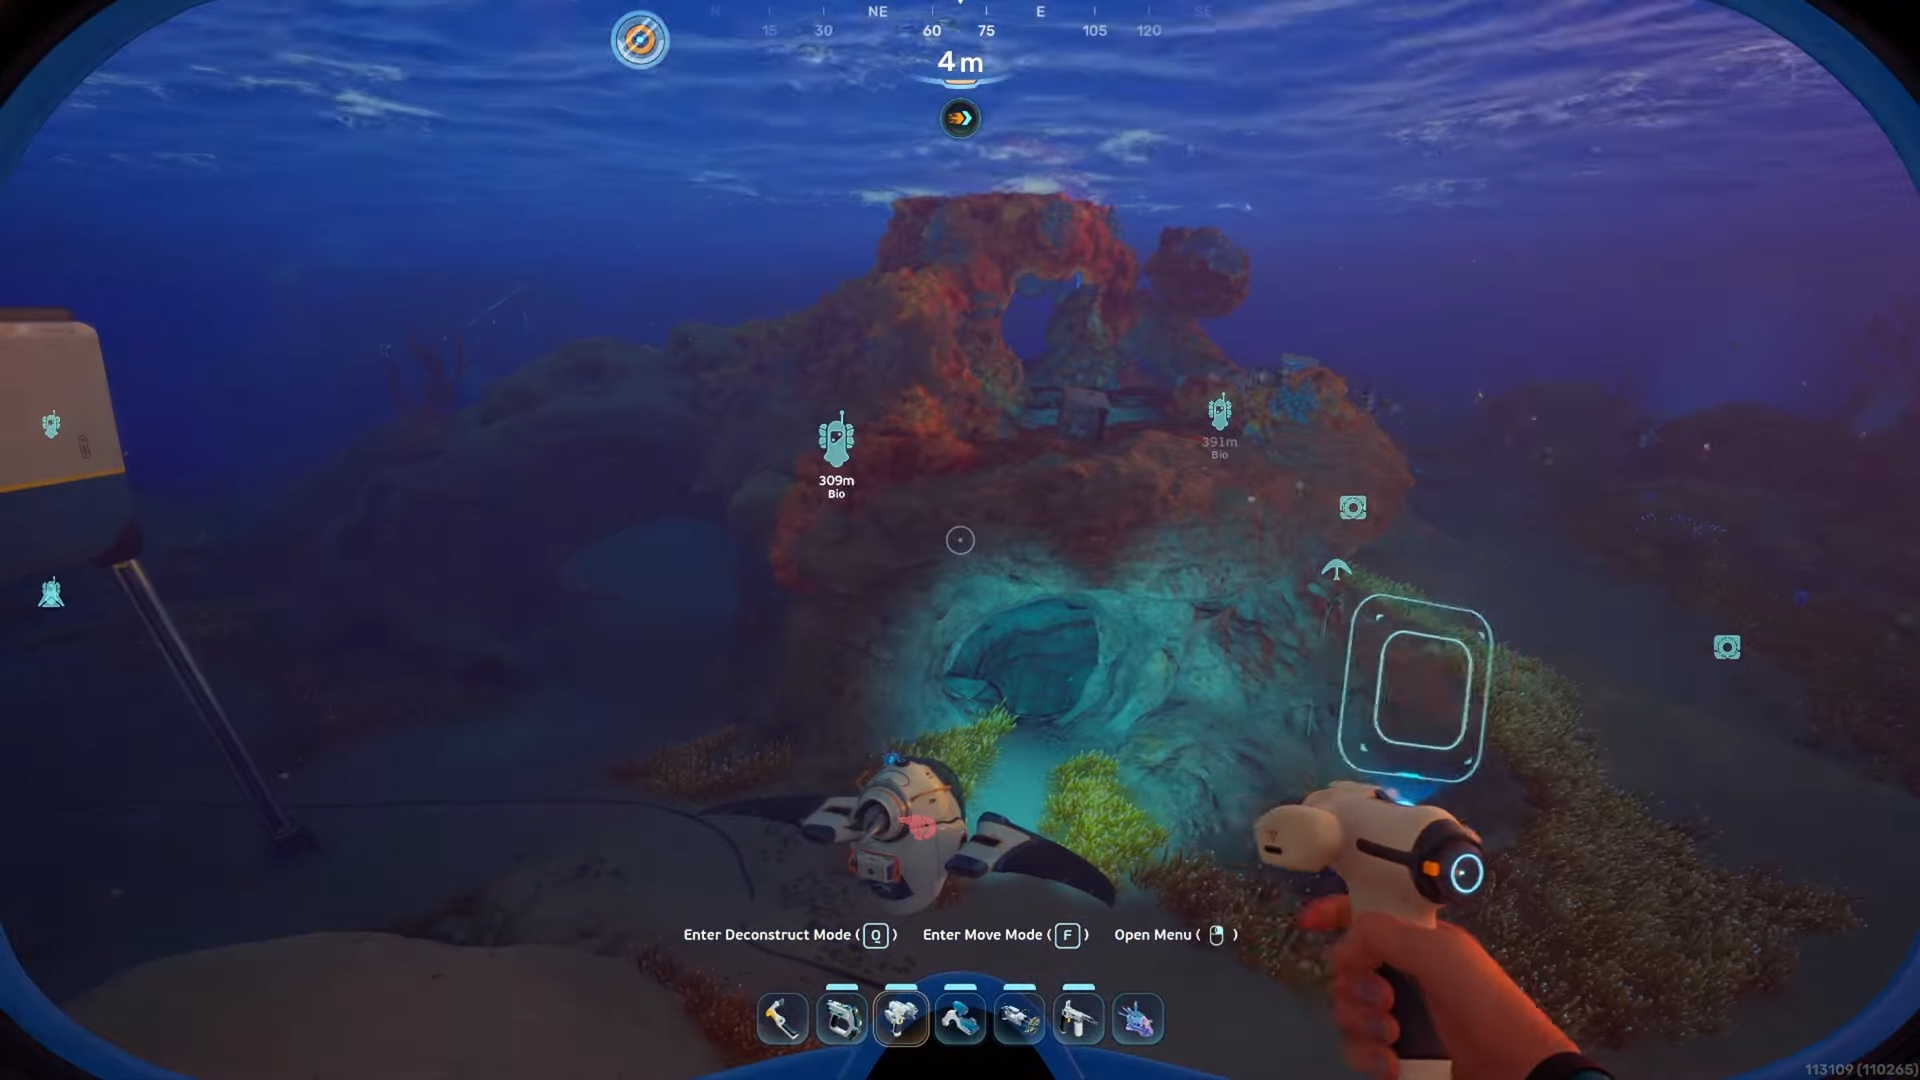
The toxic sponge is conveniently situated very close to your starting point in the game. To find it, you simply need to start from your life pod and head straight down into the cave system located directly in that immediate area.
How to bio scan the toxic sponge
Step 1
Begin your journey at the main life pod before entering the water.
Step 2
Pull out your scanner while you are still safe so you are immediately ready to interact with the plant once you find it.
Step 3
Dive directly down from the life pod into the cave structure below.
Step 4
Approach the toxic sponge and let it release its defensive poison blast, as taking this hit is necessary to get close enough.
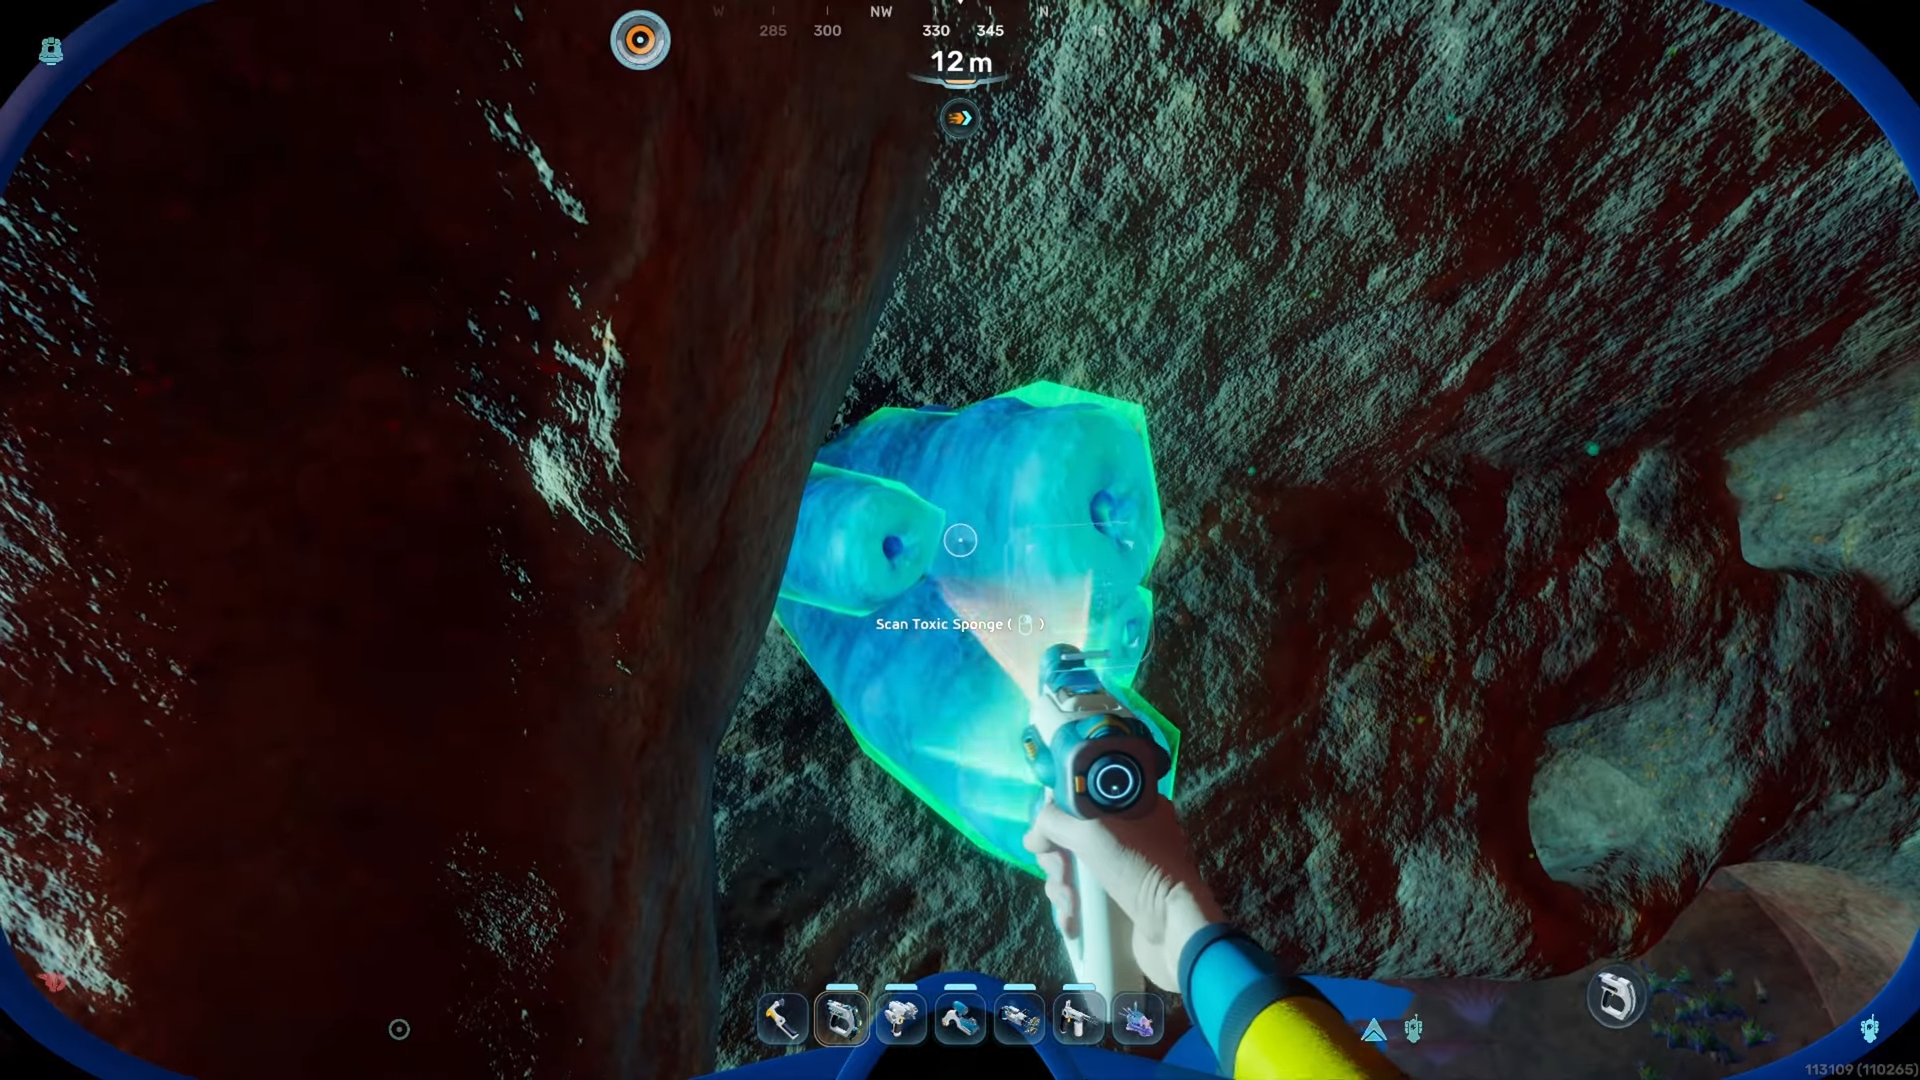
Step 5
Once the sponge finishes poisoning you, use your already equipped scanner on the plant to secure the data.