The revamped Microsoft Store on Windows 11 has been drawing many eyeballs since the public release of the new OS a couple of weeks back. Windows 10 users, who have not been able to upgrade to Windows 11 due to hardware limitations, were less than enthusiastic with Microsoft Store for obvious reasons, but, now can finally join in on the fun via the Release Preview channel. However, you are on a stable Windows 10 build, you will have to work a little harder.
Here is how you can install the new Microsoft Store on Windows 10.
Related: How to Get Google Play Store and Gapps on Windows 11 With Windows Subsystem for Android
How to sideload the new Microsoft Store on Windows 10
Microsoft has not yet officially released Microsoft Store for the stable build of Windows 10, but you can actually sideload the application if you are resourceful enough. Follow the guide below to learn how.
First, click on this link and download the Microsoft App Installer. Click on ‘Get’ to start downloading the free tool.
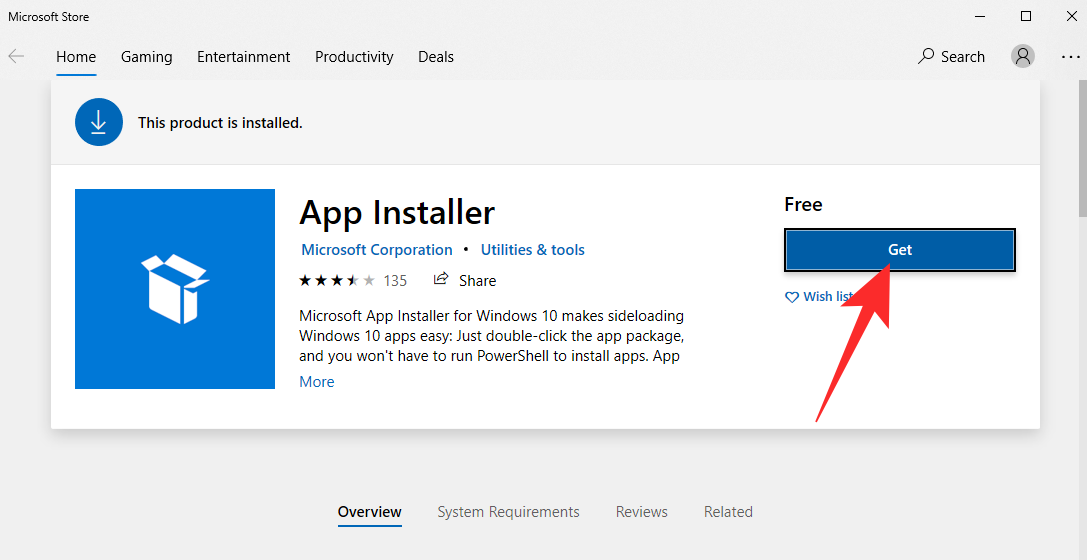
After it downloads via the Microsoft Store, it will get installed on your device automatically.
Now, go to store.rg-adguard.net and enter the following URL in the text field:
https://www.microsoft.com/de-de/p/app/9wzdncrfjbmp?activetab=pivot:overviewtab

After you click on the ‘Ok’ button, links will be generated. Then, look for and download the following files:
Microsoft.UI.Xaml.2.7_7.2109.13004.0_x64__8wekyb3d8bbwe.appx and Microsoft.WindowsStore_22110.1401.10.0_neutral___8wekyb3d8bbwe.Msixbundle
Make sure the files are stored in the Downloads folder of your PC.
If you cannot download the files with the Google Chrome browser on your PC, try Microsoft Edge. If the files are shown as unsafe, first, click on the ellipsis button.

Then, click on ‘Keep.’

Finally, click again on ‘Keep Anyway.’

After the files are downloaded, install the Microsoft.UI.Xaml.2.7_7.2109.13004.0_x64__8wekyb3d8bbwe.appx file with the Microsoft App Installer. Click on ‘Install’ to begin.

Then, go to your ‘Downloads’ folder where the files are kept and hold ‘Alt’ and then press ‘F’ to open the File menu in the top right. When you see the menu, click on ‘Open Windows Powershell as Administrator.’

Powershell will now open in that directory. Finally, run the following command:
Add-AppxPackage Microsoft.WindowsStore_22110.1401.10.0_neutral___8wekyb3d8bbwe.Msixbundle

It will take a couple of seconds to process. Then, with any luck, it will complete without any errors. Check out Microsoft Store from the Start menu and you should get a taste of Windows 11 on your old Windows 10 PC.

That is it! If you run into trouble, make sure you have downloaded the right files from the website. It can get pretty confusing.
RELATED
- How to Ungroup Icons on Windows 11 Taskbar With a Registry Hack
- How to Fix ‘Virtualization Not Enabled’ Error for WSA on Windows 11
- How to Change Refresh Rate on Windows 11
- Windows 11 Start Menu Not Working: How to Fix
- Fix VAN 1067 Valorant Issue on Windows 11
- How to Disable CSM to install Windows 11
- How To Remove Language Switcher on Windows 11
- Right-Click Menu Not working on Windows 11? How to Fix

