
CapCut is the new video editing mobile app from Bytedance that has been making quite the buzz on the internet thanks to TikTok’s viral dances. The editor is quite comprehensive for its league and comes with tons of features that are missing from many modern-day desktop video editors. If you have just downloaded CapCut and are wondering where to start, then this is the perfect guide for you. Here’s how you can edit and perform various functions in CapCut.
CapCut tutorials: 3D Zoom | Blur | Green screen
Editing a video can refer to editing out a part of the clip or in a general sense, creating the overall project. Here we will discuss all the basic things you need to edit an overall project, as well as edit a particular clip to remove or add any section.
Trim
Trimming is one of the best tools under any editor’s belt. It allows you to lengthen or shorten any video depending on your needs and requirements. To trim a video in CapCut:
Tap and select the clip. Now tap either end with the white selection area and drag to extend or shorten your video clip.
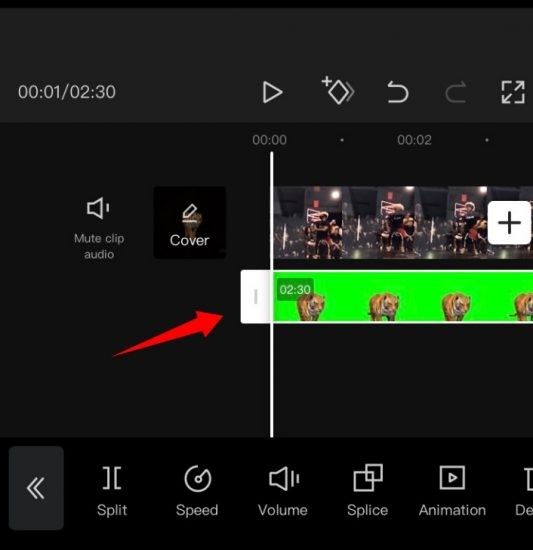
And that’s it! You will now have trimmed the selected video according to your needs in CapCut.
Resize
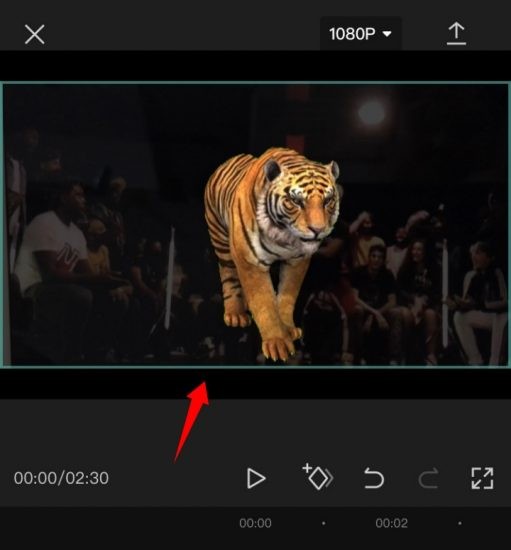
CapCut also allows you to resize your clips and videos on the canvas very easily. To change the size of a video on your canvas, simply pinch and zoom in or out on the video preview at the top of your screen. You can use this to resize almost any layer in your project. Simply ensure that you have selected the layer beforehand in your timeline or else you will end up resizing the currently selected layer.
Move clip
You can easily move a clip in CapCut as well. This way you can rearrange your timeline and create a new look and feel for your project. Simply tap and hold onto a clip in your timeline and you should get a thumbnail preview for the same. Once the preview appears, drag and move your clip to anywhere you wish in the timeline. The clip will automatically snap to start and end positions of nearby clips or start or endpoints of your project.
Add Audio
To add audio to your project, tap on ‘+Add Audio’ in your timeline.
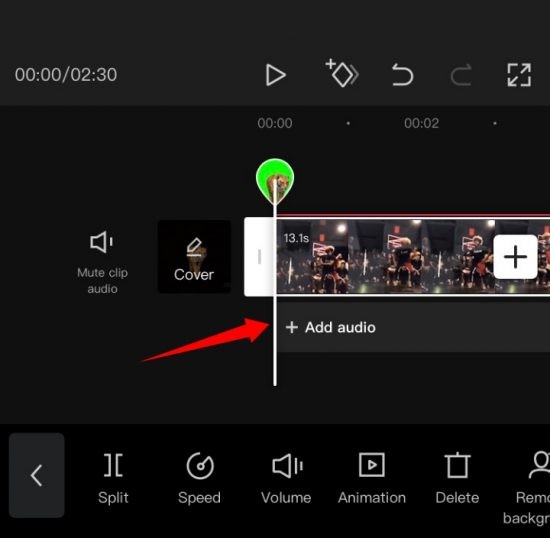
Now choose one of the following options available to you.
- Sounds: You can use this option to use saved sounds in CapCut or to choose sounds from CapCut’s extensive library of resources.
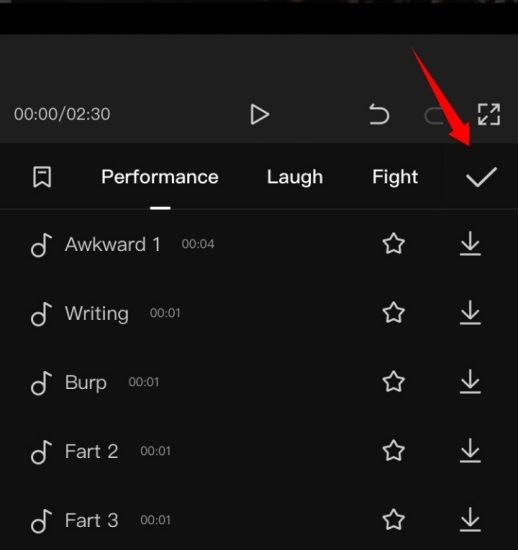
- Effects: Sound effects are a must have element for any video project. They help enhance your surroundings and add essential elements to your project. You can add things like laugh tracks, performance effects, and more to your device.
- Extracted: This section will allow you to extract audio from video clips from your local storage, You can use this to extract audio from popular clips, movies, videos, podcasts, and more to use them in your project.
- Voiceover: This option can help you record voiceovers over your clip. You can record and personal sounds and dialogues, to overlay the videos added to your timeline.
Once chosen proceed to select the desired file or effect and tap on the checkmark in the top right corner of your screen once you are done.
And that’s it! The selected audio type and file will now be added to your timeline. You can go ahead and rearrange/trim the audio clip like any other clip in your timeline.
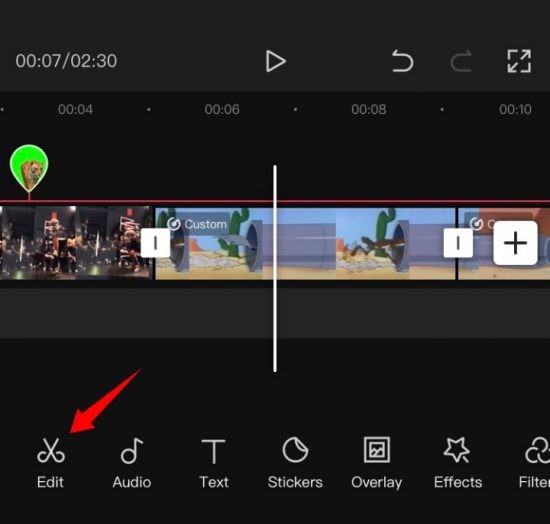
Split clip
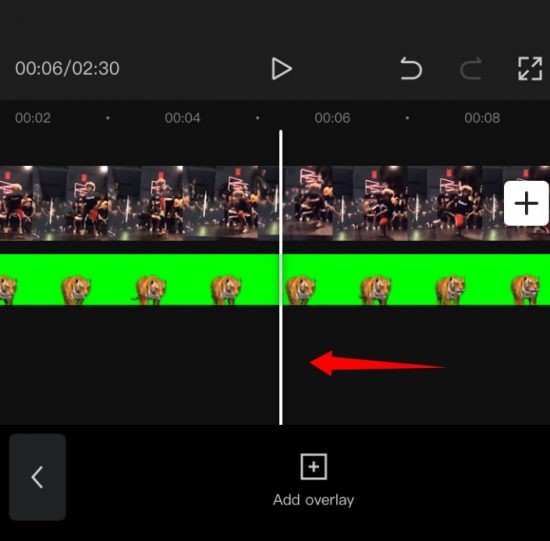
Splitting a clip is quite easy in CapCut. Start by opening up the desired project in the app.
Now move the cursor to the desired position on your timeline where you wish to split the clip.
Now tap on ‘Split’ at the bottom of your screen. 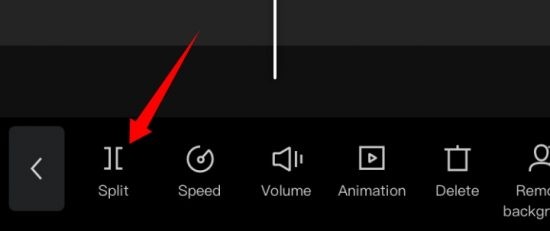
The clip will now be split and you will now get the option to add a transition to your cut. Tap on ‘Add transition’ if you wish to add a transition.
And that’s it! The selected clip should now be split into two.
Replace clip
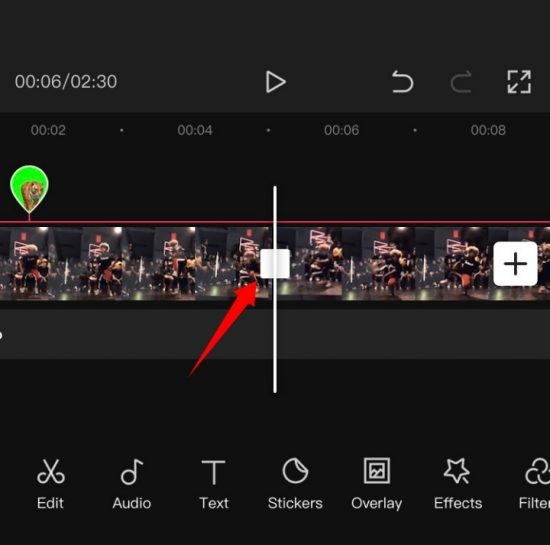
Had a change of mind? Wish to replace a video clip in your project? You can do this quite easily in CapCut. Simply tap on the clip you wish to replace and then scroll the bottom menu bar until you find ‘Replace’.
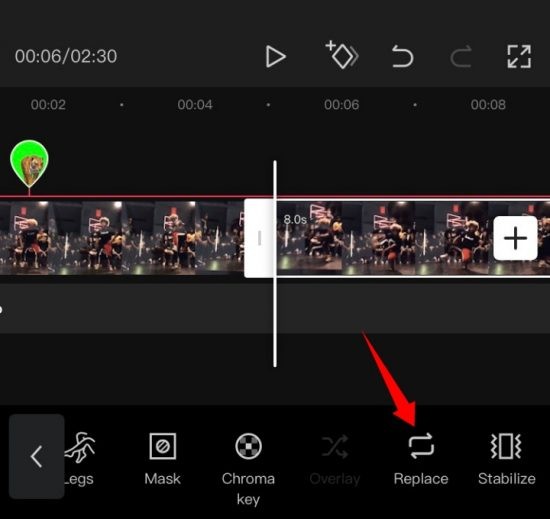
Once found, tap on it, and select the desired clip from your local storage.

The clip will be automatically cut to the desired length in the project. Tap on the place holder and move it to cover the desired part of your video clip.
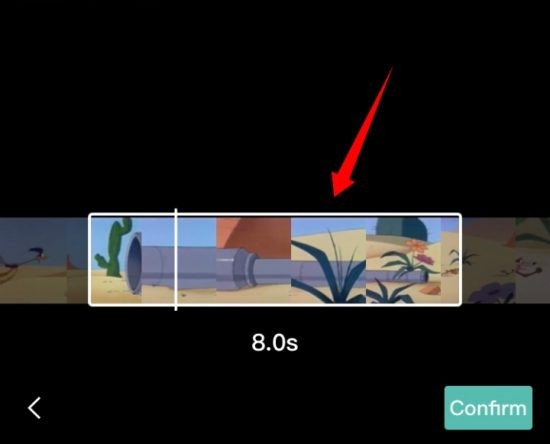
Once you are happy with the selection, tap on ‘Confirm’ in the bottom right corner of your screen.
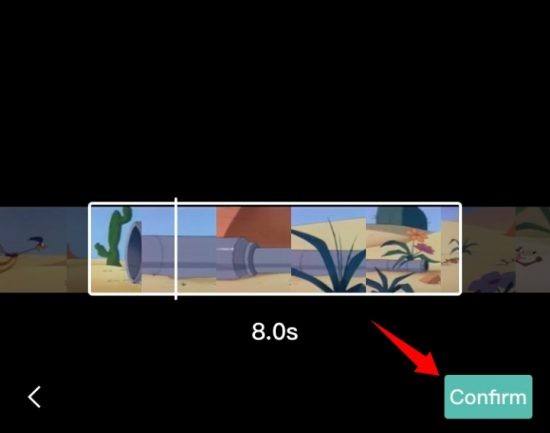
The clip should now have been automatically replaced with your selection in the timeline.
Change speed
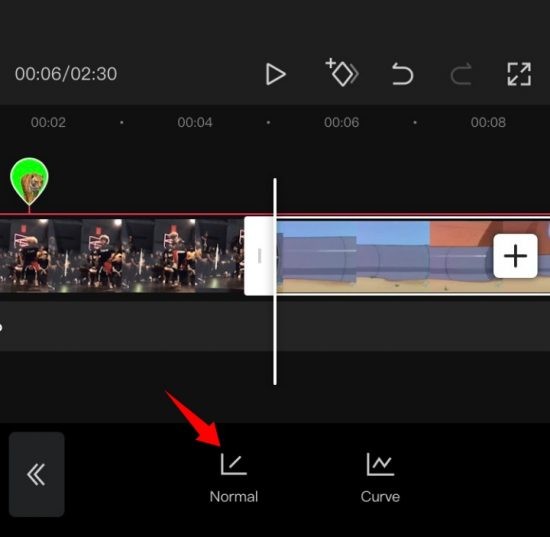
CapCut has dedicated menus for most functions you need when using a video editor. The editor features a dedicated speed button to adjust the speed of any clip. Select the desired clip in your timeline and tap on ‘Speed’ at the bottom of your screen.

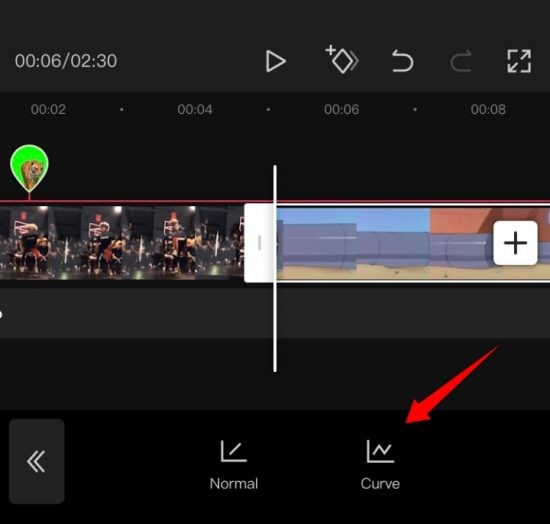
You will now get the option to statically change your speed on a set incline/decline or dynamically change your speed using a curve. Select one of the best-suited options for your need:
- Normal
- Curve
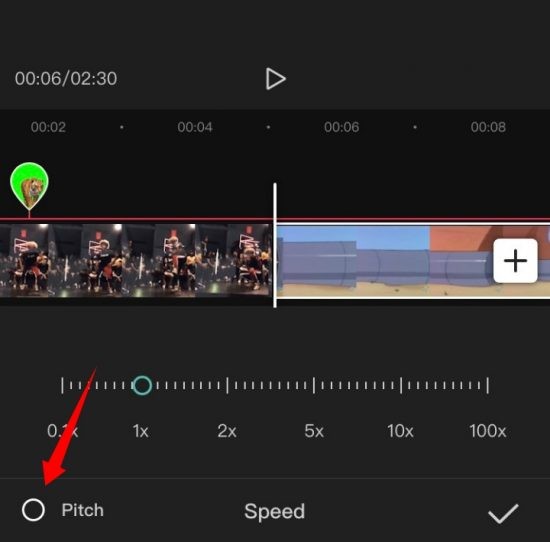
For Normal
Tap on the cursor and move it to the desired speed.
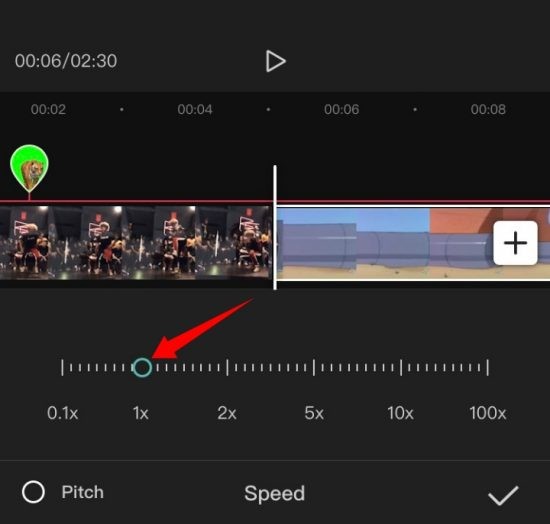
Turn on ‘Pitch’ in the bottom left corner if you wish to change the pitch of the clip audio in sync with the video speed. Leave this unchecked, if you wish to use original audio.
Once you are done, tap on the ‘Check Mark’ in the bottom right corner of your screen.
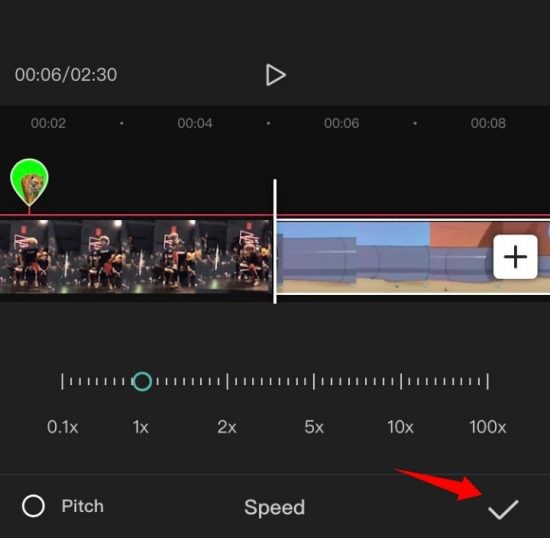
And that’s it! The speed should now have been changed for your clip based on the parameters set by you.
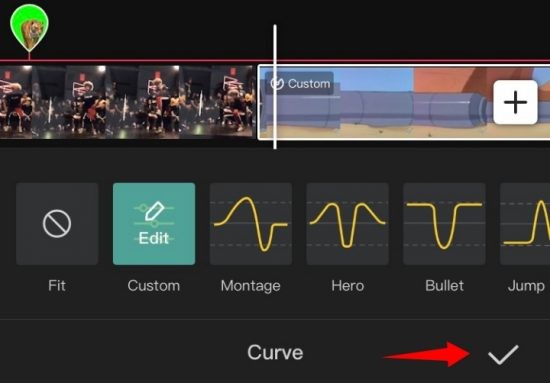
For Curve
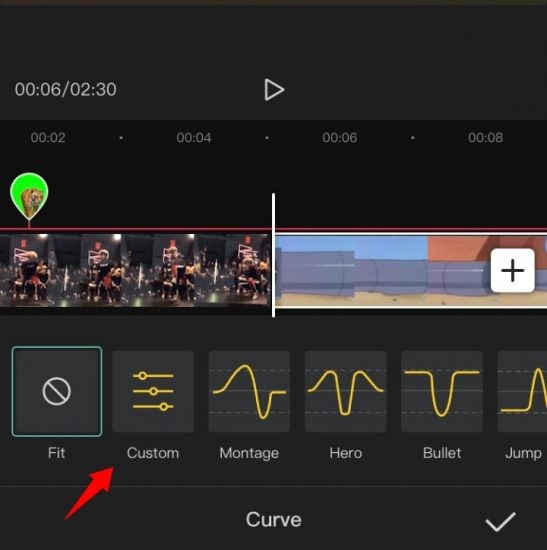
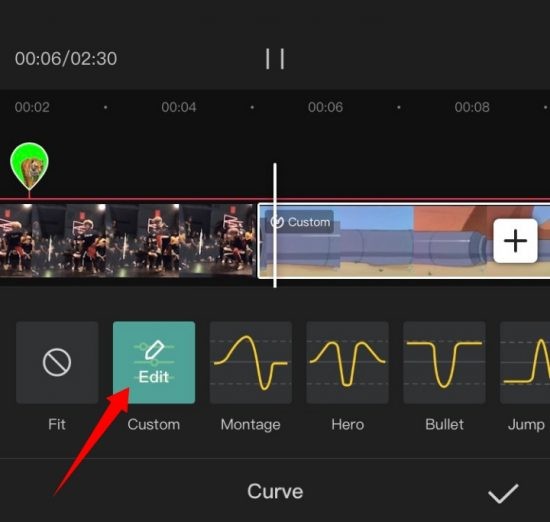
Curves will give you the ability to dynamically adjust the speed of your clip to produce unique effects that can help enhance the overall story and look of your video. You can either select one of the presets available in CapCut or use the ‘Custom’ option to create your own. Use the guide below to create your custom curve.
Tap and select ‘Custom’.
Tap on ‘Edit’ again.
Now move the cursor to the desired time in the video clip.
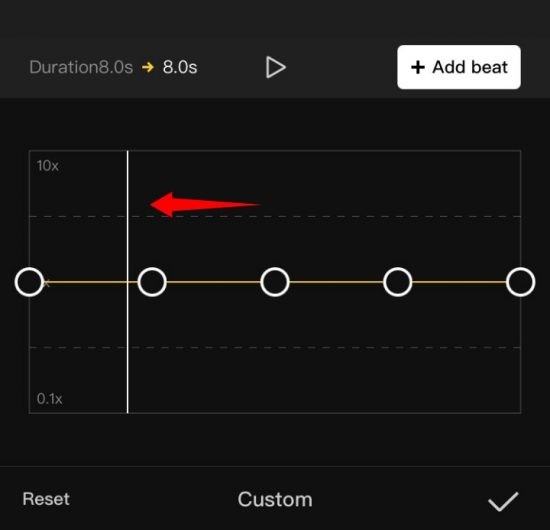
Tap and hold one of the placeholders and move it to the desired speed.

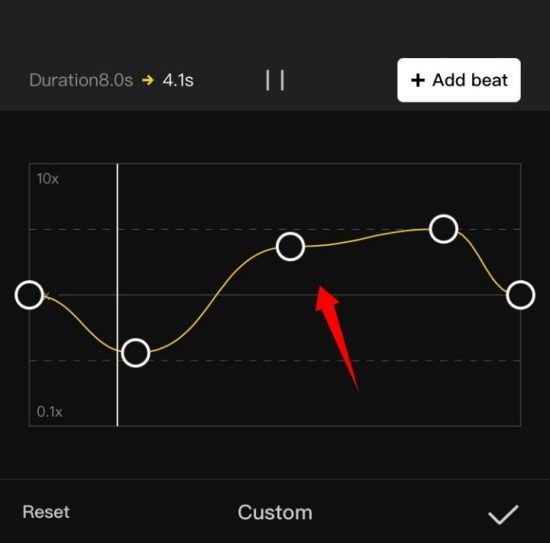
Proceed to dictate your curve based on your needs by moving each place holder to its desired position.
When you are done, tap on the ‘Check Mark’ in the bottom right corner of your screen to save your changes.
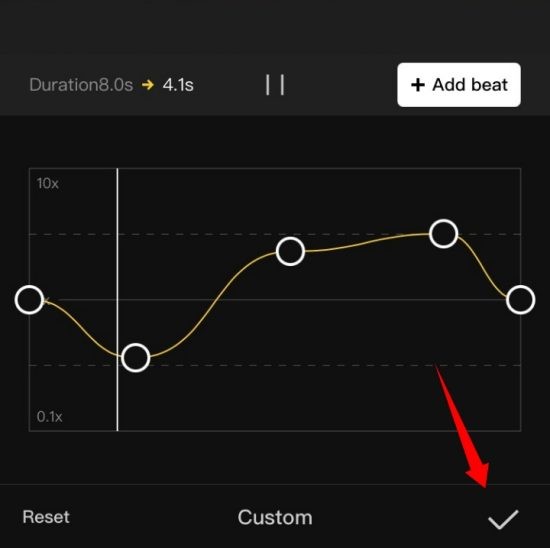
Tap on the ‘Check Mark’ again.
And that’s it! The selected graph will now be applied to your clip.
Change volume
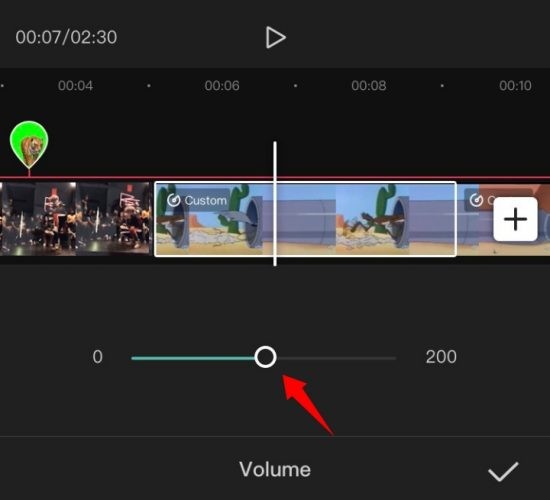
You can adjust the volume of each clip added to your timeline, individually in CapCut. Simply tap and select the desired clip in your timeline and tap on ‘Volume’ at the bottom of your screen. Now use the slider to adjust your volume to the desired level. Once done, tap on the ‘Check Mark’ in the bottom right corner to save your changes. The volume of the selected clip should now be changed based on your preferences.
Mirror
This option will help you mirror your video and essentially reverse its 2D representation on the canvas. Tap on the ‘Mirror’ button to simply mirror your video.
Rotate
You can rotate your video in the canvas using this option. Tap on it to rotate your preview 90o with each tap.
Crop
This option can help you crop your video. Tap on ‘Crop’ to get started. Now use the slider at the top to find the desired spot on the seek bar.
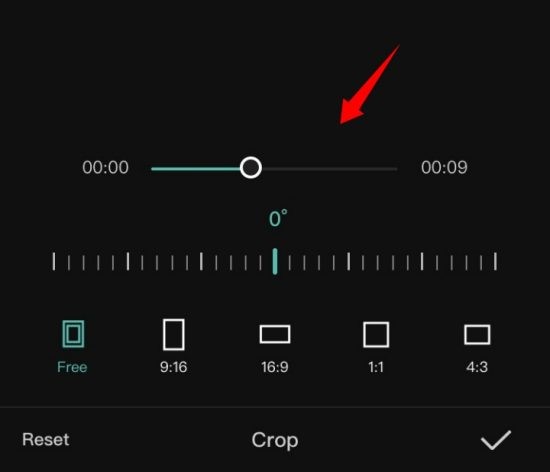
Once found, you can either select one of the crop presets at the bottom of your screen or select ‘Free’ and crop the desired area on your canvas. Tap on the ‘Check Mark’ in the bottom right corner of your screen once you are done. The selected crop will now be applied to your video clip.
We hope you were able to get familiar with basic editing in CapCut using this guide. If you have any more questions, feel free to drop the comments section below.


I won’t to learn