
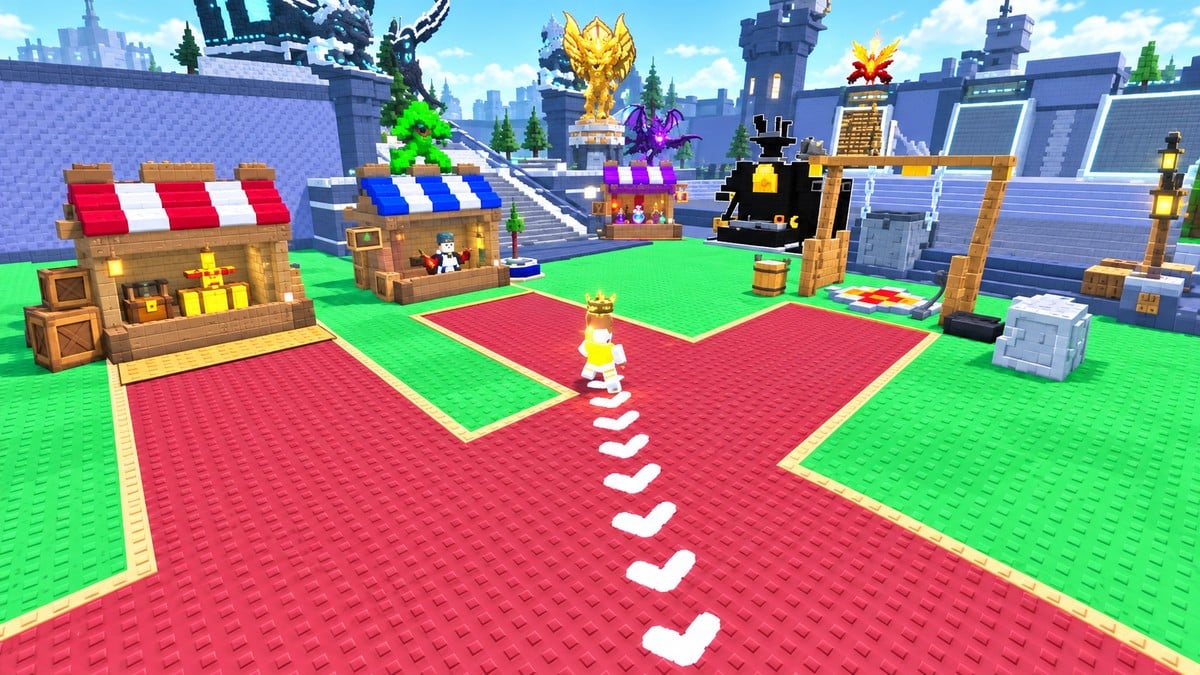
Train Power, collect dungeon ores, forge equipment, and rebirth for stronger training and coin multipliers as you advance through the dungeon.
+1 Loot to Forge appears on Roblox as [Enhance]+1 Loot To Forge. You begin in the lobby with a basic katana that earns Power Points when swung, while dungeon enemies supply ores for forging weapons and armor.
Your ore bag limits how much you can bring back from each dungeon trip. Forged gear, upgrades, and rebirths help you progress toward stronger stages and Frostbound Tower. This guide covers that progression, equipment stats, dungeon materials, Tower rewards, and purchases.
- How to progress in +1 Loot to Forge
- 1 – Train and collect your first dungeon ores
- 2 – Forge equipment and manage your ore capacity
- 3 – Rebirth and move into stronger dungeon stages
- 4 – Challenge Frostbound Tower and use its rewards
- What weapon and armor stats can you compare in +1 Loot to Forge?
- What do upgrades, Index rewards, and rebirths improve?
- Where do dungeon ores drop in +1 Loot to Forge?
- What does Frostbound Tower reward in +1 Loot to Forge?
- How do Enhance and Enchant differ in +1 Loot to Forge?
- What can you buy with Robux in +1 Loot to Forge?
- Frequently Asked Questions
How to progress in +1 Loot to Forge
Build Power, turn dungeon loot into equipment, and use rebirths and Tower rewards to keep advancing.
1 – Train and collect your first dungeon ores
Start with your katana, then gather materials from the first arena.
STEP 1/27
4%
Swing your starting katana
Click to swing and earn Power Points in the lobby; training raises your level and base damage for later dungeon fights and rebirth milestones.
STEP 2/27
7%
Enter the dungeon
Walk through the pink Dungeon portal into Stage 1, where fights progress through enemy stages and bosses.
STEP 3/27
11%
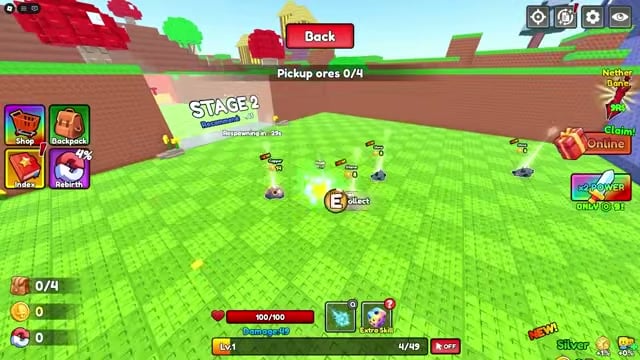
Collect the drops
Defeat the green goblins, then press E to pick up Copper and Silver until your ore bag fills.
2 – Forge equipment and manage your ore capacity
Bring your ores to the lobby and make room for future trips.
STEP 4/27
15%
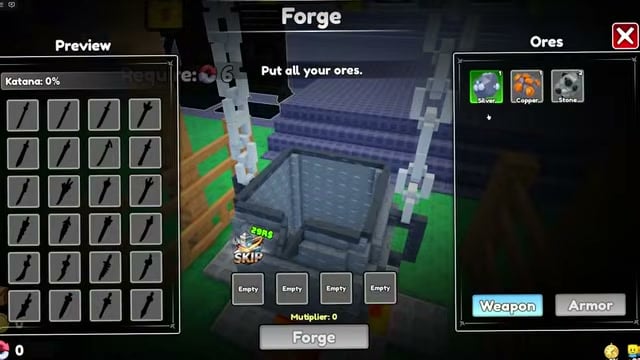
Load the Forge
Return to the central Forge cauldron in the lobby and place your collected ores in its slots.
STEP 5/27
19%
Forge a weapon
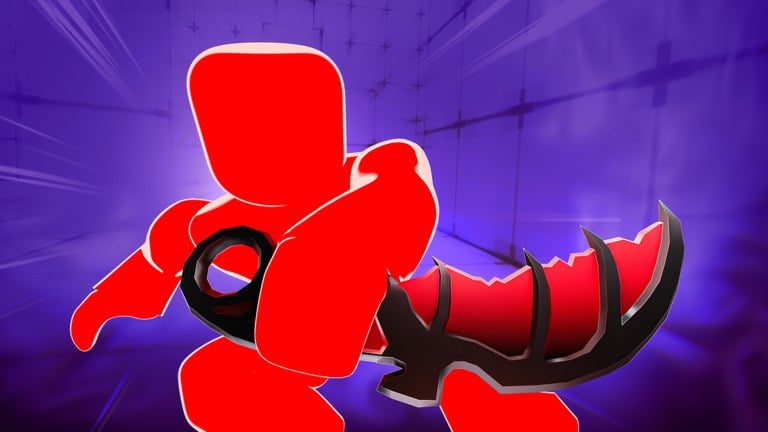
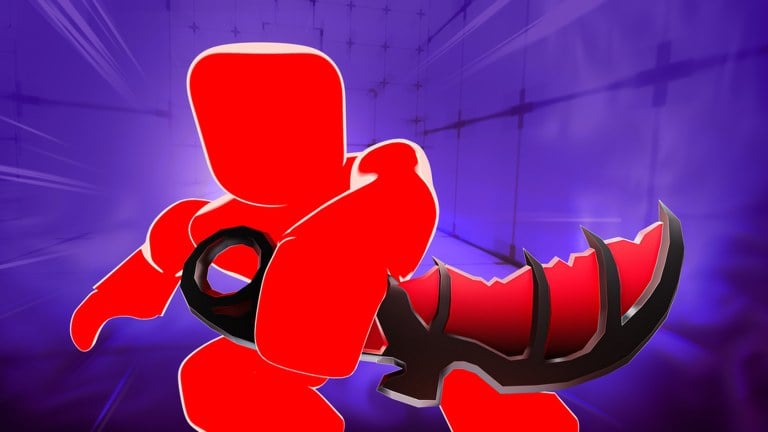
Use the forge button after loading the ores; forging plays a cutscene that ends with the weapon being quenched in water, and an early result can be Jagged Havoc.
STEP 6/27
22%
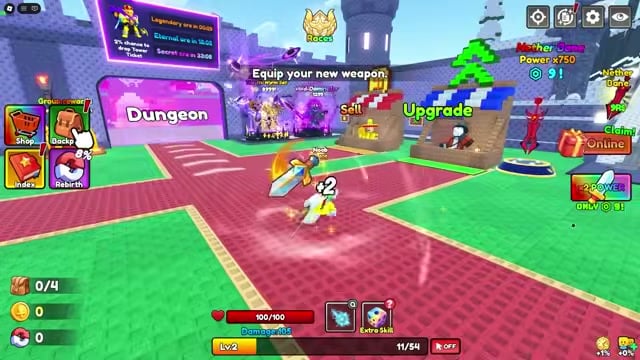
Compare the result
Open Backpack to compare the forged weapon with your current one.
STEP 7/27
26%
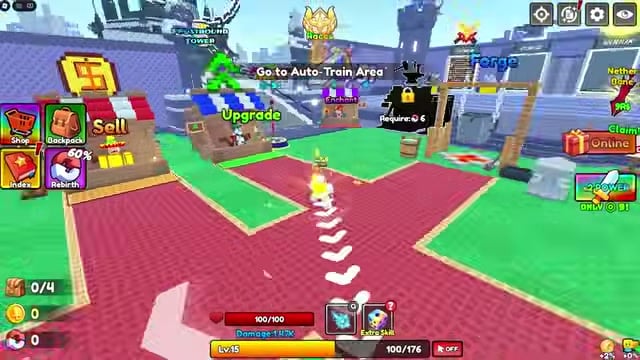
Visit the Upgrade stall
Look at the coin-funded Max Ore Count, Luck Boost, and Train Boost options.
STEP 8/27
30%
Sell spare gear
Sell weapons you no longer need to earn coins for upgrades.
STEP 9/27
33%
Train more Power
Swing at the training dummy platform or use the available auto-training feature before your next fight.
STEP 10/27
37%
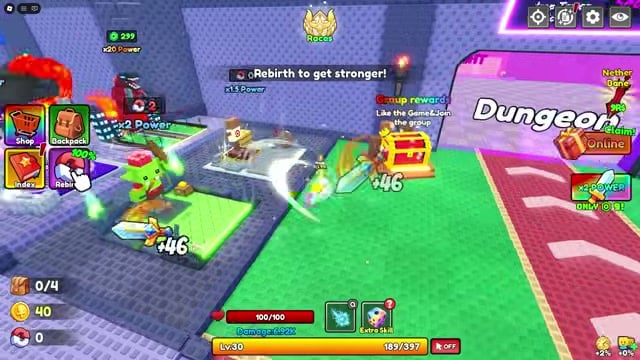
Use Rebirth when eligible
Open Rebirth once you meet the level requirement displayed in its menu, then train again.
STEP 11/27
41%
Try your weapon’s skill
Press Q in combat to use the equipped weapon’s ability; its attack changes when you change weapons.
STEP 12/27
44%
Choose what to do with spare ores
At the hub, sell collected ores or put them into another forge.
STEP 13/27
48%
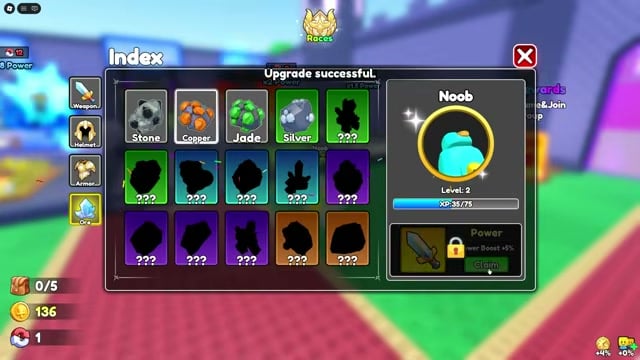
Claim Index rewards
Open Index as you discover gear and ores to collect rewards that expand your ore bag.
STEP 14/27
52%
Return from a dungeon trip
Teleport back to the lobby with the materials you collected.
STEP 15/27
56%
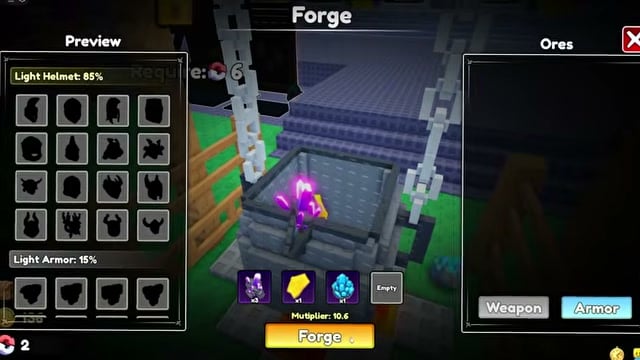
Switch to armor forging
Select the Forge’s Armor tab and add materials when you want a helmet or armor instead of a weapon.
STEP 16/27
59%
Check the armor result
Iron Cap is one helmet the armor forge can produce.
STEP 17/27
63%
Expand your ore capacity
Spend coins on Max Ore Count to carry more ore on a trip.
3 – Rebirth and move into stronger dungeon stages
Claim rewards and build Power again as tougher areas open.
STEP 18/27
67%
Claim Online Rewards
Open the panel for available Power, coins, and Tower Tickets.
STEP 19/27
70%
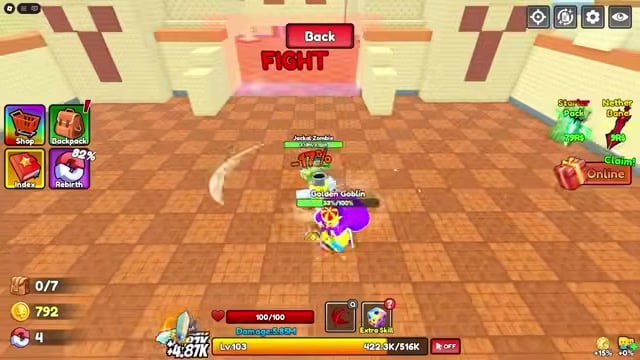
Watch for Golden Goblins
Fight one when it appears and collect its loot; Sunfire Ore is collected during an encounter.
STEP 20/27
74%
Train in a newly opened zone
After an eligible rebirth, use the accessible training area to raise your level and damage before entering tougher dungeon stages.
STEP 21/27
78%
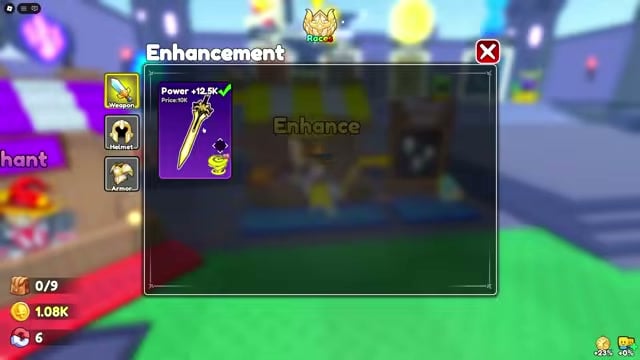
Use Enhance
Interact with the Enhance station to improve equipment using the materials its menu requires.
4 – Challenge Frostbound Tower and use its rewards
Clear waves for materials you can use on equipment.
STEP 22/27
81%
Enter Frostbound Tower
Start the wave-based challenge from its lobby entrance.
STEP 23/27
85%
Collect a cleared wave’s reward
Finish a round to receive its reward, then continue as the waves grow harder.
STEP 24/27
89%
Forge with Tower materials
Return to the hub and use collected Tower materials at the Forge.
STEP 25/27
93%
Collect later dungeon loot
If you encounter another Golden Goblin, defeat it and pick up its drops; one such encounter includes a Magma Cluster.
STEP 26/27
96%
Resume from wave six
When the option is available, start the Tower challenge from wave six.
STEP 27/27
100%
Visit Enchant
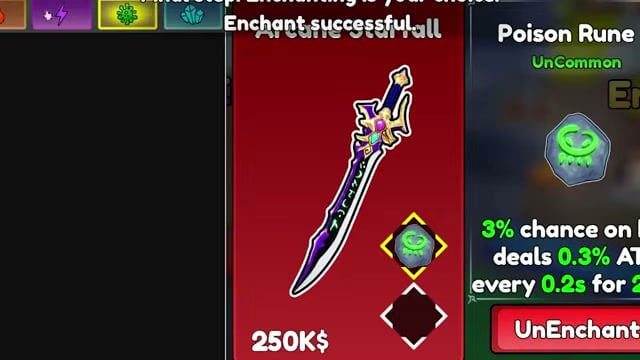
At the hub’s Enchant stall, select an enchantment stone and slot a weapon.
The Rebirth menu shows your rebirth count, level requirement, and changes to the sword and coin multipliers. Read those values before committing.
What weapon and armor stats can you compare in +1 Loot to Forge?
| Equipment | Class and rarity | Power or bonus | Tooltip Price | Skill |
|---|---|---|---|---|
| Jagged Havoc | Katana, Uncommon | +30 Power | 100 | Forward slash, 200% damage; 6-second cooldown |
| Verdant Serpent | Katana, Uncommon | +12 Power | ||
| Void Rifter | Katana, Rare | +125 Power | 320 | Forward dash |
| Lunar Crescent | Katana, Rare | +500 Power | ||
| Golden Aegis | Katana, Epic | +5K Power | ||
| Chaos Reaver | Katana, Epic | +12.5K Power | 10K | Whirlwind |
| Storm Weaver | Katana, Legendary | +300K Power | 98K | |
| Arcane Starfall | Katana, Mythic | +1.88M Power | 250K | |
| Demon’s Wrath | ||||
| Iron Cap | Helmet, Rare | +30% Power associated with training | ||
| Silver Knight Helmet |
Backpack shows your equipped weapon, helmets, armor, and ores, with item stats available for comparison. Forging can produce katanas, helmets, and armor in different rarities, and forged weapons can carry skills. The entries here are examples, not a complete equipment catalog.
Weapon skills can damage enemies, but you must wait for a skill to become available before using it again. Tooltips include damage scaling from 200% to 600% across skills. An item’s Price is its displayed tooltip field, not a promised sale receipt.
What do upgrades, Index rewards, and rebirths improve?
| Upgrade | Displayed change |
|---|---|
| Luck Boost | +0% to +2% |
| Train Boost | +0% to +2% |
| Max Ore Count | +0 to +1; a later Max Ore Count +1 purchase costs 200 coins |
The lobby’s Upgrade stall uses coins earned by selling spare equipment or completing stages. Its options affect ore capacity, luck, and training.
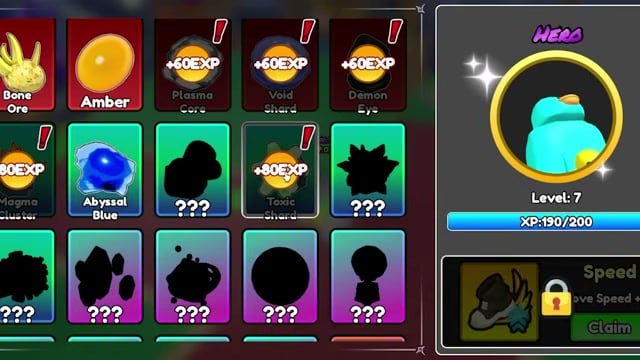
Index tracks discoveries of gear and ores. These discoveries raise your Hero level, while Index rewards can expand the ore bag so you bring more materials back from a dungeon trip.
Rebirth gives permanent sword-power and coin-earning multipliers and opens better training zones. The available pads include x2, x4, and x10 training options.
Higher-rarity ores raise the forge multiplier shown at the bottom of the cauldron. That meter belongs to forging; your training pads and rebirth multipliers are separate systems.
Watch the forge multiplier meter as you add higher-rarity ores to the cauldron, then compare the finished item’s stats in Backpack.
Where do dungeon ores drop in +1 Loot to Forge?
| Area | Recommended Power | Enemies | Collected materials |
|---|---|---|---|
| Early unnamed areas | 65; 2K | ||
| Stage 1 | Green goblins | Copper, Silver | |
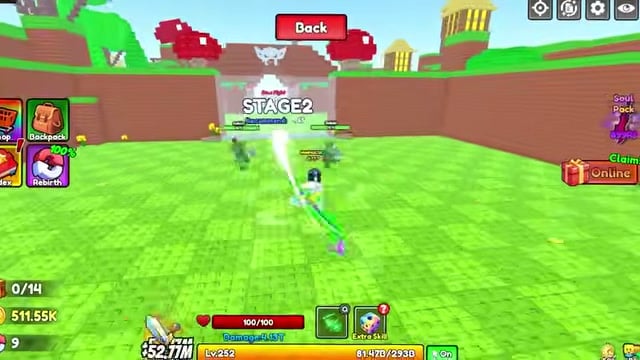
| Stage 2 | Goblins | Jade, Silver, Copper | |
| Stage 3 | Armored Goblin, 30K HP | ||
| Stages 4–5 | Jackal Goblins, Desert Zombies; Golden Goblin encounter | Fire Crystal, Nova Ore, Amethyst | |
| Stage 6 | Jackal Zombies | Sapphire, Mystic Crystal | |
| Mid-dungeon areas and boss room | Desert Reaper, 500M HP | Sunfire Ore, Sapphire, Gold; Amber and Arcane around the boss room | |
| Stage 9 | 300M | Skeleton Soldiers, Hook Skeletons | |
| Stage 10 and surrounding collection sequence | 850M | Skeleton groups | Abyssal Blue, Diamond, Sunfire Ore; Emerald, Topaz, Crimson nearby |
| Stage 11 | 9B | Toxic Shard, Demon Eye, Void Shard | |
| Stage 12 | 800B | Omni | |
| Later encounter | 1T | ||
| Later encounter | 3.5T | ||
| Later encounter | 40T | Enemies with 500T HP each | |
| Other collected areas | Stone, Frostbite, Gold |
Dungeon areas display Recommended Power as enemies and bosses become stronger. Materials listed beside an area were collected there or in the surrounding collection sequence; the entries do not assign exclusive drops to individual enemies.
Enemy groups respawn, giving you another chance to collect loot after a clear. Golden Goblins appear intermittently and carry loot, including the Magma Cluster pickup described above.
Against bosses, move clear of red attack markers.
What does Frostbound Tower reward in +1 Loot to Forge?
The lobby’s FROSTBOUND TOWER entrance becomes available during rebirth progression. Combat runs through waves, with rewards for cleared rounds and tougher enemies later in the challenge.
Round 1 awards 600 coins and Bone Ore. Rewards across Rounds 2–7 include Frostbite, Diamonds, and Ember Stones. Tower clears can therefore supply coins, ores, and equipment-upgrade materials.
The later challenges include Round 8 Desert Zombies with 15B HP. Starting from wave six provides a way to resume the Tower challenge when that option appears.
How do Enhance and Enchant differ in +1 Loot to Forge?
Enhance spends materials and coins on equipment improvements. An equipment example reaches +1 and +2 using Ember Stones and coins; the menu also displays item requirements and protection-scroll options.
Enchant offers stone selection and a weapon slot. Enchantment stones are distinct from the Ember Stones used for enhancement. Both systems improve equipment for further dungeon progression.
What can you buy with Robux in +1 Loot to Forge?
| Purchase | Effect | Robux |
|---|---|---|
| Skip Forge Animation | Skips the forge animation | 29 |
| Multiple Power x2 | x2 Power | |
| Kaiju Train Area | x20 Power training area | 240 |
| VIP | +50% Coin, +30% Luck, VIP Title | 349 |
The Shop offers Power and training purchases, while Skip Forge Animation is bought through the Forge menu. These purchases sit apart from the coin-funded Upgrade stall.
The Shop also lists Void-Dominator, Starter Pack, and Luck Potions. The purchased Kaiju area includes a treadmill. Improved forged equipment, training multipliers, and equipment upgrades support further dungeon and Tower progression.
Frequently Asked Questions
Does a 1-millisecond auto clicker bypass the clicking cap?
No. Clicking remains capped even when an auto clicker is set to a 1-millisecond interval, so that setting does not make sword swings bypass the cap.
Leave a Reply