
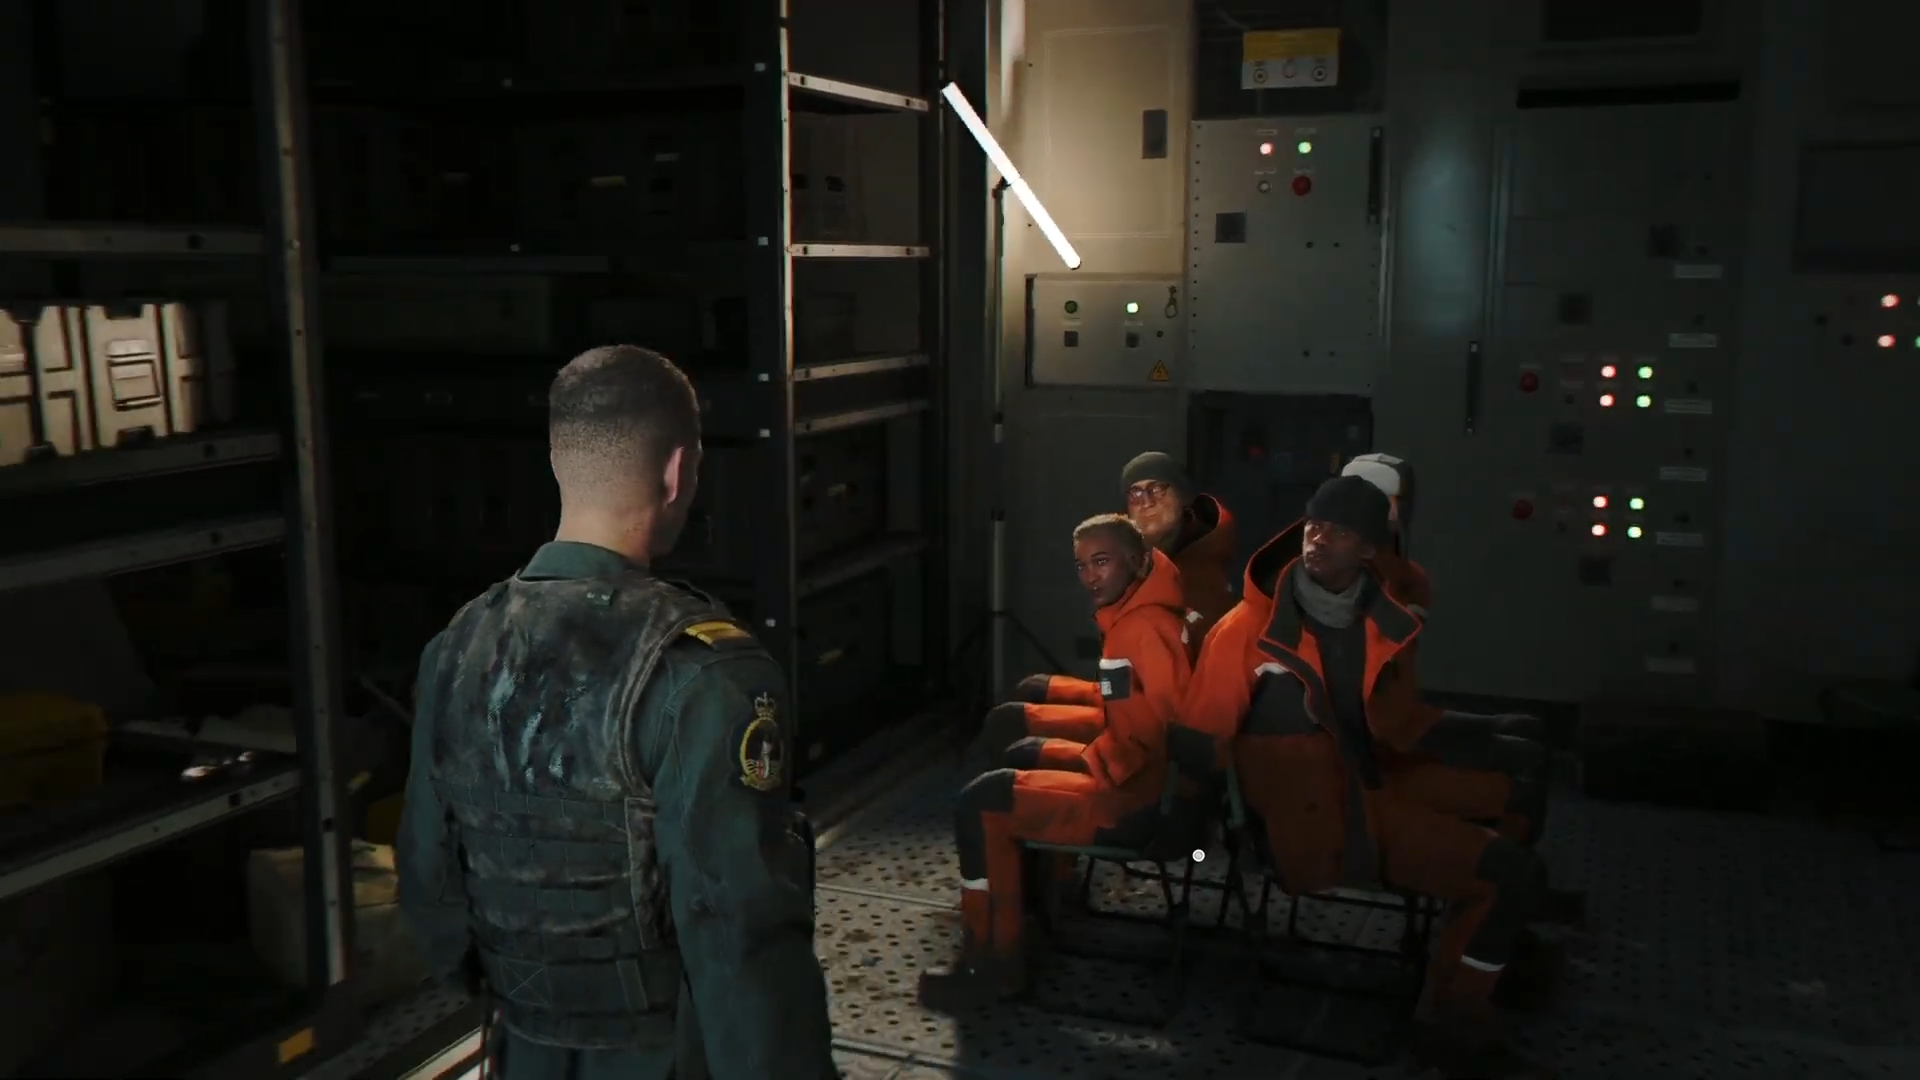
Search Containers B4 and G9 in 007 First Light by clearing the G9 side first, taking the storage key from the guard inside, then circling to B4 after triggering distractions to reach the second captive group.
How to Save the Captives
Step 1: Approach the G9 side first
Move along the left side of the camp and head for G9.
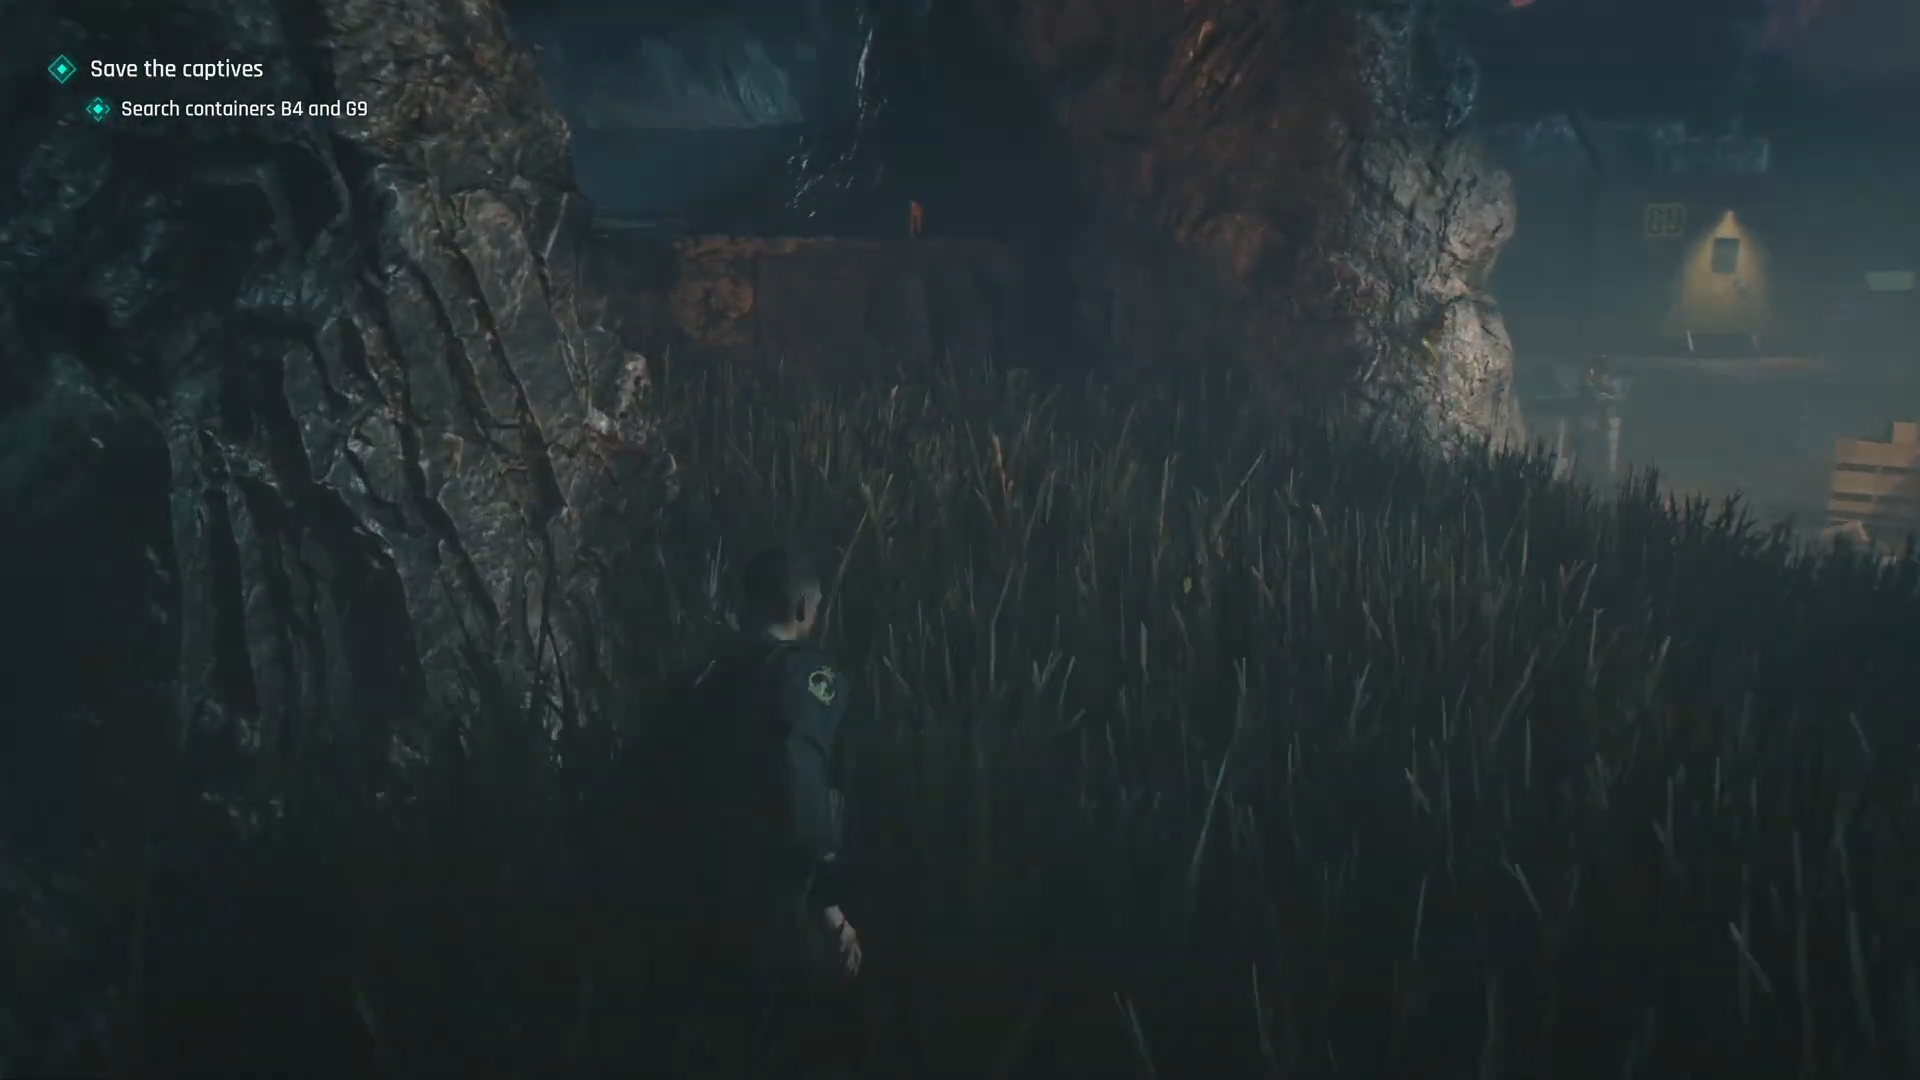
This is the cleaner entry point and lets you secure the key needed for the inner room.
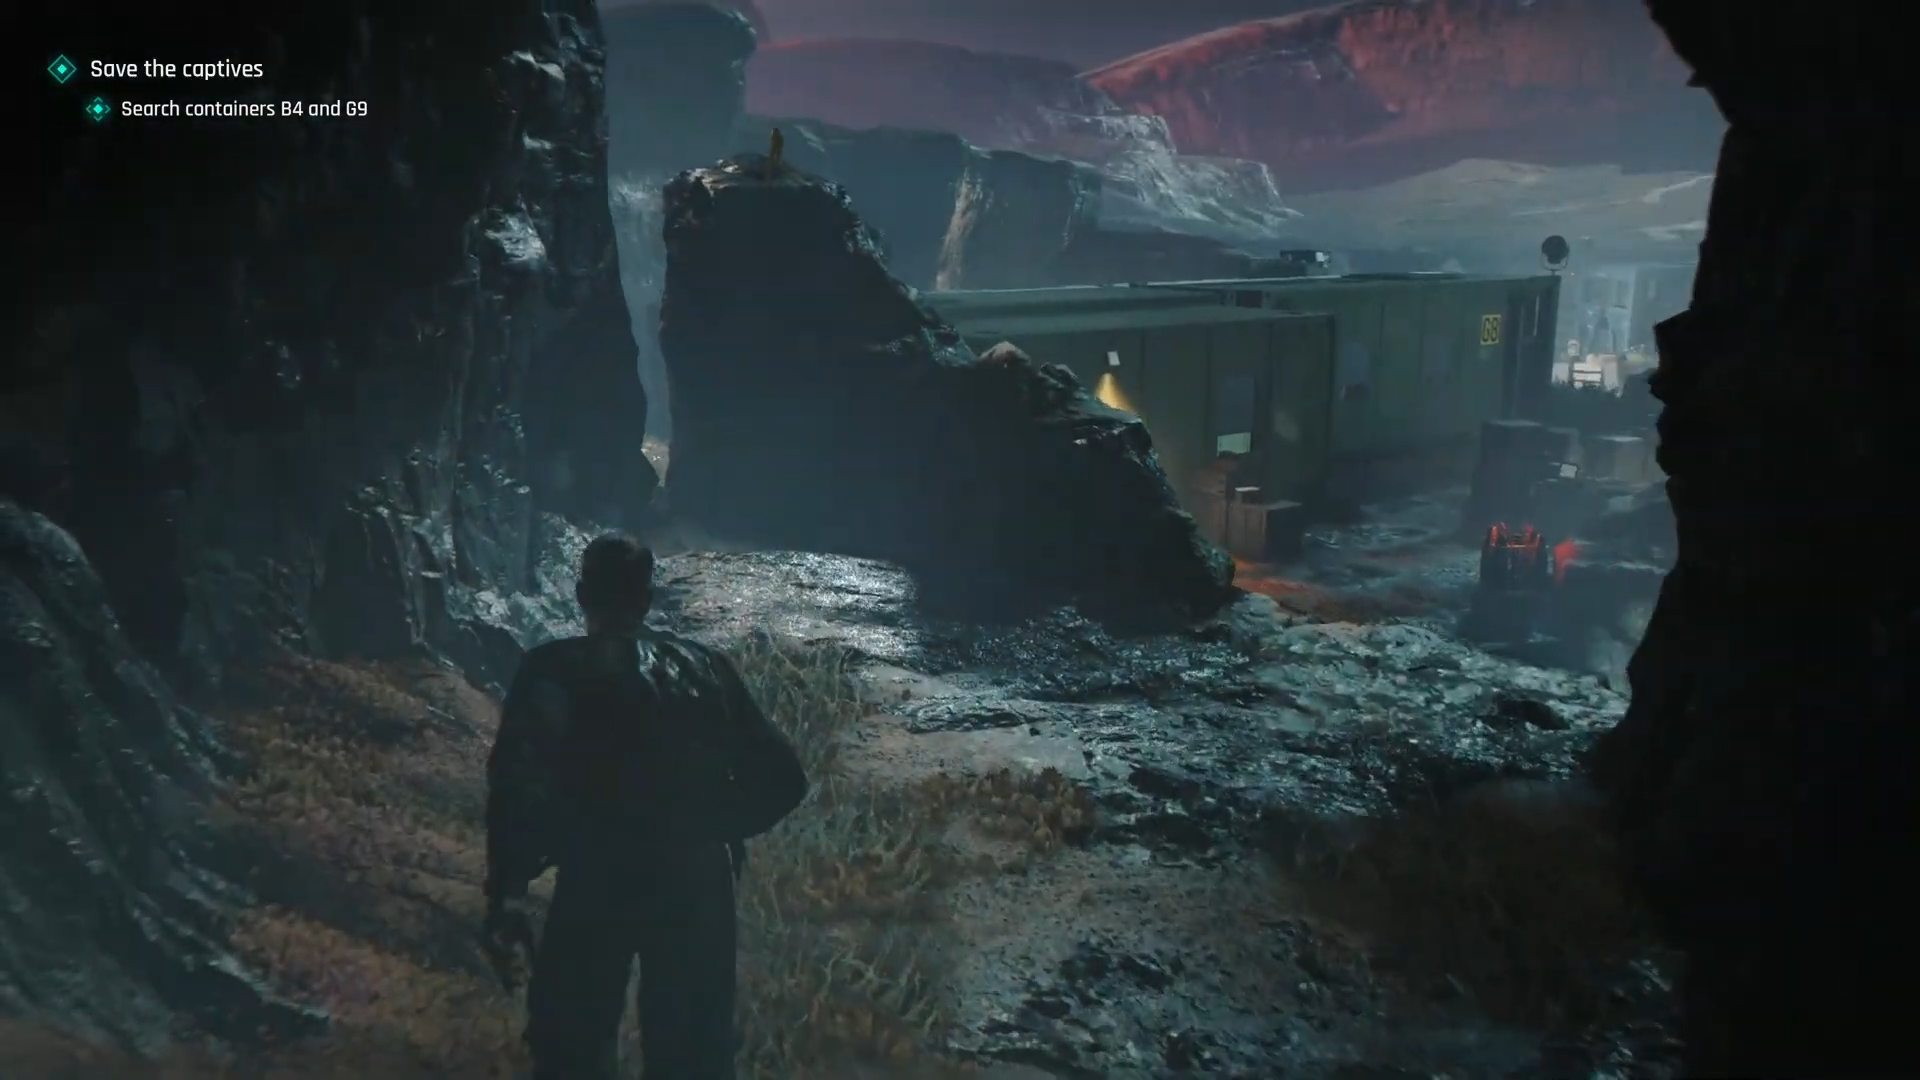
You can bypass some enemies, but stealth is safer if you want to keep the route stable.
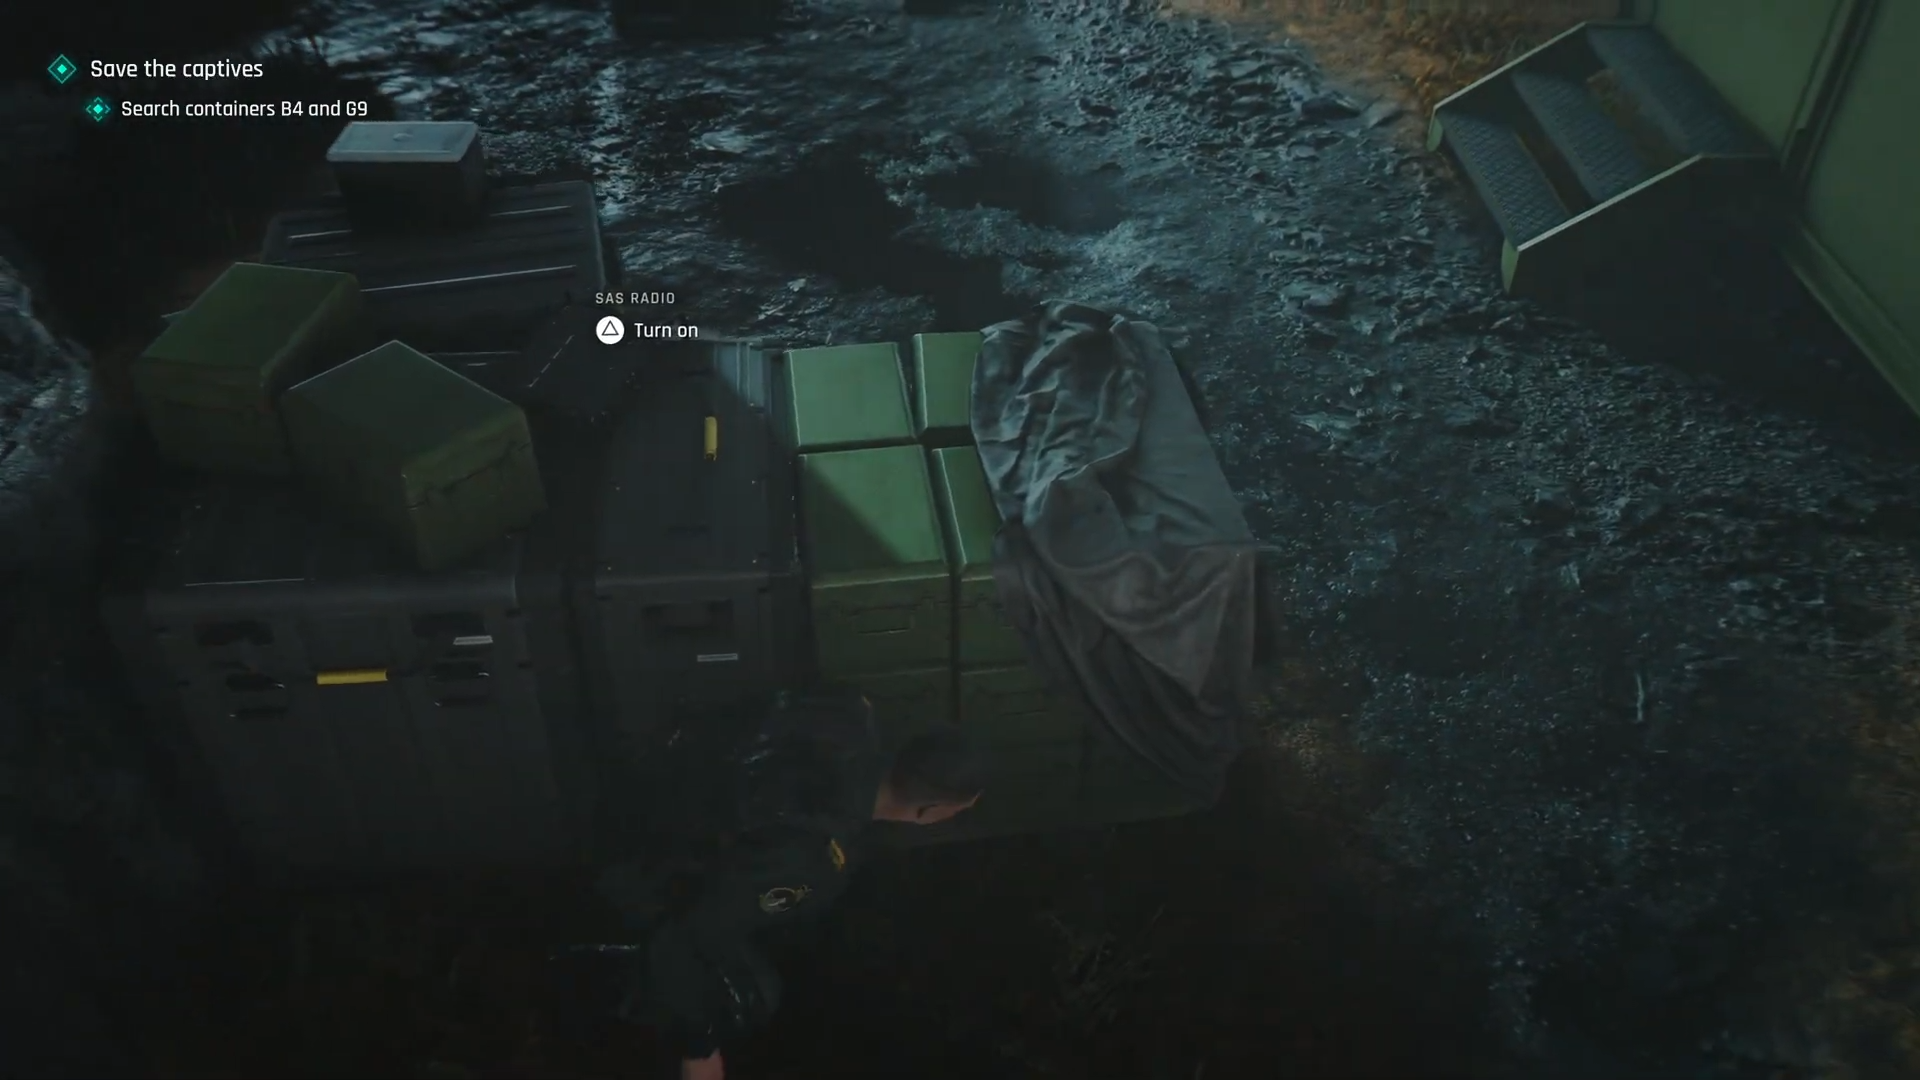
Step 2: Break the guard line inside G9
Enter the first room.
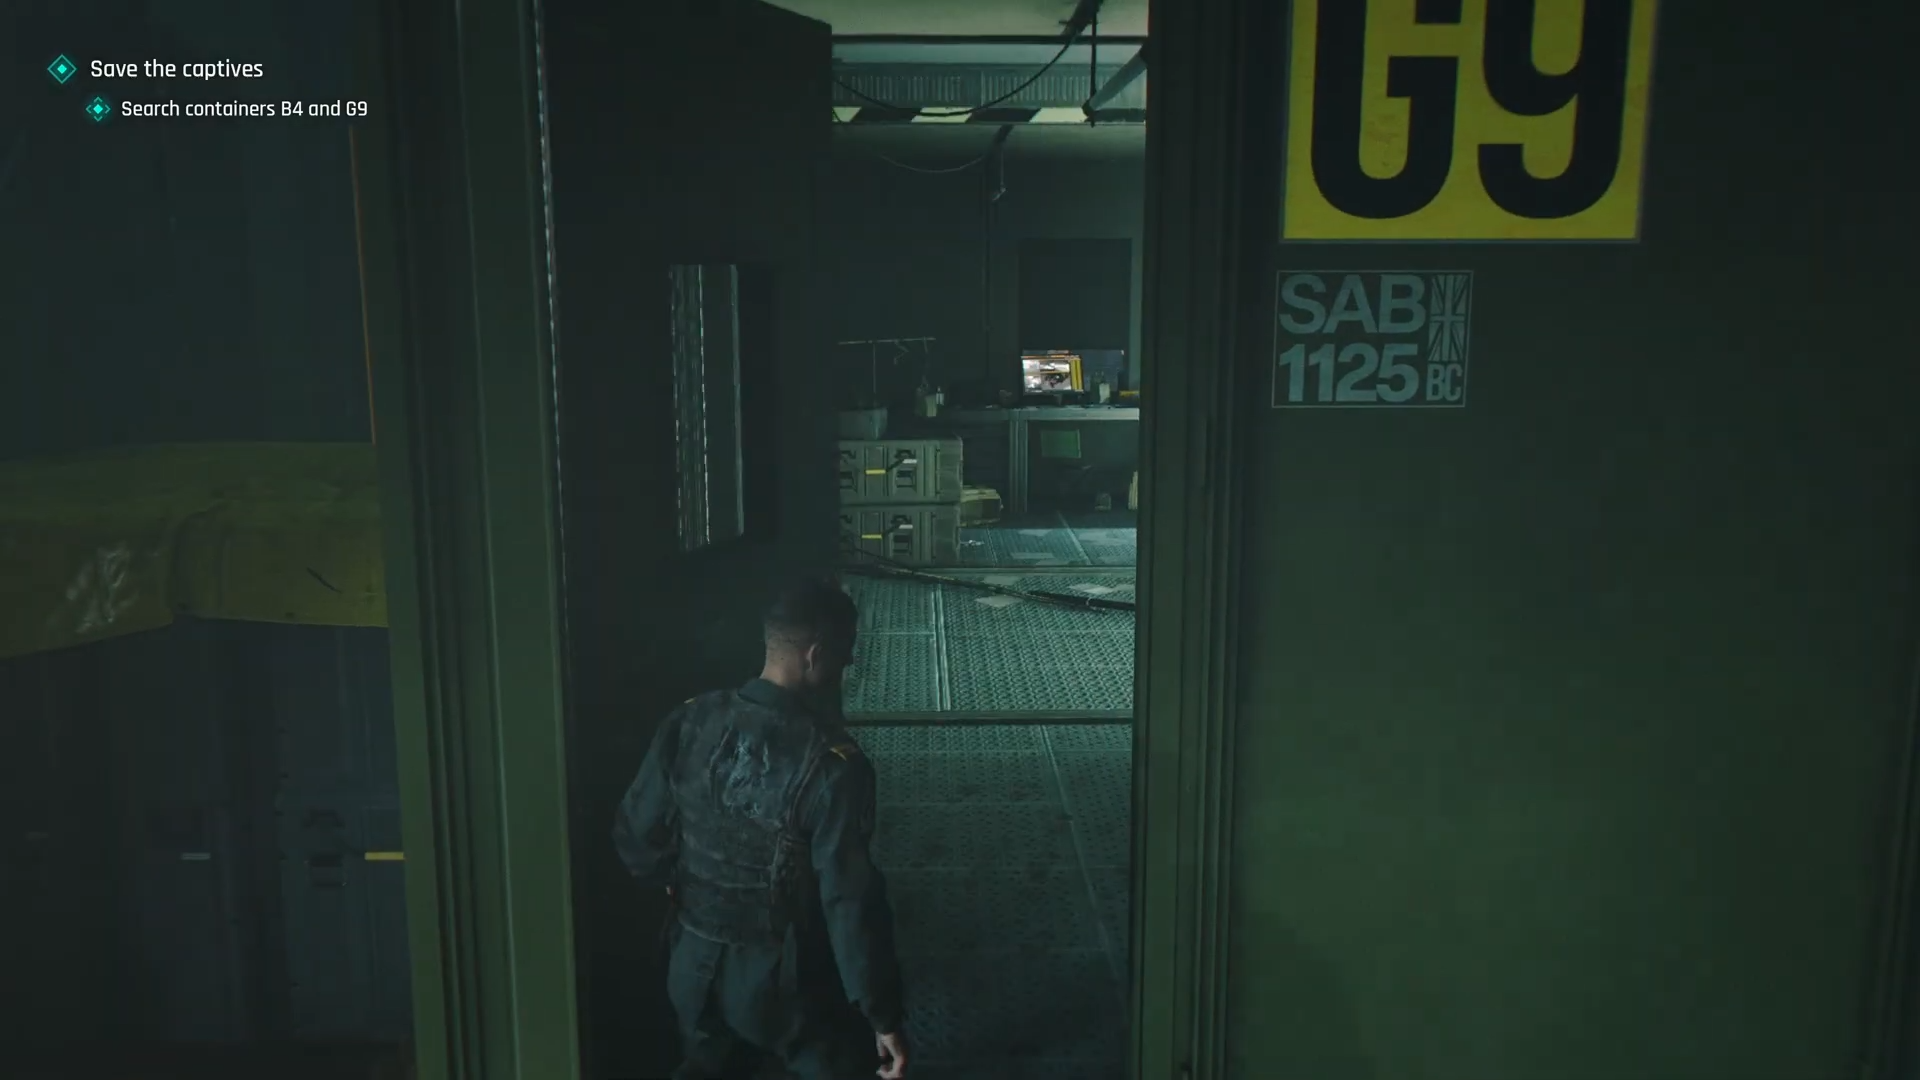
Take down the guard in front, and loot the Storage key from him.
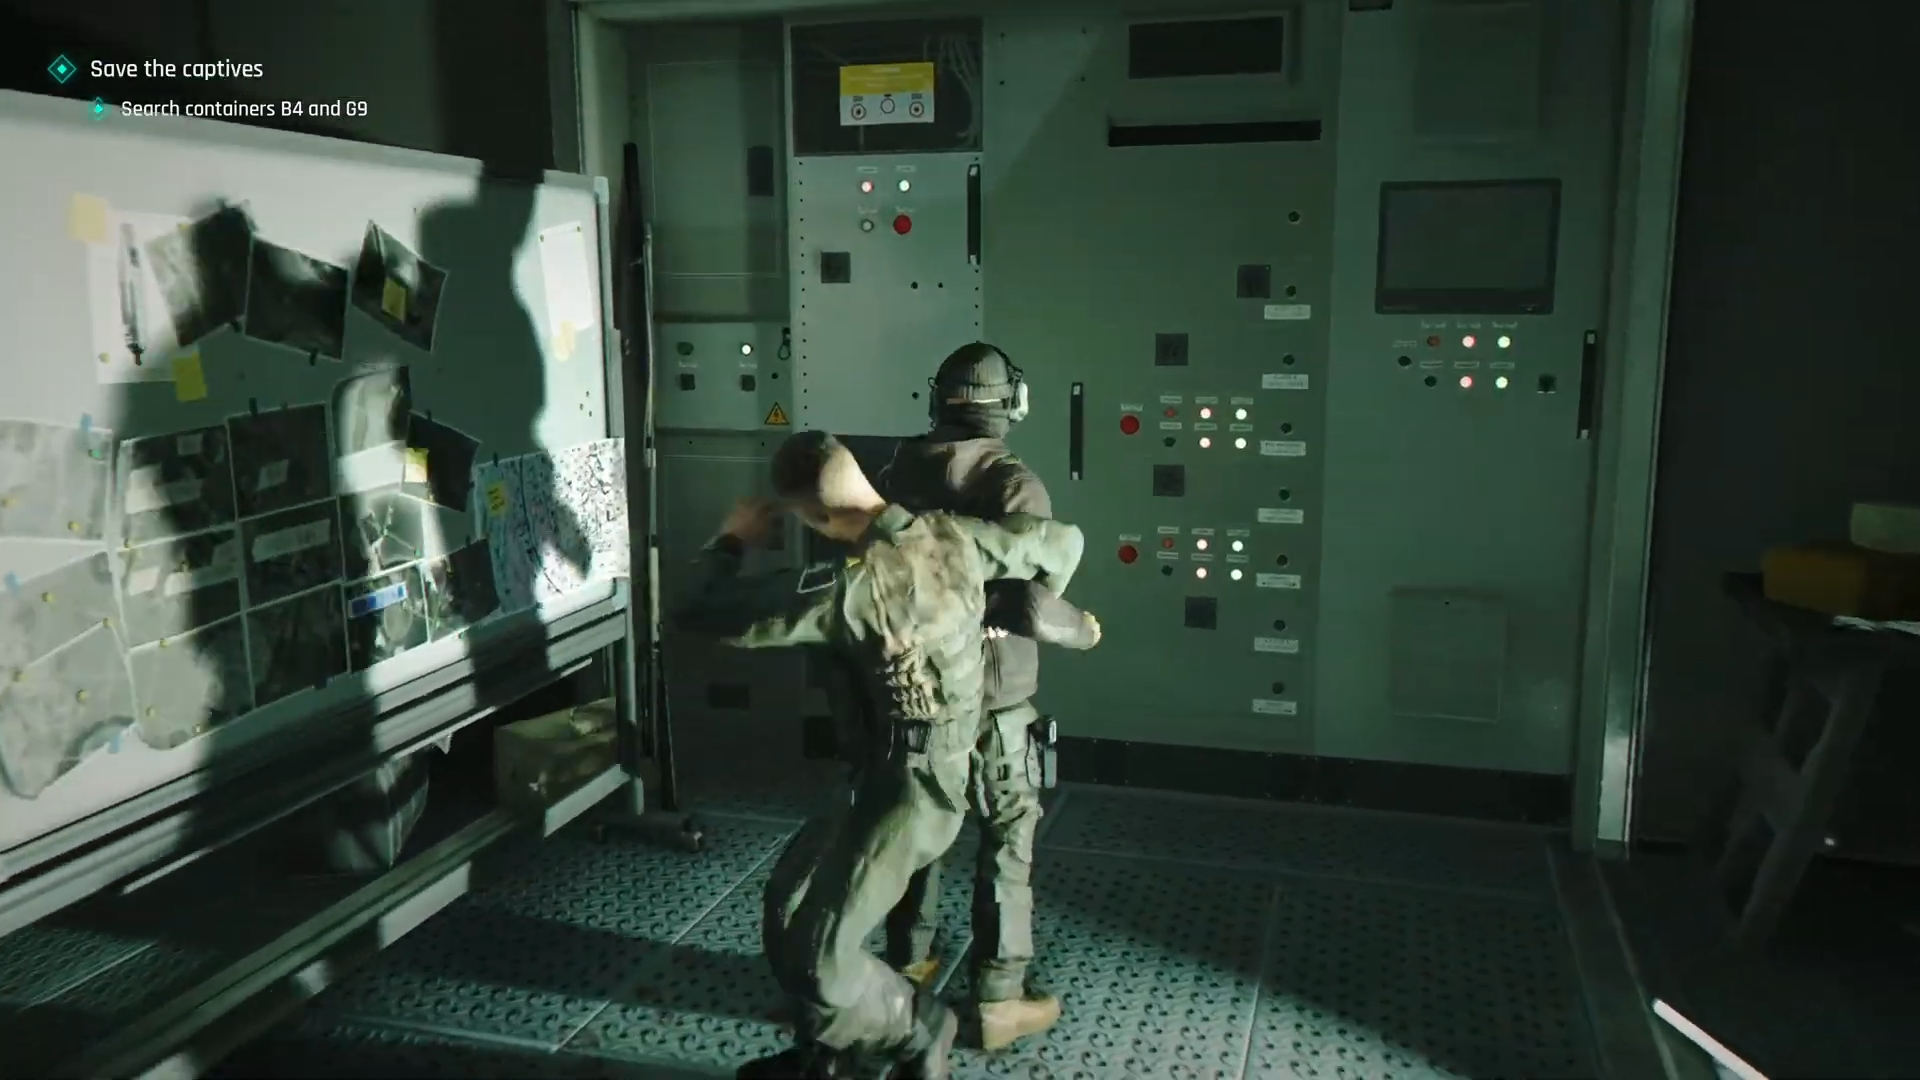
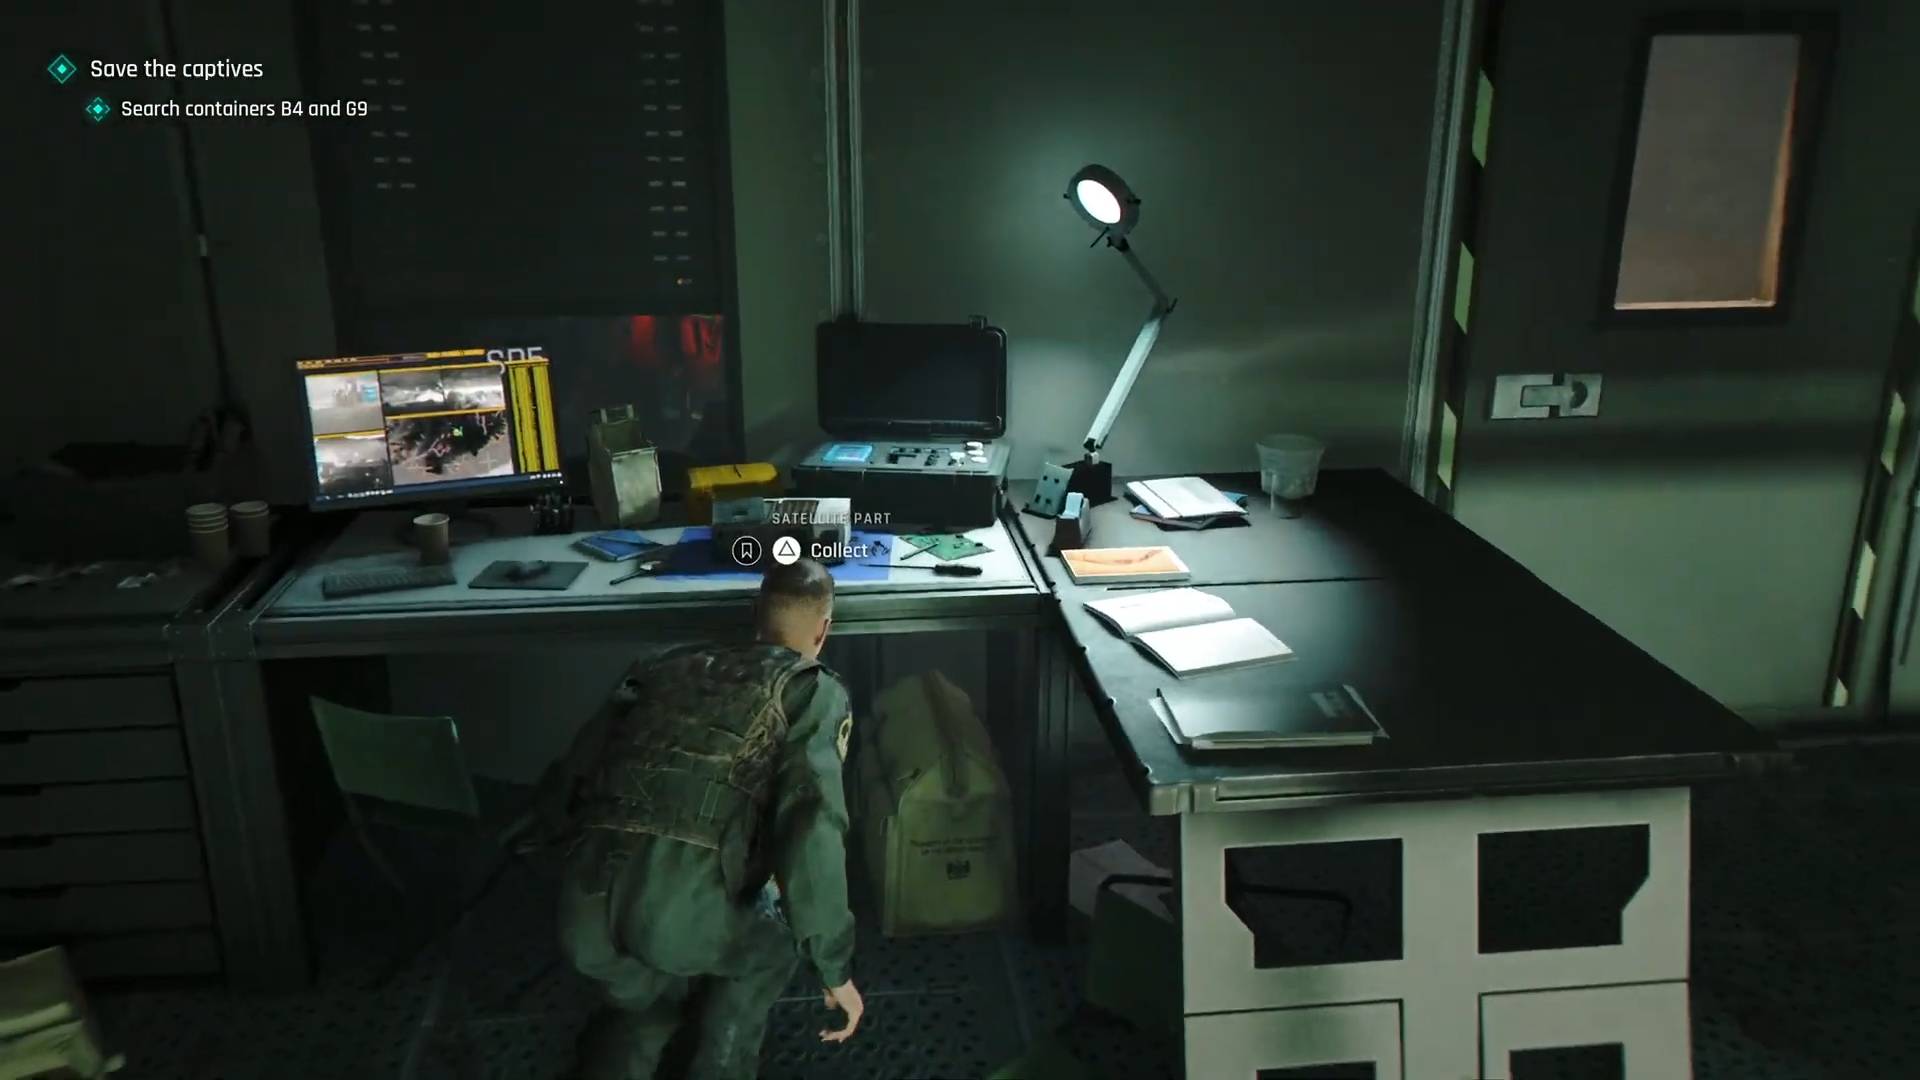
If the inner door is locked, that key is the required fix, so don’t waste time trying to brute-force it. A small collectible may also be sitting in the corner before you move on.
Step 3: Free the first captives
Use the key on the locked door inside G9.
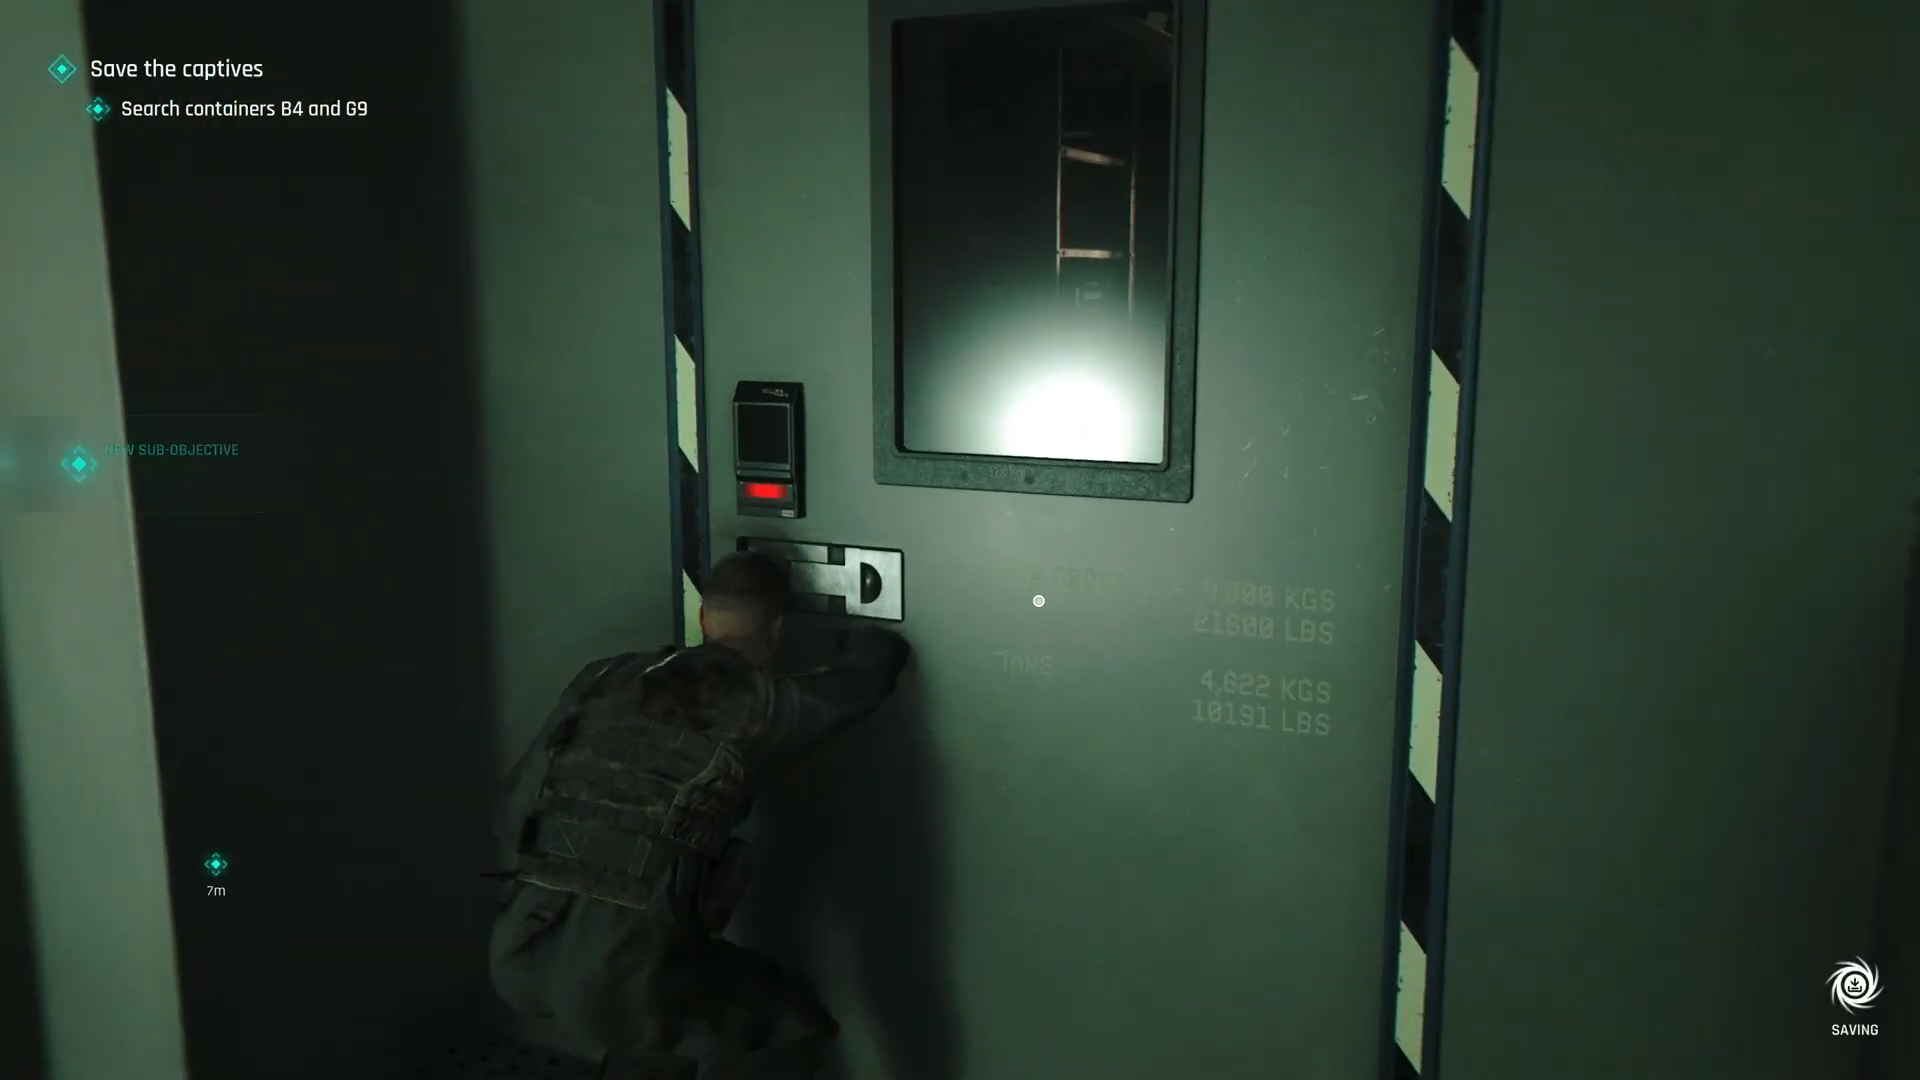
Then rescue the captives in the next room.
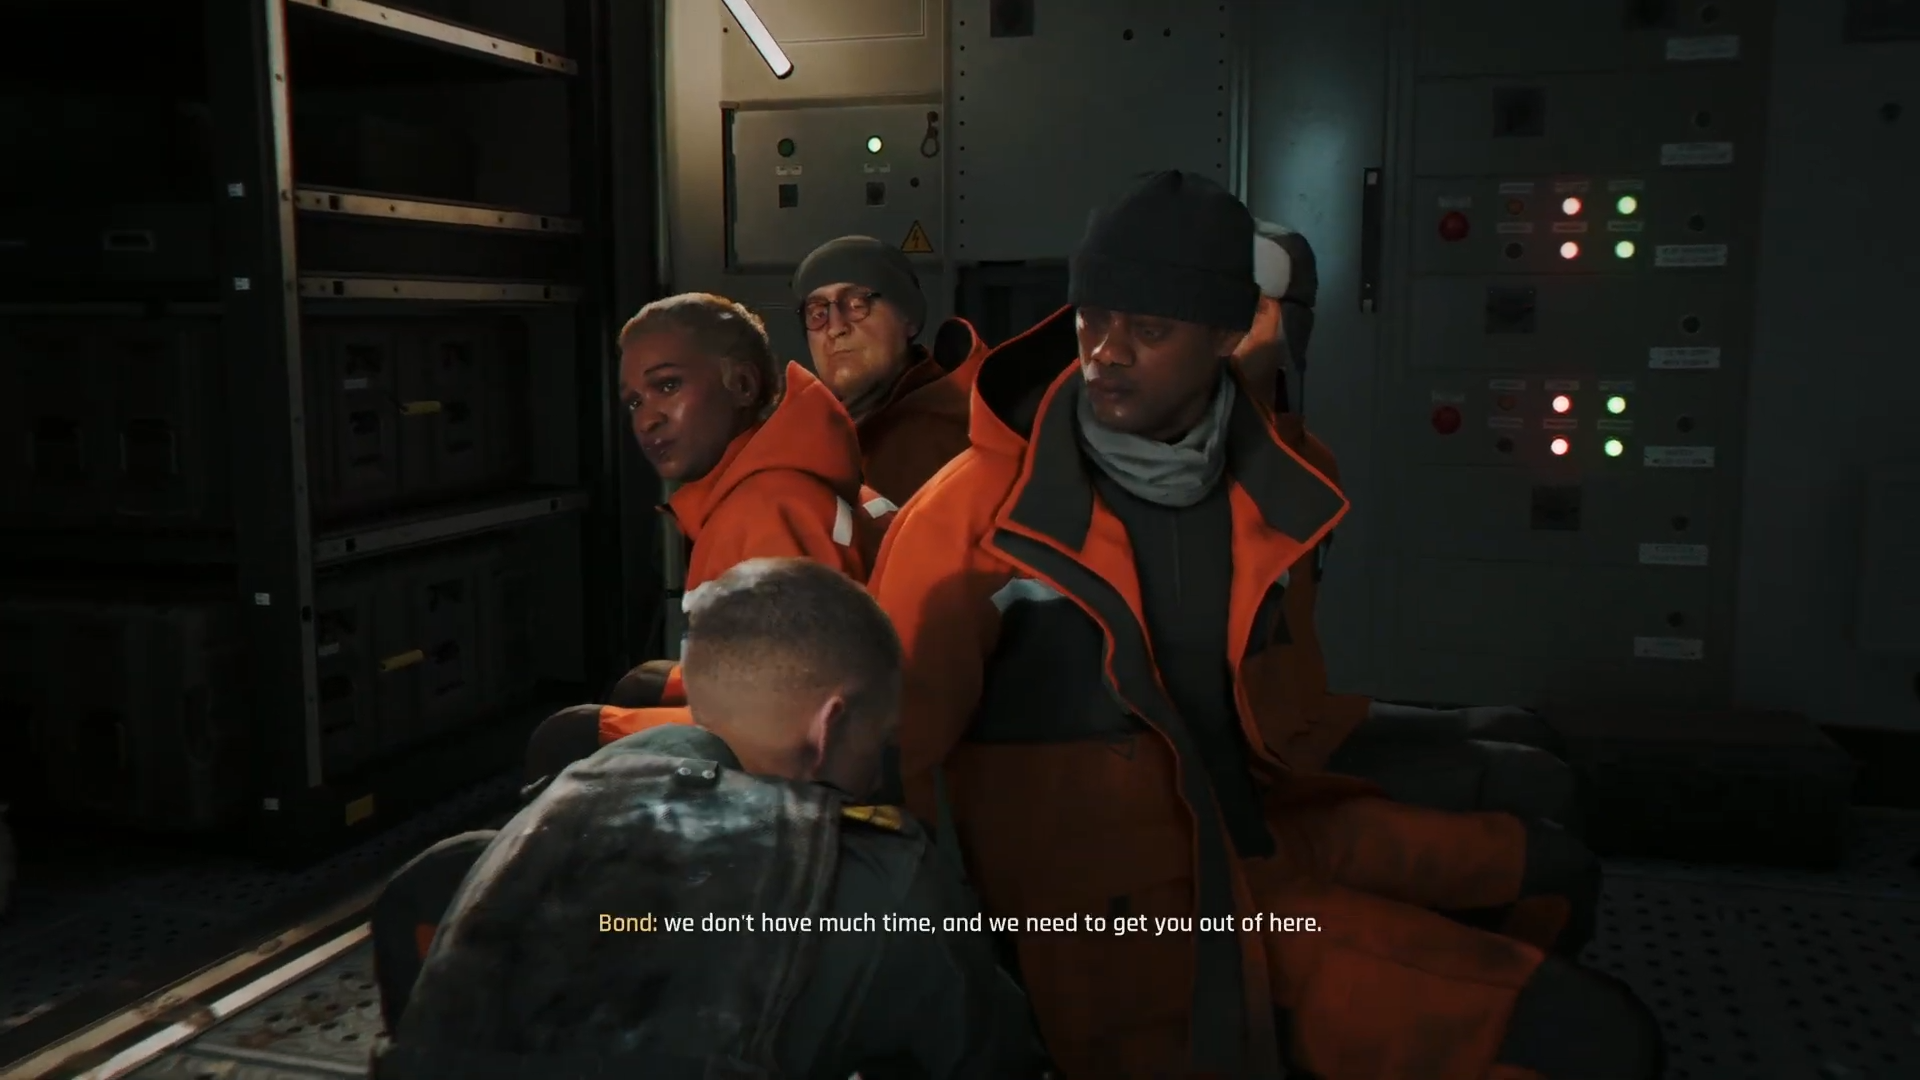
This completes the first half of the objective and opens the route toward B4.
Step 4: Trigger a camp distraction
Exit back out and activate the nearby laptop, vehicle panel, or another distraction point so the guards scramble.
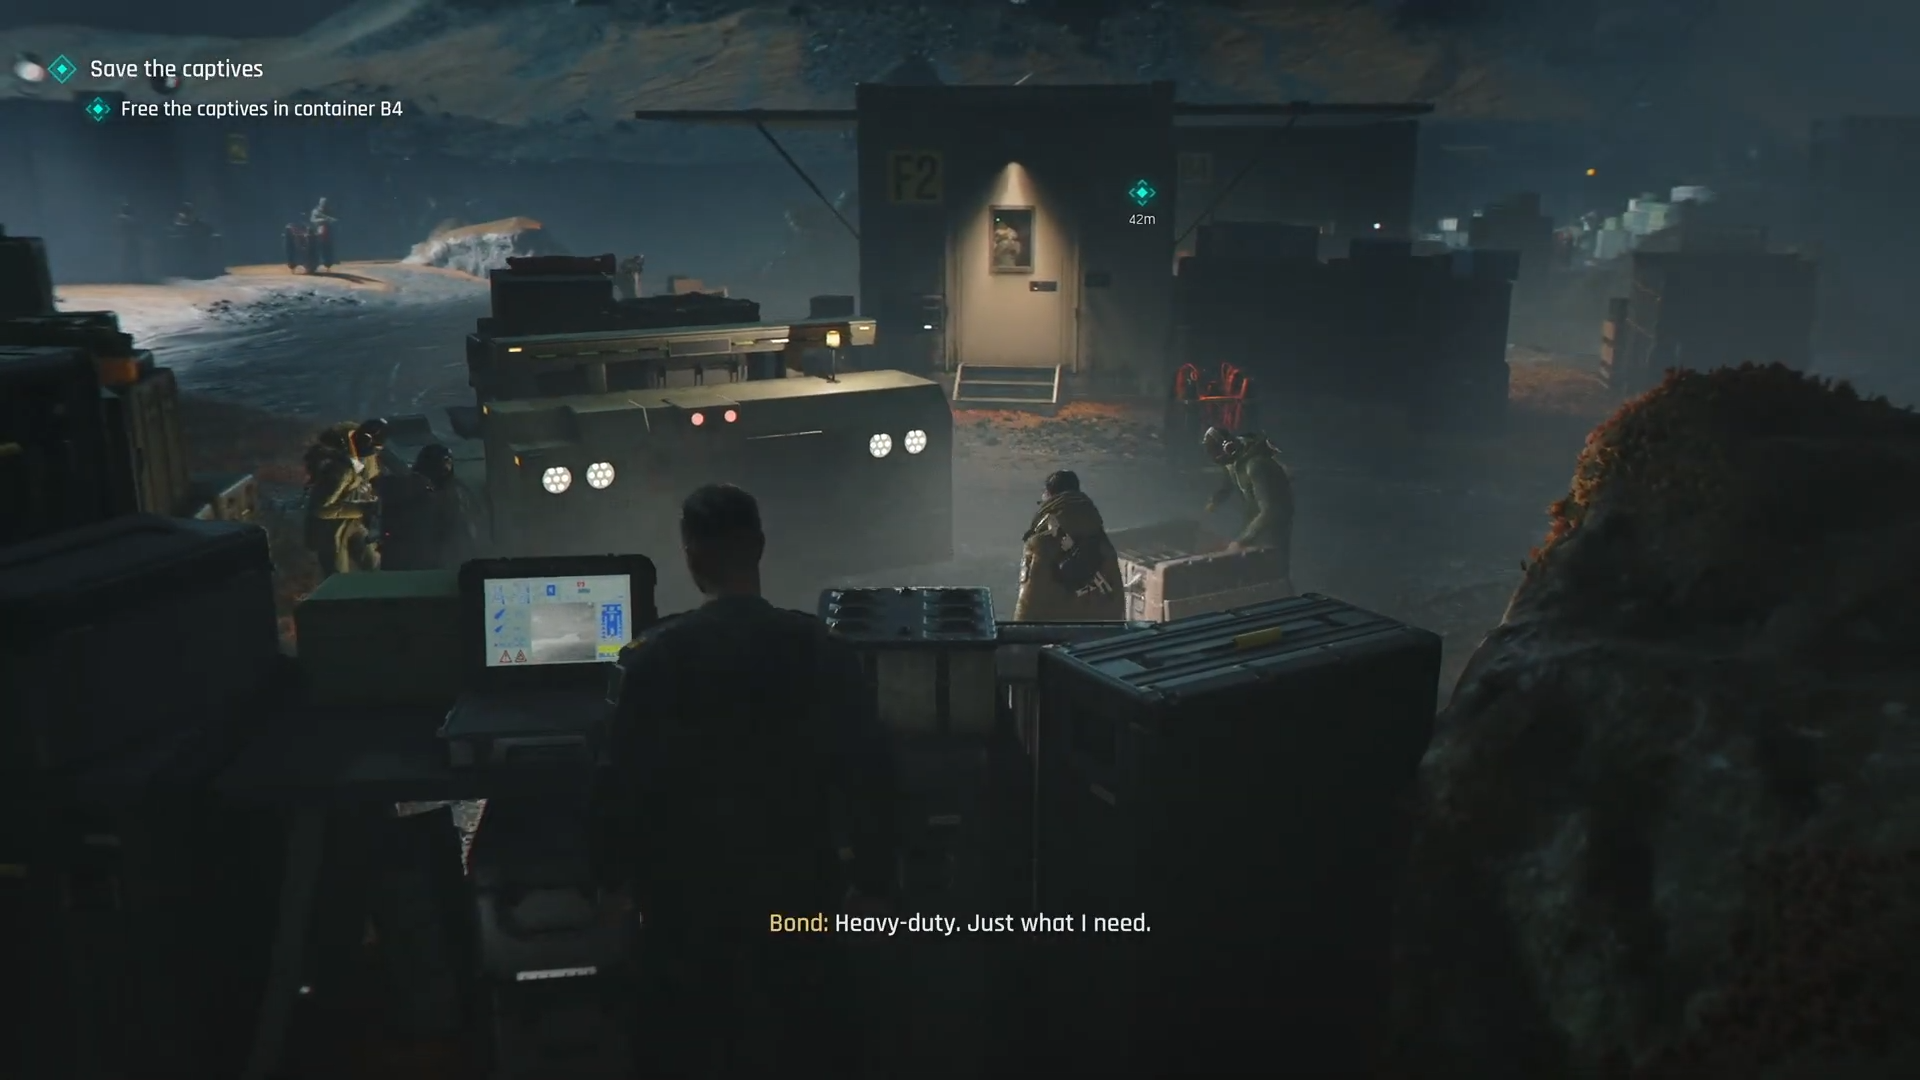
If the route is crowded, this is the safest way to create a lane without fighting every enemy head-on.
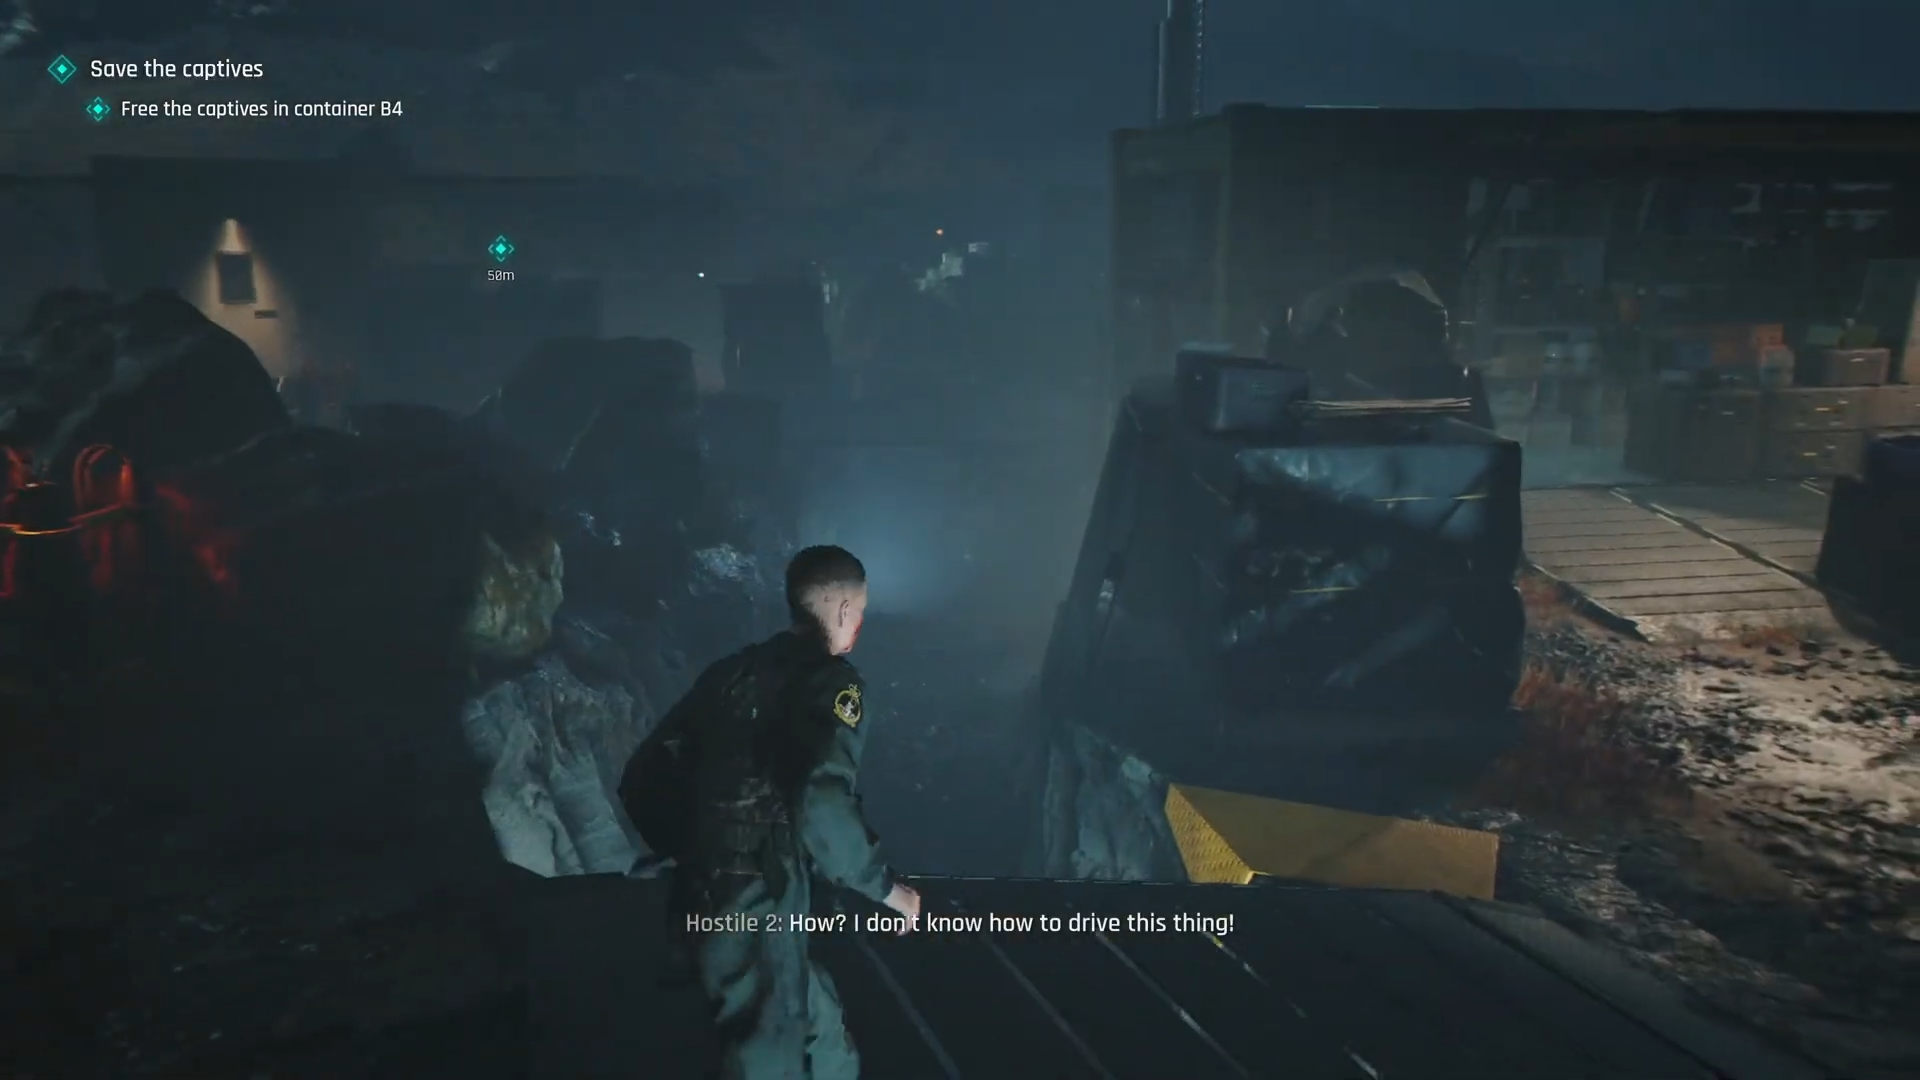
Step 5: Cross to B4
Move across the camp.
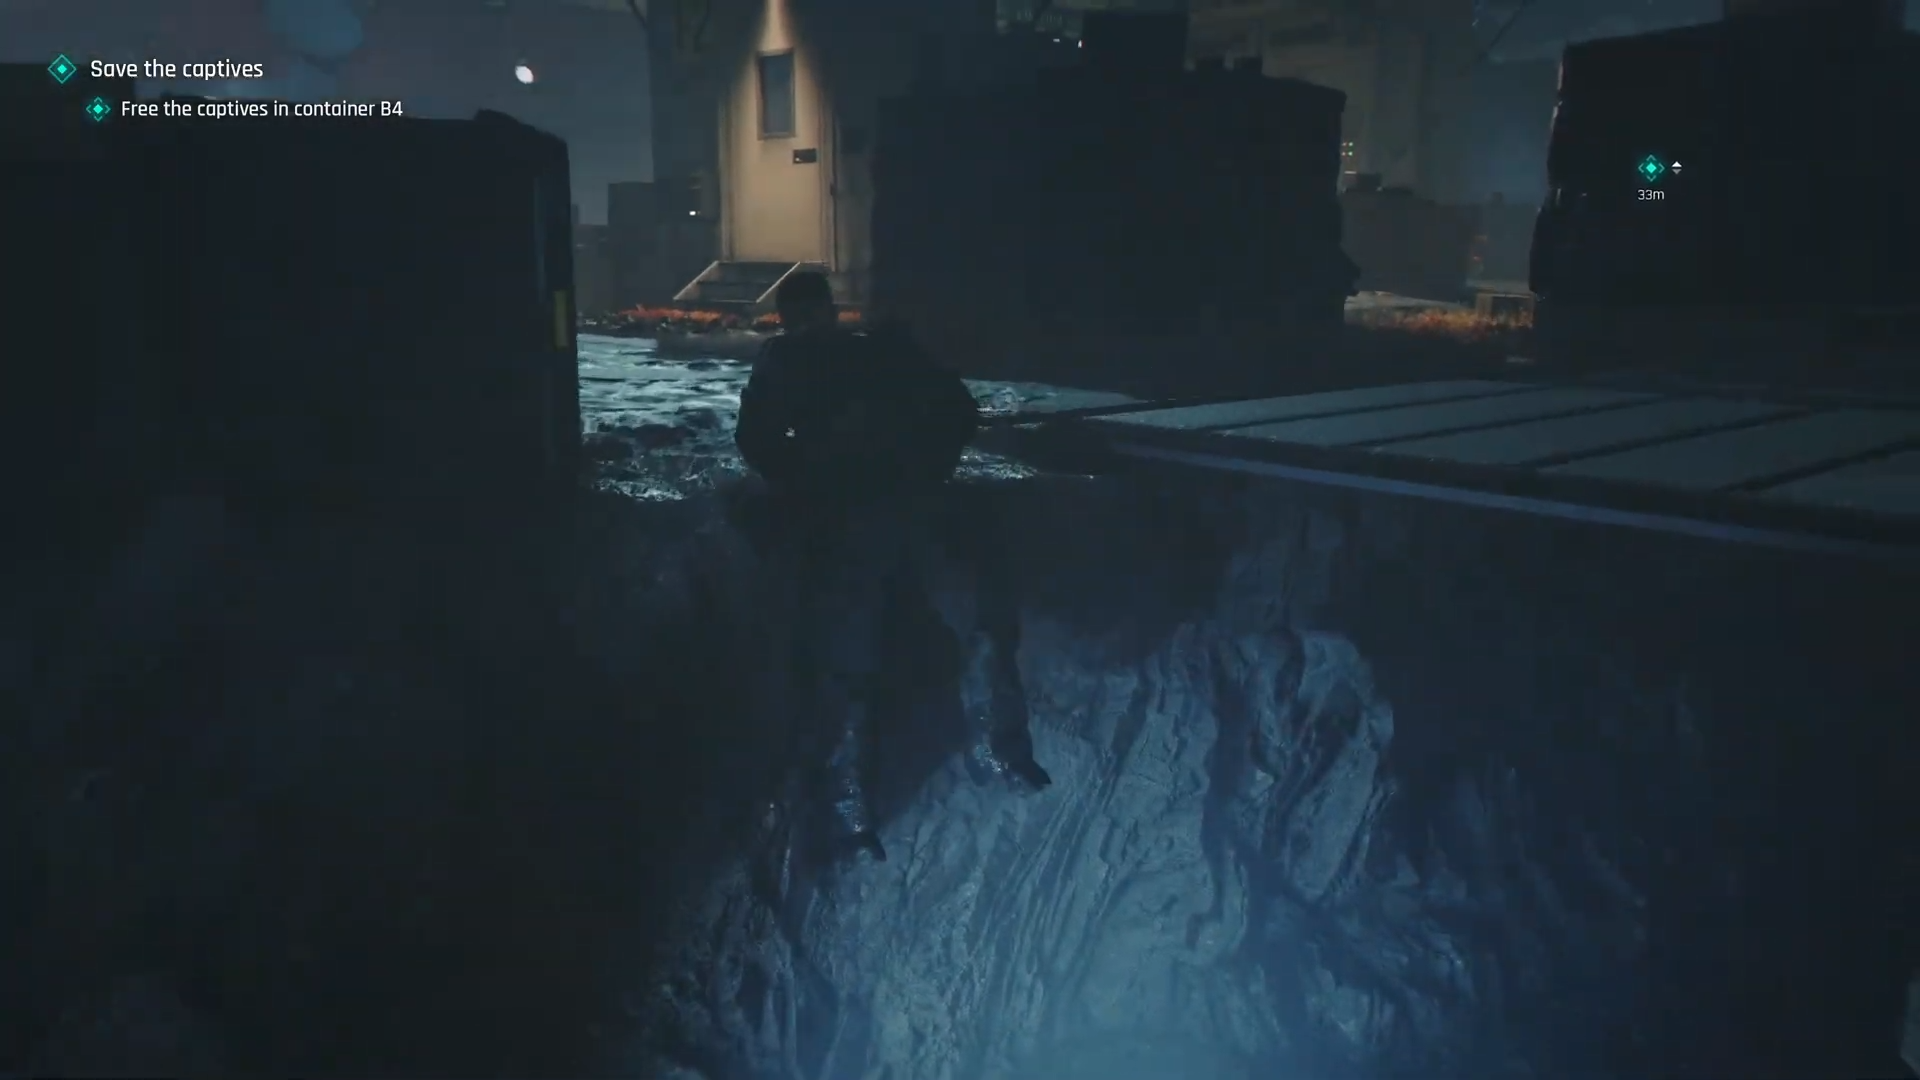
Then use the gap between the bridges and the left-side climb to reposition toward B4.
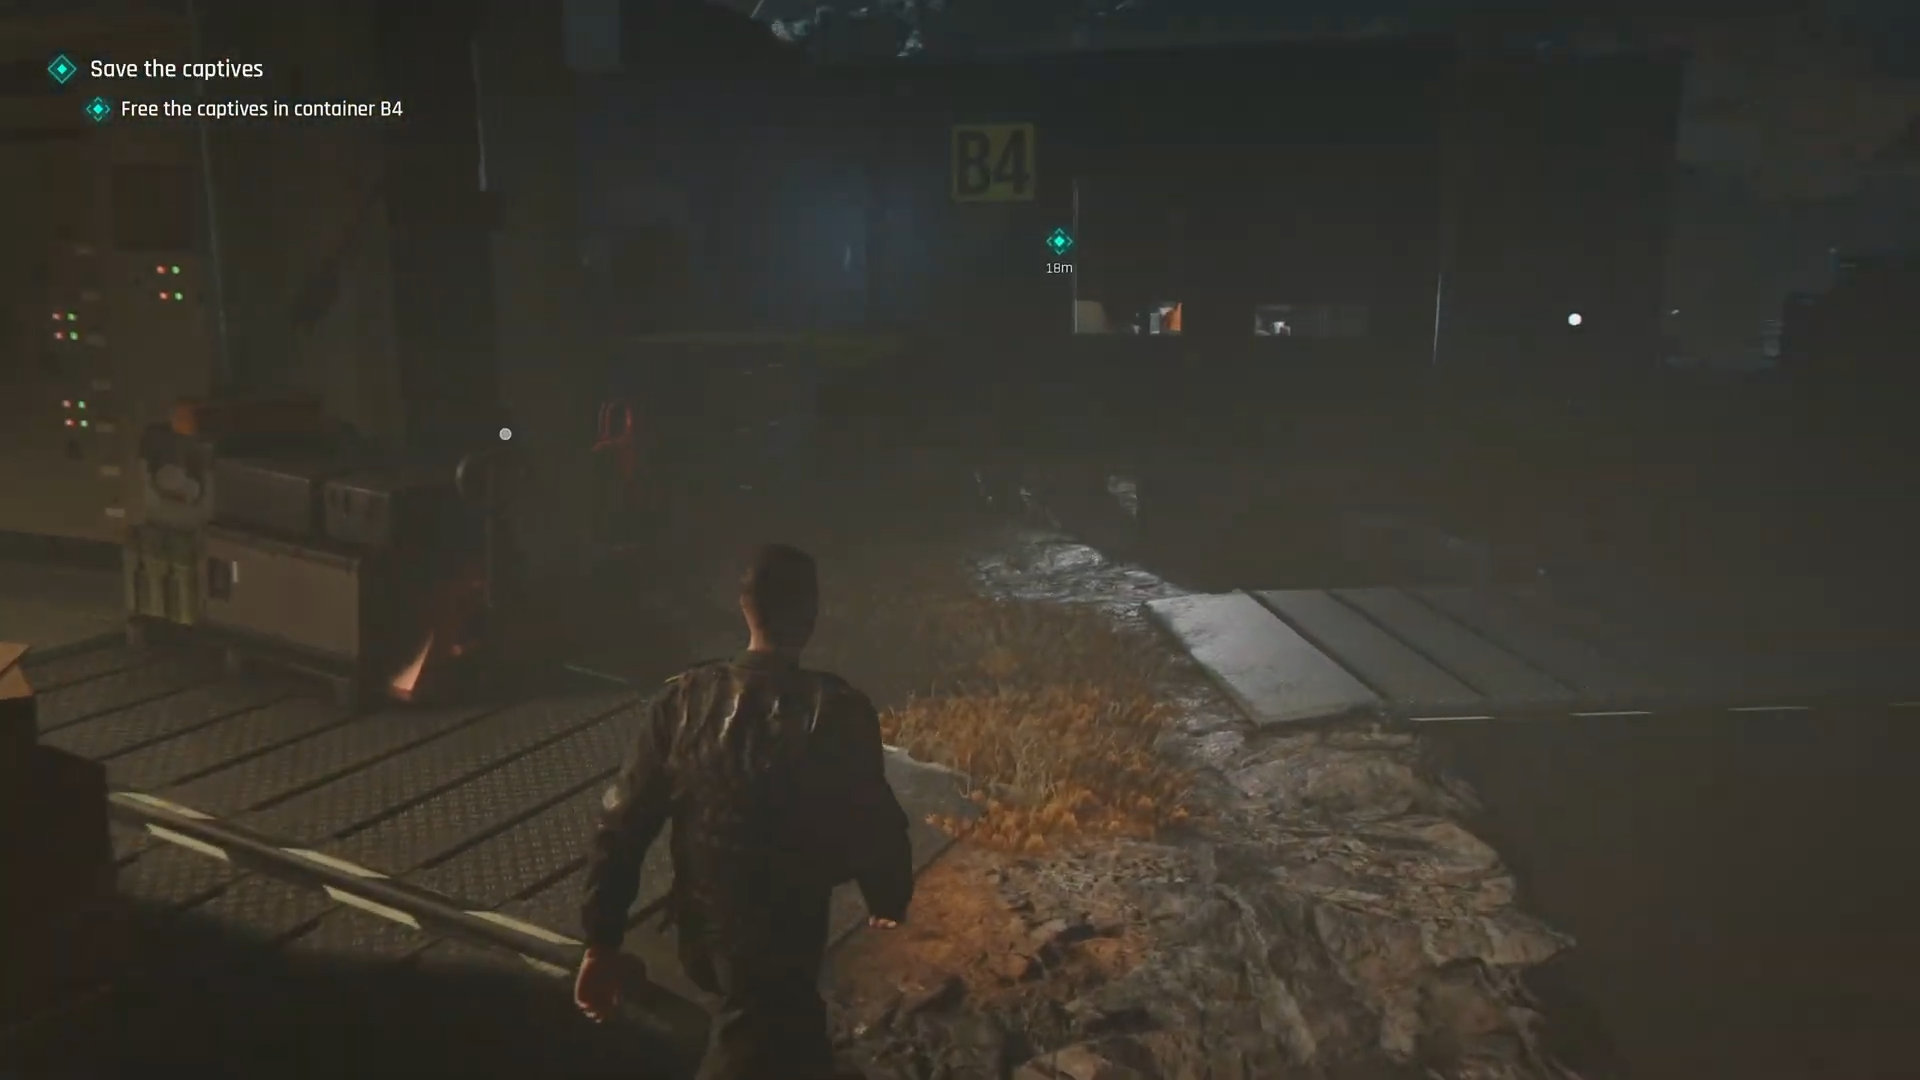
If you see heavy patrols near the entrance, wait for the distraction to settle in before pushing the door.
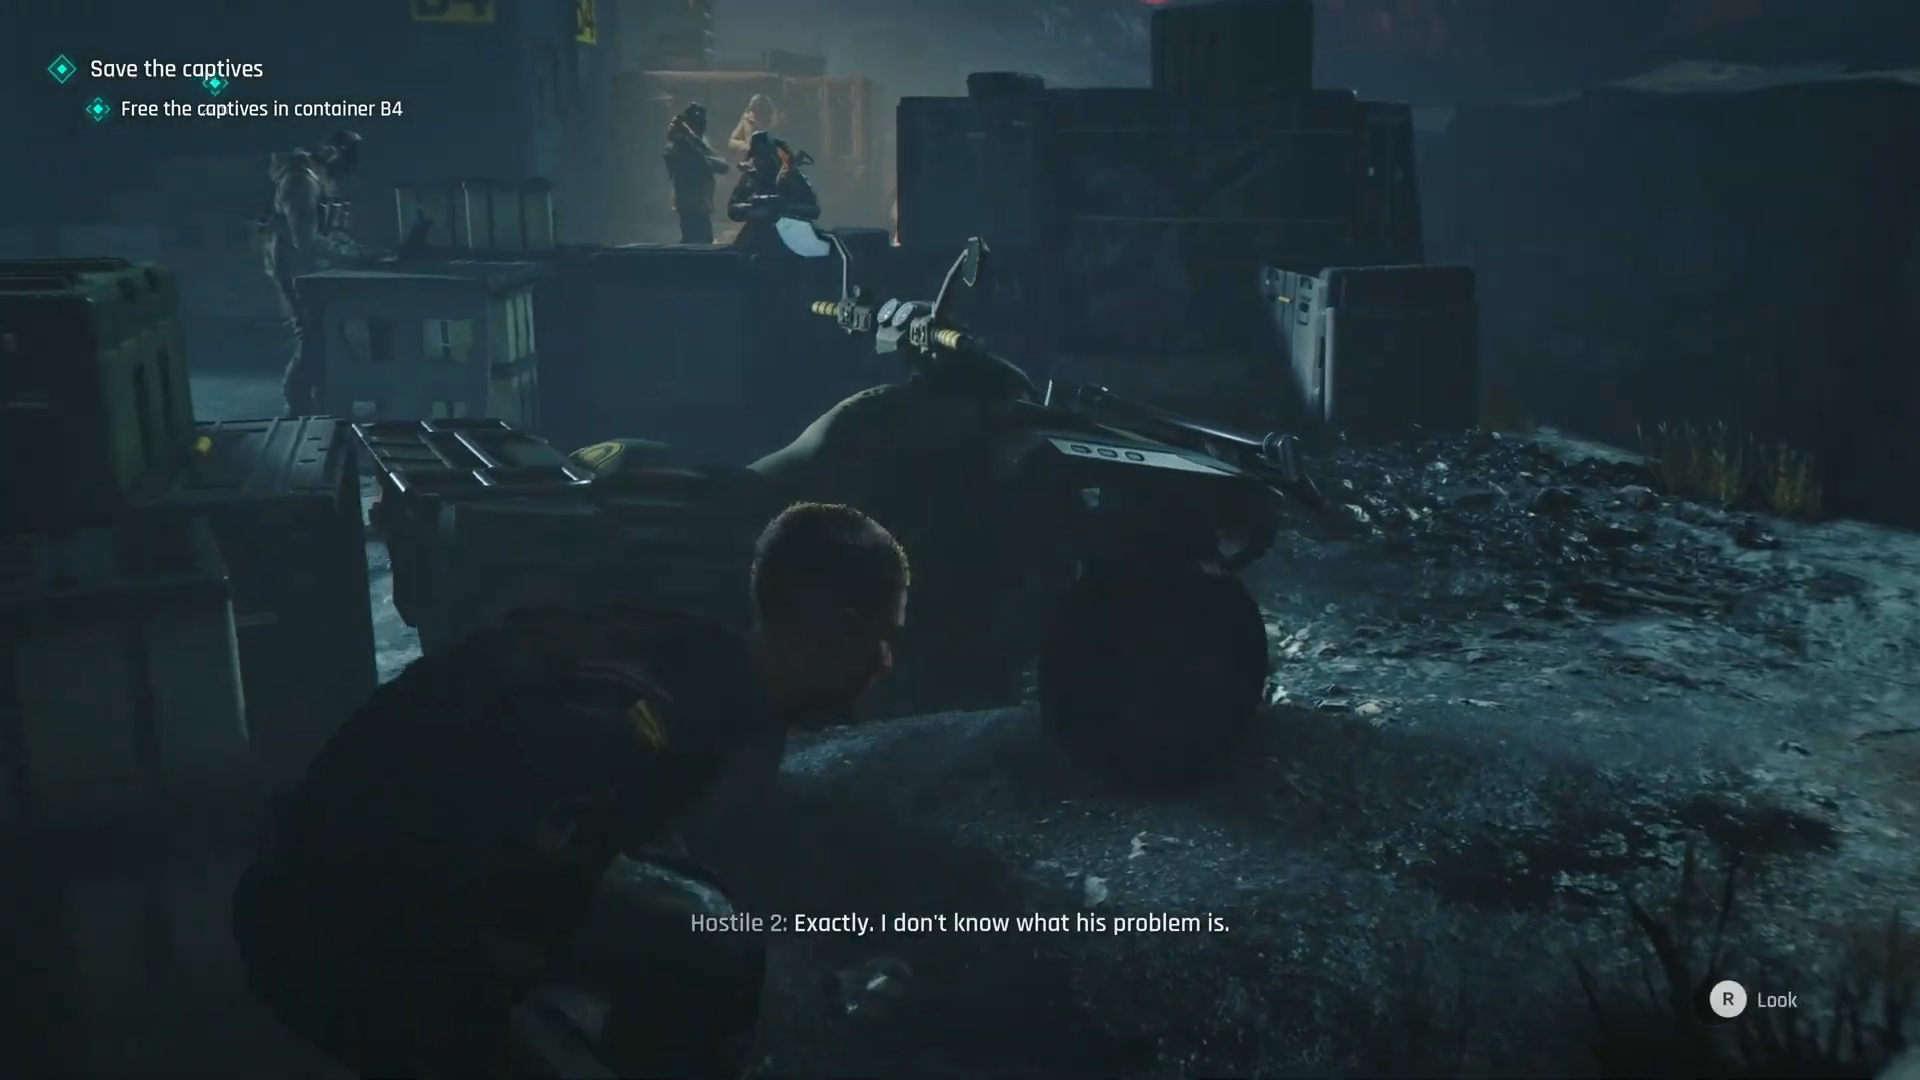
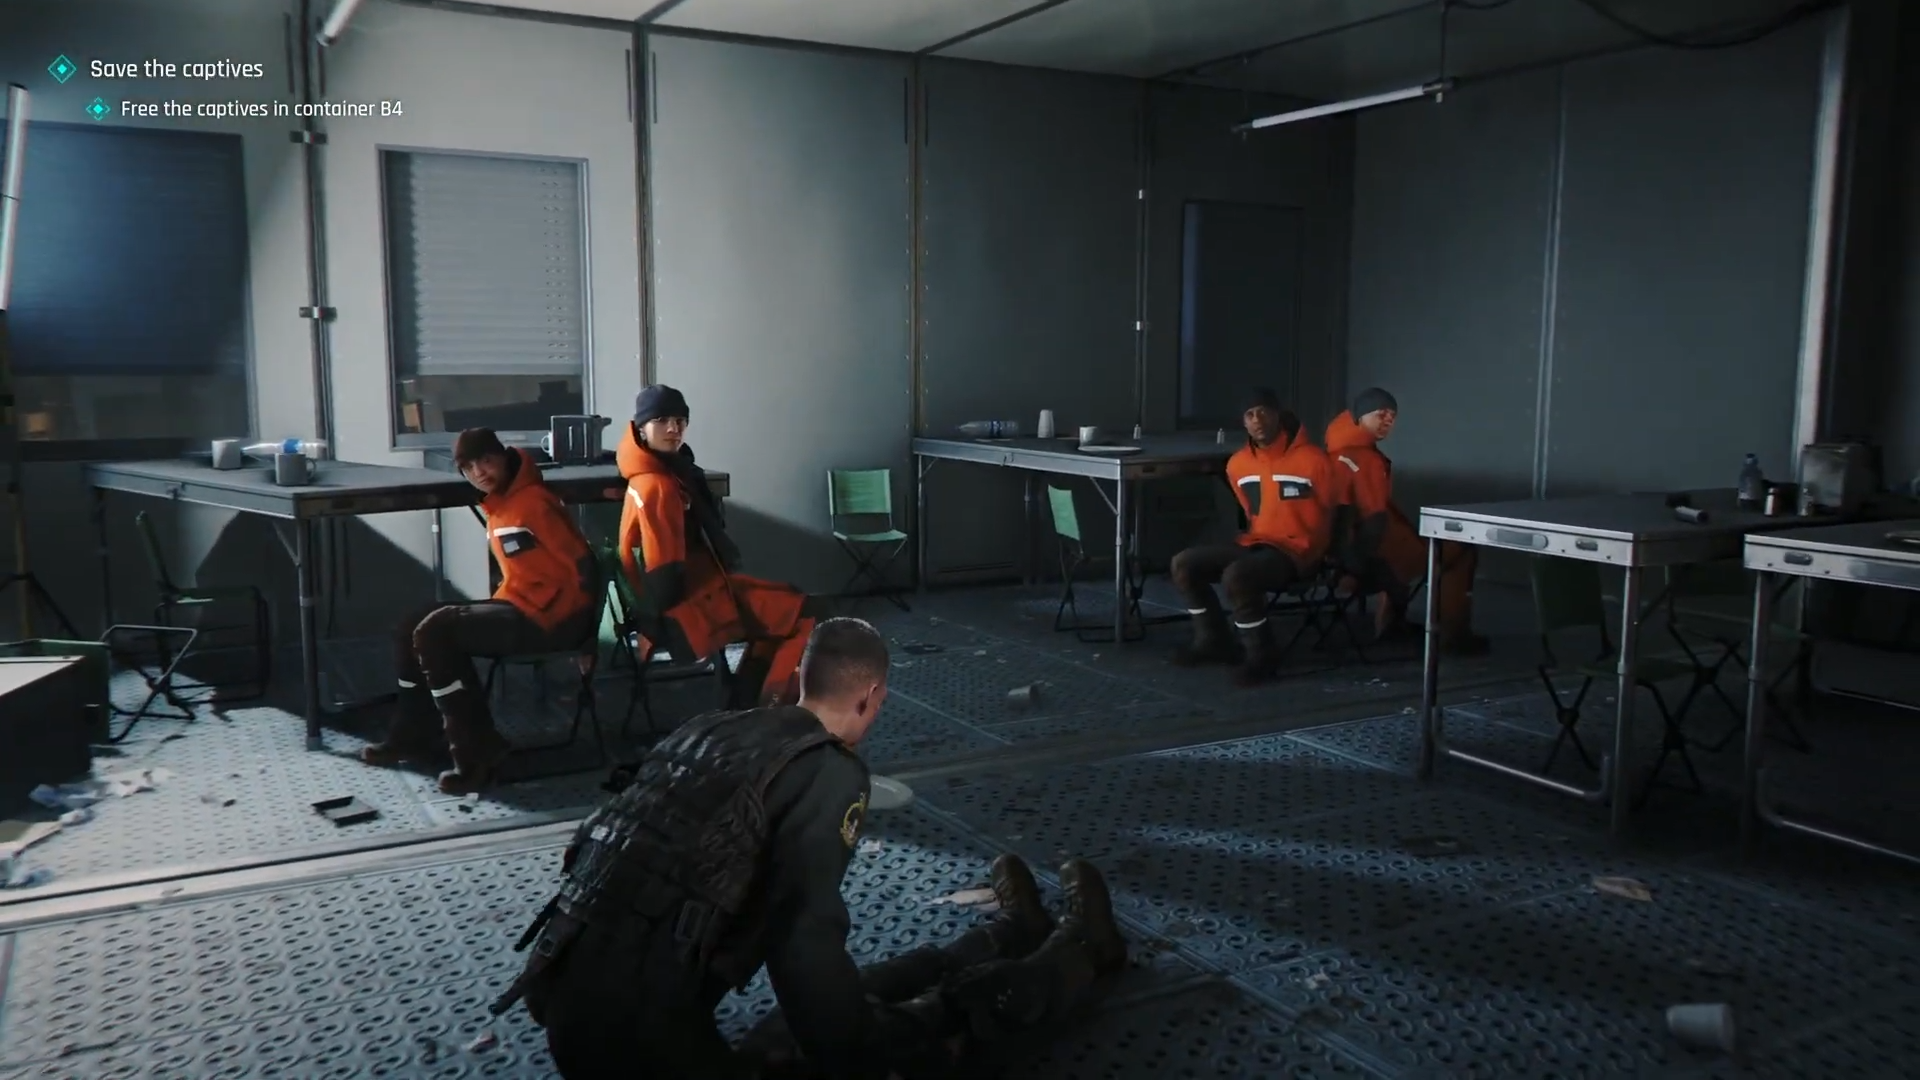
Step 6: Enter B4 and finish the rescue
At B4, use the distraction or stealth to get through the front entrance.
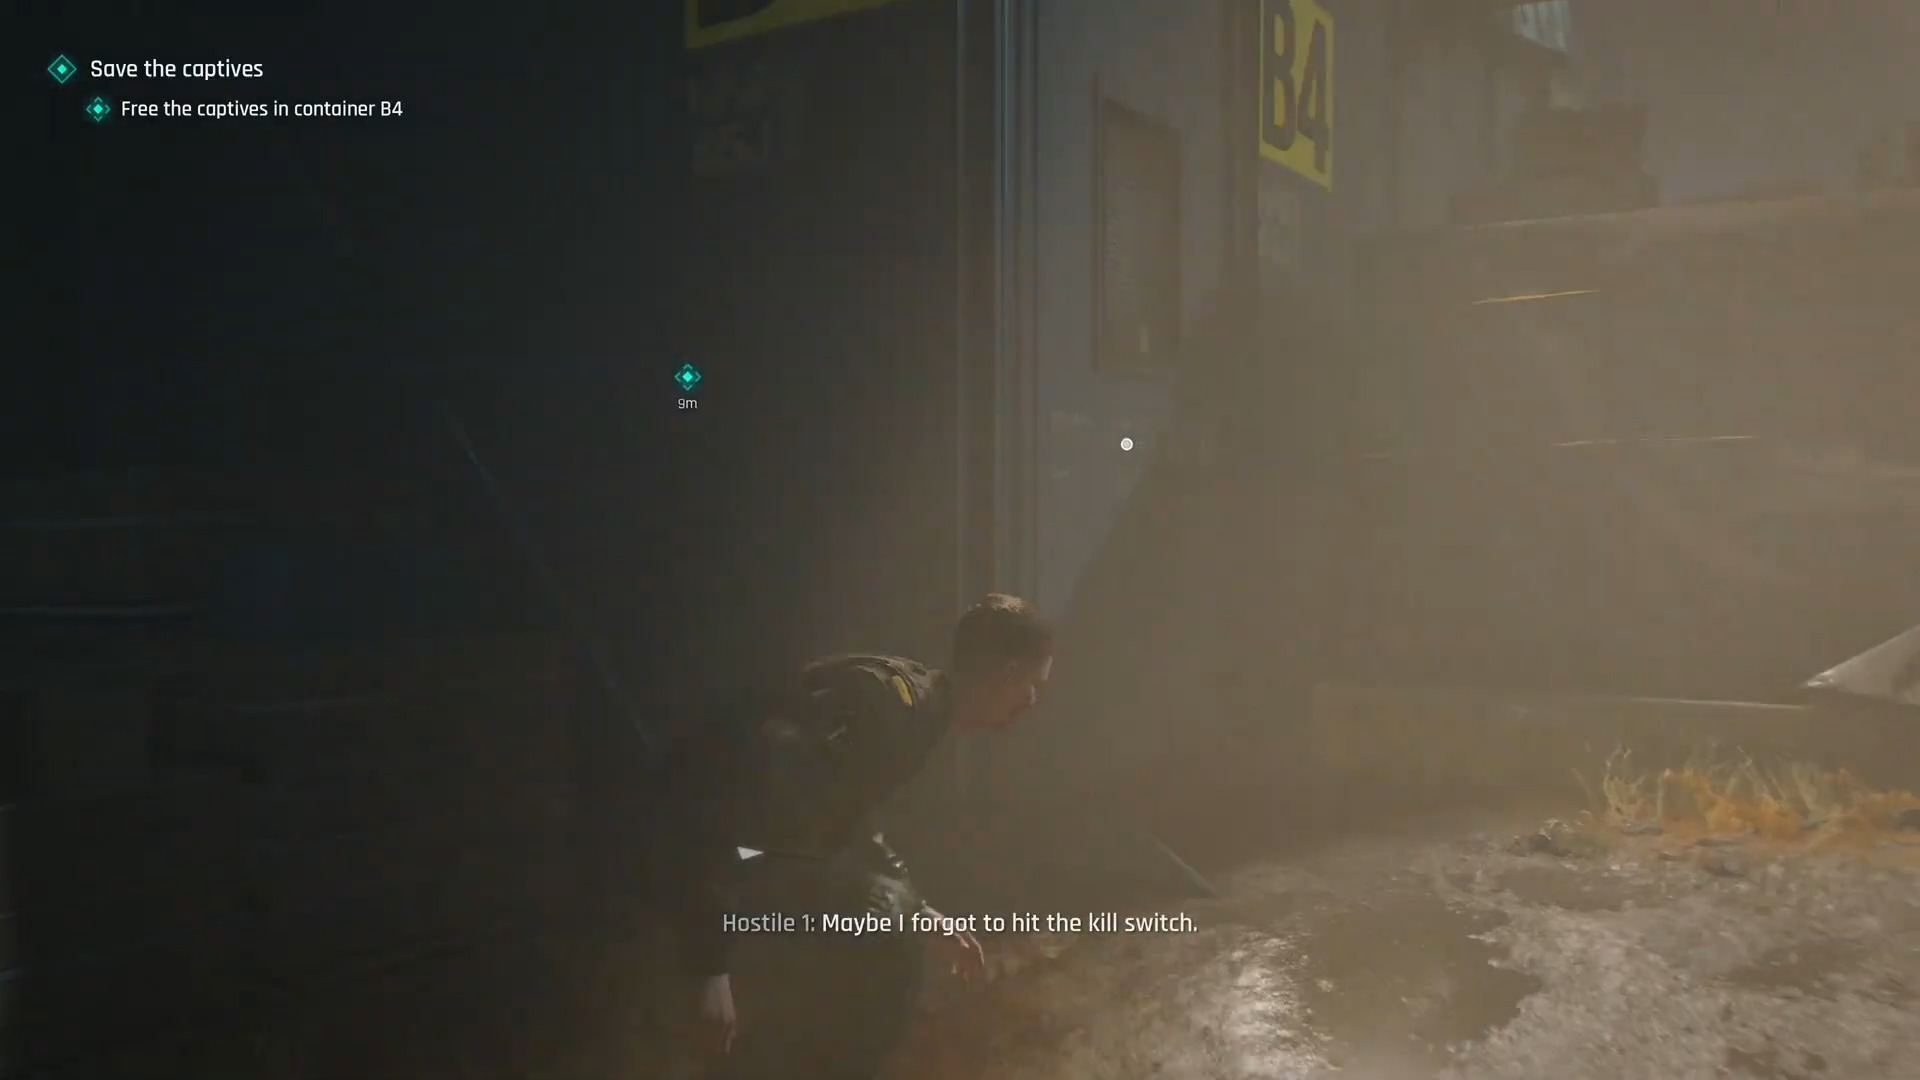
Then clear the guard inside and free the second captive group.
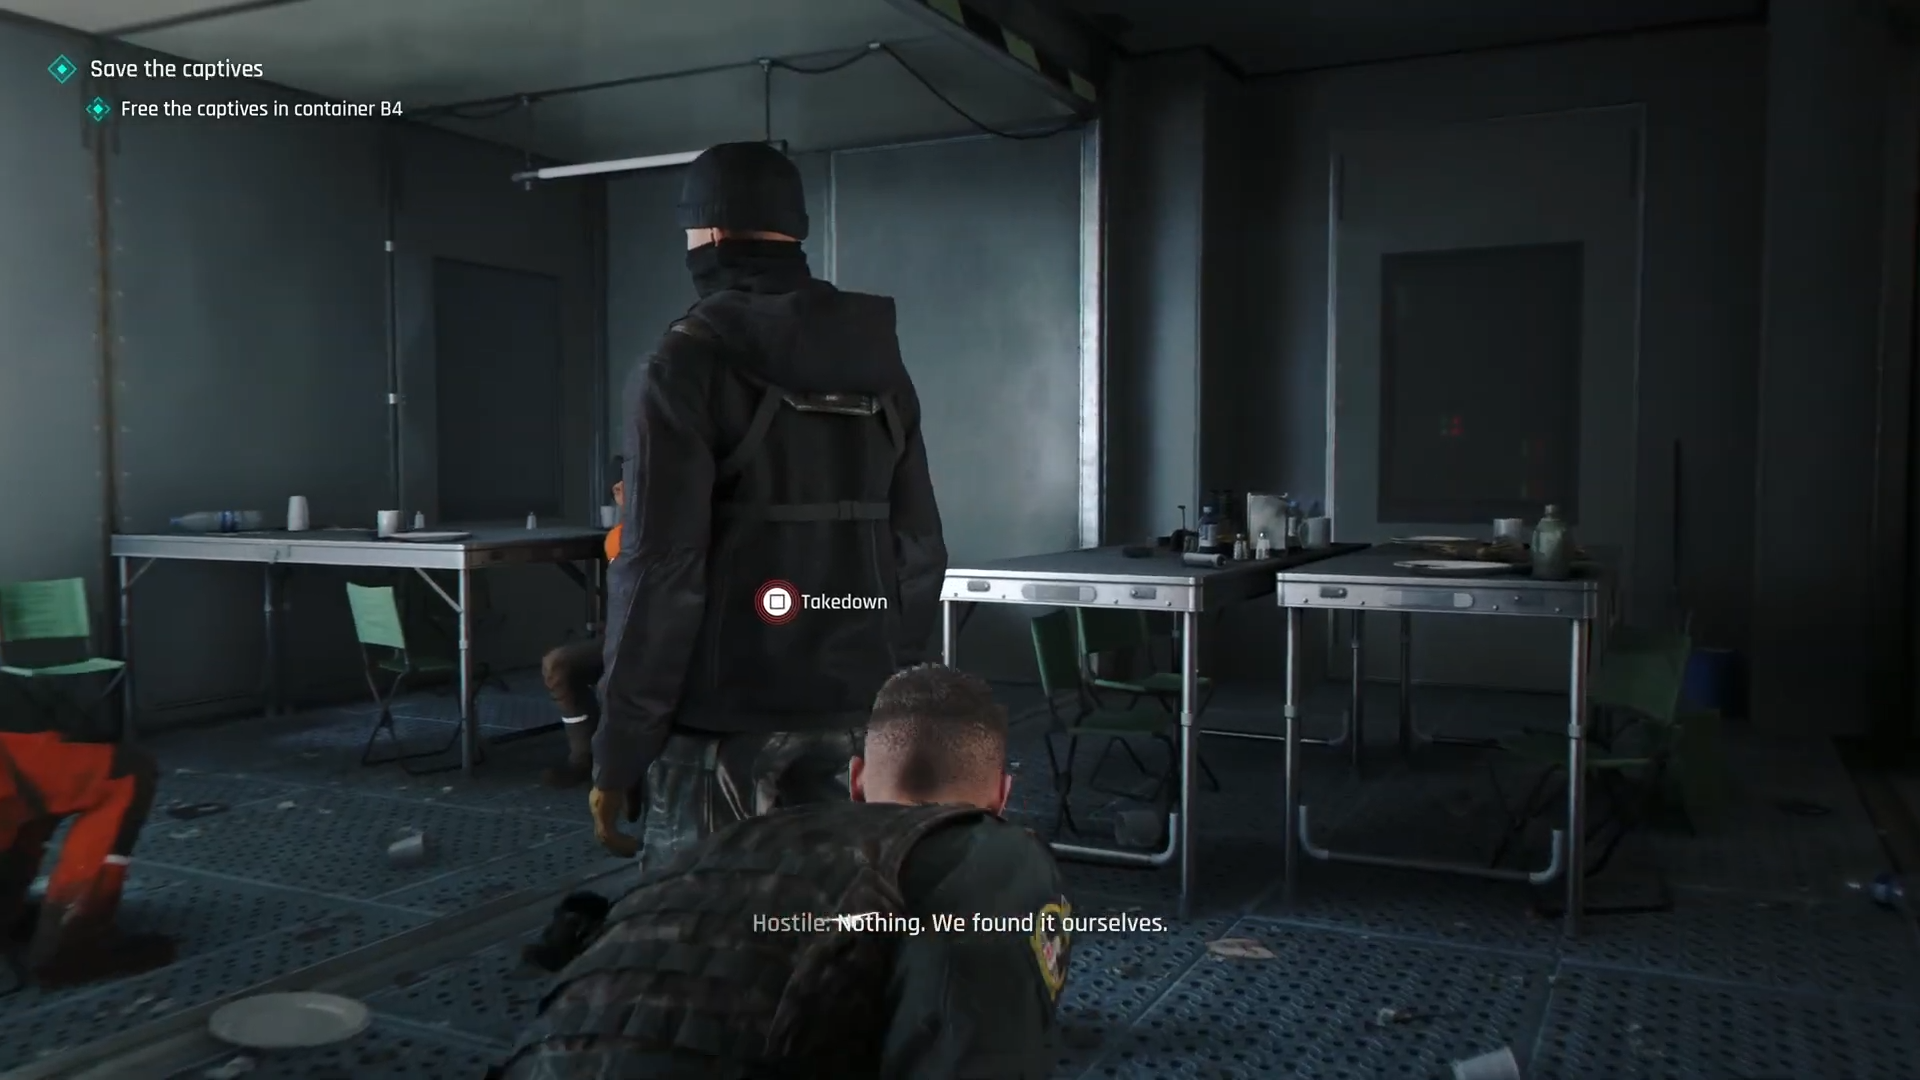
If the main door feels too hot, taking the safer route and waiting for enemy movement is usually faster than a messy fight.
Step 7: Use the final escape signal
After both groups are rescued, interact with the mast wire or the mission’s final signal point to create the escape distraction, then run east with the other captives. The escape cue is a loud signal followed by a sprint east.
Critical mistakes to avoid
-
Don’t go straight to B4 first unless you’re confident in stealth combat; G9 is the easier setup and gives you the key progression item.
-
Don’t ignore the guard in the first G9 room, because the Storage key is what opens the captive room.
-
Don’t overcommit to firefights in the camp if a distraction is available; the mission is designed around movement and timing.
-
If a door seems hard-locked, check the room you just cleared for the key or the nearby switch/panel instead of backtracking randomly.
-
If the path to B4 is packed with patrols, use the camp’s distraction devices first and then move while guards are repositioning.
Useful collectible note
A collectible is also found in the G9 room during this objective, and a legacy item near the earlier camp containers in this chapter. If you’re trophy-hunting, search the shelves and side corners before leaving the area.
Following the G9-first, B4-second route avoids wasted backtracking, unlocks the key progression cleanly, and makes the escape trigger more reliable, which is the fastest way to clear the objective without getting stuck in guard-heavy lanes.



Leave a Reply