

The security of your Windows PC is paramount for its proper functioning. If the system is secured from hackers and malware attacks and its core functionalities are stable, then Windows has a safe environment to execute integral functions.
Windows has a few security features that leverage different components for this purpose, and Memory Integrity is one of them. But such features can also sometimes come in the way of system performance, especially when they are imposed upon you by default.
In this guide, we take a deep dive into all things related to Memory Integrity – what is it, its pros and cons, and how and why you should enable or disable it for different purposes.
How does Memory Integrity work?
To understand the breadth of how memory integrity works, we need to understand two other features that are related to it – Core Isolation and Virtual Machine Platform (VMP).
- Core Isolation: This is a set of virtualization-based security features that safeguards important core processes by isolating them in the memory and creating a virtual environment where these processes can run undeterred.
- Virtual Machine Platform (VMP): VMP provides the virtual machine services that the ‘Core Isolation’ feature relies upon.
- Memory Integrity: Also referred to as Hypervisor-protected Code Integrity (HVCI), this is a Windows security feature that comes under the main ‘Core Isolation’ umbrella and helps prevent malicious software and programs from getting access to drivers and gaining control over high-security processes.
When these features are turned on, Windows isolates the core decision-making processes from the rest of the memory and creates a safe working environment for them.
When a program is run, memory integrity has to verify its driver code and ensure that the driver installed is trustworthy before it can have access to Windows’ core features. As highlighted by Microsoft itself, this whole process is analogous to a security guard inside a locked booth, where ‘Memory Integrity’ is the security guard in the isolated environment created by ‘Core Isolation’.
All this increases system security, and although all this happens very quickly, with so many checks, there’s bound to be some impact elsewhere.
What impact does Memory Integrity have on the performance of your PC?
Microsoft has noted that the virtualization technology and memory integrity features can have some impact on performance, especially when gaming or running resource-heavy applications.
In a blog post, Microsoft said that “in some scenarios and some configurations of gaming devices there may be a performance impact with Memory Integrity and VMP on… “.
The whole process of driver verification takes up crucial system resources and is bound to have an impact on performance. However, it must be noted that on modern systems that run Windows 11, the impact can seem negligible when one is running day-to-day tasks. It is only when a resource-hungry application is run that precious resources feel the squeeze.
When should you disable Memory Integrity on Windows 11?
The whole set of core isolation features is an important aspect of Windows security. It is an essential cog in the overall safety of your PC and your data against malicious software and hackers. But the performance tradeoff may not be worth it, depending on where you stand.
Even though the impact on performance may or may not be noticeable for general productivity, it is a different story when it comes to gaming. That means that if you are experiencing performance setbacks with these features turned on, you should perhaps look at disabling them before starting a game.
According to Microsoft, “Gamers who want to prioritize performance have the option to turn off these features while gaming and turn them back on when finished playing. However, if turned off, the device may be vulnerable to threats.”
‘Windows 11 Memory Integrity is off’ issue: How to turn it on in 3 ways
If you have decided to turn off memory integrity, here are a few ways that will help you do so:
Method 1: Using Windows Security
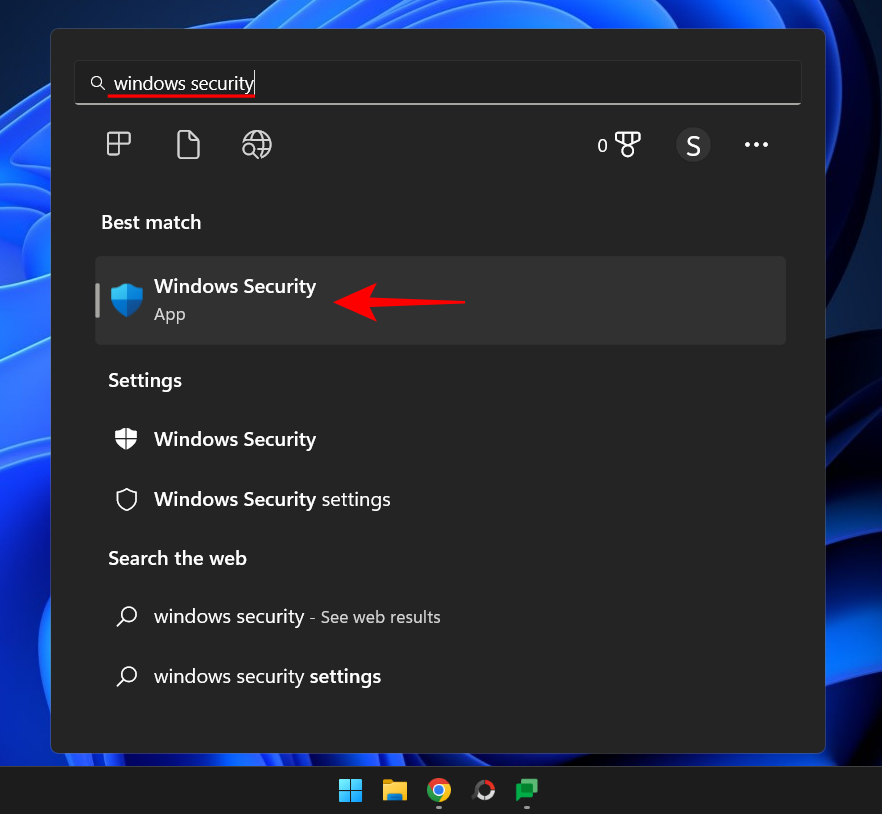
Press Start, type “Windows Security” and hit Enter.
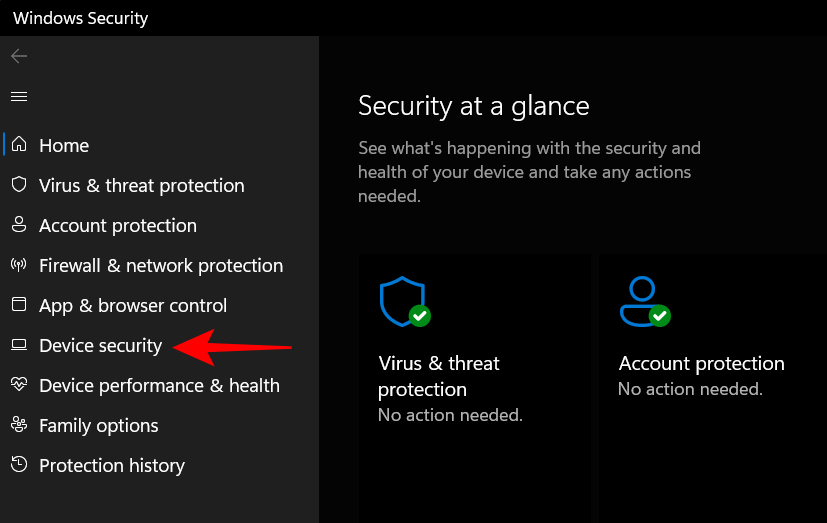
Click on Device security in the left pane.
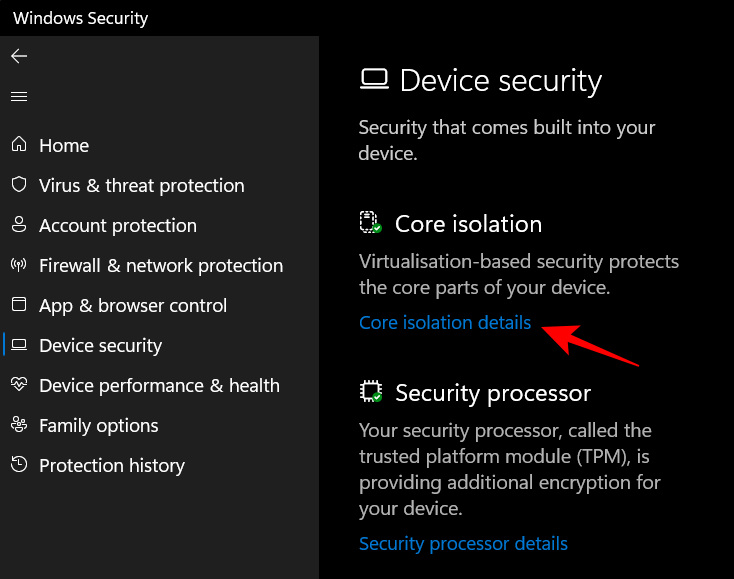
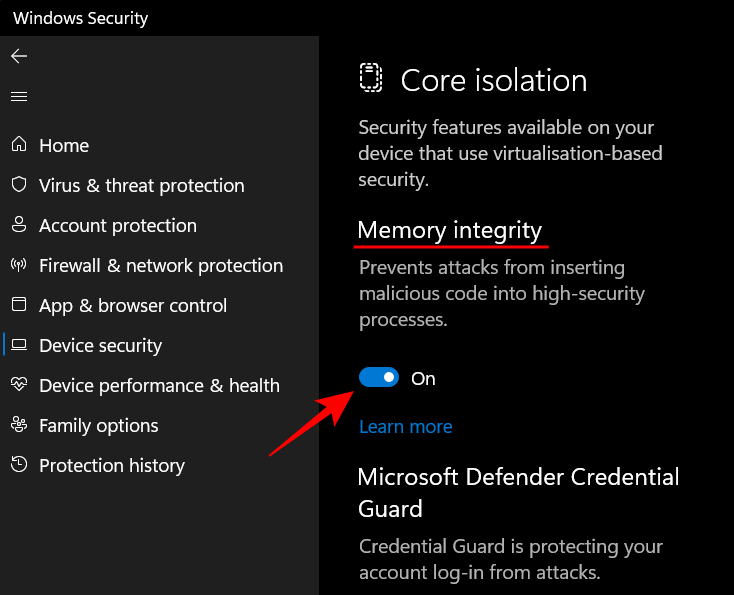
Under “Core isolation”, click on Core isolation details.
Here, under Memory integrity, flip the switch to “Off”.
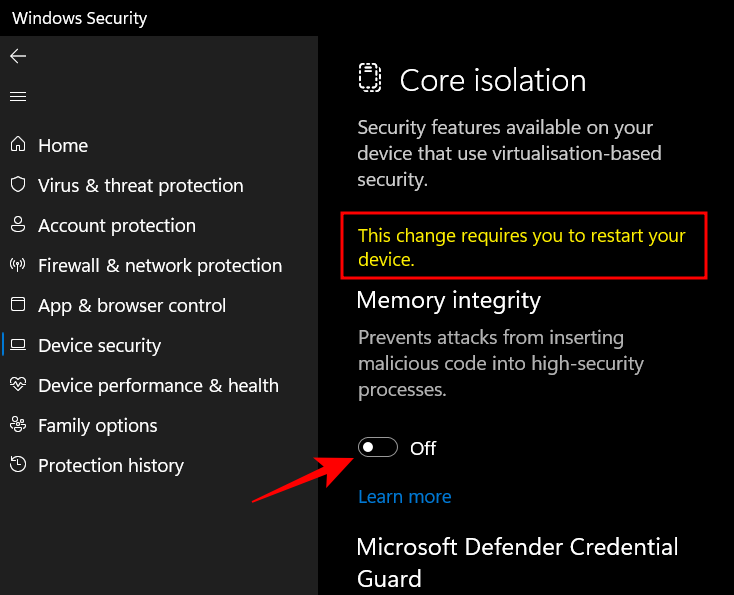
You will get a Windows Security notification asking you to restart your system for the changes to take effect.
To turn memory integrity back on, come back to this window and toggle “Memory Integrity” to “On”.
Method 2: Using the Registry Editor
Another way to turn Memory Integrity off is to do so using the registry editor. Here’s how to go about it.
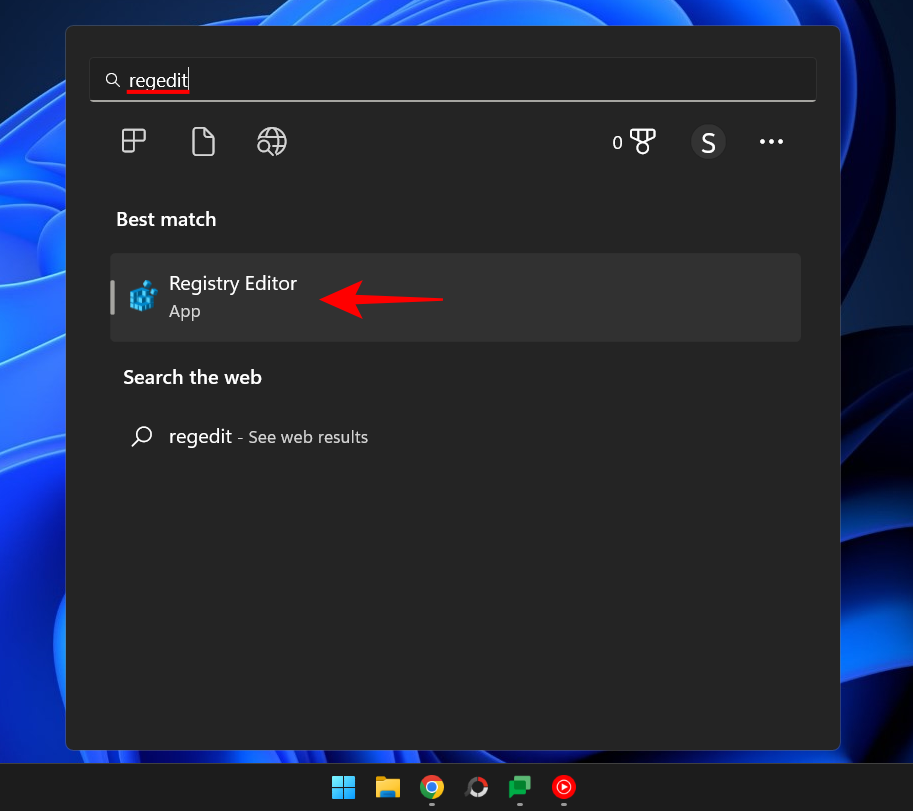
Press Start, type “regedit”, and hit Enter.
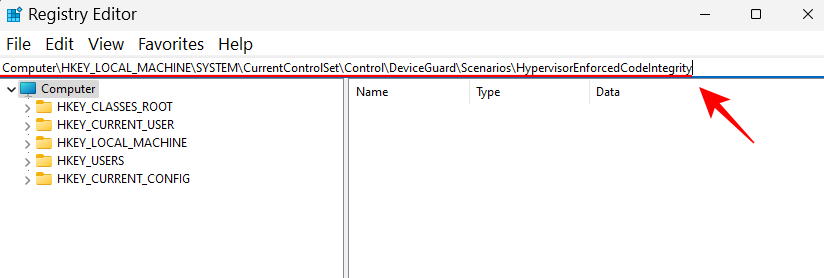
Once the Registry Editor opens up, navigate to the following address:
Computer\HKEY_LOCAL_MACHINE\SYSTEM\CurrentControlSet\Control\DeviceGuard\Scenarios\HypervisorEnforcedCodeIntegrity
Alternatively, copy the above and paste it into the registry editor’s address bar, and hit Enter.
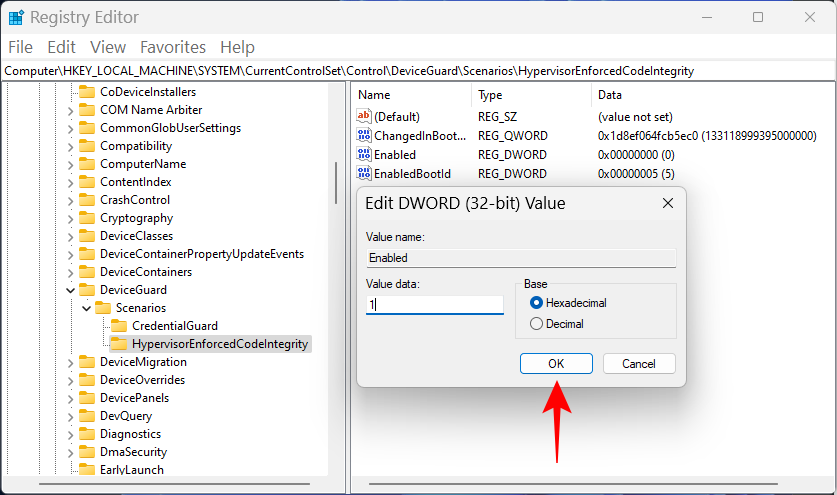
Next, double-click on the Enabled key on the right.
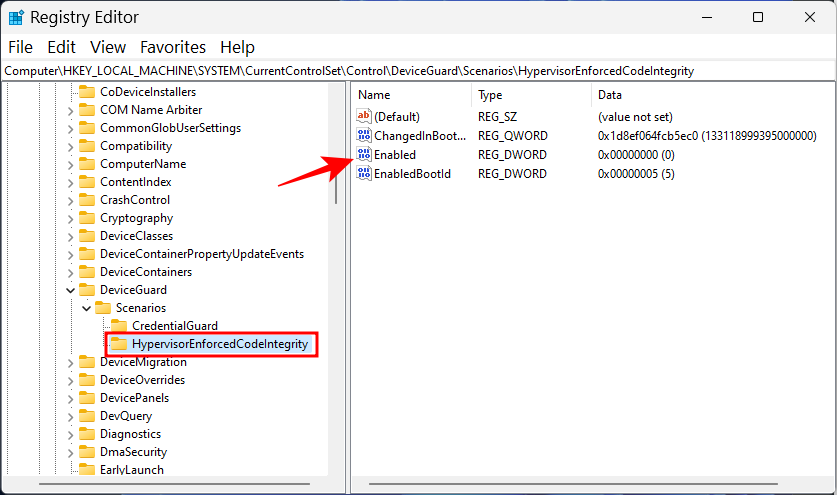
Then set its value data from ‘0’ to ‘1‘.
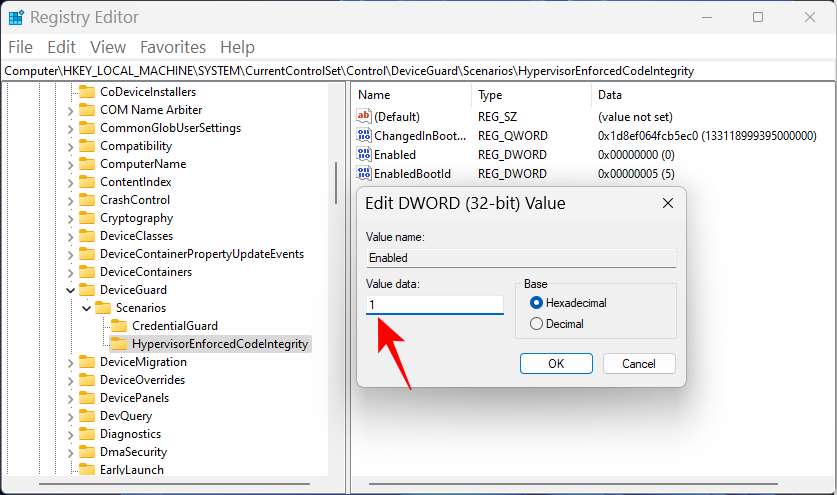
Click OK.
Now close the registry editor and restart your PC for the changes to take effect.
To turn memory integrity back on, return to this key, change the value back to ‘0’ and click ‘OK’.
Method 3: Using the Group Policy Editor
The group policy editor can be used to enable or disable the whole virtualization-based security that memory integrity depends upon. To do so, follow the steps below:
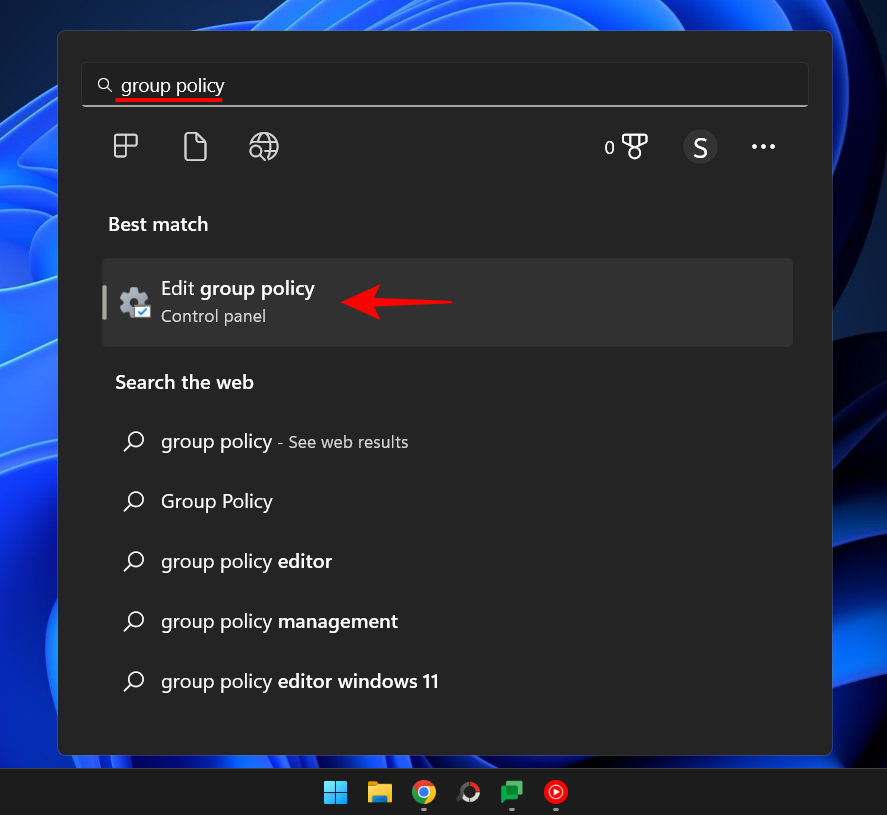
Press Start, type “group policy” and hit Enter.
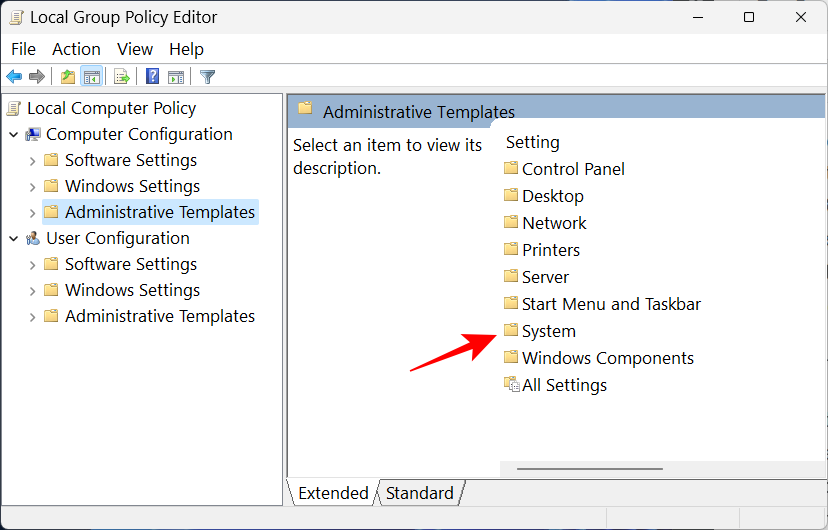
Once the Group Policy Editor opens up, click on Administrative Templates under “Computer Configuration” in the left pane.

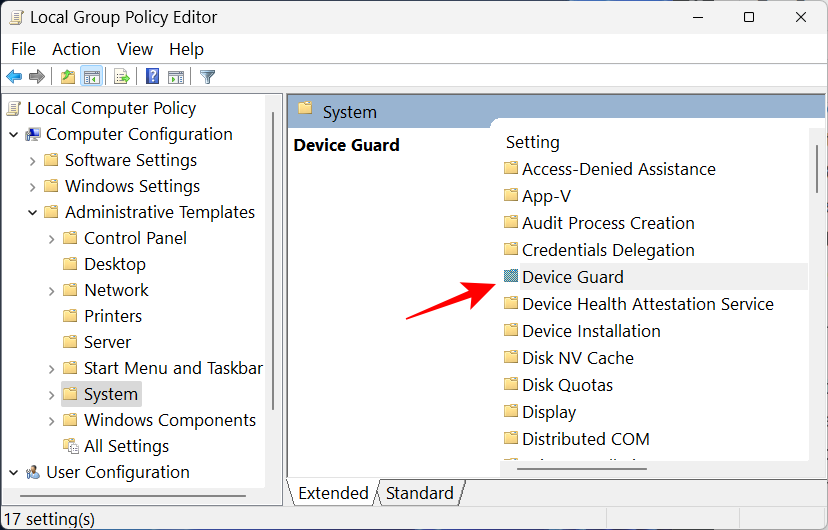
Then, on the right, double-click on System.
Double-click on Device Guard.
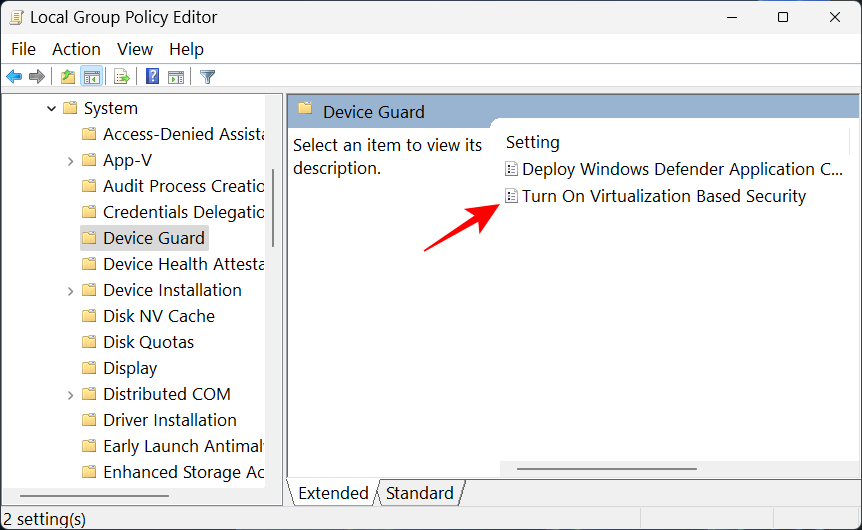
Now, double-click on Turn on Virtualization Based Security.
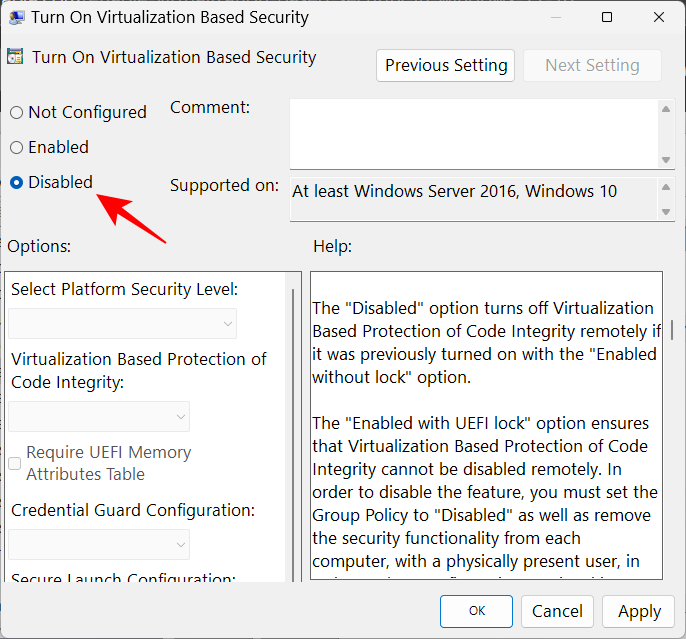
Select Disabled to turn it off.
Then click OK.
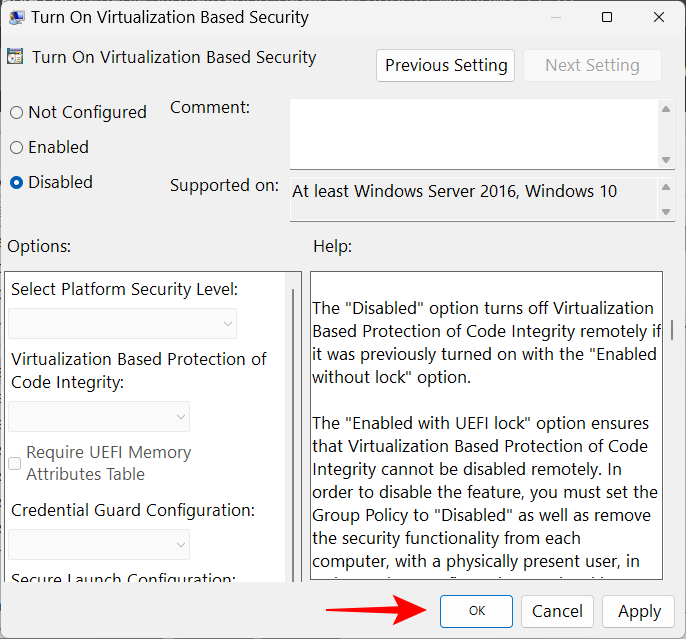
Now close the group policy editor and restart your PC.
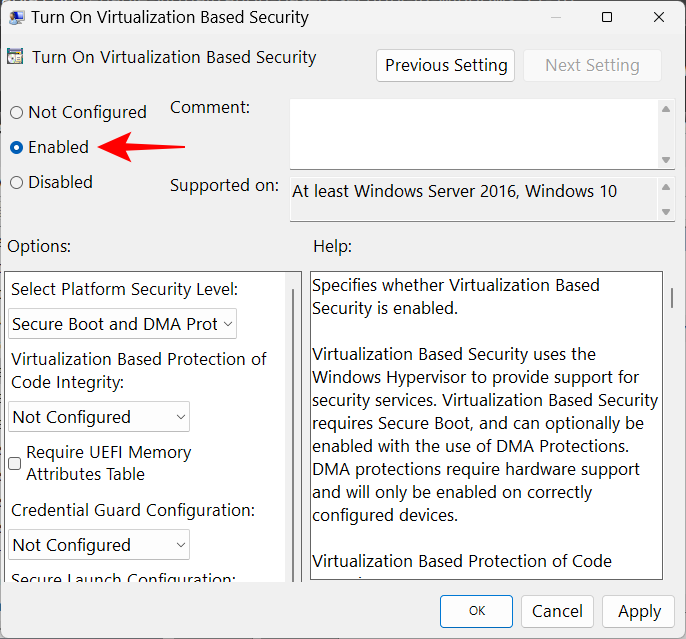
To turn it back on, select Enabled instead.
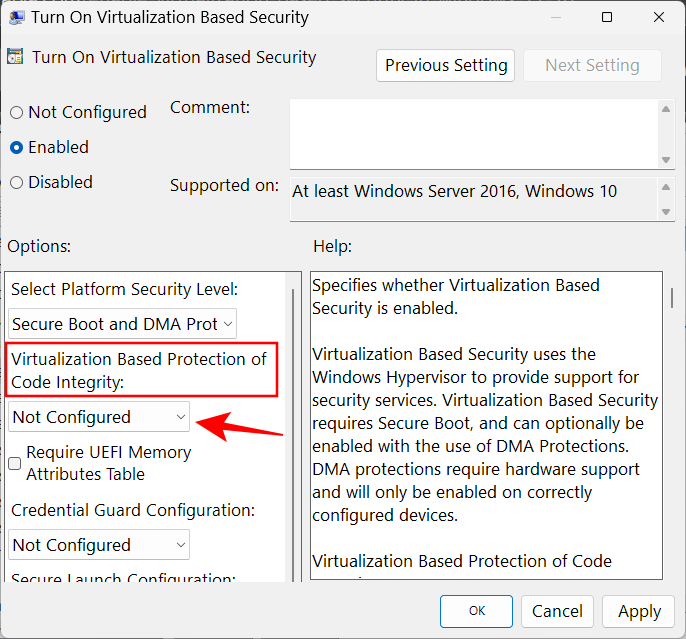
Then, under “Options”, click on the drop-down menu for Virtualization Based Protection of Code Integrity.
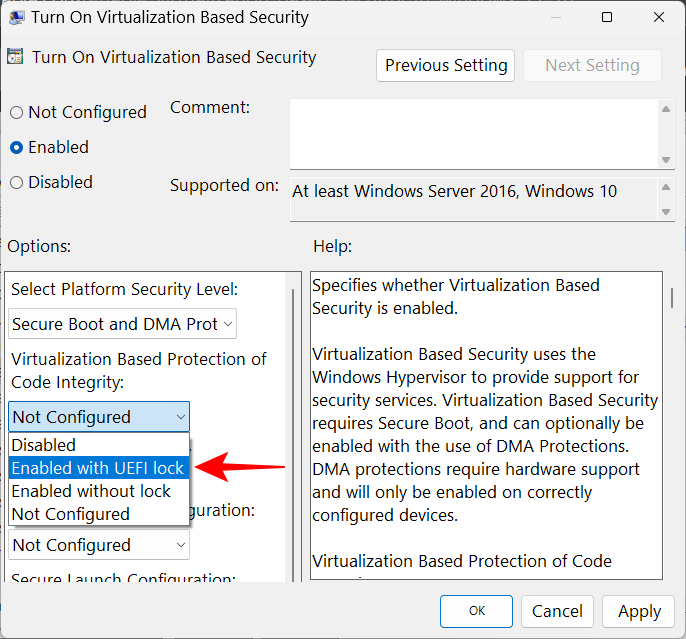
Select Enabled with UEFI Lock.
Finally, click OK.
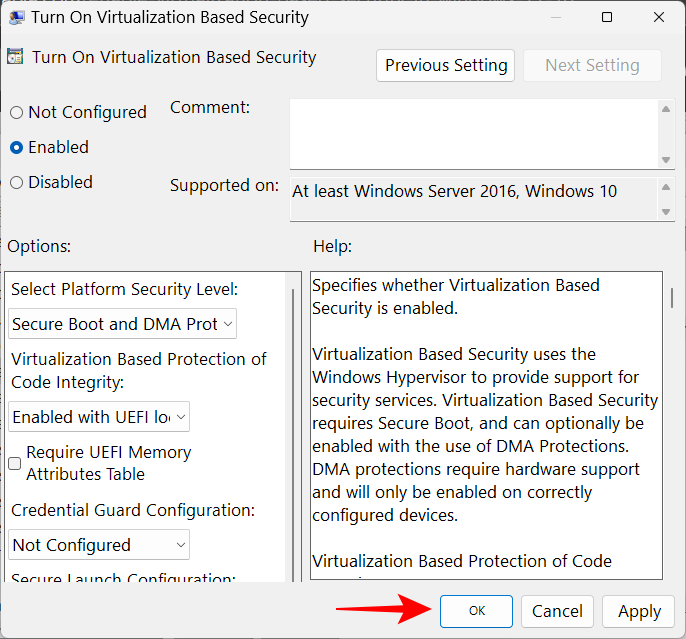
Now close the group policy editor and restart your PC.
FIX: Memory Integrity is off and cannot be turned on
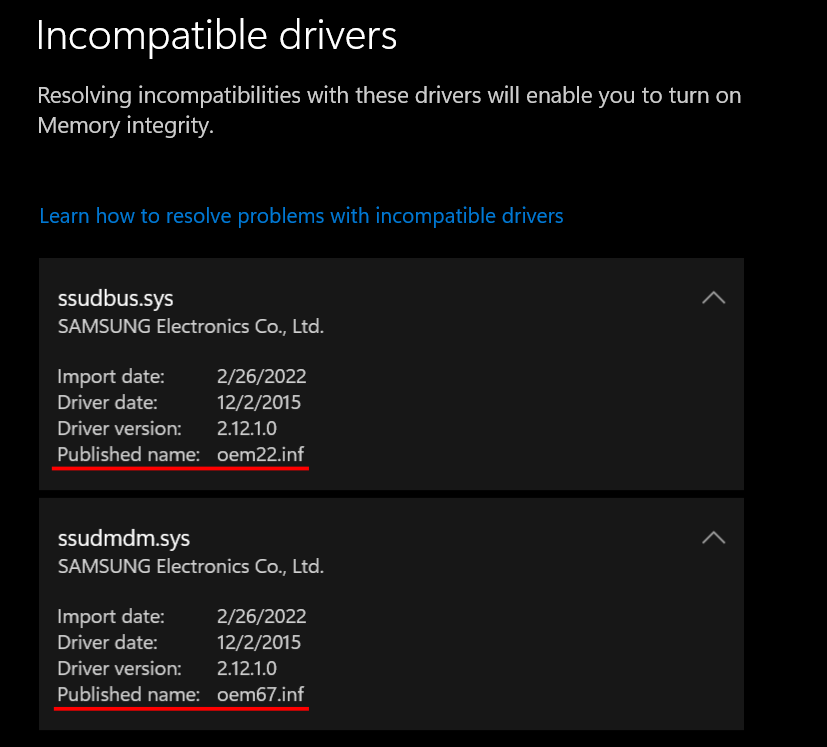
For some users, simply flipping on the Memory Integrity switch doesn’t turn it on. In its stead, what they get is an error message telling them that they have incompatible or rogue drivers installed.
In most cases, Windows will tell exactly which driver is causing problems. You will need to check with the device manufacturer if there are any compatible drivers available. If that is not the case, uninstalling the application or the device linked to those drivers can solve the issue, and you will have to wait until the publisher rolls out compatible drivers before using the applications associated with it.
If uninstalling the application or the device doesn’t solve the issue, you will have to uninstall the incompatible driver yourself. To do so, firstly, note down the “published name” of the driver when you receive the error message.
Then, follow the steps below:
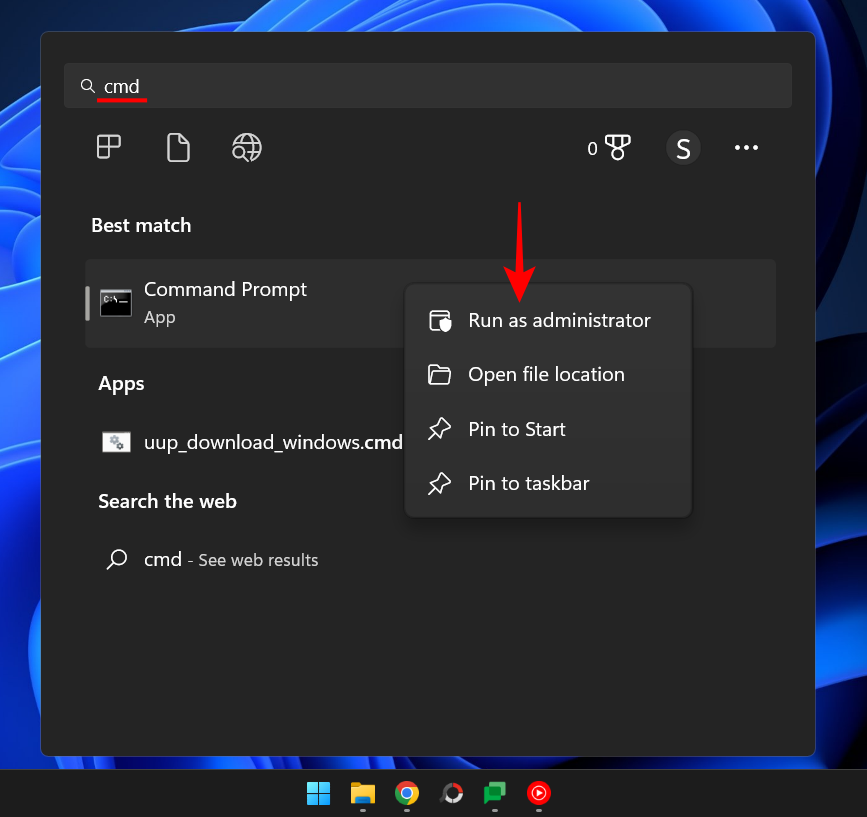
Press Start, type cmd, right-click on Command Prompt, and select Run as administrator.
Here, type the following command to get a list of all third-party drivers on your system:
dism /online /get-drivers /format:table
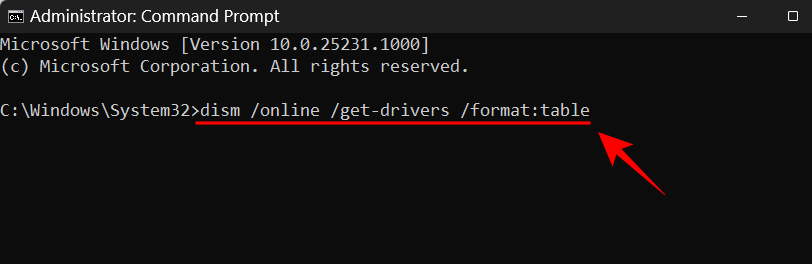
Hit Enter. You will now get a list of all third-party drivers on your system, including additional information about them such as the provider’s name, date published, version, etc.
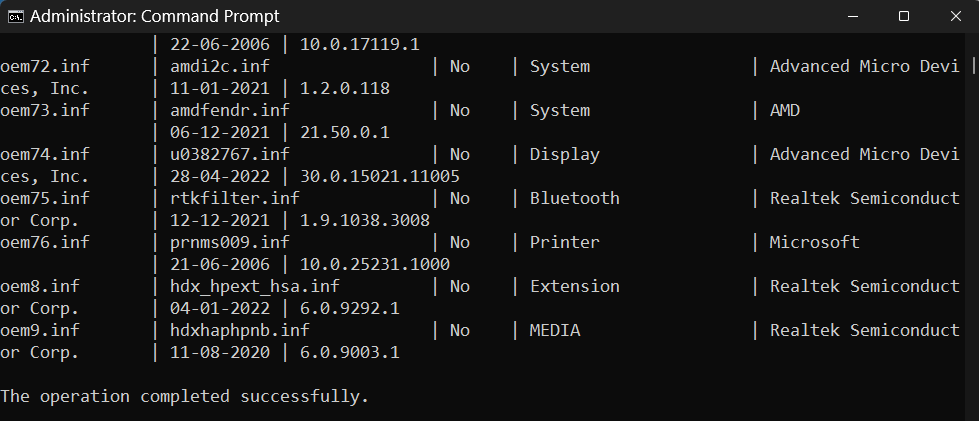
To uninstall the one that is causing the problems, type the following command:
pnputil /delete-driver (driver's published name) /uninstall /force
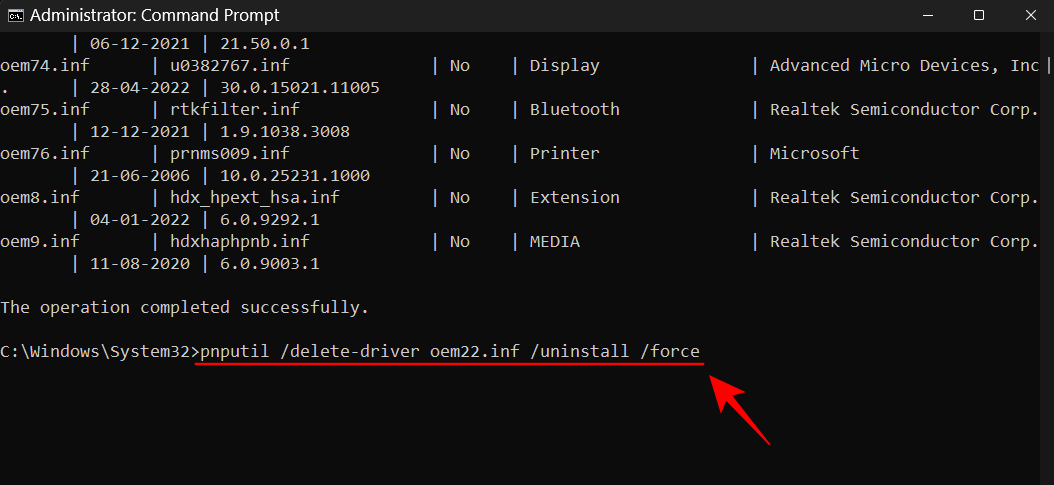
Make sure you type the correct published name. Otherwise, you may end up deleting a working driver and cause problems with your peripherals and applications. Hit Enter after typing the command.
You will now have removed the problematic driver and can turn on memory integrity via the methods given above.
FAQs
1. Should I turn on memory integrity on Windows 11?
Memory Integrity is a crucial feature of Windows security, in that it creates another layer of security for the core components that operate from the virtual environment. Without it turned on, you’re basically leaving your system vulnerable to threats of different kinds that can jeopardize not just your system but your data as well.
That said, if you’re only disabling it for a short period of time, say while you’re playing a game, it shouldn’t cause too much trouble since there are other Windows security features that can protect you in its stead.
2. Does memory integrity slow down the PC?
In theory, memory integrity can have an impact on performance. However, in practical application, you may or may not feel a dip in performance at all. Only while running resource-intensive applications like games will you feel a slight slowdown. So, if you want to boost your gaming performance, you can try disabling memory integrity beforehand.
3. Is Memory Integrity on by default?
The Memory Integrity feature used to be turned off by default earlier. However, Microsoft has been pushing hard for users to adopt this as a security feature, and, ever since the 22H2 update, it has been turned on by default.
We hope you now have a better understanding of what memory integrity is, what it does, and how you can turn it on or off depending on whether you want to have better performance or better security on Windows 11.


Discussion