
To stop the monkeys attacking you in Hidden Mountain, complete the No Monkey Business puzzle by collecting the Monkey King’s Square, Monkey King’s Mohist Canon, and Monkey King’s Mirror, then submitting them at the Monkey King’s Corpse.
This Hidden Mountain puzzle is built around three Monkey King objects and a final turn-in at the Monkey King’s Corpse. One Version 2.0 note: some early player guidance treats the monkeys as normal hostile wildlife with no global pacify switch, so use this route for the No Monkey Business completion rather than as a menu setting or combat toggle.
Monkey King items you need
| Item | Where to get it |
|---|---|
| Monkey King’s Square | Stolen from the Wayfarer near Wayfarer (Shenze). |
| Monkey King’s Mohist Canon | Picked up near the Monkey King’s Mausoleum signpost after starting from Reflection Rise. |
| Monkey King’s Mirror | Obtained from the Monkey King’s Chest beside the Monkey King’s Corpse. |
KEY!Before you make the final trip to the Monkey King, make sure you have the full set: the Square, the Mohist Canon, and the Mirror.
Start the Canon route from Reflection Rise and stay on the road toward Desperation Ridge before picking up the item near the Monkey King’s Mausoleum signpost.
How to complete No Monkey Business in Where Winds Meet
Follow this route through Hidden Mountain to collect the Monkey King items and finish the puzzle at the corpse.
STEP 1/12
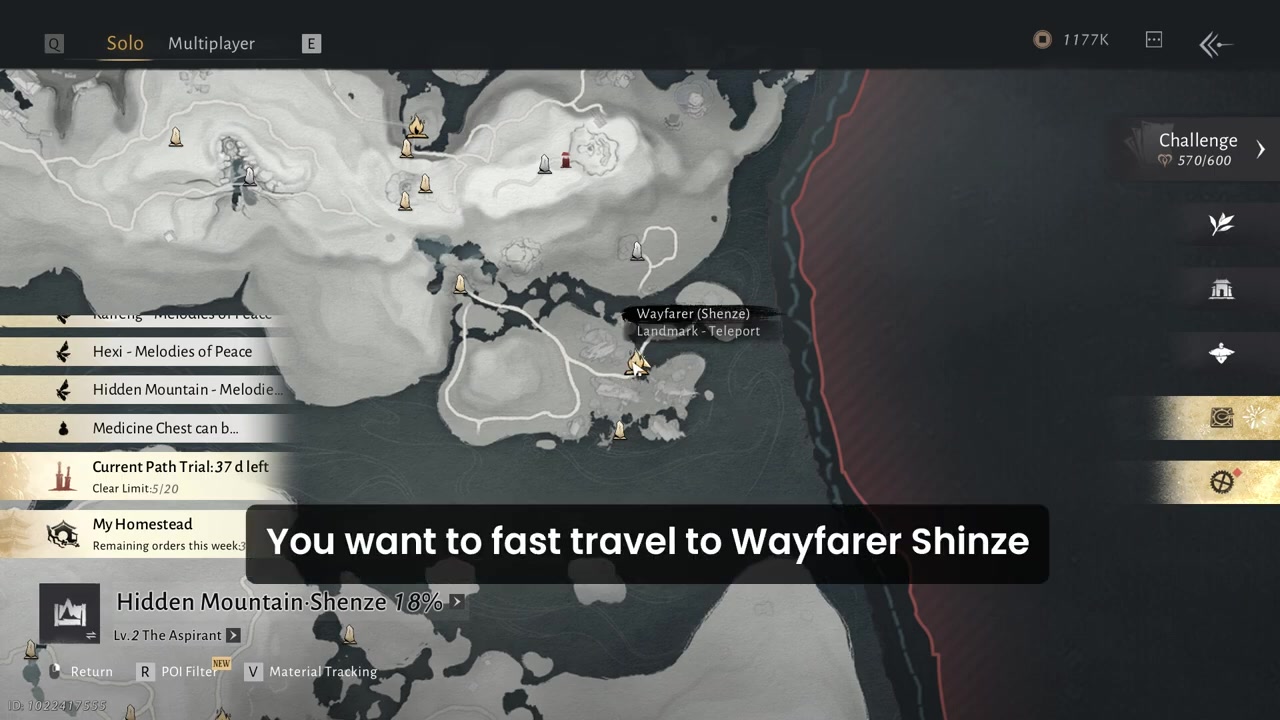
Fast travel to Wayfarer (Shenze)
Open the map and fast travel to the Wayfarer (Shenze) landmark in Hidden Mountain.
STEP 2/12
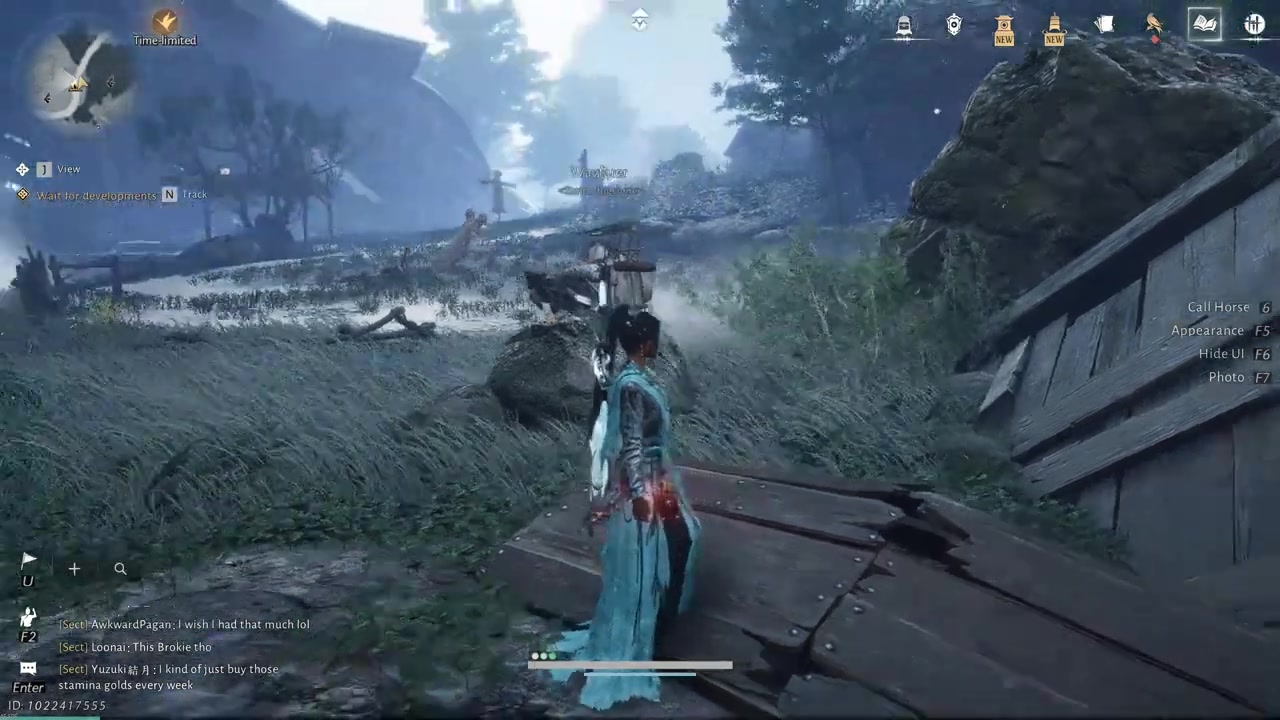
Find the Wayfarer
Look near the landing spot for the Wayfarer resting by the rocks.
STEP 3/12
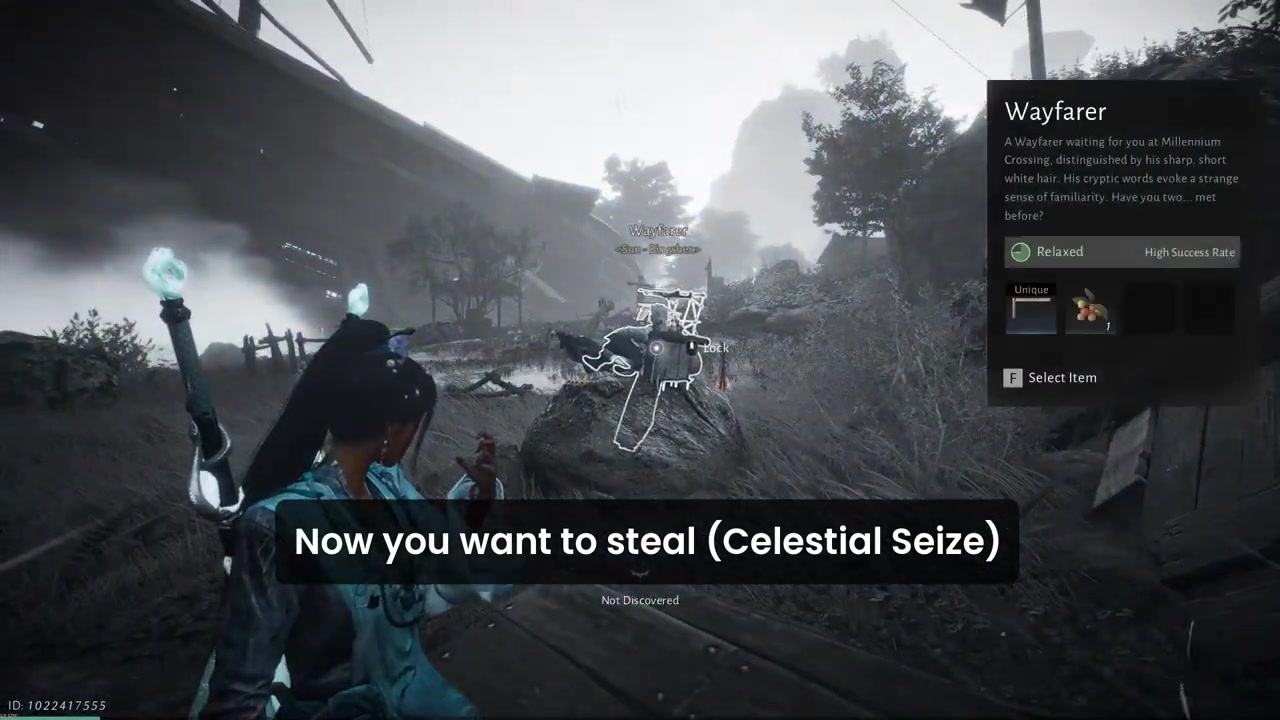
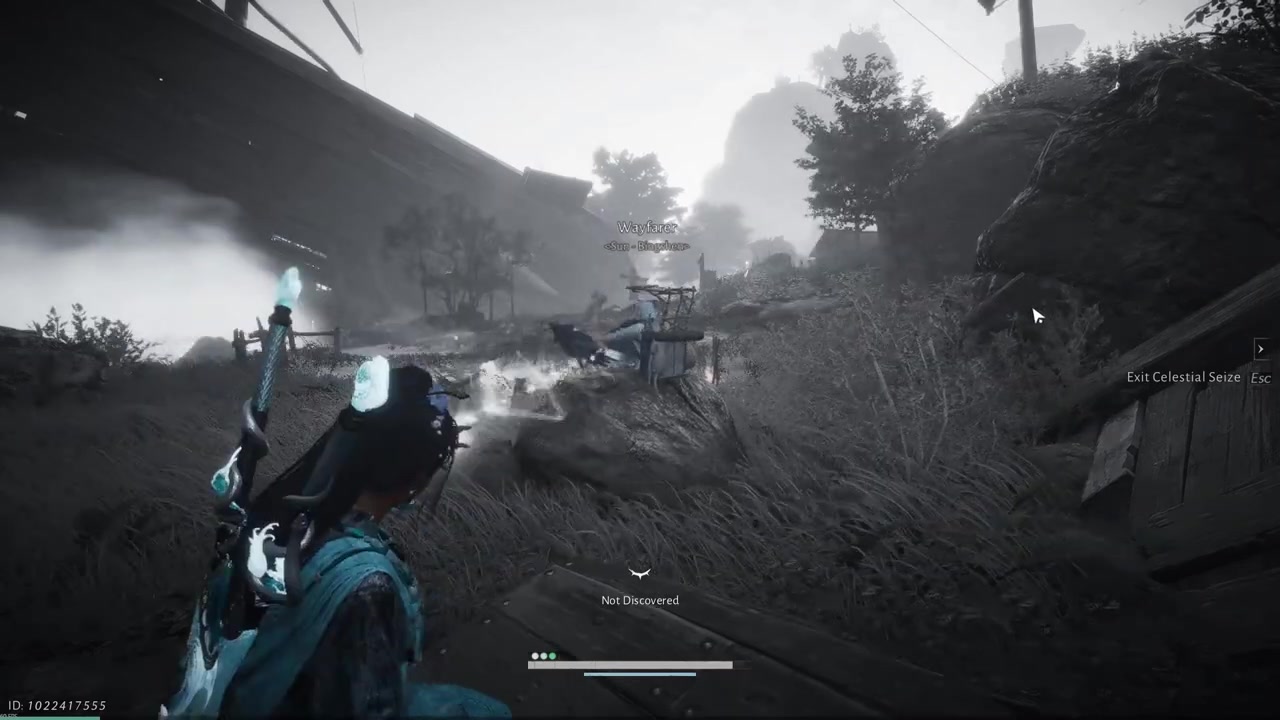
Steal the Monkey King’s Square
Use Celestial Seize on the Wayfarer to take the Monkey King’s Square.
STEP 4/12
Teleport to Reflection Rise
Fast travel to the Reflection Rise landmark for the Canon route.
STEP 5/12
Drop to the road
Head down from Reflection Rise until you reach the road below.
STEP 6/12
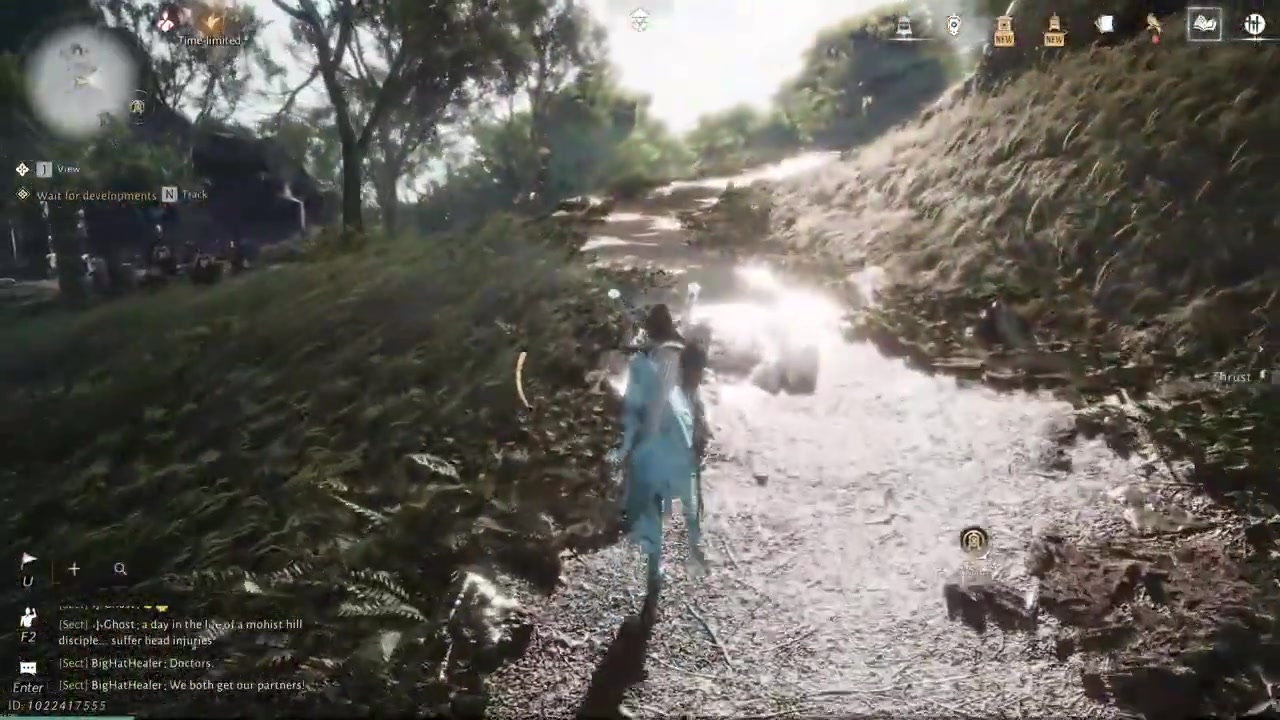
Follow the road
Stay on the road and keep moving past enemies instead of stopping for unnecessary fights.
STEP 7/12
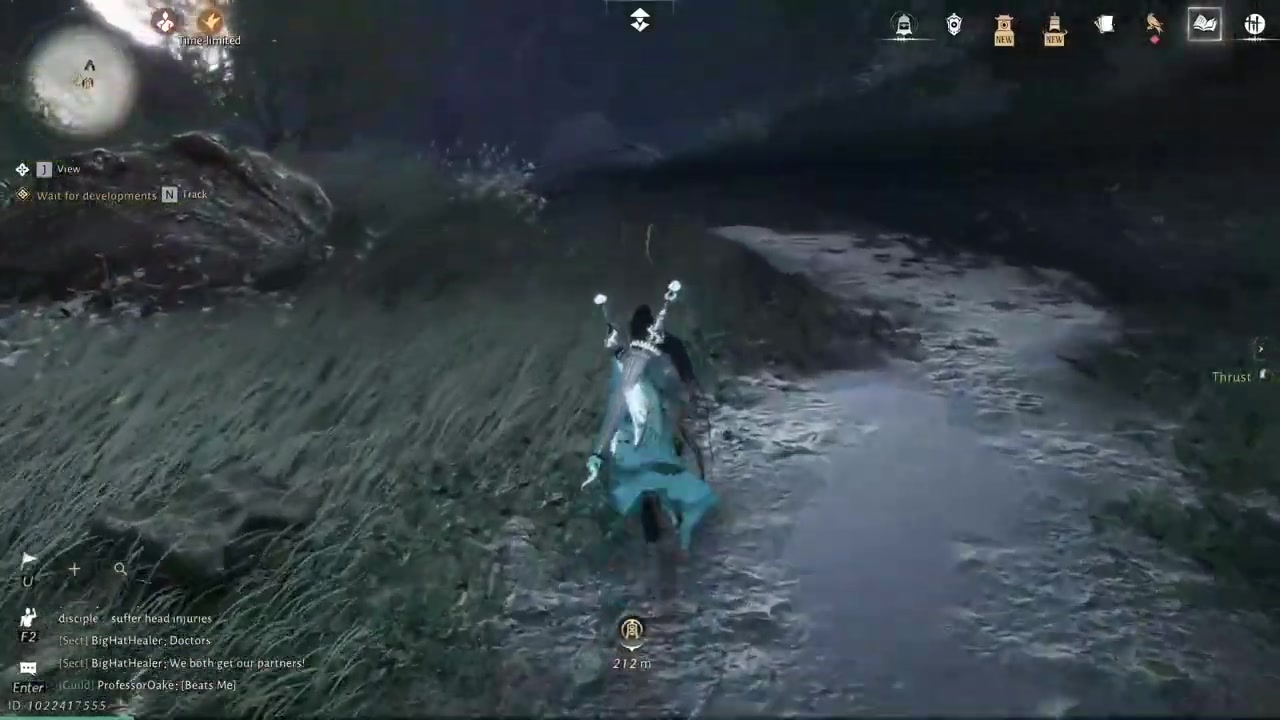
Reach Desperation Ridge
Continue along the road to Desperation Ridge, directly below the target area.
STEP 8/12
Avoid closer-looking routes
Stay with the Desperation Ridge road approach until you reach the Canon pickup route.
STEP 9/12
Grab the Monkey King’s Mausoleum signpost
Pick up the Monkey King’s Mohist Canon near the Monkey King’s Mausoleum signpost.
STEP 10/12
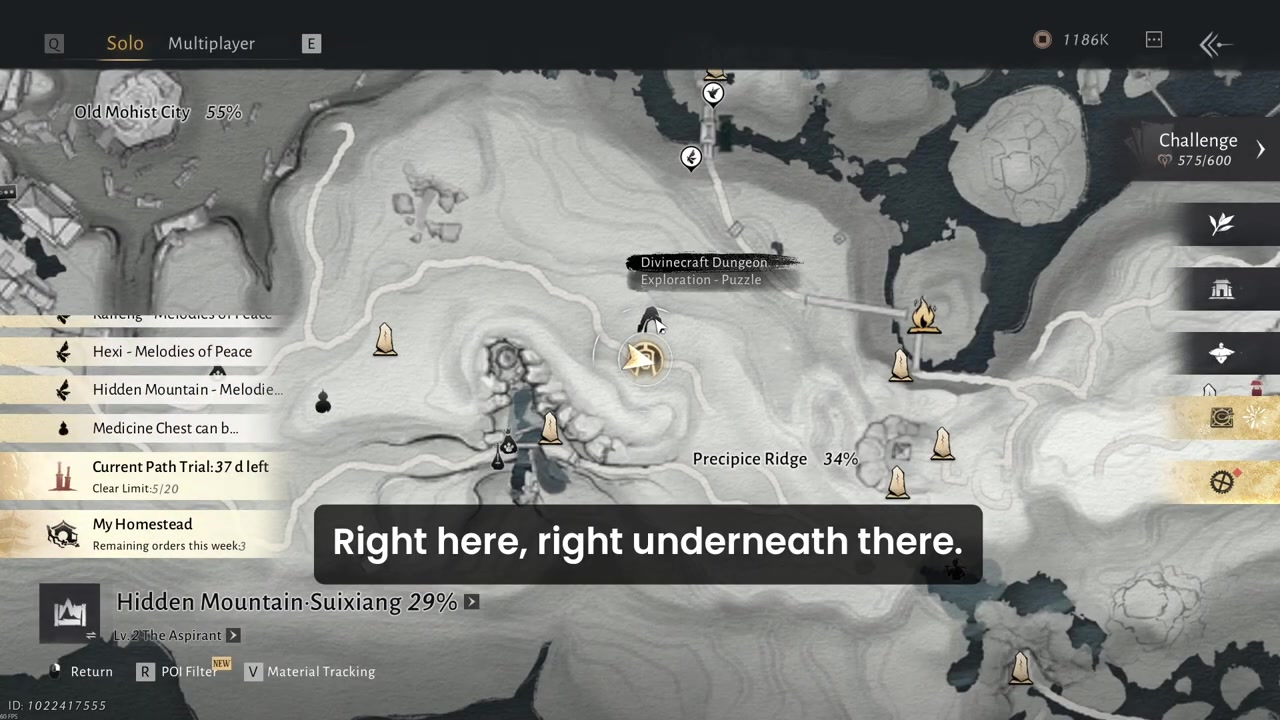
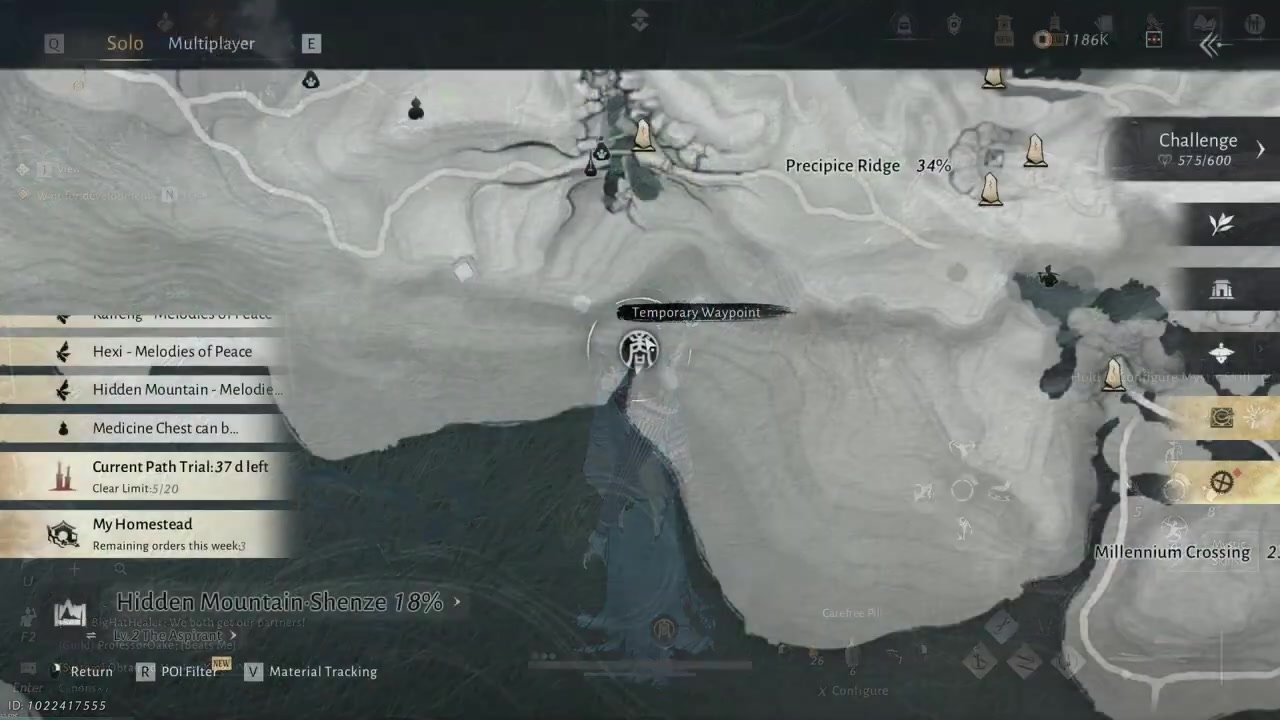
Check the map position
Use the map view here to orient yourself before heading to the Monkey King’s location.
STEP 11/12
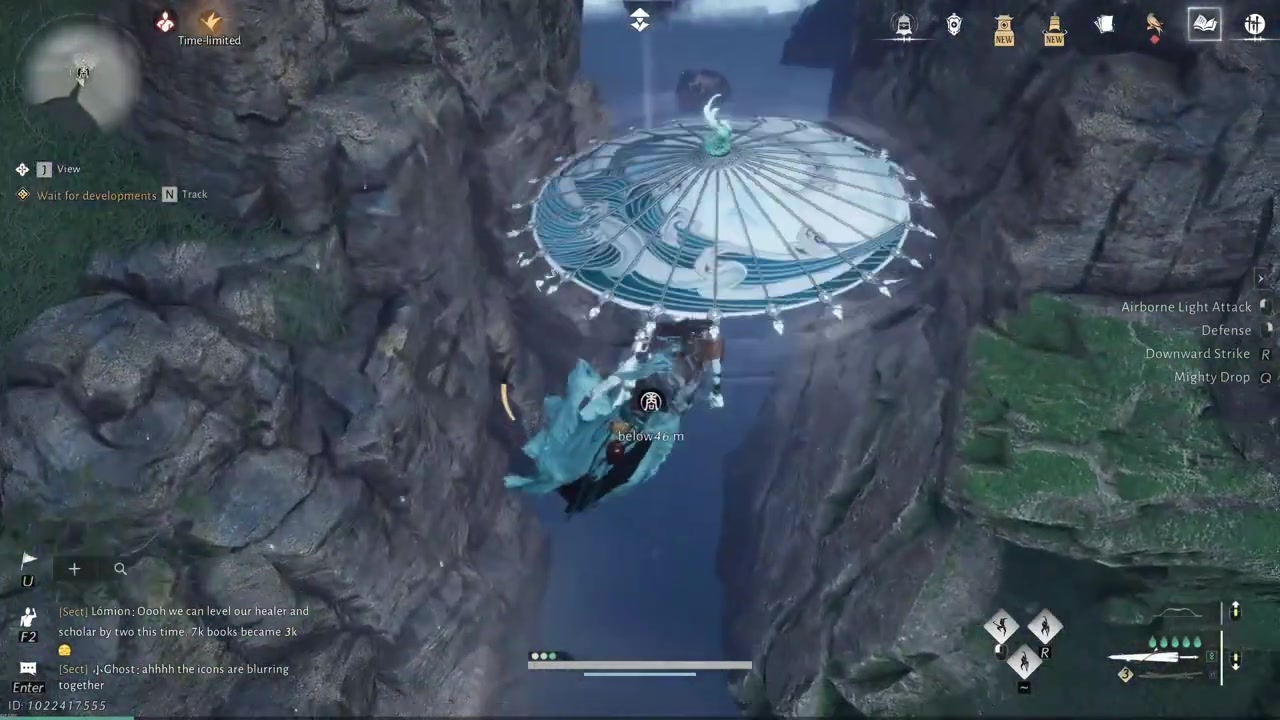
Reach the Monkey King
Go to the Monkey King’s Corpse, open the nearby Monkey King’s Chest for the Monkey King’s Mirror, then submit the three items at the corpse.
STEP 12/12
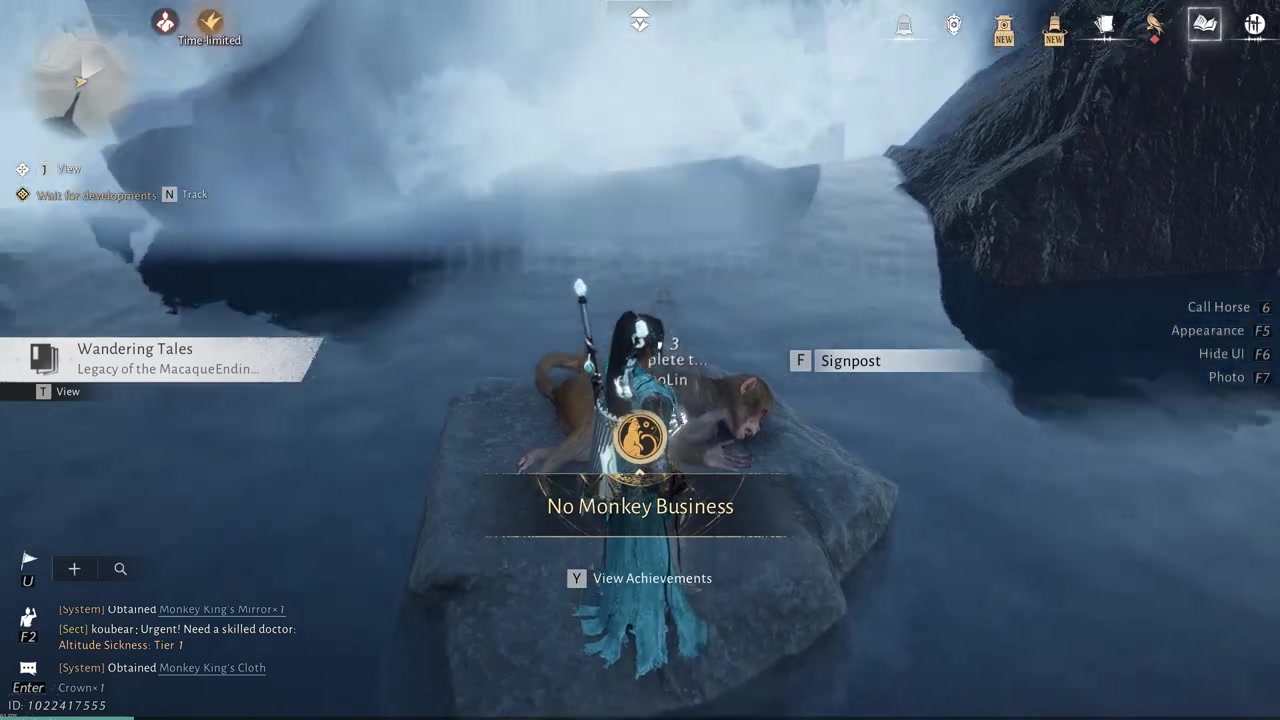
Finish No Monkey Business
The No Monkey Business achievement unlocks when the turn-in is complete.
Video help
What changes after No Monkey Business
Completing the turn-in unlocks the No Monkey Business achievement. After that completion, the Hidden Mountain monkeys tied to this puzzle stop attacking you.
Route mistakes that make the Monkey King puzzle harder
The most common mistake is treating the Monkey King’s Mohist Canon like a random nearby pickup. The clean route starts from Reflection Rise, drops to the road, and follows that road toward Desperation Ridge before you grab the item near the Monkey King’s Mausoleum signpost.
Another easy miss is the Monkey King’s Mirror. It is not on the signpost route; it comes from the Monkey King’s Chest beside the Monkey King’s Corpse, right at the end of the puzzle.
If you want the easiest run, do not wander closer than needed before the route tells you to. Hidden Mountain’s monkeys can harass you hard when you drift into their space, and the road approach keeps the item pickup and final turn-in cleaner.
Frequently Asked Questions
Do you have to fight the monkeys to stop the attacks?
No. The route avoids unnecessary fighting and finishes the No Monkey Business puzzle by collecting and submitting the three Monkey King items.
Where is the Monkey King’s Square?
The Monkey King’s Square is taken from the Wayfarer near the Wayfarer (Shenze) landmark in Hidden Mountain.
Where is the Monkey King’s Mohist Canon?
The Monkey King’s Mohist Canon is on the ground near the Monkey King’s Mausoleum signpost on the route from Reflection Rise.
Where do you get the Monkey King’s Mirror?
The Monkey King’s Mirror comes from the Monkey King’s Chest at the Monkey King’s final location.
What achievement do you unlock?
You unlock No Monkey Business after submitting the Monkey King’s Square, Monkey King’s Mohist Canon, and Monkey King’s Mirror.






Leave a Reply