What to know
-
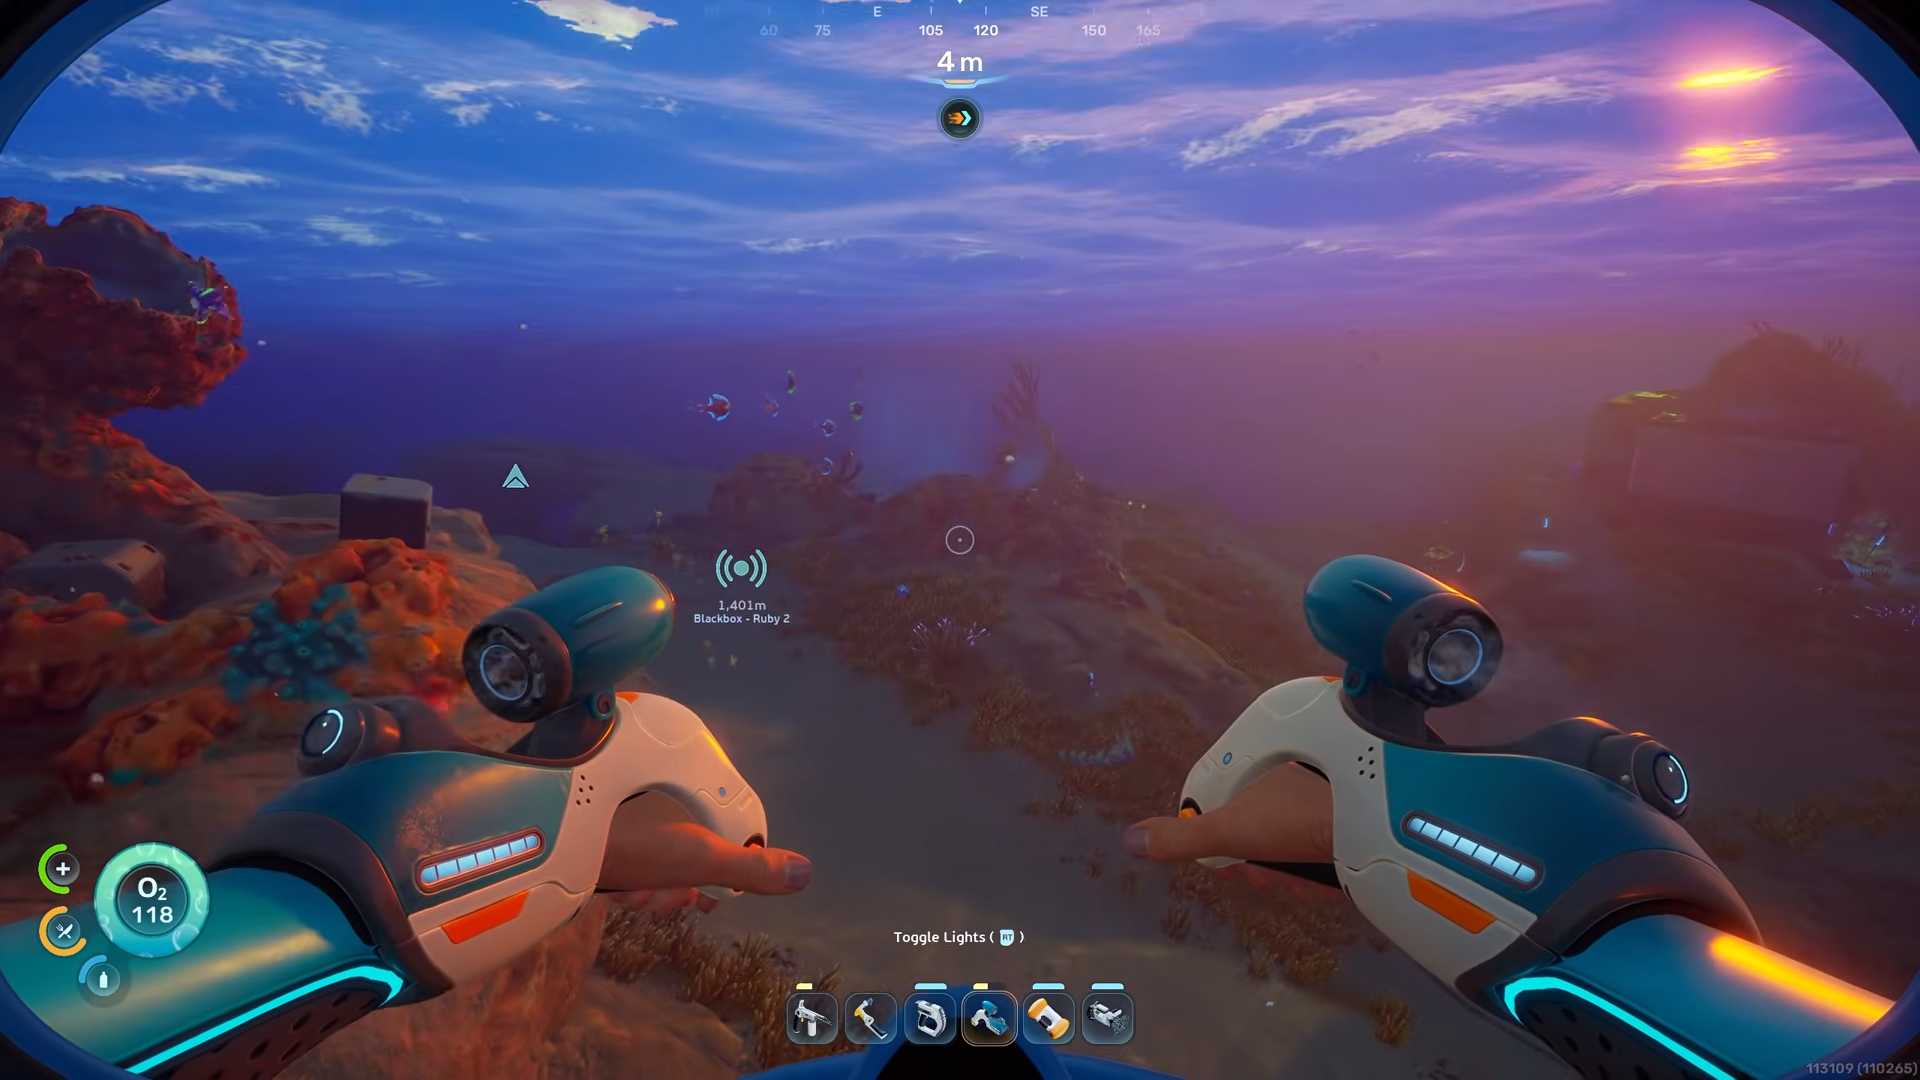
Start from the Lifepod and travel about 110 to 115 degrees on the compass, which points between east and southeast.
-
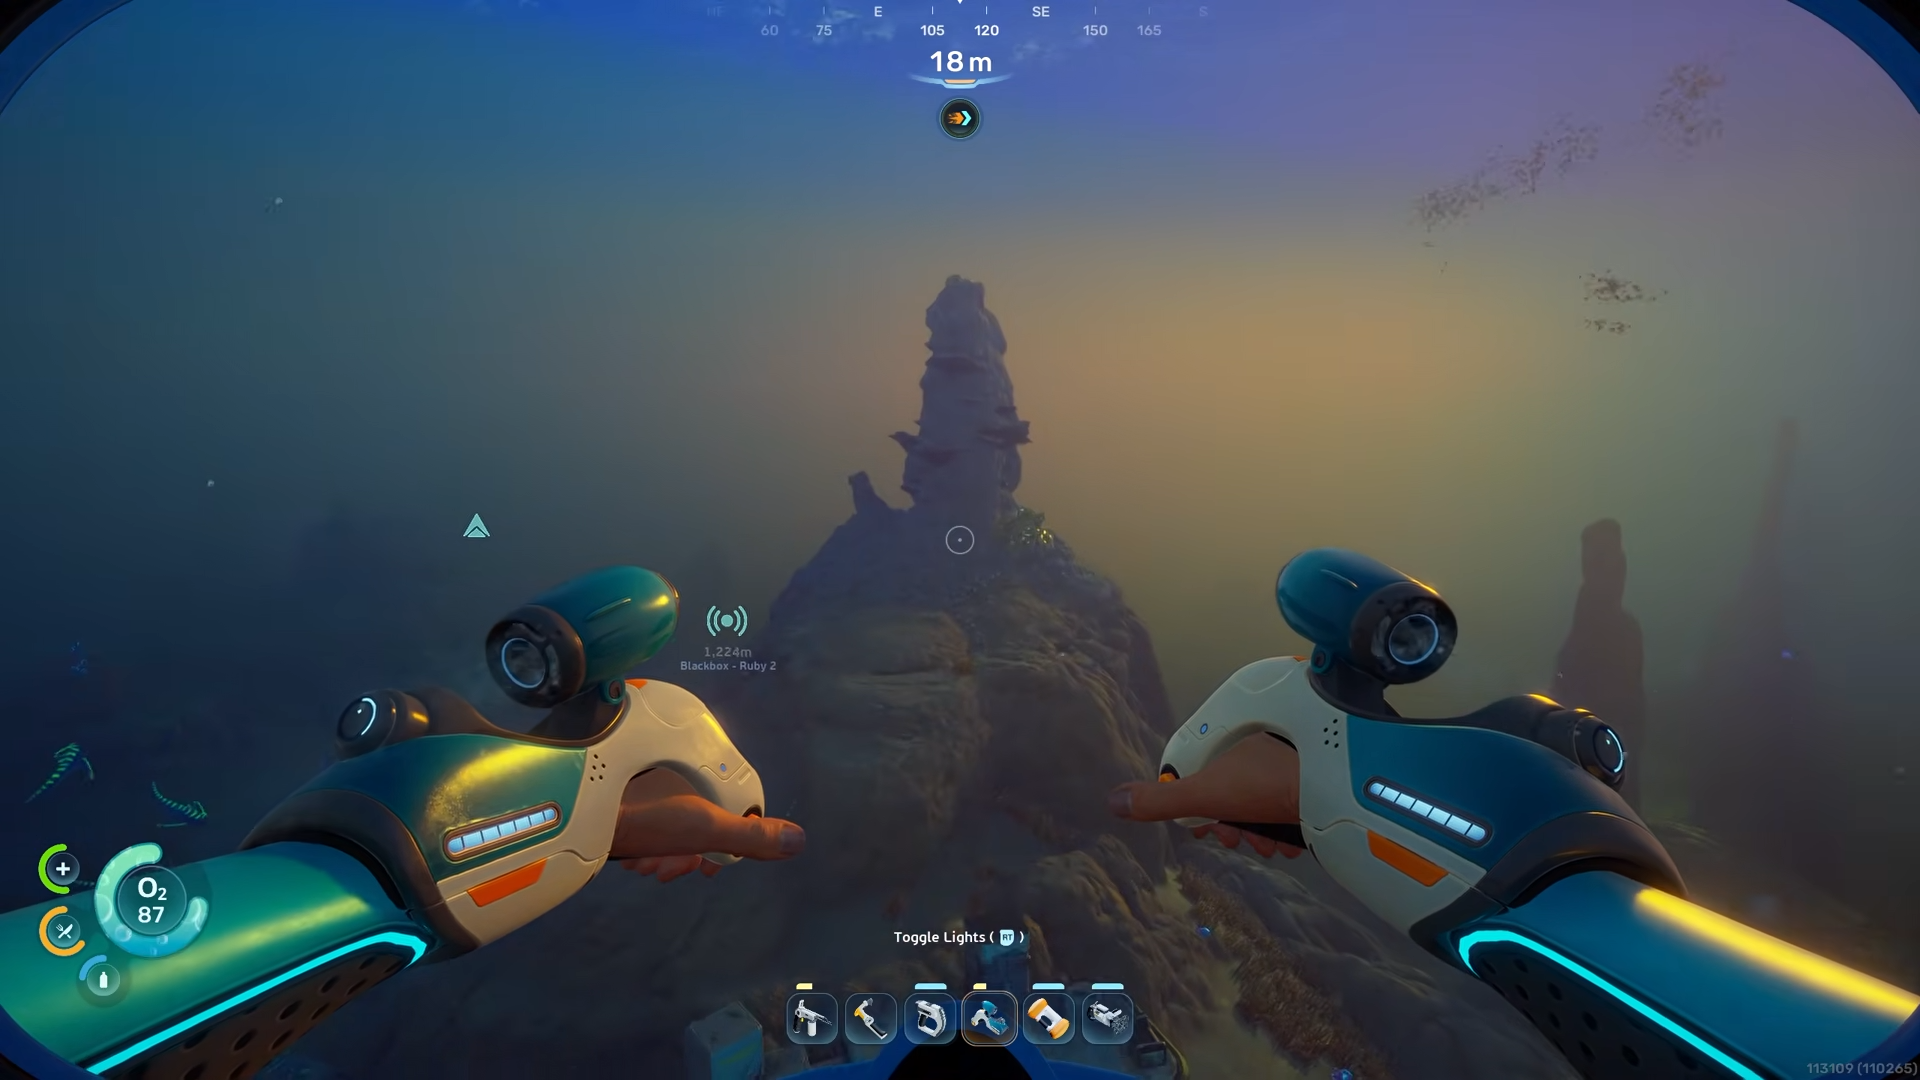
Go roughly 250 meters until you reach a warm volcanic zone with a tall pillar sitting on a large rock.
-
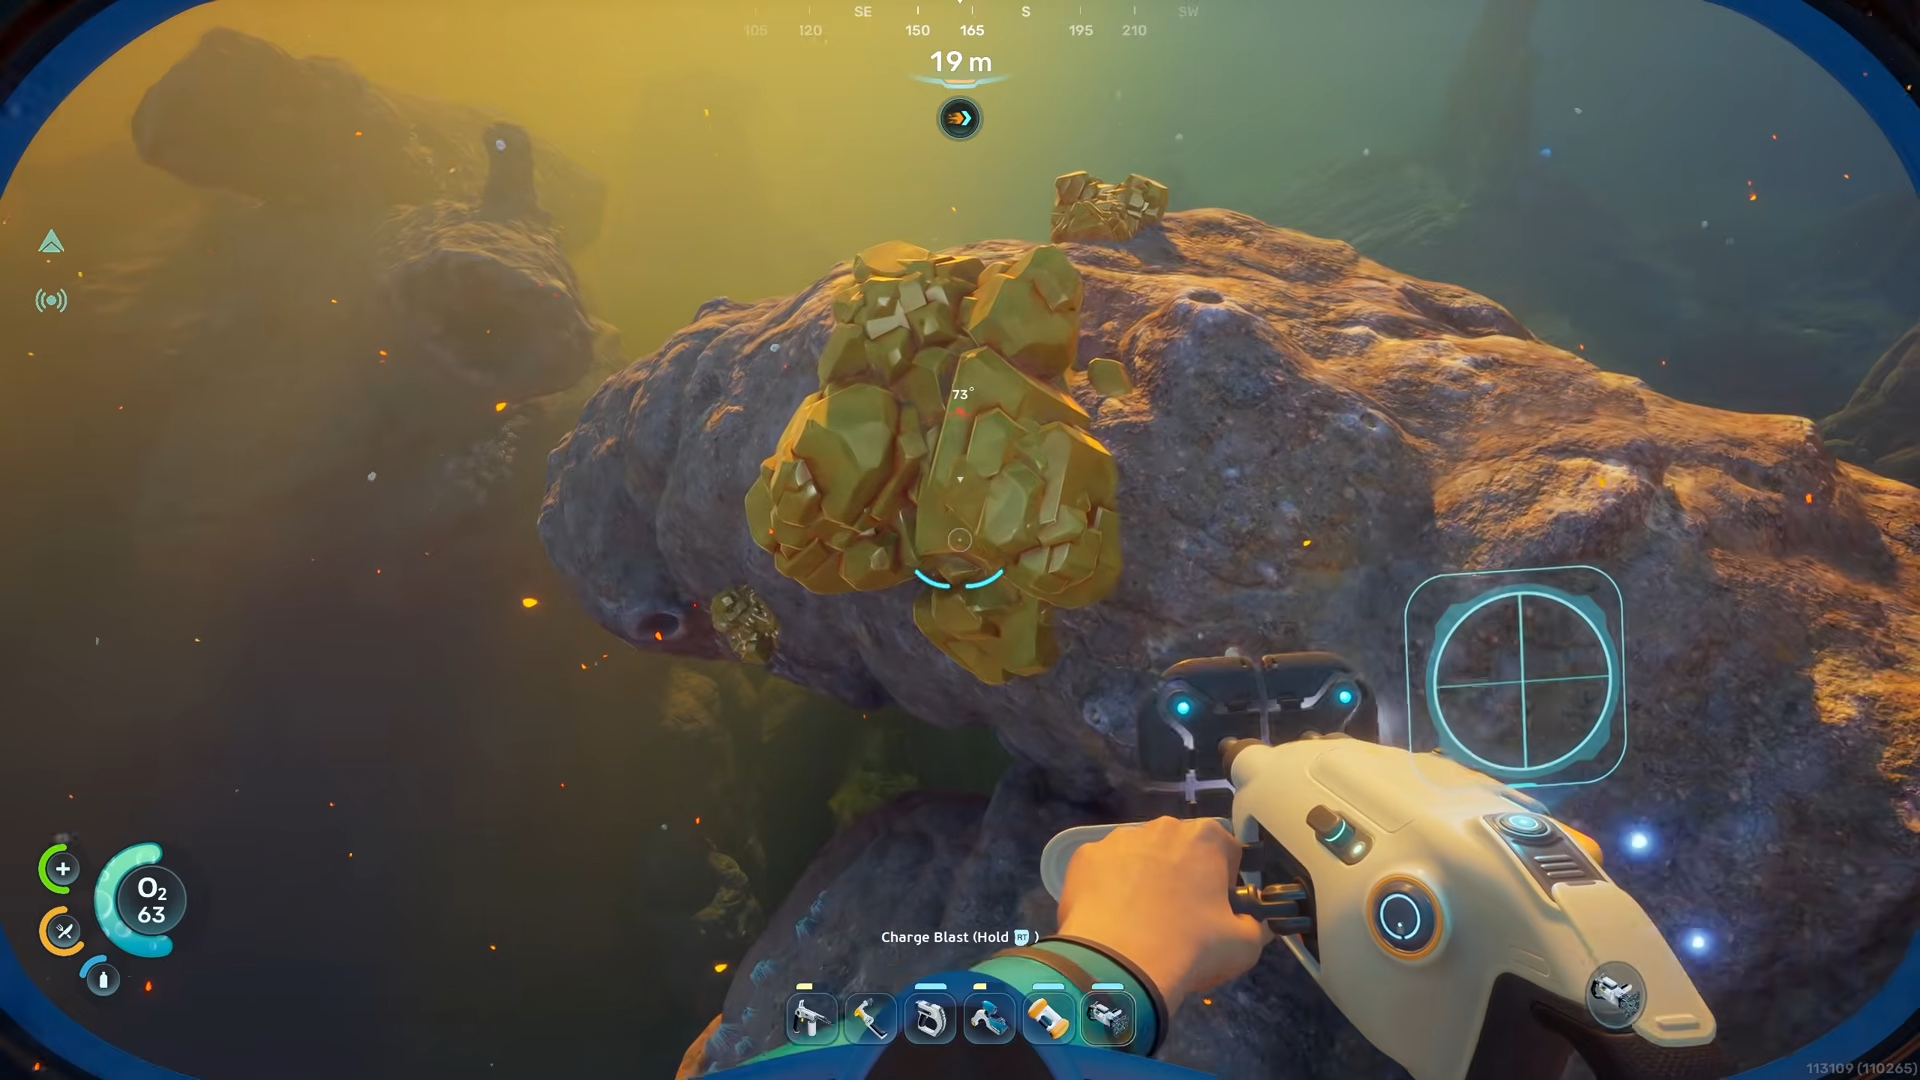
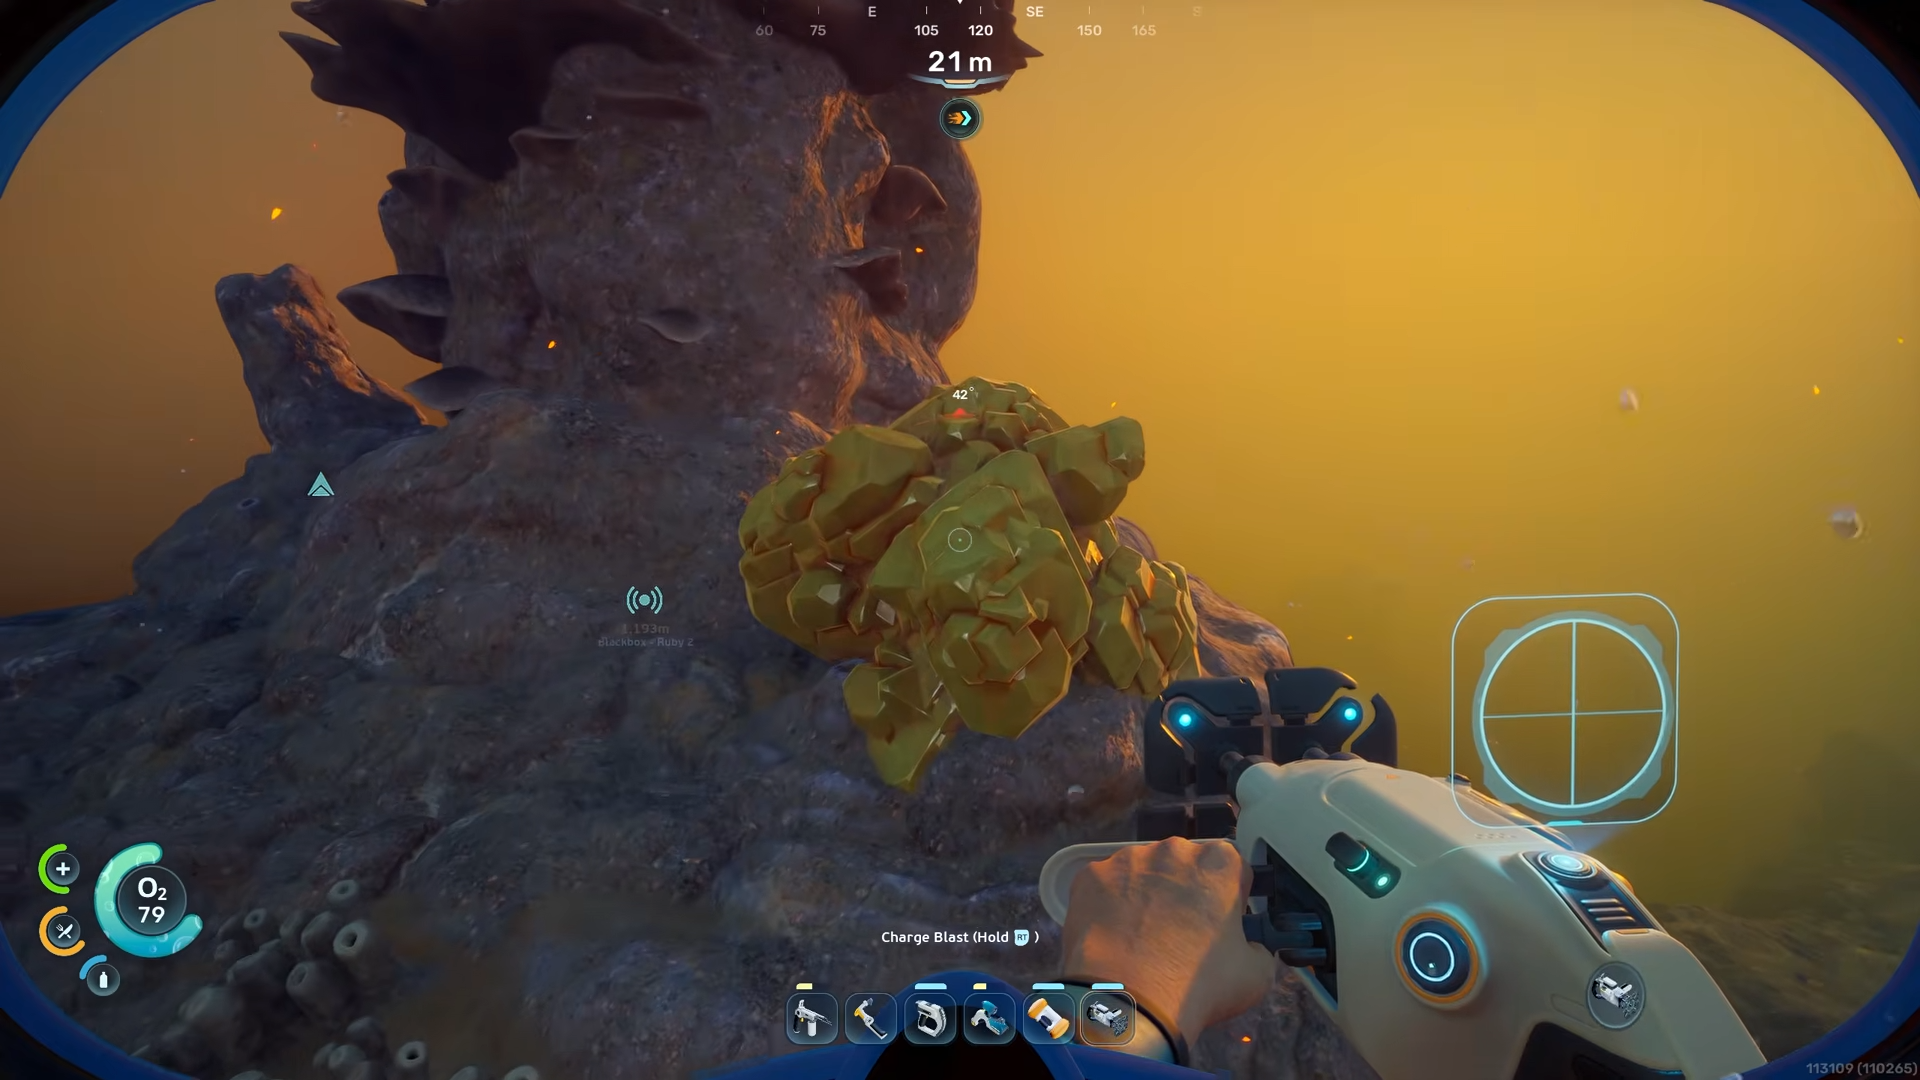
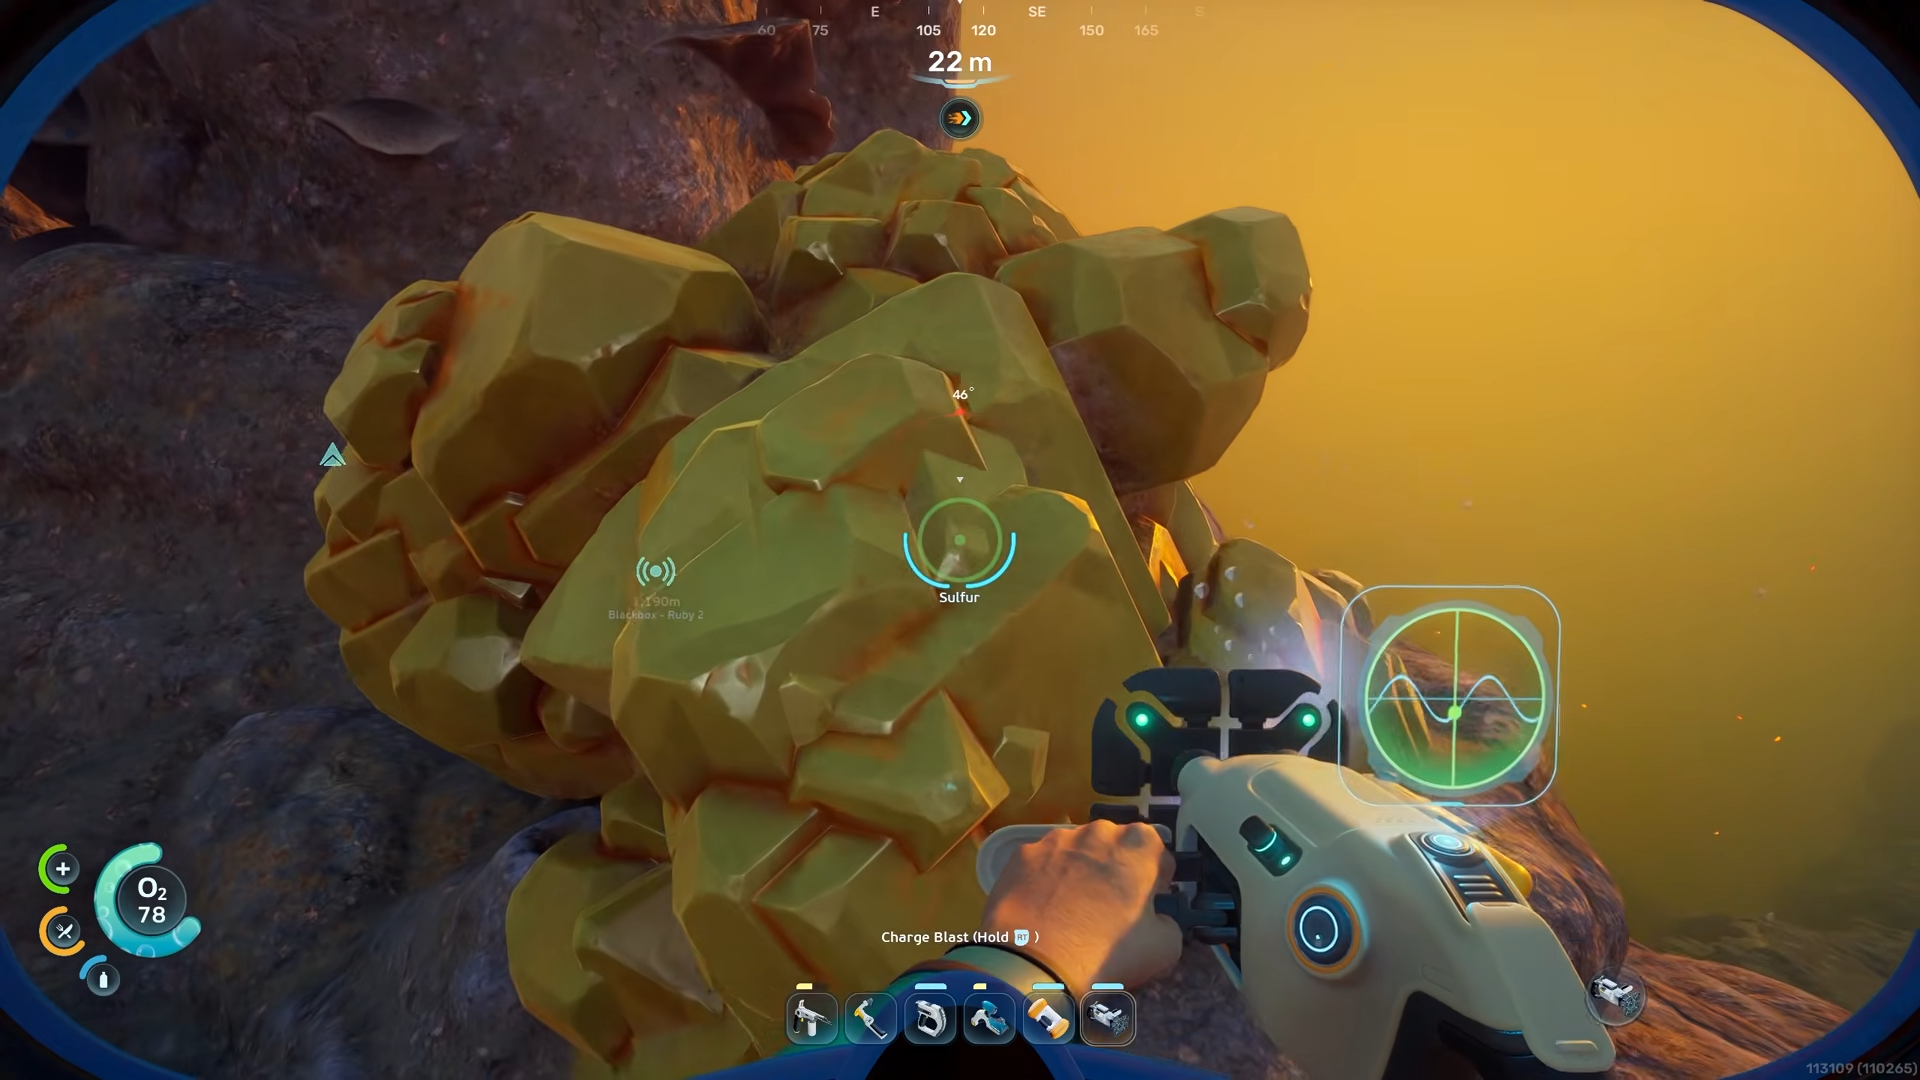
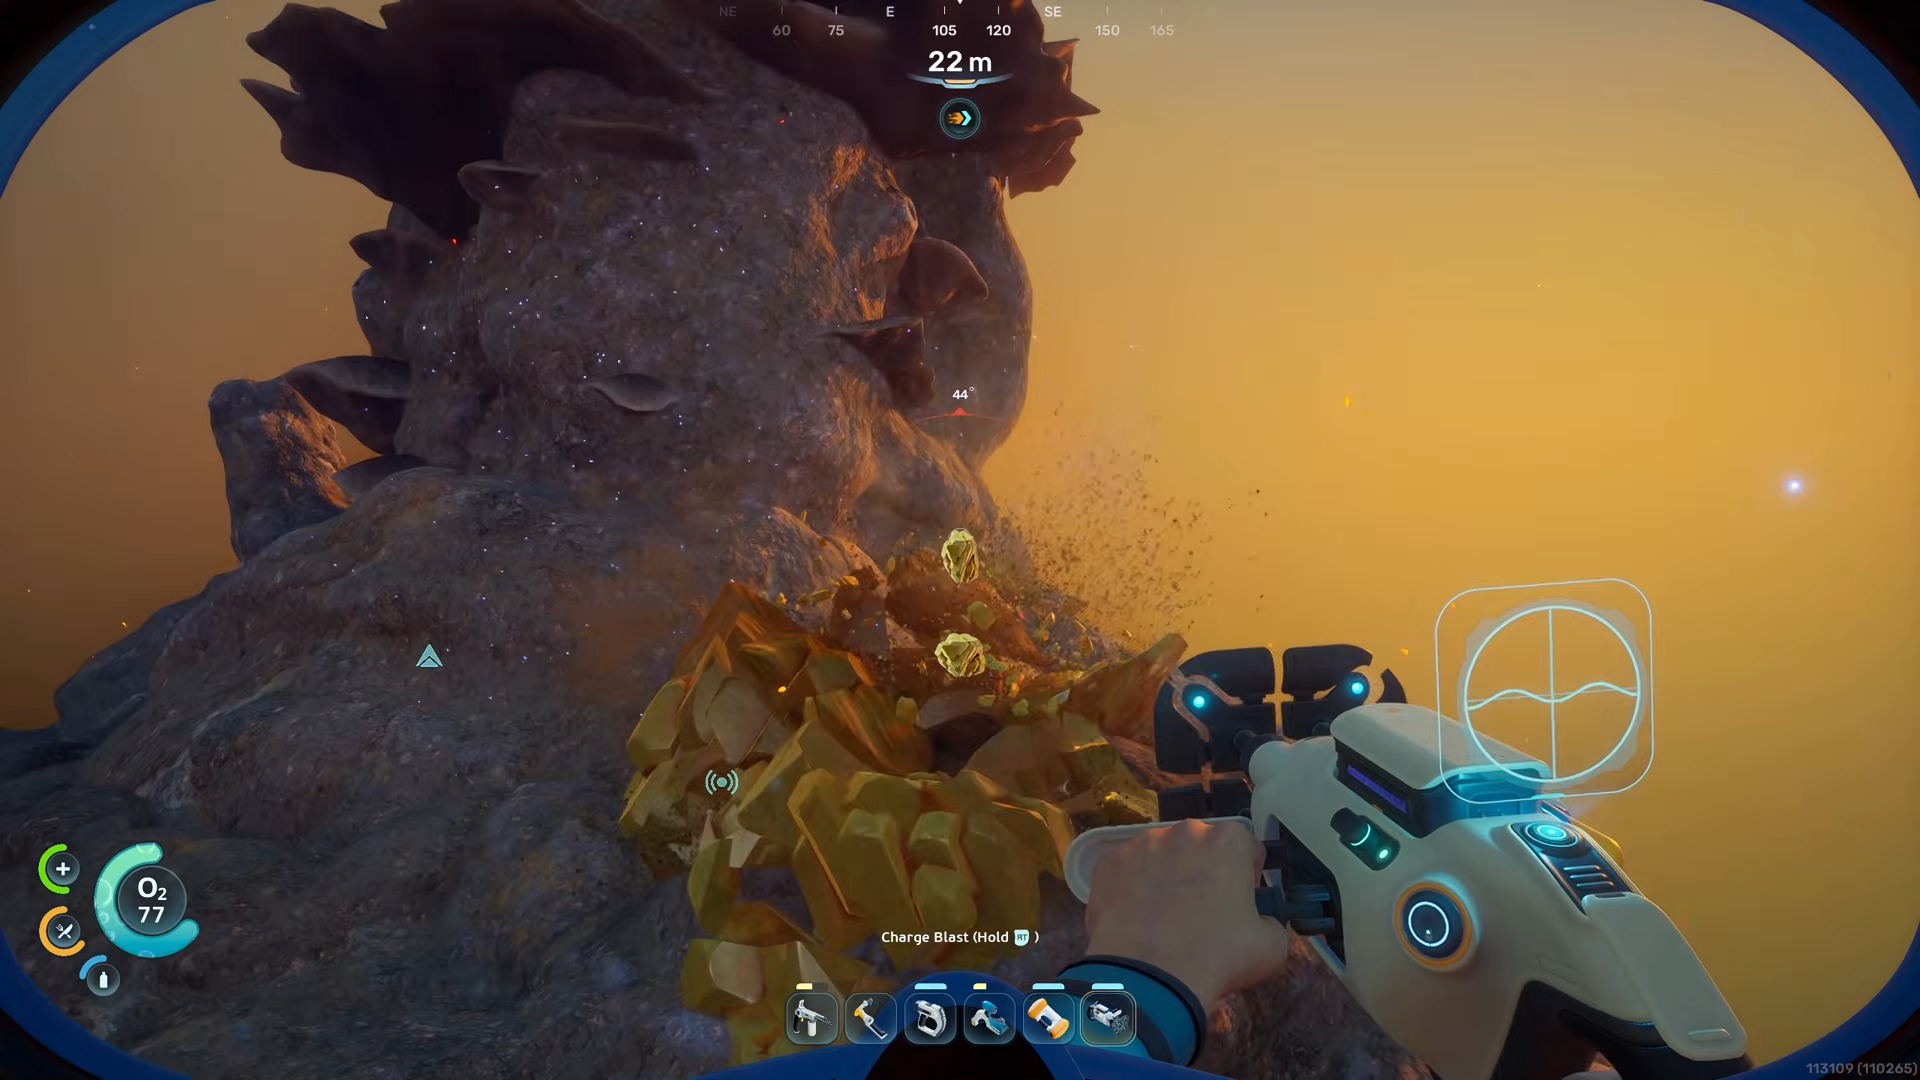
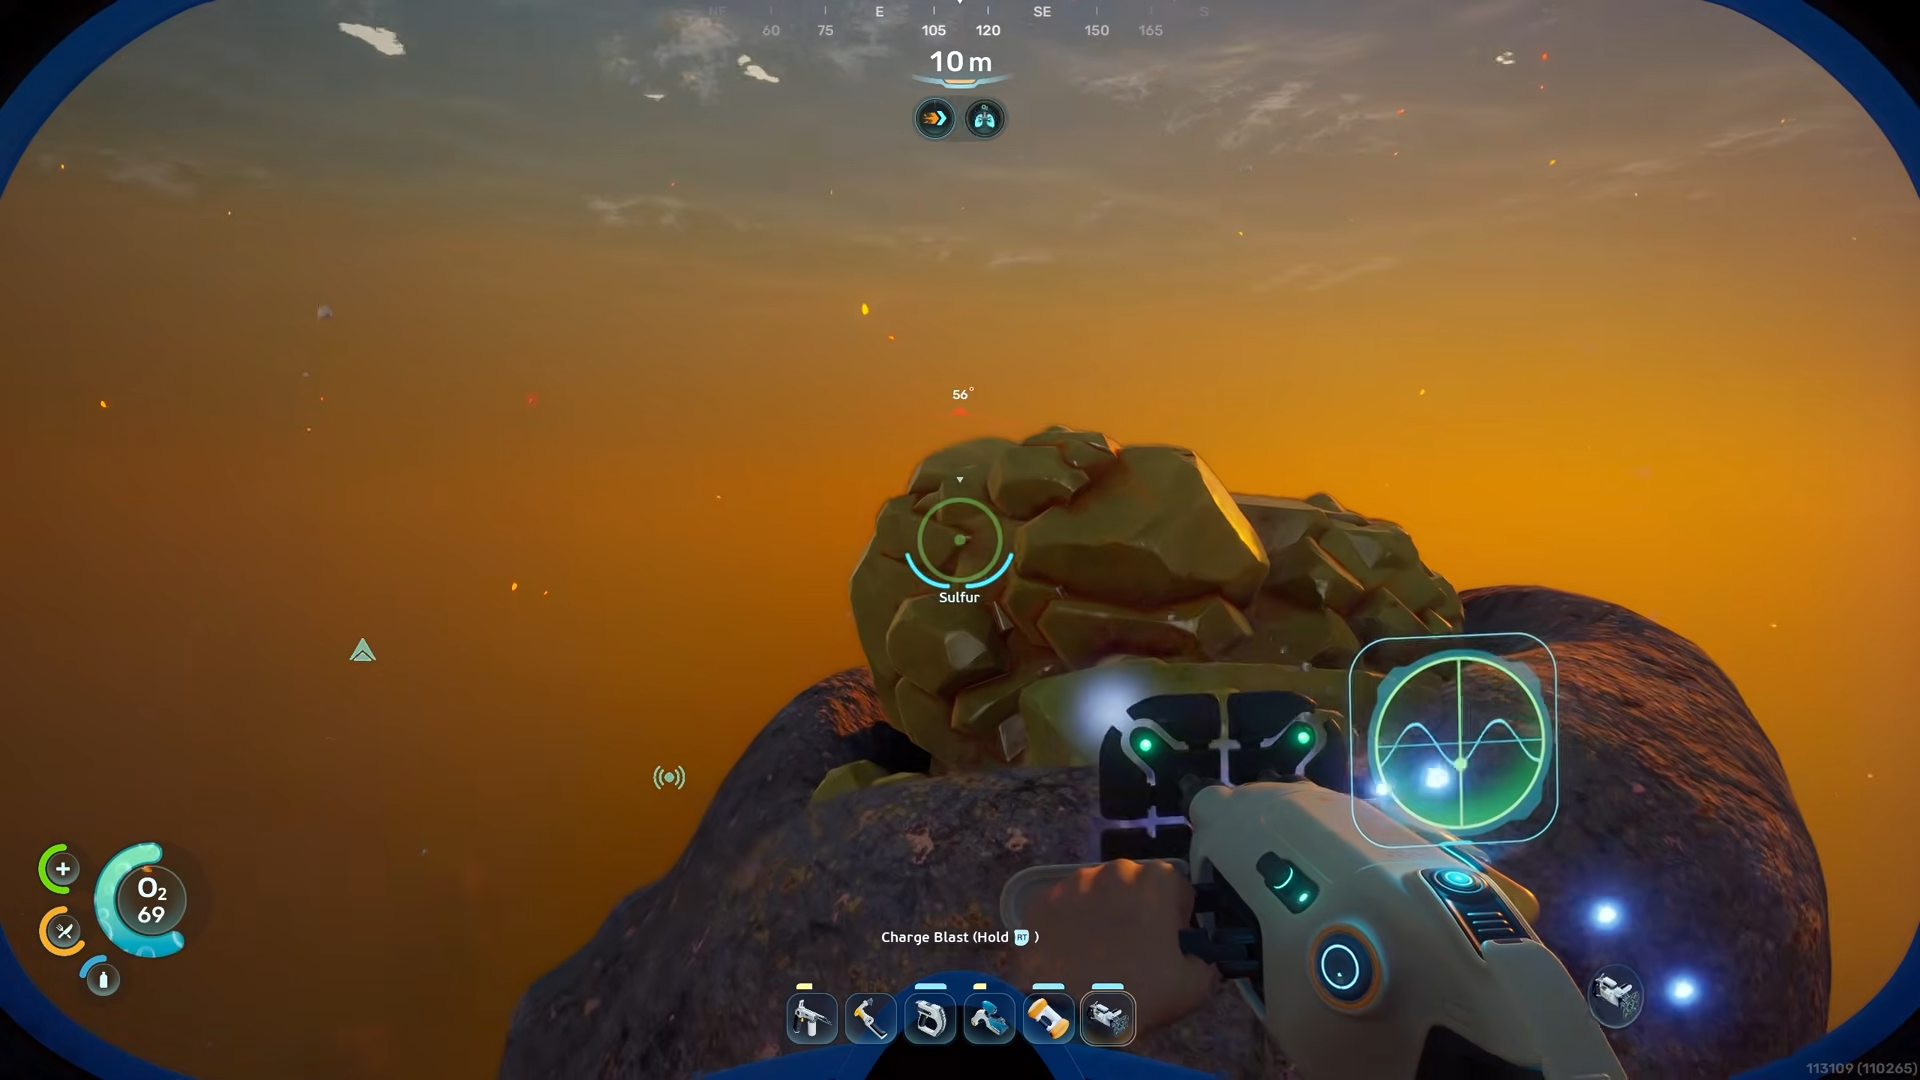
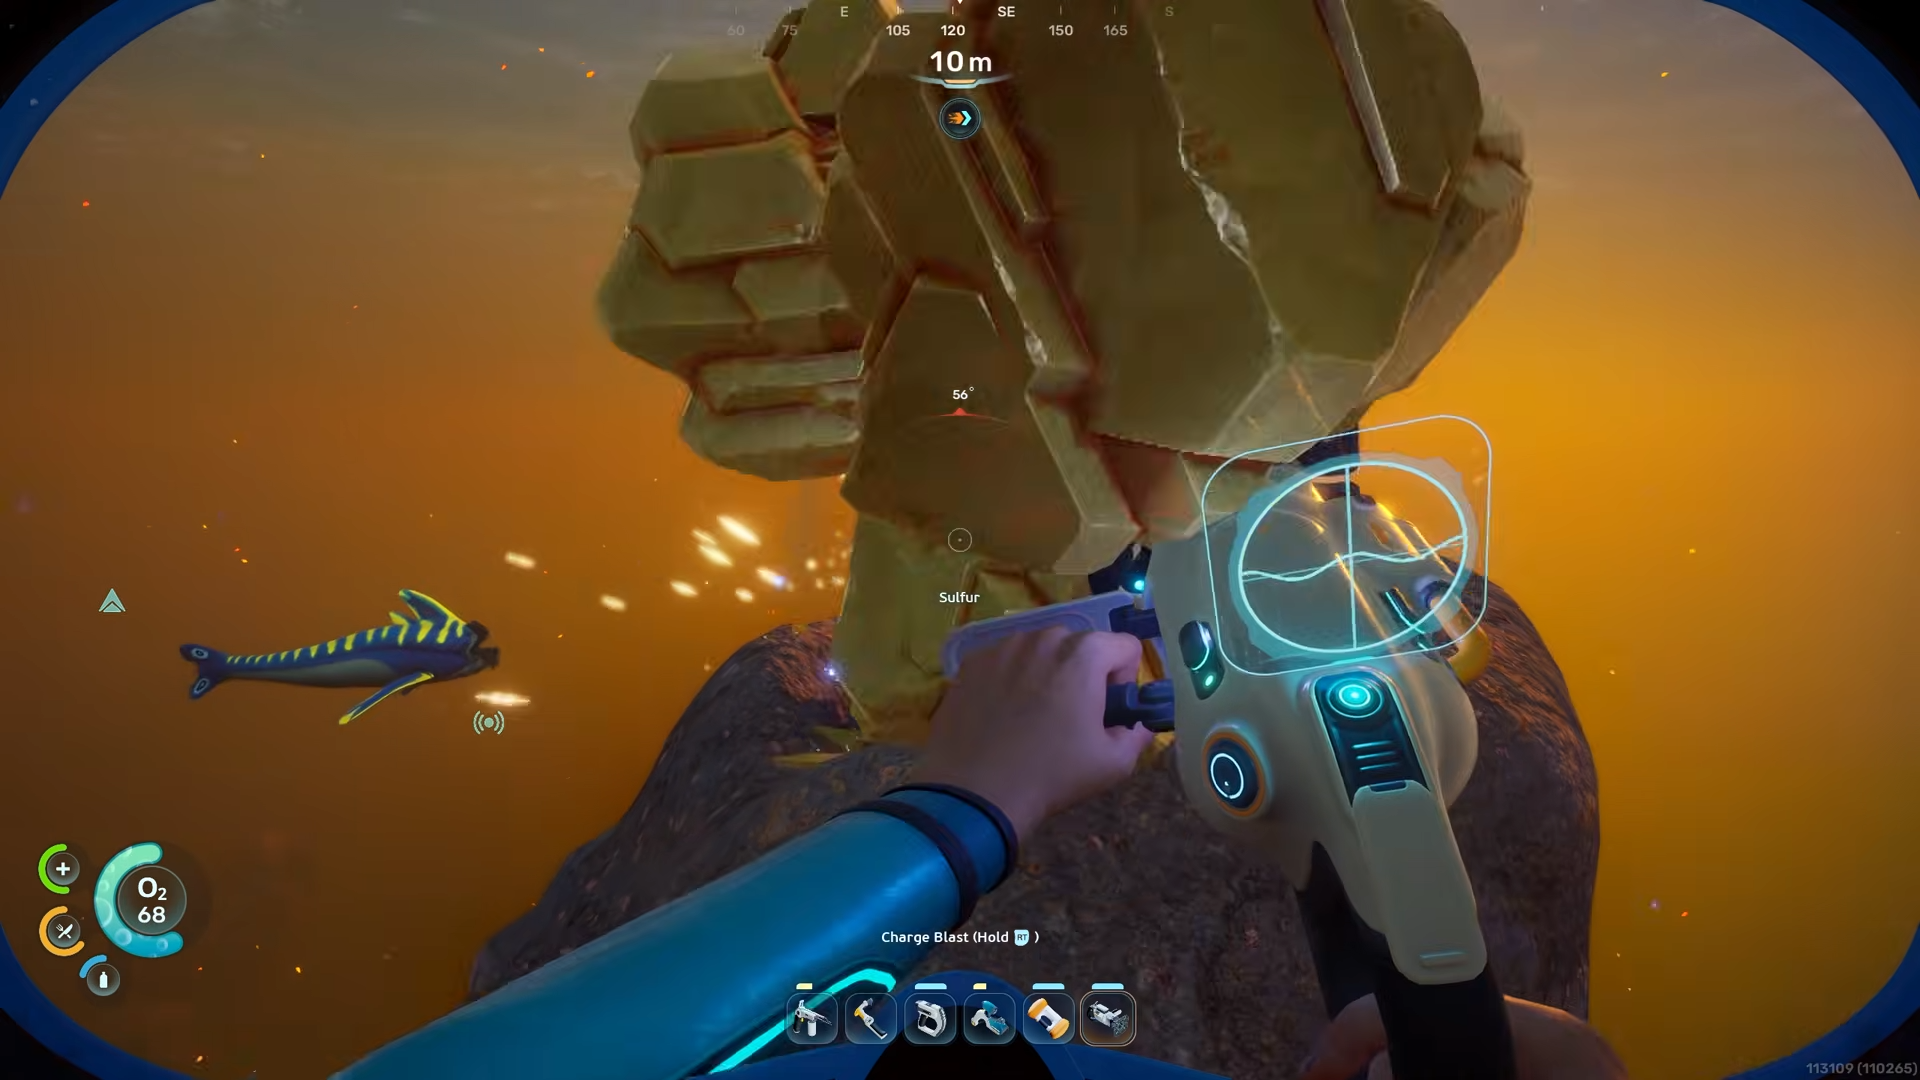
The main pillar is heavily covered in sulfur, while nearby pillars in the same area often hold smaller pieces on their sides.
-
Heat resistance is important before exploring farther into the hot biome, because the area can damage you if you stay too long.
Subnautica 2 sulfur is not something you usually farm in a safe starting zone. The reliable method is to leave the Lifepod, follow the compass toward the warm edge of the lava or volcanic region, and search the stone pillars carefully because the resource can appear in multiple spots around that cluster.
Sulfer locations
How to reach the sulfur area
Step 1
Leave the Lifepod and set your heading to about 110 to 115 degrees on the compass.
Step 2
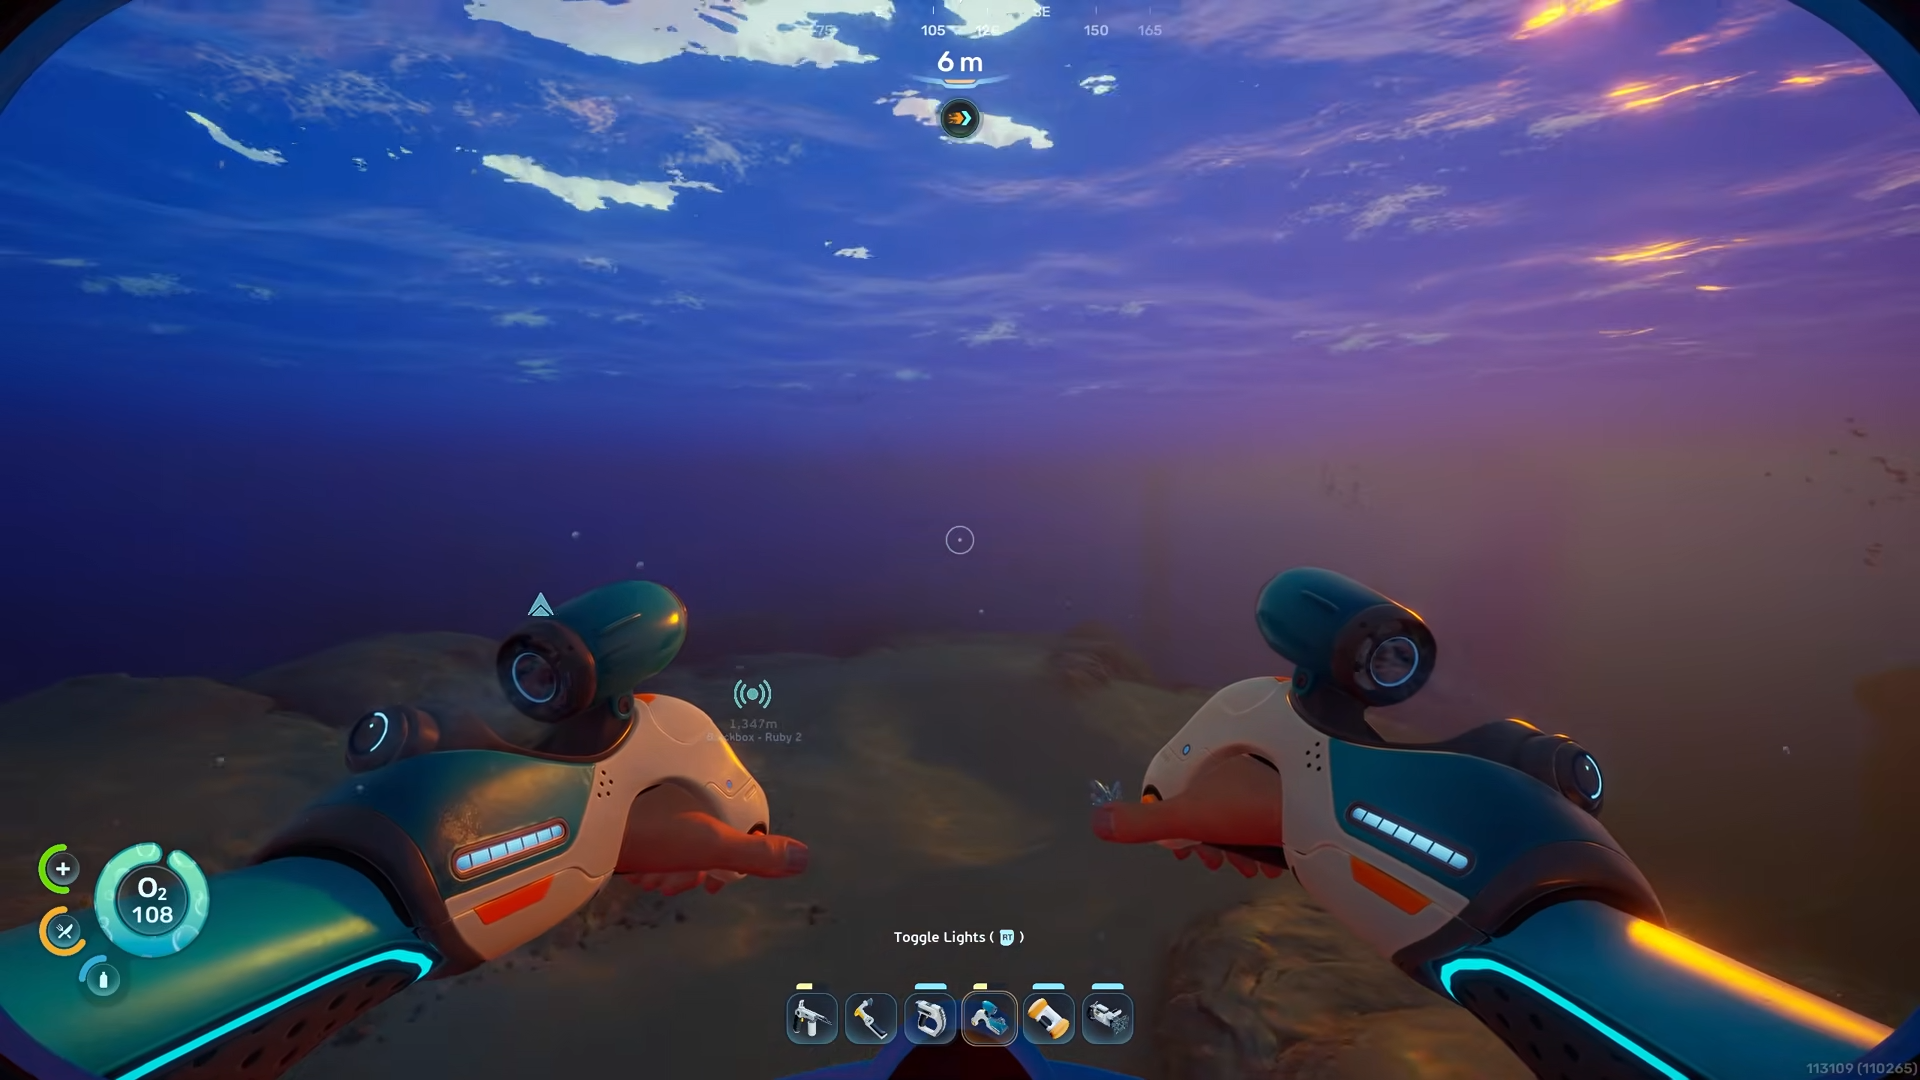
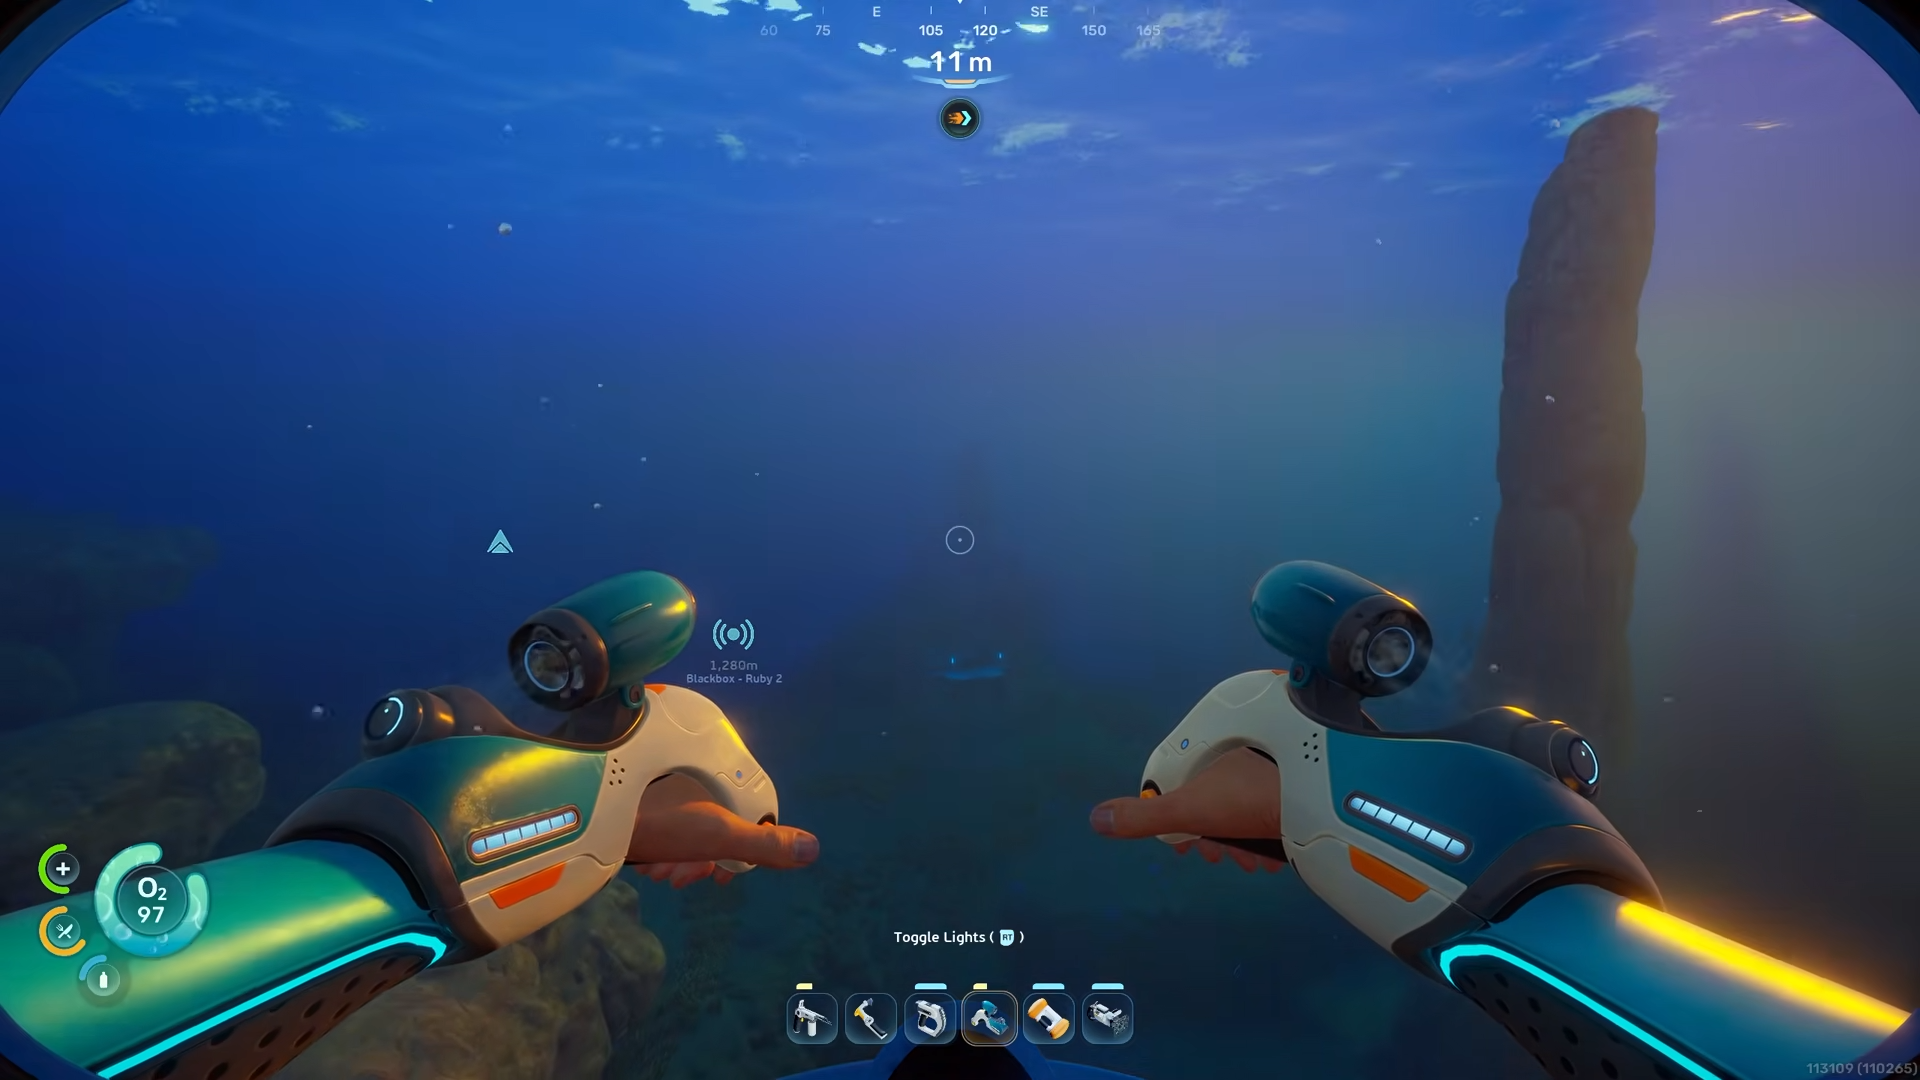
Swim out toward the east-southeast until you have covered roughly 250 meters from the starting area.
Step 3
Watch for the warm biome transition as the water gets hotter and the terrain becomes more volcanic.
Step 4
Look for a distinctive tall pillar resting on a giant rock, since this is the main sulfur-rich landmark.
Step 5
Search every side of that pillar, then check the surrounding pillars in the same warm area for smaller sulfur pieces.
Step 6
If you plan to continue deeper into the region, make sure you have heat resistance first so the environment does not wear you down.
Best sulfur spots
The most useful spot is the large pillar in the warm zone because it has the highest concentration of sulfur on it.
After that, the other pillars in the same area are worth checking because they often hold smaller chunks on the sides. This makes the area good for a full sweep rather than a single pickup.
How to search efficiently
Move slowly once you enter the target zone, because the sulfur can be easy to miss against the rock texture. Circle each pillar instead of scanning only one side, and check both the top surfaces and the vertical faces. If you only grab the obvious piece and leave, you may miss several smaller deposits nearby.
This route works because the sulfur is grouped around a recognizable landmark instead of being scattered randomly across the map. The pillar cluster gives you both a main pickup and several secondary pieces nearby, which makes one trip more productive. Since the area is also close to a dangerous hot zone, having a direct route helps you avoid getting lost while under pressure.


Leave a Reply