OBS is the top choice for many content creators when streaming on popular platforms like Twitch, YouTube, or Discord. It allows you to create different scenes, capture different sources and even overlay third-party services to interact with your audience and followers in real time. OBS is completely free and open source, making it a great choice for all users, whether you’re a professional streamer or just starting out. OBS has a lot of options that you need to customize out of the box, which can make the experience a bit daunting. If you, too, are starting out and would like some help with your first-time setup, then we have the perfect guide for you. Let’s get started.
How to set up your stream in OBS for the first time
You will need to first download and set up OBS based on your current network and PC. You can then capture your sources and set up your stream accordingly. You can even create multiple scenes for different scenarios in your stream. You can then switch between these scenes whenever needed using custom transitions. Here’s how you can set up OBS for the first time on your PC and use it to stream on your favorite platform.
Step 1: Download and set up OBS
Let’s start by downloading and installing OBS on your PC. We will then go through the initial setup and customize your settings further, depending on your preferences. Let’s get started.
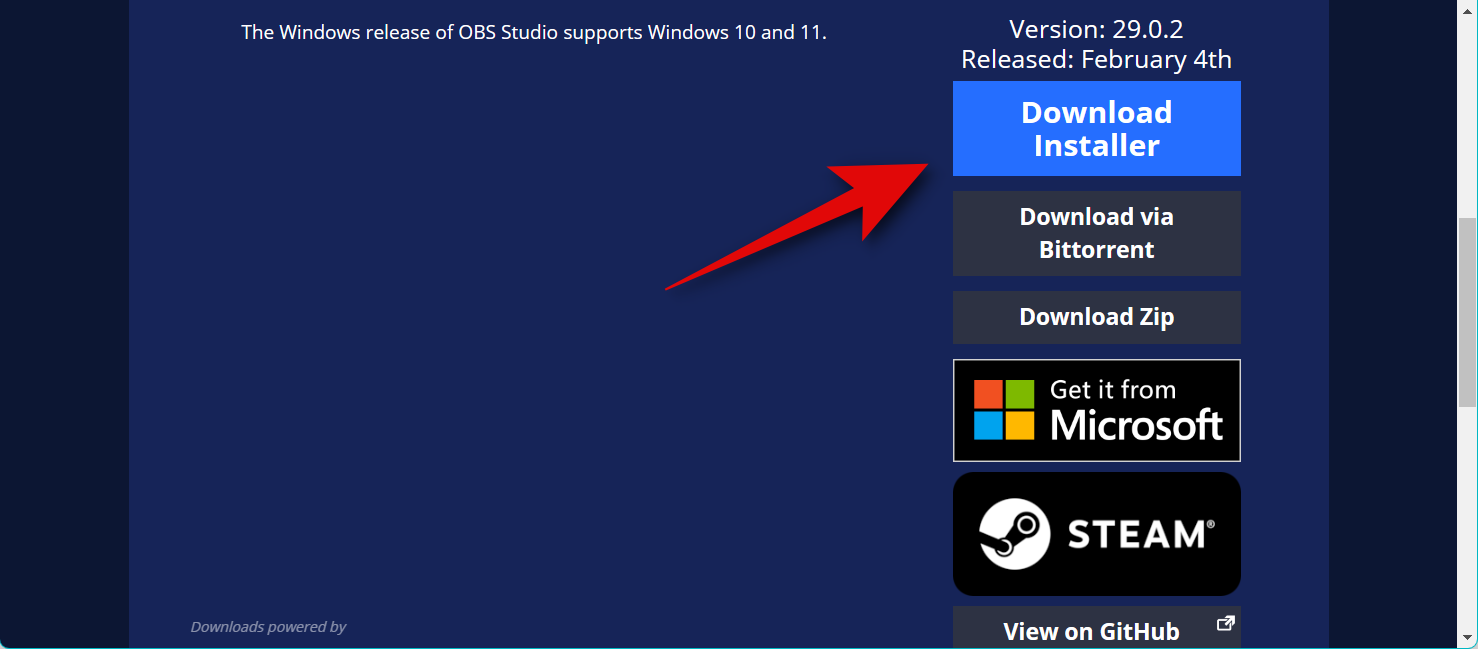
Open the link below to download OBS to your PC. You can download an installer, get a portable .ZIP package, or install OBS as a UWP app from the Microsoft Store. We don’t recommend getting the UWP from the Microsoft Store for now, as its performance is questionable when streaming high-resolution content. We recommend opting for the installer or the .ZIP package instead.
- OBS | Download Link
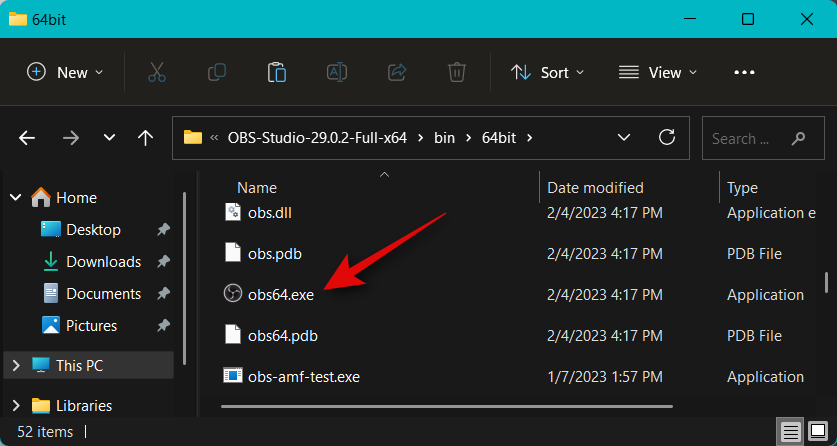
If you downloaded the .ZIP package, then extract the archive, and you can launch OBS whenever needed using the obs64.exe file located at the following path. The version number for the OBS Studio folder can vary depending on the latest release.
OBS-Studio-29.0.2-Full-x64\bin\64bit
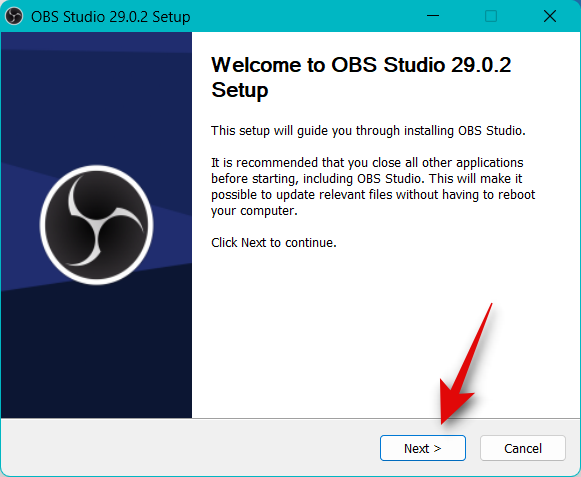
If you downloaded the installer, double-click and launch the setup to install OBS on your PC. Click Next.
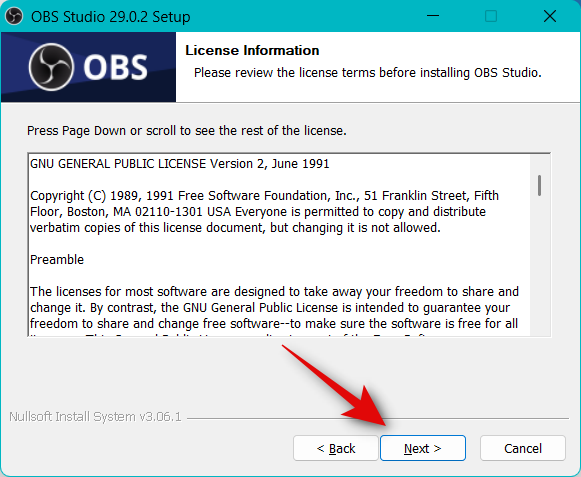
Review the license and click Next again.
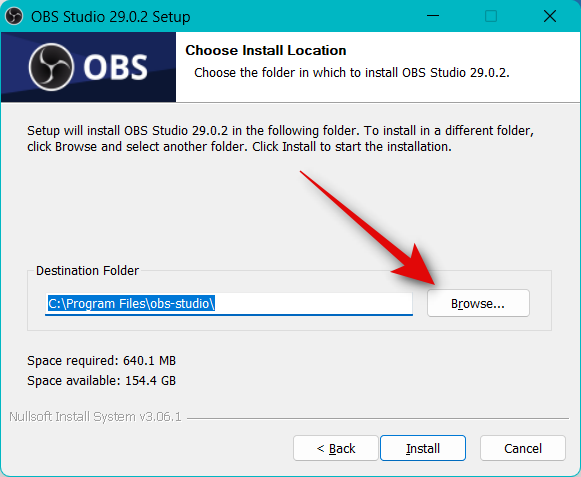
Click Browse and choose where you wish to install OBS on your PC.
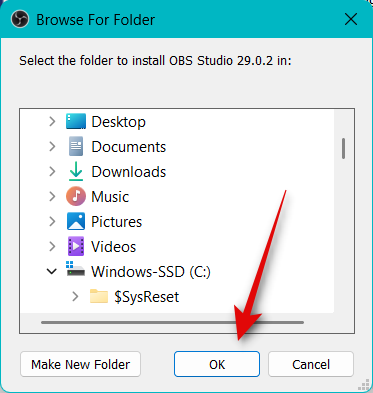
Once chosen, click OK.
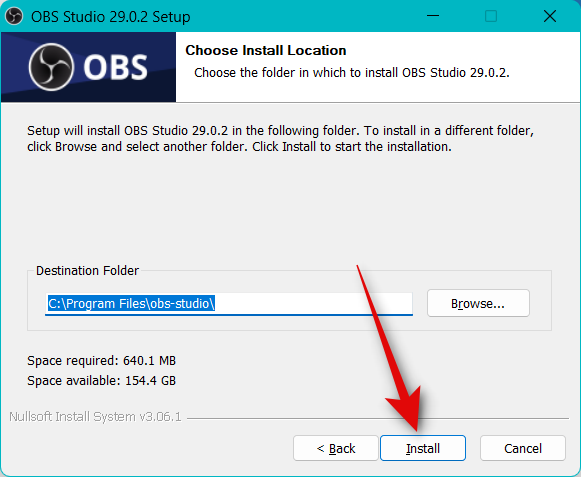
Click Install once you’ve chosen the install location.
Once the process finishes, click Finish.
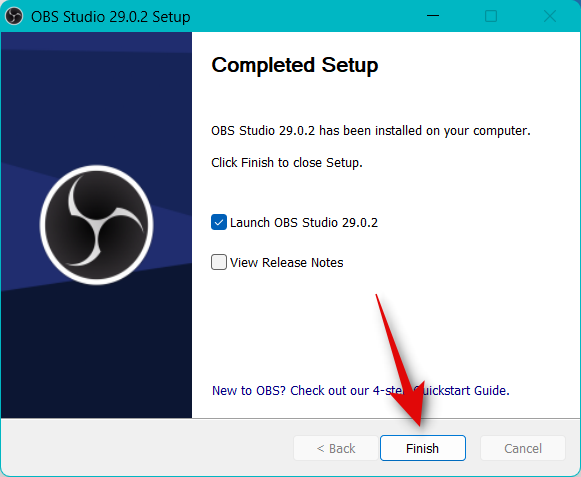
You can now launch OBS from the Start menu if you used the installer. If you used the portable package, then launch OBS using the obs64.exe file in the path discussed above.

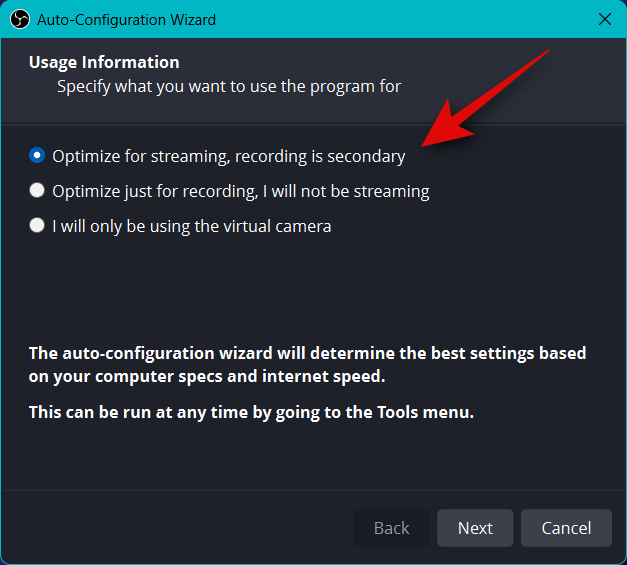
When OBS launches for the first time, you will be greeted by the auto-configuration wizard. Click and choose Optimize for streaming, recording is secondary.
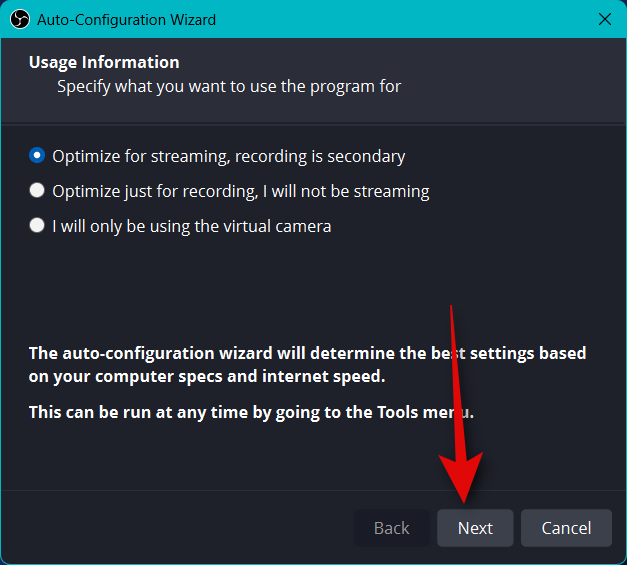
Click Next.
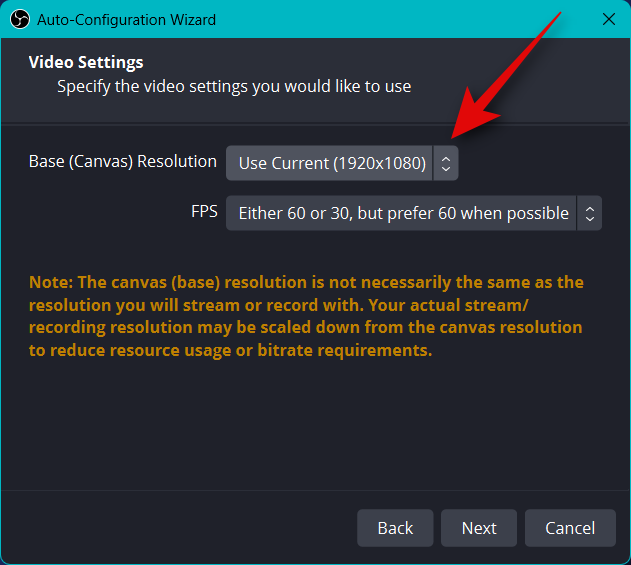
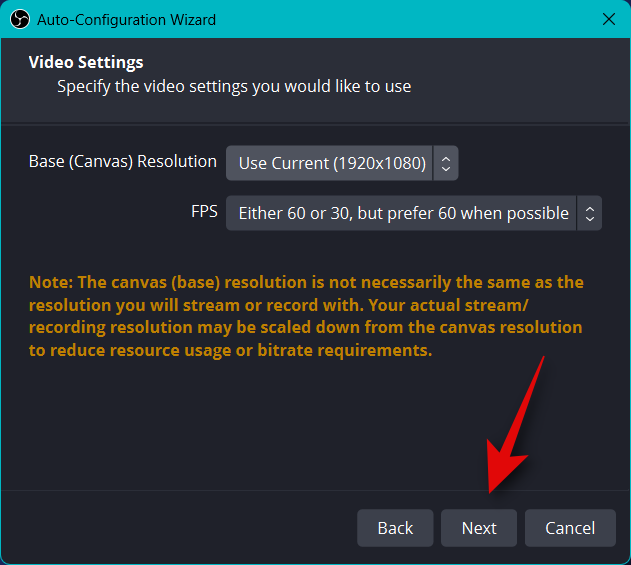
Choose your preferred resolution using the drop-down menu for Base (Canvas) Resolution.
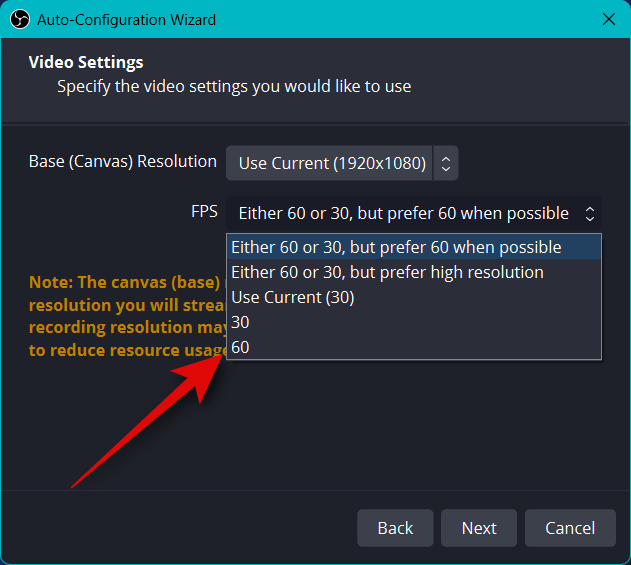
Now click the drop-down menu for FPS and choose the preferred frame rate for your stream. I recommend choosing at least 60 FPS if you wish to stream gameplay. If you have a low-spec PC or a connection with low bandwidth, then you can lower your resolution to accommodate for the high frame rate.
Click Next.
You will now be asked to enter your Stream information. We will set this up later, click Cancel for now.
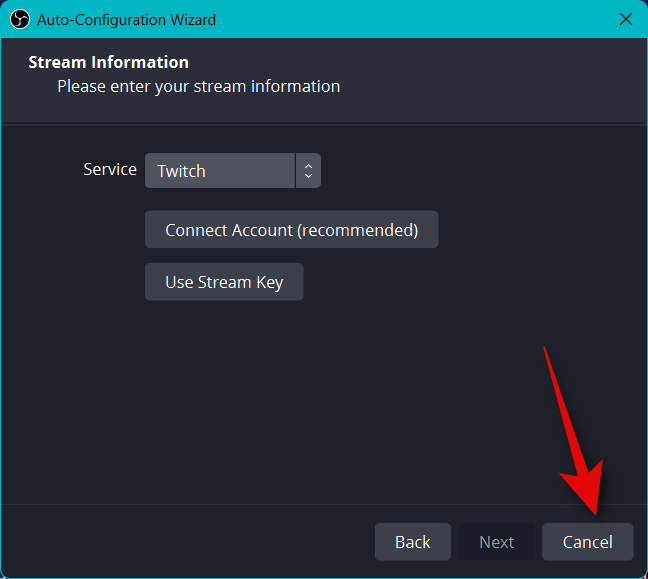
And that’s it! You will now have completed the initial OBS setup. We can now customize your settings so you can stream to your preferred platform.
Step 2: Configure your audio and video settings
We now recommend you configure your settings before configuring your scenes. Use the steps below to help you along with the process.
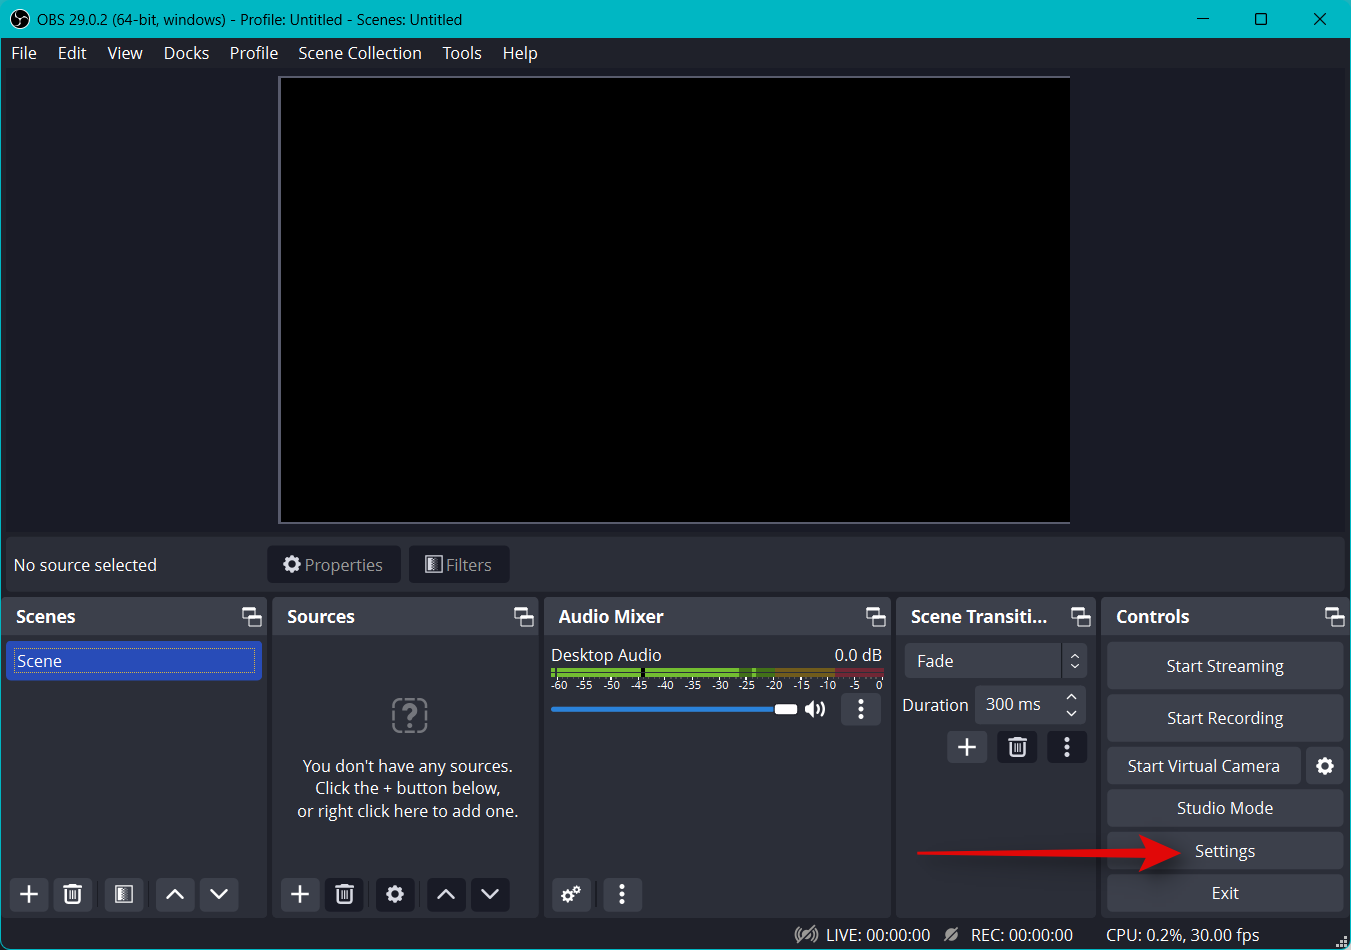
Open OBS and click Settings in the bottom right corner.
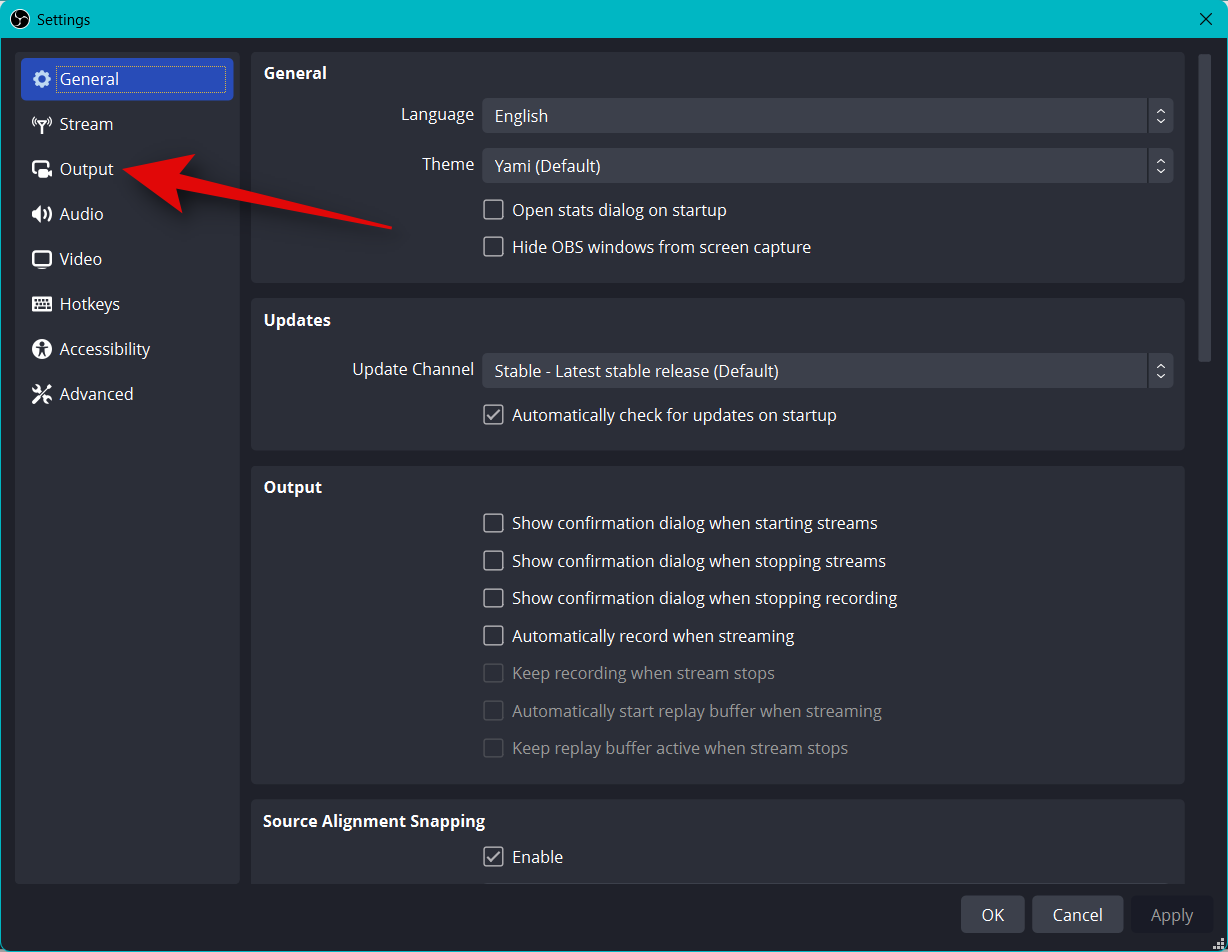
Click Output in the left sidebar.
Now start by choosing your Video bitrate, this will determine the quality of your stream. A higher bitrate will require a higher bandwidth on your network connection. We recommend using an Ethernet connection instead of a Wi-Fi connection when choosing high bitrates. Here’s a bit of reference to help you choose the correct bitrate, depending on your stream.
- SD: 800 to 1200 kbps
- HD: 1200 to 1900 kbps
- FHD: 1900 to 4500 kbps
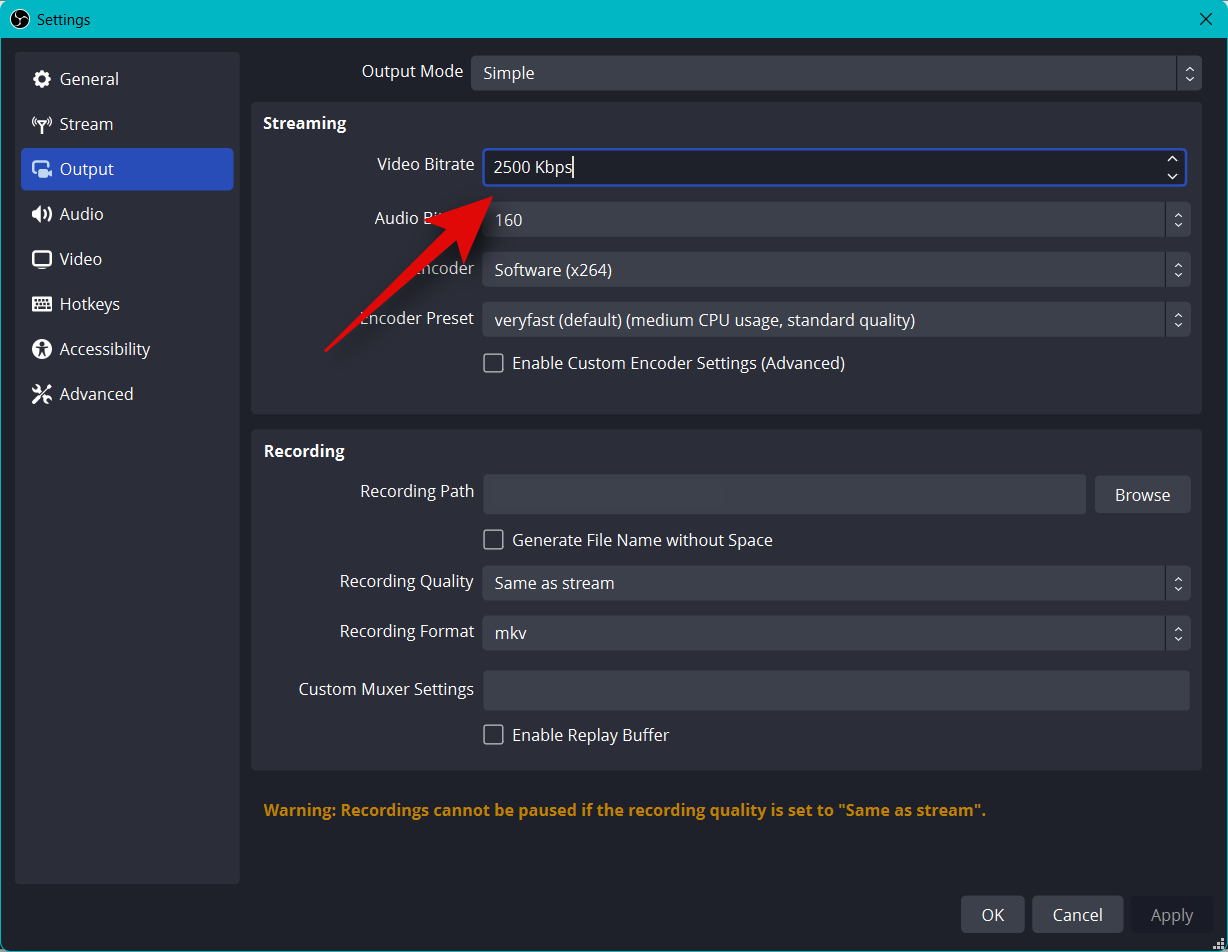
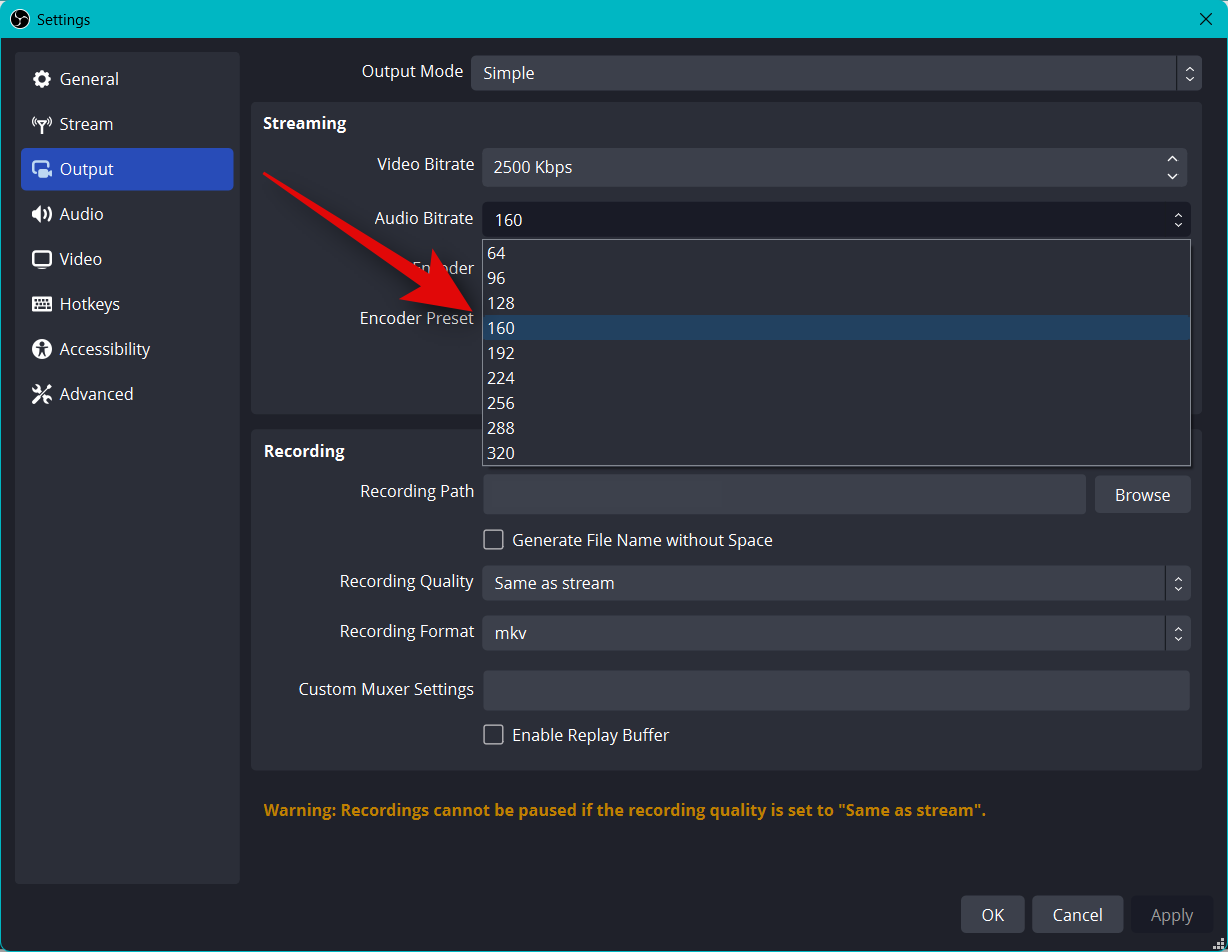
Similarly, choose your preferred Audio bitrate. A higher bitrate is recommended if you wish to converse with your audience so they can hear you better.
- SD: 128
- HD: 256
- FHD: 256
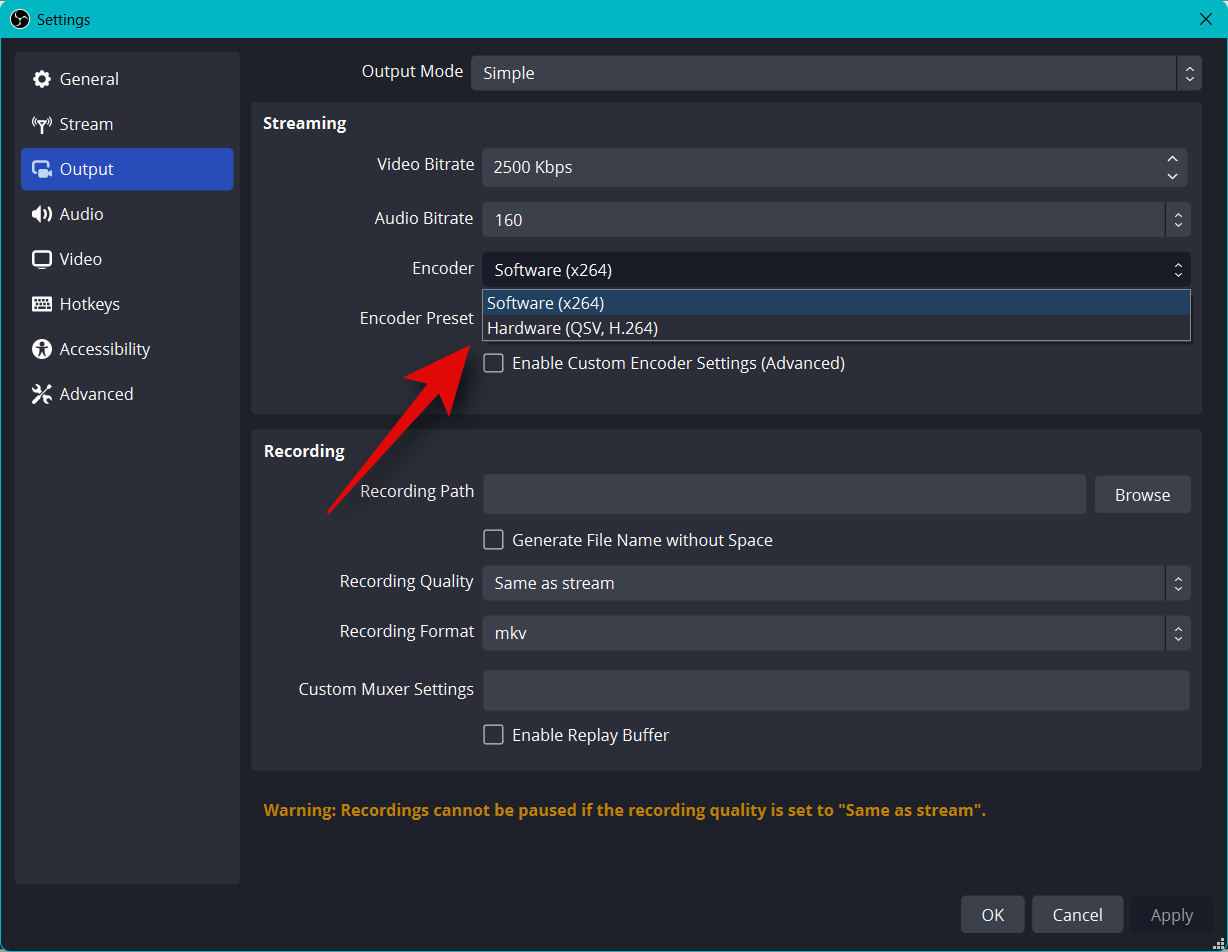
Now click the drop-down menu for Encoder and select an encoder depending on your GPU. If you do not have a dedicated GPU but have a decent CPU, then you can choose the QSV H.264 encoder.
- Nvidia: NVENC Encoder
- AMD: AMF Encoder
Click the drop-down menu for Encoder preset and what should be the priority when your stream is being encoded.
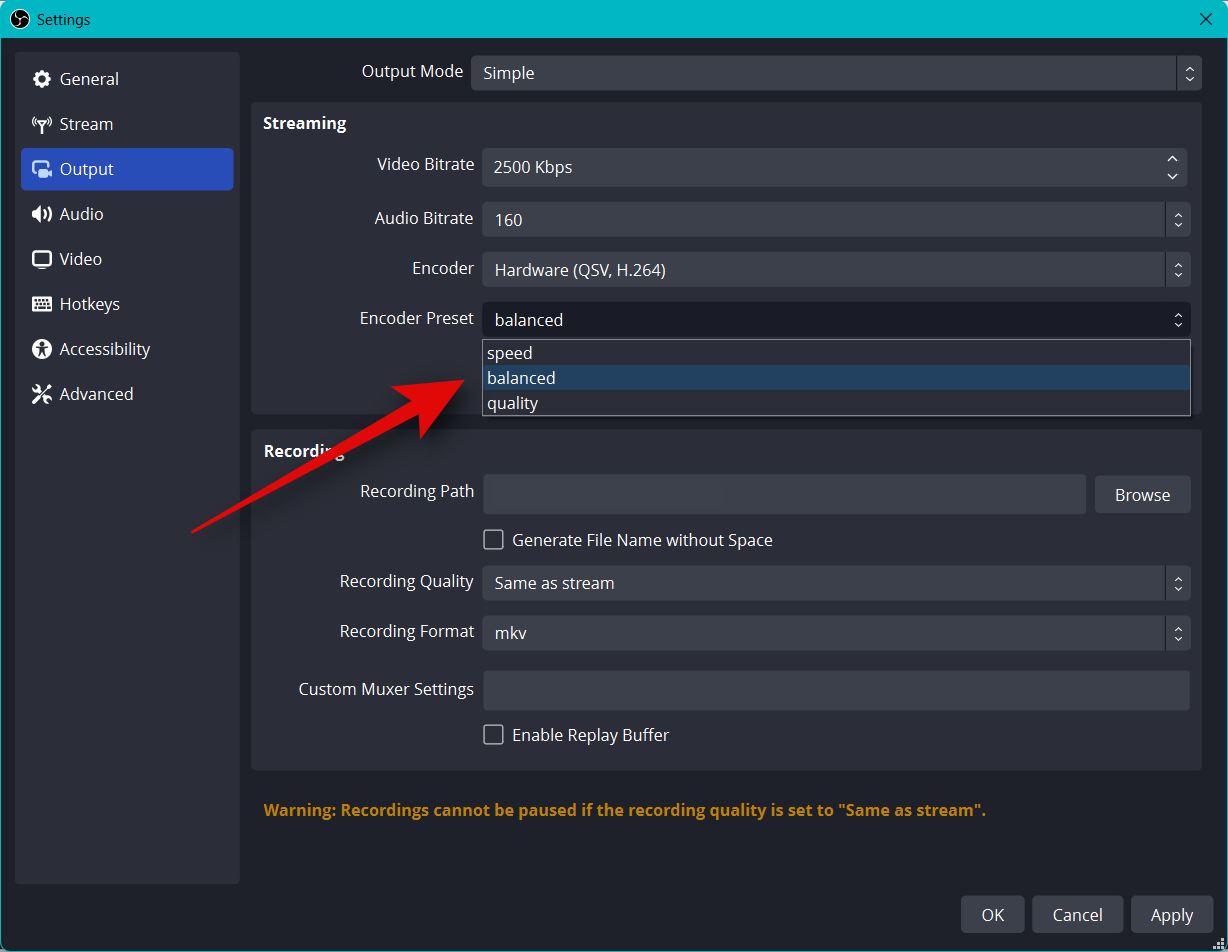
Note: These settings will make or break your stream and can lead to buffering. We recommend you test your internet speed and then play around with these settings until you find the perfect fit for your stream.
Now click Video on your left.
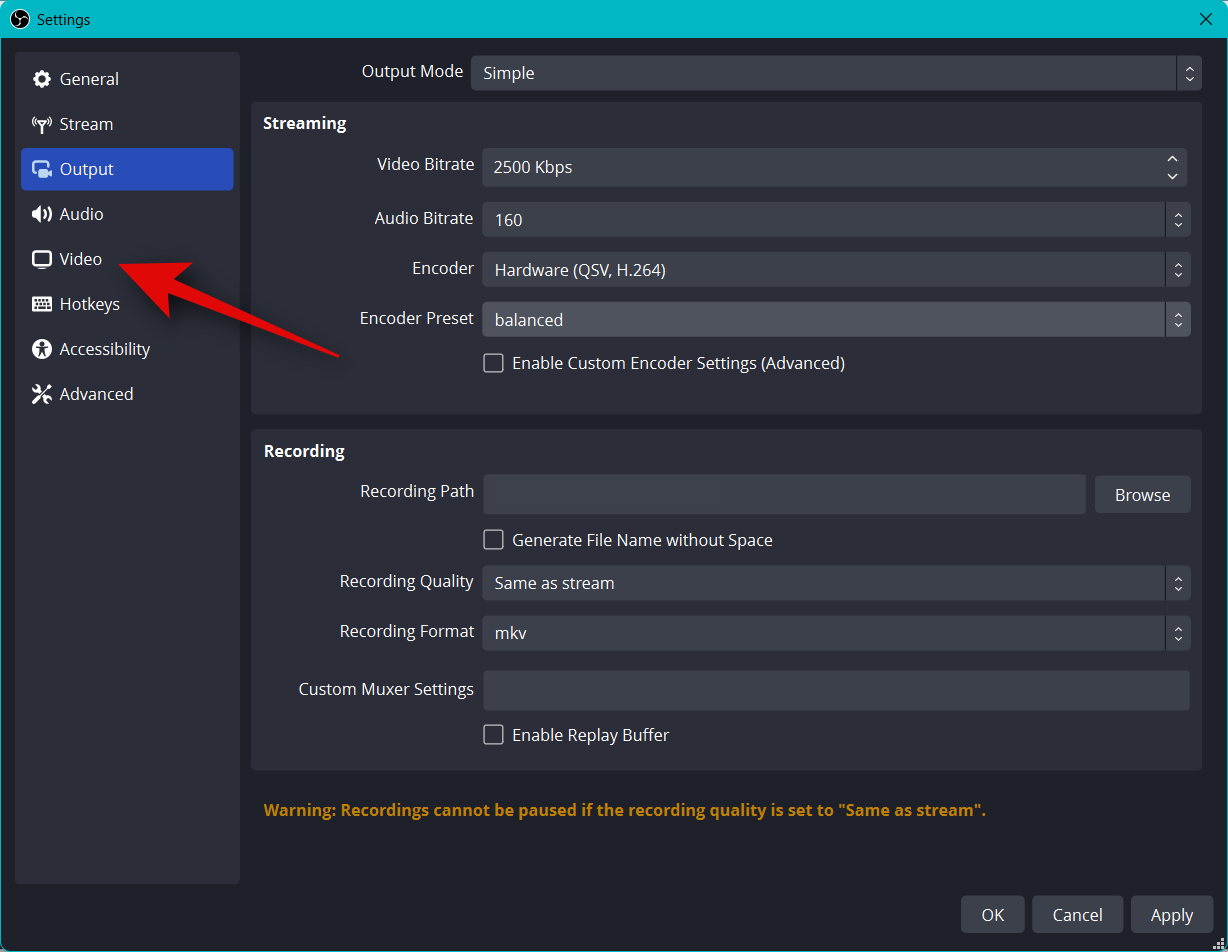
Click the drop-down menu for Output (Scaled) Resolution and select your preferred output resolution. This will be the actual resolution used to stream your content. You can use this to your advantage by having a larger canvas that is downscaled to a lower resolution to improve visual quality without taxing your network connection too much.
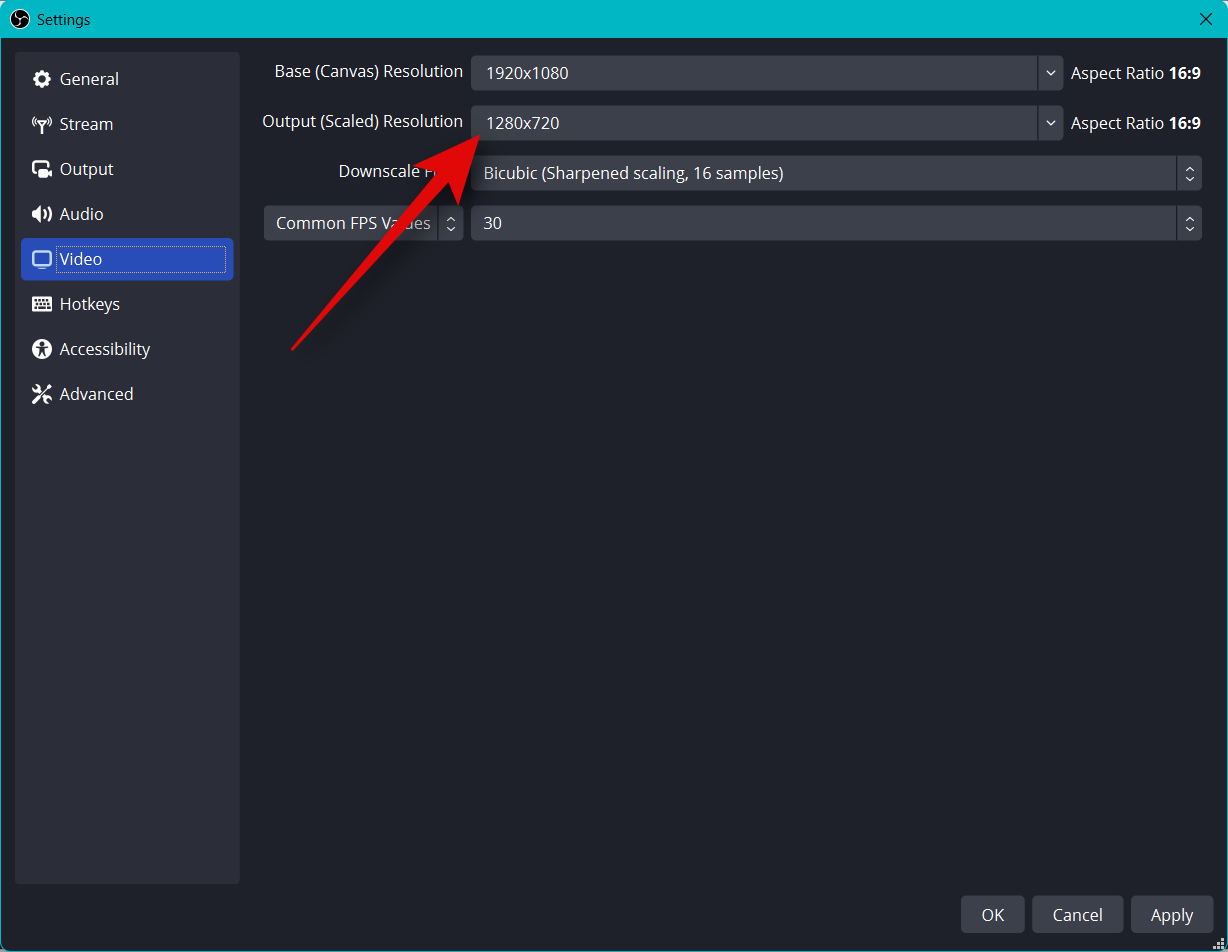
Click the drop-down menu for Common FPS Values and choose your preferred frame rate for your stream.
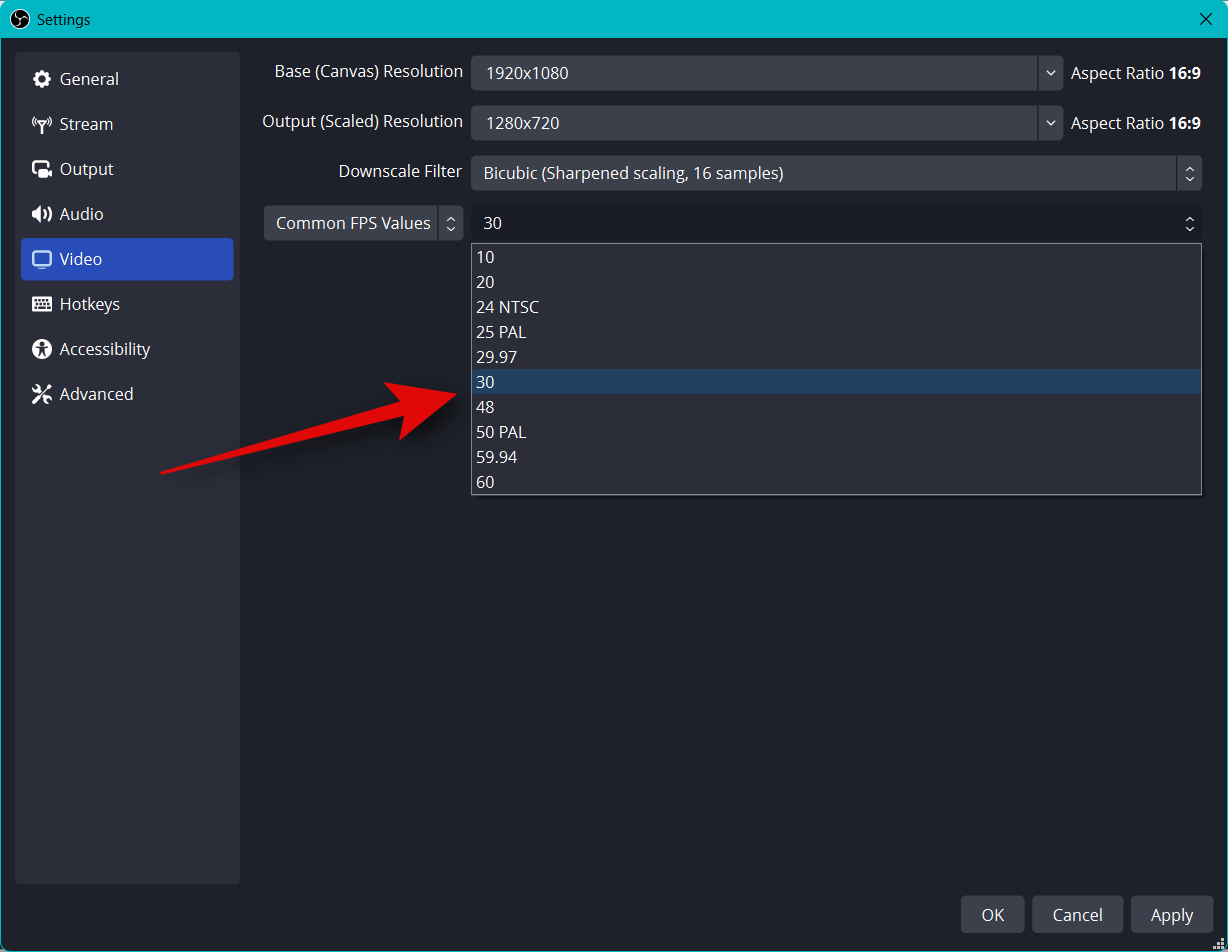
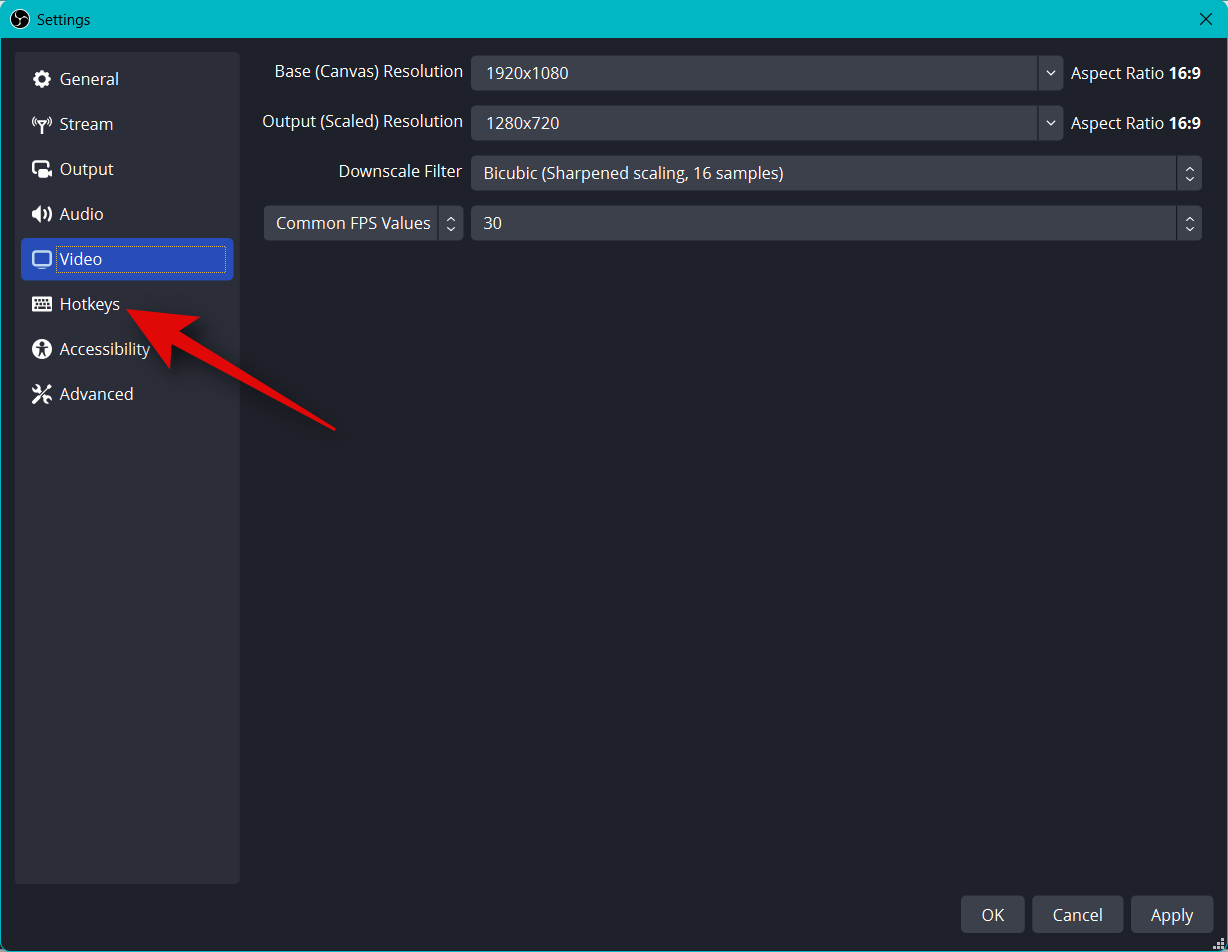
Click Hotkeys in the left sidebar now.
It’s now time to set your Hotkeys. To set a hotkey for any option, click the dedicated box and type in your preferred hotkey.
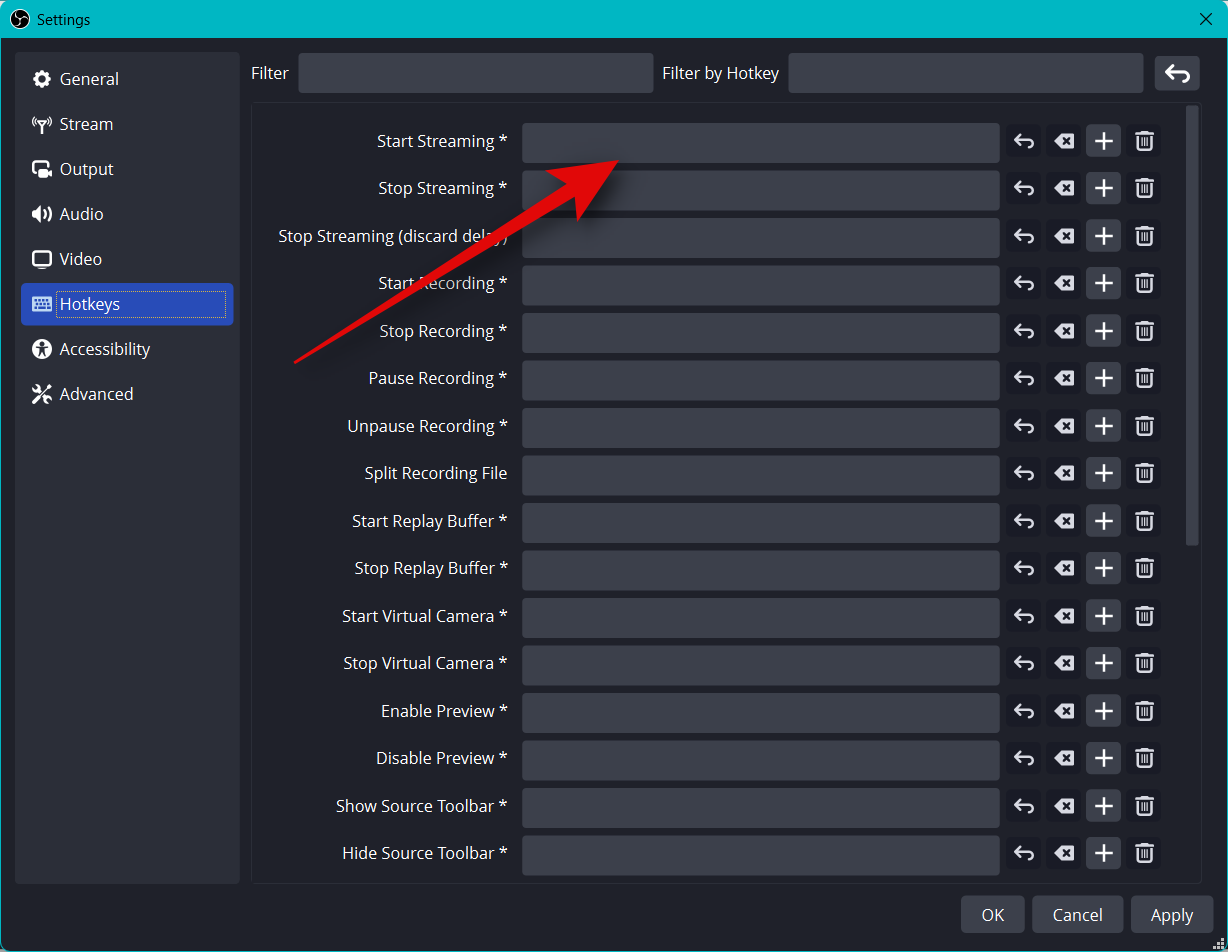
Click on an empty area to set your hotkey.
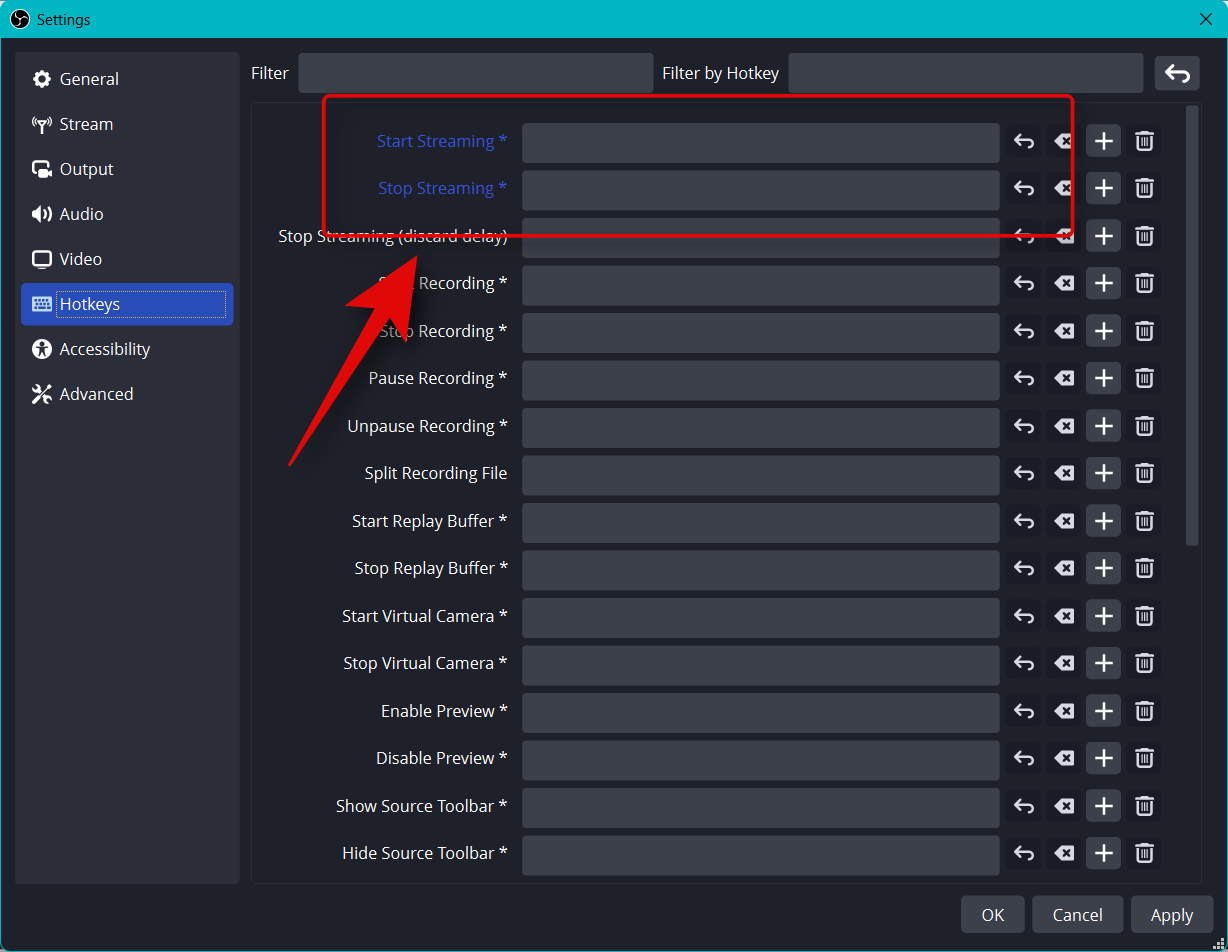
There are tons of hotkeys you can set in OBS. We recommend setting the following basic hotkeys at least, so you have easy access to your controls while streaming.
- Start Streaming
- Stop Streaming
- Start Virtual Camera
- Stop Virtual Camera
Note: We recommend setting hotkeys for your custom scenes, webcam, and microphone. This will help you easily control your peripherals while making sure that you can turn on and turn off your camera and microphone whenever needed.
- Desktop Audio
- Mute
- Unmute
- Push to mute
- Push to talk
- Mic/Aux
-
- Mute
- Unmute
- Push to mute
- Push to talk
-
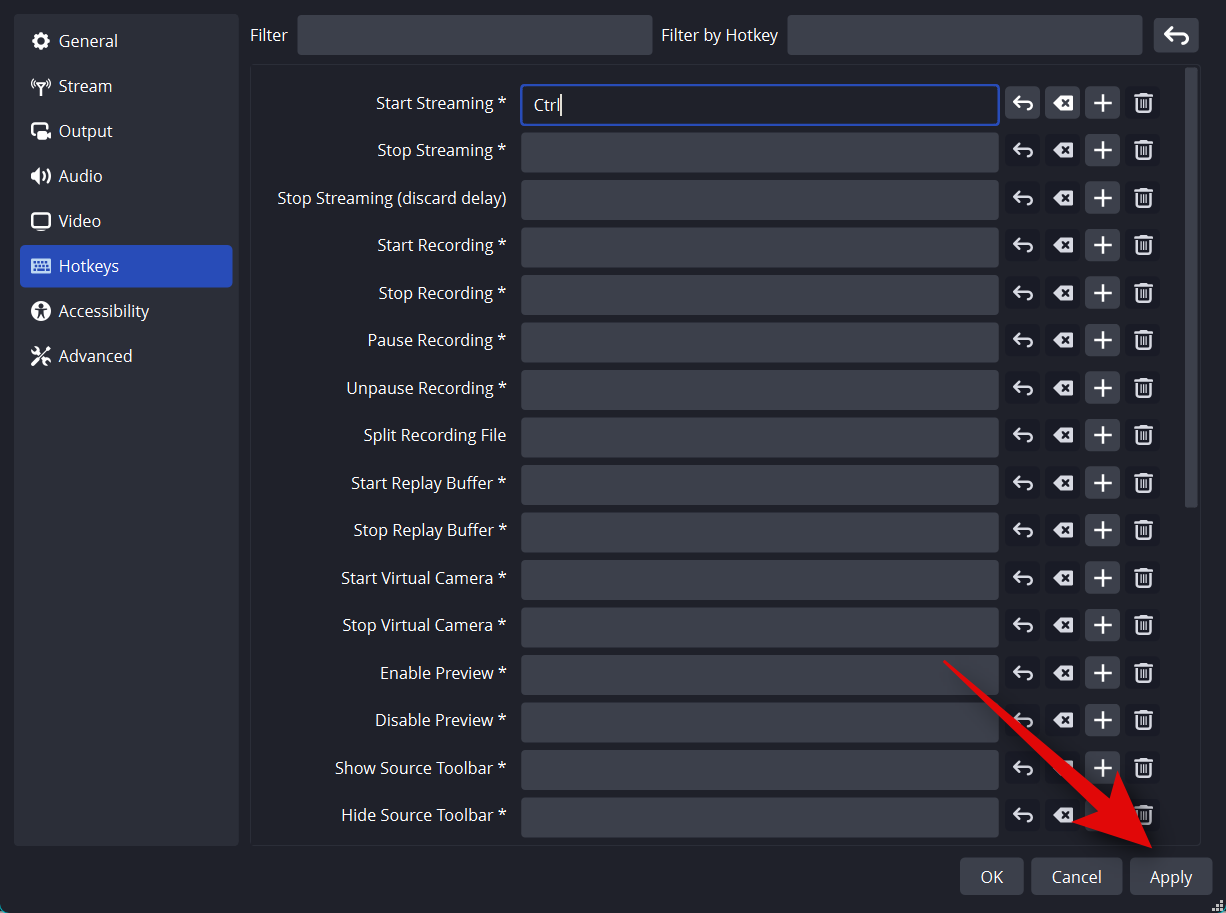
The rest of the default settings should now work fine for you. Click Apply to save the changes you made.
Click OK.
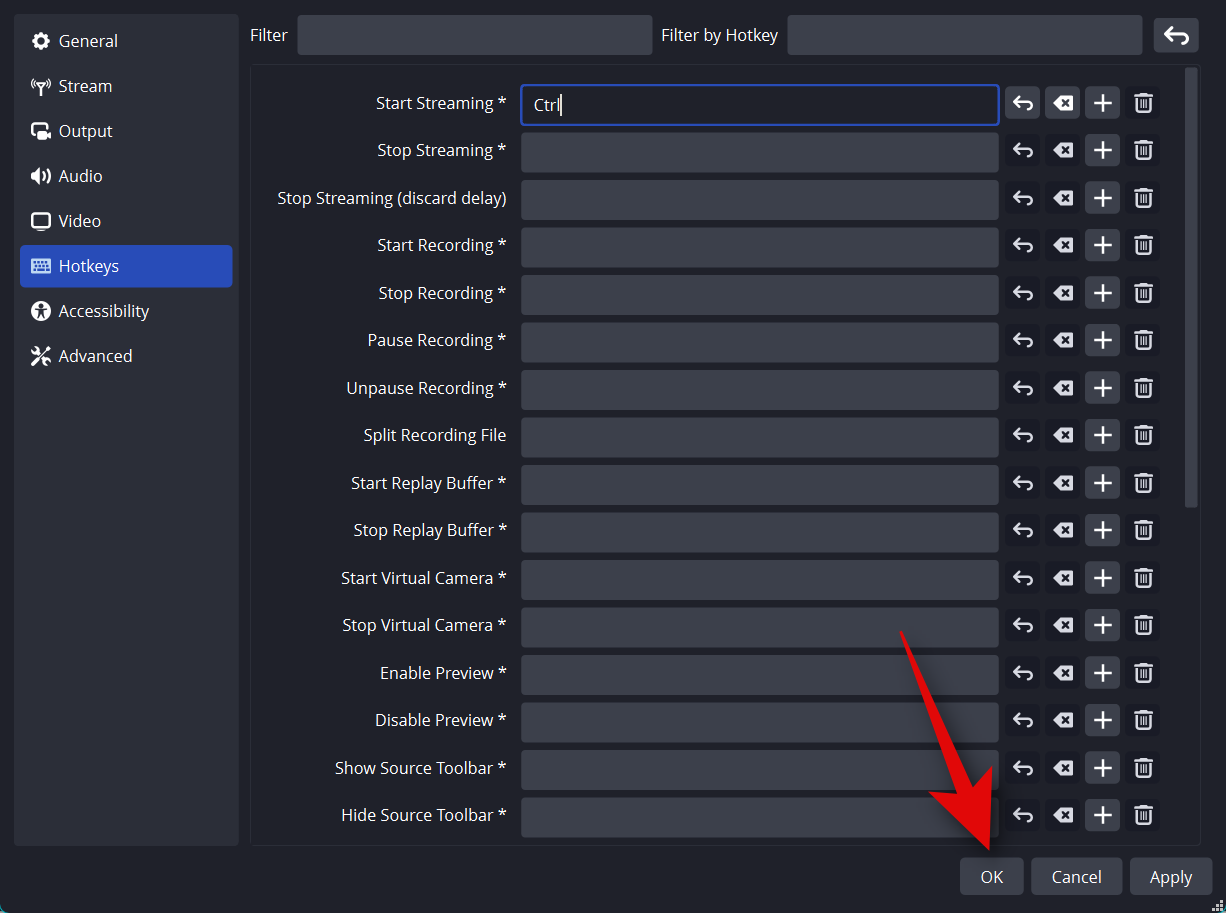
And that’s it! You will now have customized OBS settings for streaming. You can now set up your scenes in the next section.
Step 3: Set up your scenes and captures
Just like any other stream, you can set up different scenes in OBS that you can switch between when streaming to your preferred platform. We will create a simple intro outro and stream scenes in the steps below. You can build on this further by having multiple scenes that better cater to your stream.
Open OBS and click the first scene added by default under Scenes. Now click + under Sources to select what you wish to capture.
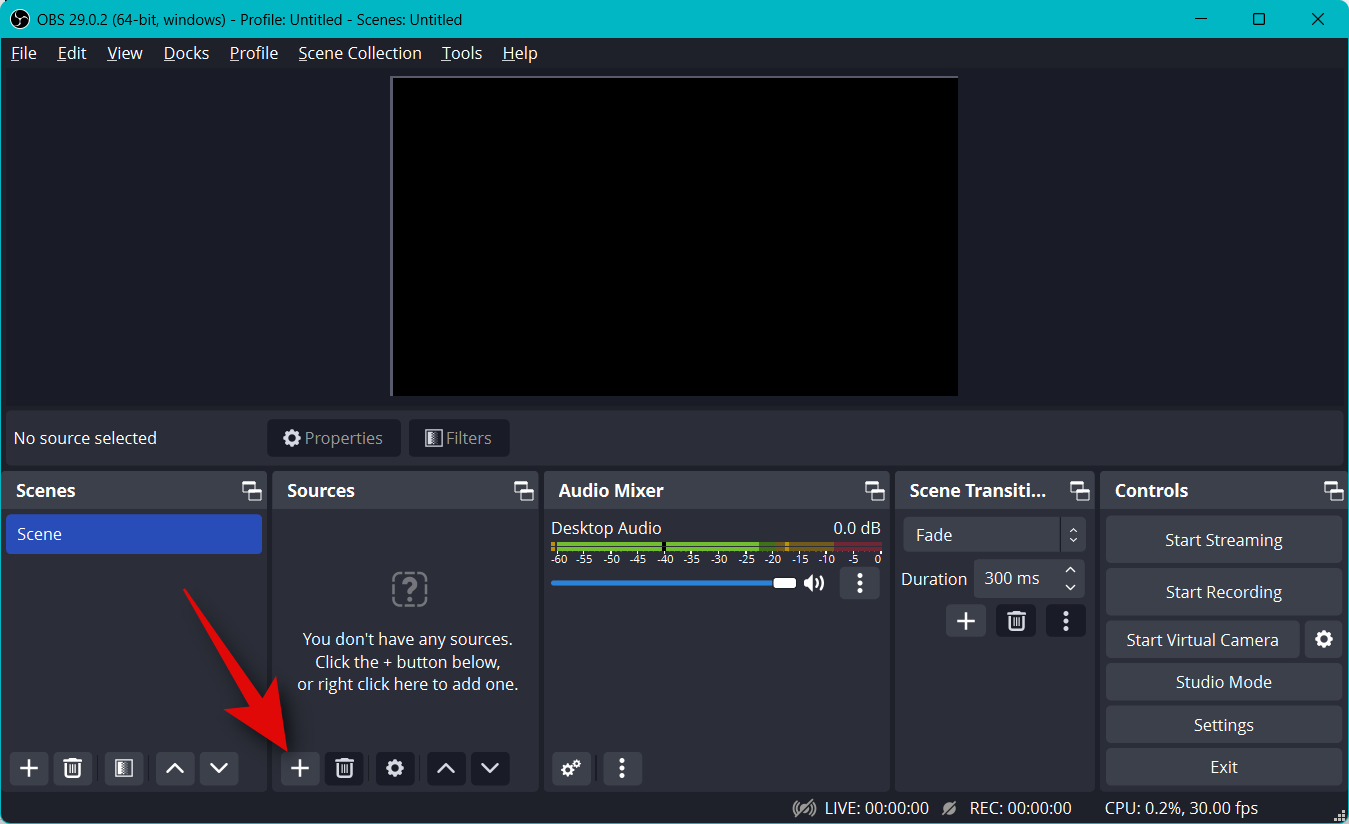
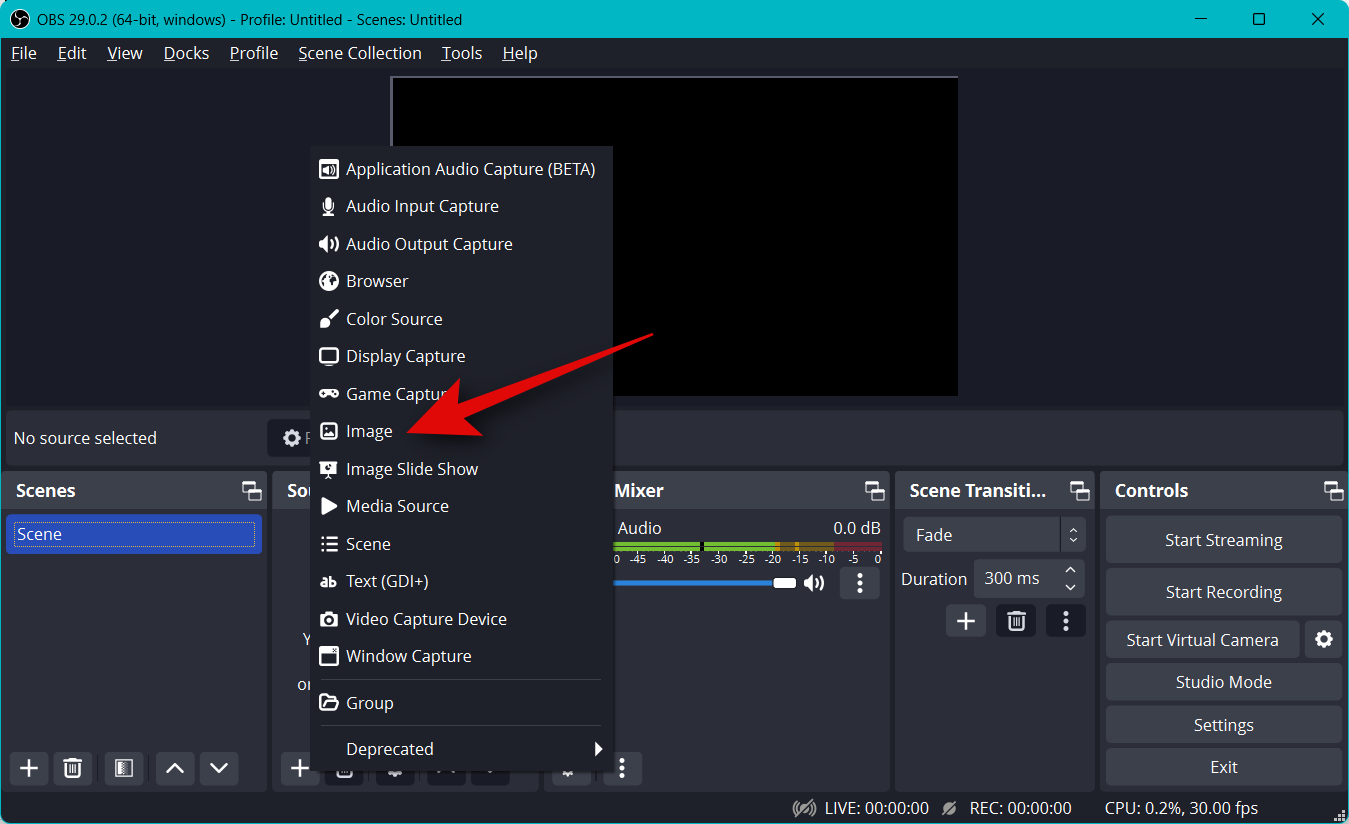
Let’s use an image for now. We will use this as a background for our stream. Click and select Image.
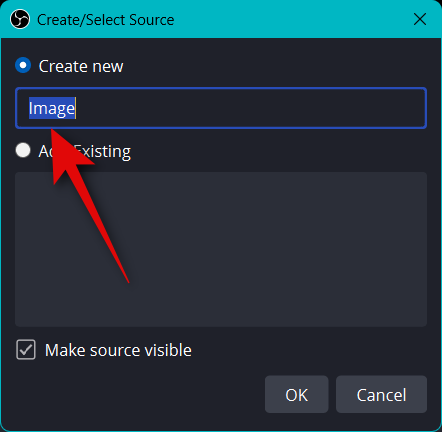
Type in a preferred name for the image at the top. We recommend you use a name that helps you easily identify it. Let’s use Background for this guide.
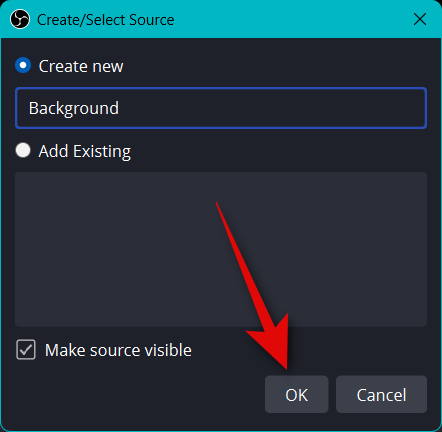
Ensure the box for Make source visible is checked and click OK.
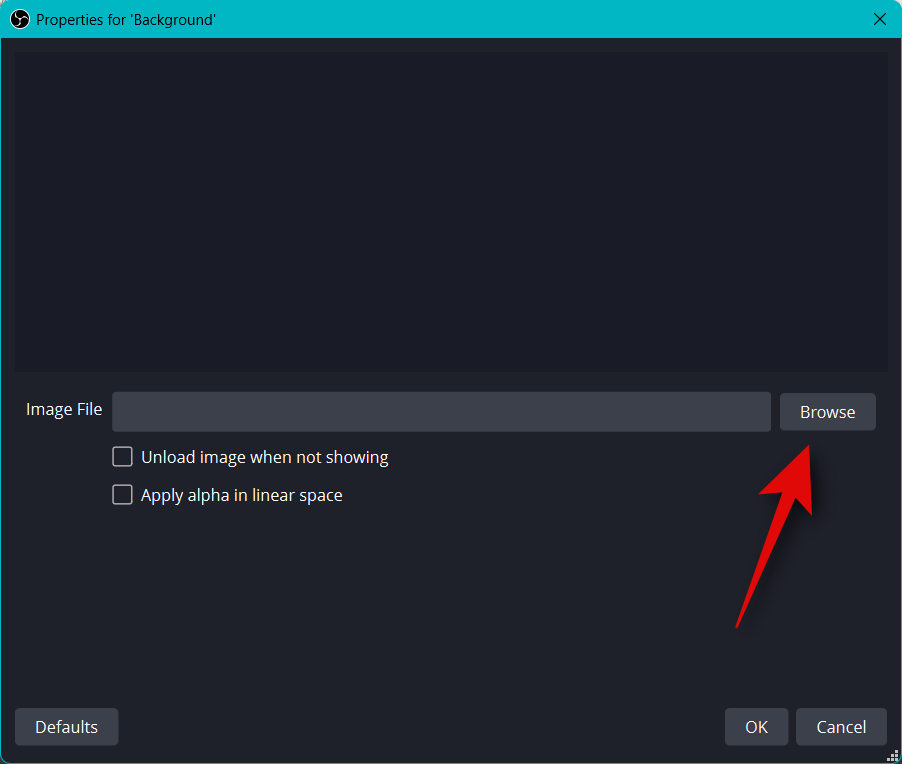
Now click Browse beside Image File.
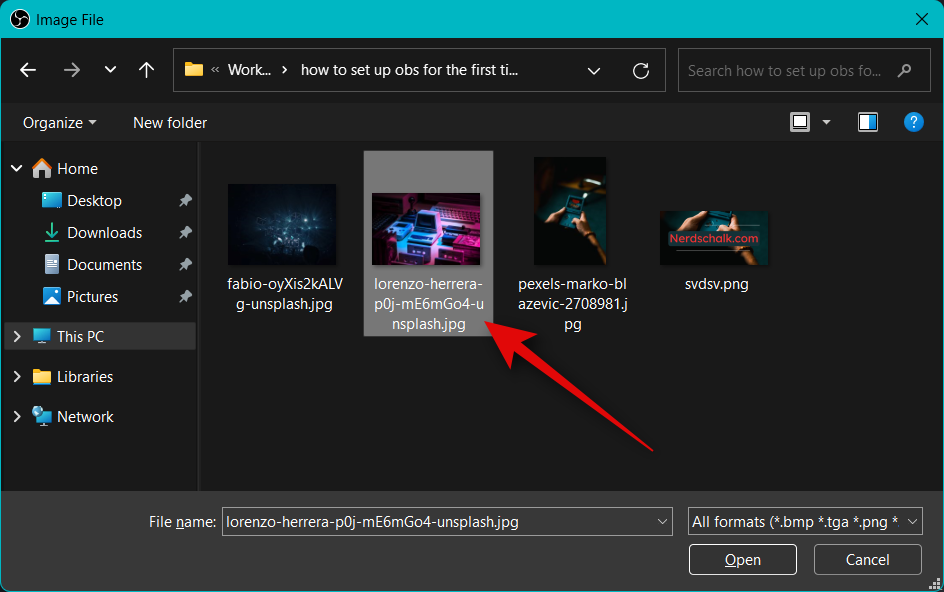
Select an image you wish to use as your background and click Open.
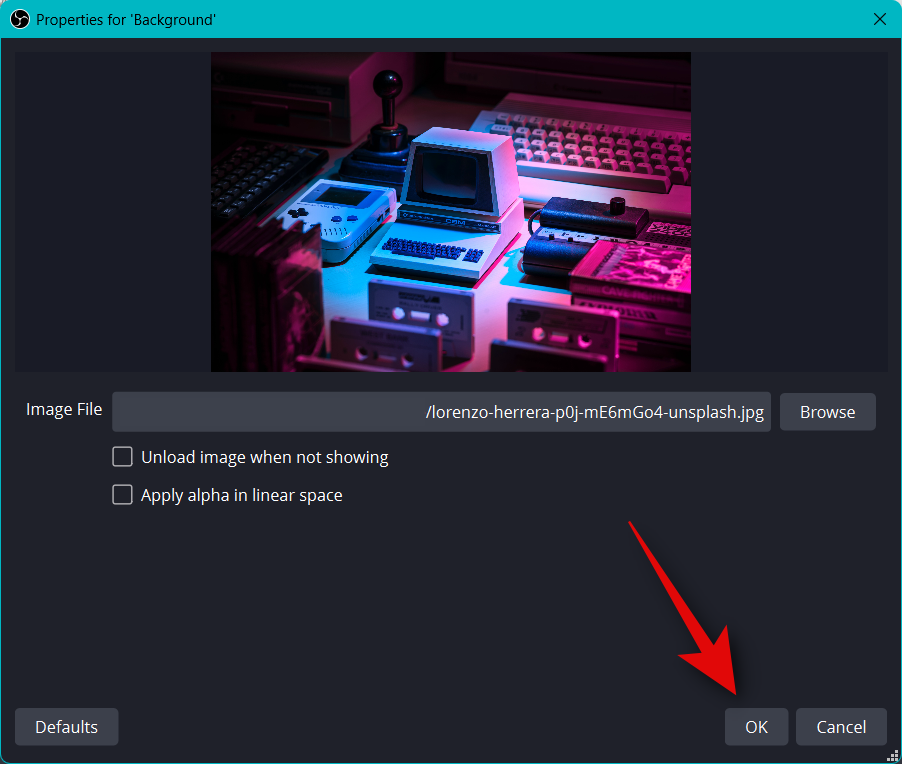
Click OK again.
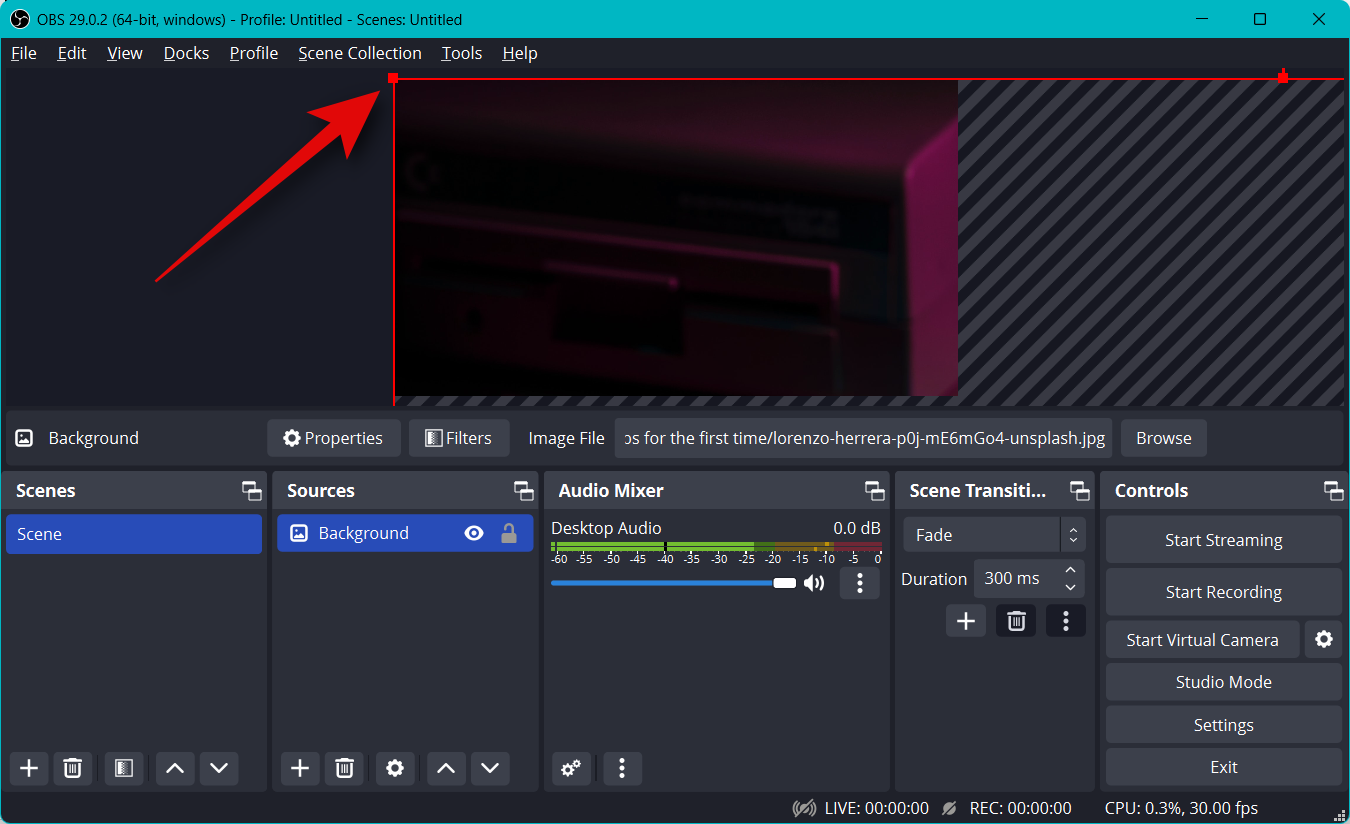
Now use the red corners to resize and fit your image to your base canvas.
You can add additional images to add text, banners, emojis, avatars, and more to your base canvas and background. You can then use the steps below to add and resize your captures and create the perfect stream. Here is a basic layout we created using stock graphics.
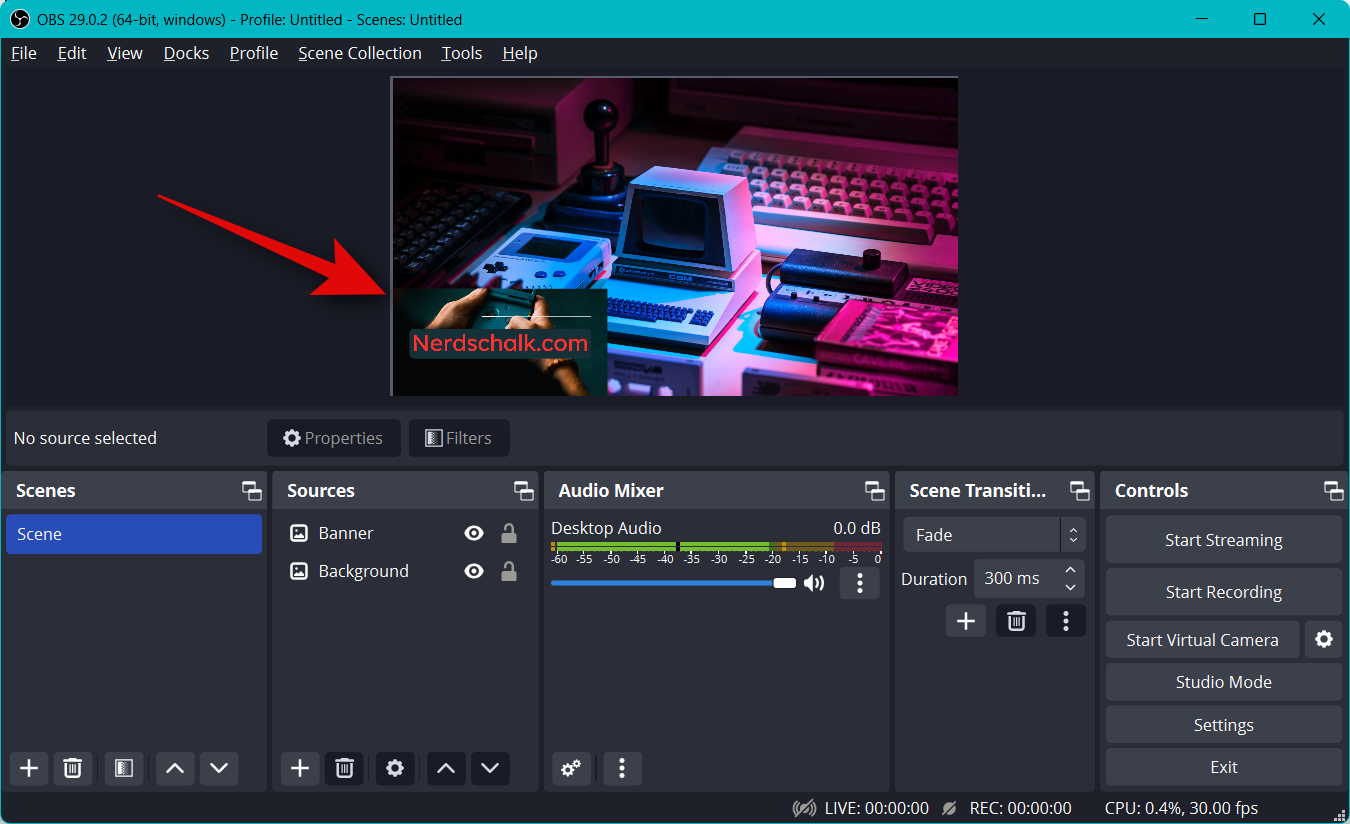
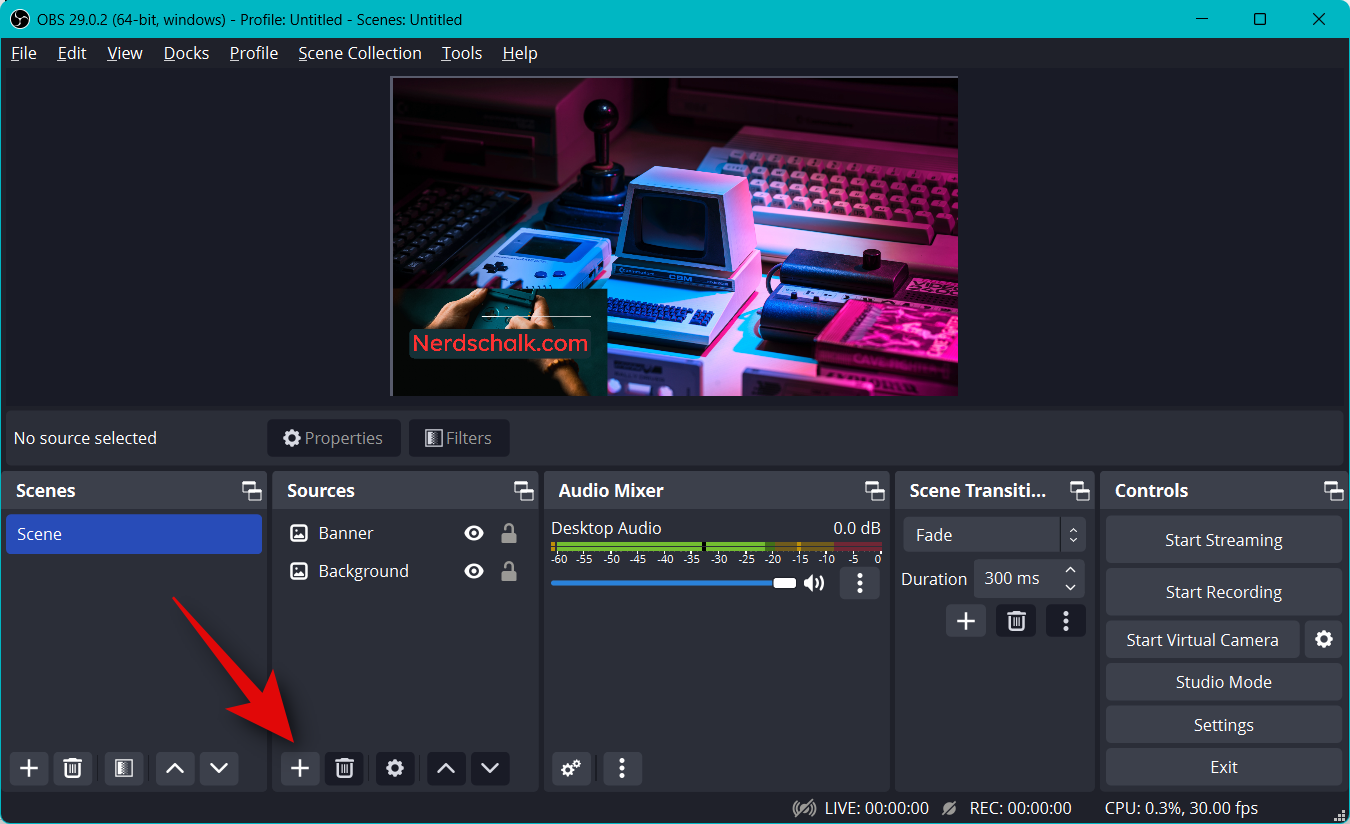
Once resized and fit to your base canvas, click + under Sources again.
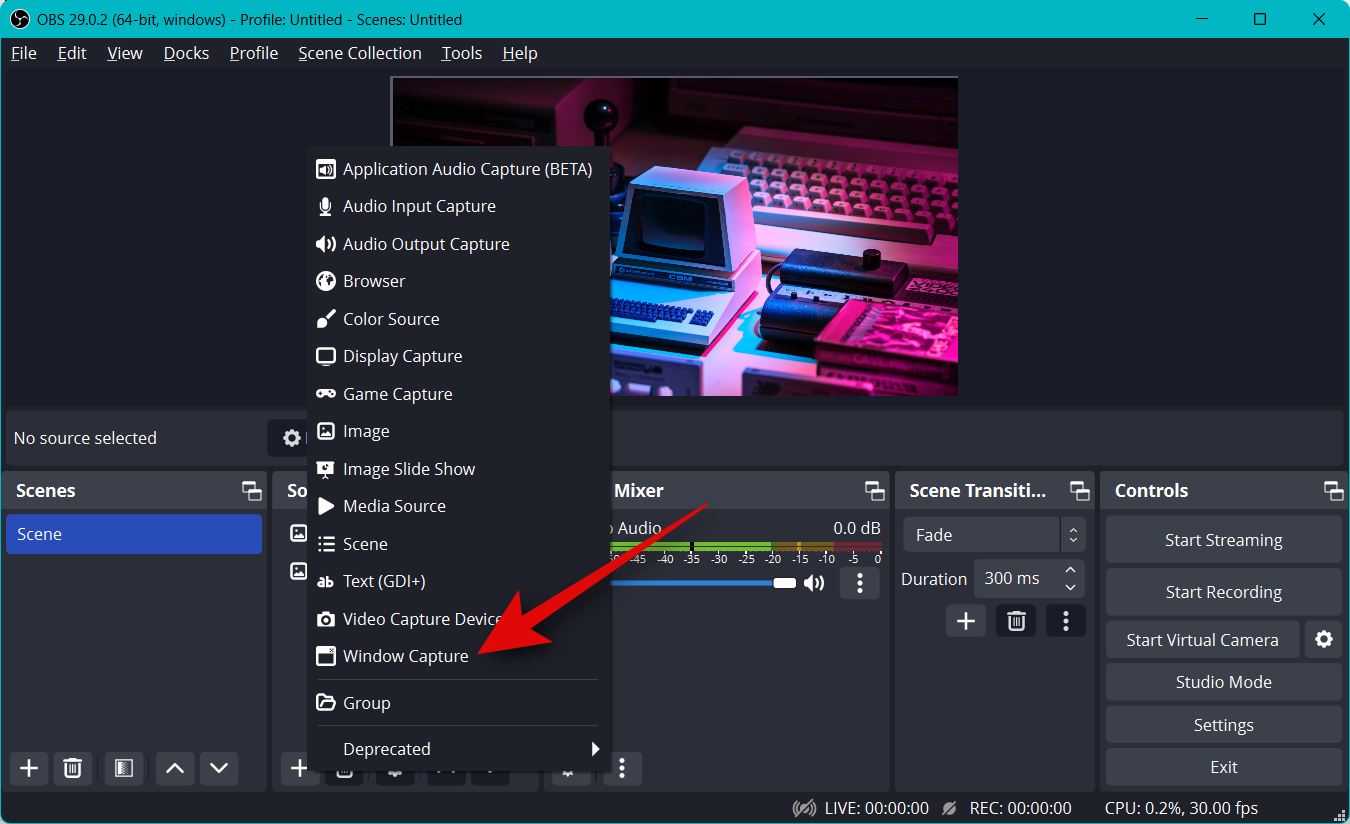
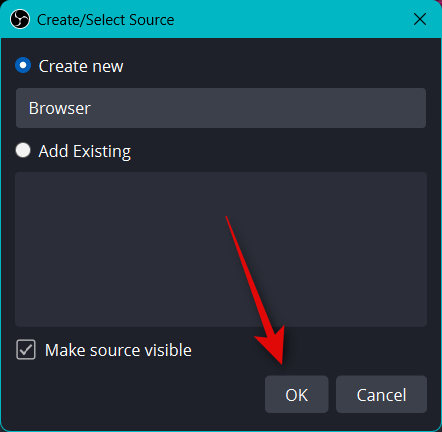
Select the type of content you wish to stream. You will need to launch the app, game, or service that you wish to stream in the background so you can select it as a source. Let’s stream a browser window, for now that is playing a video. Thus we will select Window capture.
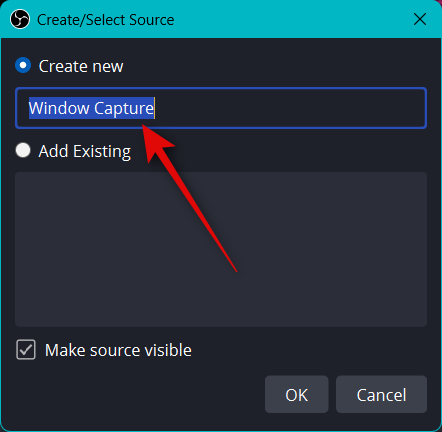
Name your new capture a relevant name that helps you easily identify it.
Click OK.
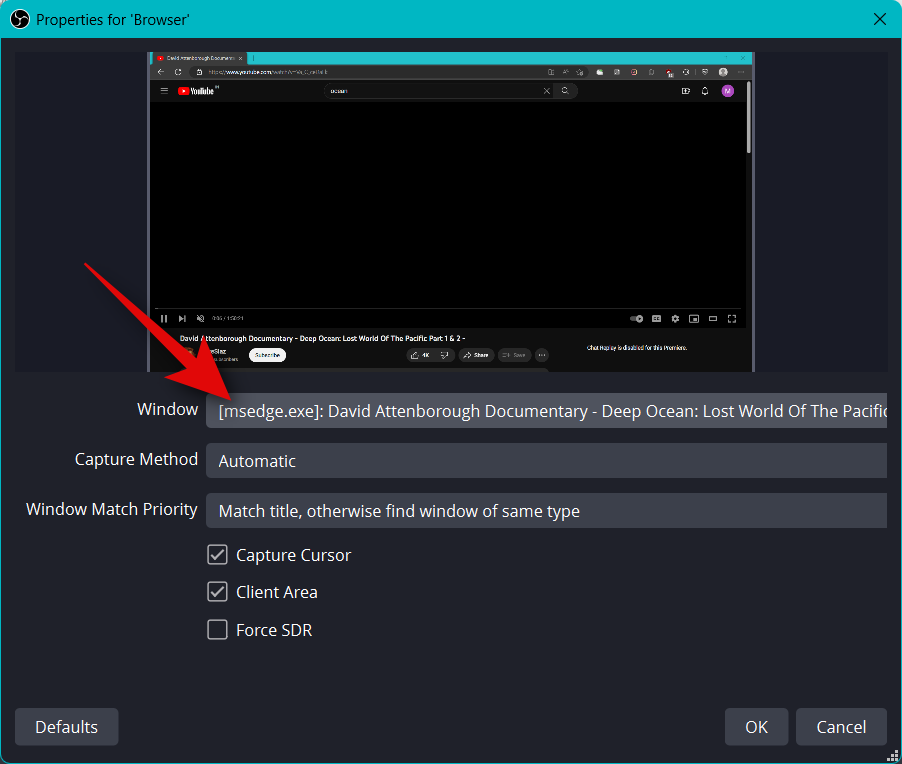
Now click the drop-down menu for Window and select an open window you wish to capture.
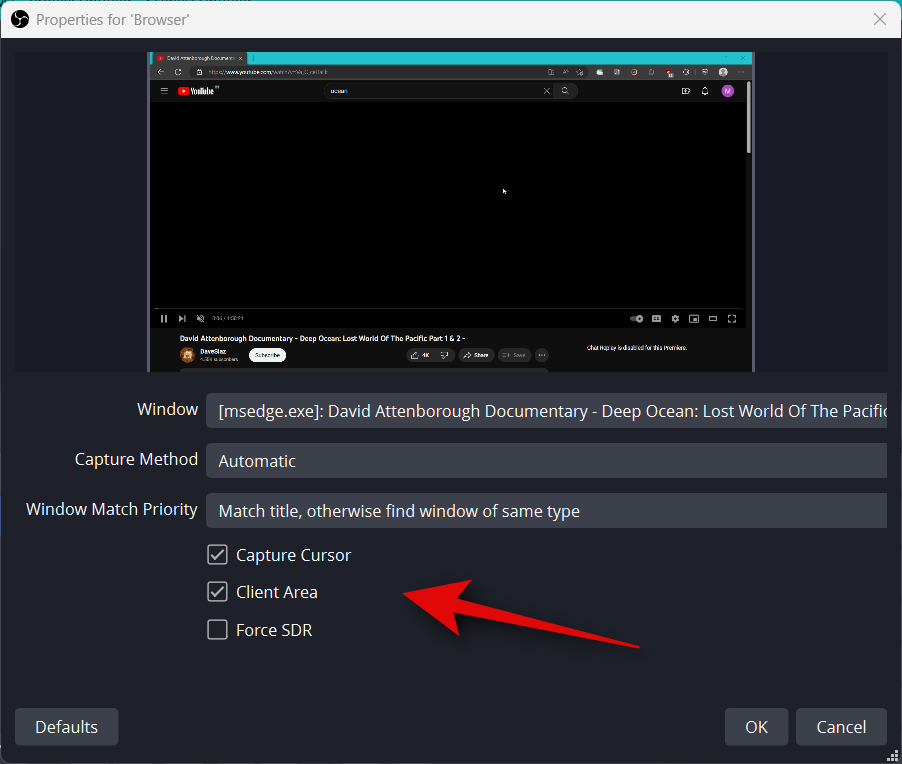
The window will automatically show up in the preview at the top. Check or uncheck the following boxes depending on your preferences.
- Capture Cursor
- Client Area
- Force SDR
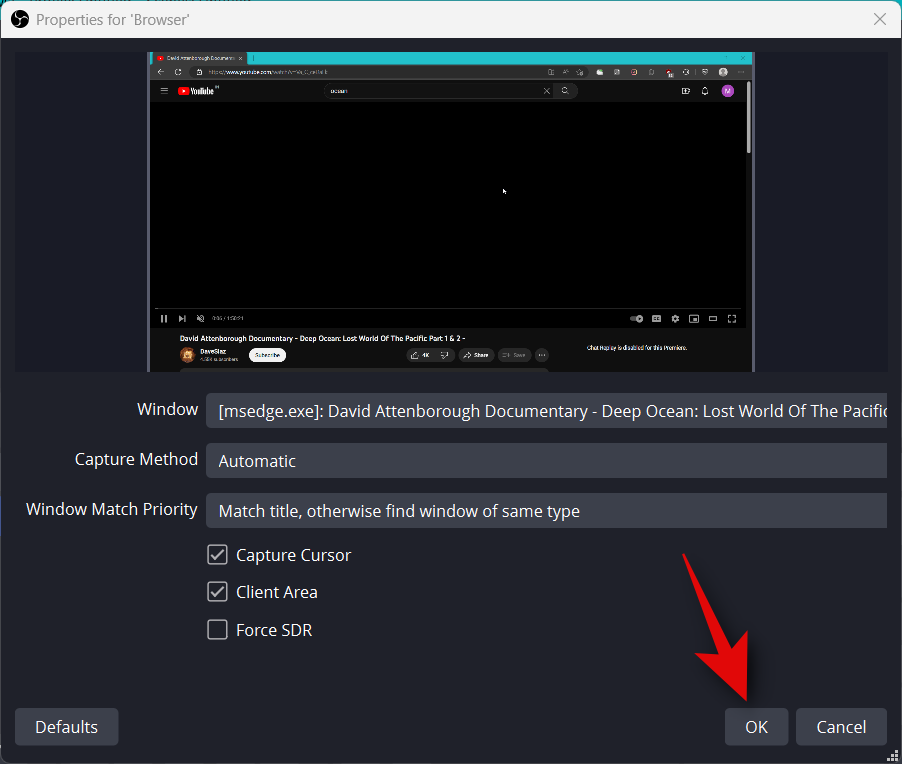
Click OK to add the source to your current scene.
As we did before, click and drag either corner to resize the capture, so it fits your base canvas as needed. If you’re using a background, you can position and choose a smaller size for better aesthetics.
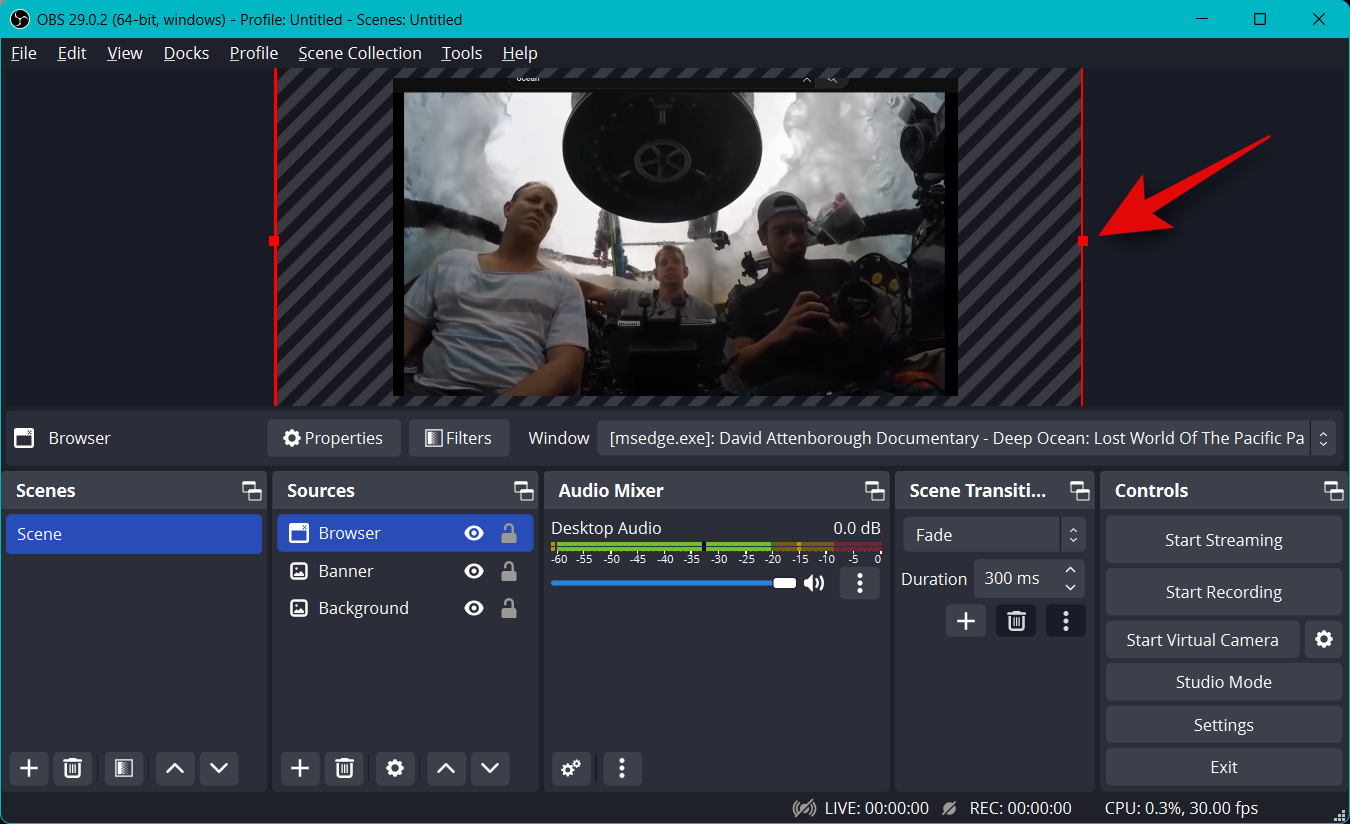
If you selected Game capture when selecting your source, then type in the name of your game at the top. This will allow you to have multiple game sources in your main scene so you can turn them off and on depending on the game you wish to stream. Click OK once you’re done.
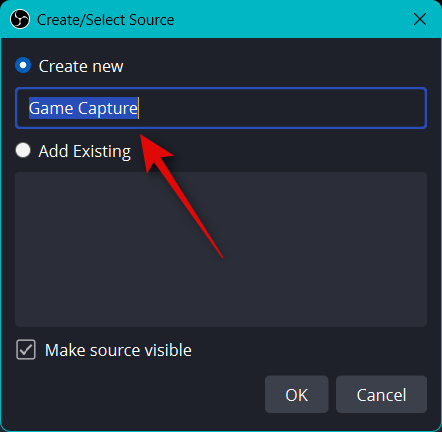
Note: Ensure your game is running in the background so you can view it as a capture source in OBS.
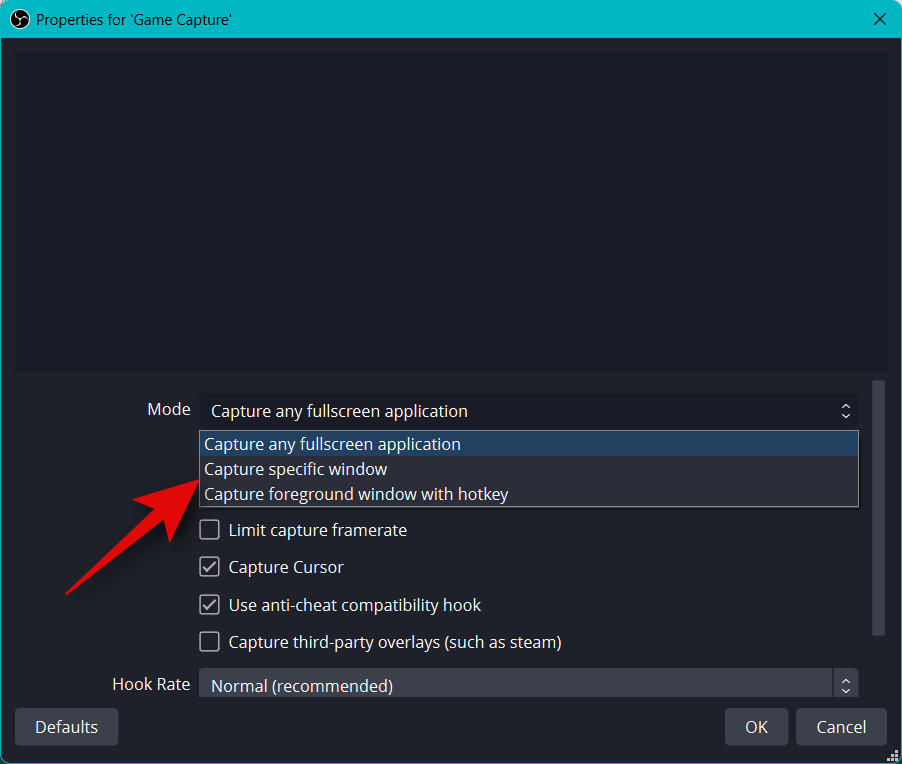
In most cases, OBS will automatically detect your full-screen game and display it in the preview at the top. However, if this fails to happen, click the drop-down menu for Mode and select Capture specific window.
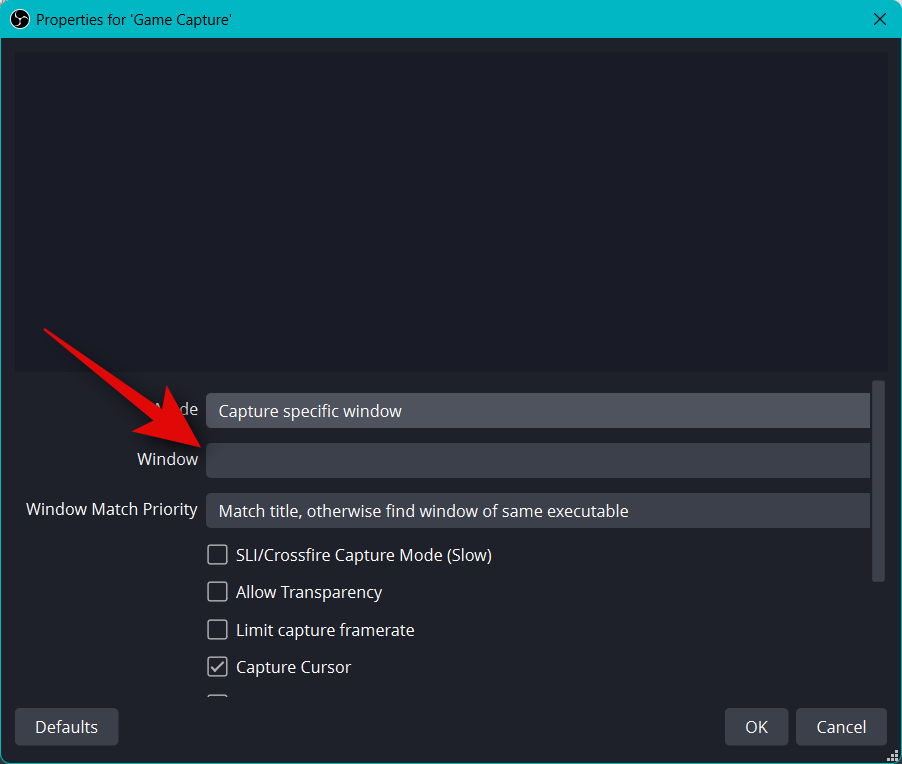
Now click the drop down menu for Window and select your game.
Note: In some cases, games will fail to show up in the preview unless you switch to them. To test this, use Alt + Tab to switch to your game and back. You should be able to view a static preview of your game once you switch back.
The rest of the default options will serve you well in most cases. Click OK to add the source to your scene.
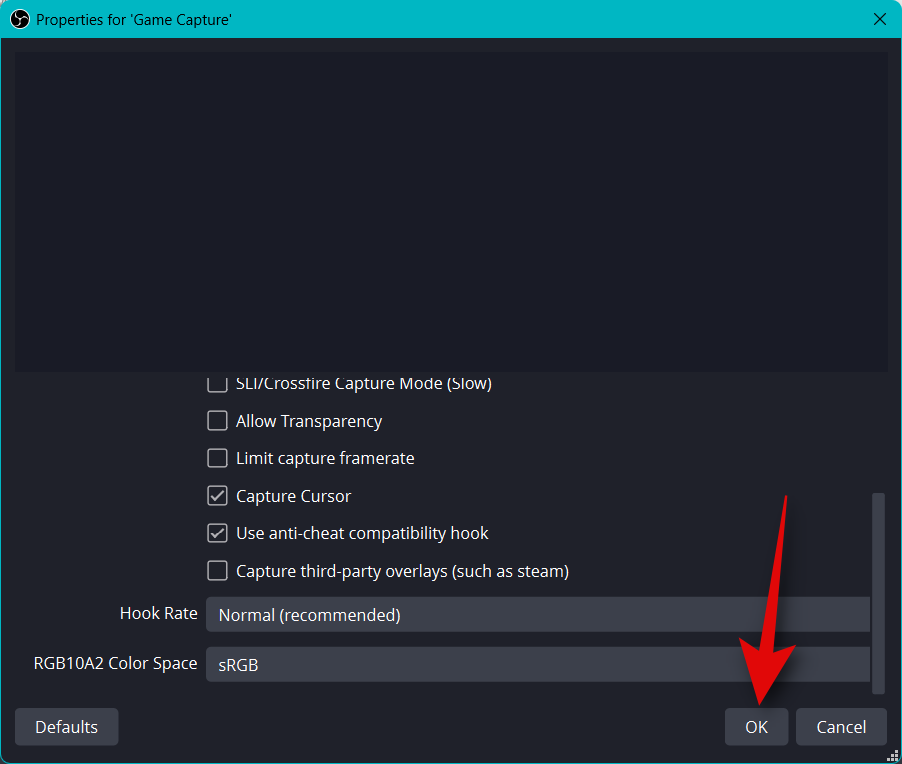
Now resize your added game capture by dragging the corners as we did before and fit it to your canvas based on your preferences.
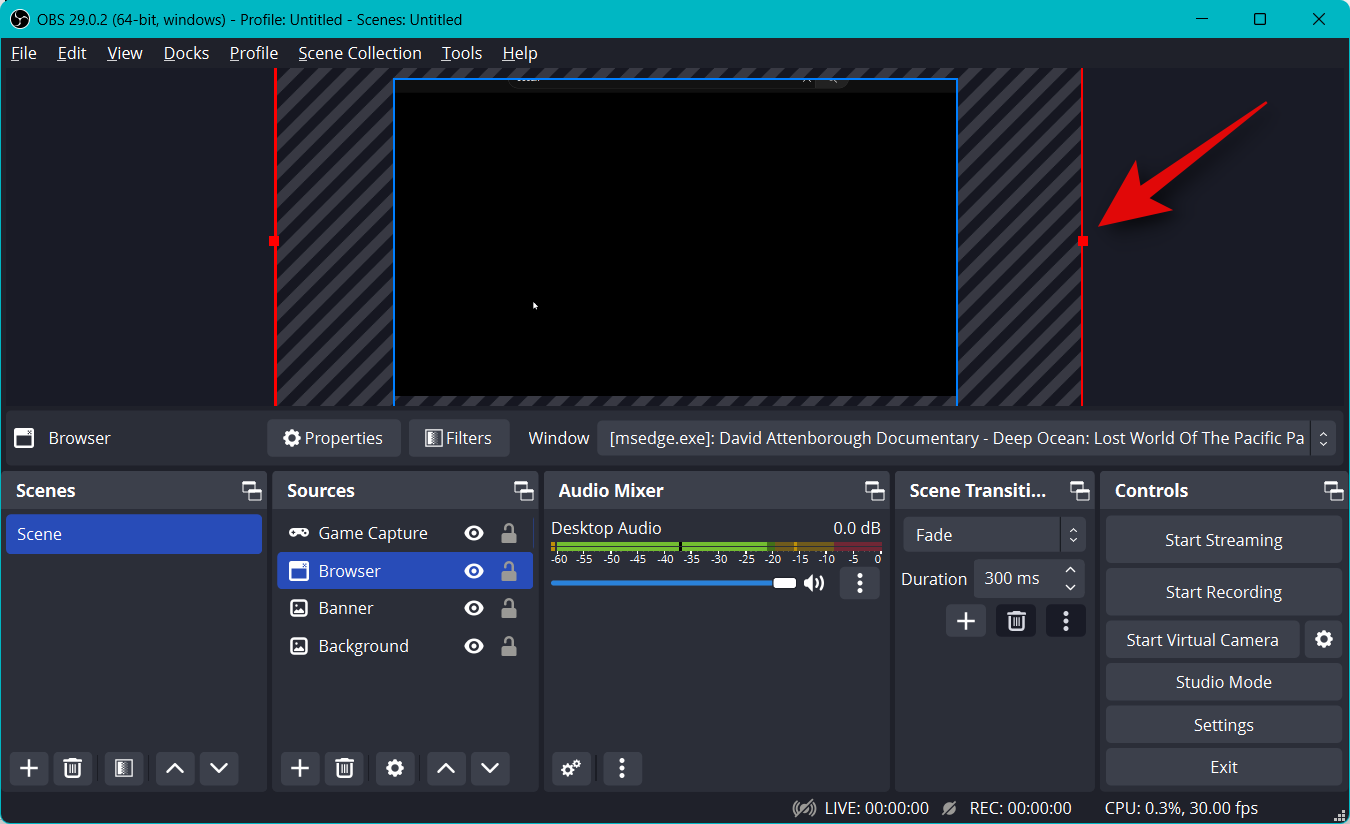
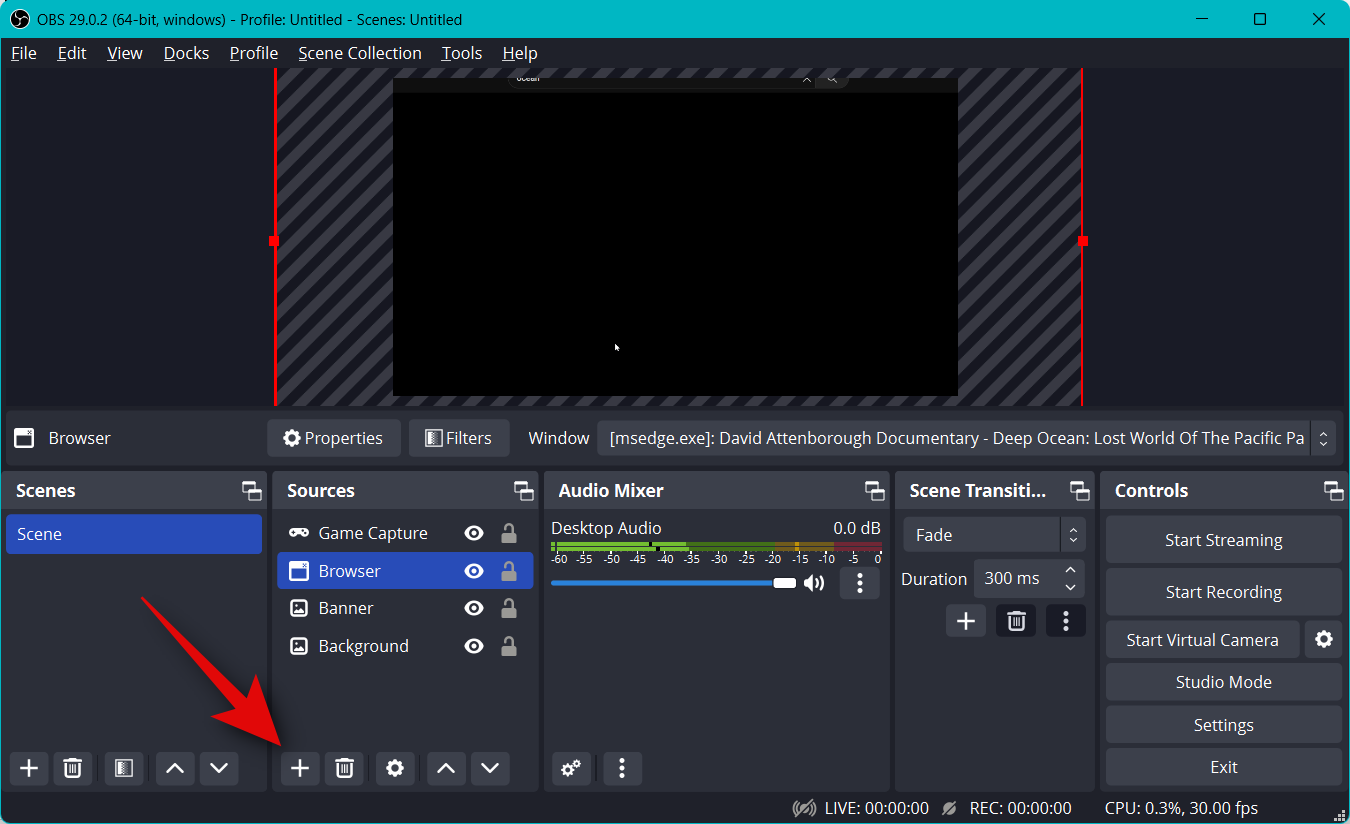
You might also wish to show your camera feed in your stream so you can interact with your audience. Thus, click + under Sources again.
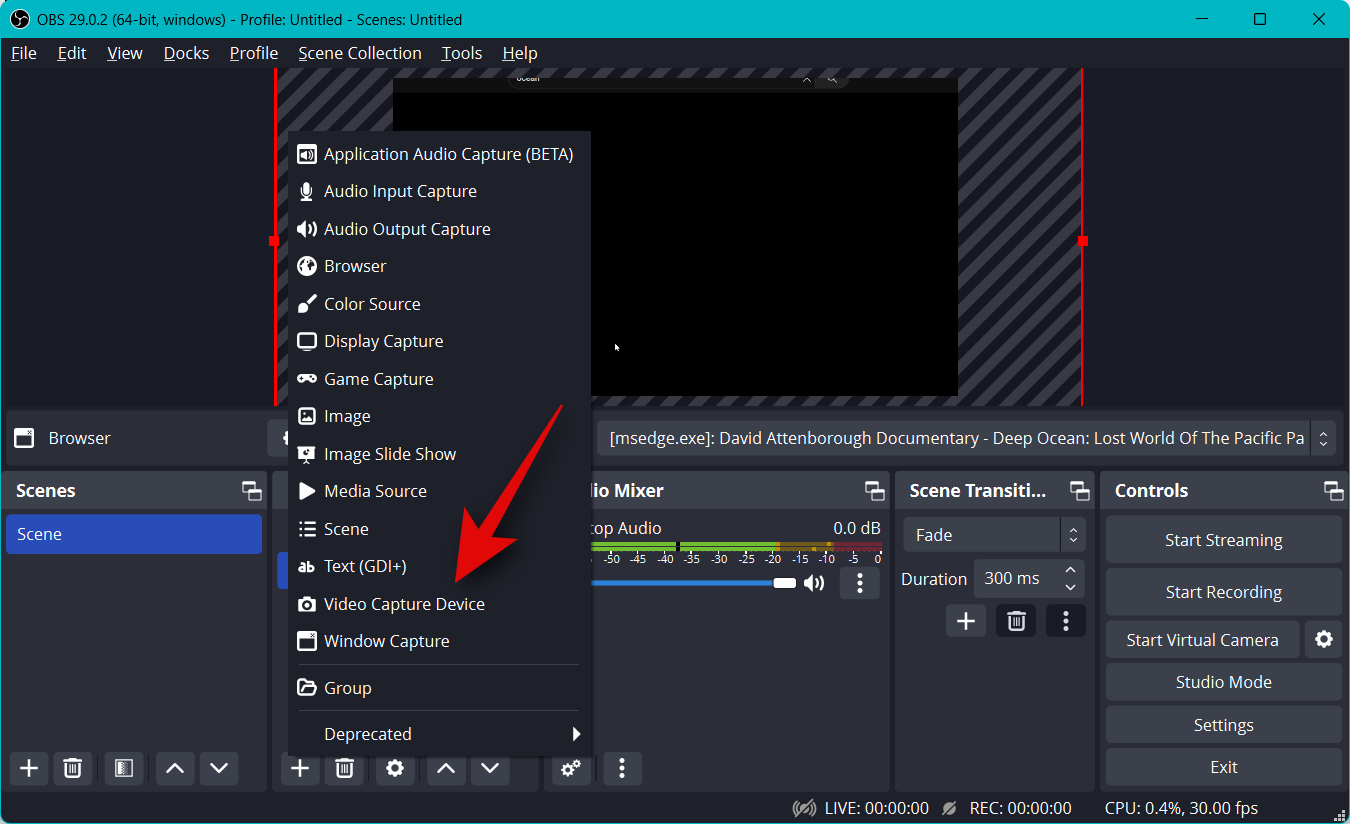
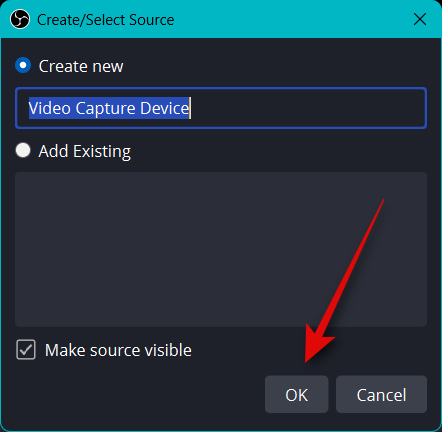
This time select Video Capture Device.
Type in a preferred name for your camera feed capture and click OK.
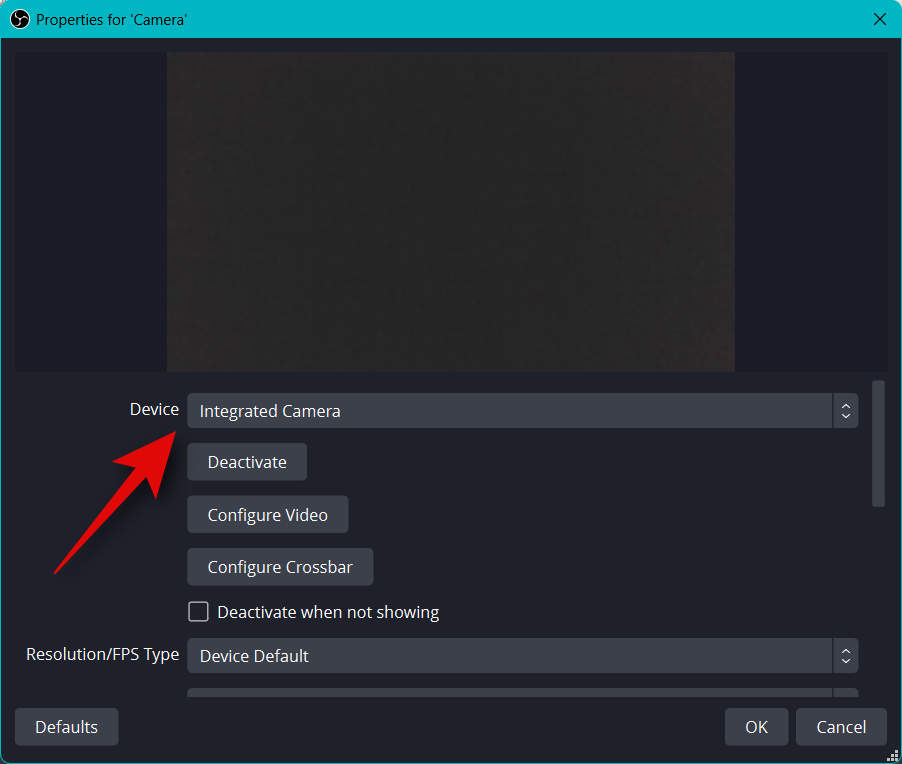
Click the drop-down menu for Device and select your camera from the list on your screen.
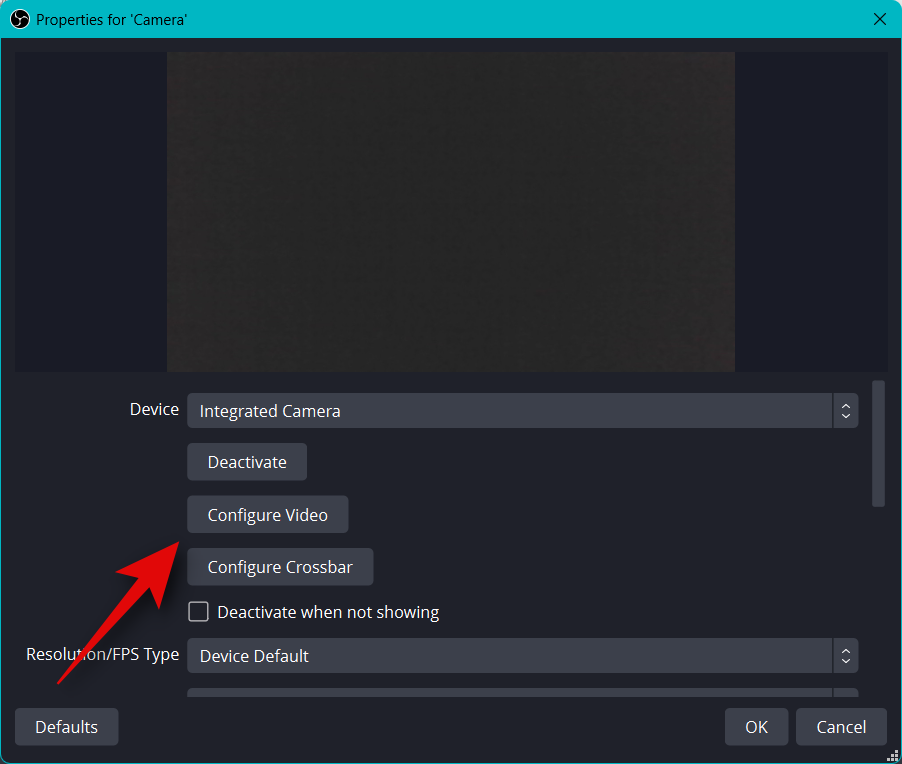
You will be shown a preview of your camera feed in real-time at the top. Click Configure Video to adjust your video feed.
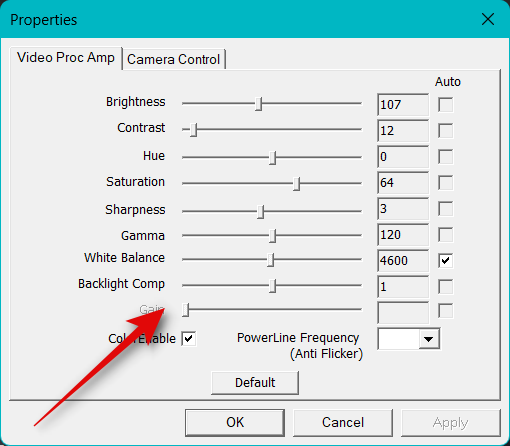
You can now adjust the look of your camera using the sliders in the new window.
Click and switch to the Camera Control tab.
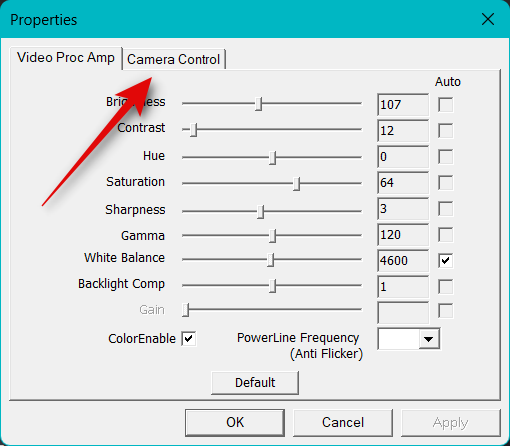
You can now virtually reposition your camera as you see fit using the options on your screen. You get access to the following options.
- Zoom
- Focus (if supported)
- Exposure
- Aperture (if supported)
- Pan
- Tilt
- Roll
- Low Light Compensation
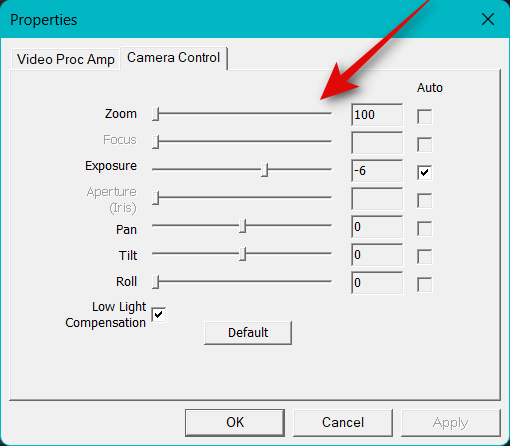
Once you’re done configuring your camera, click OK.
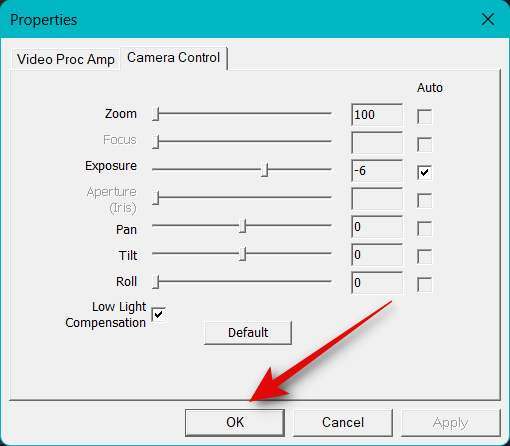
Now customize the other options available for your camera. These will vary depending on the camera you use and the features supported by it.
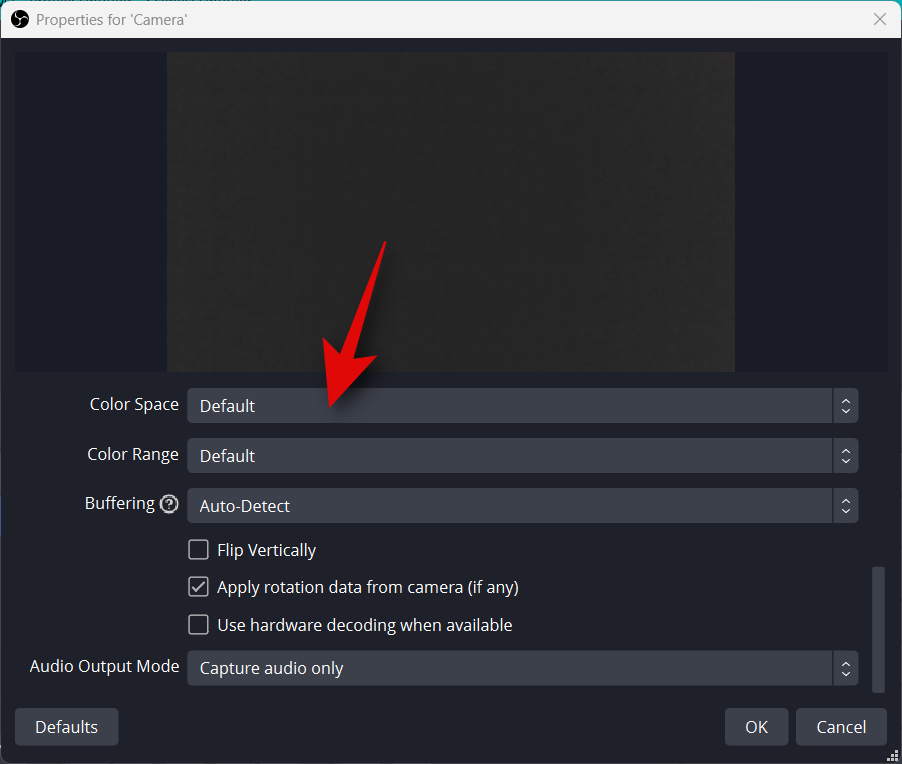
Once you have customized all the options, click OK.
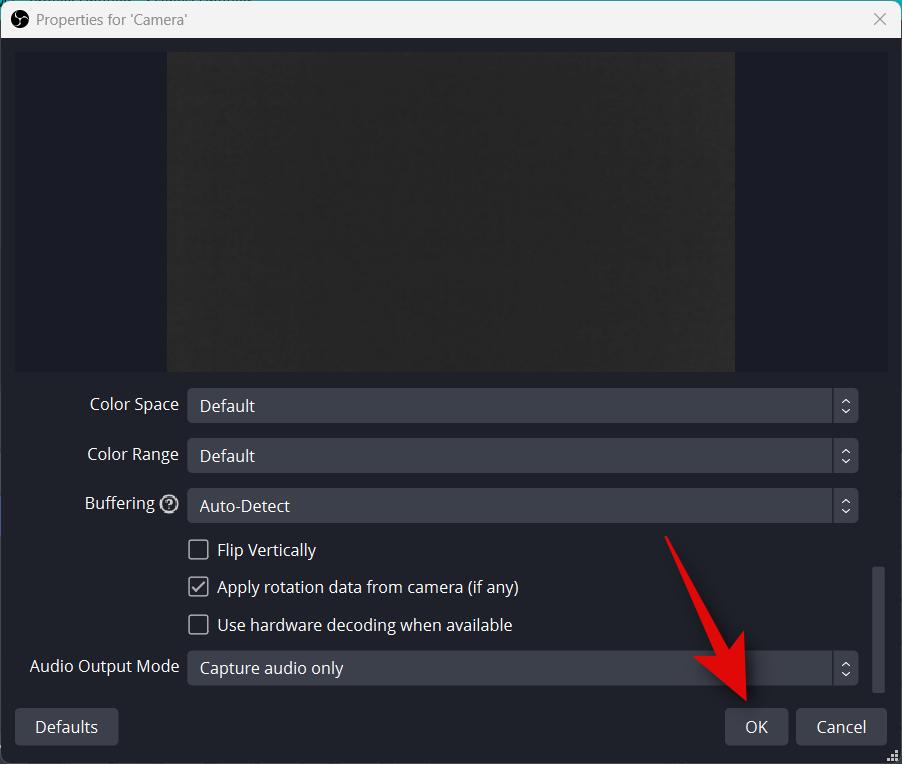
Your camera feed will now be added to your base canvas. Use the corners to resize it according to your preferences.
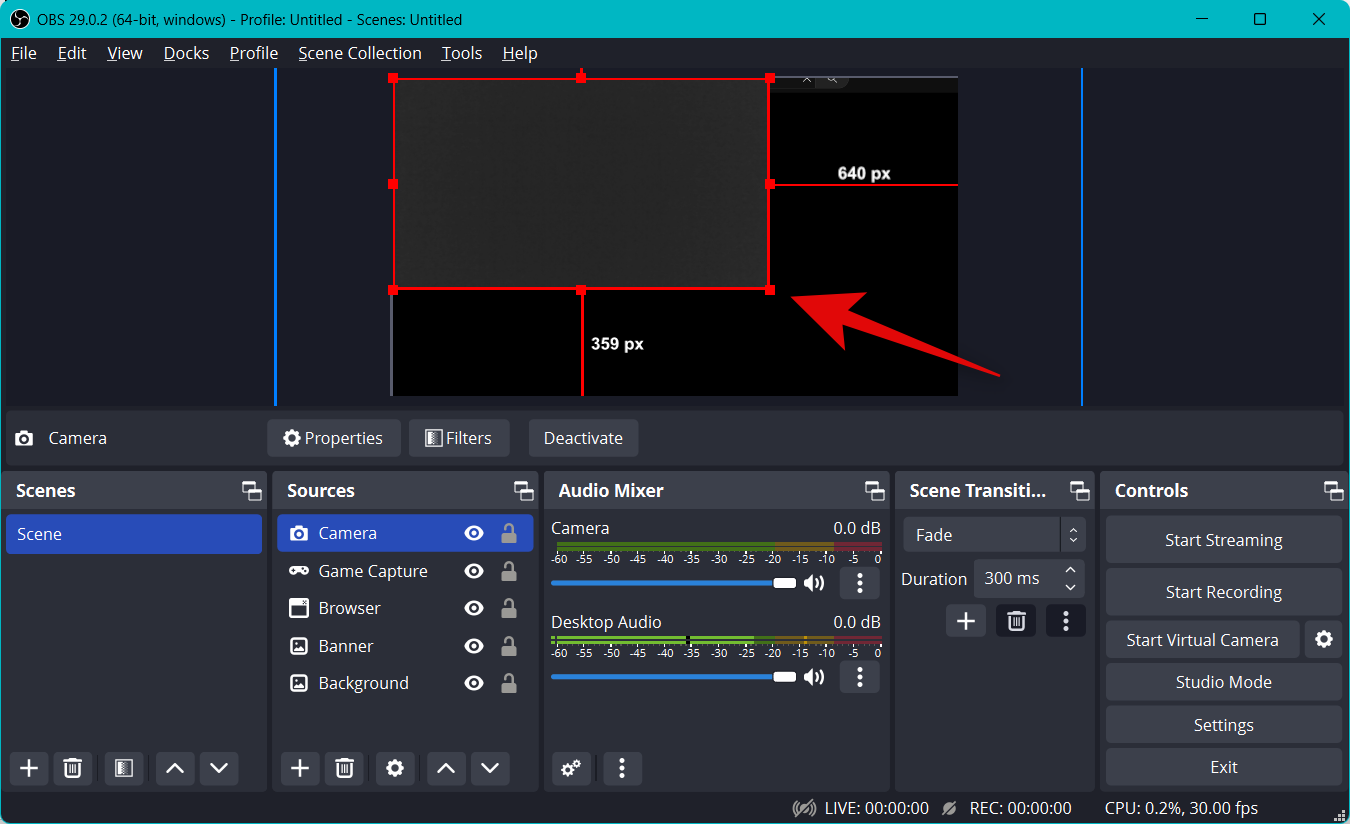
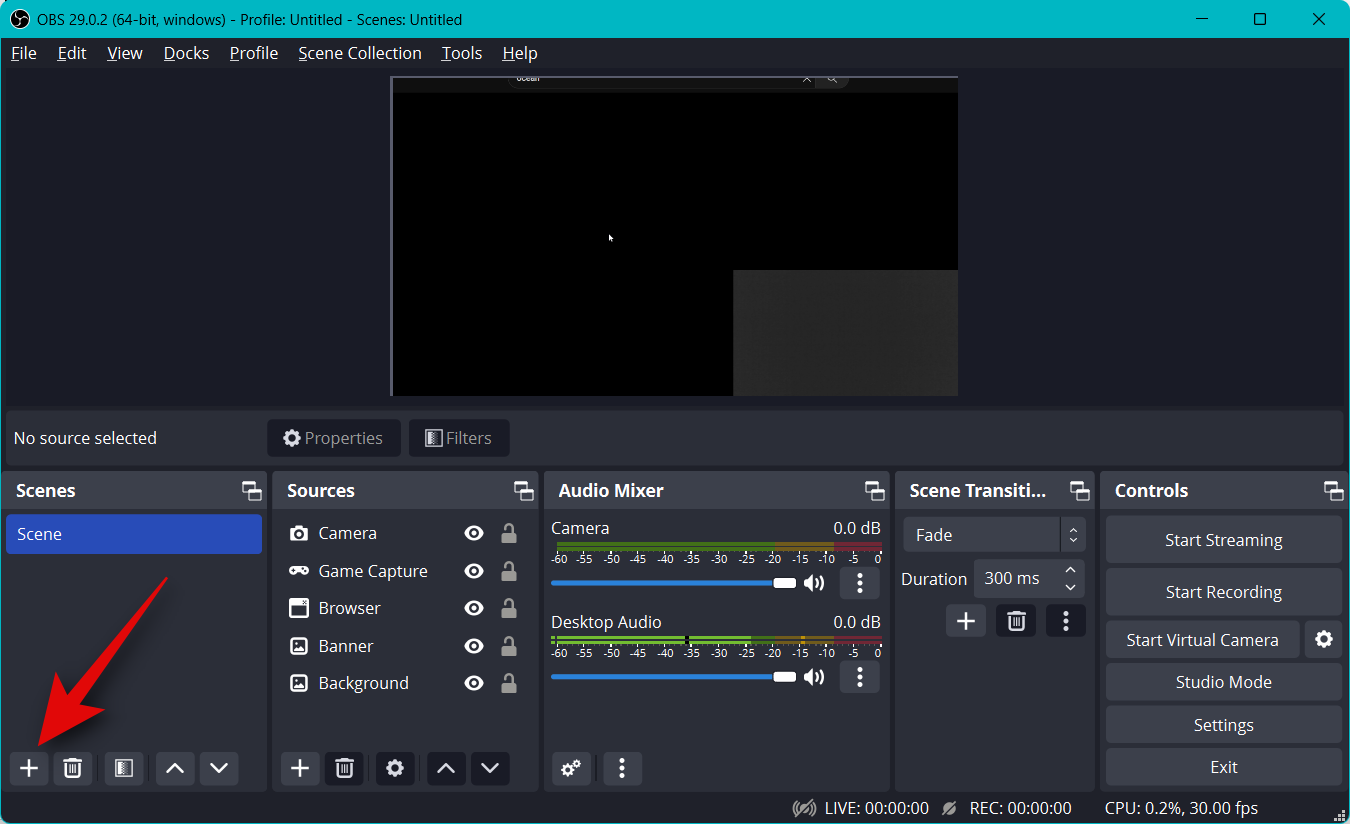
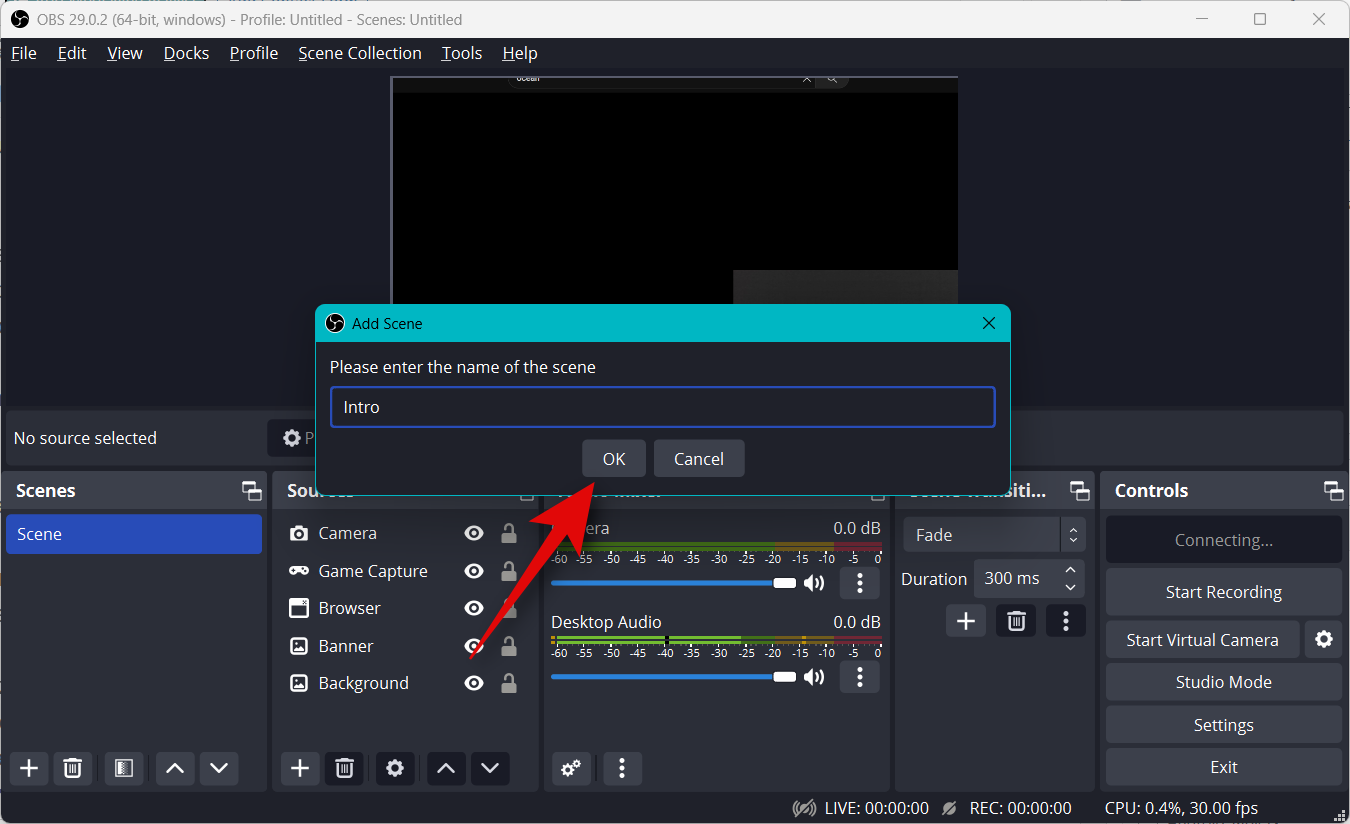
Click and drag to reposition your camera feed to the desired location on the base canvas. Let us now create an intro for our stream for now. This can be a video, audio, image, or a combination of all three that can help you introduce yourself before you start streaming. Click + under Scenes now.
Name your new scene Intro.
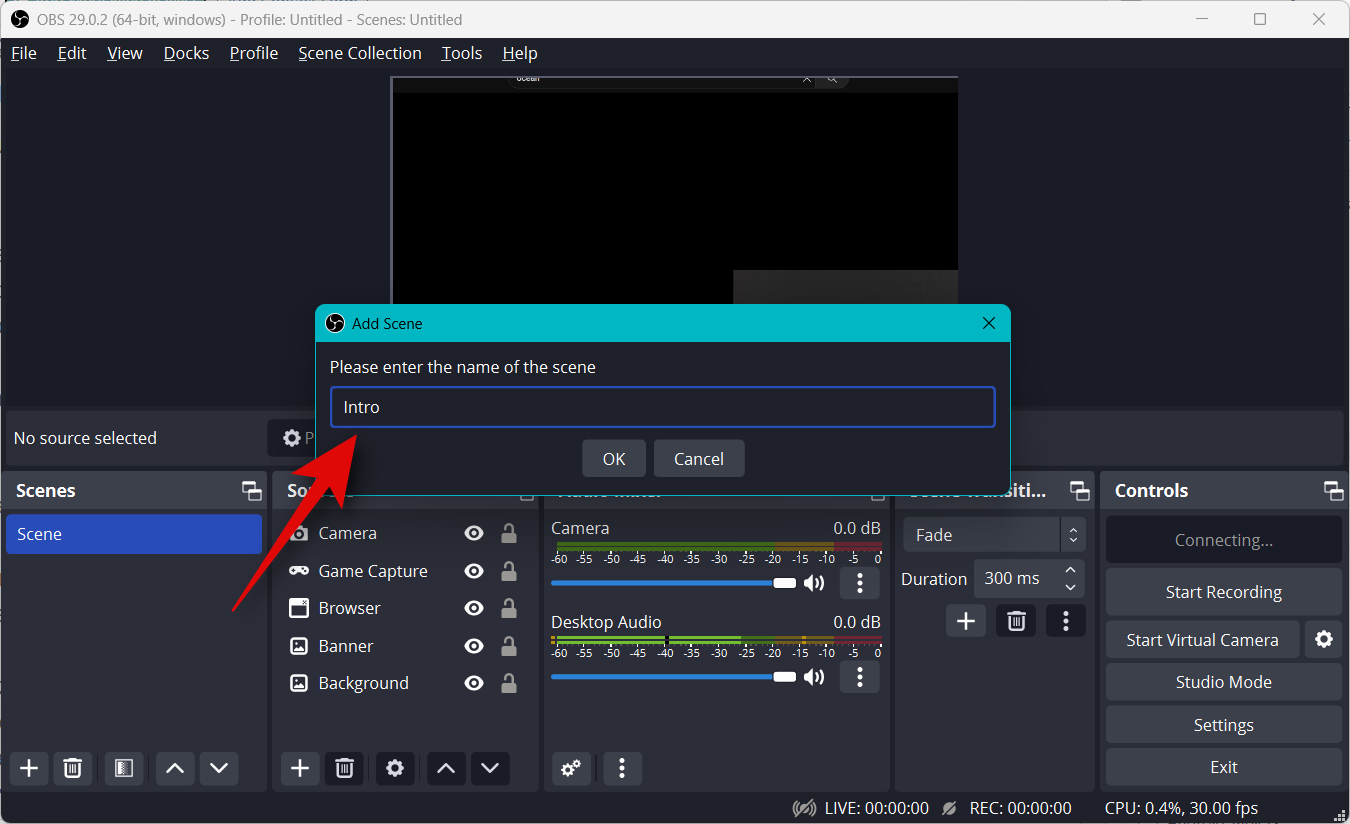
Click OK.
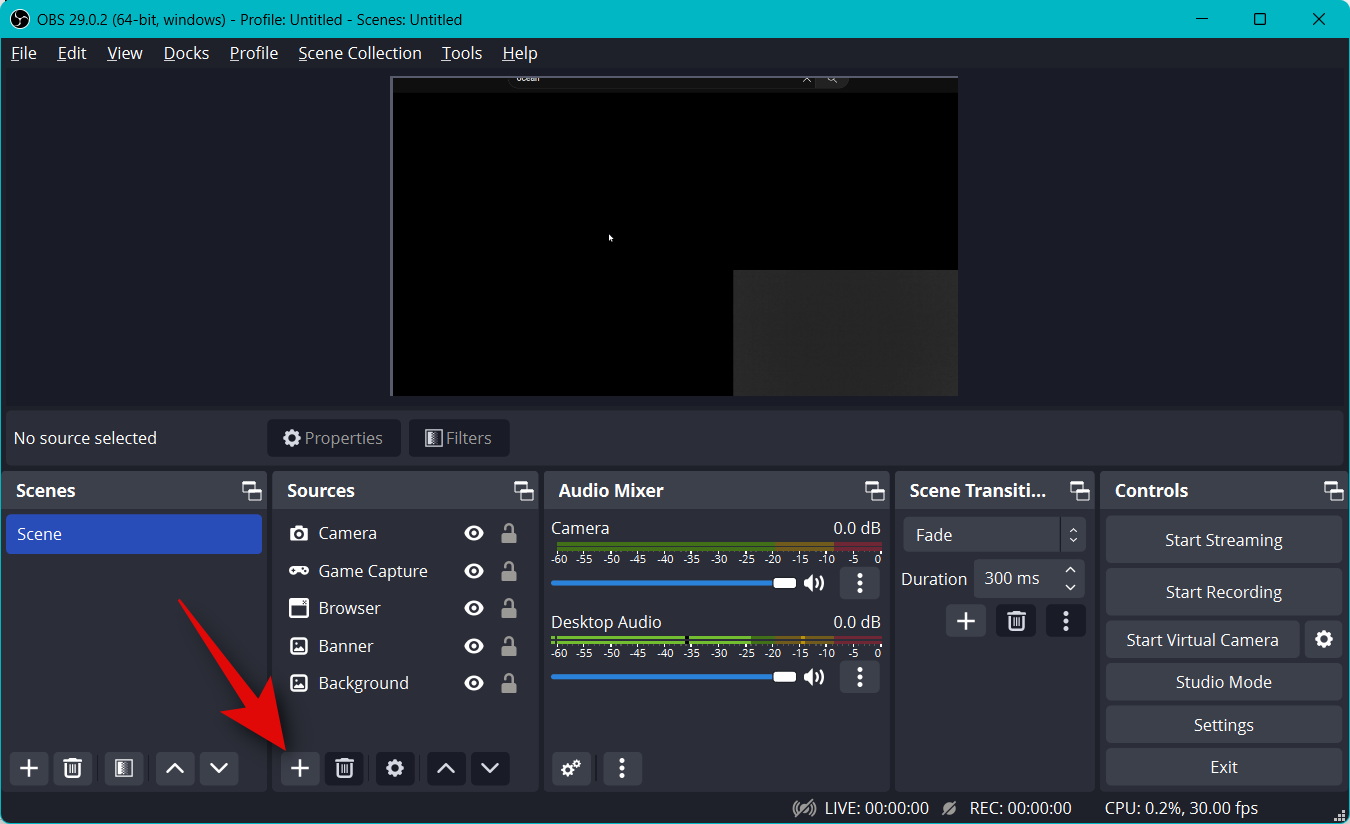
Now click + under the Sources tab.
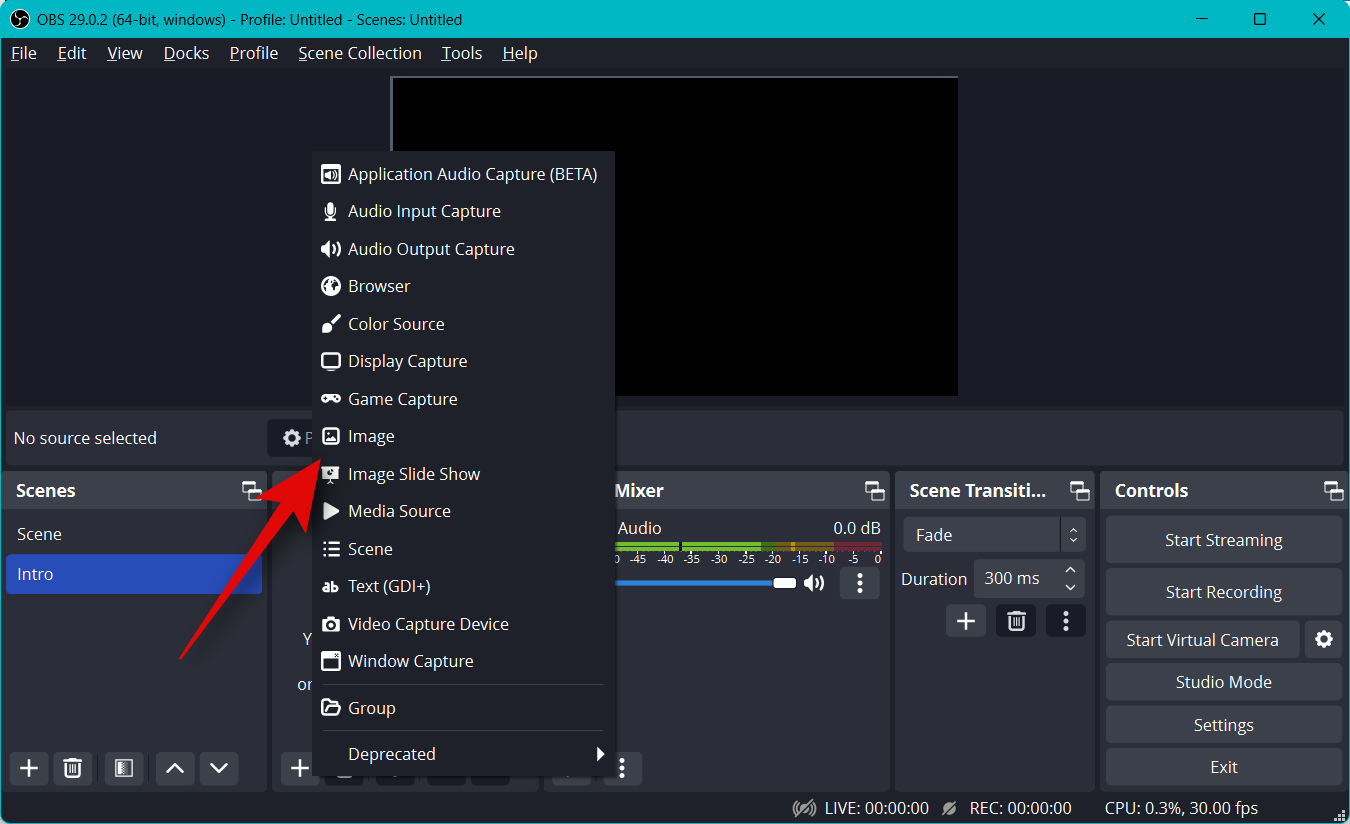
Select the preferred content type that you wish to use as your intro. We will use a custom image we created.
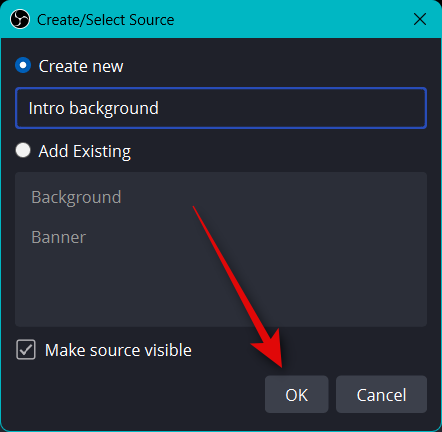
Name your source as preferred and click OK.
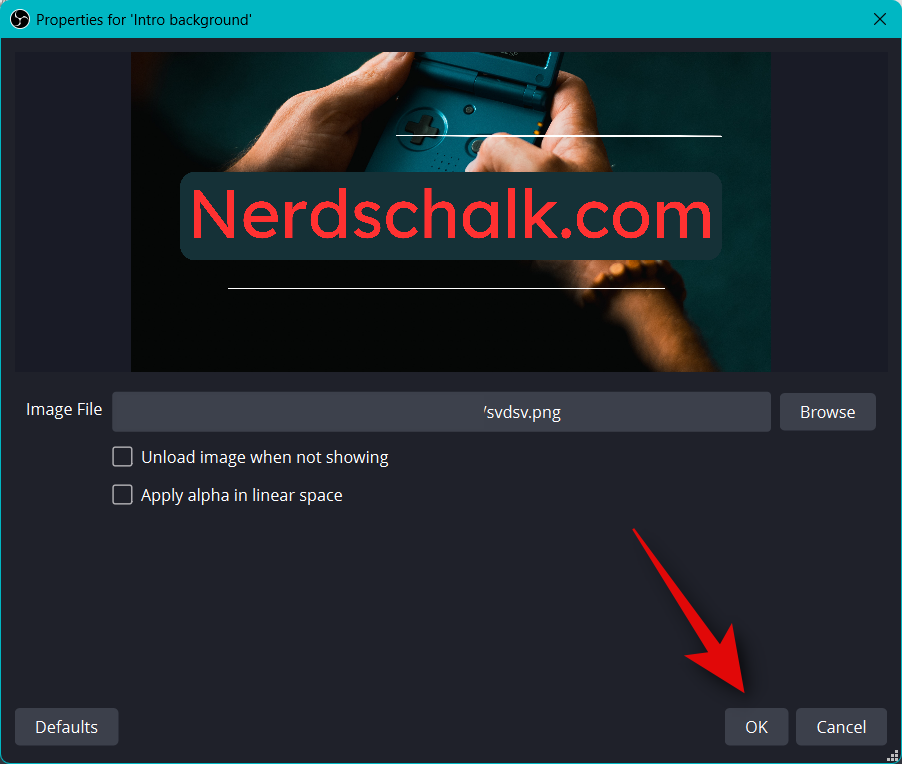
Whether using an image or a video, click Browse and select the desired file from your PC.
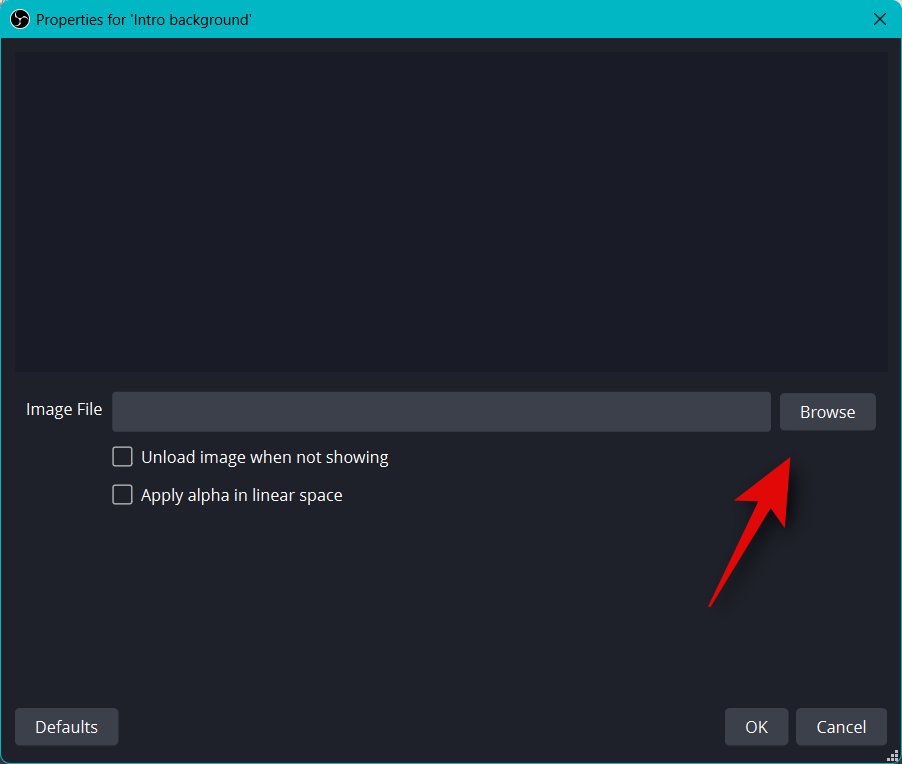
Click OK once you’re done.
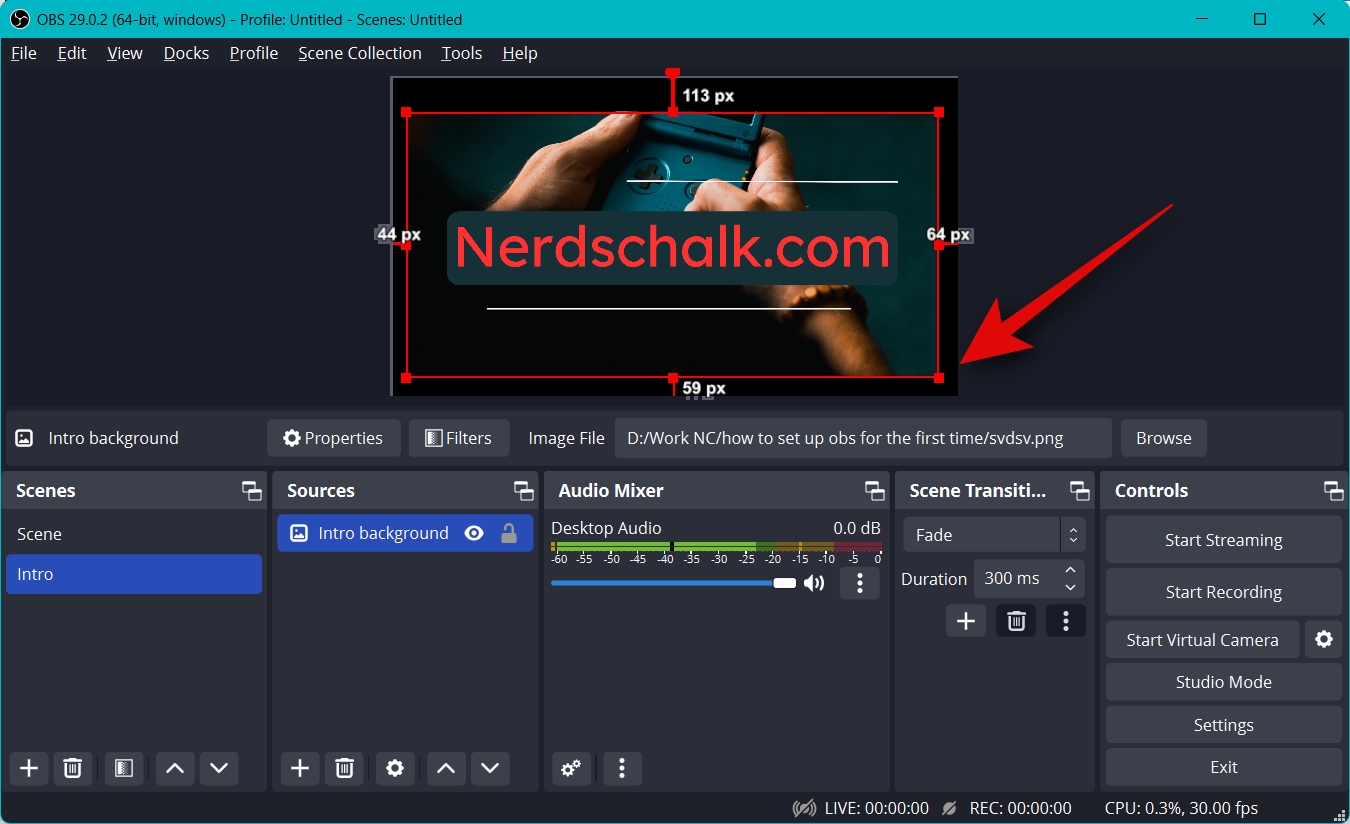
Click and drag the corners to resize the media, so it fits your base canvas.
Now repeat the steps above to create your outro scene as well. To test your scenes, click and select one, and you should be automatically able to transition between them. You can use this to transition between your intro, outro, and your stream.
You can also customize the transition used when switching scenes. Click the drop-down menu under Scene Transition and choose your preferred transition.
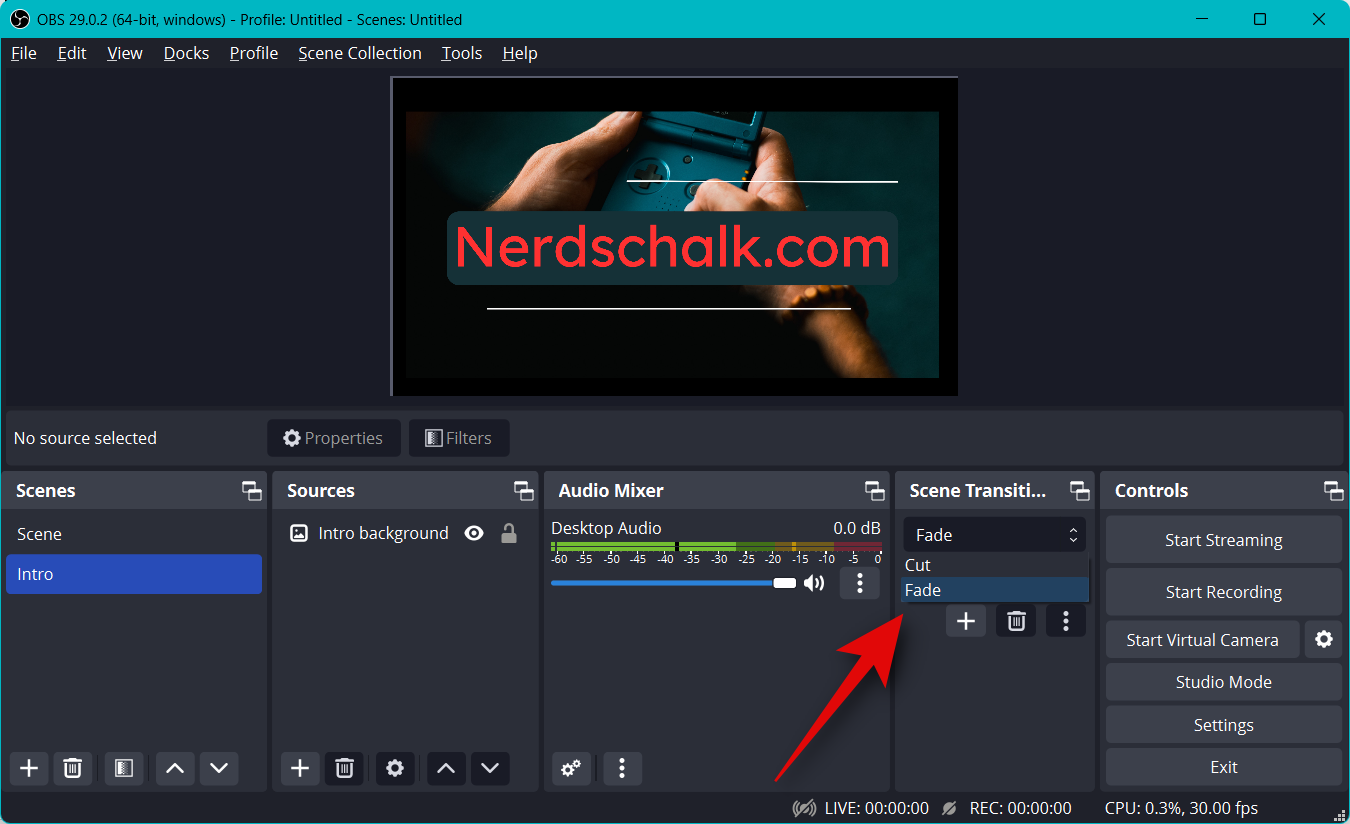
Click and enter the preferred time you wish to transition to the last beside Duration.
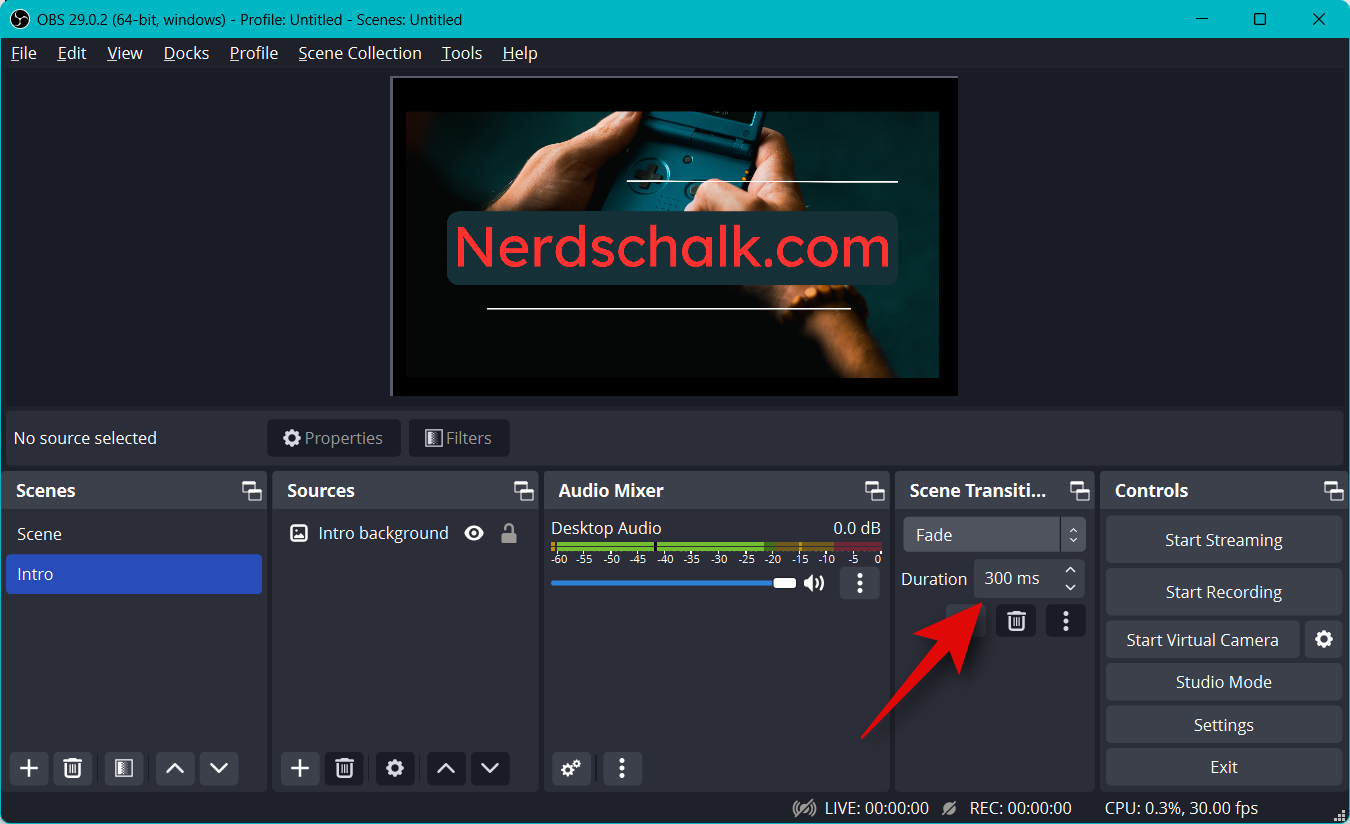
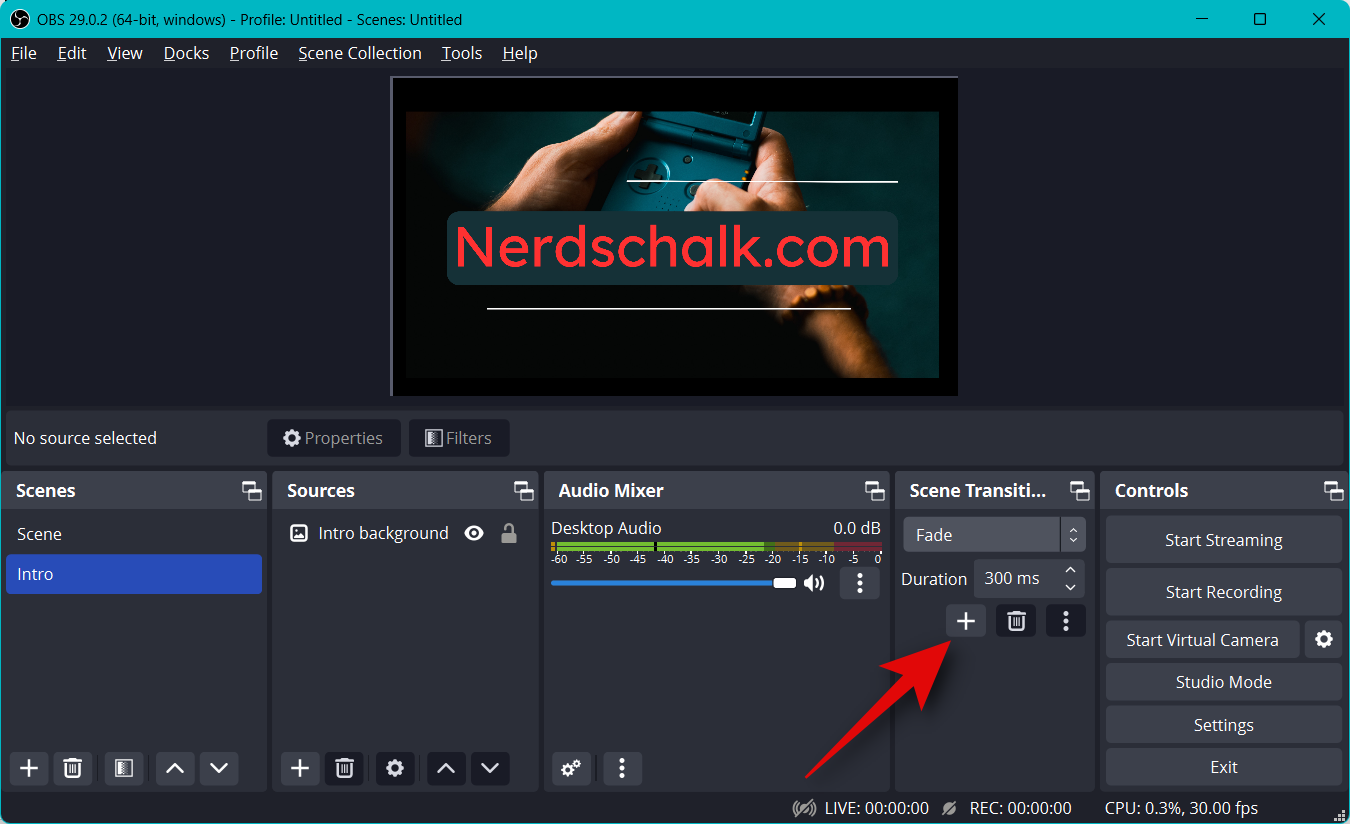
By default, only the Cut and Fade transition will be available to you. You can add more by clicking the + icon at the bottom.
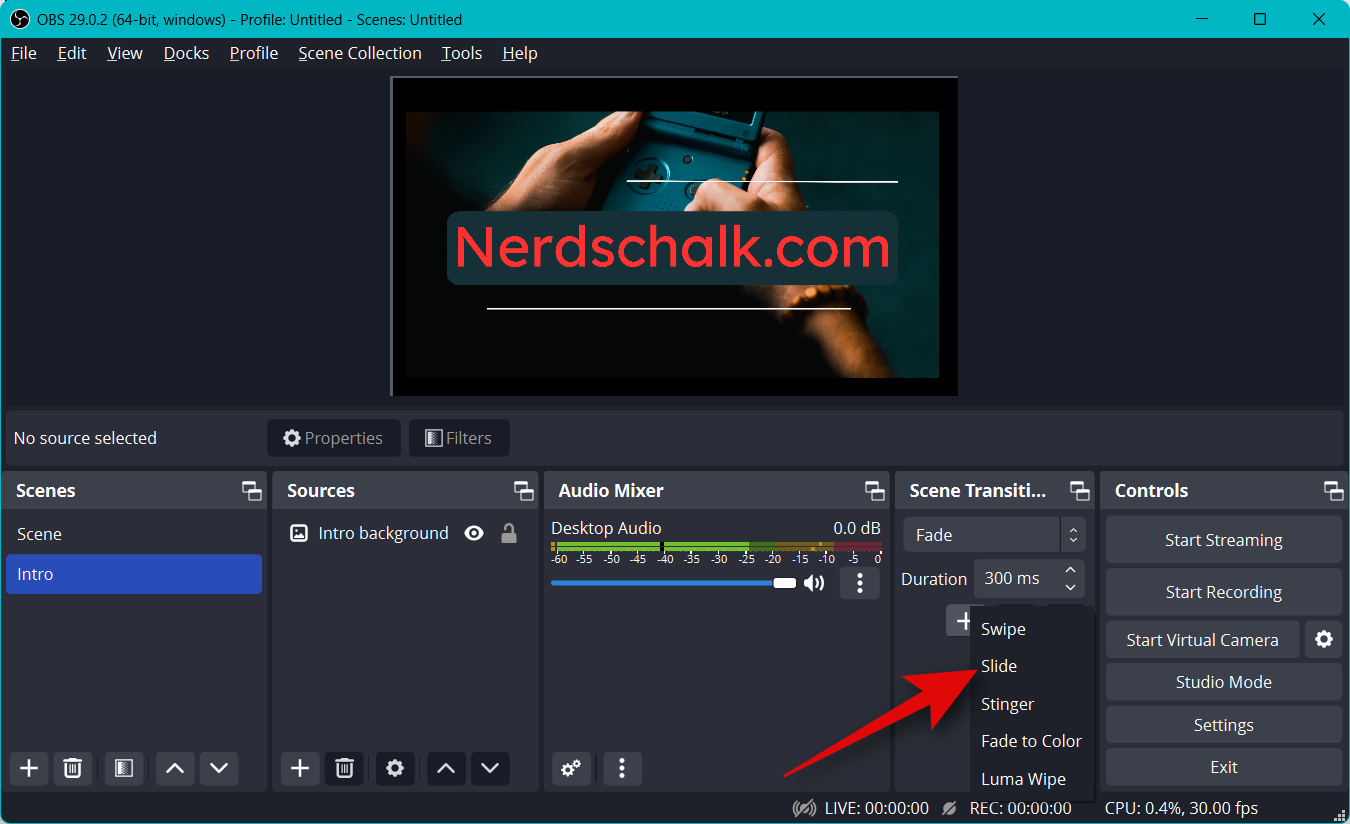
Select a transition you like.
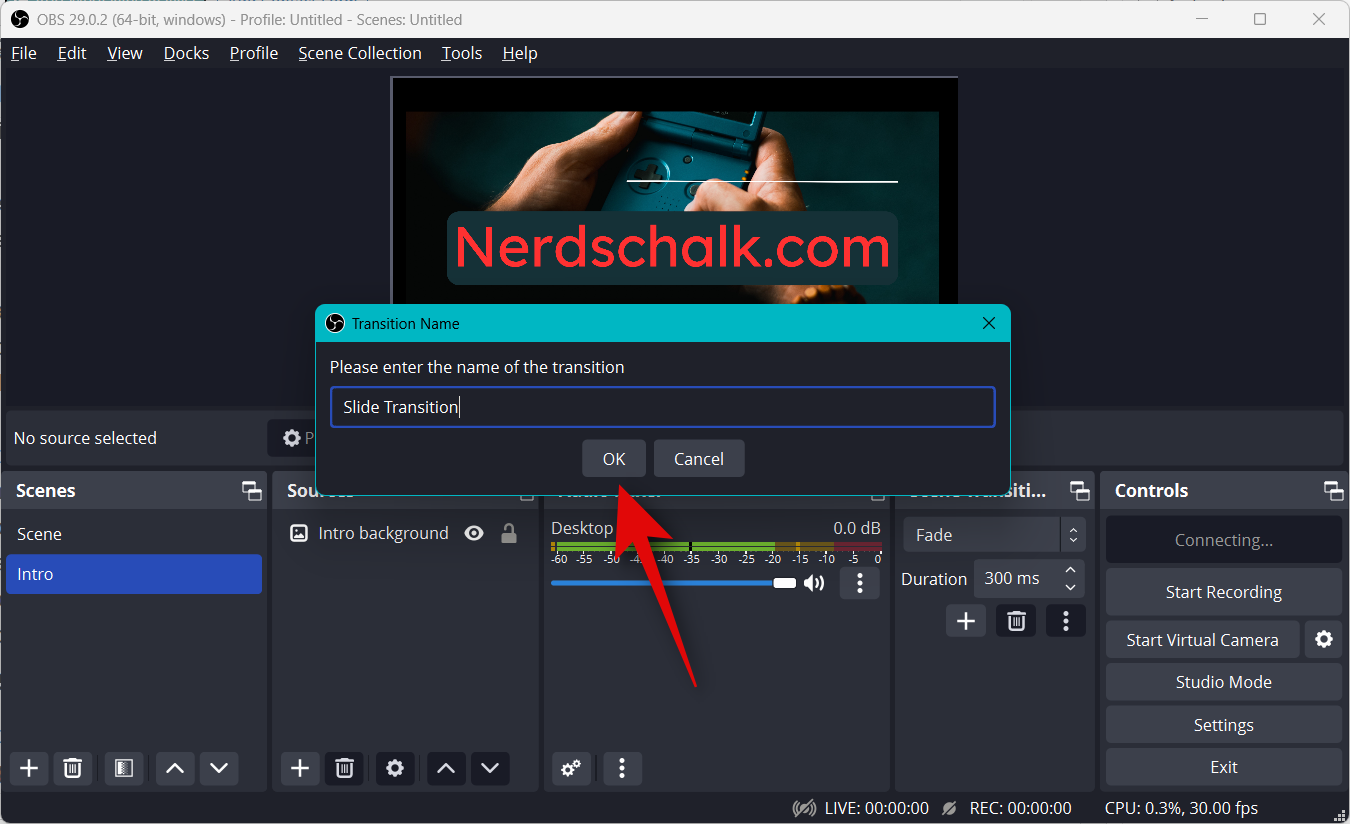
Enter a preferred name for the transition and click OK.
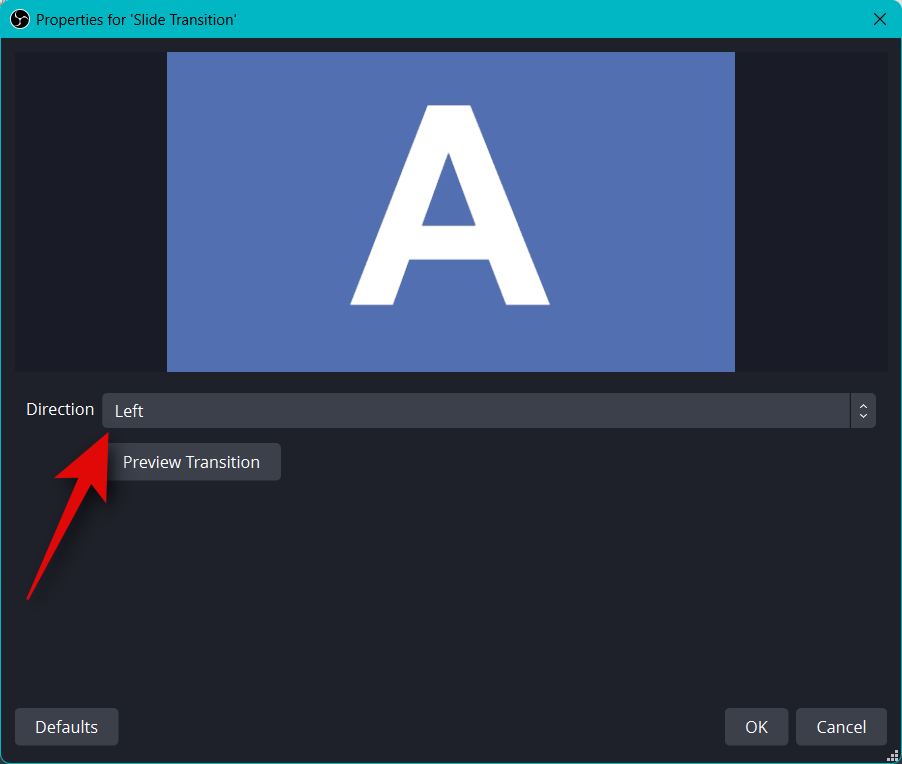
Depending on the transition you choose, you can now customize it using the options on your screen. I chose the Slide transition, so now I can use the drop-down menu for Direction and set the direction in which the slide occurs.
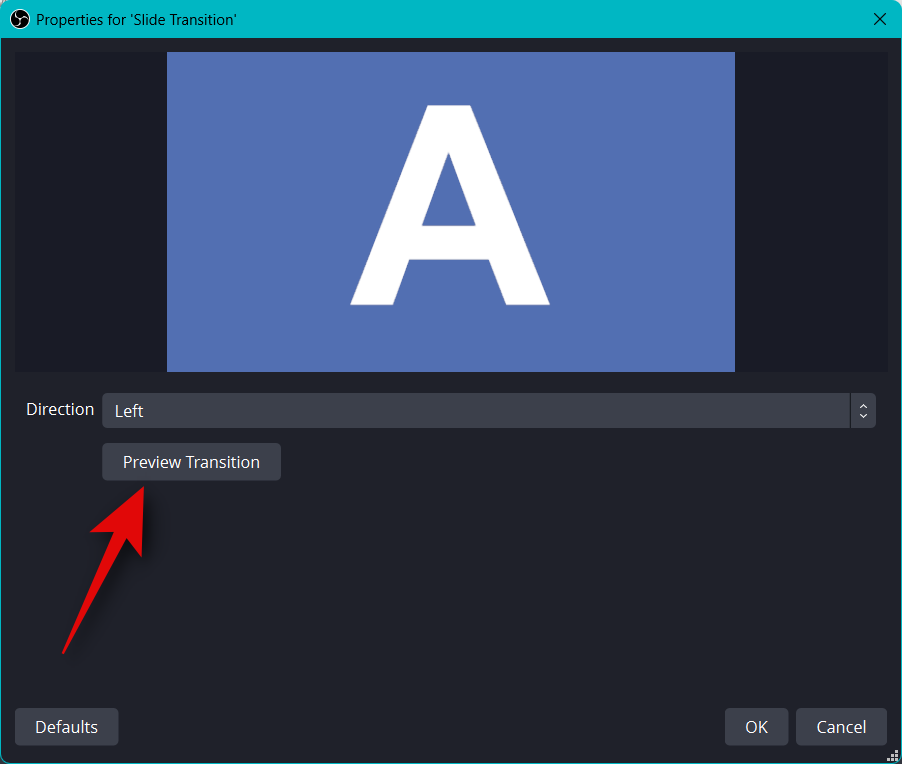
Click Preview Transition to view a preview once you have customized your options.
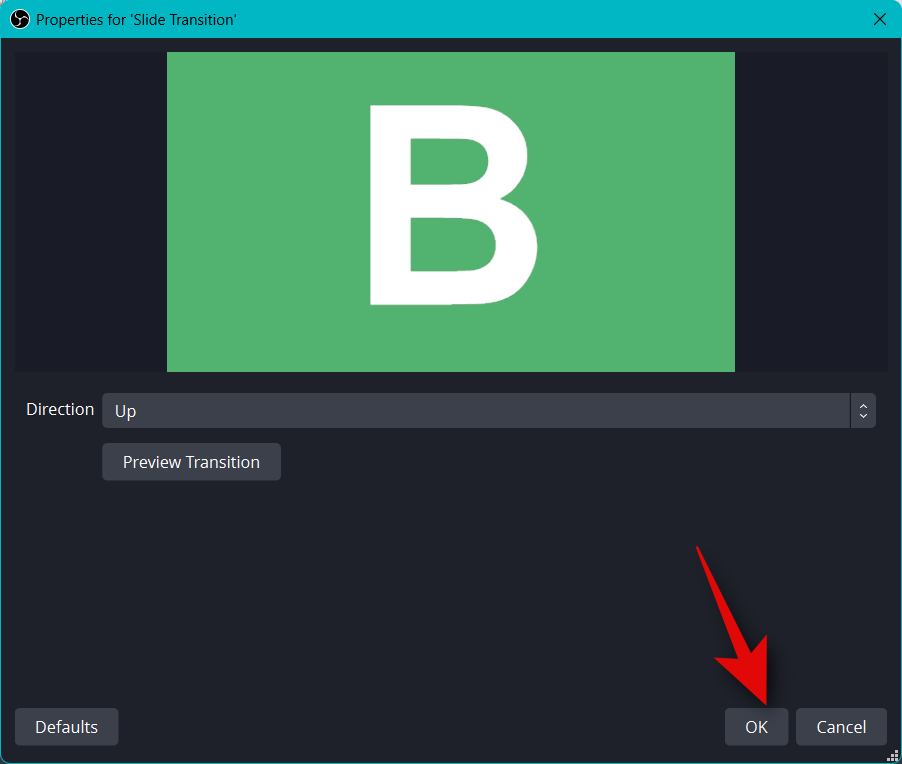
Once you’re happy with the new transition, click OK.
The new transition will be automatically selected in the Transition tab. Lastly, it’s time to verify your audio setup. By default, your Mic and Desktop audio will already be included in the Audio Mixer tab. You can play any audio on your desktop, and you should get a visual representation for the same, verifying everything is working as intended.
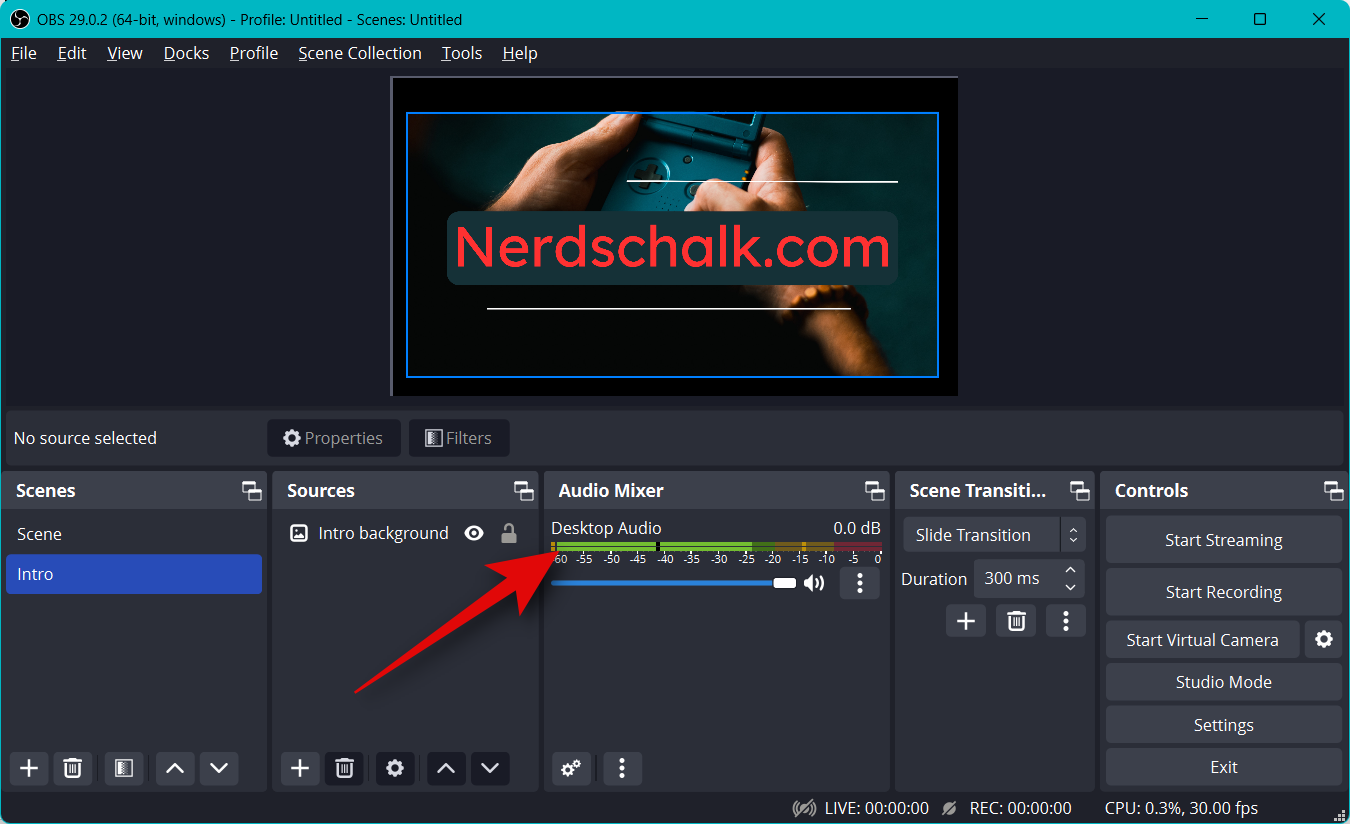
You can now adjust the volume according to your preferences using the slider for Desktop Audio.
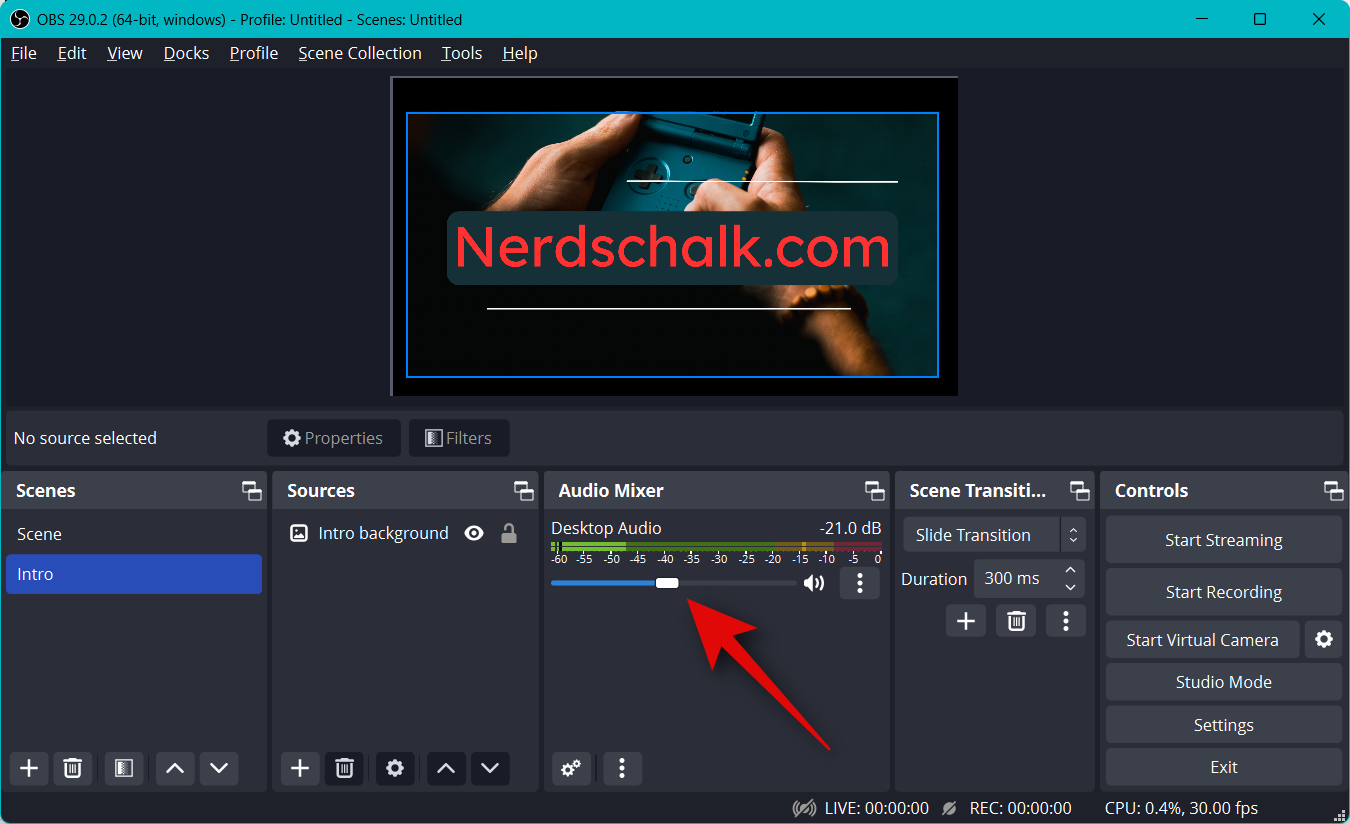
Similarly, you can click your microphone, and you should get a visual representation of the same.
Step 4: Connect the relevant streaming platform and account
We can now connect the relevant platform you wish to stream to so you can easily start streaming without having to connect your account again and again. We will be using Twitch as an example for this guide, but you can use the guide below to connect to any platform, be it YouTube, Discord, Facebook, Twitter, and more. Follow the steps below to help connect your preferred streaming platform to OBS.
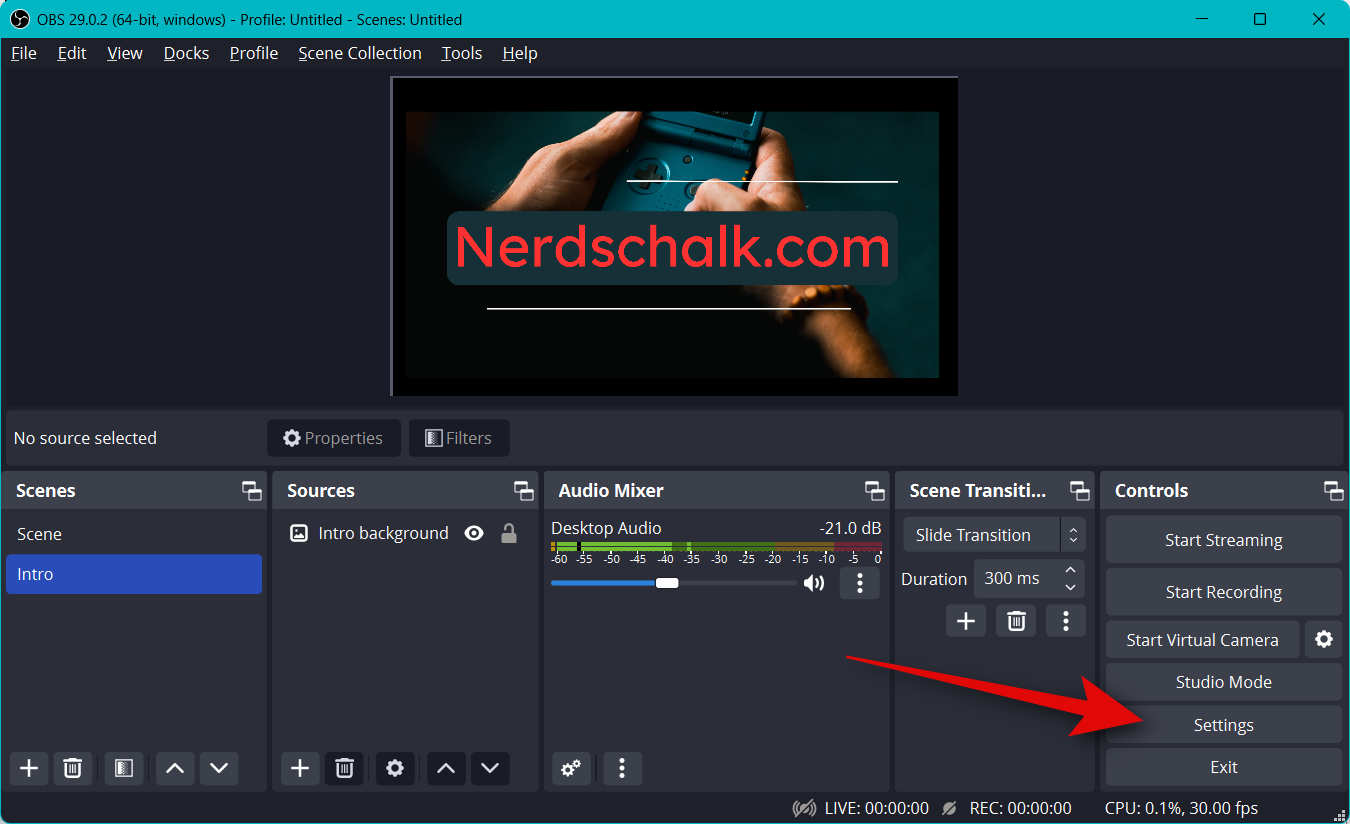
Open OBS and click Settings.
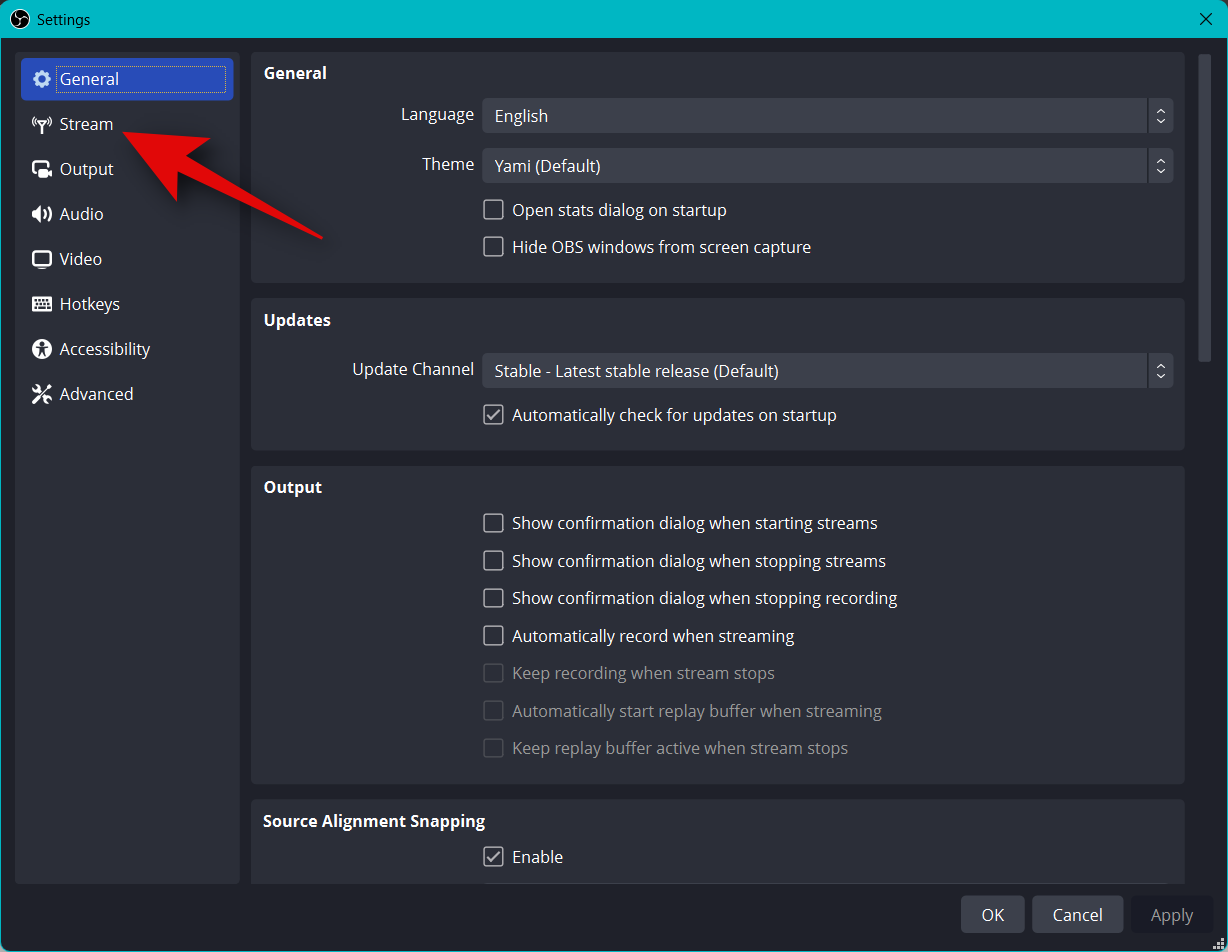
Now click Stream in the left sidebar.
Click the drop-down menu for Service and select your preferred streaming platform. We will be using Twitch as an example for this guide.
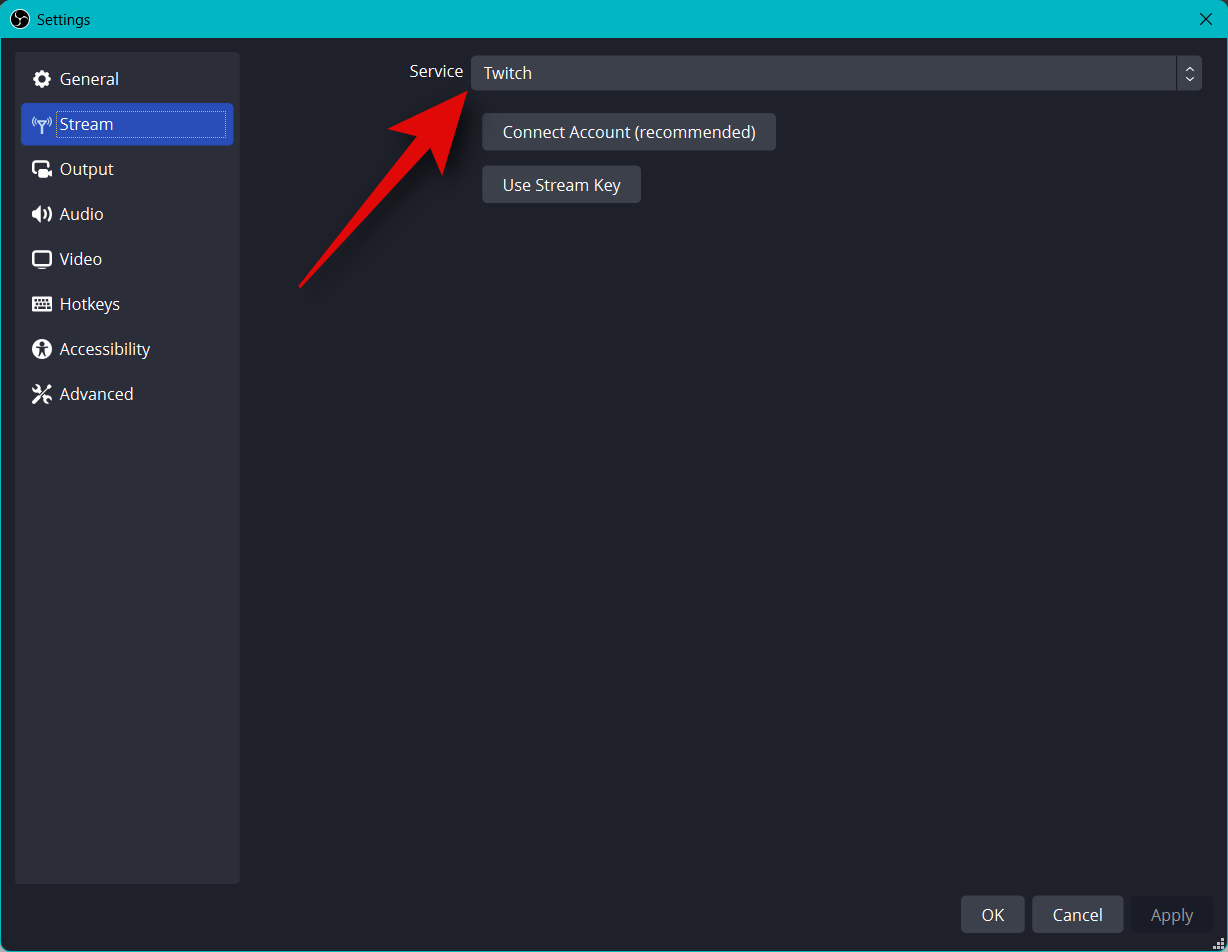
Click Connect Account (recommended).
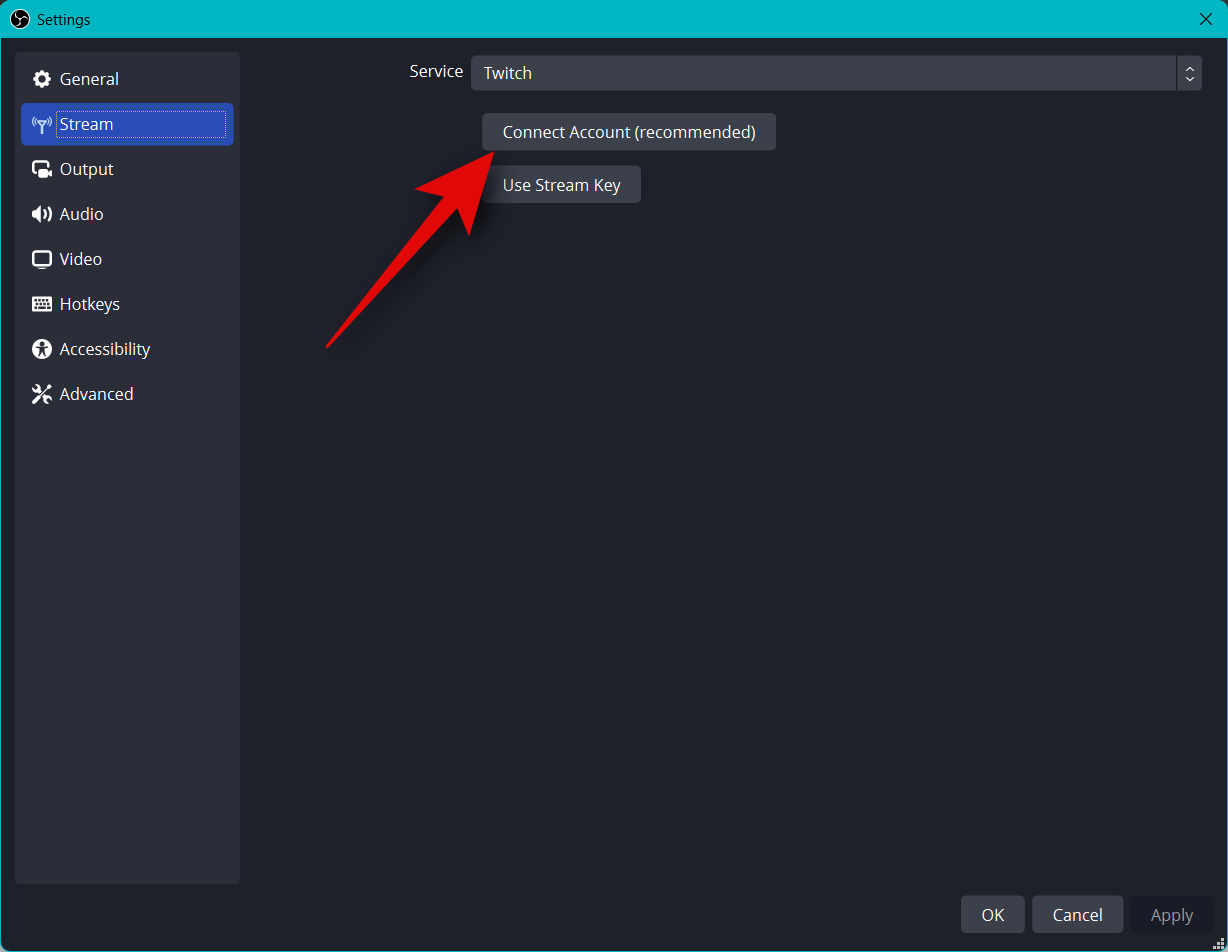
You will now be redirected to a browser window. Sign into your Twitch account once prompted.
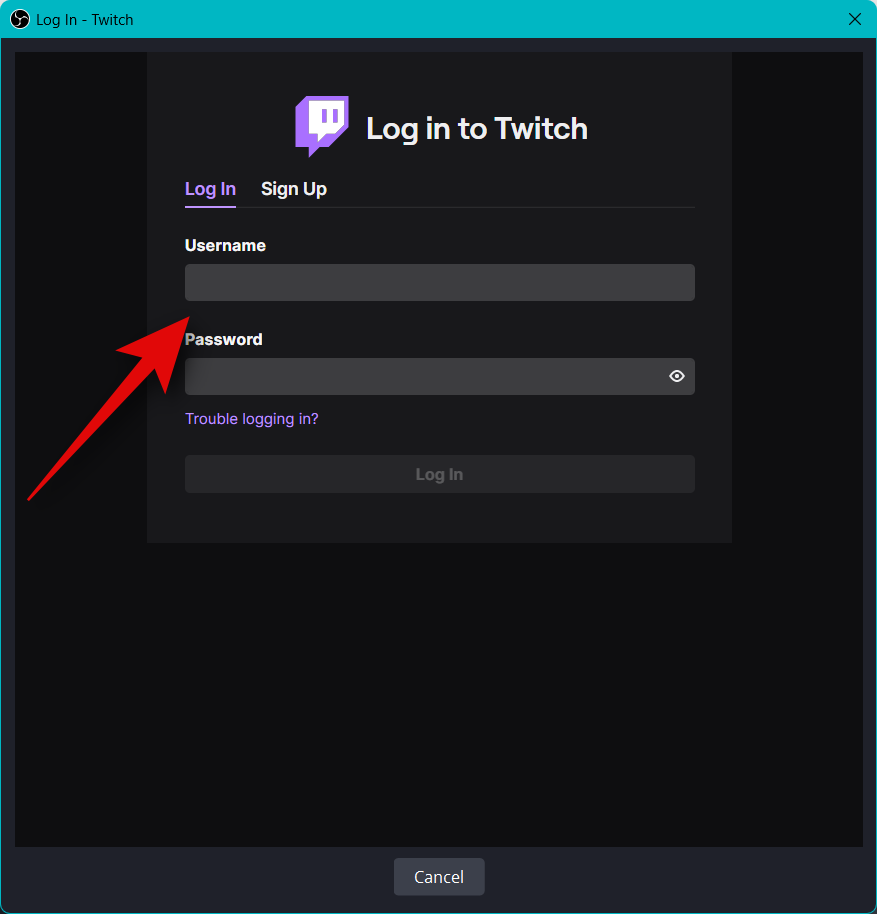
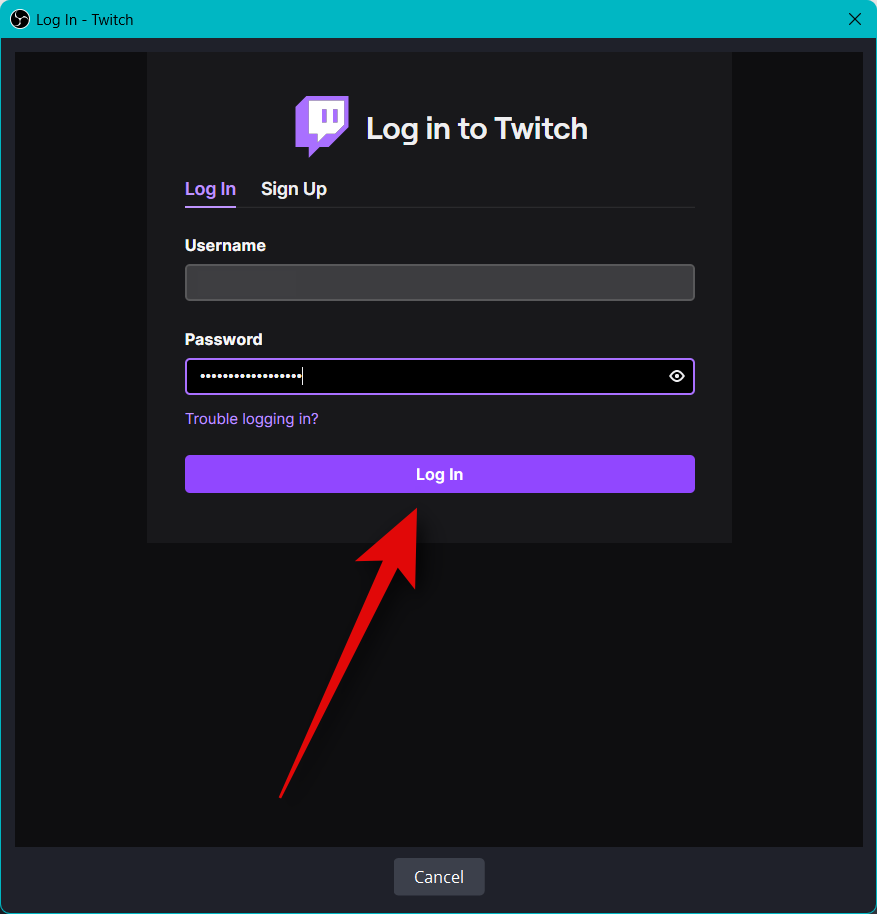
Click Log In once you’re done.
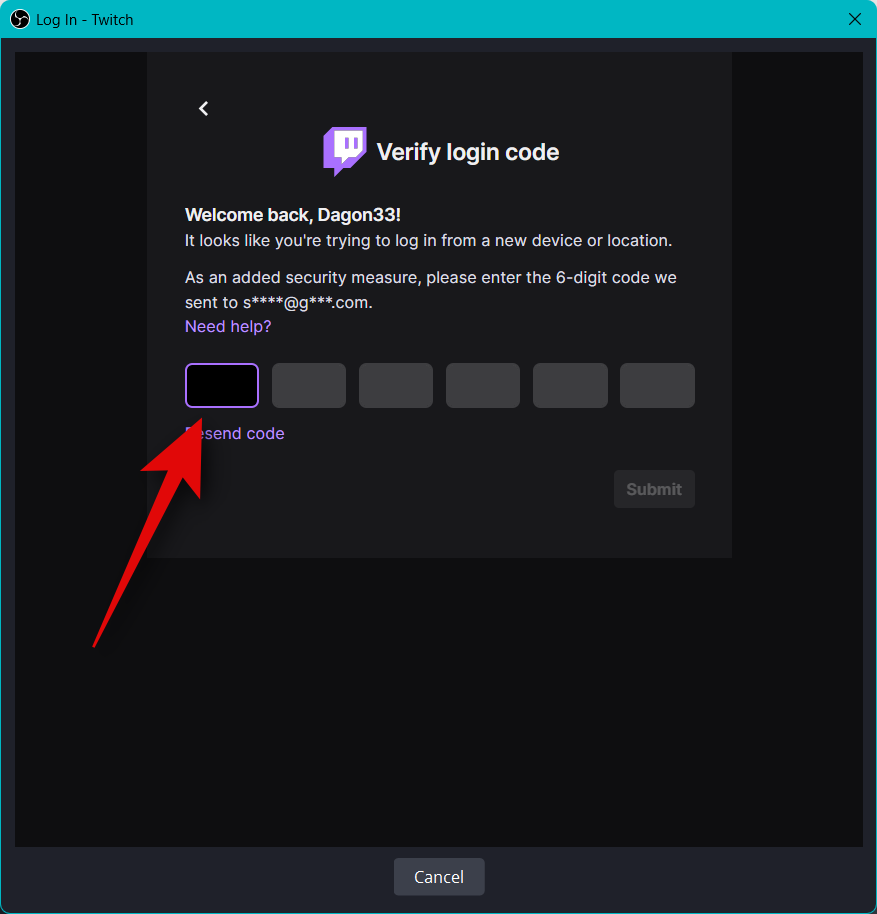
Type in the verification sent to your email ID when prompted.
Click Authorize when you’re asked to grant OBS permission to access your Twitch account.
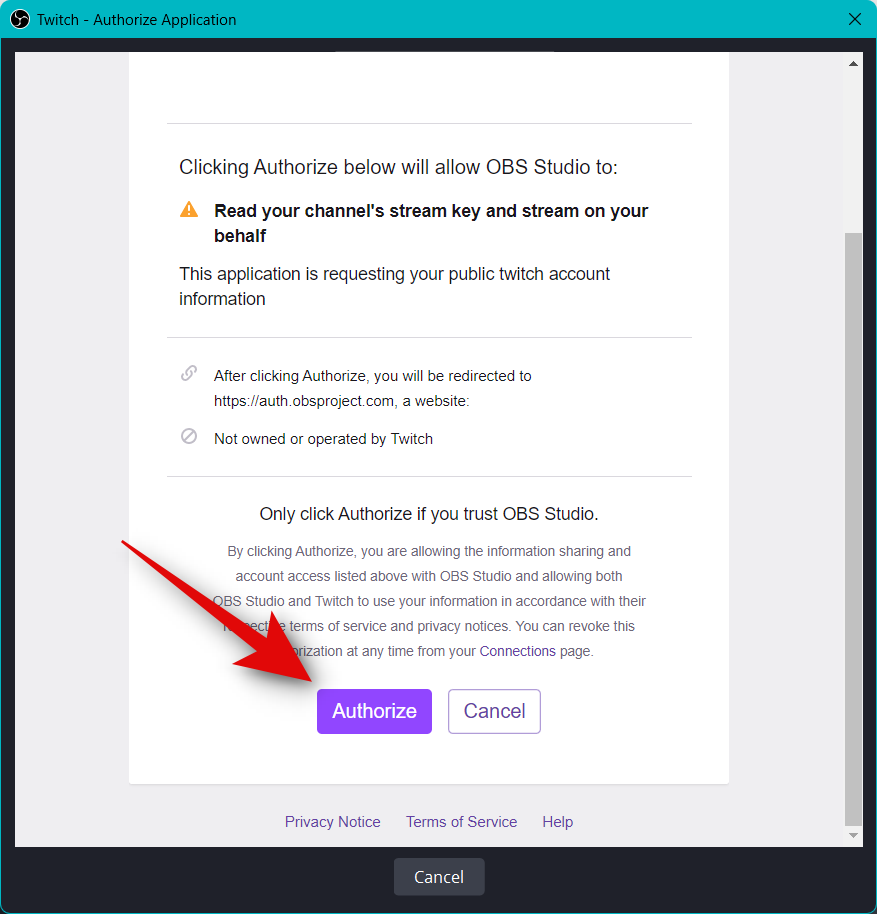
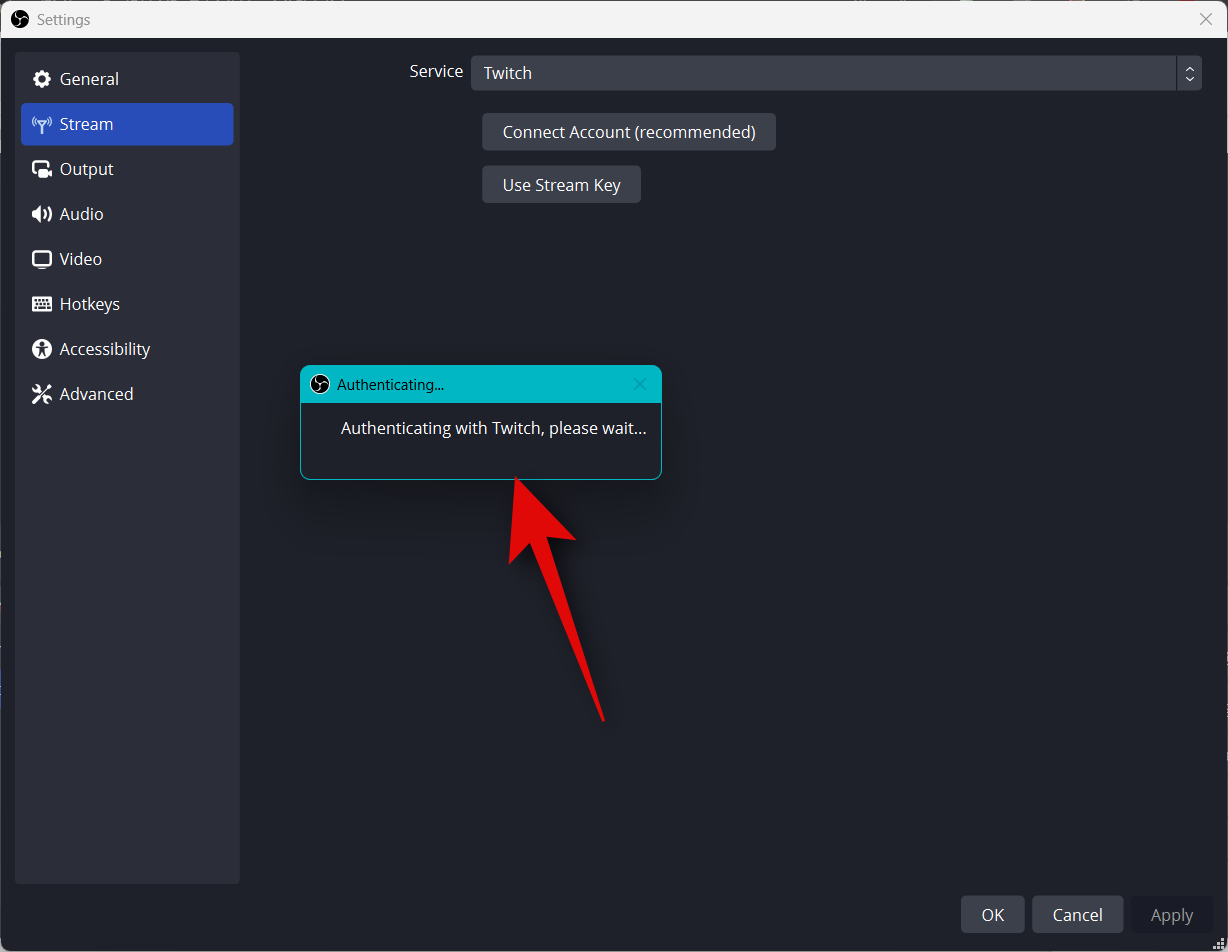
Twitch will now be connected to your OBS setup.
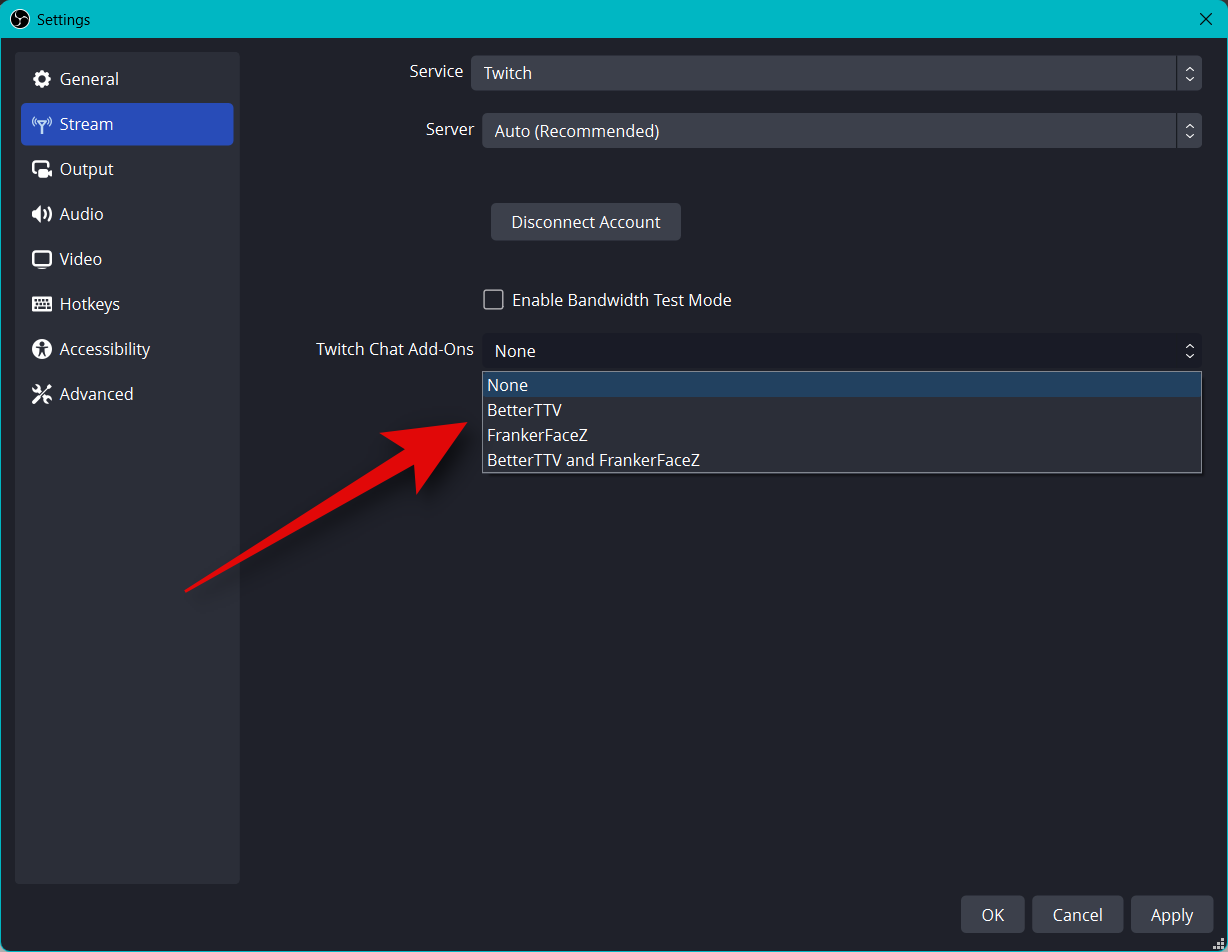
Click the drop-down menu for Twitch Chat Add-Ons and choose the preferred add-on you wish to use with your Twitch account.
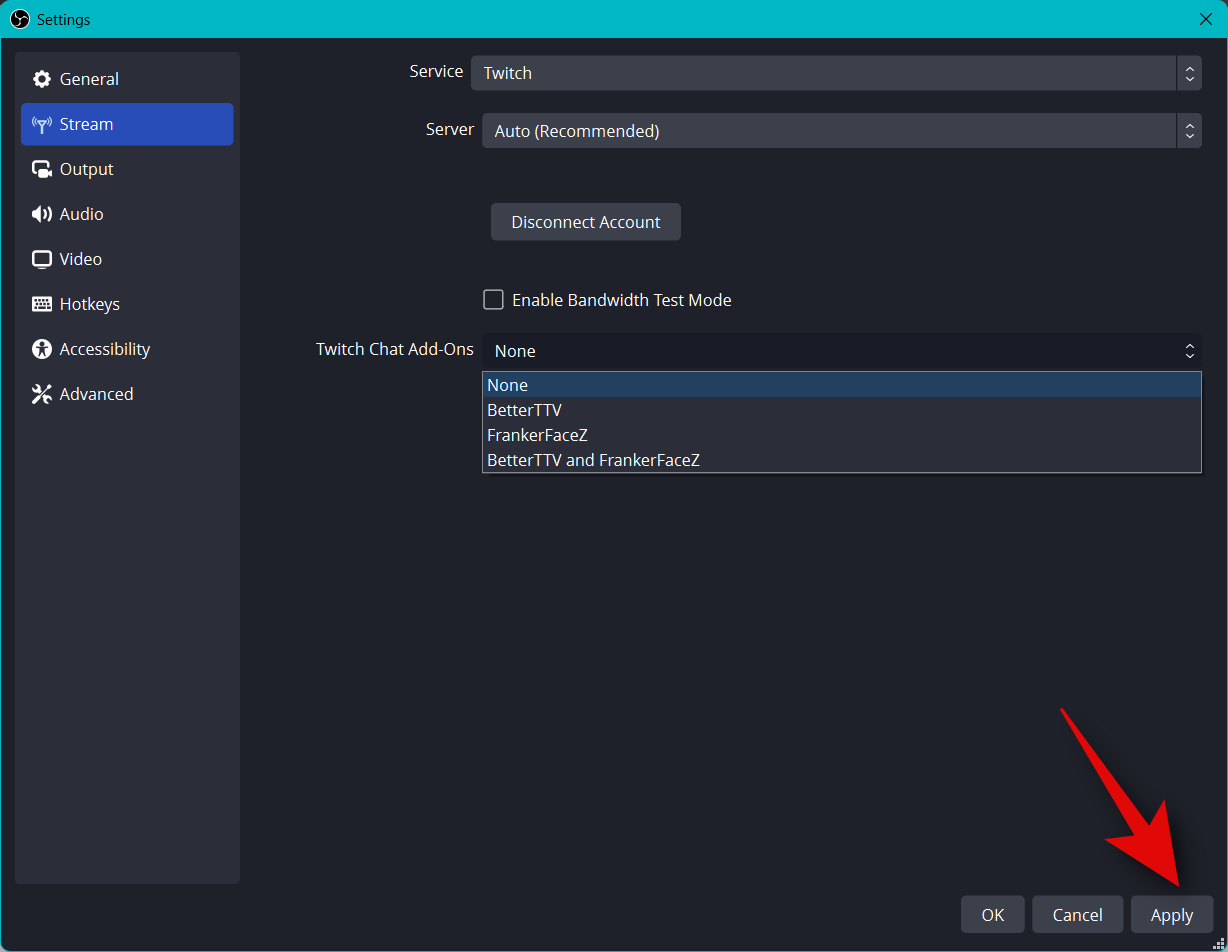
Click Apply.
Now click OK.
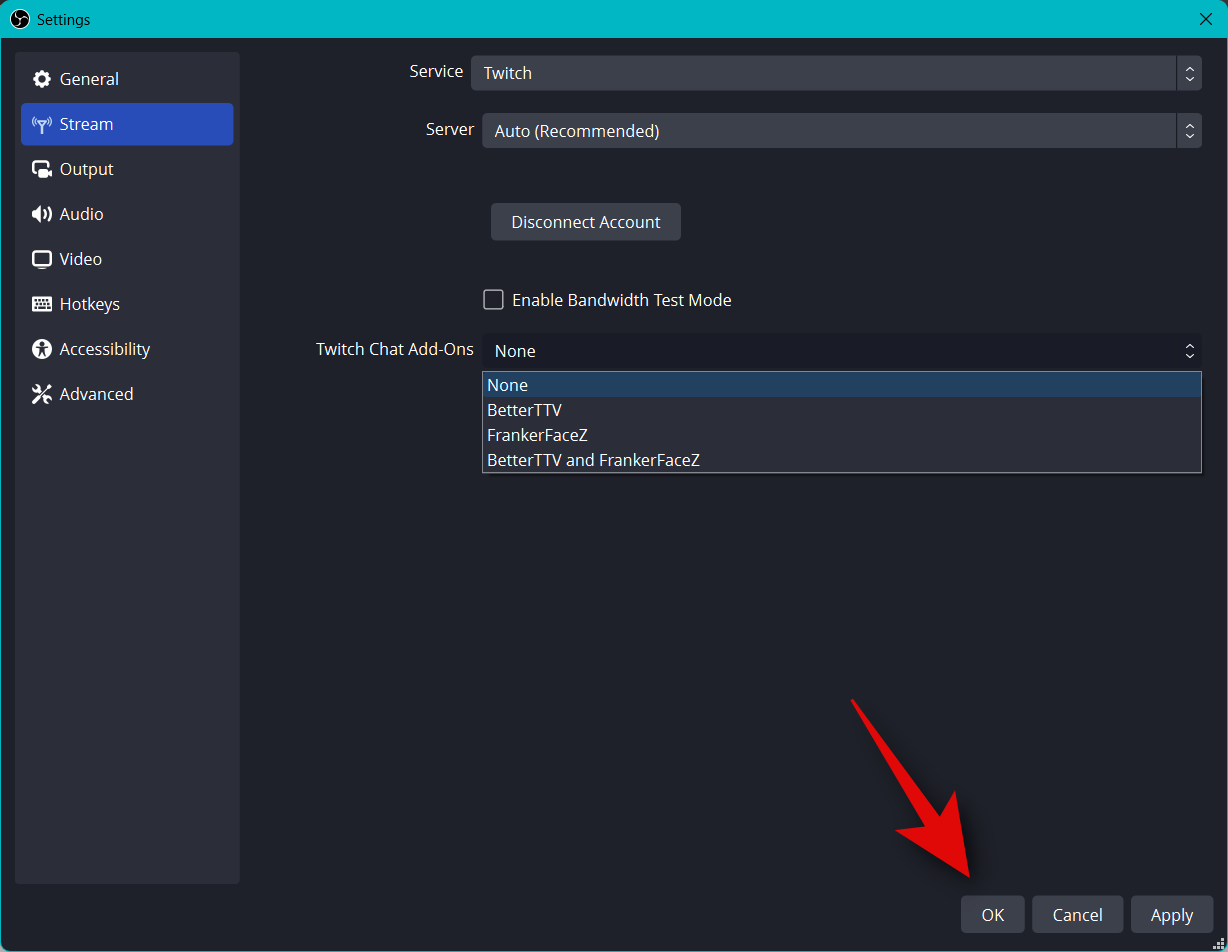
And that’s how you can connect the relevant platform to your OBS setup so you can easily stream and keep up with your followers.
Step 5: Start your stream
You have now completed most of your OBS setup. You can now verify everything and start your stream whenever needed. Use the steps below to help you along with the process.
Open OBS and verify your scenes and sources.
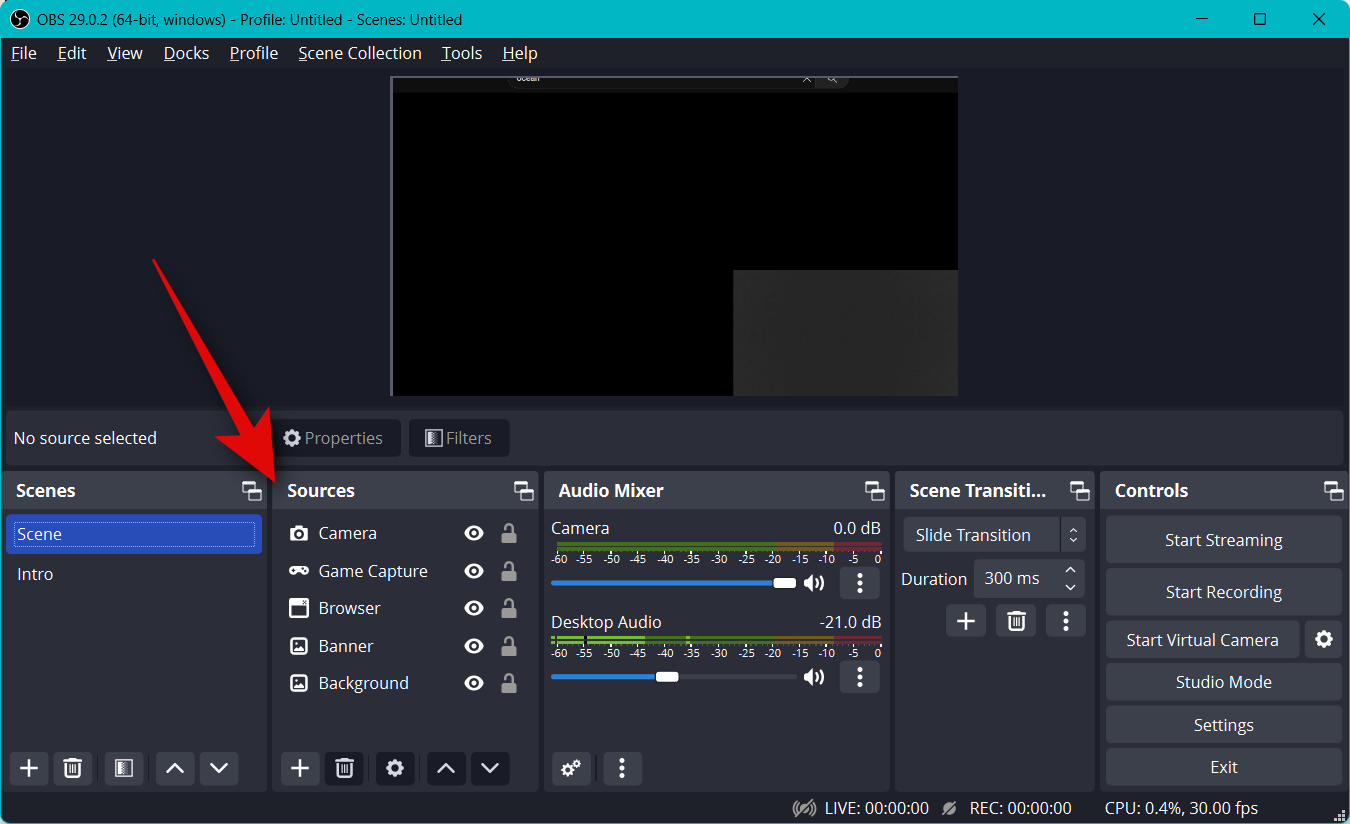
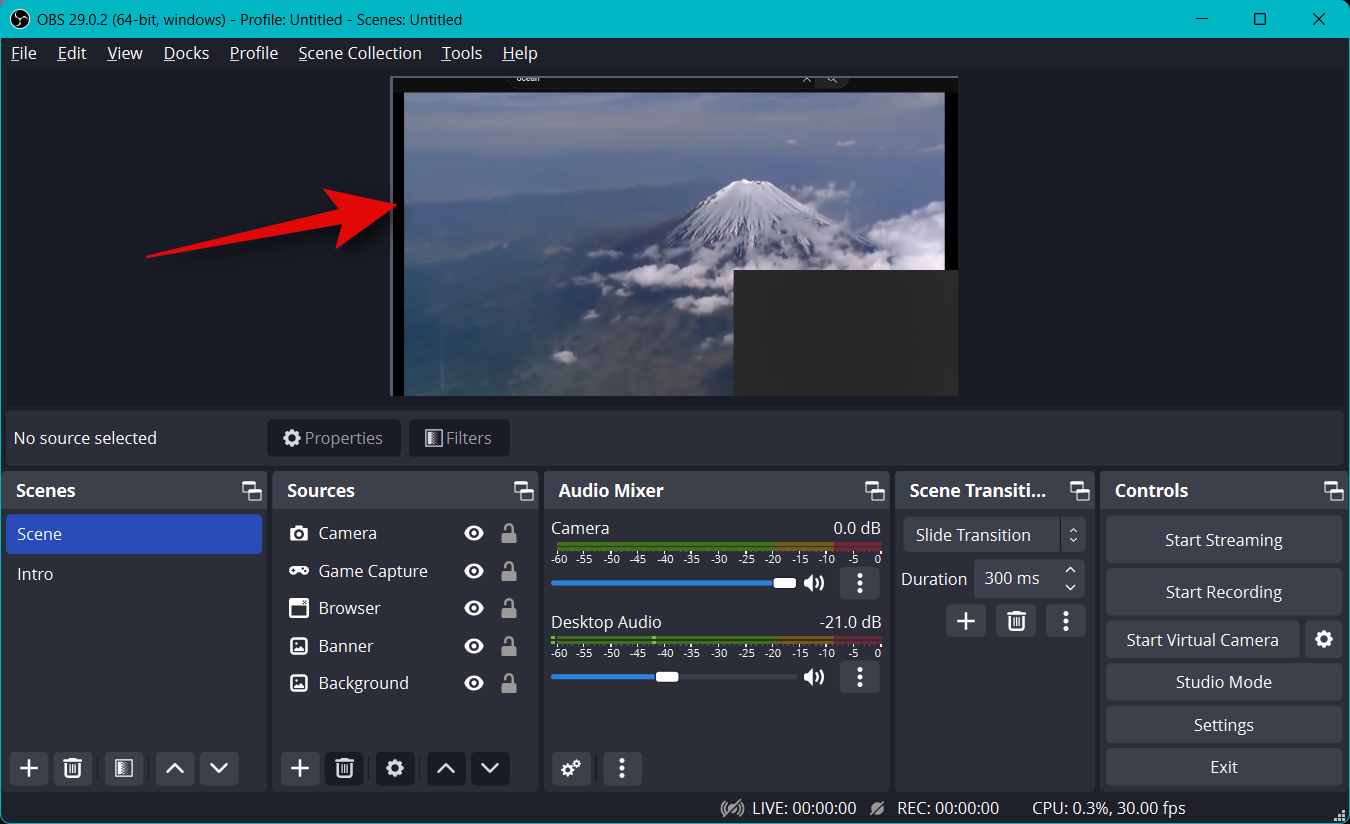
Ensure each captured source is visible on your base canvas. Depending on the game and the app, you might have to add a source again so that it is visible on your base canvas.
Now simply click Start Streaming.
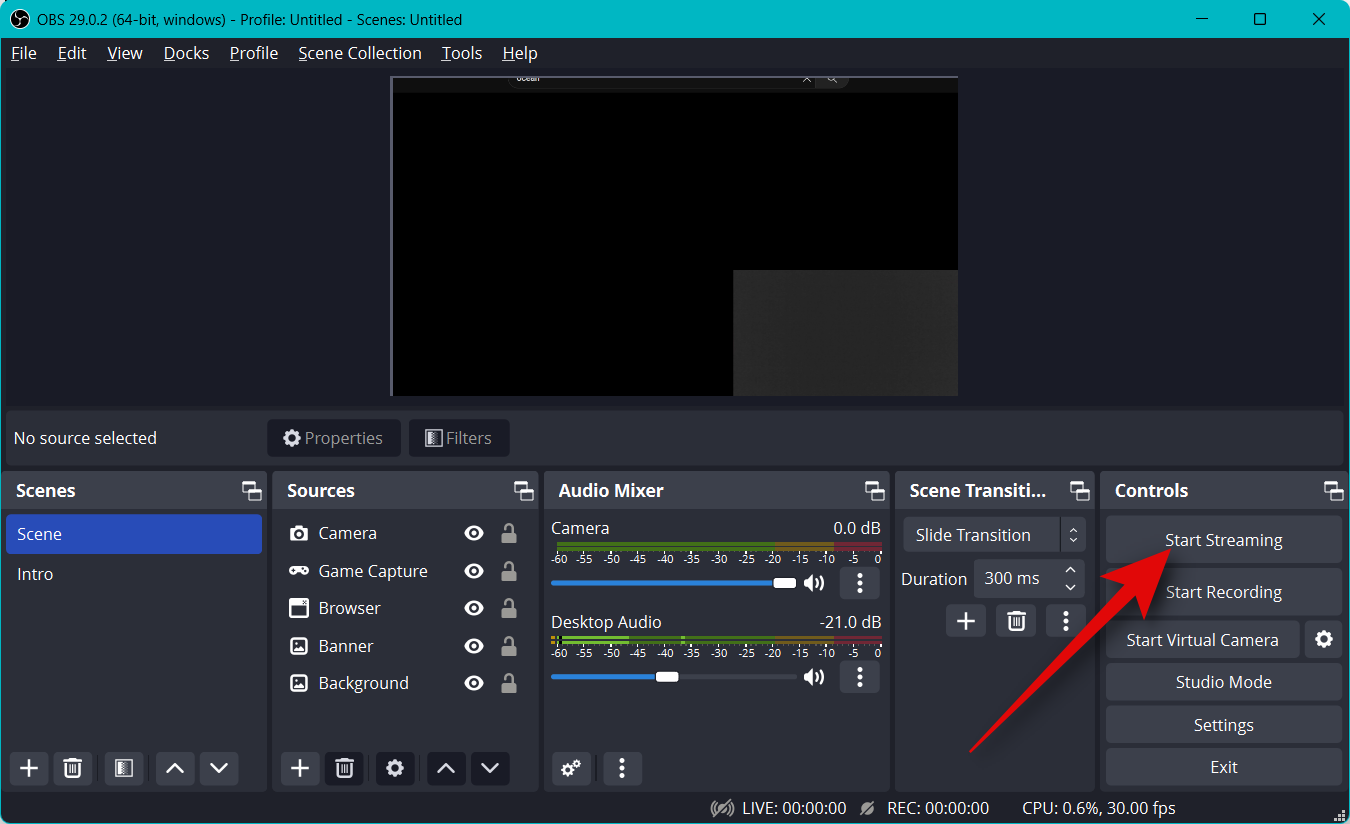
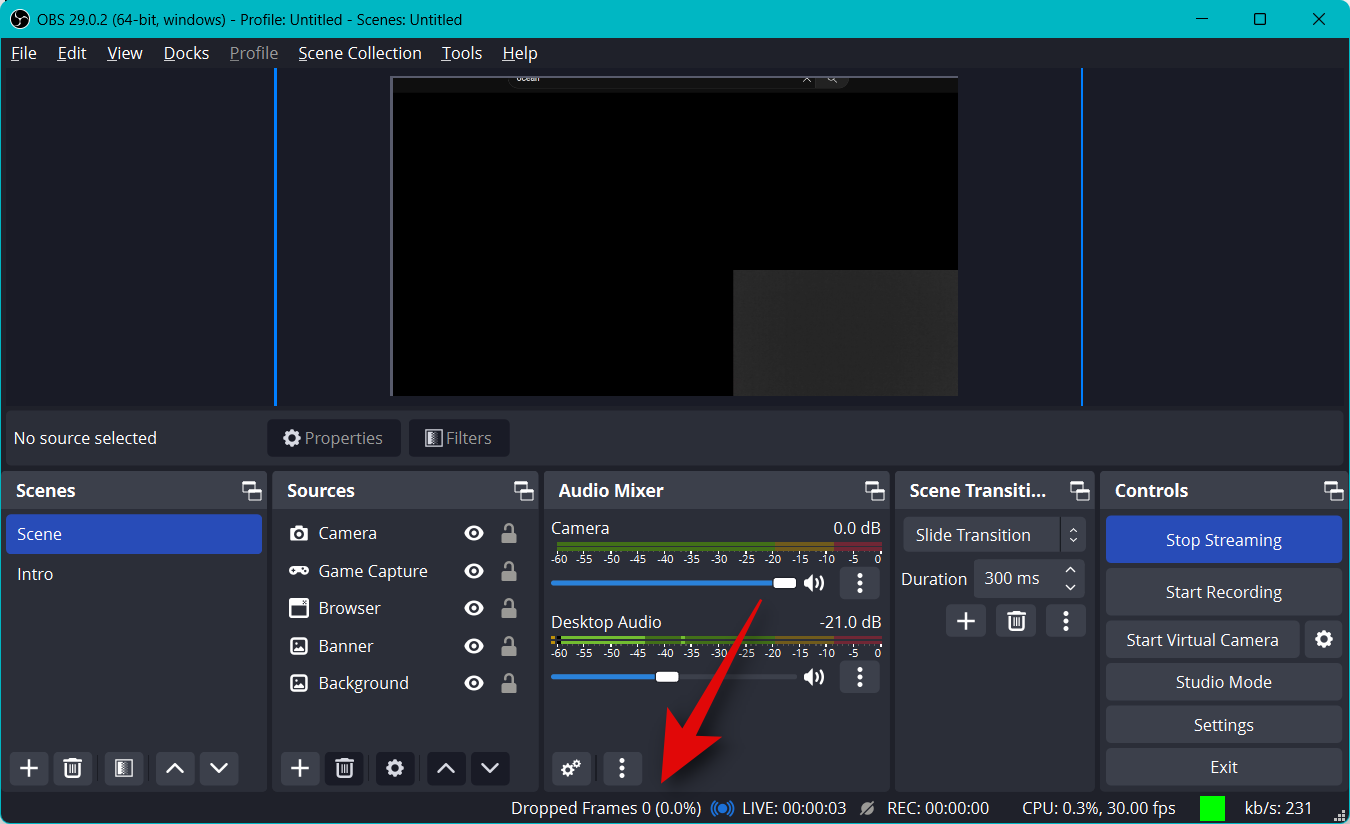
Your stream will now be initiated, and you can view the statistics for your stream in real-time in the bottom right corner. The Dropped Frames statistics will help you determine if your network can stream at your current setting or not. If you’re dropping a lot of frames, we recommend switching to a different network or lowering your streaming resolution.
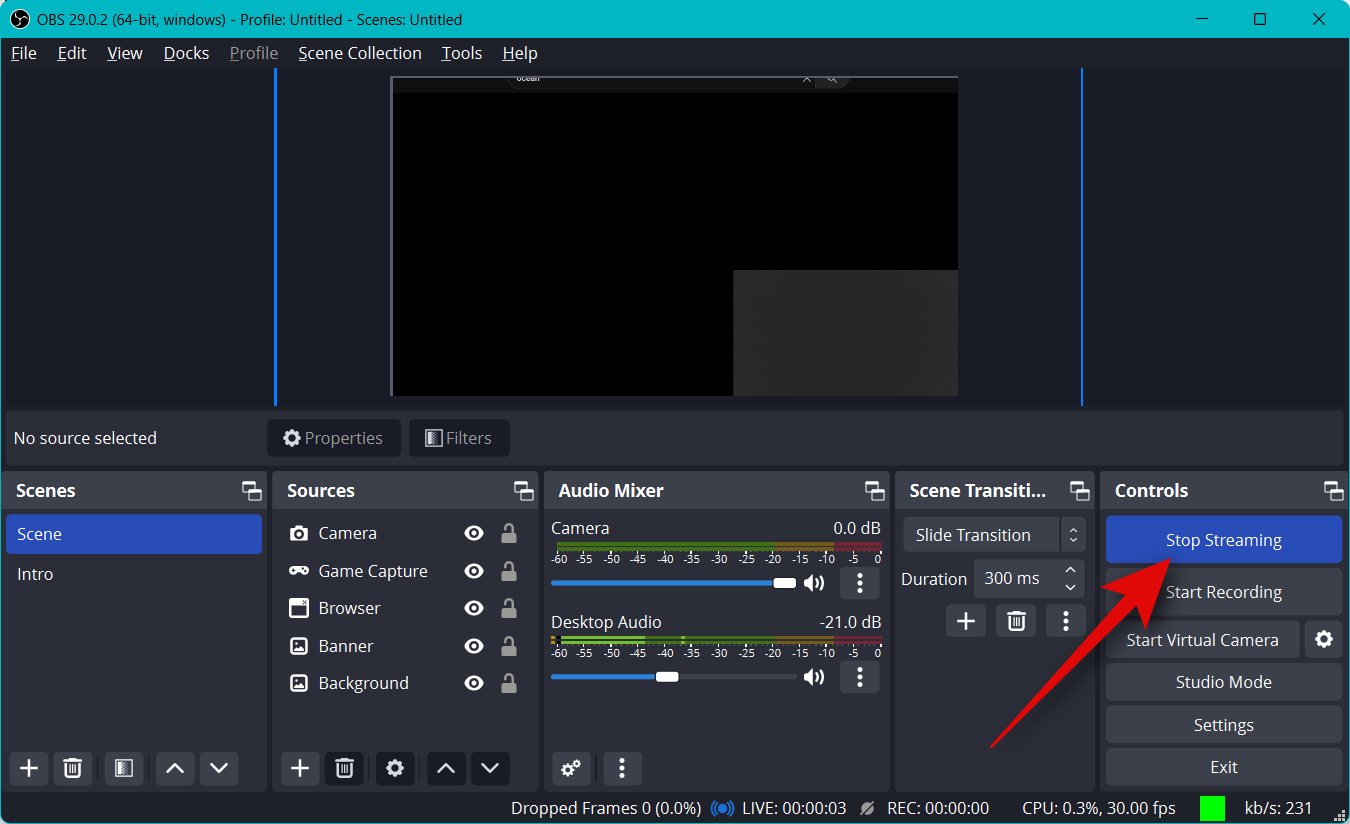
Click Stop Streaming once you’re done streaming.
And that’s how you can start streaming to your preferred platform using OBS.
We hope this post helped you easily stream to your preferred platform using OBS for the first time. If you face any issues or have any questions, feel free to drop a comment below.

