

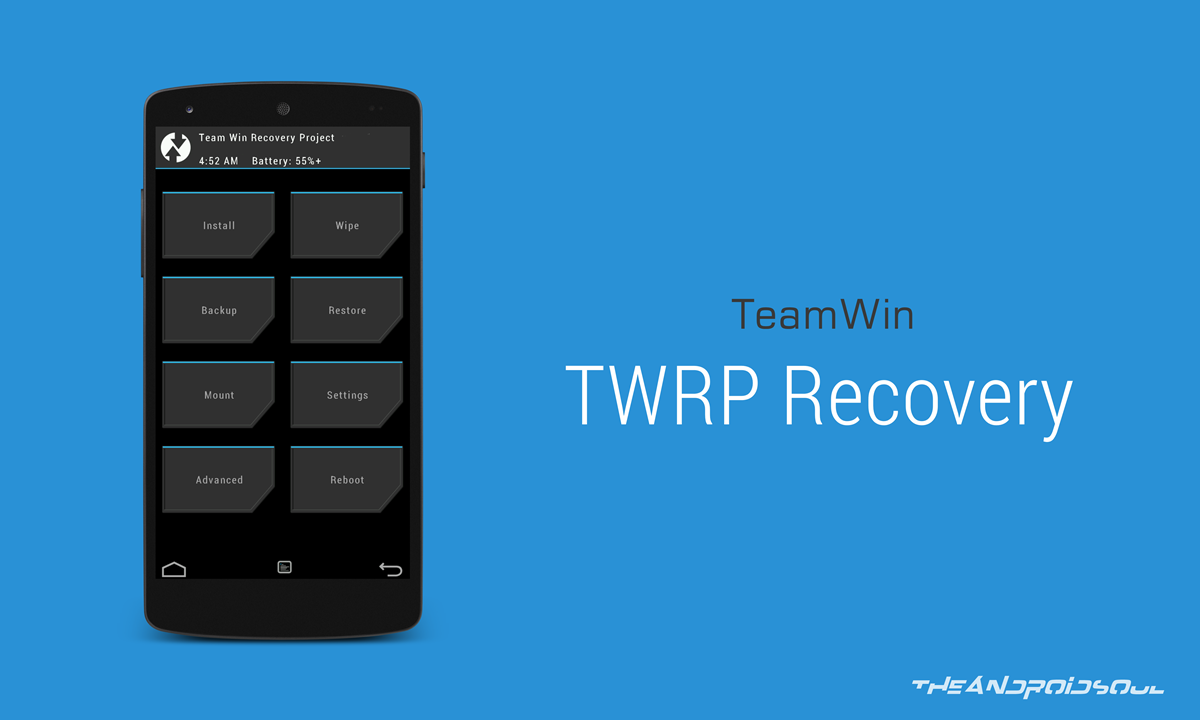
Yureka’s Full HD display toting cousin, the Yureka Plus has got root access available and if you love apps like Xposed and Titanium backup, there is no reason to wait anymore for you. Moreover, you can decide to install TWRP recovery for Yureka Plus, which is a great utility, and allows you to flash custom ROMs, create backups, etc.
The root is done by flashing the SuperSU zip file, which is a very common and most popular working root package for Android devices. And for that you need TWRP recovery — though that doesn’t mean you have to install it necessarily to root Yureka Plus.
In case you don’t want to install TWRP recovery, so that the default stock recovery of your Yureka Plus is retained as it is, then just use the boot command below to boot into TWRP recovery without actually installing it. Then root Yureka Plus and restart, you’re done and stock recovery isn’t replaced at all either.
Though, if you would want TWRP recovery, use the flash command below to install the TWRP recovery. Don’t use boot command in such case.
Btw, using the boot command to use TWRP recovery without actually installing it helps you retain stock recovery, which in turn is plenty helpful when any OTA update comes around, including Android 5.1.
Because when it comes, you can simply download the 5.1 OTA update — keep an eye on this very blog for that — and install it yourself without waiting for the YU team to push it to your device.
Downloads
- TWRP recovery — Link | File: TWRP_V2.8.7.0_YUREKA.img (19.2 MB)
- Root package — Link | File: UPDATE-SuperSU-v2.46.zip (3.8 MB)
Supported devices
- YUREKA PLUS
- Don’t try on any other Android device!
Tip: Check the model no. in Settings > About phone. Or, you could also find the model no. on the packaging box of the device.
Installation Instructions
Warning: Warranty may be void of your device if you follow the procedures given on this page. You only are responsible for your device. We won’t be liable if any damage occurs to your device and/or its components.
- Open the folder wherein you have the TWRP recovery file. Left click on empty white space inside the folder.
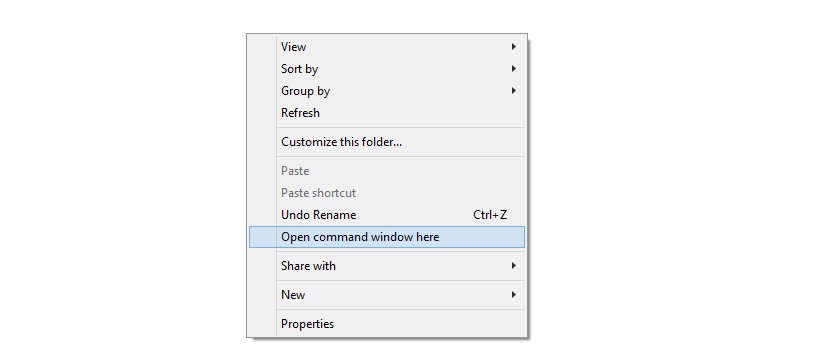
- While holding shift key, right click from mouse on the white space inside the folder. You’ll get a pop-up as shown below.

- Select the option: Open command window here
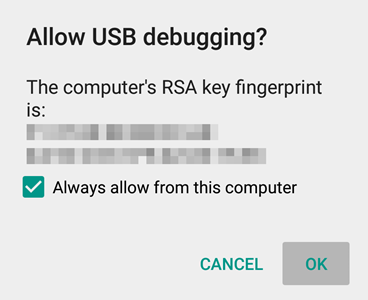
→ It’s also possible you that you get this when you enter the adb command given below.
→ But if you don’t get the above pop-up on your device even when you’ve entered an adb command, then it means drivers aren’t installed properly. So, search for and install the drivers of your device manufacturer.
adb reboot bootloader
→ Unlocking will erase everything on device, so be sure to take appropriate backups.
fastboot -i 0x1ebf oem device-info
If it says True in above command, then skip the command below.
However, if it says False, then you need to unlock bootloader now. Run the following command for that.
fastboot -i 0x1ebf oem unlock
First, simply boot into TWRP recovery without actually installing it, thus retaining stock recovery which is a must have for OTA updates installation whenever it comes. For this, simply run the boot command below that will boot your Yureka Plus into TWRP recovery for once.
fastboot -i 0x1ebf boot yuplus-twrp.img
Or second, install TWRP recovery, and then Reboot into TWRP recovery to flash root package. In this case, run the flash command below, and then reboot into recovery mode manually. Note: You will need to re-install the stock recovery later on to install OTA updates directly. Otherwise, you can download the OTA update, and install it using TWRP using its ADB sideload option. That would work too.
fastboot flash recovery yuplus-twrp.img
The above will install TWRP recovery on your device. Now, boot your device into recovery mode. For this, first enable the Advanced reboot option in Settings > Developer options. Then hold the power button to get pop-up, then tap on Reboot > Recovery.
Happy superuser-ing!
Need help?
Whatever it is regarding installation of TWRP recovery and/or root on Yureka Plus, feel free to let us know. We will try our best to revert back with a solution.



2 responses to “Root Yureka Plus and Install TWRP recovery”
After 13 step its say there is no such file in the directory. cant open twrp window for flash. cm 12.1 yureka plus.
After 13 step its say there is no such file in the directory. cant open twrp window for flash. cm 12.1 yureka plus.