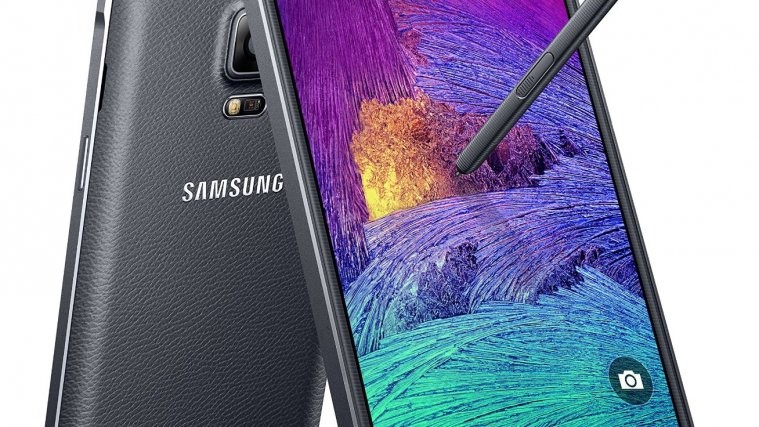
Update: Root is available for Note 4 SM-N910U also now, after its Android 5.1.1 update was released a day ago (build N910CXXU1COH4). This method is confirmed to work for International Galaxy Note 4 sets, model no. SM-N910F, SM-N910G and SM-N910U. And, we’ve added one more custom kernel, so that you have choice.
Original: Root isn’t new for Samsung Galaxy Note 4, but on Android 5.1.1, you need a custom kernel for root to be applied successfully.
Luckily, recognized developer Phil has come up with one, and all you need to root your Galaxy Note 4 on Android 5.1.1 now is flash the kernel via TWRP, before flashing the SuperSU file to root it.
So, you need to have Note 4 TWRP recovery first. Then you have to use the TWRP to flash the root-supporting kernel and the SuperSU file to root your Note 4 on Android 5.1.1 kernel. Let’s see this all in detail now.
Downloads
- Galaxy Note 4 custom kernel that support root (try any one of them, both should work):
- SuperSU (root file) — Link | File: SuperSU-v2.46.zip (3.8 MB)
Supported devices
- Samsung Galaxy Note 4 (model no. SM-N910F, SM-N910G and SM-N910U only!)
- Don’t try this on any other Note 4 device whose model no. is different than the ones specified above!
- Don’t try this on any other Android device whatsoever!
Warning: Warranty may be void of your device if you follow the procedures given on this page. You only are responsible for your device. We won’t be liable if any damage occurs to your device and/or its components. Also, this trips KNOX, meaning KNOX would stop working on your device, and thus you won’t be able to Samsung Pay, or install enterprise Apps on your device at Office.
Backup important files stored on your device before proceeding with the steps below, so that in case something goes wrong you’ll have backup of all your important files. Sometimes, Odin installation may delete everything on your device!
Step by step Guide
Step 1. Download the kernel and SuperSU file from above.
Step 2. Transfer the kernel and SuperSU file to your LG Galaxy Note 4. Remember the files’ location.
Step 3. Boot your Galaxy Note 4 into recovery mode to access TWRP recovery.
If you don’t have TWRP already, check out our page on Galaxy Note 4 TWRP recovery and install it first.
Be sure to transfer the kernel file (both of the kernels, no harm) and SuperSU to device, and then install and boot into TWRP to flash anyone of the kernel of your choice, and the SuperSU file, right after installing TWRP.
Step 4. On TWRP recovery (v2.8.6.0 or newer), tap on Install > locate the kernel file and tap on it. Then do the Swipe action at bottom to begin flashing the kernel.
→ Also install the SuperSU file just the same way.
Step 5. → Also install the SuperSU file just the same way.
Step 6. Once you have flashed kernel and SuperSU, simply restart the device by tapping on Reboot System button that you get on screen after flashing is done.


Where is the download link for SM-N910G TWRP recovery?
Where is the download link for SM-N910G TWRP recovery?
Where is the download link for kernel of SM-N910G?
The above listed kernel doesn’t support SM-N910G.
Ohh!!! Sorry, The ZamCum kernel supports SM-N910G.
Thank you!!!
I succeeded rooting my phone 🙂
Where is the download link for kernel of SM-N910G?
The above listed kernel doesn’t support SM-N910G.
Ohh!!! Sorry, The ZamCum kernel supports SM-N910G.
Thank you!!!
I succeeded rooting my phone 🙂
The link Zamcum kernel of SM-N910G was died. Please update it!
The link Zamcum kernel of SM-N910G was died. Please update it!
zamcum kernel is not there Is there any other link for download?? please tell me
zamcum kernel is not there Is there any other link for download?? please tell me
Step 2. Transfer the kernel and SuperSU file to your LG Galaxy Note 4. Remember the files’ location.
It should be Samsung Galaxy Note 4, isn’t it ? 🙂
Step 2. Transfer the kernel and SuperSU file to your LG Galaxy Note 4. Remember the files’ location.
It should be Samsung Galaxy Note 4, isn’t it ? 🙂
can use SM-N910F TWRP recovery on SM-N910G device ???????????
No. Please use only for the mentioned models as stated.
can use SM-N910F TWRP recovery on SM-N910G device ???????????
No. Please use only for the mentioned models as stated.