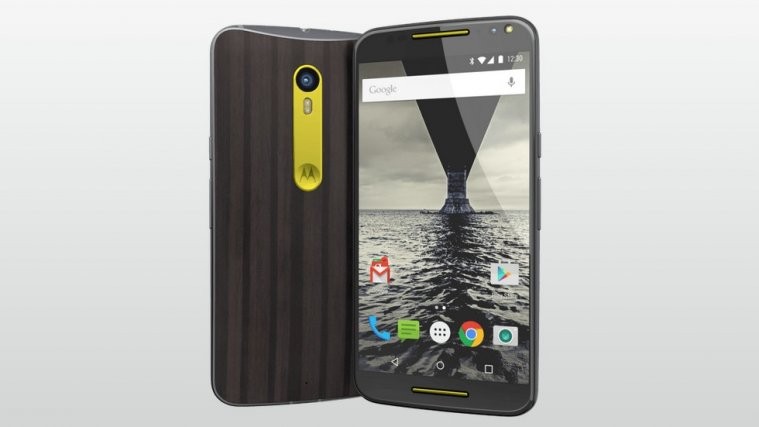
When you unlock bootloader of your Moto X Pure using Motorola’s own website for the purpose, you are greeted — no matter how much you unlike it — with a Bootloader Unlocked warning screen on every boot thereafter.
This looks odd, kind of hack-ish when all you have done is unlock your device, nothing else. And it tells Motorola’s service center people in one glance that the device is unlocked — although, they can easily boot into fastboot mode to check that for real.
Anyway, whatever be the reason, you may want to remove the bootloader unlock warning message, and if your Moto X Pure (model no. XT1575) is on build LPH23.116-18, then it’s easily doable.
What you need is to flash a logo.bin file provided below to your device, which will remove the bootloader unlock warning message for good. At least you won’t have to face weird questions when your Moto X Pure in front of people at office or school.
BTW, Moto X Pure Root and TWRP recovery are available now, so if that interests you, sure follow the link given just before.
Step-by-step Guide
→ Required: Moto X Pure android device, model no. XT1575, on build LPH23.116-18. This is for those who unlocked the bootloader of their device, and are now seeking to remove the bootloader unlocked warning message upon restart.
Step 1. Download the logo.bin file form here. It’s a zip file that you download.
Step 2. Extract the .zip file to get .bin file. Rename the bin file to no-warning-logo.bin
Step 3. make sure you have the drivers installed
Step 4. On your Moto X Pure, make sure USB debugging is enabled. For this:
- Go to Settings > About phone, and then tap ‘Build number’ 7 times or until you see the ‘you’re not a developer’ message pop up.
- Go back to Settings, then choose ‘Developer options’. Find the ‘USB debugging’ option and use its toggle button to enable it. Accept warning by tapping on OK button.
Step 5. Connect your Moto X Pure to PC now.
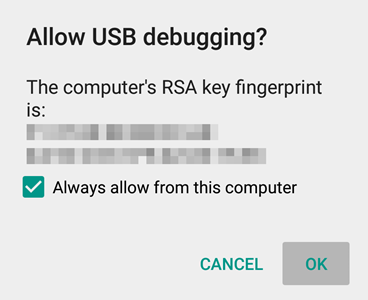
You will get a pop-up as shown below on your phone when you connect for the first time after enabling USB debugging. Select ‘Always allow from this computer’ checkbox and then tap on OK button.
Step 6. Now, open command window in the folder where you have the no-warning-logo.bin file. For this:
- Open that folder and then left click on empty white space in the folder.
- Now, while holding shift key, right click on empty white space to get a pop-up as shown below.
- Now choose Open command window here option from that.

You will see a command window open up, with location directed to folder where you have the logo file.
Step 7. Boot your Moto X Pure into Bootloader/Fastboot mode:
- Power off your device and wait for 3-4 seconds after screen goes off.
- Press and hold Power and Volume down together for 3 seconds and then let go. You’ll enter bootloader mode. And should see FASTBOOT written at top. It’s already in Fastboot mode by default.
Step 8. Test whether fastboot is working alright. For this, run the command given below. (You can also copy paste the command and then use enter key to run it.)
fastboot devices
→ Upon running command above, you should get a serial no. with fastboot written after it. If you don’t get fastboot written on cmd window, then it means you need to reinstall adb and fastboot drivers, or change restart PC, or use original USB cable.
Step 9. Flash Moto X Pure modified logo now. Use the following command for that.
fastboot flash logo no-warning-logo.bin
Step 10. Run the command below to restart the device.
fastboot reboot
That’s it. You shouldn’t get the warning message this time around when Moto X Pure is restarting.
Let us know via comments if you need any help in this regard.


Please I don’t have a computer so how can I manage to do it