What to know
- You will need PowerToys v0.75.1 to set up profiles and manage environment variables on Windows.
- Open PowerToys, select Environment Variables from the left panel, enable Environment Variables and set it to ‘Launch as administrator’ on the right.
- Click on ‘New profile’ to create one, give it a name, and select ‘Add variable’ to add new as well as existing variables to your profile.
- Toggle on the profile to apply its variables.
Environment variables are the location paths (or environments) in which apps and programs run. They can be created, edited, managed, or deleted by users and come in handy when managing the behavior of certain processes.
Here’s how you can create profiles to manage multiple variables together without having to edit them individually on Windows.
How to use profiles in Environment Variables on Windows 11 and 10
On Windows, there are two sets of environment variables – User variables (that apply to the current user), and System variables (that apply globally). However, with a tool like PowerToys, you can create a separate profile to add new and existing variables and manage them all at once. Here’s how:
Step 1: Install PowerToys
PowerToys has an Environment Variables tool that lets you create profiles to manage environment variables. To use it, you will first need to install PowerToys. To do so, open the Microsoft Store.

Search for PowerToys.

Click on Install.

You can also install PowerToys from its GitHub page as given below:
- PowerToys | GitHub Link
Click on the download link on the GitHub page.

Once downloaded, run the PowerToys installer.

Agree to the terms and conditions and click on Install.

Step 2: Enable Environment Variables in PowerToys
Launch PowerToys and click on Environment Variables on the left.

On the right, toggle on Enable Environment Variables.

Additionally, make sure that Launch as administrator is toggled on so that you can make changes to ‘System’ variables if need be.

Step 3: Set up a new profile
Click on Launch Environment Variables to open it.

In the ‘Environment Variables’ window, you will find the two default variable profiles – User and System – on the left.

The variables that are applied will be on the right.

To add a new profile, click on the + New profile option in the top left corner.

And give your profile a name.

Step 4: Add variables – New and Existing
Click on Add variable to do so.

Here, you can add new as well as existing variables in a profile. To add a new profile, enter the Name and Value of the environment variable under ‘New’.

Then click on Add at the bottom.

Your new environment variable will be added to your profile.

To add an existing variable, click on the ‘Existing’ tab.

Then select the variables that you want to add.

And click on Add at the bottom.

Finally, click on Save.

Step 5: Edit or remove variables
Your custom environment variable profile will be listed under the ‘Profiles’ section. Click on the down arrow next to it to view the variables that are part of the profile.

To edit or remove a variable from the profile, click on the three-dot icon next to the variable.

Select Edit to modify its name or value.

Make the necessary changes and click on Save.

Select Remove to delete the variable from the profile.

Click Yes to confirm.

To edit the profile itself, click on the three-dot icon next to the profile and select Edit.

This will bring you to the same window as before where you’ll be able to add (and edit) new and existing variables.

To delete the profile, select Remove.

Select Yes to confirm.

Step 6: Enable or Disable profiles
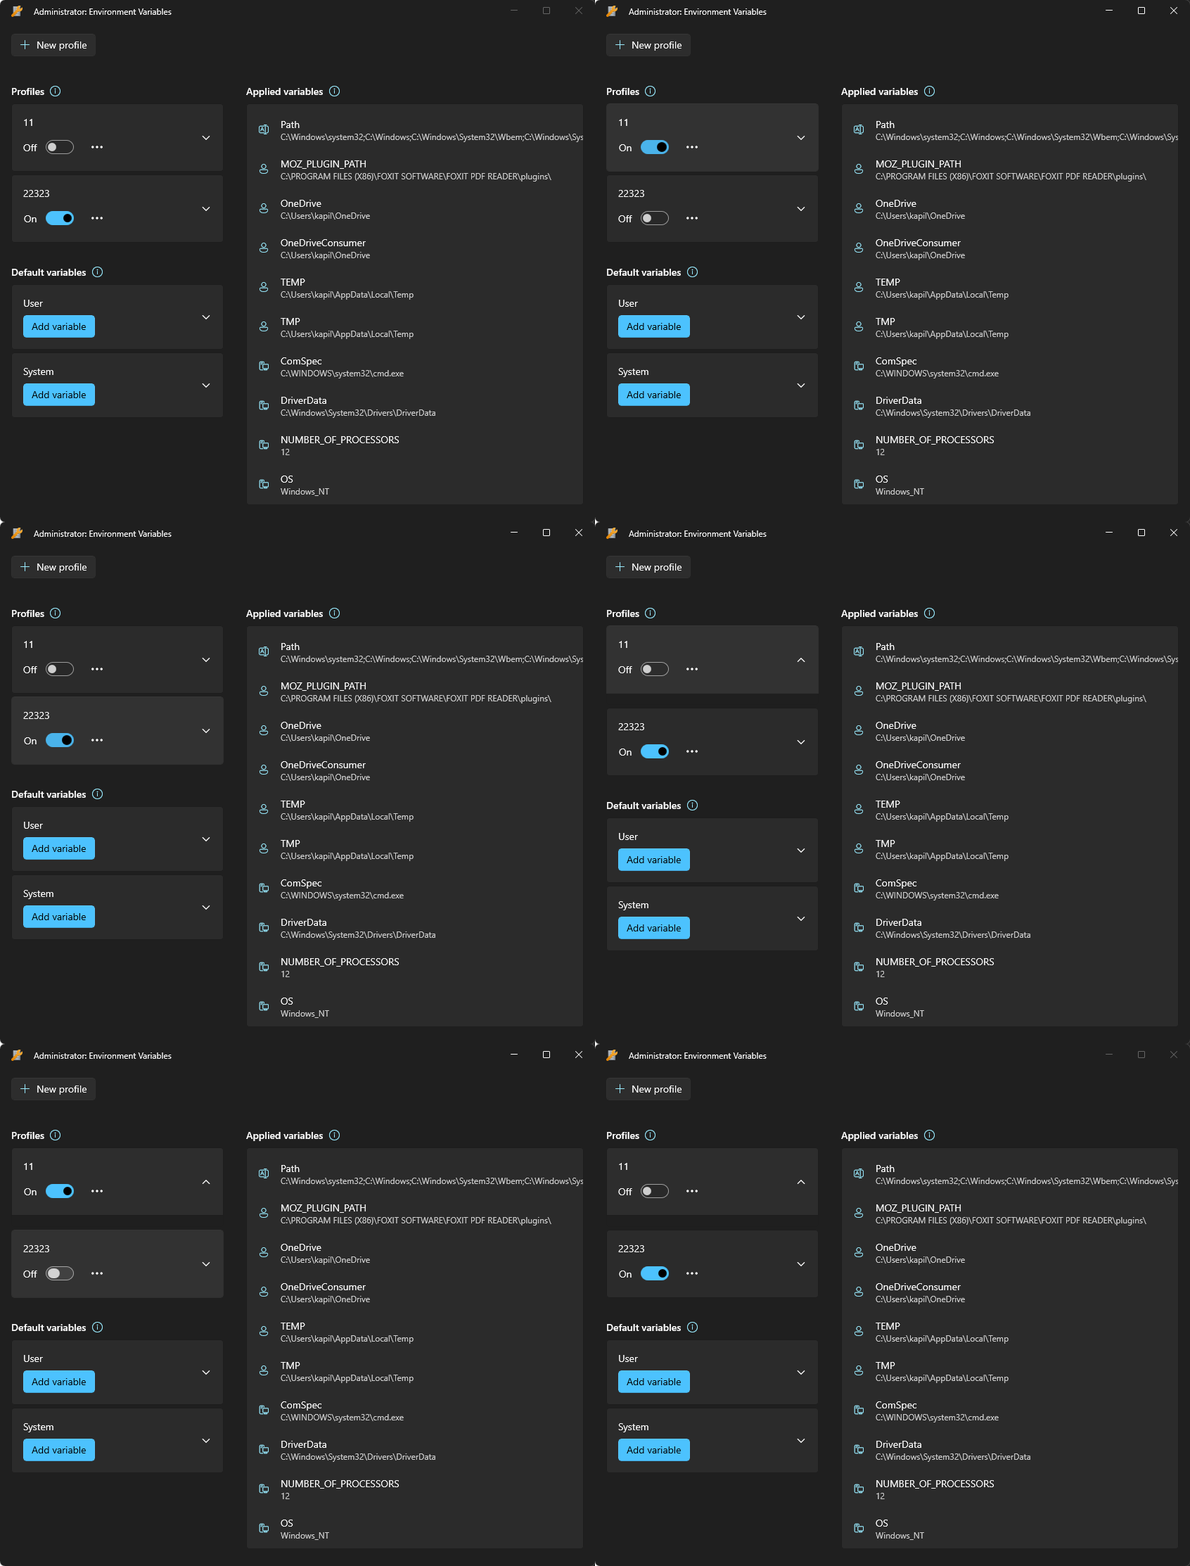
Finally, don’t forget to toggle on the profile to apply the set of variables that you’ve added to it.

The applied variables will be shown on the right of the ‘Environment Variables’ window.

Do note that you can only apply one profile at a time, regardless of the number of profiles you create.
To disable a profile, simply toggle it off.

What happens when I create a profile in Environment Variables?
Well, the variables you add to that profile will take over User and System variables when they are common. You will be able to easily turn on and turn off variables by turning on or off profiles, respectively. it won’t change a thing in User and System Environment Variables, but if a variable is common between these three, the order of preference will be this: Profile > User > System.
Why use profiles in Environment Variables
Using a separate profile for environment variables allows you to do the following:
- Easily add new variables you need without making changes in user and System variables.
- Manage a set of variables all at once.
- Give prominence to a variable that has the same name as a User variable.
The Environment Variables tool from PowerToys also lets you manage existing User and System variables from the ‘Default variables’ section. Just make sure you’re running the tool as an administrator to allow changes to System variables.
FAQ
Let’s take a look at a few commonly asked queries about using profiles in Environment Variables on Windows.
How to modify default system variables using PowerToys?
To modify default system variables, run the Environment Variables tool in PowerToys as administrator. Then click on the ‘System’ tab under Default variables, click on the three-dot icon next to the variable that you want to modify, and select ‘Edit’ or ‘Remove.’
Which variable takes priority between profile and user variables of the same name?
If two variables have the same name, those that are a part of a profile get precedence. The preference order for common variables is in this order: Profile > User > System.
Can you use two profiles? What happens when I create more than one profile?
Well, you can use only one profile at a time. You can create more than one profile but you can keep only one active at a moment.

When managing environment variables, profiles bring a level of flexibility and convenience hitherto unseen on Windows. Since the creation of such profiles is possible only with PowerToys, the latter becomes an indispensable tool for anyone who wants better control over environment variables on Windows. We hope this guide proved useful for the same. Until next time!


