

To unlock Zenara & Astralym in Palworld 1.0, open the World Tree route with Panthalus, clear the World Tree sub-bosses, collect all eight Tower Boss Key Spheres, then return to the final World Tree door.
Zenara & Astralym is the final boss of Palworld 1.0, sealed deep inside the new World Tree zone. Getting there is a long endgame chain rather than a single fight, and if you have played for a while you already have half of it done. Below is the full route, in order, from opening the World Tree to standing in front of that last door.
The World Tree route from terminal to final door
| Stage | What |
|---|---|
| Get Panthalus | Finish the Echoing Flute quest to defeat and capture Panthalus, opening the World Tree route. |
| Enter the World Tree | Use Panthalus’s power at the World Tree terminal to cross the barrier. |
| Clear three sub-bosses | Defeat the three bosses marked around the World Tree to open the first door. |
| Collect eight Key Spheres | Beat all eight Tower Bosses on any difficulty to earn their seals. |
| Clear the Sunreach Tower | Disable the floating-island defense beacons, then beat Auri & Shaolong. |
| Open the final door | Return with all eight Key Spheres and fight Zenara & Astralym. |
That is the whole chain at a glance. It is firmly late-game content, so expect a fully kitted team by the time you reach the last two steps. The sections below walk each stage in detail, starting with getting into the World Tree at all.
How to unlock the World Tree area in Palworld 1.0
The World Tree entrance is blocked by a mysterious energy, and clearing it means building the Echoing Flute and capturing the whale boss Panthalus.
STEP 1/8
Interact with the World Tree terminal
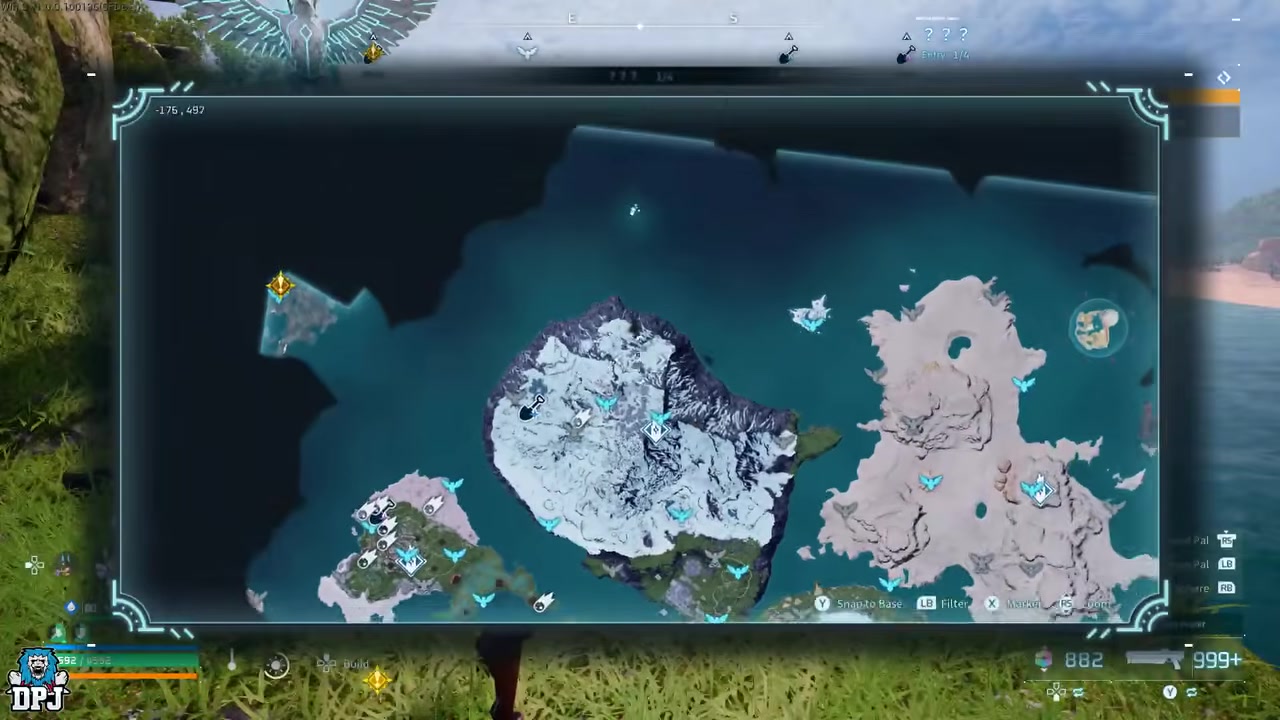
Approaching it first triggers a message telling you to remove the mysterious energy sealing the area.
STEP 2/8
Find the researcher NPC
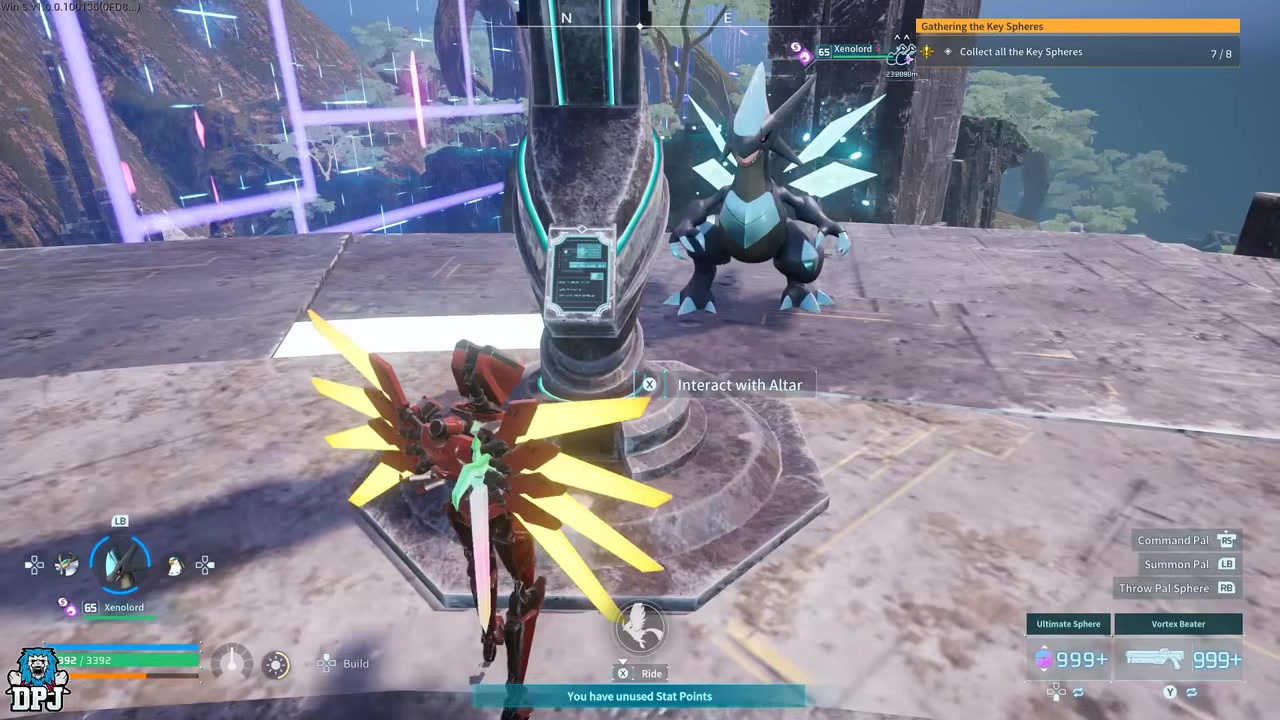
Travel to the marked spot nearby and speak to the NPC studying ancient civilizations and giant whale remains.
STEP 3/8
Take the Echoing Flute blueprint
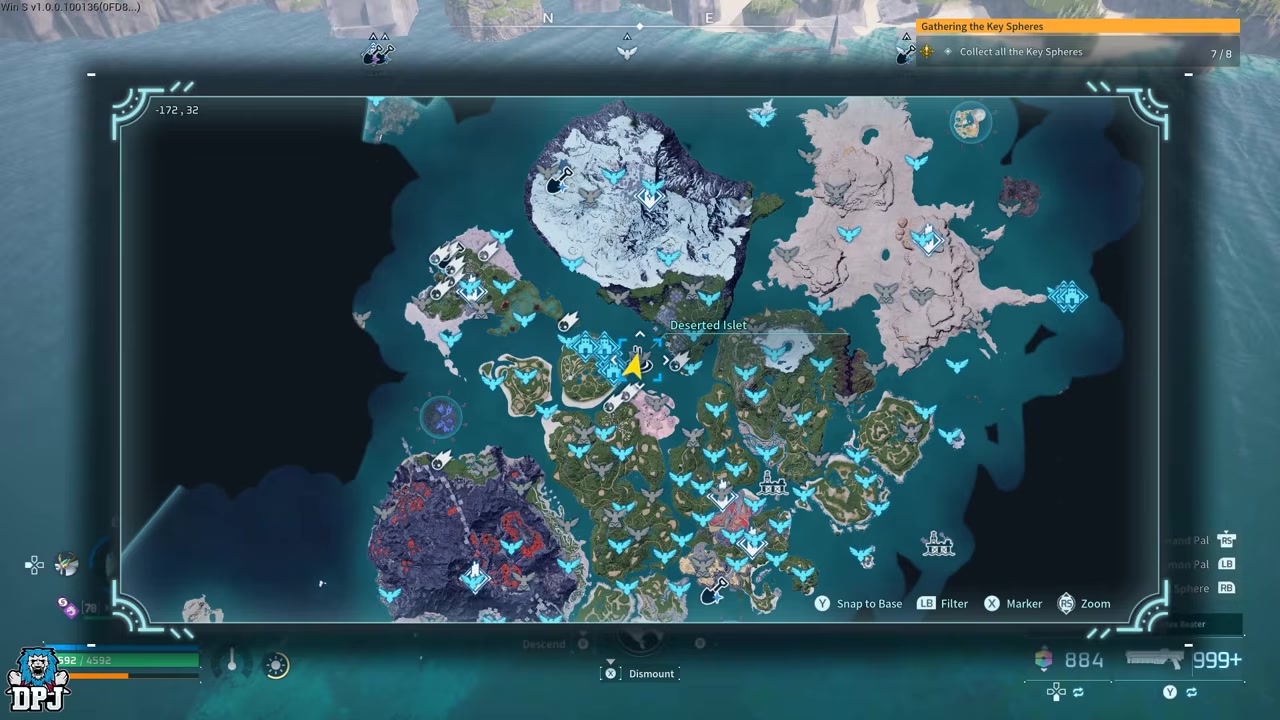
Clear his dialogue to receive the Echoing Flute blueprint and four pinned points on your map.
STEP 4/8
Collect the four marked items
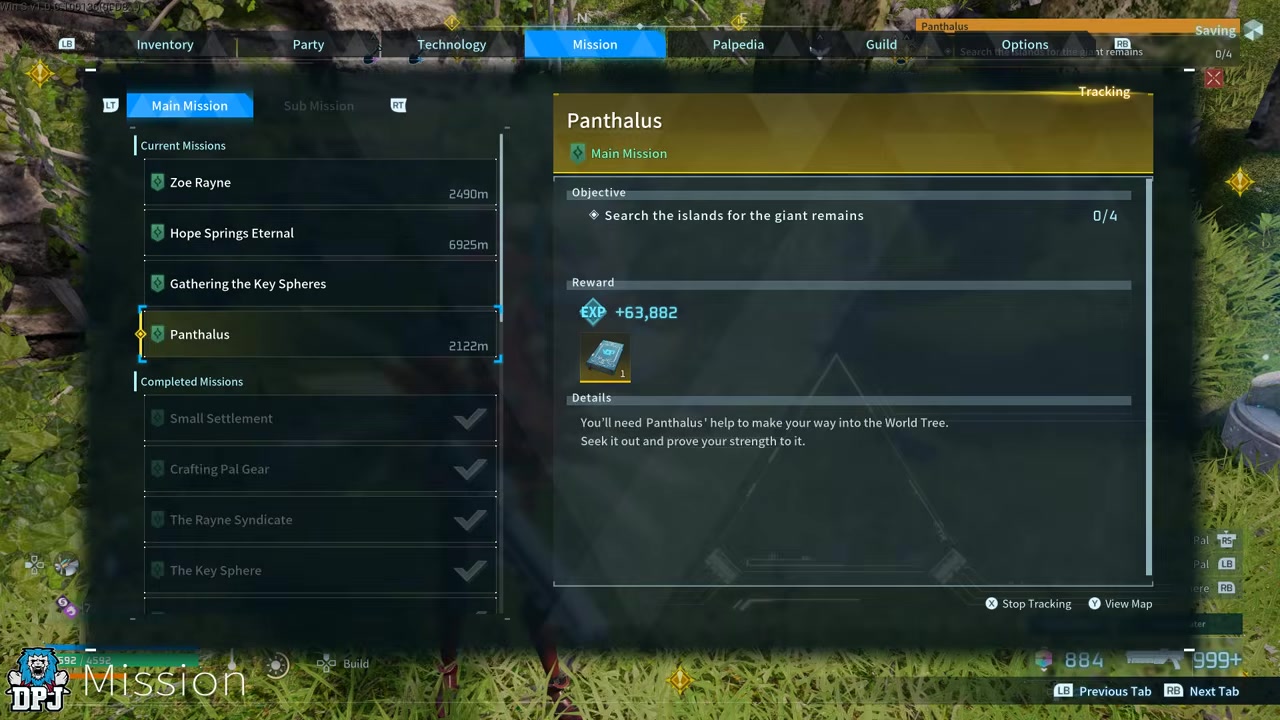
Travel to each of the four points and pick up the item waiting at every location.
STEP 5/8
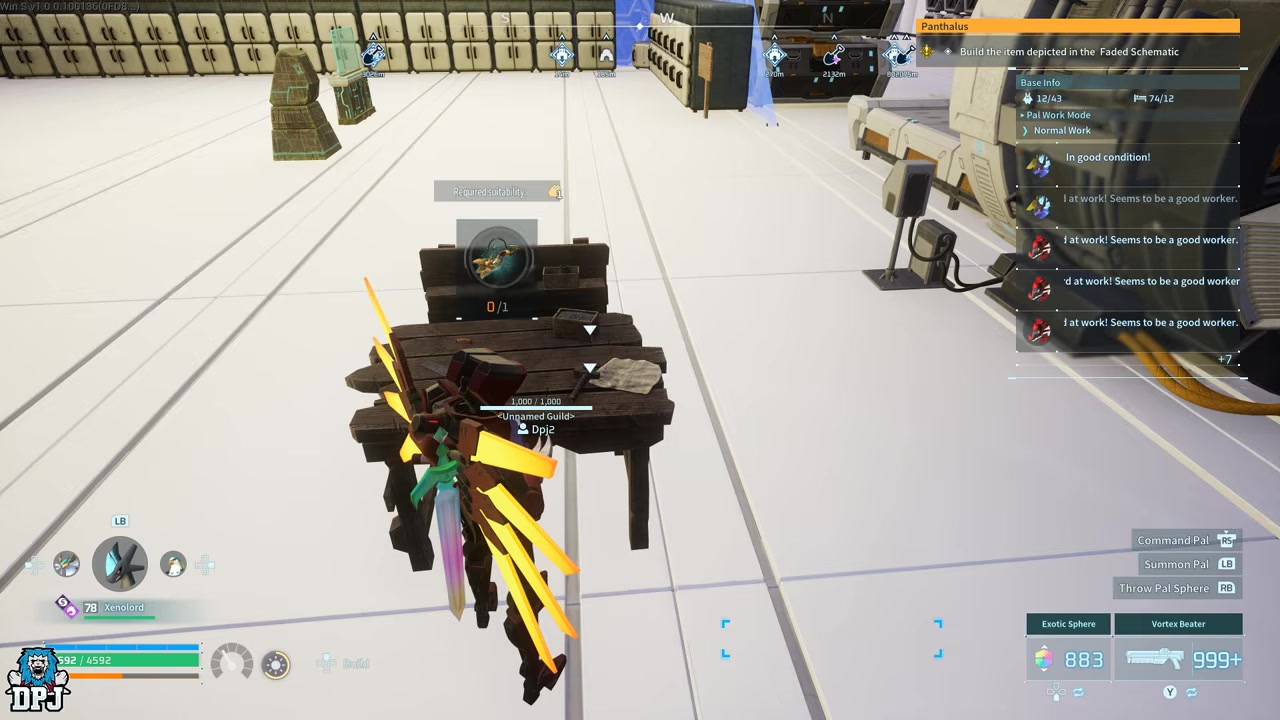
Craft the Echoing Flute
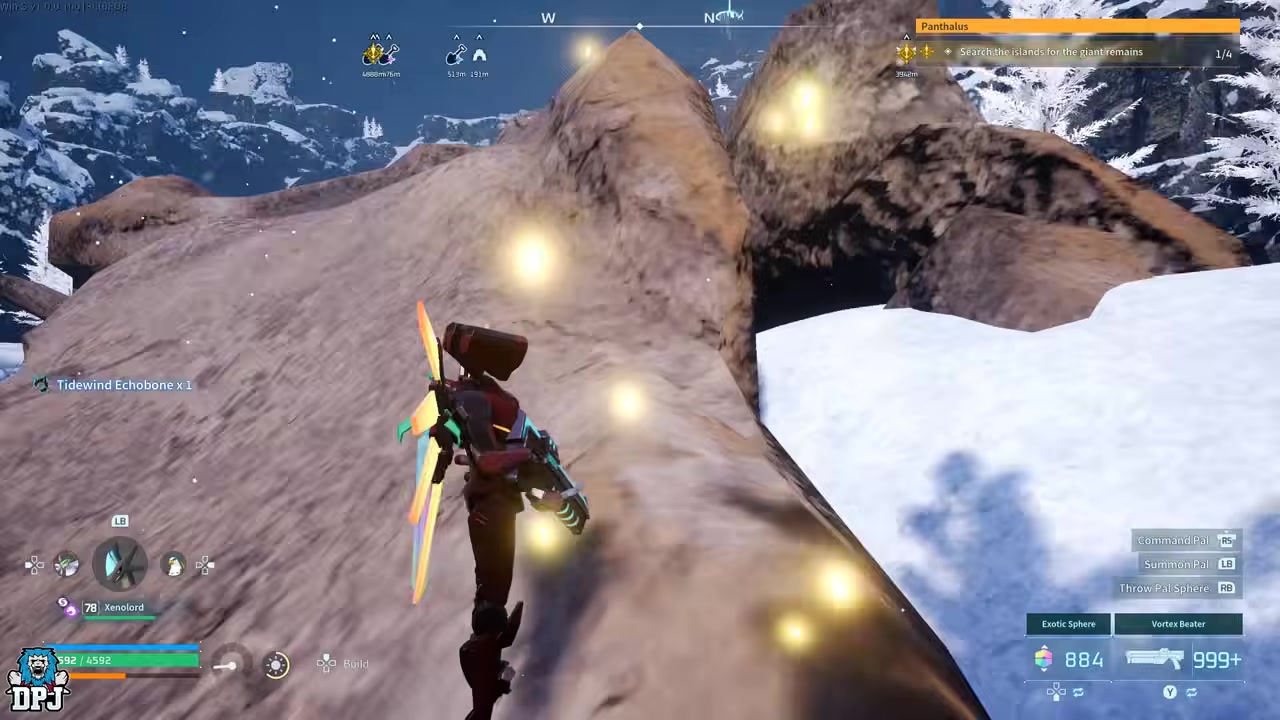
Back at base, use a Primitive Workbench and the four items to craft the Echoing Flute.
STEP 6/8
Return and trigger the shrine
Speak to the NPC again, then activate the shrine beside him to start the Panthalus fight.
STEP 7/8
Defeat and capture Panthalus
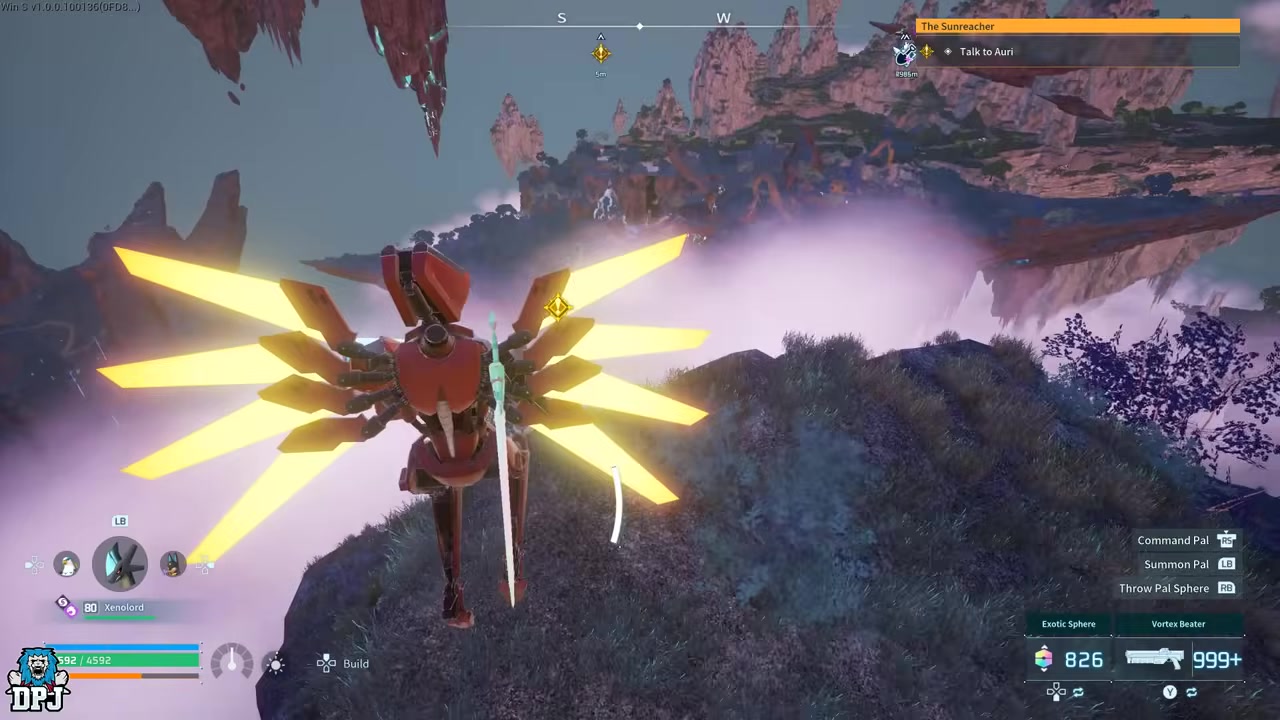
The whale boss fight is easy, so beat it and then catch it — spare spheres sit on the nearby beach if you are out.
STEP 8/8
Ride into the World Tree
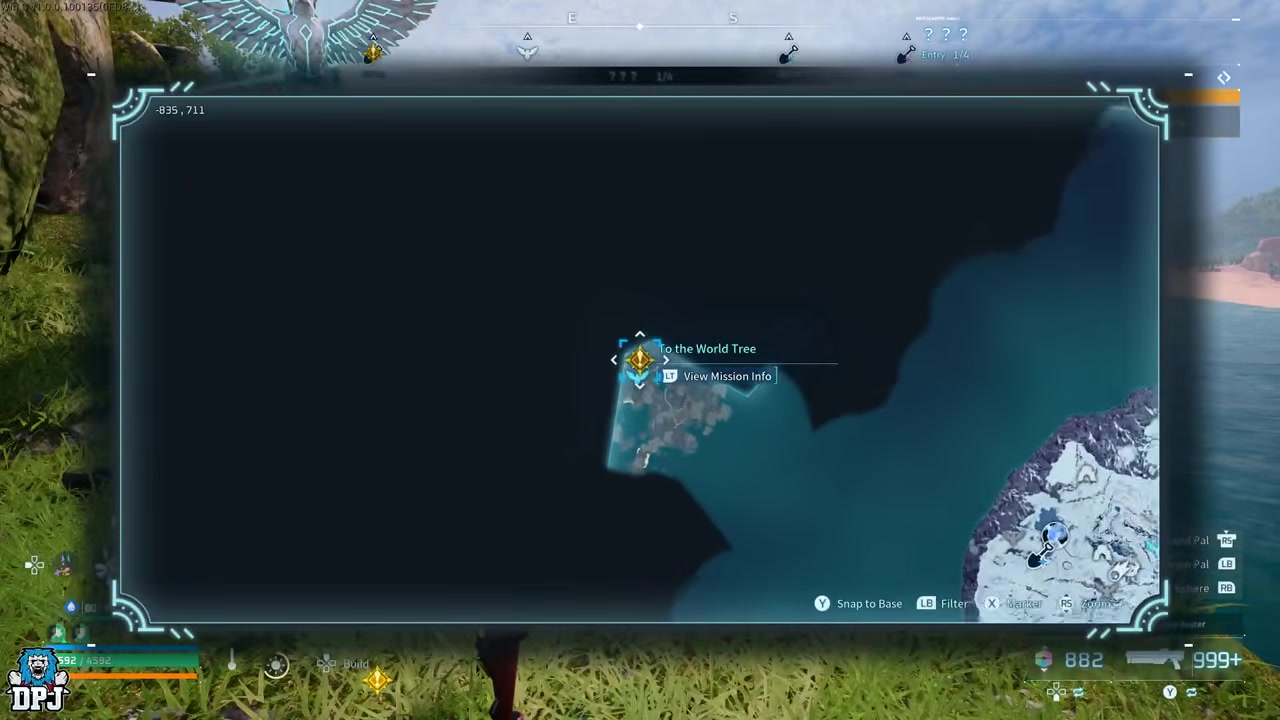
Return to the World Tree terminal, interact with it, and enter the area on the back of Panthalus.
KEY!
From this point the whale’s power is permanently yours, and finishing this stage also opens a fresh mission called the World Tree. That is your cue to head inside.
Clearing the three World Tree sub-bosses
The central door won’t open on its own — your first visit hands you a lore beat and three boss markers to clear.
- Reach the central World Tree door — Head to the focal point of the area, the spot where the final boss is eventually fought.
- Grab the lore trigger — Your first interaction sends you around the corner for a short lore beat that points to your next targets.
- Defeat the three marked bosses — Three sub-bosses are pinned on your map and easy to find; enter each encounter and take them out, with no puzzle mechanics involved.
- Survive the shadow Pal fight — One of these encounters throws a swarm of shadow-form Pals at you at once — around eight of them, and one of the more memorable fights here.
- Open the first door — With all three cleared, you receive the items needed to pass the central door and progress inward.
The World Tree interior is not friendly terrain — parts of it are a radiation biome that chips your HP, so keep a Gas Mask helmet on hand before you go exploring off the main path.
Video help
Every Tower Boss Key Sphere you need
| Tower Boss | Location |
|---|---|
| Zoe & Grizzbolt | Rayne Syndicate Tower, Windswept Hills |
| Lily & Lyleen | Free Pal Alliance Tower |
| Axel & Orserk | Eternal Pyre Tower, volcanic southwest |
| Marcus & Faleris | PIDF Tower, northeast desert |
| Victor & Shadowbeak | PAL Genetic Research Unit Tower |
| Saya & Selyne | Moonflower Tower, Sakurajima |
| Bjorn & Bastigor | Feybreak Tower |
| Auri & Shaolong | Sunreach Tower, floating islands |
Past that first door is a second door, and interacting with it tells you exactly what is missing: eight Key Spheres. These come from clearing every Tower Boss in the game, and you can do them on normal difficulty — the seals count no matter the mode. There were seven towers in the base game, and 1.0 added the eighth at Sunreach. Check the key items tab of your inventory and you likely already hold some of these seals from earlier play.
These eight bosses span the whole level curve, from Zoe & Grizzbolt at around level 10 up to Bjorn & Bastigor near level 58, so a proper late-game team clears the older ones in minutes. Here is where each tower sits.
You never need hard mode for the seals — clearing every Tower Boss on normal difficulty is enough to earn all eight Key Spheres.
Beating the new Sunreach Tower Boss
The eighth Key Sphere lives on the new floating islands, behind a tornado you can only clear by shutting down its defense beacons.
- Fly to the floating islands — The new tower sits on the floating islands added in 1.0, down in the Sunreach region.
- Fly into the tornado — On arrival a whirlwind blocks the tower; fly straight into it to land beside an NPC.
- Talk to the island NPC — He explains that you have to disable the defense system to remove the tornado guarding the tower.
- Disable the defense beacons — Travel the islands and head into every building or spot giving off a blue beam, then shut each one down.
- Use the roof shortcut — On beacon buildings you can stand up top, break through a wall, and run straight in rather than climbing every floor.
- Beat Auri & Shaolong — With the beacons down the tornado clears, so face Auri & Shaolong for your final Key Sphere.
Some beacons only appear on your map once you get close, so sweep the islands thoroughly if the counter still shows one active.
Starting the Zenara & Astralym boss fight
With all eight Key Spheres in hand, the second World Tree door finally opens onto the game’s toughest fight.
- Return to the first World Tree door — Head back to the World Tree and pass through the now-open first door.
- Reach the second door — Progress forward until you arrive at the final sealed door.
- Open the final door — With all eight Key Spheres collected, the door opens and the Zenara & Astralym encounter begins.
- Survive the immune phase — Late in the fight the boss goes immune and a timer starts, and it takes a lot of beating to burn down in time.
- Defeat Zenara & Astralym — Winning adds Astralym to your Paldex and unlocks the fight’s normal mode for repeat runs.
This is the hardest encounter in the game, tuned as a roughly level-80 fight for both you and your active Pals, so bring a full squad of strong Pals and good gear. Hard mode lets you deploy base powers during the fight — up to around 50 in a custom world, or roughly 20 to 25 otherwise depending on your base level — and you can run several at once, which you will want given how punishing the timed immune phase is.
Can you add Astralym to your team?
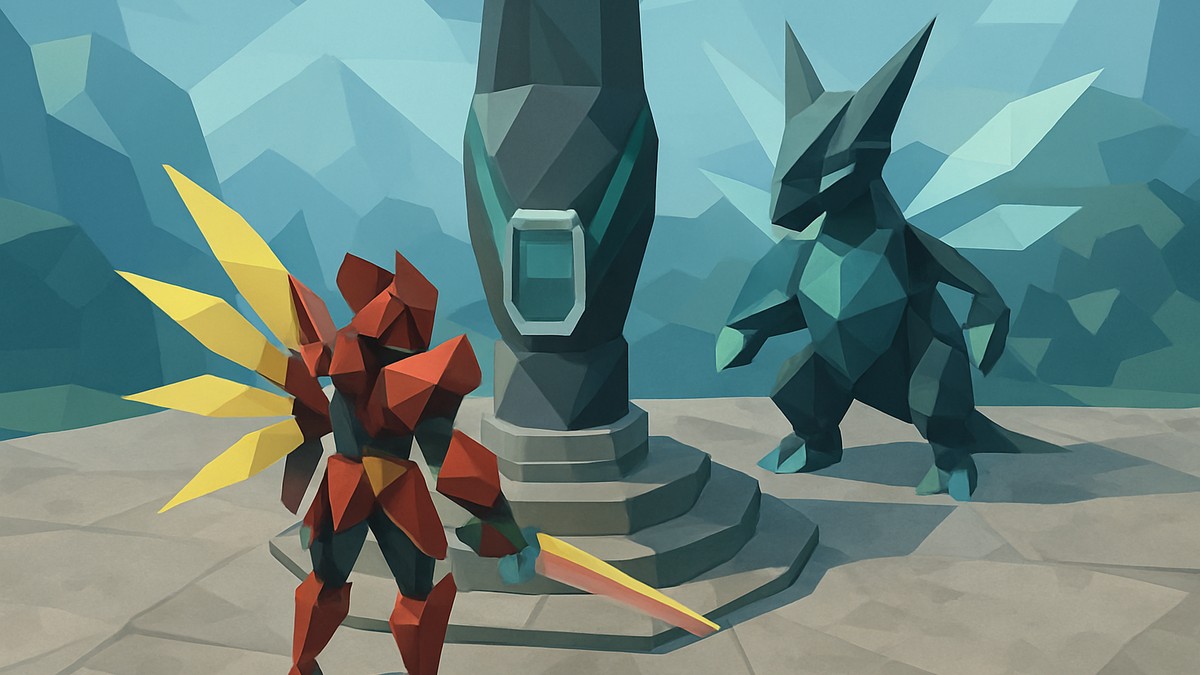
No. Beating the boss registers Astralym in your Paldex, so it shows up in your records as encountered. But as of Palworld 1.0 you cannot catch, own, or deploy Astralym — it exists only inside this boss fight and is not obtainable by any current method. If your goal was to add this Pal to your own team, that is not on the table right now, and the entry is the only reward you keep from it.
Mistakes that stall your World Tree progress
The most common wall is treating the World Tree barrier as the finish line. It is only the first gate — without Panthalus and the Echoing Flute quest, the terminal never opens. After that, players often try the central door before clearing all three World Tree sub-bosses, or reach the final door short a Key Sphere because they skipped one of the eight towers, and the new Sunreach tower is the one most people forget entirely.
At Sunreach itself, the tornado stays up until every defense beacon is disabled, so a single missed beacon blocks the whole fight. And going in expecting to walk away with Astralym as a usable Pal will only disappoint — plan around it being a Paldex entry, not a catch.
Frequently Asked Questions
Can you catch Astralym after beating Zenara & Astralym?
No. Defeating the boss adds Astralym to your Paldex, but in Palworld 1.0 the Pal cannot be caught, owned, or deployed by players through any known method.
Do you need to beat the Tower Bosses on hard mode?
No. Every Tower Boss can be cleared on normal difficulty and still grants its Key Sphere. The difficulty does not affect the seal you receive.
How many Key Spheres do you need for the final World Tree door?
Eight — one from each Tower Boss, including the new Sunreach tower. The second World Tree door stays locked until you are holding all eight.
Where is the new Sunreach Tower Boss?
On the new floating islands added in 1.0. A tornado guards the tower, so fly into the whirlwind to reach the NPC, then disable every defense beacon marked by a blue beam to remove it and fight Auri & Shaolong.
What should you do if the World Tree terminal still blocks you?
That barrier only drops once you have completed the Echoing Flute quest and captured Panthalus. Speak to the researcher NPC, craft the flute at a Primitive Workbench, beat and catch the whale boss, then interact with the terminal again to ride in.






Leave a Reply