
Keep your Pals sane in Palworld 1.0 by giving every worker food, beds, hot springs or other rest facilities, and a manageable workload, then rotate or box low-Sanity Pals before they roll into sickness or refusal states.
Sanity is one of the easiest base stats to ignore until the whole production line starts wobbling. In Palworld 1.0, the answer is still simple: make food, sleep, and rest easier than overwork.
KEY!The important thing is timing. A Pal does not instantly fix itself just because a hot spring exists somewhere in the base, so your setup needs to make recovery likely before low Sanity turns into a bad status.
Sanity shows worker condition at a glance
Every captured Pal has a Sanity value, shown as SAN. You can check it in the Party menu, in the Palbox, or near a Pal’s health bar when you look at them directly.
At a base, Sanity works like a worker wellbeing meter. When it drops, Pals become less reliable: they may take breaks, refuse work, overeat, get sick, or fall into harsher mental states such as Depressed.
That makes Sanity a production stat, not just a comfort stat. A hungry, tired, overworked Pal can still stand at a job for a while, but once Sanity gets low enough, the base starts losing time to breaks, sickness, and recovery.
How Sanity rolls during base work
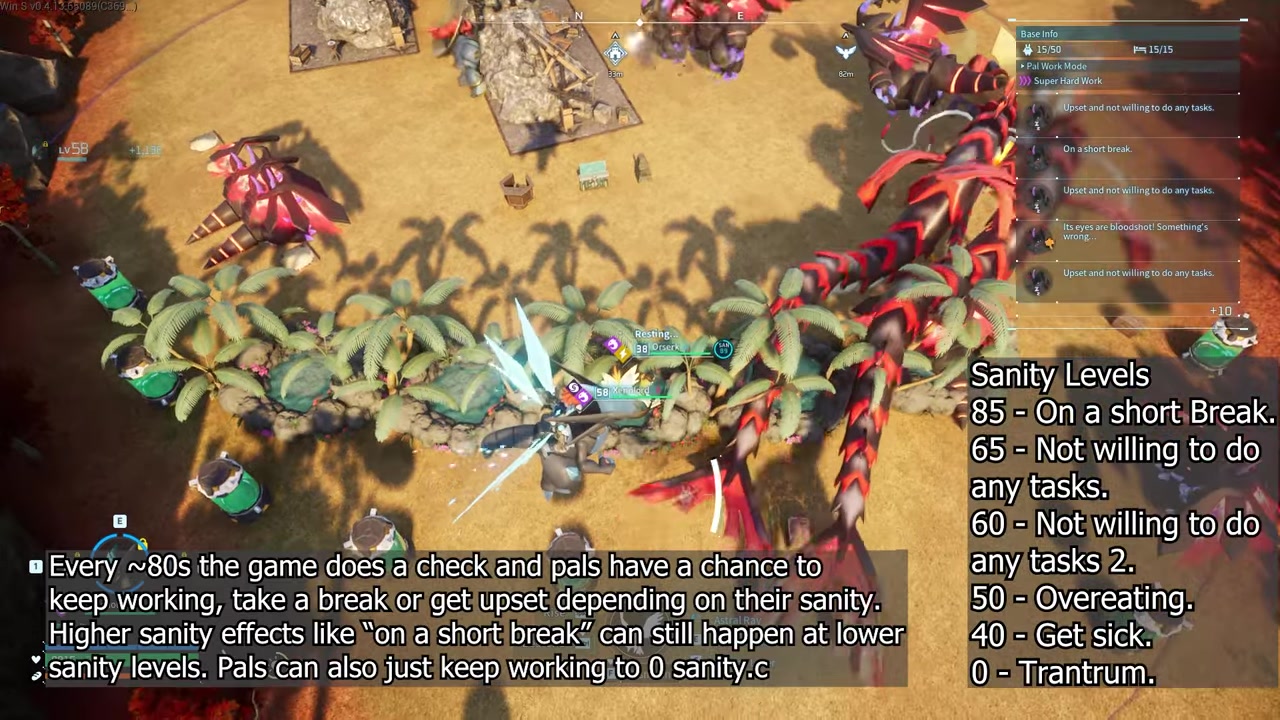
| Sanity range | Behavior |
|---|---|
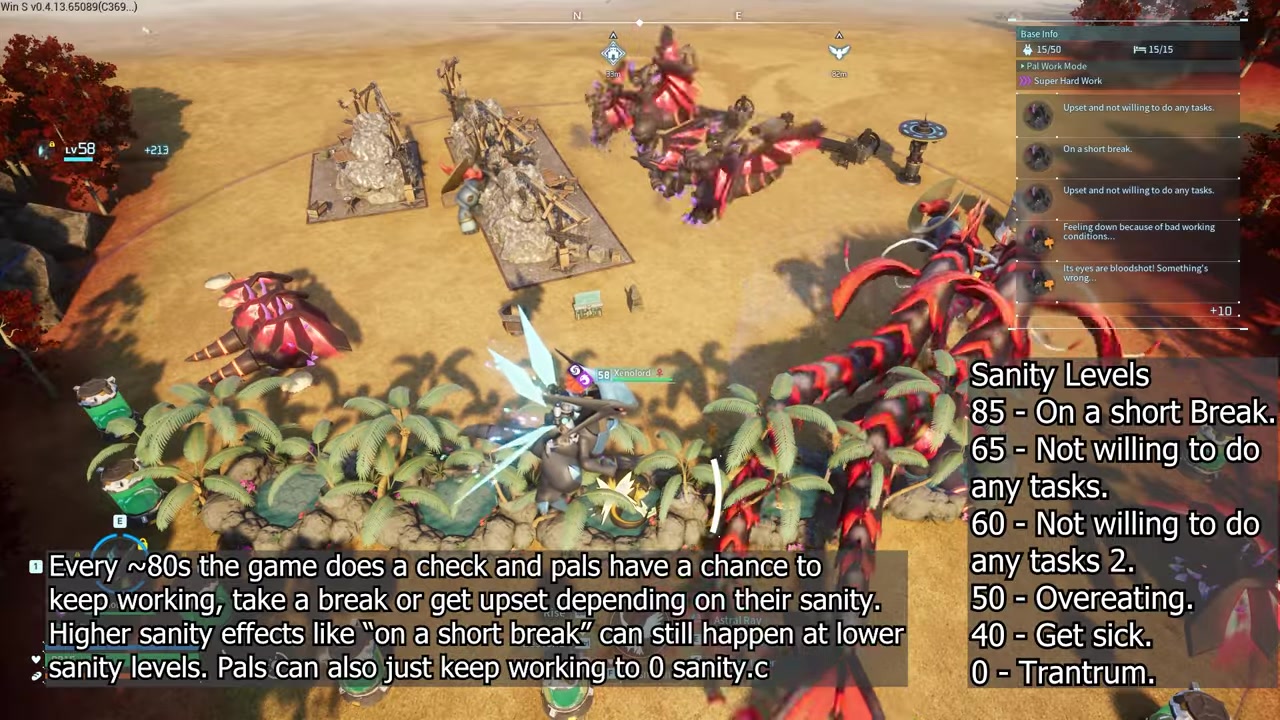
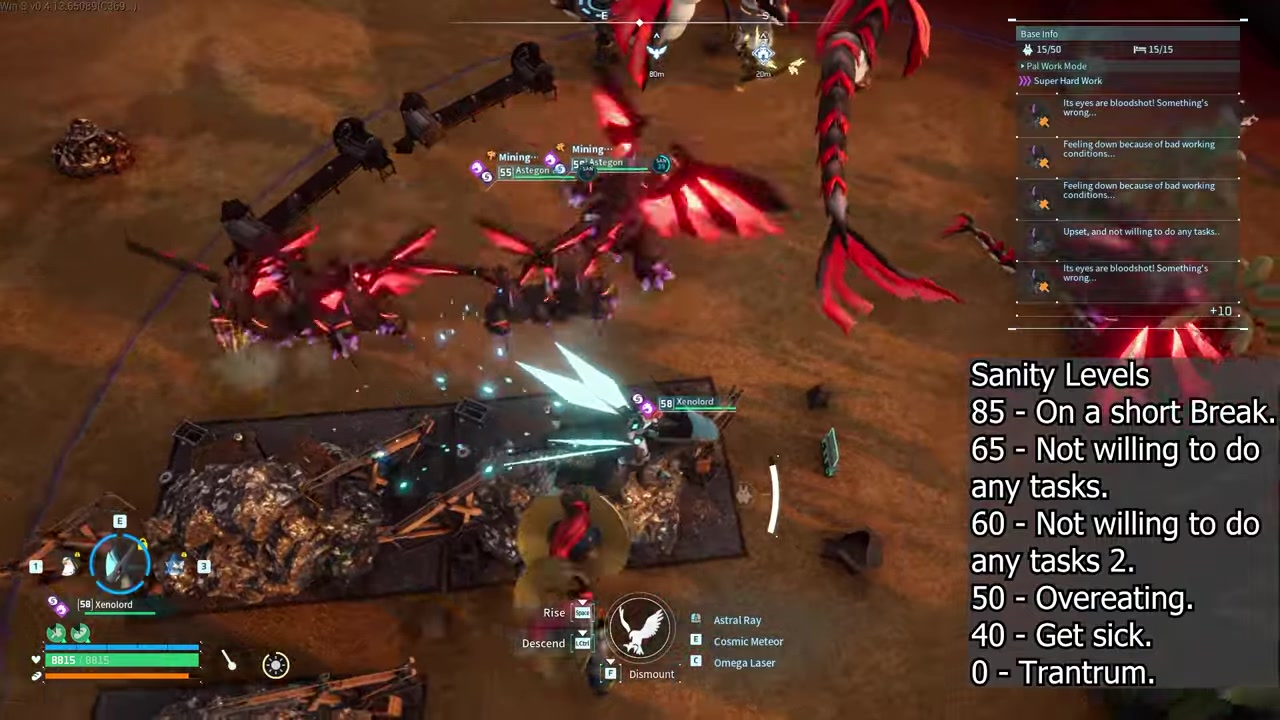
| 85 to 65 | Can keep working after the check. |
| Below 65 | Adds upset behavior and refusal to work. |
| Below 50 | Adds stress eating. |
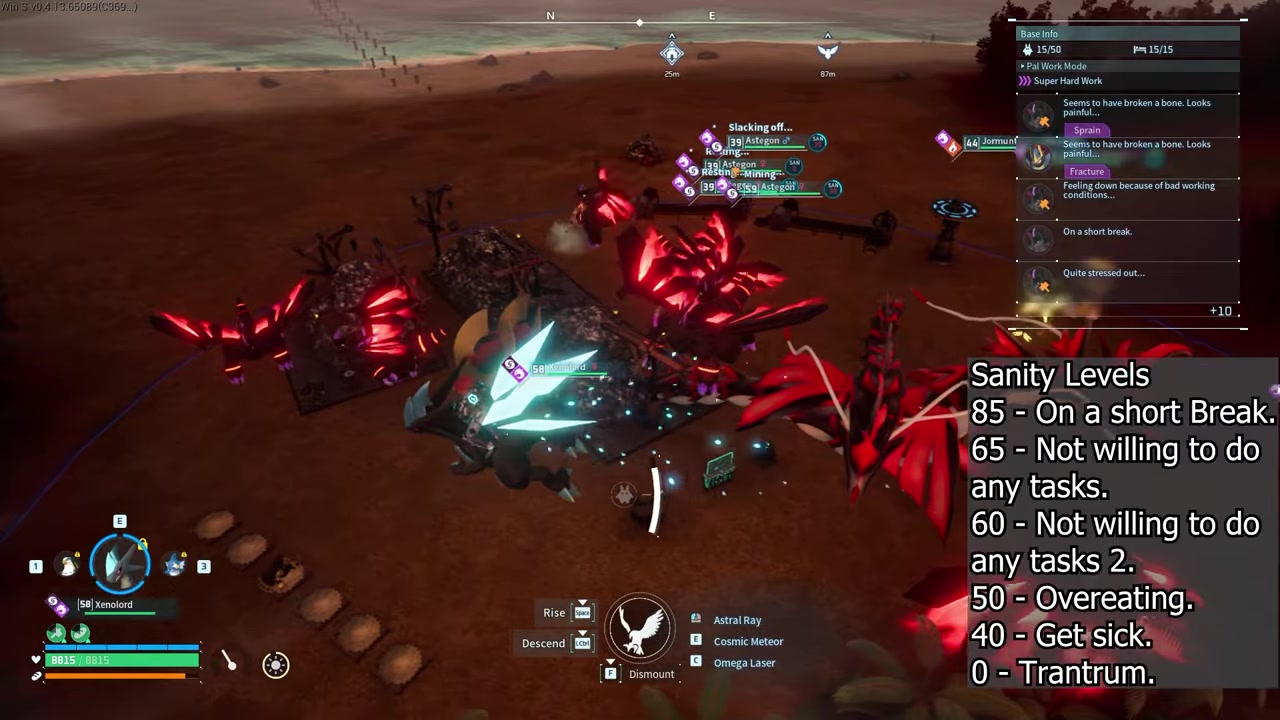
| Below 40 | Adds sickness outcomes. |
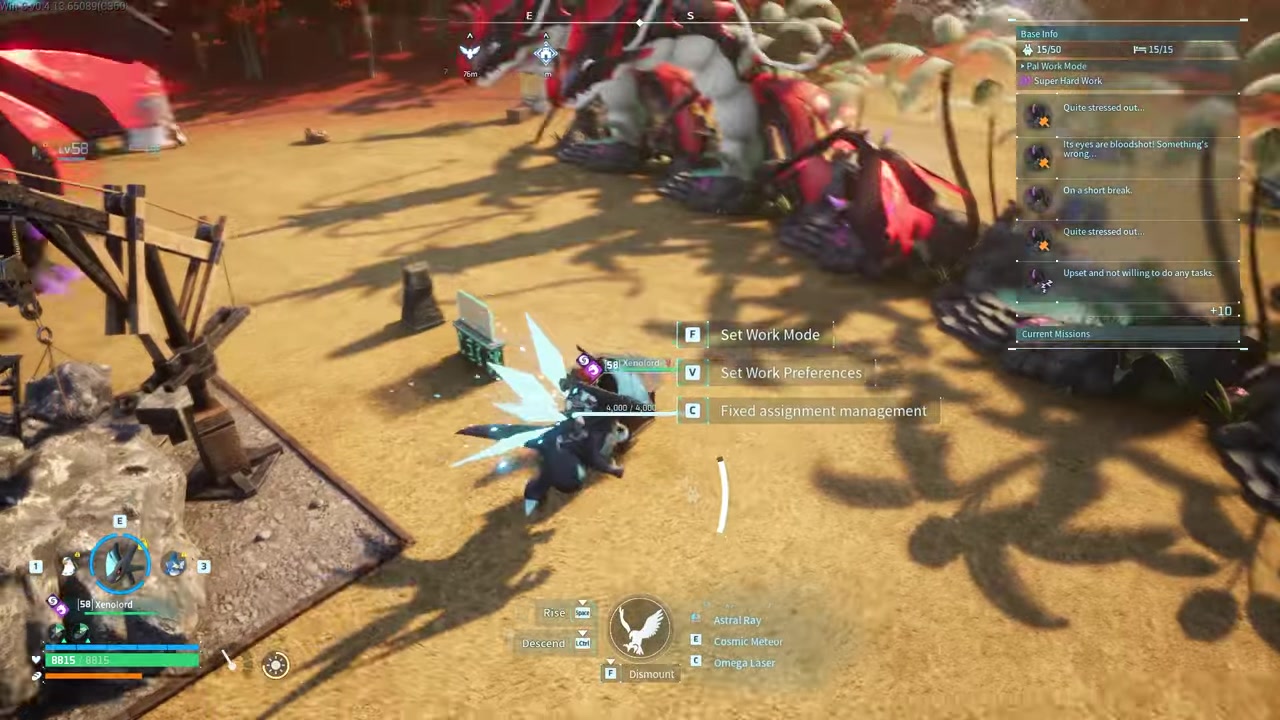
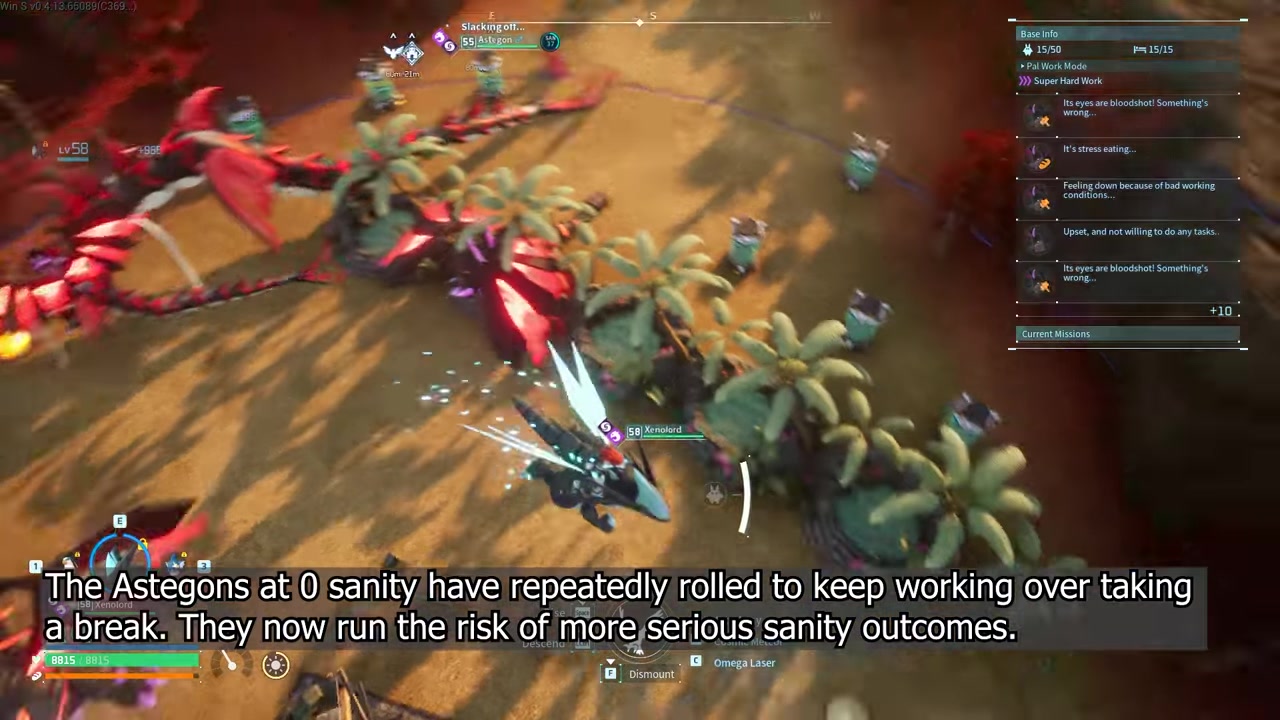
Base Pals seem to run through a Sanity behavior check about every 80 to 90 seconds. Palworld does not show this formula in-game, so use the ranges below as a working model for managing a base rather than a calculator-perfect rule.
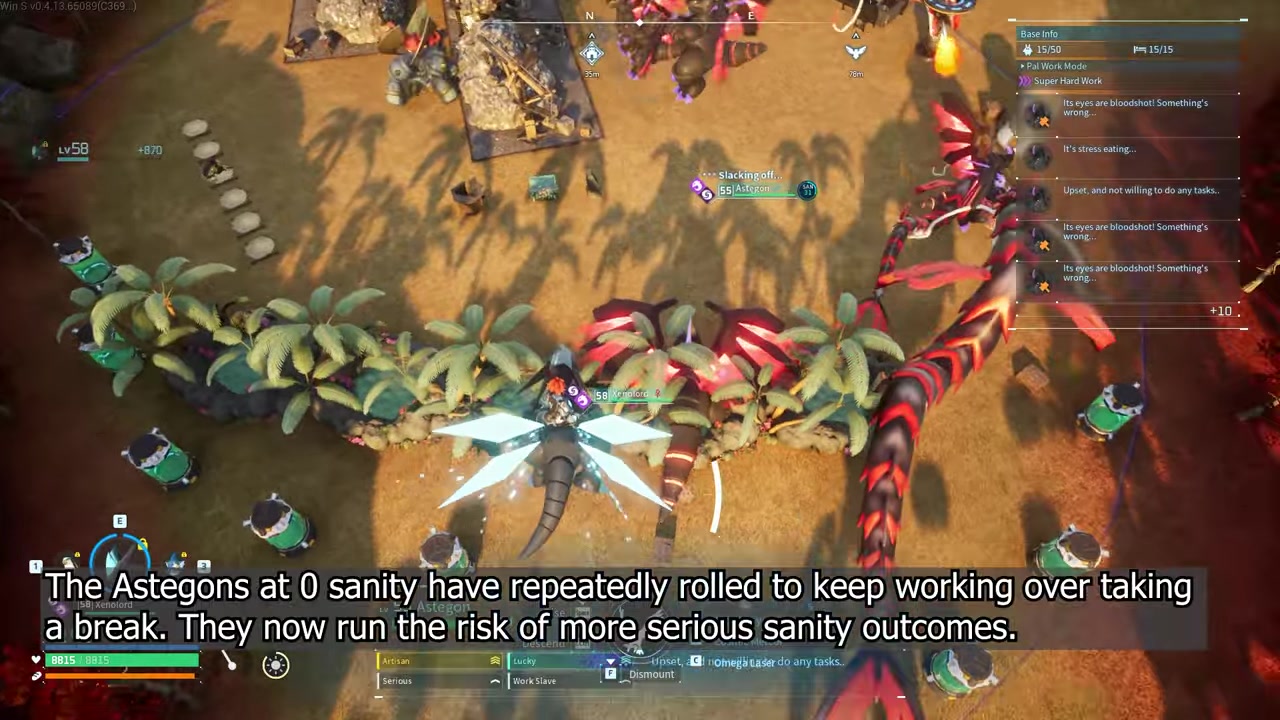
Each check can send a Pal into a different outcome depending on its Sanity. A Pal with very low Sanity can still keep working if that outcome wins the roll, which is why some workers look fine right up until they suddenly get sick.
Hot spring breaks can last for the whole check window instead of ending the instant a Pal reaches full Sanity. Upset sleep breaks can run longer, around a few minutes, and tend to be weaker for Sanity recovery than proper relaxation.
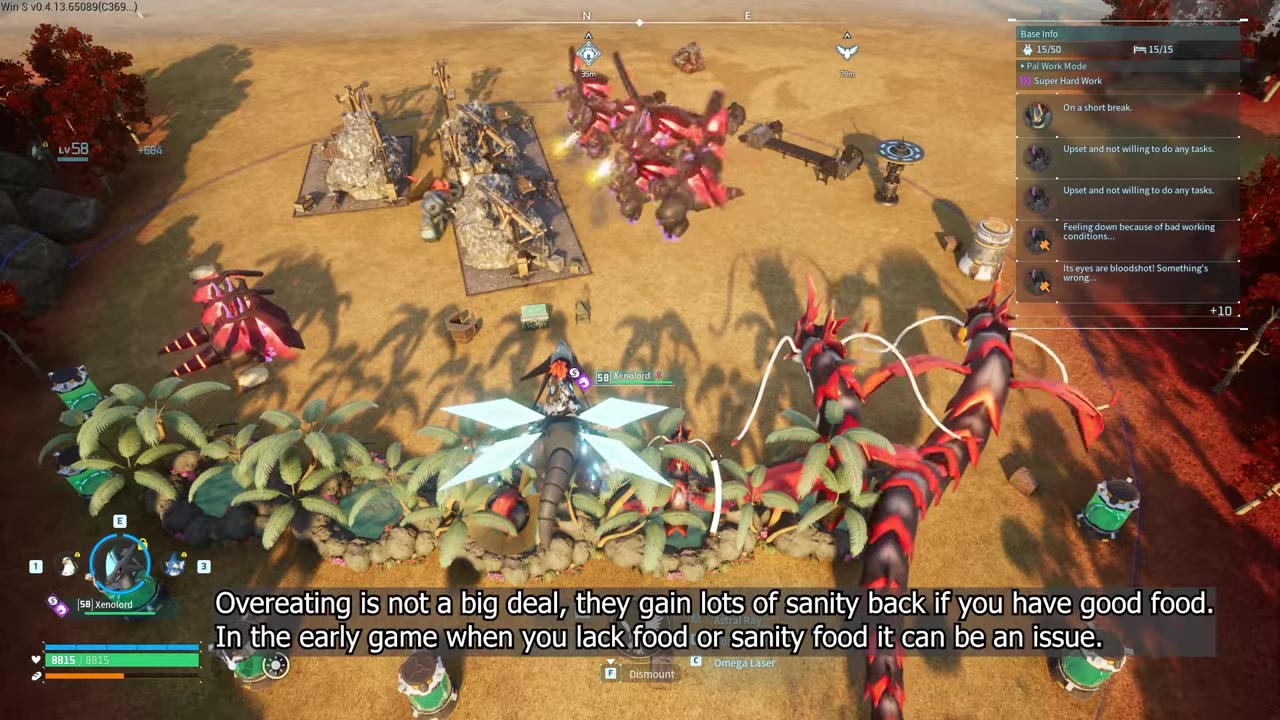
Stress eating is not always the disaster it looks like. Food restores Sanity, so a Pal that overeats can jump back up, but repeated stress eating means the worker is already spending too much time near dangerous Sanity ranges.
Best routine to keep your Pal’s Sanity high in Palworld 1.0
Provide enough beds
Keep at least one usable bed for every active base Pal so nobody is forced through the night without a sleep spot.
Stock the food box
Keep the Food Box filled, and use better food when you can because food is also a SAN recovery source.
Build enough relaxation facilities
Place enough hot springs or stronger rest facilities for your workforce size so breaks do not bottleneck.
Keep work modes reasonable
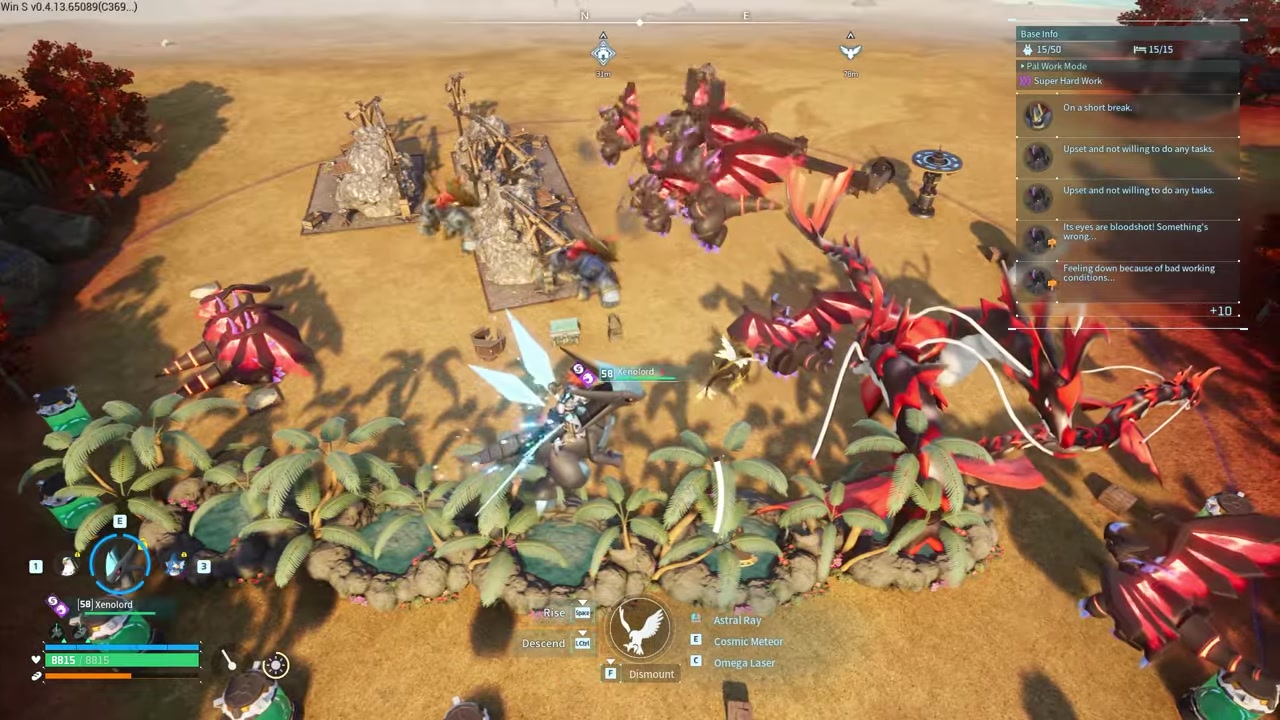
Avoid leaving the Monitoring Stand on harsh modes such as super hard work mode for routine production.
Shorten the walking routes
Put food, beds, and rest facilities where workers can actually reach them without long pathing loops.
Match Pals to the right jobs
Assign Pals to work they are suited for so they spend less time grinding through inefficient tasks.
Rotate weak workers out
Move overworked, injured, or repeatedly low-Sanity Pals out of the base roster before they roll into sickness.
Check Sanity before starting a big production push, then swap out any worker already drifting toward the lower ranges.
Low-Sanity triage for a worker Pal
Stop forced hard work
STEP 01 · OF 05
Turn down harsh Monitoring Stand settings and let the Pal leave the task cycle.
Let the Pal rest
Give it time to reach a bed instead of reassigning it immediately.
Check facility access
Make sure the bed or hot spring is not blocked, too far away, or trapped behind awkward base pathing.
Move it to the Palbox
Use the Palbox when the Pal needs downtime away from work or when you can wait for recovery.

Use the right medicine
If the Pal is sick and you need it back quickly, cure the condition with the medicine tier that matches the sickness.
Base tools that protect Sanity
| Sanity safeguard | Use |
|---|---|
| Beds | Give each worker a place to sleep and recover instead of losing Sanity from having no rest spot. |
| Hot springs and relaxation facilities | Let Pals restore Sanity during breaks; stronger versions improve recovery. |
| Food quality | Keeps hunger under control and gives Sanity back when Pals eat. |
| Monitoring Stand workload | Raises output at the cost of stress when pushed too hard for too long. |
| Base layout | Reduces wasted walking and helps Pals actually reach food, beds, and rest. |
| Palbox recovery | Lets boxed Pals recover over time when medicine or immediate work is not needed. |
The best Sanity setup is boring in the right way: every Pal can eat, sleep, and relax without fighting the base layout. Higher-tier beds and better relaxation facilities improve recovery, but bad access can waste those upgrades.
Do not judge a base only by whether the correct item exists. Judge it by whether the tired Pal can reach that item quickly, use it, and return to work without getting stuck in another drain cycle.
Mistakes that crash Pal sanity
The fastest Sanity crashes usually come from basic neglect stacking up: not enough beds, an empty Food Box, weak food, blocked hot springs, or Pals forced to work while hungry or injured.
Overcrowded bases can make the problem look mysterious. If workers spend too much time pathing around walls, stations, slopes, or each other, they lose chances to recover even though the base technically has the right facilities.
The Monitoring Stand can also turn a stable base unstable when hard work modes stay on after the emergency is over. Use heavy pressure for short bursts, then bring the workload back down before the next round of low-Sanity rolls.
A sick Pal does not always mean one exact facility is missing. Sometimes the base setup is mostly fine and the Pal simply stayed in the danger range long enough for a bad outcome to land.
Palworld changes that affect Sanity
Palworld 1.0.0 launched on July 10, 2026, and Sanity still plays like a food, rest, workload, and pathing system. There is no visible Sanity overhaul that changes the core routine for keeping workers stable.
The useful difference is in base behavior. Fixes around Pals returning to work, getting stuck, and entering abnormal states can reduce sanity problems caused by broken worker movement, but they do not replace proper beds, food, rest, and rotation.
Frequently Asked Questions
Why do Pals still get sick if I have beds and hot springs?
Beds and hot springs reduce the risk, but they do not force every low-Sanity Pal to recover immediately. If a worker keeps rolling work outcomes while below the sickness range, it can still get sick.
Does putting a sick Pal in the Palbox cure it?
The Palbox can recover conditions over time, but it is downtime rather than an instant cure. Use medicine when the Pal needs to return to production quickly.
Is stress eating always bad?
No. Since food restores SAN, stress eating can pull a Pal back from a low range. It becomes a problem when it keeps happening, because that means the Pal is repeatedly dropping too low.
Should I use super hard work mode in the Monitoring Stand?
Use super hard work mode only for short production pushes. Leaving it on for normal base work increases the chance that Pals fall into refusal, overeating, sickness, or longer recovery breaks.
Do better beds and hot springs actually help?
Yes. Better beds and stronger rest facilities improve recovery, so they lower the odds of a Pal staying in a bad SAN range across multiple checks.
Video help






Leave a Reply