- What to know
- Cafe system details
- How to prioritize leveling and management
- How to restock ingredients and manage stock
- How to choose and slot in items
- How to optimize employees and life‑skill upgrades
- How to set up decor and popularity
- Where to buy tables, chairs, and walls
- How to maximize offline Fons
- Things to avoid as a beginner
- How to keep improving as you advance
What to know
-
Focus on leveling your cafe and management level first, not on short‑term profits.
-
Always sell the highest‑revenue items in each slot, taking bonuses from employees into account.
-
Maximize your popularity by filling each cafe with tables, chairs, and walls so you grab the full income multiplier.
-
Restock ingredients in longer chunks (for example, 24 hours) and lean on delivery so you can run your cafe passively.
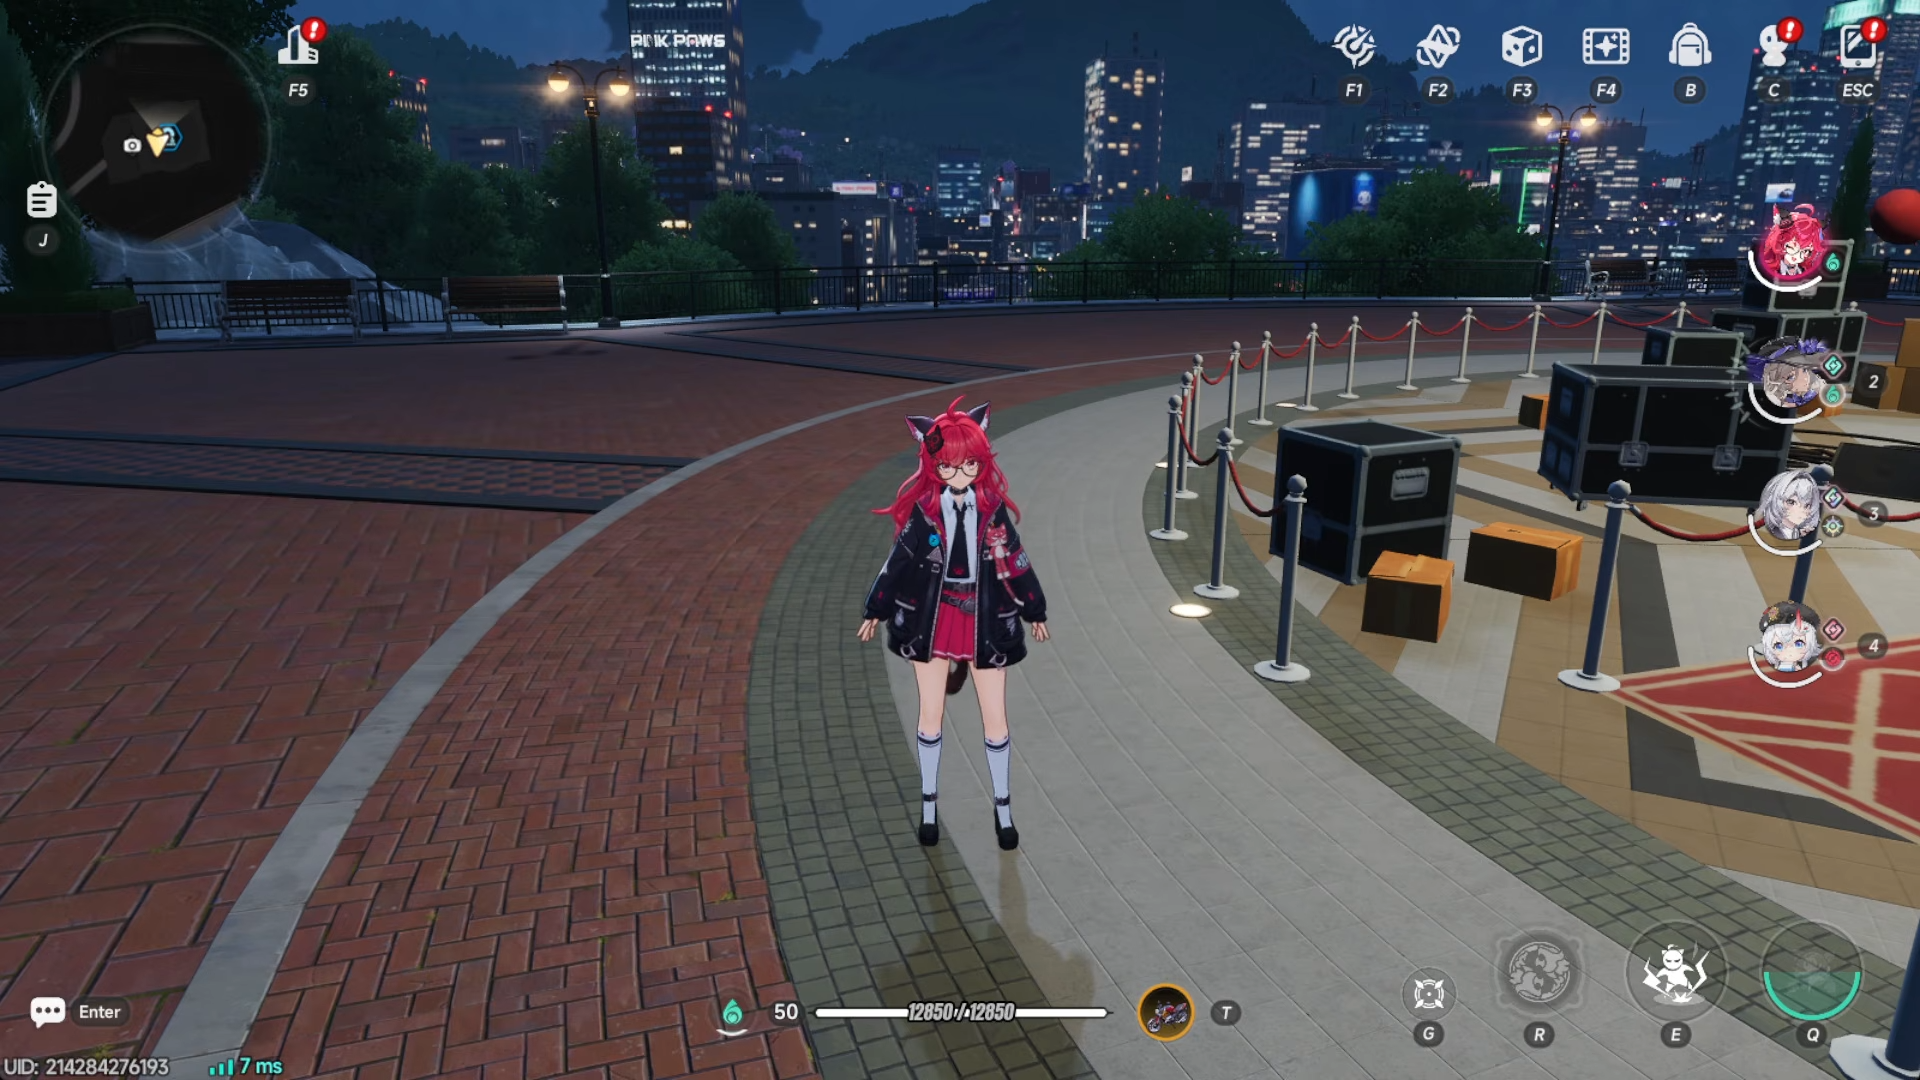
Neverness To Everness lets you run a cafe that can quietly stack thousands of Fons every day, both while you play and while you’re logged off. Get the setup right early and you’ll have a steady, almost unlimited source of Fons that keeps growing as you level up your management and unlock more cafes.
Cafe system details
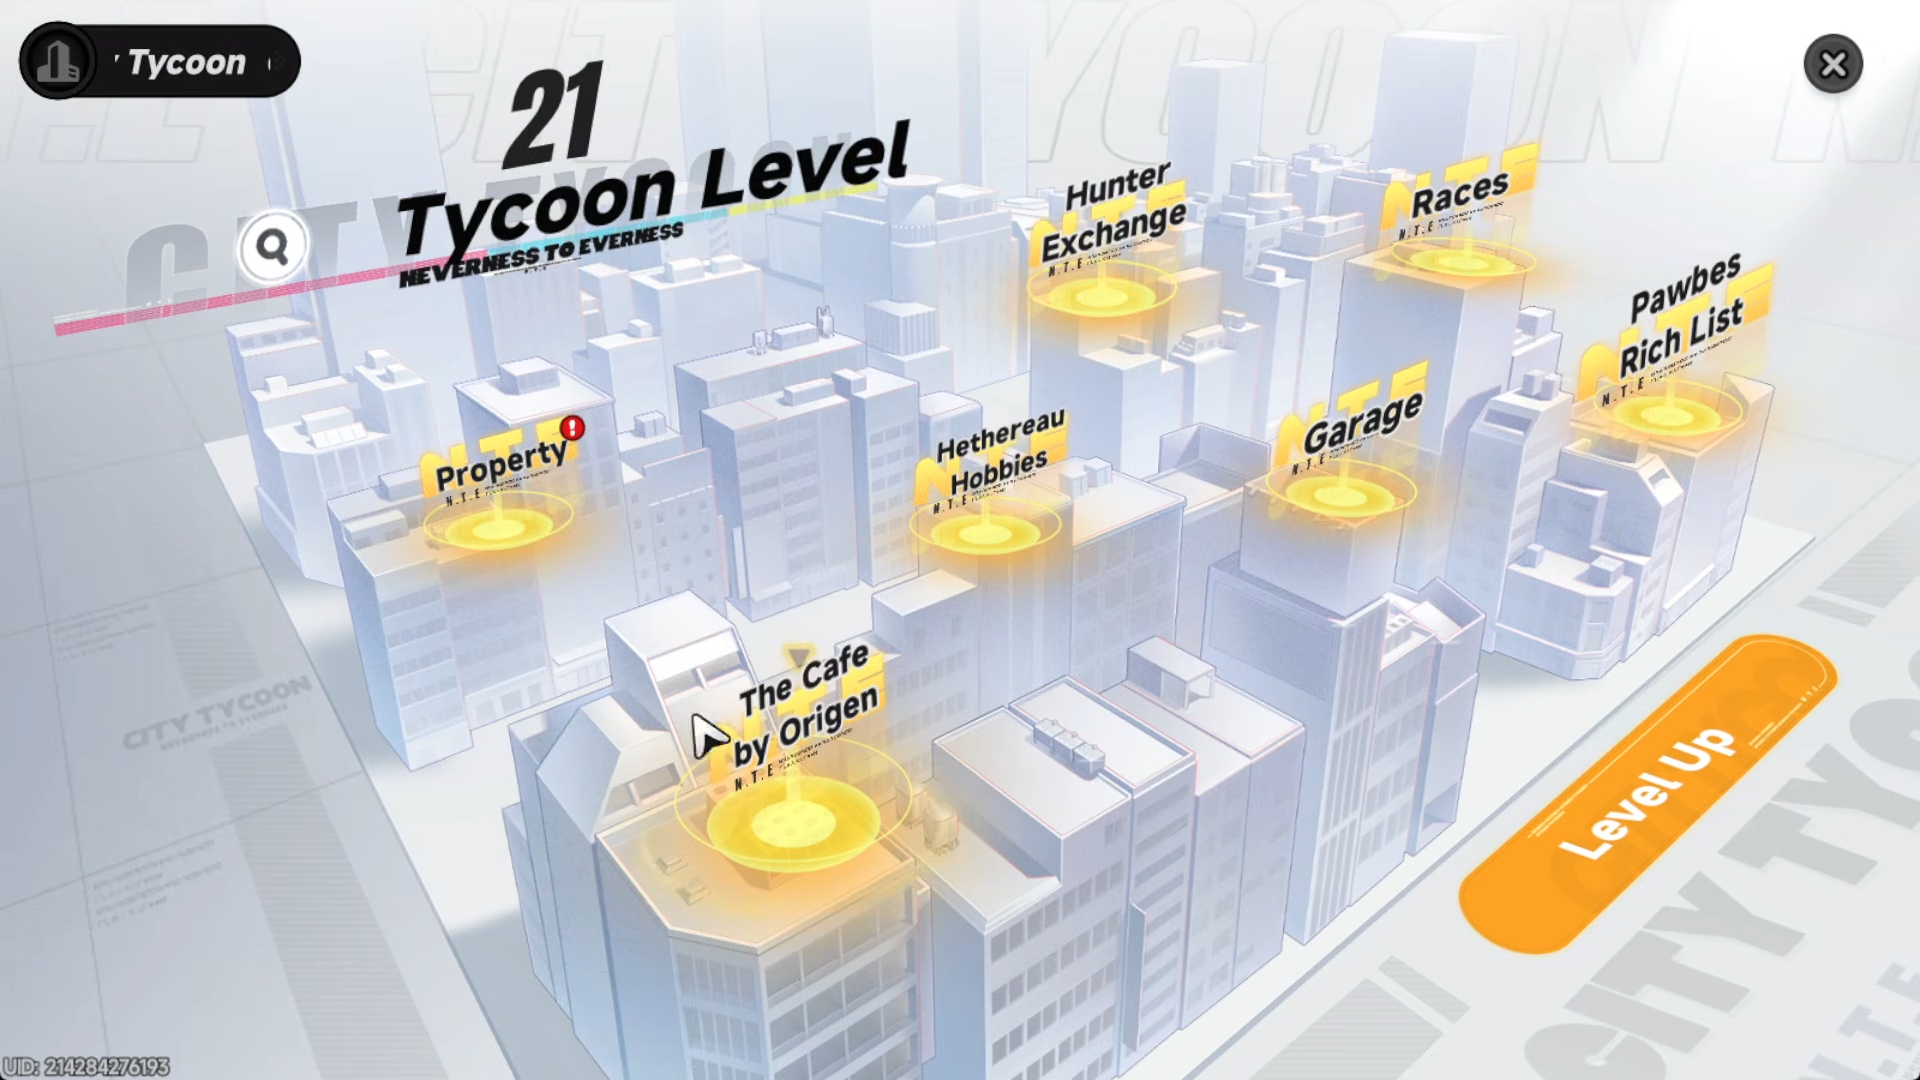
In Neverness To Everness, your cafe sits inside the City Tycoon structure and becomes one of your main passive‑income engines.
Even though active City Stamina activities can pay well, their weekly cap makes the cafe a critical long‑term source of Fons. By optimizing menus, employees, decor, and restocking, you can pull in tens of thousands of Fons per day without grinding quests or heists.

Here’s a quick snapshot of the core levers you control:
How to prioritize leveling and management
When you start, you’ll only have one cafe and the accompanying story will walk you through the first interface.
The most important thing is to push your cafe’s level as quickly as possible, not to obsess over immediate profits. Each level you gain unlocks more cafes and more item slots, which in turn lets you run more dishes and jack up your total hourly income.
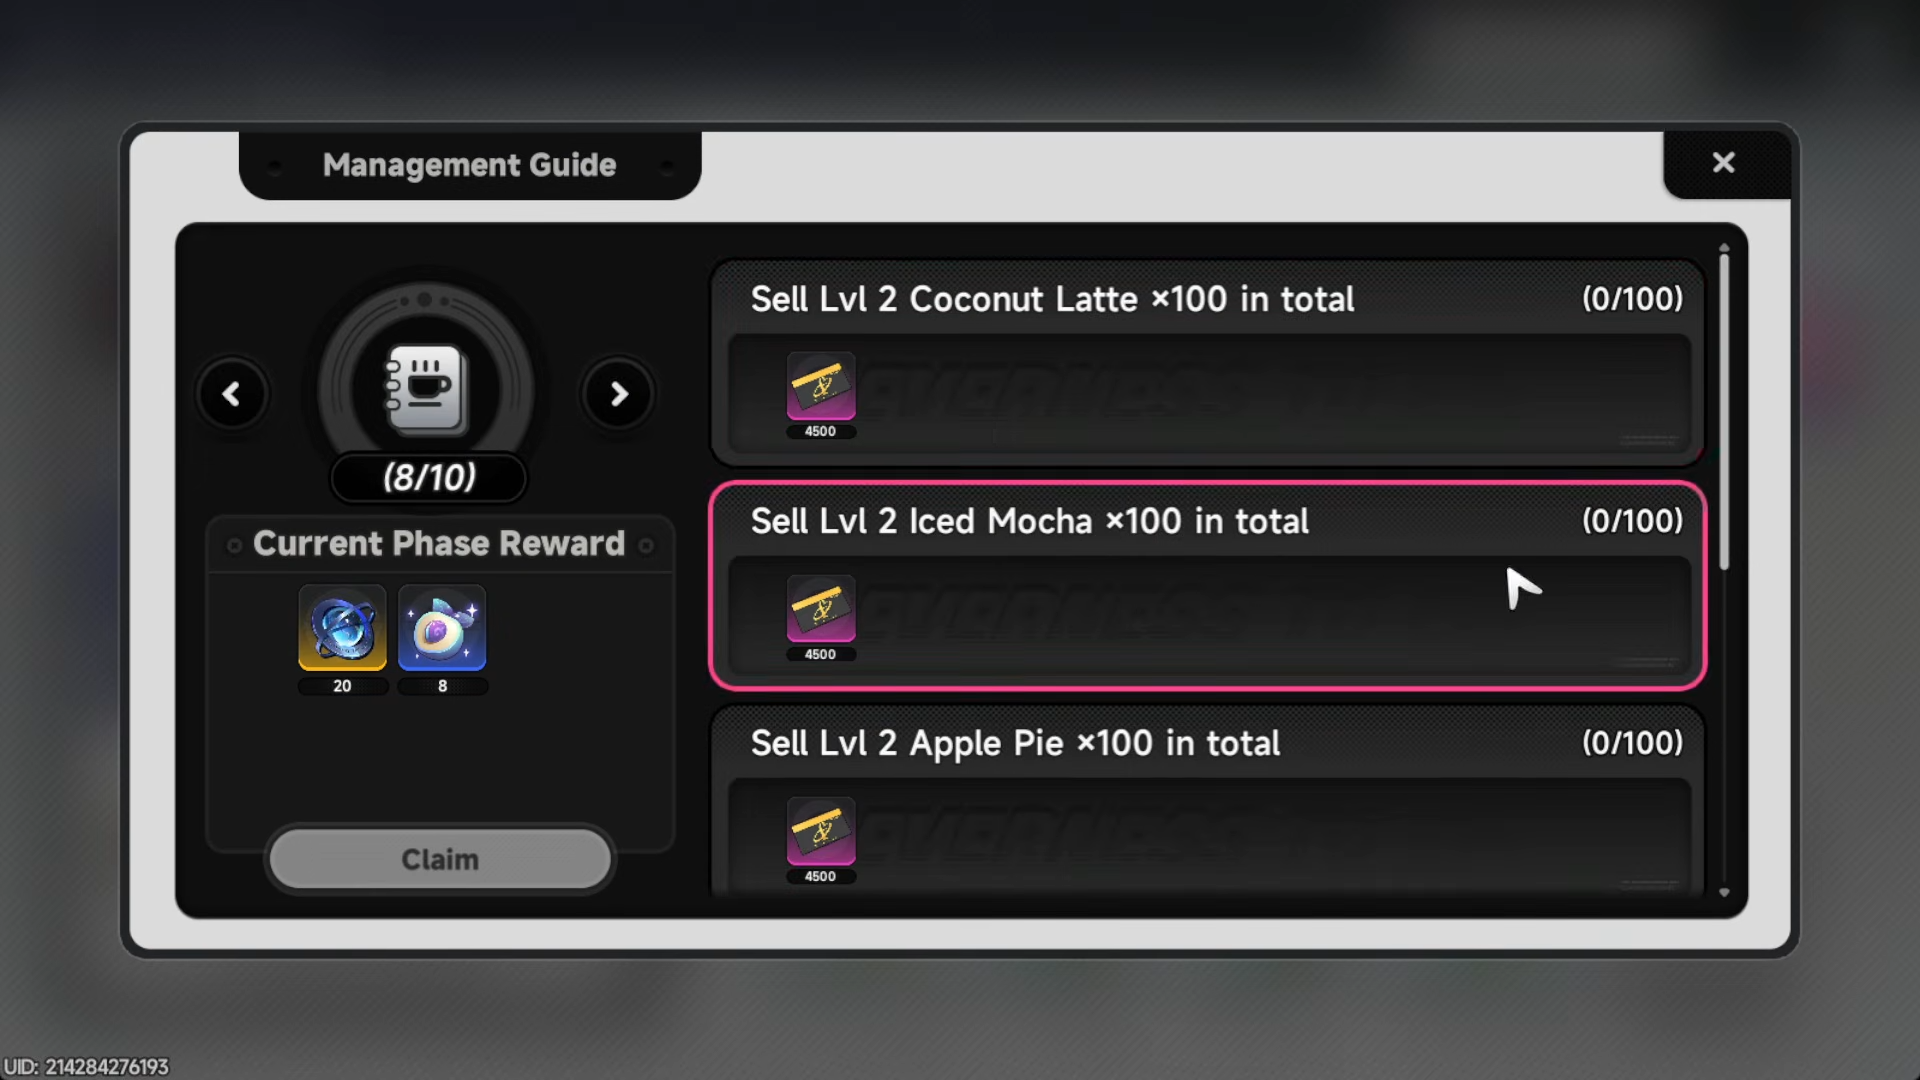
Management level is separate from your cafe level and caps out sooner. Don’t treat it as your main progression path; instead, view it as a side system that unlocks quality‑of‑life perks such as:
-
Fashion center at management level 20: Makes certain items “hot,” raising their selling price for that period.
-
Lower delivery fees: Makes it cheaper to restock ingredients via delivery instead of manually shopping.
-
Auto‑restock at level 40: Lets you keep your cafe running without constantly logging in to refill stock.
Because management level is capped, your core focus should be leveling the cafe and then keeping an eye on when management‑level breakpoints push your highest‑revenue items up in price.
How to restock ingredients and manage stock
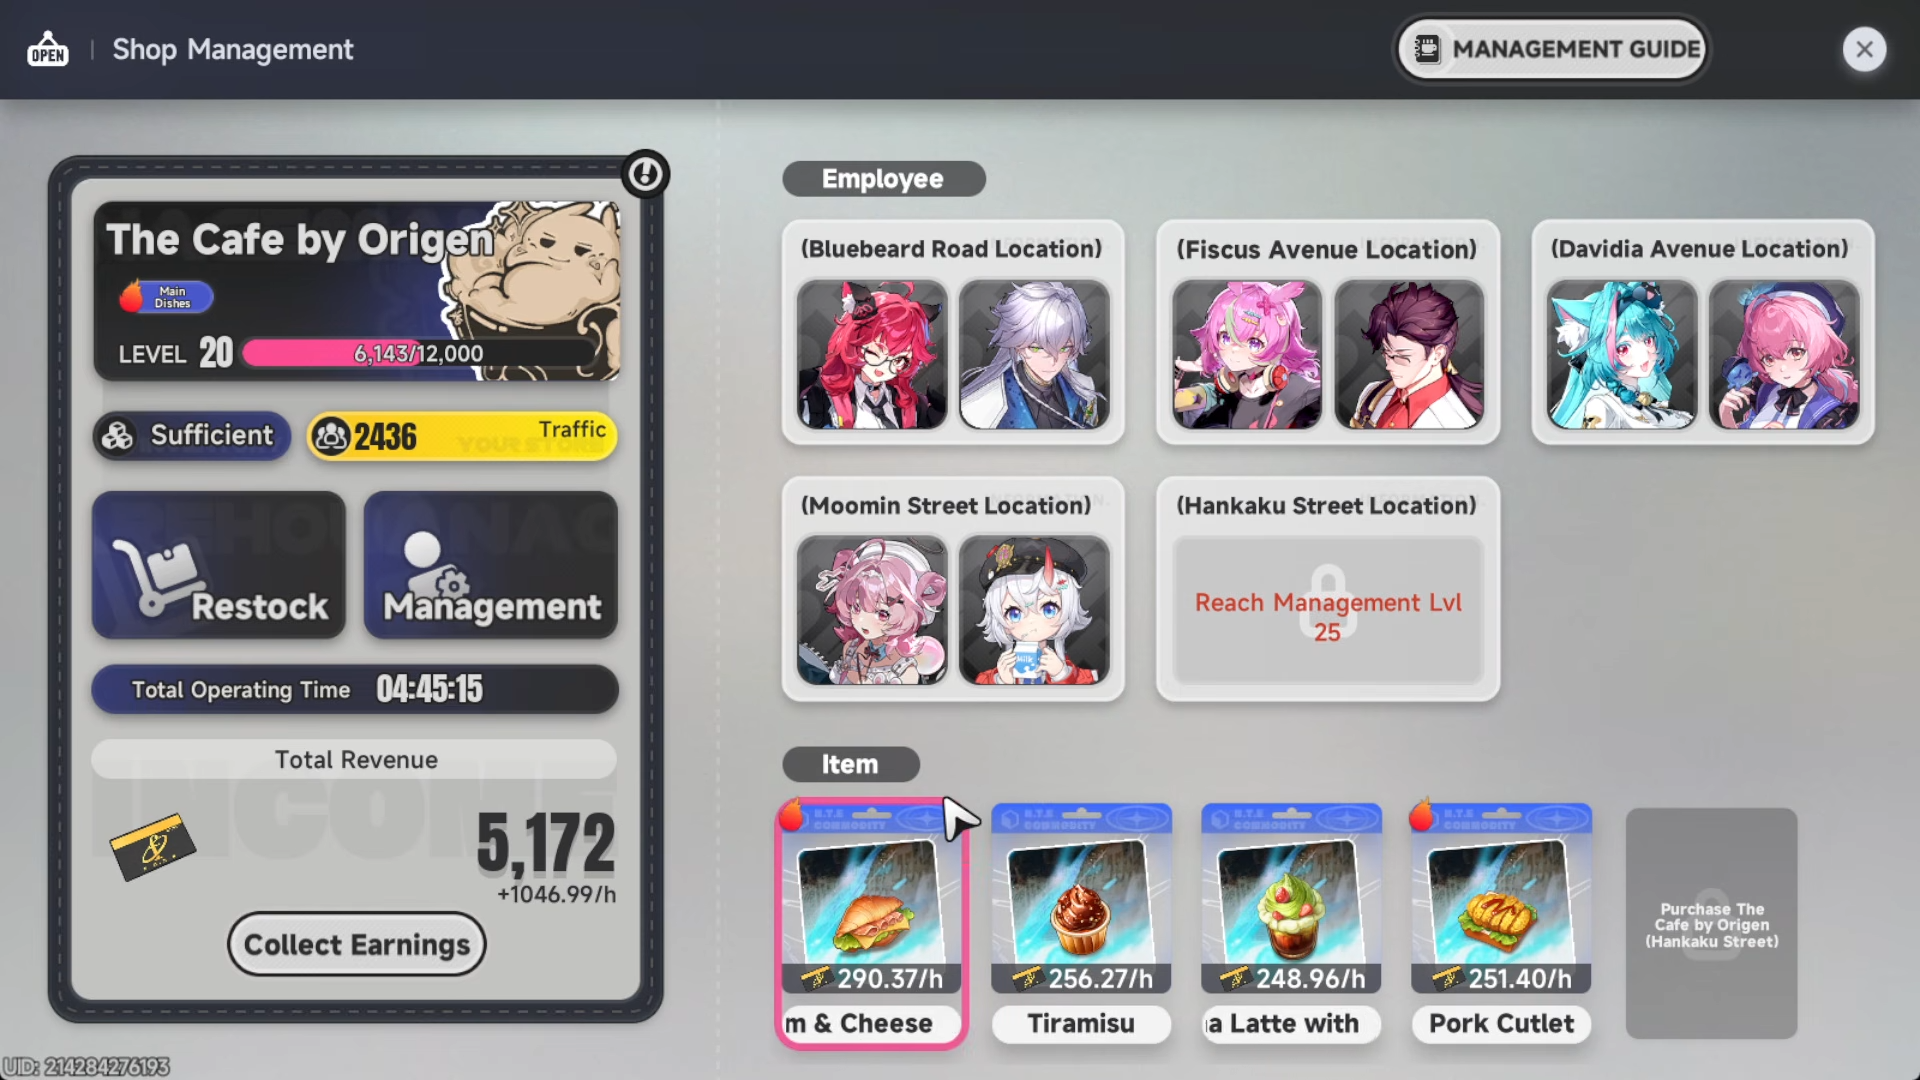
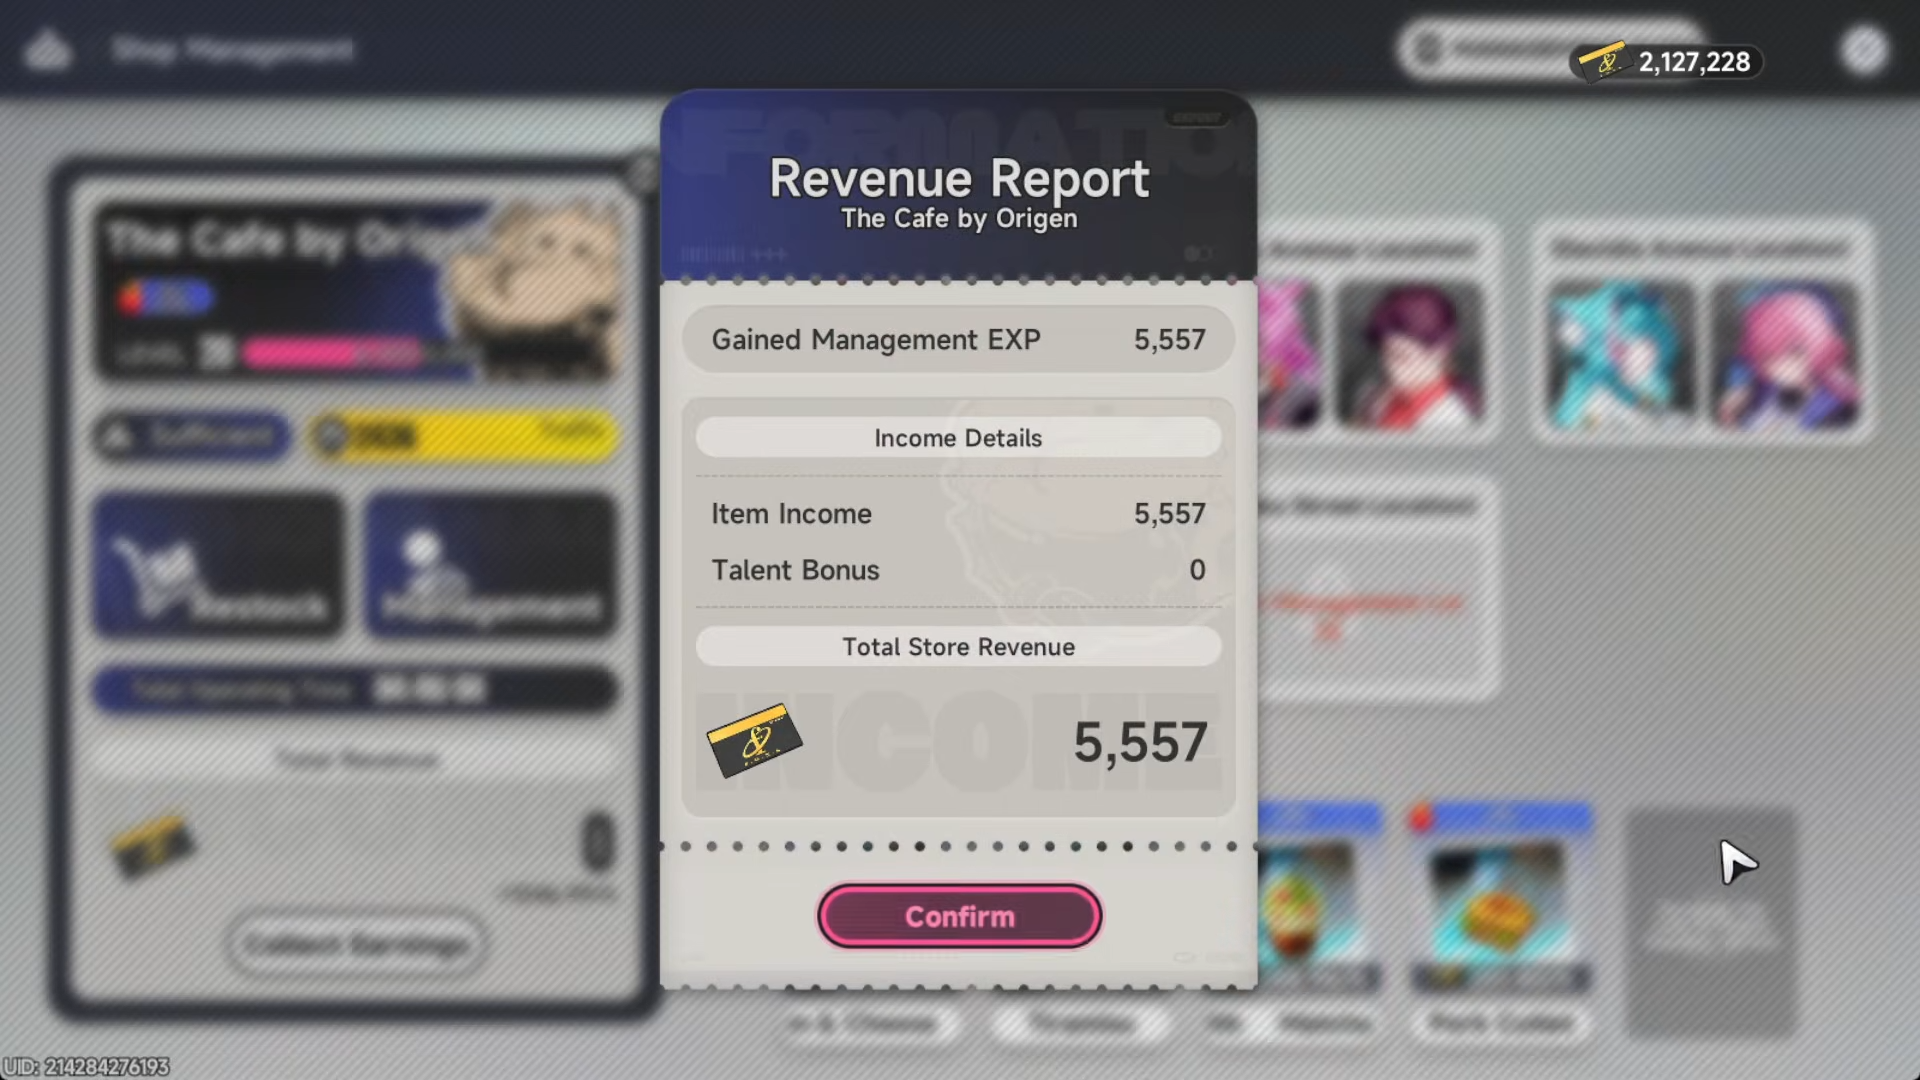
Restocking is how you actually build your menu. You select which dishes and drinks you want to sell, and the system calculates how many ingredients you need and how long they’ll last.
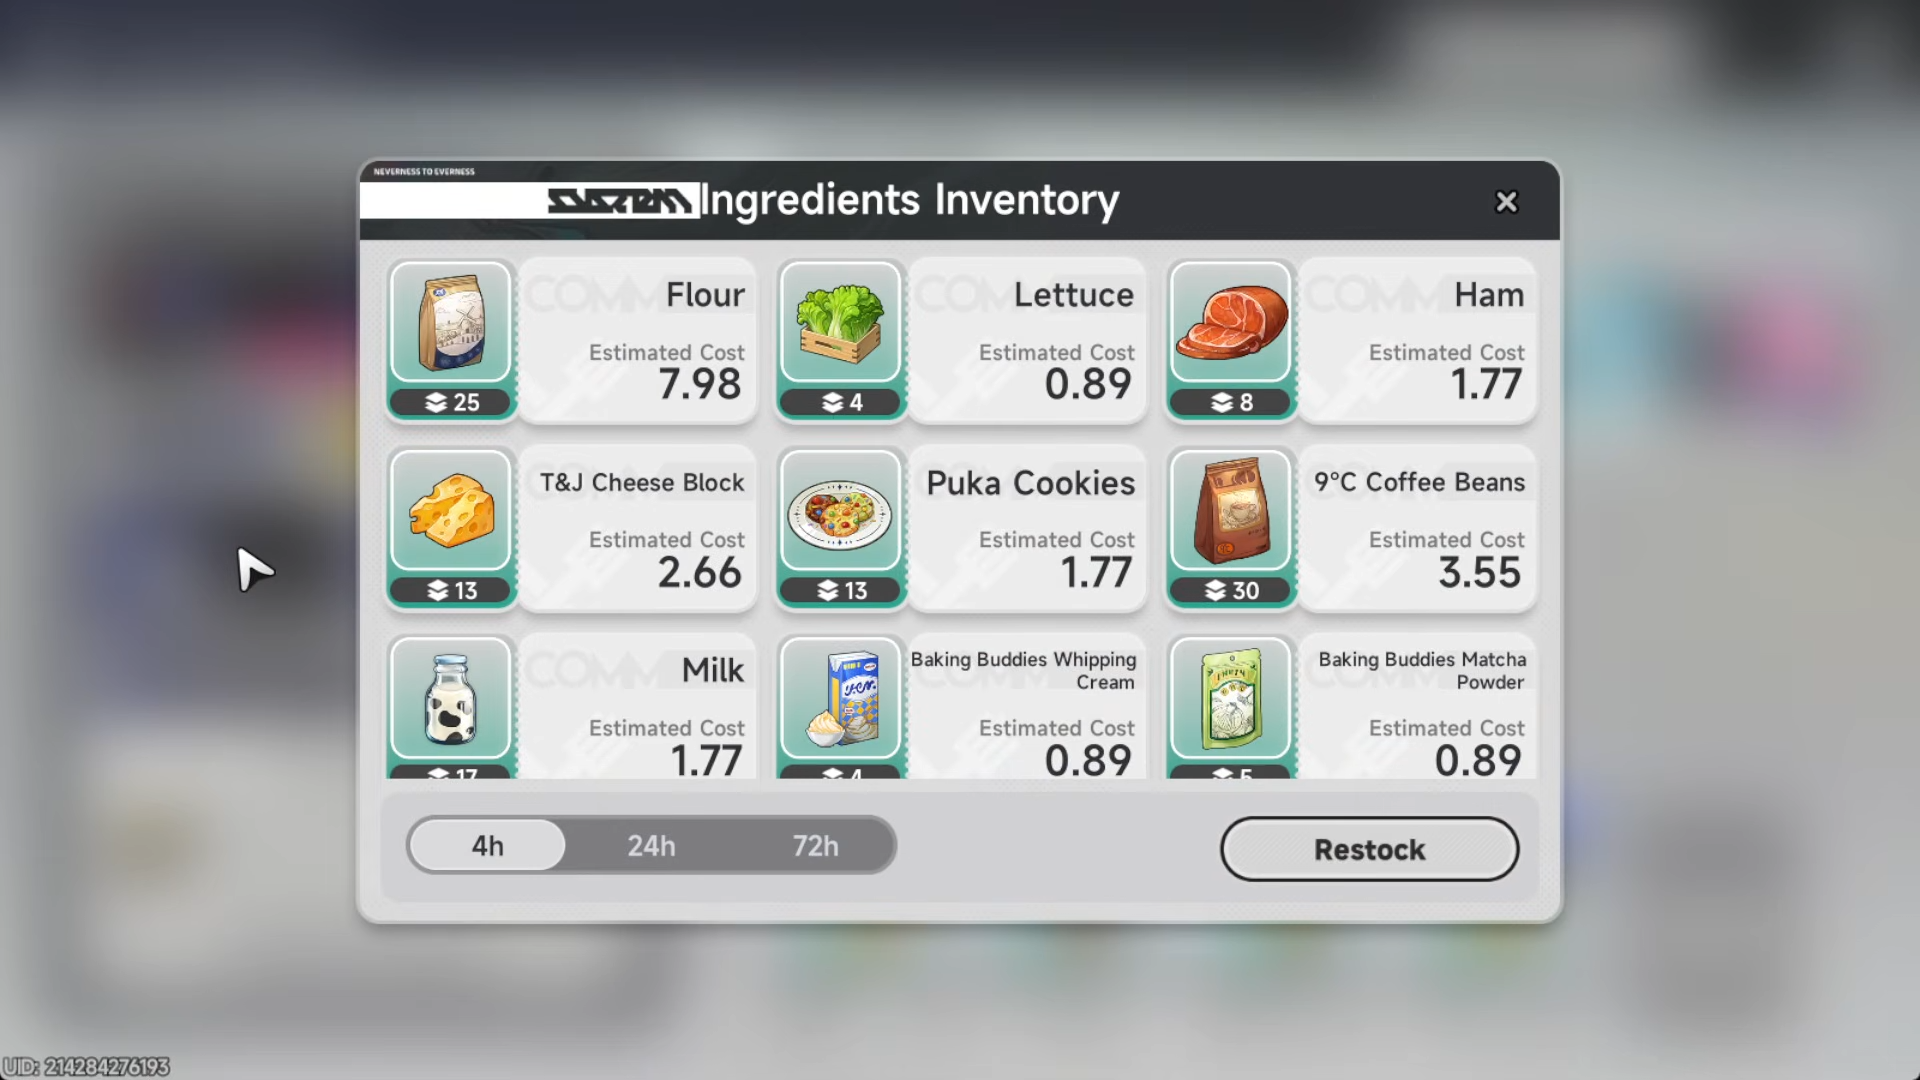
For most players, the sweet spot is to restock for longer stretches—around 24 hours—so you can treat it as a daily routine: log in once, press restock, and let it run.
You can choose between:
-
Delivery: Ingredients are delivered instantly into your inventory, but it costs Fons. The price comes down as your cafe level and management level rise, so higher‑level players can lean heavily on this.
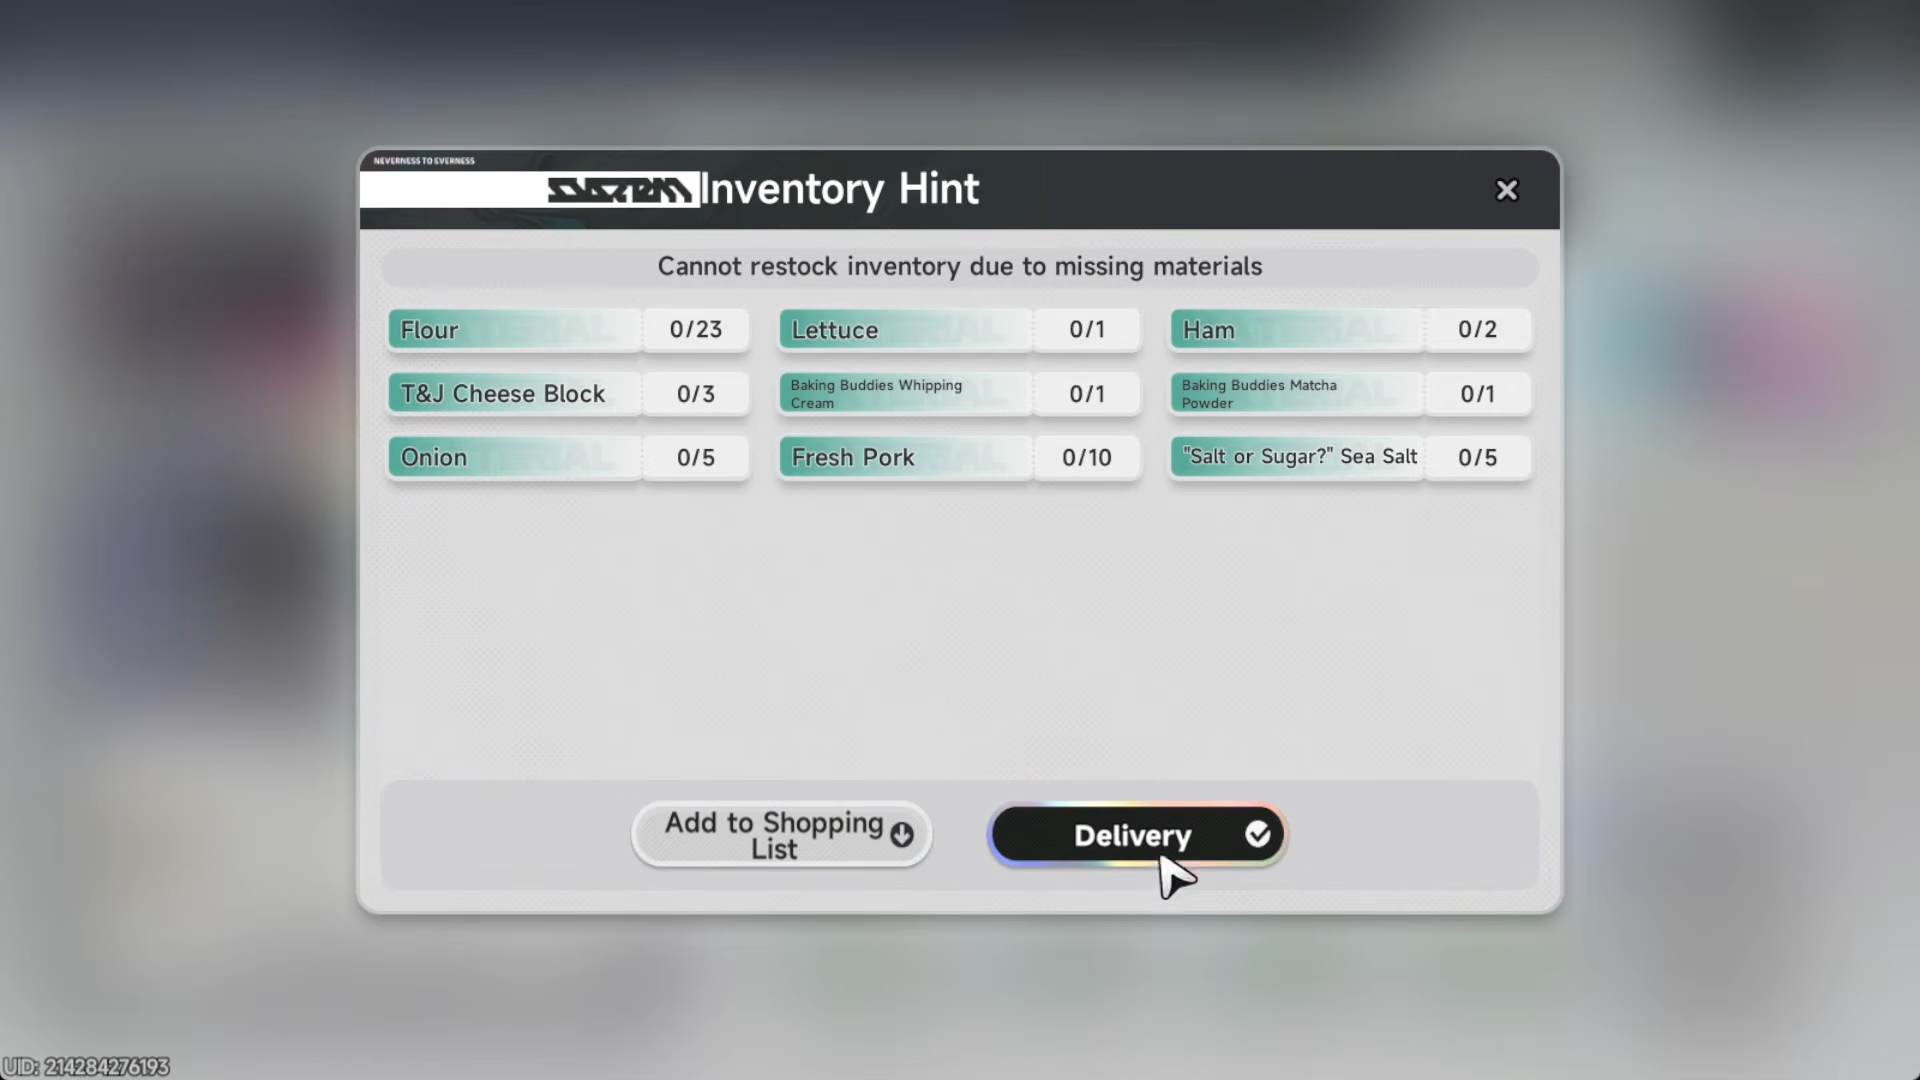
-
Shopping list: The system generates a list you can manually buy from shops around the city. This avoids the delivery fee but requires you to walk around and purchase everything yourself.
Because the primary goal in the early and mid‑game is to level up as fast as possible, delivery is usually the smoother option. The extra Fons you spend will be repaid quickly once your cafe’s item prices climb and you can afford to keep it fully stocked.
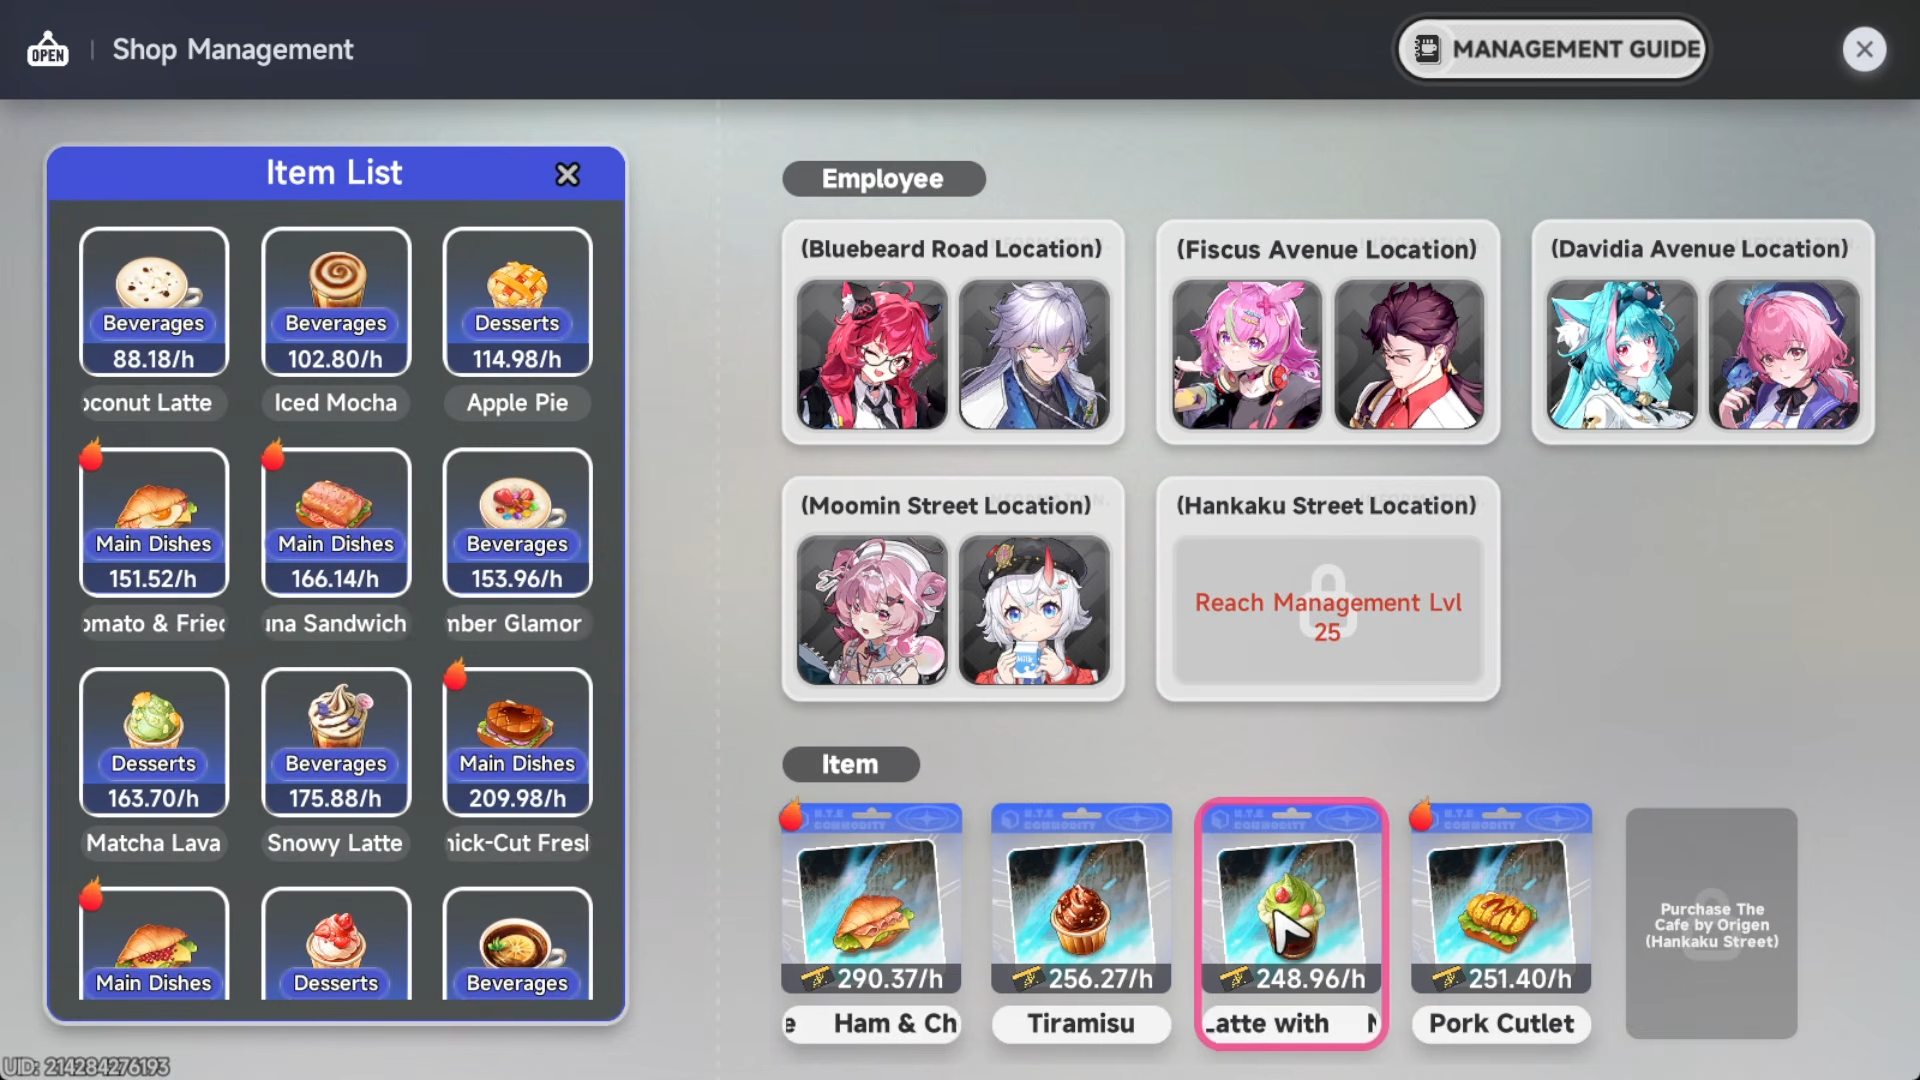
How to choose and slot in items
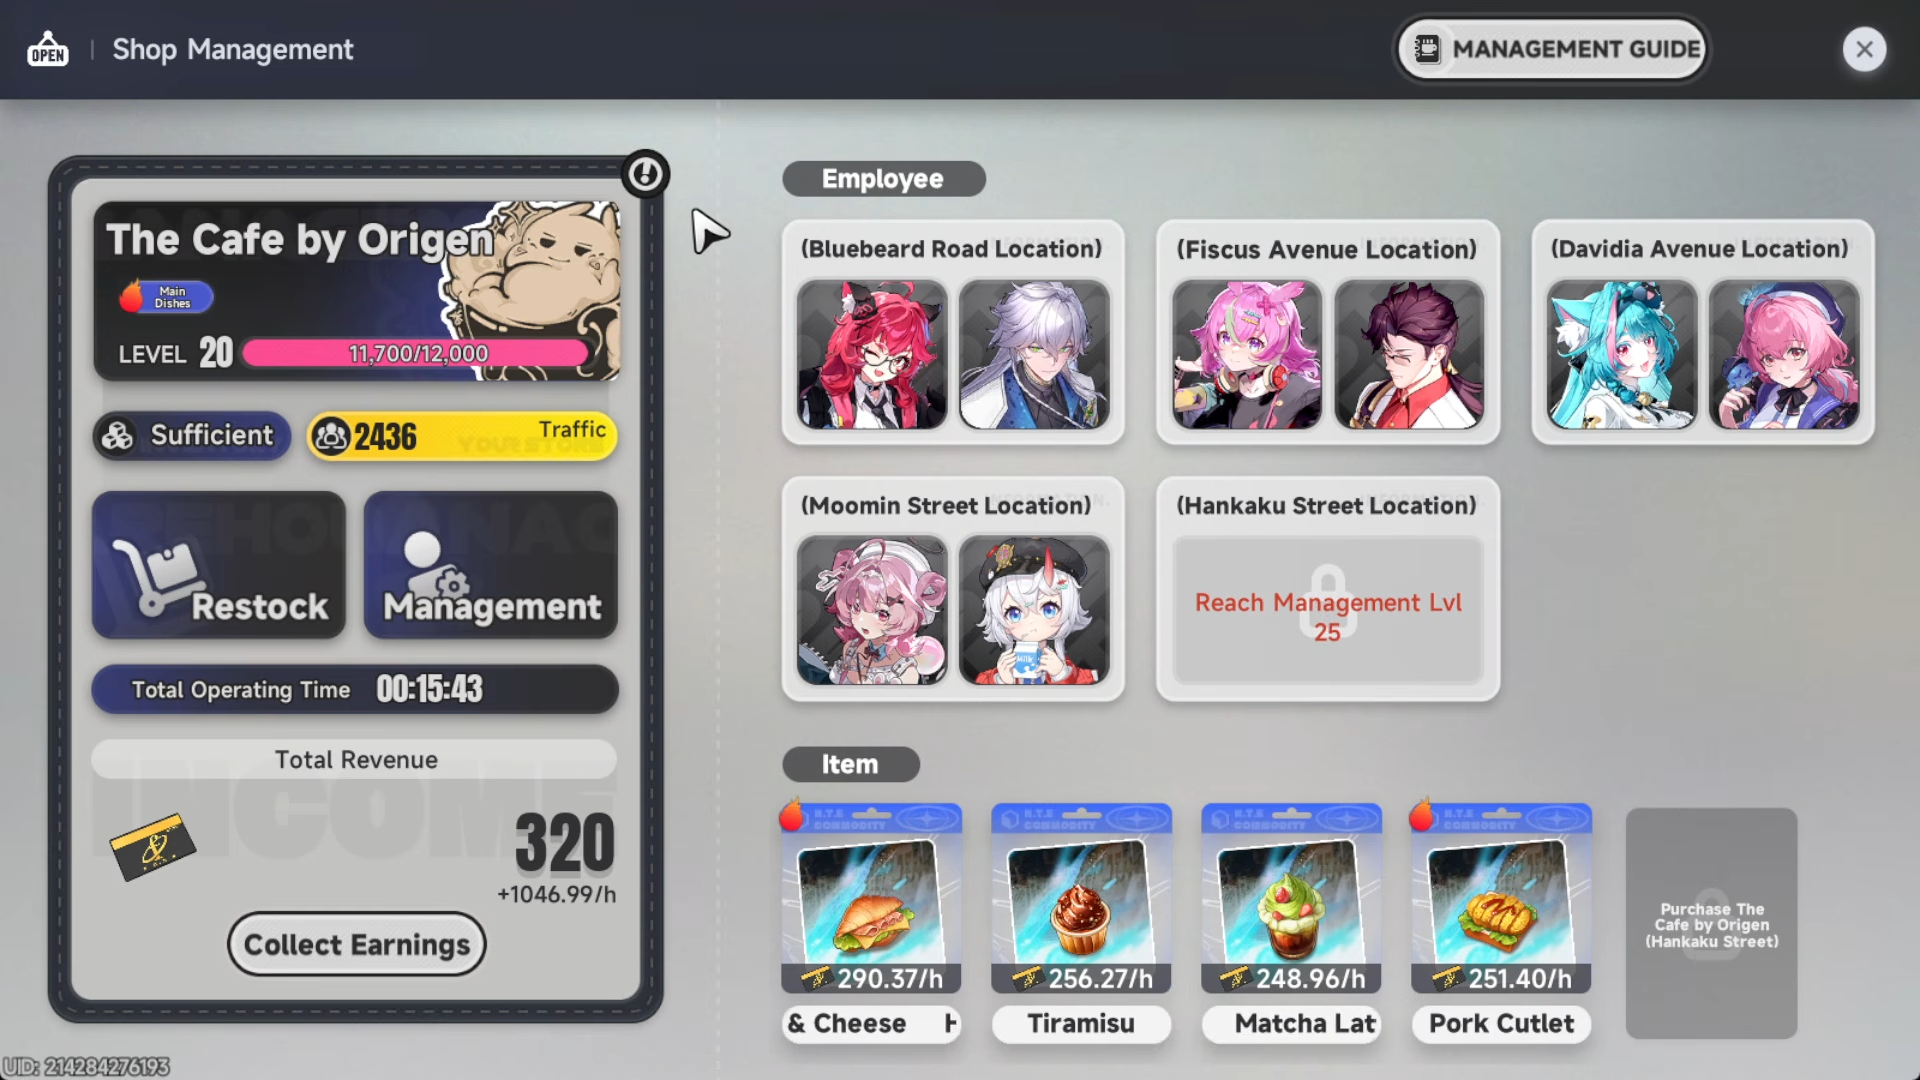
Your menu is where you decide what actually earns Fons.
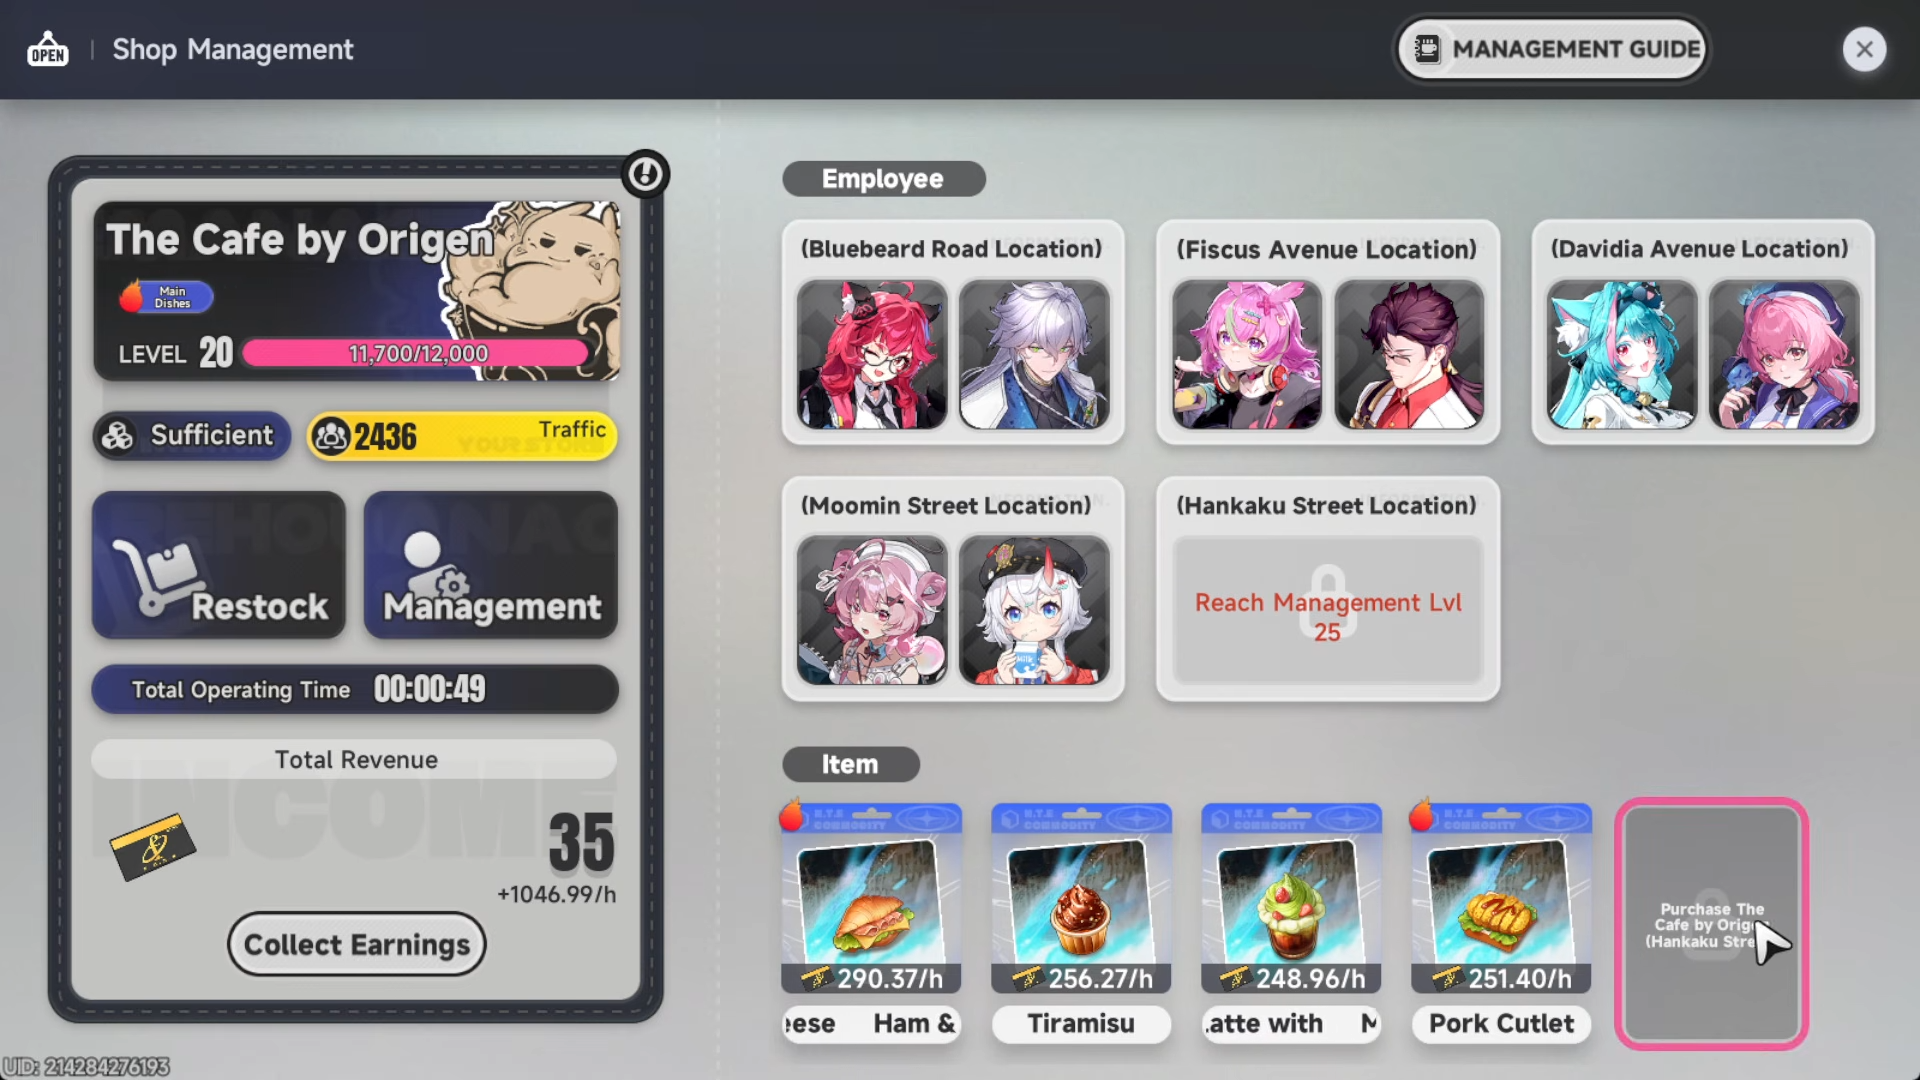
The basic rule is to always sell the highest‑revenue options available for each slot, adjusting as your employees and management‑level breakpoints change the numbers. The interface already factors in all your employee bonuses, so you do not need to manually calculate multipliers; just glance at the listed revenue and sort by the highest values.
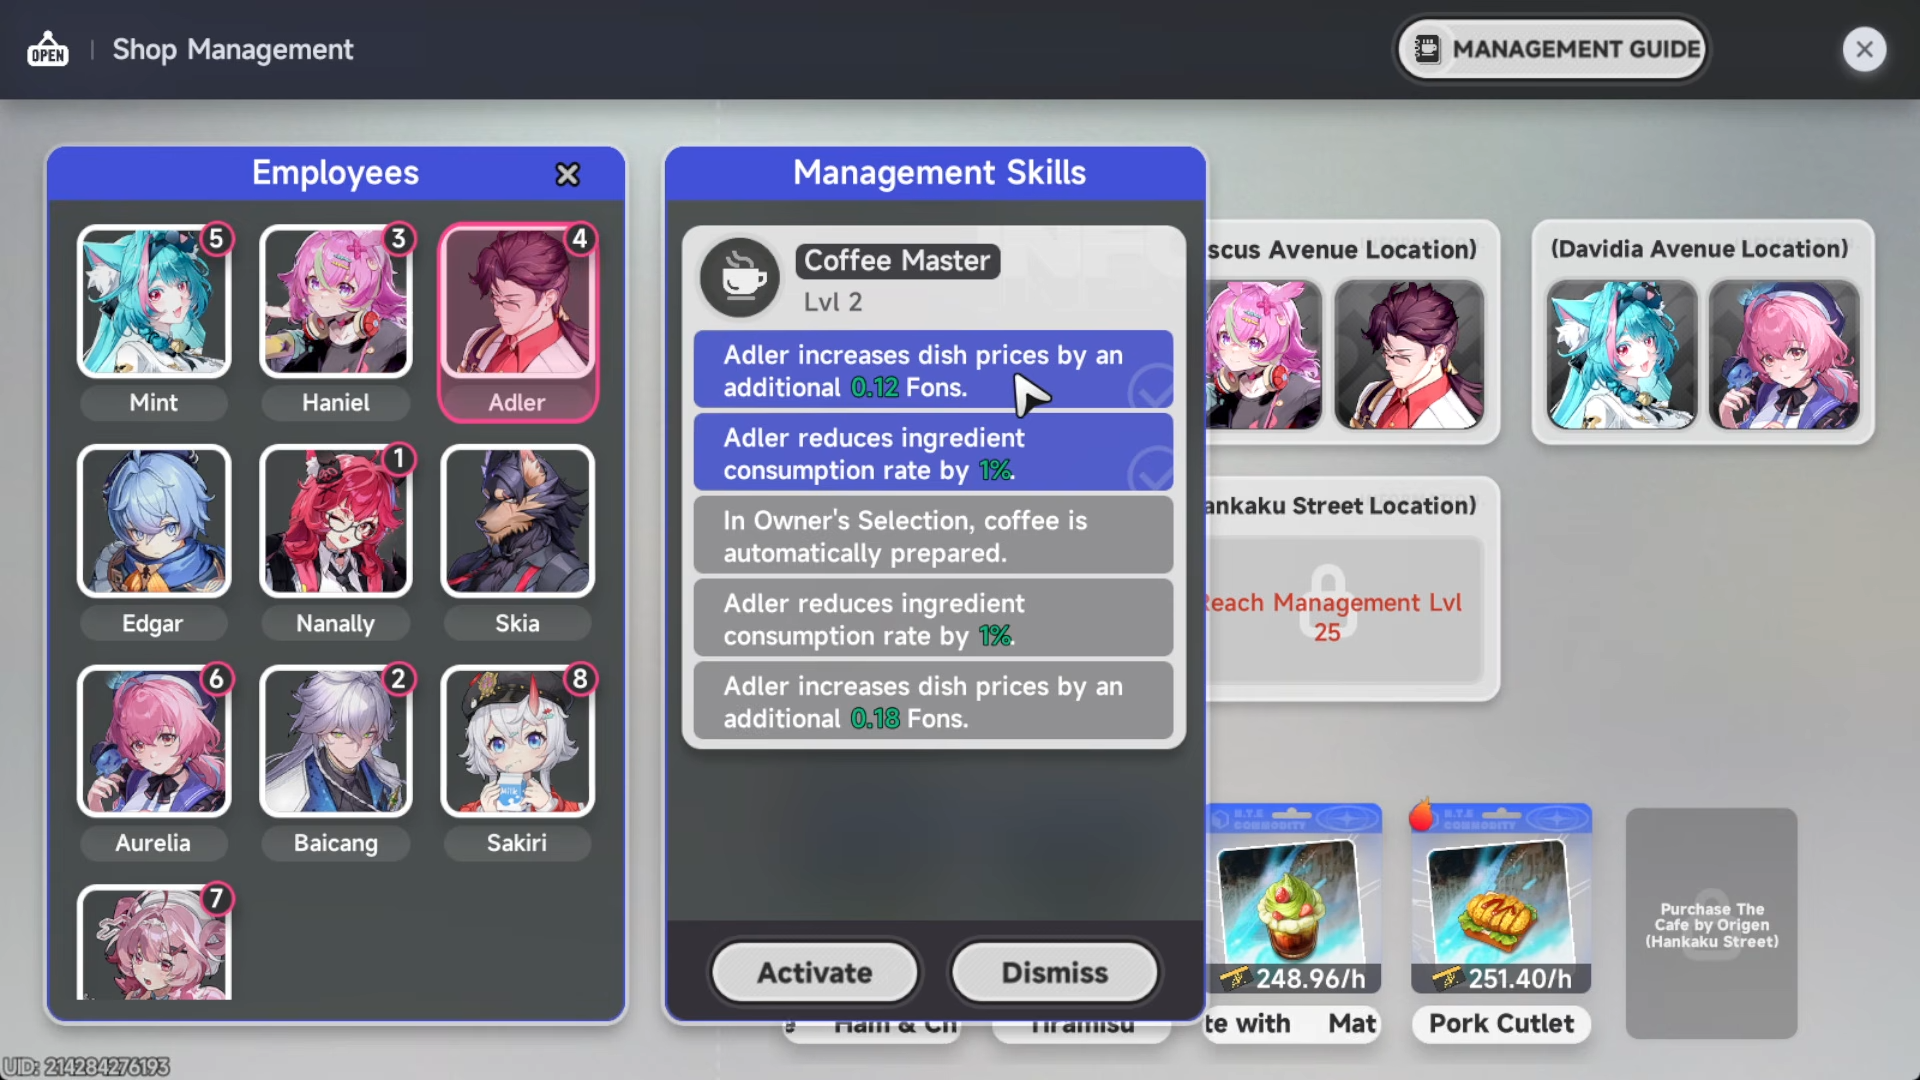
Some employees raise the price of specific item types. For example:
-
Certain characters boost main‑dish revenue, so when you hire them their favorite dishes will show a higher listed price.
-
Other characters may raise drink prices or provide traffic or other passives.
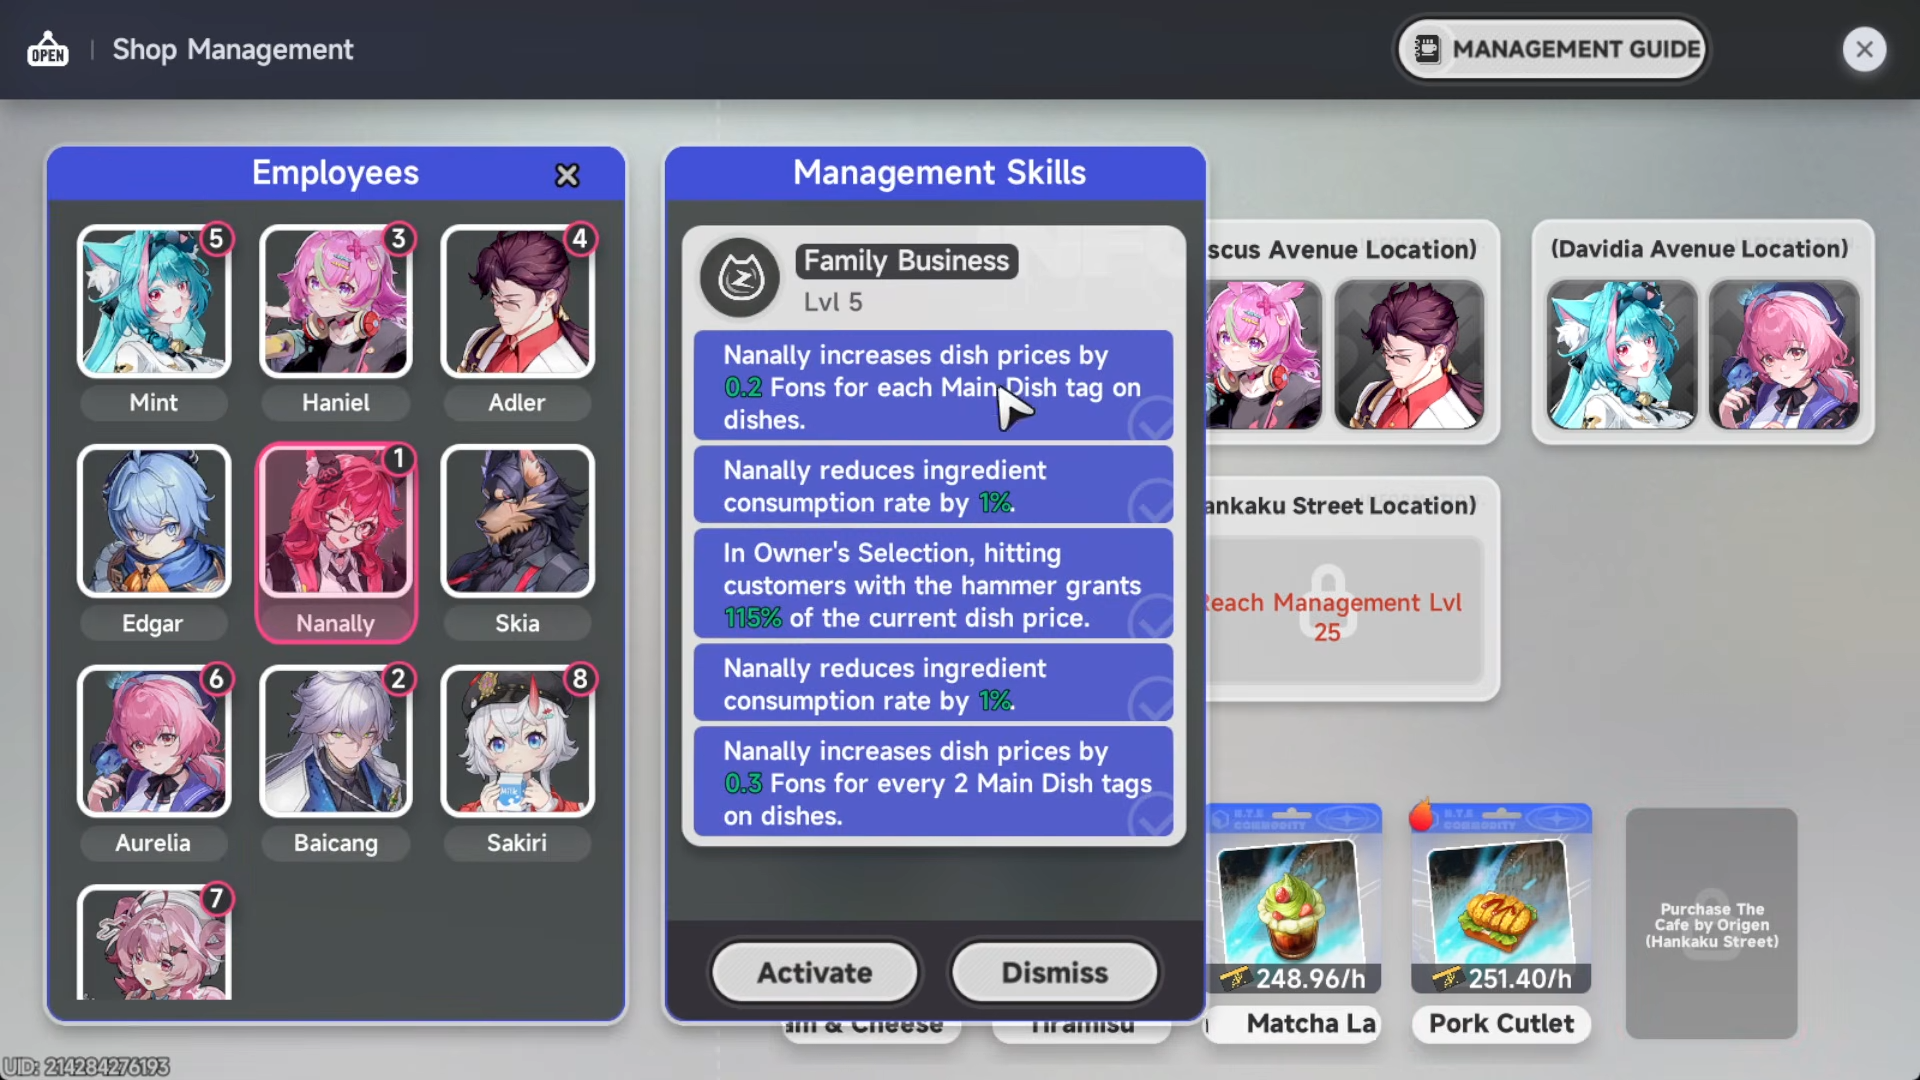
If you dismiss an employee and an item’s listed price drops, re‑hiring that character will bump it back up. This visual feedback lets you quickly see which combinations are best without doing math.
In general, prioritize life‑skill upgrades that increase dish prices until you reach management level roughly around the mid‑thirties; after that, traffic and other passives can become more relevant.
How to optimize employees and life‑skill upgrades
Your employees are your profit multipliers. Each one has a life skill that either boosts dish prices, drives more customers into your cafe, or both. In the early game, anything that directly increases the price of dishes is usually the strongest choice, because that extra revenue scales with every single sale your cafe makes.
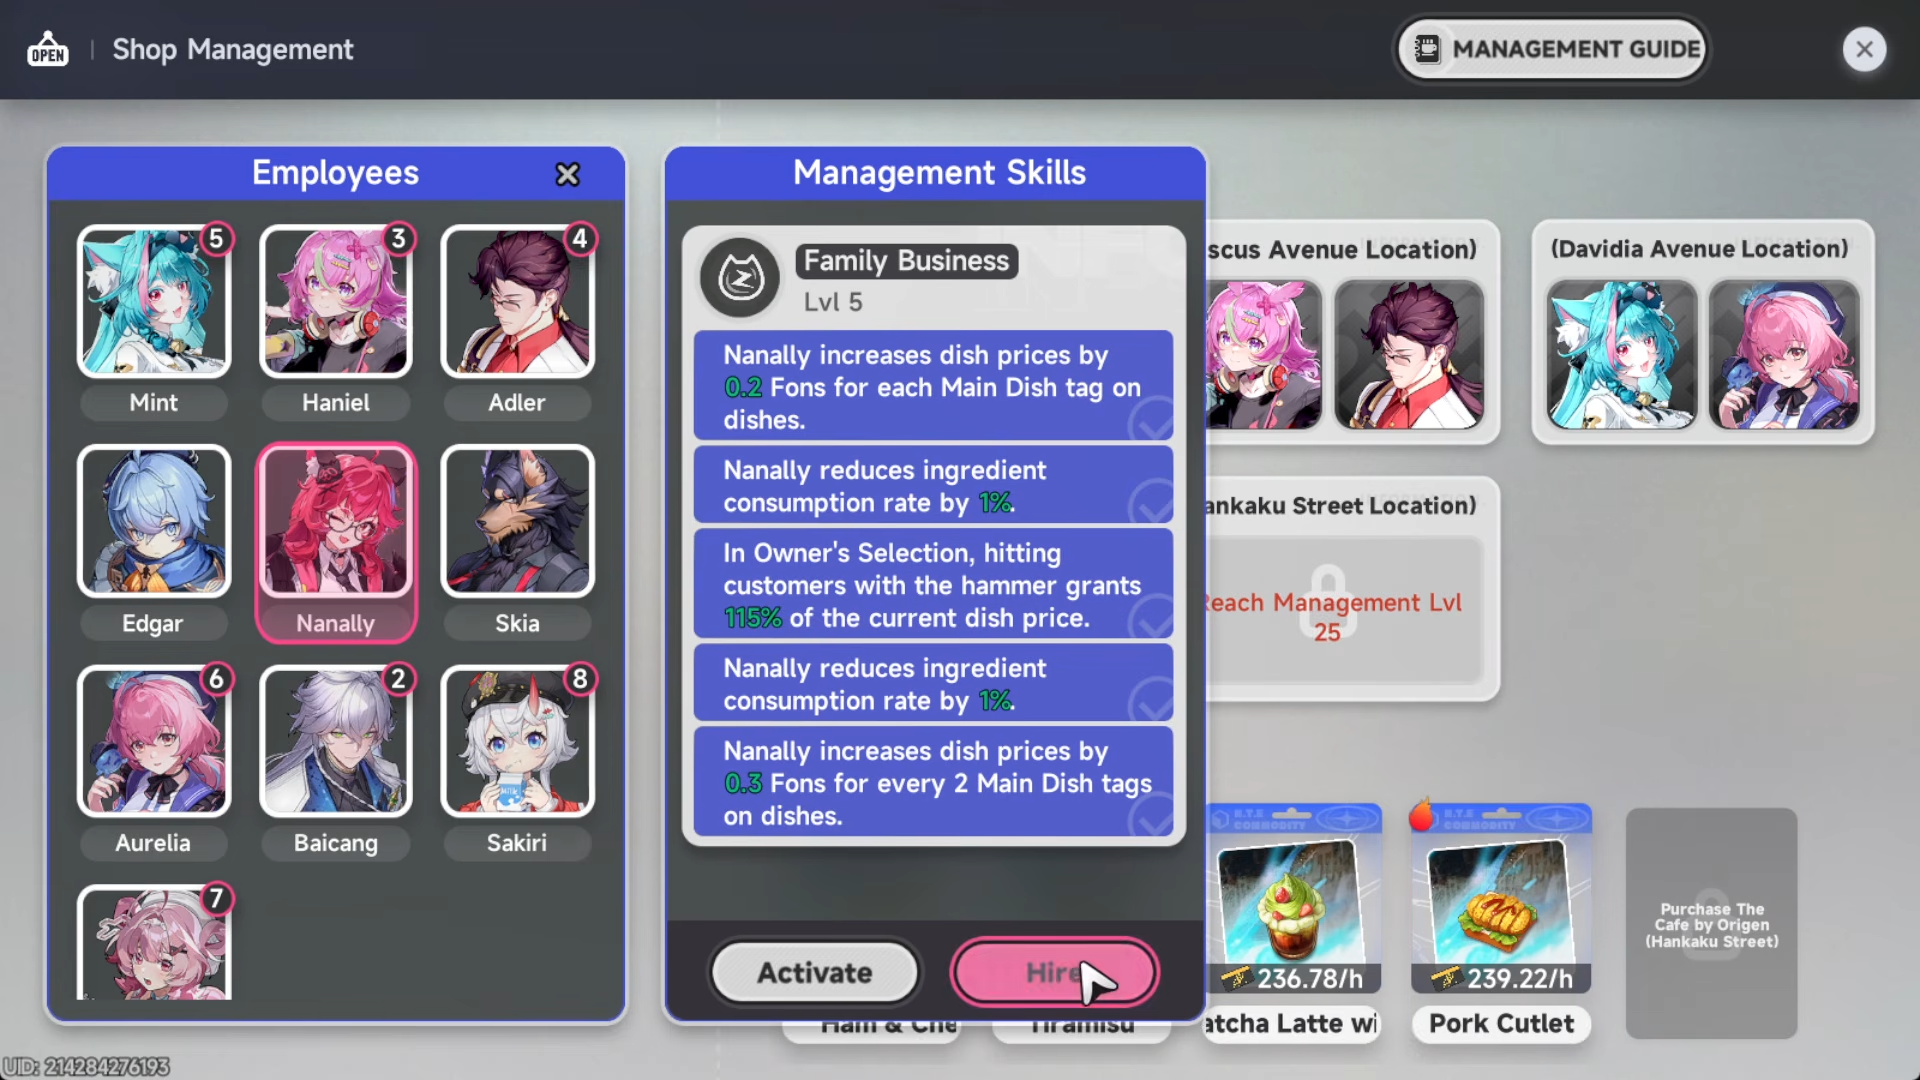
Characters that raise dish prices—such as those who boost main‑dish or drink prices—are especially valuable when you’re still building your cafe’s level. If you already have characters leveled for other roles (for example, security‑focused or stamina‑burning passives for City Stamina activities), you can still slot them into your cafe to save upgrade materials, but you should still prioritize dish‑price characters for your main income‑focused slots.
As you progress, you’ll also want to mix in some traffic‑boosting characters so your cafe can handle more customers. However, until you reach higher management levels, the main bottleneck is not number of customers but how much each dish sells for, so dish‑price passives should be your first priority.
How to set up decor and popularity
Each cafe has its own popularity value, and hitting certain popularity thresholds gives you a flat income multiplier.

This is one of the easiest ways to push your Fons‑per‑hour higher without touching menus or employees. To maximize it, you need to fill your cafes with tables, chairs, and walls.
Here’s how the typical pattern works:
-
First cafe (Bluebeard Road and similar early locations):
-
Place a black‑iron double seat.
-
Add one wall.
-
Rely on the basic story decor.
This combination usually gets you close to the break point for the first popularity tier.
-
-
Second and later cafes:
-
Use iron four‑seat tables and double‑seat tables to fill open table slots.
-
Stack additional walls until you hit the next popularity breakpoint.
-
Avoid over‑decorating; once you exceed the threshold you don’t gain extra income, so extra decor is wasted.
-
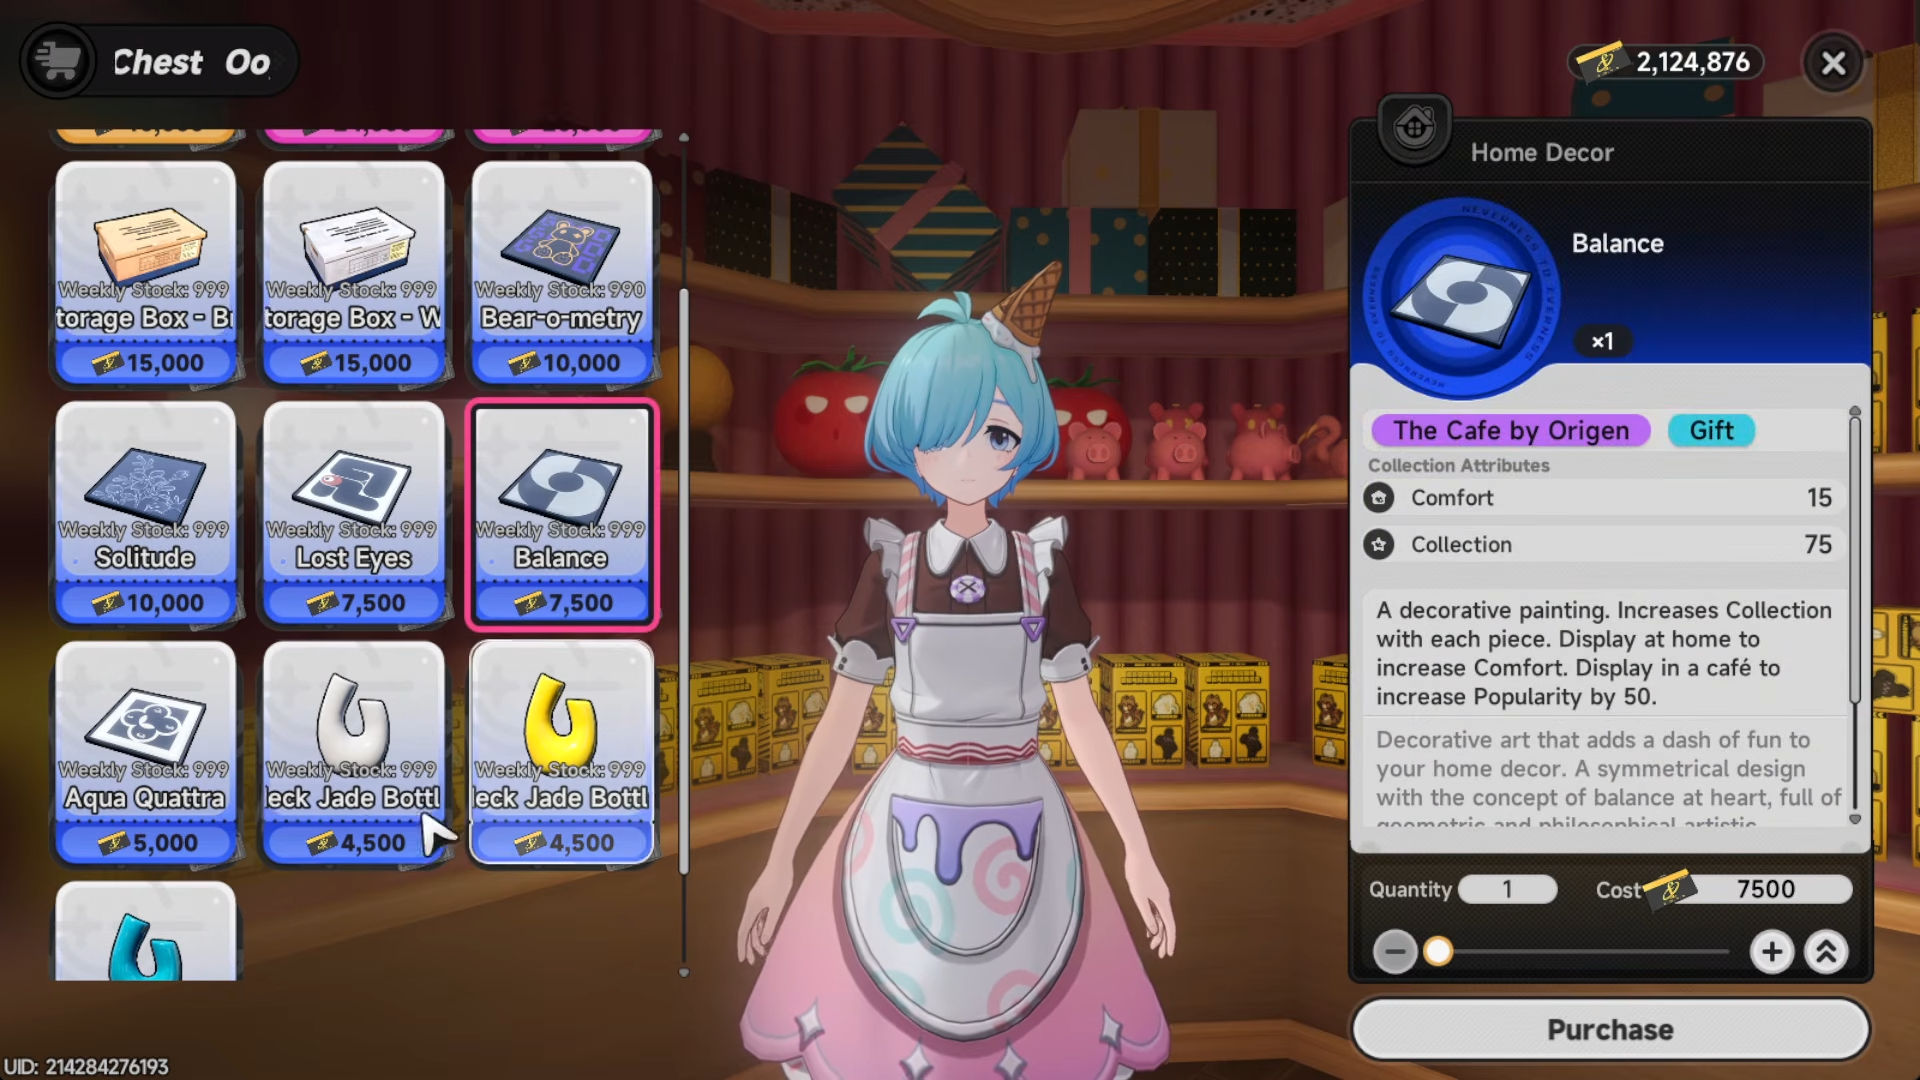
The decor‑shop interface clearly shows how much popularity each item adds.
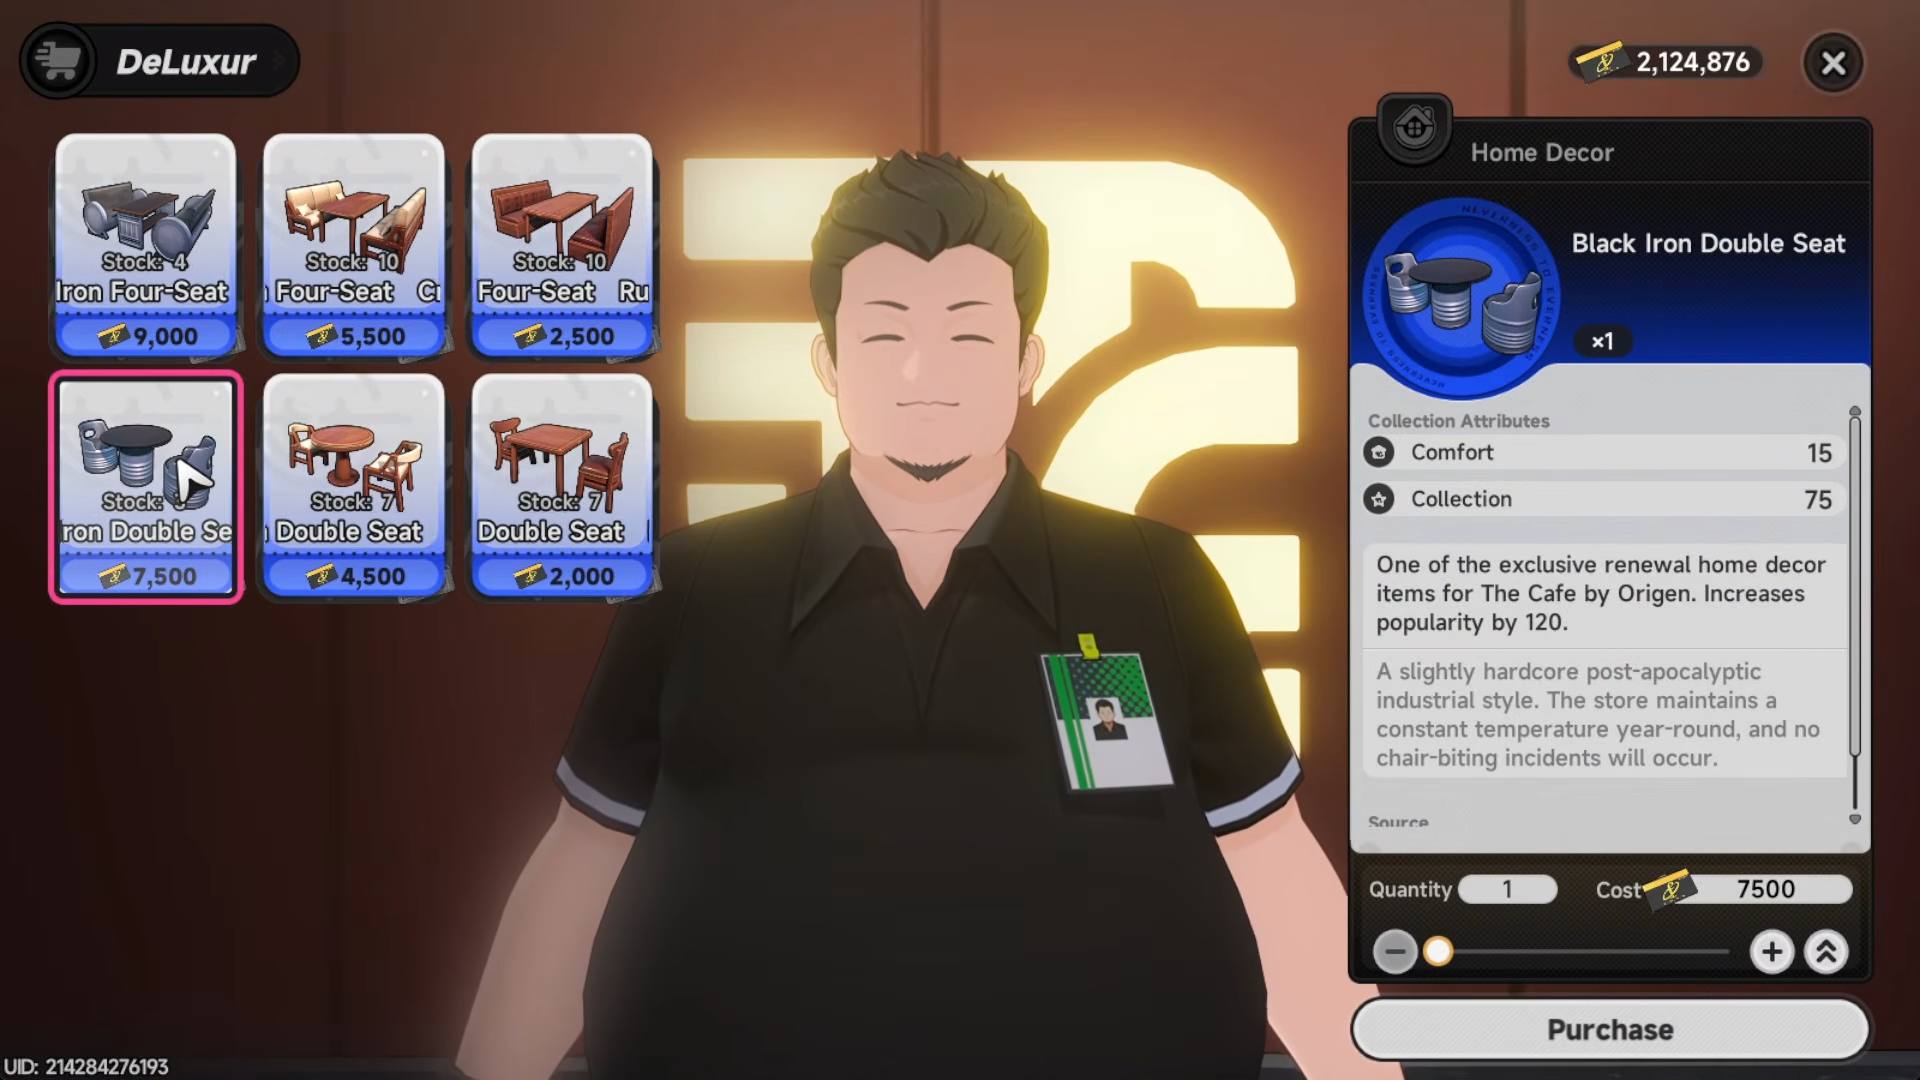
For early setups, tables and walls are the most cost‑effective because they give sizable boosts without demanding too many Fons. You can repeat this pattern across every cafe you unlock, swapping in more four‑seat tables and double‑seat tables as you go and then topping up with walls until you reach the max income multipliers.
Where to buy tables, chairs, and walls
To actually place those tables and chairs, you need to visit specific shops in the city. One reliable vendor is a shopkeeper near a phone booth in the early city area.
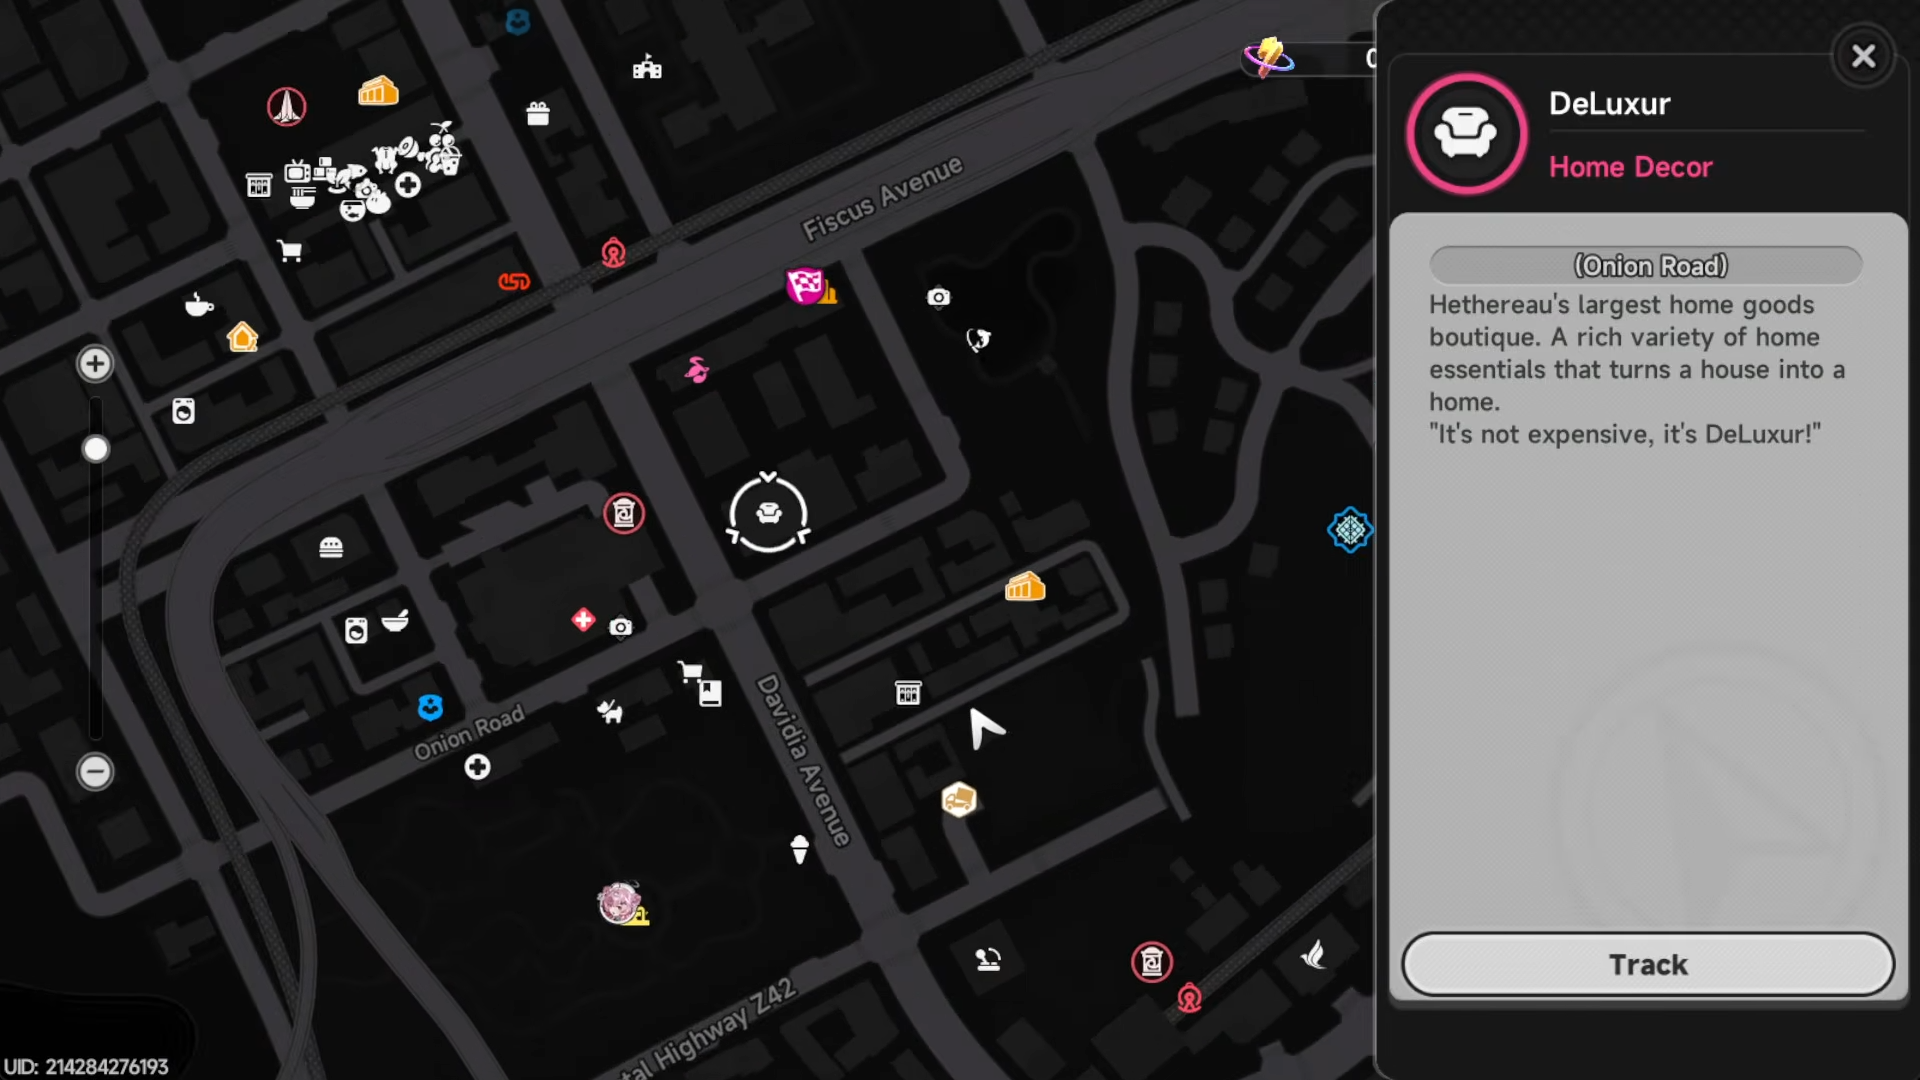
If you cross the street from the phone booth into the building at the entrance, you’ll find a vendor named Dorne who sells four‑seat and double‑seat tables.
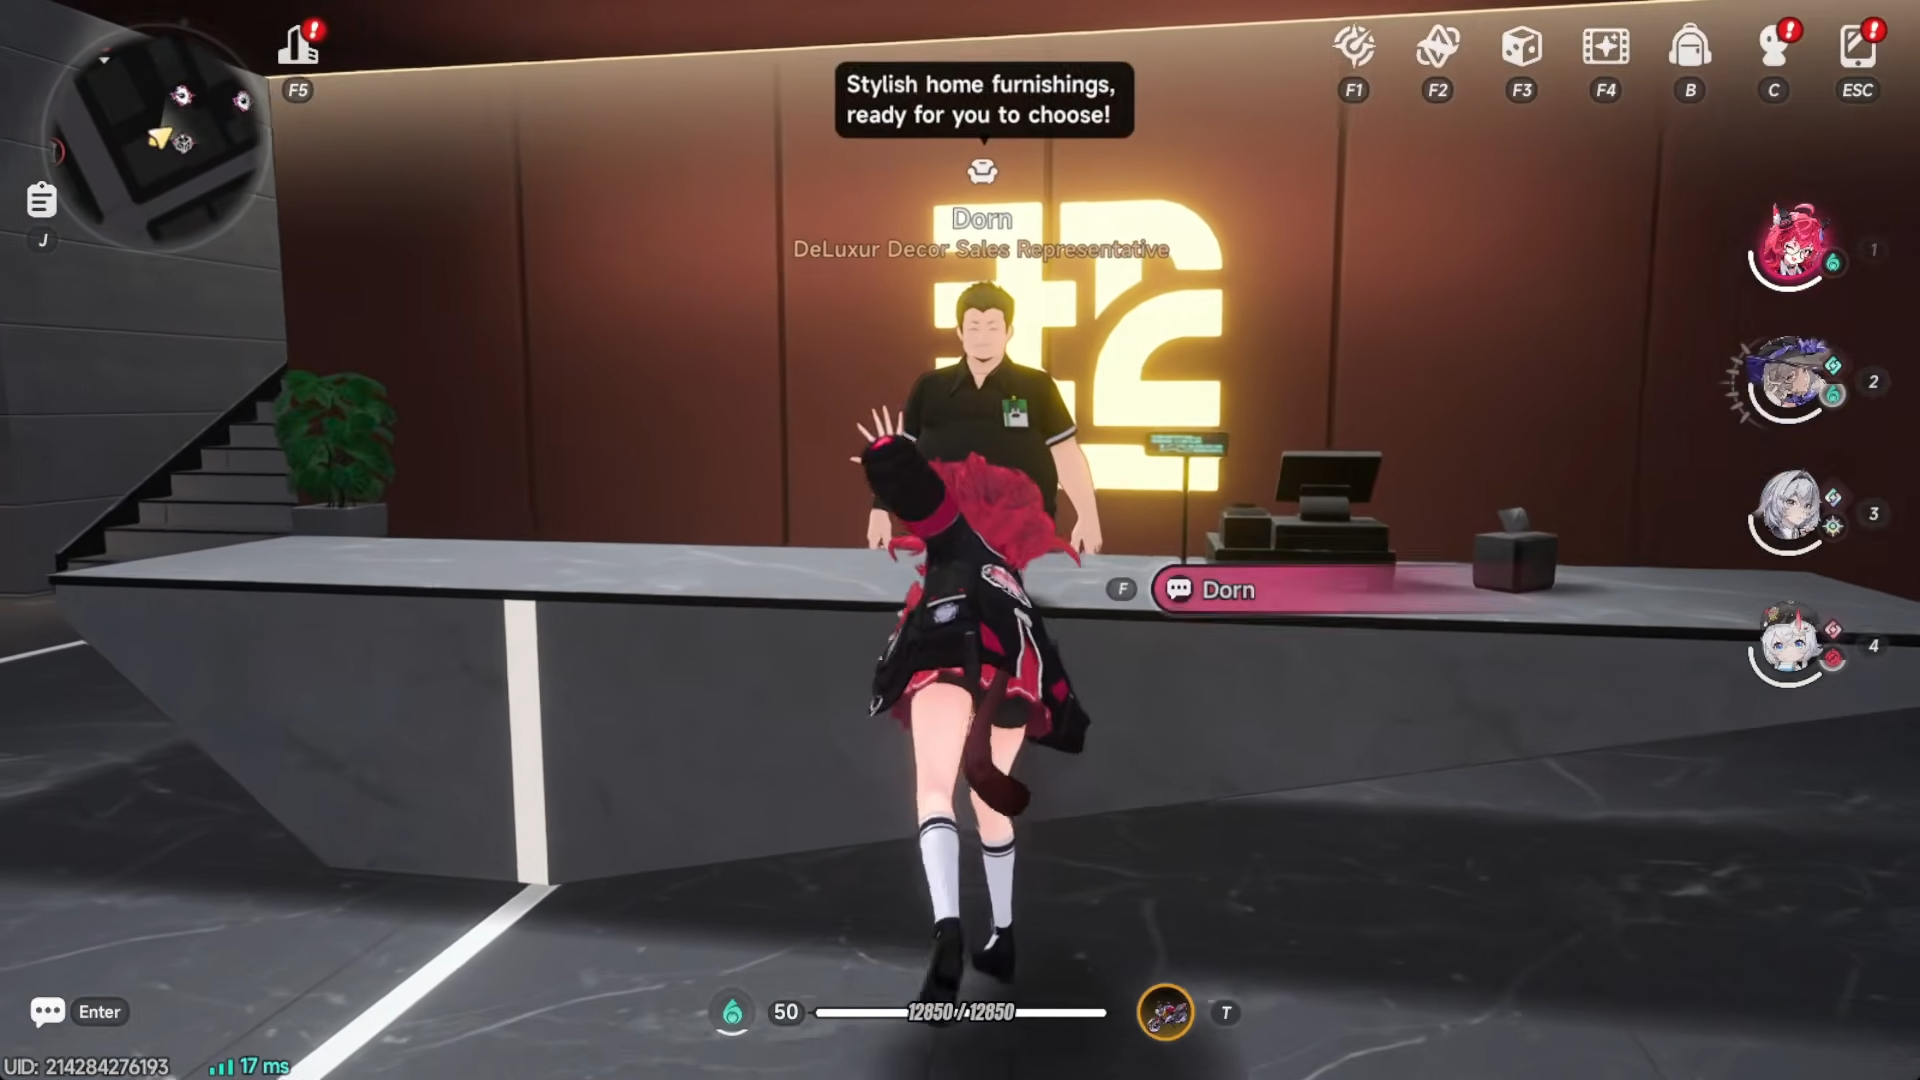
These are not prohibitively expensive—usually under 10,000 Fons—and you recoup the cost quickly once your cafe is up and running with more dishes and higher prices.
Walls are sold in a gift shop located near one of the towers in the upper‑left portion of town.
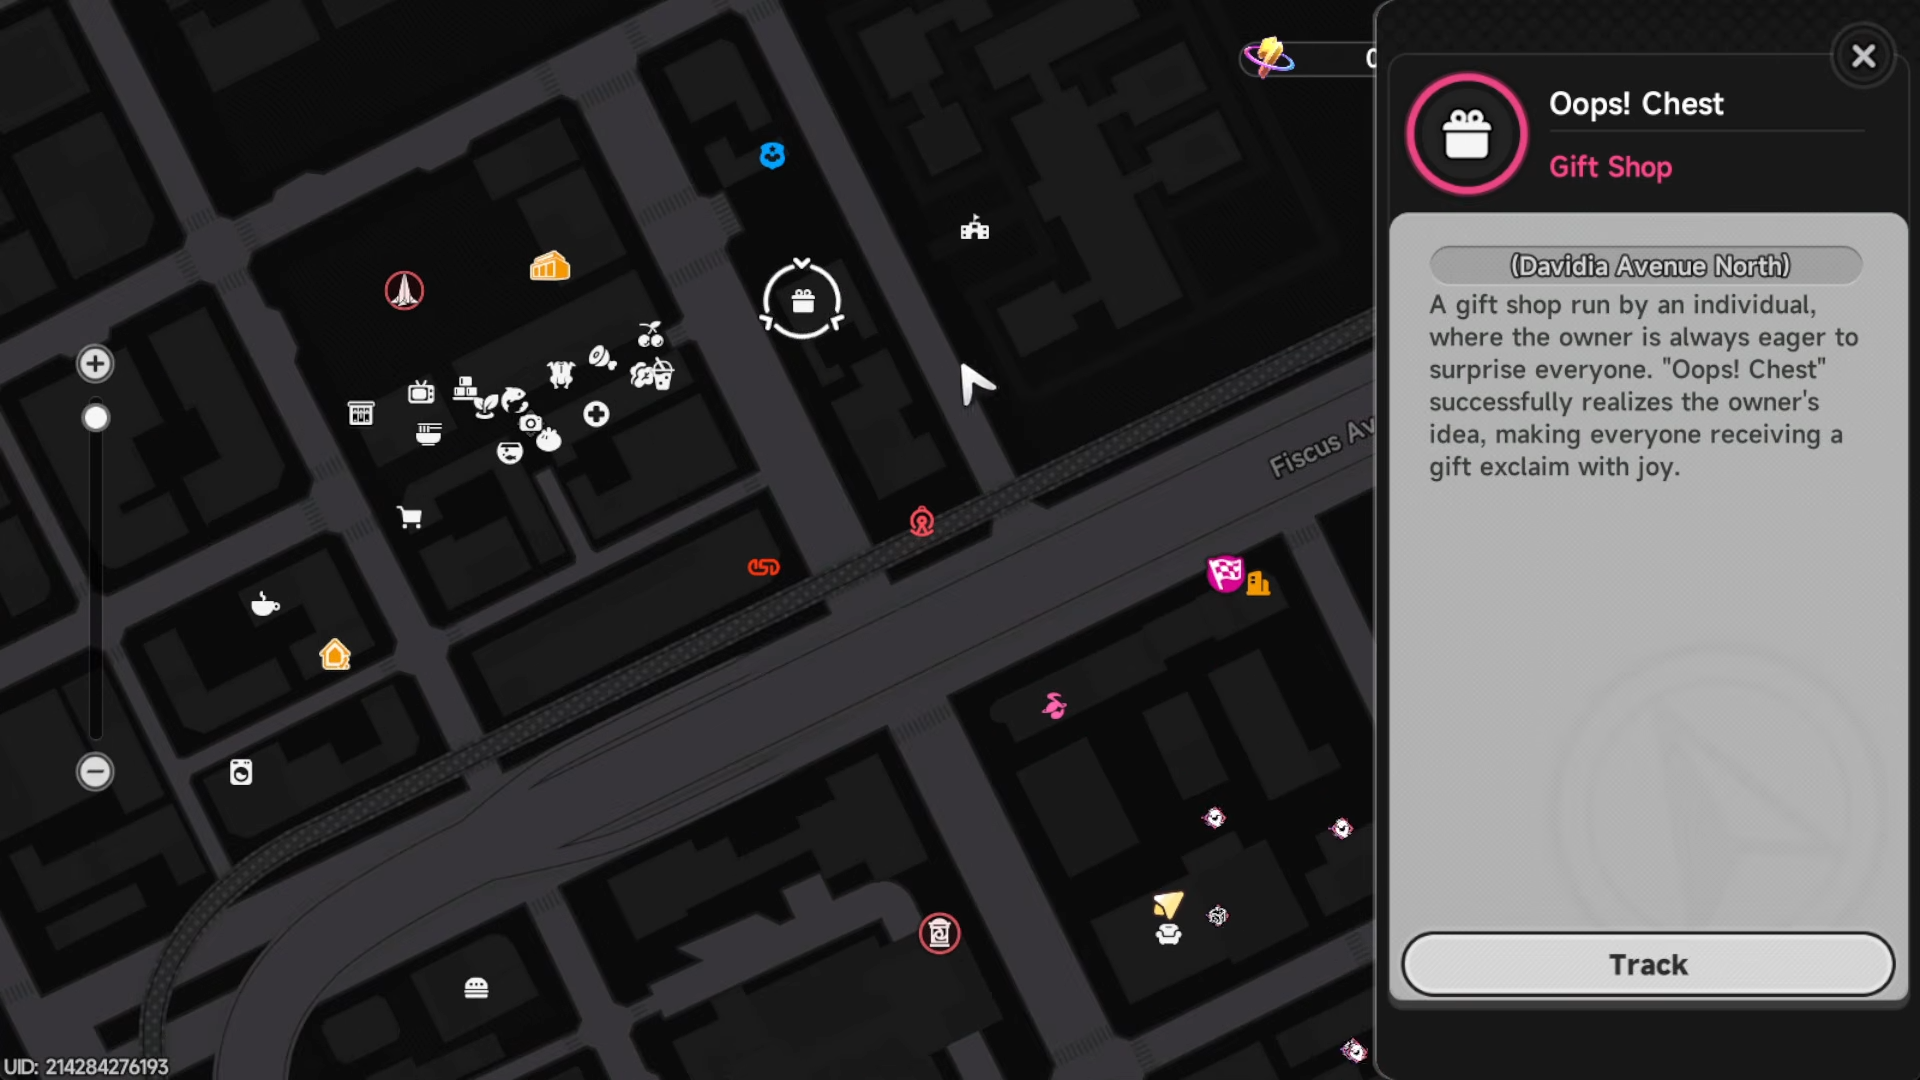
After teleporting to the tower, cross the street into the gift shop and purchase the wall items available there.
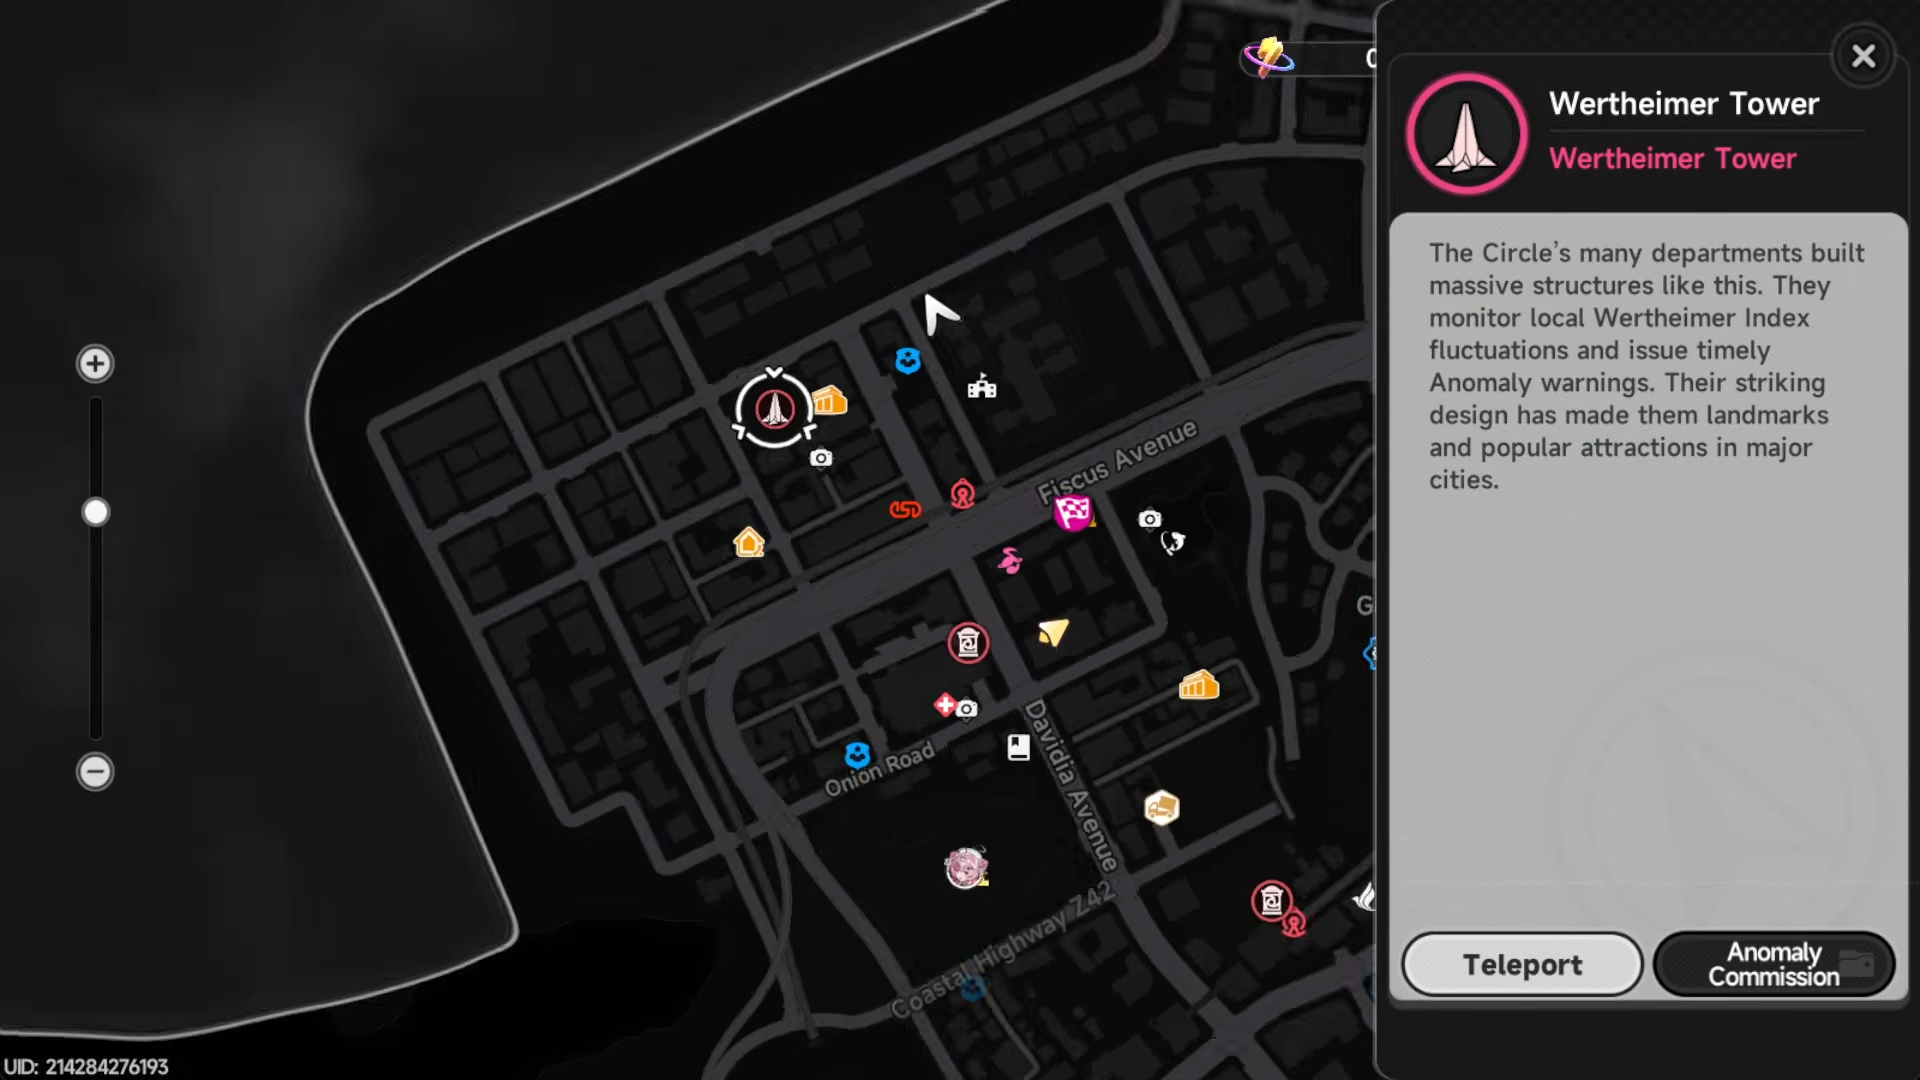
Cheaper walls are usually the best deal for pure popularity, since they give the same boost per unit as more expensive decor but cost less.
If you want to add decorative items beyond walls and tables, you can buy them from pop‑toy‑style shops scattered around the city. These provide smaller popularity boosts but cost more, so they’re usually best saved for later cafes or if you care about aesthetics as much as income.
How to maximize offline Fons
To make far more Fons while you’re offline, you need to combine several pieces of the system:
-
Run your cafe at the highest level you can reach so that item prices are as high as possible.
-
Keep every item slot filled with the highest‑revenue dishes and drinks, swapping in new high‑value items as management‑level breakpoints unlock.
-
Hire employees whose life skills boost dish prices on the items you’re selling.
-
Max out popularity for each cafe with tables, chairs, and walls so your income multiplier is constantly active.
-
Restock ingredients in long batches (for example, 24 hours) using delivery so you can leave your cafe running unattended for large chunks of time.
Once all of this is in place, even a modest setup can easily push into the tens of thousands of Fons per day with minimal active input. As you unlock more cafes and continue upgrading management and employees, your hourly Fons can grow into the thousands, stacking up a massive pool of Fons that you can spend on upgrades, shops, or other systems in the game.
Things to avoid as a beginner
-
Over‑investing in decor early: Don’t spend large sums on expensive decor items until you know you’re going to hit the popularity caps. Start with cheaper tables, chairs, and walls first.
-
Buying too many days of ingredients at once: Your best‑selling items can change whenever management‑level breakpoints push certain dishes above others. Hoarding stock can lock you into outdated menus.
-
Ignoring management‑level breakpoints: Check your menu prices every time you level up. If an item’s price jumps significantly, switch it into your highest‑traffic slots immediately.
How to keep improving as you advance
After you reach the mid‑game, your focus should shift from brute‑leveling the cafe to fine‑tuning your setups. At higher management levels, some items will sell for nearly double what they did earlier, and new slots from additional cafes will let you run more high‑value dishes simultaneously. This is also the point where traffic‑boosting employees and auto‑restock become more impactful, since you’re already sitting on a solid base of high‑revenue items.
If you fully max out popularity on each cafe, keep your menu on the highest‑revenue items, and pair that with strong dish‑price‑focused employees, you can realistically push several thousand Fons per hour in each cafe. Over time, that compounds into a very comfortable income stream that supports your entire playthrough in Neverness To Everness without heavy grinding.


Leave a Reply