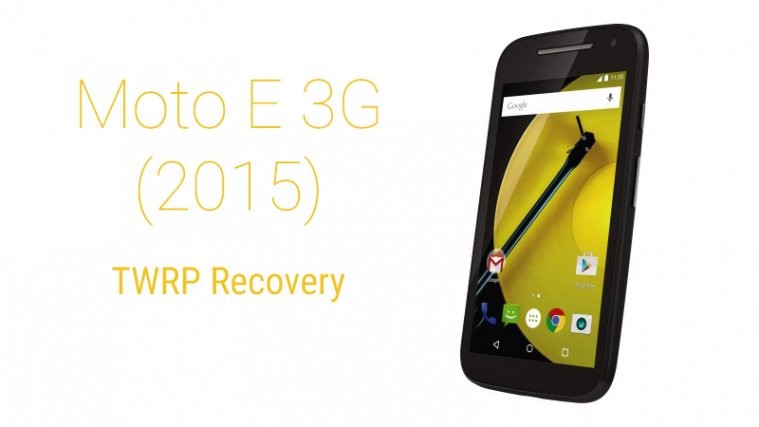
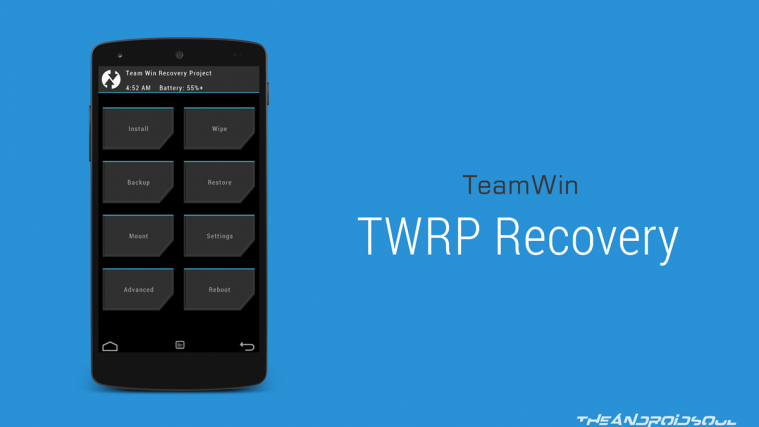
If you love to install custom ROMs, or simply want to root your Moto E 2015 by flashing SuperSU root file, then you need TWRP recovery. Besides, it also gets you amazing backup solution, something that’s a life saver many a times.
To install TWRP recovery on Moto E 3G, check out our guide below. But make sure that you use the recovery for the 3G edition of Moto G. It’s not compatible with Moto E 4G, that supports LTE. And we’re only talking 2015 edition, not the original Moto E that came in 2014.
Once you have the TWRP recovery, it’s recommended that you take a backup of your device using that, because in case anything goes wrong with custom ROMs or anything, you can easily restore your device back using this very backup, which has stock system without any modifications.
Supported devices
- 2nd Gen Moto E (2015), 3G edition
- Don’t try on 2nd Gen Moto E LTE (2015) or original 1st Gen Moto E (2014)
- Don’t try on any other Android device
Downloads
- TWRP recovery | Filename: twrp-otus-2.8.6-test3.img
Installation Instructions
WARNING: Warranty may be void of your device if you follow the procedures given on this page. You only are responsible for your device. We won’t be liable if any damage occurs to your device and/or its components.
Important Note: Backup important files (music, photos, documents, videos, etc.) stored on your device before proceeding with the steps below.
- Get ADB working properly. Check out our ADB installation guide for this. Just install ADB and then come back to this guide.
- Unlock bootloader of your Moto E if you haven’t already. For help, check out this page — it’s our Moto G unlock bootloader guide, as procedure is exactly same, it will help you through the process.
- Reboot to fastboot mode:
- Power off your Moto E first. Wait for 5-6 seconds after screen goes off.
- Press and hold Power+Volume Down together for few seconds until you reach fastboot screen.
- Connect your device to PC now.
- Open the folder on your PC where you have the TWRP recovery’s file: twrp-otus-2.8.6-test3.img
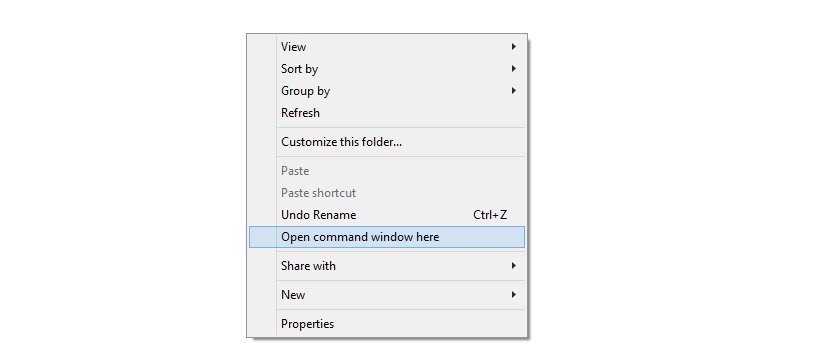
- Open the command windows at the location where you have the TWRP recovery:
- Copy the command below, and paste it in command window. Then hit enter to begin flashing the recovery. (Replace flash recovery with boot in the command below if you want to test it first.)
fastboot flash recovery twrp-otus-2.8.6-test3.img
- Once done, type the below and hit enter key to restart your device.
fastboot reboot
- Optional: If you want to install the stock recovery back for OTA updates for for whatever reason, then download this file, place it in same folder as TWRP, then copy the command below and paste it on command window, then hit enter key
fastboot flash recovery stock-recovery-otus.img
- Optional: Take a backup now. With TWRP installed, the first thing you should do is take backup. It’s a must do! Boot into recovery mode (hold power button, and select reboot) and take a backup.
Happy flashing!
If you need any help with this, let us know via comments section below.


Doesn’t work, it says OKAY when flashing the recovery, but it doesn’t work. When I go from Fastboot to recovery, nothing happens. Phone just shuts off.
Doesn’t work, it says OKAY when flashing the recovery, but it doesn’t work. When I go from Fastboot to recovery, nothing happens. Phone just shuts off.
Doesn’t work, it says OKAY when flashing the recovery, but it doesn’t work. When I go from Fastboot to recovery, nothing happens. Phone just shuts off.