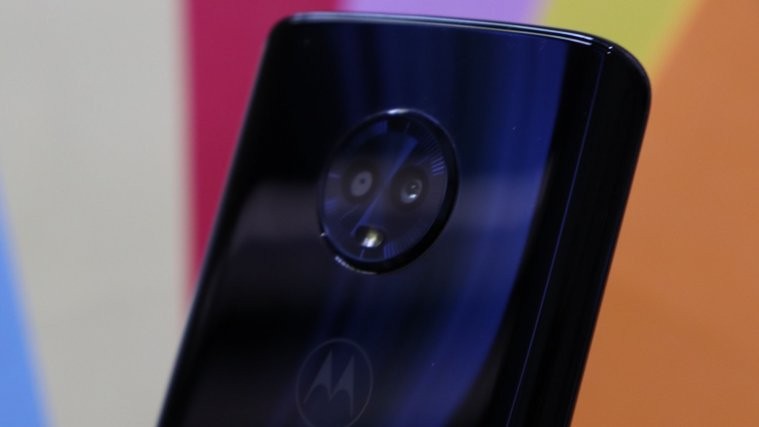
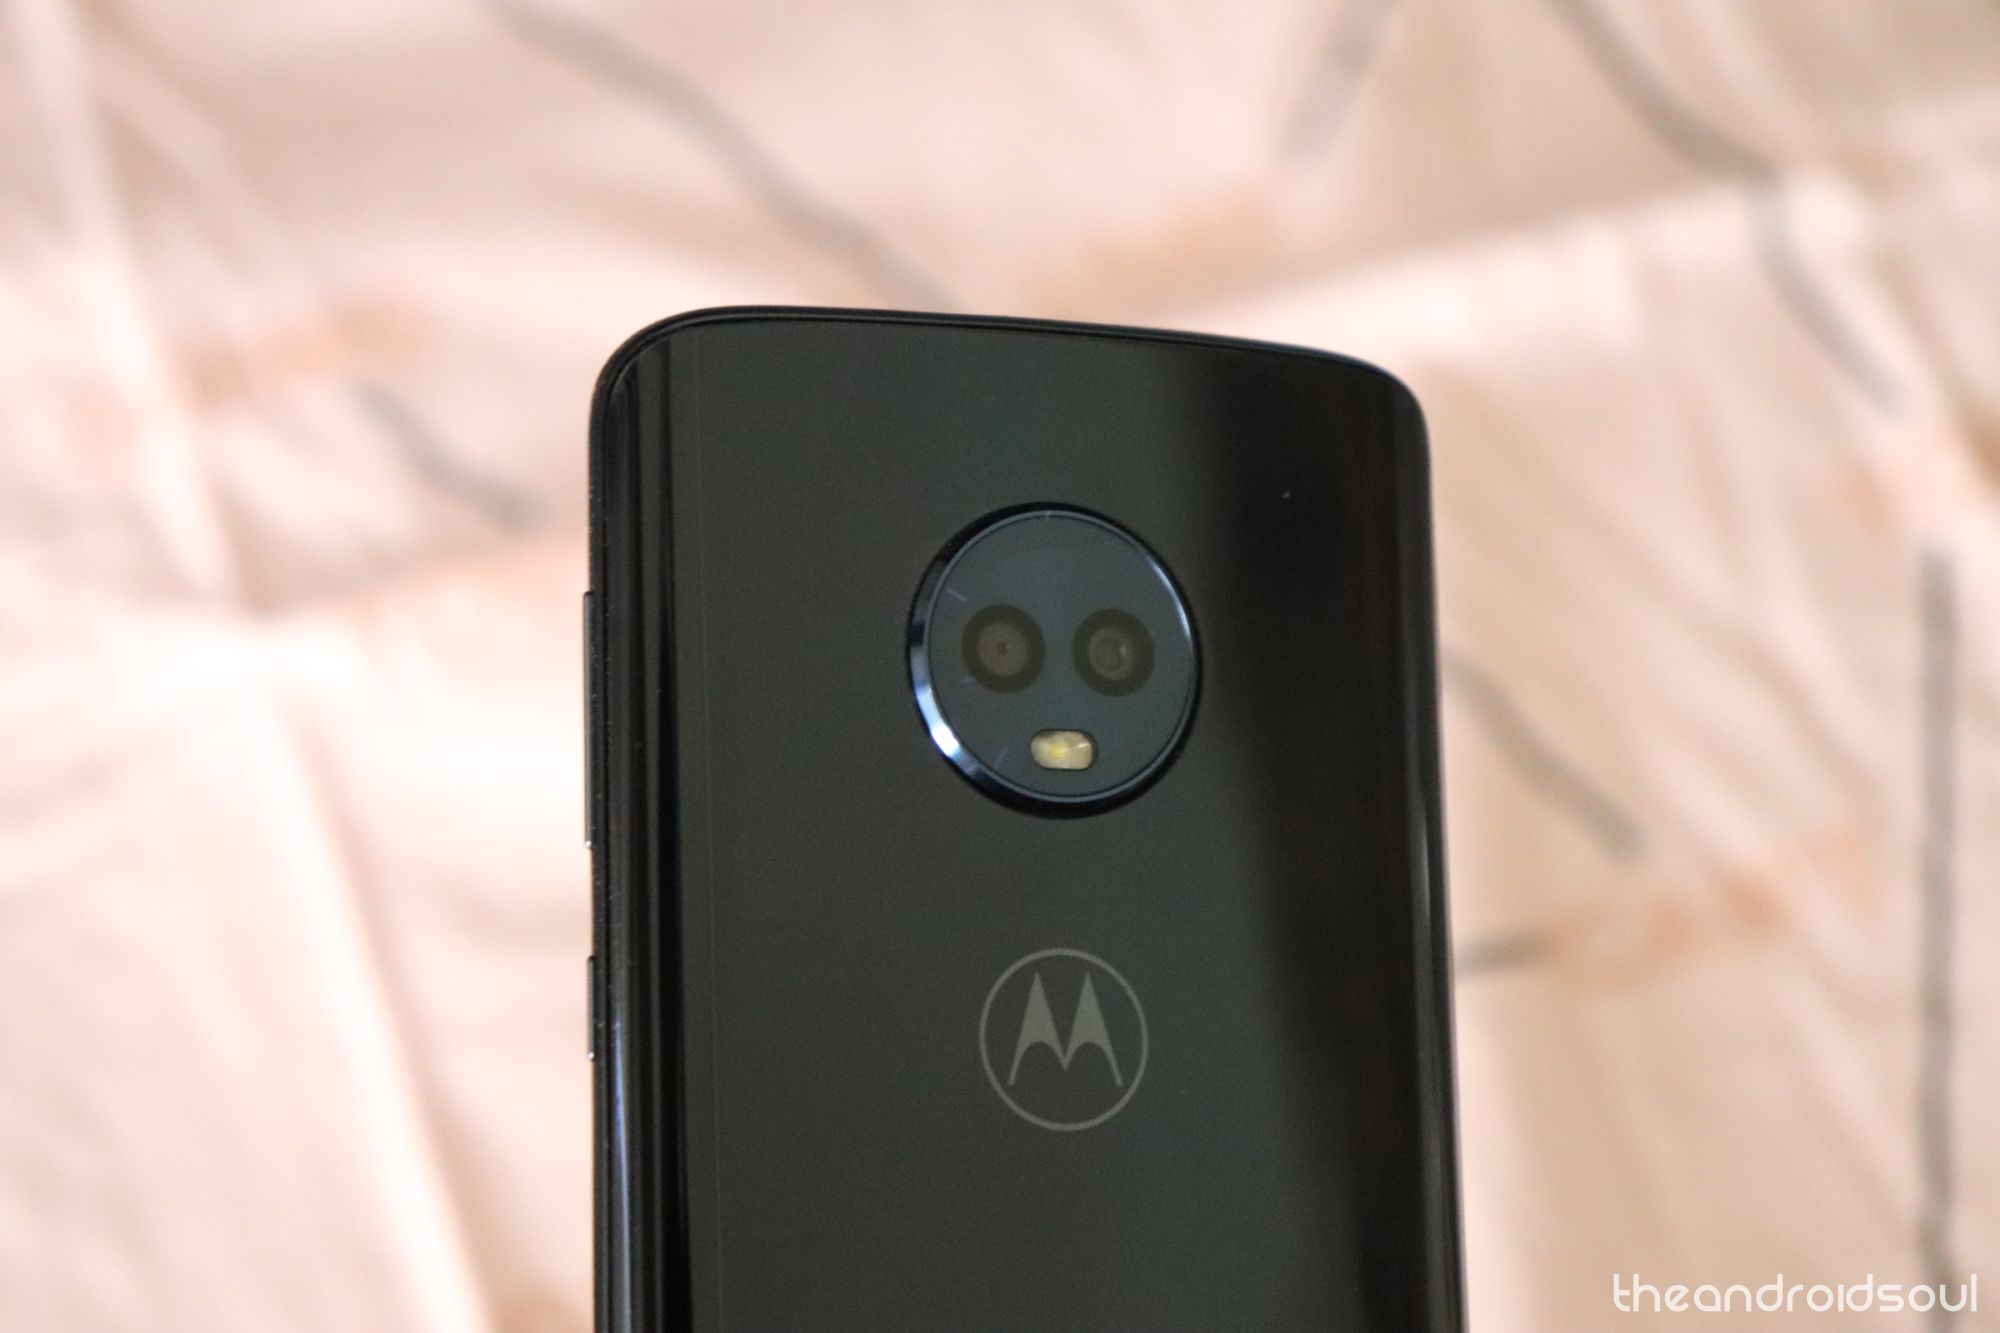
Even before the times when Motorola was owned by Lenovo, the company has shared a great relationship with the Android OS. While the days of Motorola being Google’s go-to company for creating flagship devices may be long gone, they haven’t stopped developing excellent devices, which is apparent in the Moto G series.
The latest addition to the club is the Moto G6 and G6 Plus, both of which are considered formidable mid-range devices of 2018. However, in order to get more out of these devices, you might just decide to install a custom TWRP recovery and enable root access.
Here’s the complete guide on how to root Moto G6 devices (G6, G6 Plus, and G6 Play) with step-by-step instructions.
Related:
- Moto G6 update: News and downloads
- Redmi Note 5 Pro vs Moto G6 vs Moto G6 Plus
- Moto G6 problems and fixes
Moto G6 root
Update [June 13, 2018]: Root and TWRP are not available at the moment for the Moto G6.
Moto G6 Plus root
You can root the Moto G6 Plus using the patch boot image file. Provided below is a custom boot image file for the Moto G6 Plus (only), codename evert.
- Make sure that you have the software version OPW27.113-45 installed on your Moto G6 Plus. (Once again, do not try this on any other device than Moto G6 Plus, and that too must be running build OPW27.113-45.)
- Unlock the bootloader of your Moto G6 Plus using this guide. (This will delete everything so take a full backup of your device first.)
- Install the ADB and Fastboot driver on your Windows PC.
- Make sure you have enabled USB Debugging on your device.
- Download the patched_boot.img file.
- Connect your Moto G6 Plus to the PC with a USB cable.
- Open the terminal window in the folder on your PC where you have the patched boot image file. For that, go to that folder, and then type cmd in the address bar and hit the enter key. A command window will open up, and its location will be that folder.
- Now, type in the following command to verify ADB is working (you should get a random serial number). To run a command, simply type it and hit the enter key to run it.
adb devices
└ If you get a permission dialogue on your device to “Allow USB debugging”, tap OK.
- Boot your device into fastboot mode (also called bootloader mode) by running the command below:
adb reboot bootloader
- In fastboot mode, flash the patched boot image file by running the command below. This will install the modified boot image, which would install root access.
fastboot flash boot patched_boot.img
- Once the process is complete, restart the device using the following command:
fastboot reboot
- Once your device reboots, go ahead and download the Magisk Manager APK on your device.
- Install the Magisk Manager app using its APK (how to install APK file).
- Open the Magisk manager app, and install Magisk as shown in the screenshot right below.

- [Optional] Wanna play with Xposed and its awesome modules? Well, install the Xposed Installer 3.1.5 app (install it using its APK file here).
With the Magisk app then open, you can simply hit the Install button, select the Direct Install method and have root access on your Moto G6 Plus up and running.
Moto G6 Play root
Note: Do not try this guide on any device other than the Moto G6 Play. Of course, do not try this on Moto G6, and Moto G6 Plus.
Compatibility
- XT1922-7 (Boost Mobile, software version Build OCP27.91-23, codename jeter)
- XT1922-5 (Brazil)
- XT1922-4
- XT1922-3
Root Guide
- Prepare the device and PC:
- Unlock the bootloader of your Moto G6 Play using this guide. (This will delete everything so take a full backup of your device first.)
- Install the ADB and Fastboot driver on your Windows PC.
- In case adb and fastboot commands do not work, try the new files in this package here. Download it, extract, and then copy the new adb and fastboot files to your ADB folder in the C Drive.
- Make sure you have enabled USB Debugging on your device.
- Make sure you have backed up all you need form the device as this will delete everything on the device.
- Download the required files:
- TWRP file | Download link | Filename: moto-g6-play-jeter-patched-twrp.img
- DM Verity disabler file. Download the one file from below based on your device’s model no.:
- Patched boot image file | Download link | Filename: fstab.qcom
- Magisk Root file | Download Link | Filename: Magisk-v16.4.zip
- Transfer all the downloaded files into a separate folder on your PC. Let’s name this folder G6Root so that it becomes easy to reference it below.
- Connect your Moto G6 Play to the PC with a USB cable.
- Copy the Magisk file (Magisk-v16.4.zip) to your device.
- Open the terminal window in the folder (G6Root folder, that is) on your PC where you have the downloaded files. For that, go to that folder, and then type cmd in the address bar and hit the enter key. A command window will open up, and its location will be that folder (G6Root in this case).
- Now, type in the following command to verify ADB is working (you should get a random serial number). To run a command, simply type it and hit the enter key to run it.
adb devices
└ If you get a permission dialogue on your device to “Allow USB debugging”, tap OK.
- Boot your device into fastboot mode (also called bootloader mode) by running the command below:
adb reboot bootloader
- [Optional] Create a backup of stock boot image file currently on your device to PC (so that you can install it back if anything goes wrong).
- In fastboot mode, boot into TWRP recovery by temporarily installing it using the command below (you can also copy paste the command):
fastboot boot moto-g6-play-jeter-patched-twrp.img
→ We are using the boot command above instead of flash recovery command because we don’t want to install the recovery permanently.
- It may take a while before the TWRP recovery shows up, and it would first try to decrypt your data. It would fail and prompt for a password. If you have a password or PIN set, use it. otherwise just tap on cancel (also in case password doesn’t work).
- You will see now see TWRP recovery. Run the command below to back up the stock boot image currently on your device to PC (so that you can install it back if anything goes wrong). You will have a file named stockboot.img in your PC folder now, which means that you have safely backed up stock boot file.
adb pull /dev/block/platform/soc/7824900.sdhci/by-name/boot stockboot.img
- Reboot into fastboot mode again by running the command below:
adb reboot bootloader
- In fastboot mode, boot into TWRP recovery by temporarily installing it using the command below (you can also copy paste the command):
- Install the DM Verity disabler file by running the command below:
fastboot flash boot <filename>.img
As an example, for the model no. XT1922-7, the command here would be fastboot flash boot XT1922-7_no_dm-verity_boot.img to install the DM Verity disable file.
- Boot the TWRP recovery by running the command below:
fastboot boot moto-g6-play-jeter-patched-twrp.img
- Mount the vendor partition on your device and also make it re-writeable by running the command below:
adb shell mount -o,rw /dev/block/platform/soc/7824900.sdhci/by-name/vendor /vendor
- Install the patched boot image file by running the command below:
adb push fstab.qcom /vendor/etc/fstab.qcom
- Factory reset your device. This will delete everything on the device. For this, in TWRP recovery, on the home screen, tap on Wipe, and then confirm it with the swipe action at the bottom.
- Install root access now by flashing the Magisk file. On the home screen of TWRP recovery, tap on Install button, and then select the Magisk-v16.4.zip file, and then swipe to confirm the installation.
- Tap on Reboot System button to restart the device.
- When the device is restarting, it might say N/A in the top corner for a few seconds. Don’t worry. You will soon see the Motorola’s boot screen and the setup screen thereafter.
- After setting up the phone, open the Magisk manager app and verify the root access. You can also verify root access using a root checker app.
Troubleshoot
Bootlooping issues? The above guide is easily one of the most tricky root guide in recent times. It is possible that everything doesn’t go alright and your device may stuck into bootloop. In such a case, you will need to install the stock recovery again.
If you saved your device’s stock recovery above, then install it using the command below. In case you didn’t save it earlier, you can download the stock boot image for your device’s model no. from here, and download and install it using the command below.
- Put the device in fastboot mode.
- Run this command to install stock boot file:
fastboot flash boot <filename>.img
Use the filename of the stock boot
- Restart the device with this command:
fastboot reboot
If you need help with any of the steps or have additional queries, reach out to us in the comments below.


I tried to root my Moto G6 Play. First the firmware is XT1922-10. so i could not get it. Second my Windows10 laptop is not recognizing my Moto. for “fastboot oem get_unlock_data” in command prompt it is saying “< waiting for device>” . and even though on Moto screen(Fastboot Flash Mode) it is showing USB connected,nothing on laptop. and my Windows 7 desktop although recognizing as unidentified “jeter” and not able to download the drivers. And how to take back up of device? Just copy all folders and files from device to PC?
And on device it is showing “oem_locked” (in Fastboot Flash Mode) is that ok. I did OEM Unlocking and USB Debugging. And nothing is showing on system to copy from or copy to
Any benefit to rooting the G6?
This is my first non-Nexus(Pixel) phone and coming from the 5X, it seems perfectly fine for me.
Im stuck in bootloader, it says no bootable A/B slot and no MOTO logo anymore, any sugestions?
my screen is constantly looping around saying “Hello Motto” can someone tell me what to do?
You should link to the XDA thread and give credit to the person who came up with this method.
After Step 14 I did not reboot and remove my sdcard.and reboot. I simply went ahead and did the 2 flash commands in Step 18. After reboot it seems the device is bootlooping on moto boot screen.
Try the new simpler guide above. It should work 100% now. Have removed the lengthy old guide now. Also, first make sure you have the required software version.
Rotad