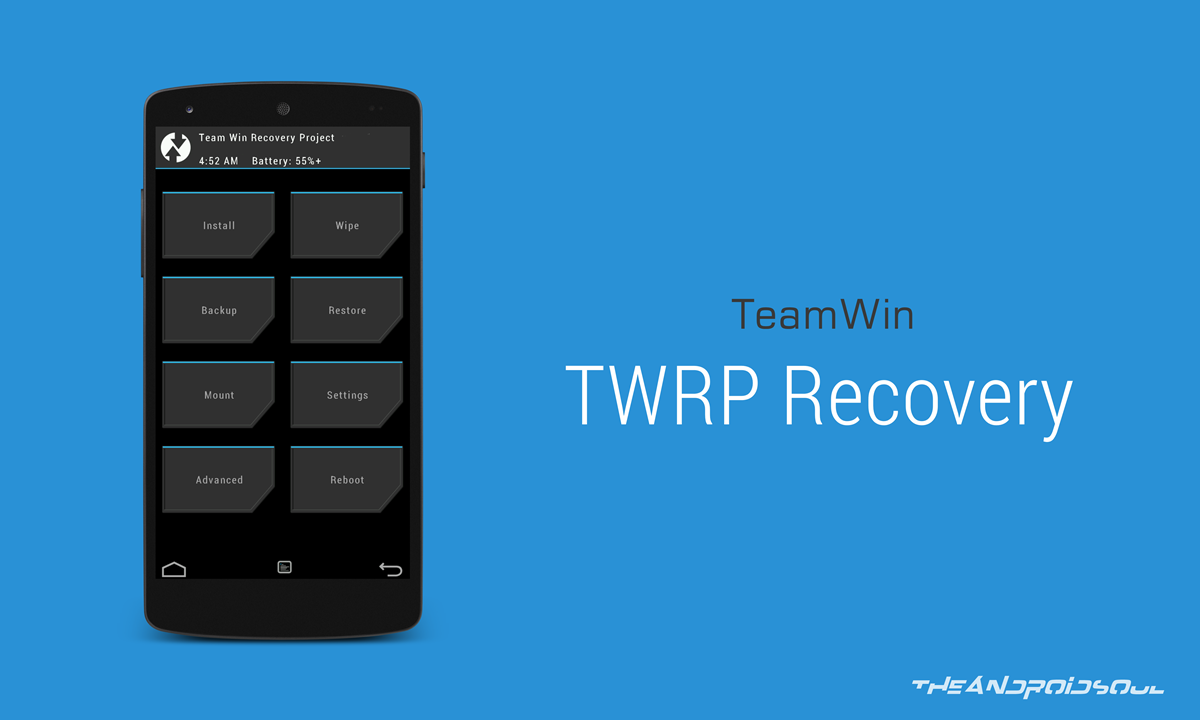
If you have already brought home the latest Moto G 3rd Gen, launched just 3 days ago, well, some god news for you as your flashing needs have already been well been taken care of. The amazing tool we know as TWRP recovery is available for your latest Moto G, launched in 2015 — yes you can root and install custom ROMs now, and also create nandroid backups. And it’s the latest v2.8.7.0 of TWRP that we’re talking about.
You will need to unlock bootloader of your Moto G 3rd G for this to work btw, which can be done easily via Motorola’s own website for this (see step 1 below). Once you have unlocked bootloader of your device, you can go ahead and install TWRP recovery using the guide below.
Note: We recommend you create a full backup of your device using TWRP right after installing it. So that if you install a bad ROM or mod, you can easily restore back to stock using this backup. This is also helpful with OTA updates. So, once again, don’t forget to take full backup right after installing the TWRP (step 13 in guide below).
Downloads
- Moto G 3rd Gen (2015) TWRP Recovery — Link | File: twrp-osprey-2.8.7-test1.img (10.9 MB)
- SuperSU Root package — Link | File: UPDATE-SuperSU-v2.46.zip
Supported devices
- Motorola Moto G 3rd Gen (2015 edition), every model that is bootloader unlocked or can be unlocked from Motorola (see step 1 below)
- Don’t try this one any other device!
Warning: Warranty may be void of your device if you follow the procedures given on this page. You only are responsible for your device. We won’t be liable if any damage occurs to your device and/or its components.
Backup important files stored on your device before proceeding with the steps below, so that in case something goes wrong you’ll have backup of all your important files.
- Go to Settings > About phone, and then tap ‘Build number’ 7 times or until you see the ‘you’re not a developer’ message pop up.
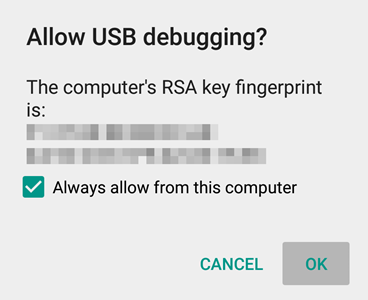
- Go back to Settings, then choose ‘Developer options’. Find the ‘USB debugging’ option and use its toggle button to enable it. Accept warning by tapping on OK button.
- Open that folder and then left click on empty white space in the folder.
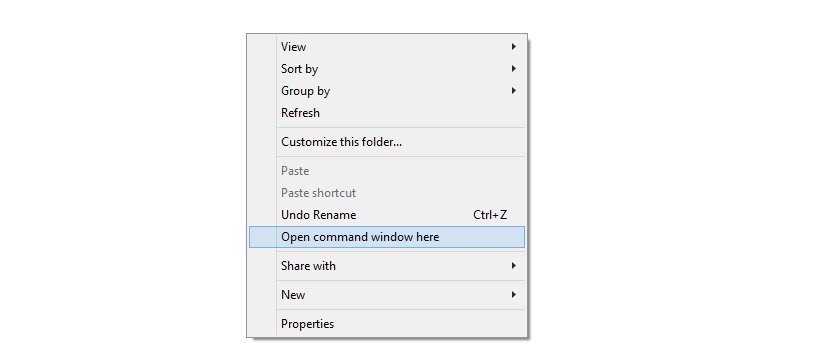
- Now, while holding shift key, right click on empty white space to get a pop-up as shown below.
- Now choose Open command window here option from that.
You will see a command window open up, with location directed to folder where you have the twrp recovery file.
- Power off your device and wait for 3-4 seconds after screen goes off.
- Press and hold Power and Volume down together for 3 seconds and then let go. You’ll enter bootloader mode. And should see FASTBOOT written at top. It’s already in Fastboot mode by default.
→ Upon running command below, you should get a serial no. with fastboot written after it. If you don’t get fastboot written on cmd window, then it means you need to reinstall adb and fastboot drivers, or change restart PC, or use original USB cable.
fastboot devices
fastboot flash recovery motog3-twrp.img
Happy flashing!
Oh btw, here are your own Moto G 3rd Gen’s wallpapers in case you wanna share them with friends.
And let us know if you need any help regarding installation of TWRP recovery on your Moto G 3rd Gen. Use the comments section below.