

Splitting Stone is inside a chest on the Lonesome Spire castle ramparts east of Sentry’s Grave; circle clockwise around the castle exterior to reach the ledge holding it.
Key The route is short once you follow the castle landmarks in the correct order. After collecting the stone, build around how its spreading shot pattern behaves rather than treating the extra projectiles as a simple damage bonus.
Splitting Stone location and item details
| Detail | Answer |
|---|---|
| Location | Lonesome Spire, east of Sentry’s Grave |
| Chest landmark | Castle-rampart balcony or ledge |
| Tarstone type | Combat |
| Compatible Sidearms | Forgotten Crossbow and Caged Hystrix |
| Core effect | Adds multiple Sidearm projectiles without consuming additional Resolve |
Splitting Stone is an equipment modifier rather than a new Sidearm, so you must slot it into one of the supported weapons before its firing effect becomes active.
How to get Spitting Stone in Mortal Shell 2
Start at Sentry’s Grave
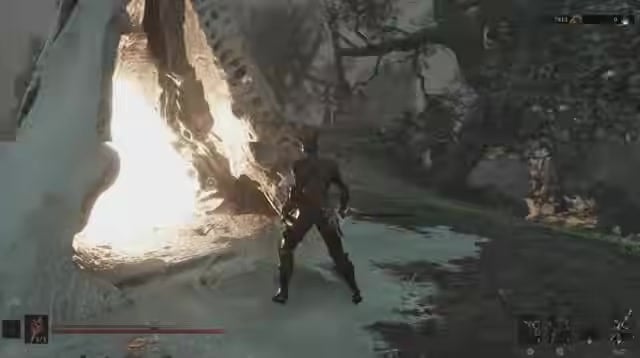
Reach the Sentry’s Grave dungeon entrance; Gate of Mammon can also serve as a nearby reference for the same rampart destination.
Circle around the castle
Travel clockwise along the castle exterior, working east instead of entering the dungeon route.
Approach Lonesome Spire
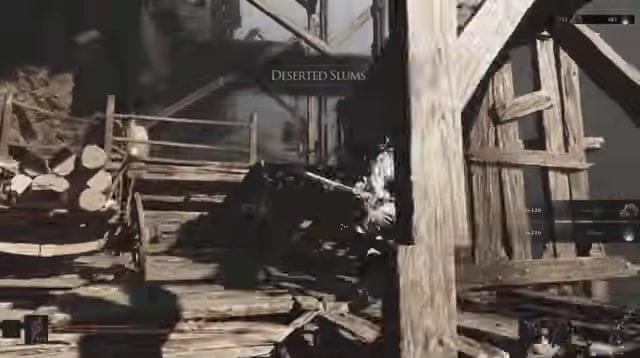
Continue around the outer ramparts toward Lonesome Spire until you reach the balcony or ledge section.
Open the rampart chest
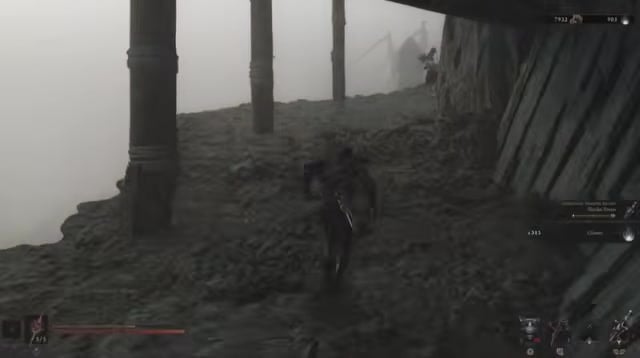
Find the chest on the northern balcony or ledge and loot it to receive Splitting Stone.
If you reach Sentry’s Grave and lose the route, turn your search outward to the castle perimeter and continue clockwise toward Lonesome Spire.
Sidearm effects and compatible weapons

When equipped on a supported Sidearm, Splitting Stone fans the shot into an arc of multiple projectiles. Those additional projectiles are part of the same activation, so they do not demand extra Resolve beyond the original shot.
This makes Splitting Stone a firing-pattern modifier: it changes how much space the shot can cover and how many targets it may catch. Its effect belongs entirely to the equipped Sidearm rather than functioning as a general character-wide projectile bonus.
Best uses and limitations
Splitting Stone works well against clustered enemies at practical medium range, where its arc can spread across several nearby targets. Aim to place the full pattern across the group rather than focusing solely on the center projectile.
Each projectile deals reduced damage compared with the original unsplit shot. More projectiles therefore do not automatically produce a flat single-target damage increase; the result depends on how many parts of the spread actually connect.
The stone modifies Sidearm shots only. It provides no direct benefit to melee attacks, making it poor use of a slot when you rarely fire the Forgotten Crossbow or Caged Hystrix.
Tarstone upgrades through Franz
Get the Etching Needle
Look for an Etching Needle in the Glutted Mire near Mushroom Village.
Return to Franz
Take the Etching Needle to Franz in Marrow Keep.
Expand the Tarforge
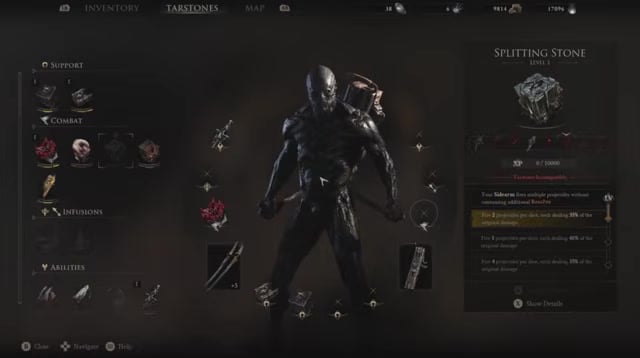
Give Franz the Etching Needle to open the additional Tarstone enhancement options.
Improve Splitting Stone

Select Splitting Stone at the Tarforge and review the displayed rank effect before confirming each upgrade.
Building around Splitting Stone

A Sidearm-focused setup begins with either the Forgotten Crossbow or Caged Hystrix, followed by regular Tarforge investment in the weapon and Splitting Stone. Favor this direction when ranged crowd coverage is a meaningful part of how you fight.
The logical Tarstones to examine next are Myriad Stone, Squall Stone, and Shuddering Stone. They provide related paths for developing a Sidearm setup, but their interactions and your chosen weapon should determine the combination rather than an assumed universal build.
Video help




Leave a Reply