
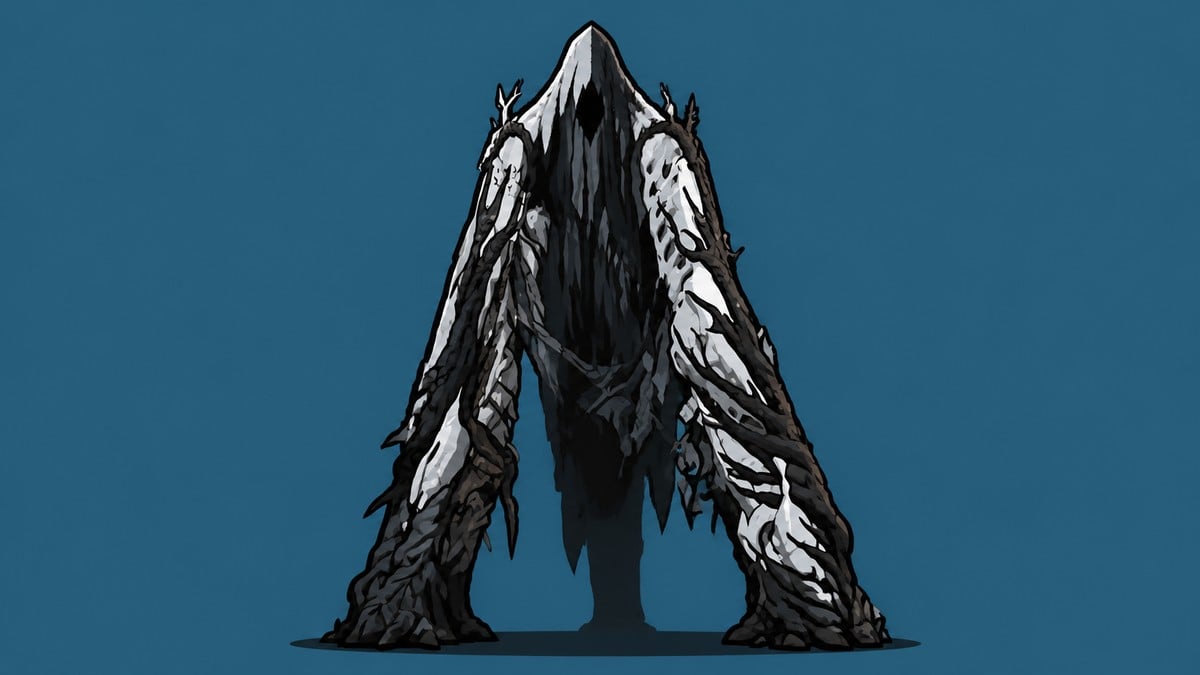
Reach Hangman’s Scaffold from Slumwater Drain by shooting the explosive pots behind the courtyard statue to create a ramp, collect the Revered Gland along the upper-wall route, then clear Gloomstricken Garrison and cleanse its corruption core.
Hangman’s Scaffold sits above a courtyard whose route is hidden in plain sight. Reaching the Beacon is only half the job, because cleansing it requires a separate arena encounter afterward.
Start at the Corrupted Gate beside Nochtean Gate
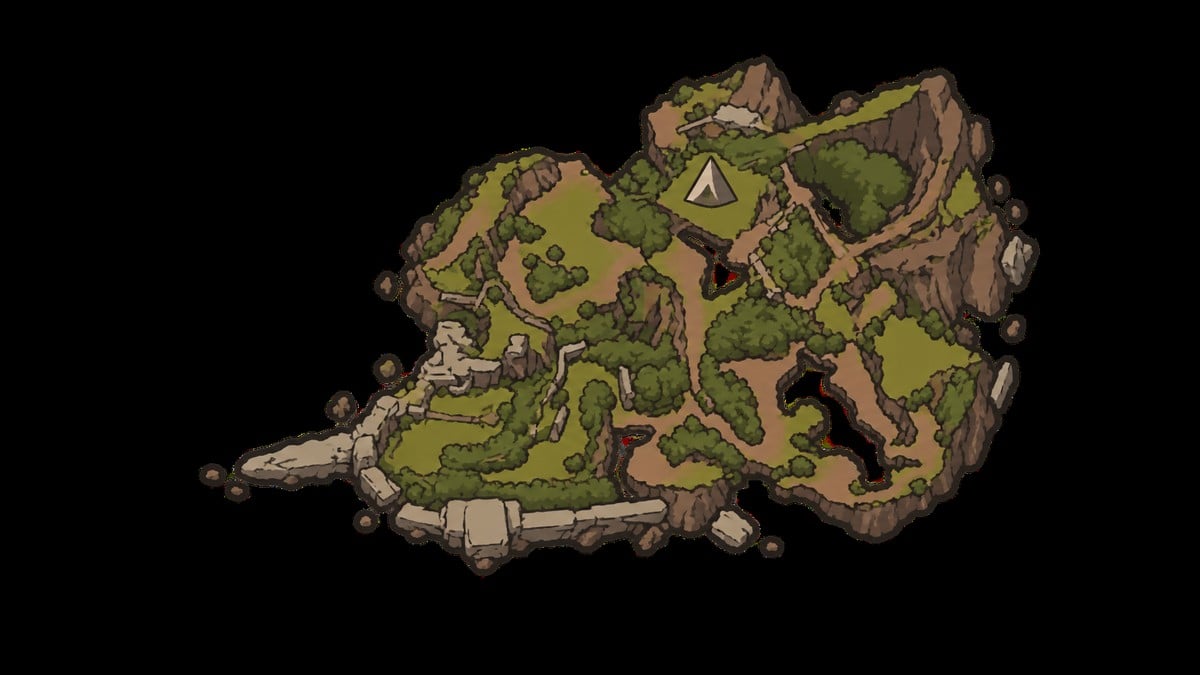
The starting landmark is the Corrupted Gate beside Nochtean Gate in the Ruins of Nochte. From there, the route enters Prisoners’ Domain and crosses Prisoners Way.
Key Slumwater Drain is the intermediate Beacon and the practical checkpoint for the return journey. The fights along the corridors are incidental to finding Hangman’s Scaffold; the stone passages, portcullis and bent grate are the landmarks that keep you on course.
The Shrike Stone is one useful arena setup if you already have it, but it is an example rather than a requirement for cleansing Hangman’s Scaffold.
How to reach and cleanse Hangman’s Scaffold in Mortal Shell 2
This route runs from the Corrupted Gate through Slumwater Drain, the statue shortcut and Gloomstricken Garrison.
STEP 1/21
Check the starting landmarks
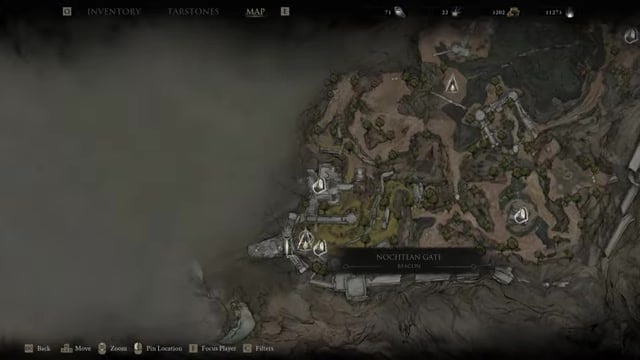
On the map, locate Nochtean Gate and the adjacent Corrupted Gate, which marks the beginning of the route.
STEP 2/21
Leave the Corrupted Gate

Pass through the glowing opening and follow the ruined stone corridors away from the gate.
STEP 3/21
Raise the iron portcullis
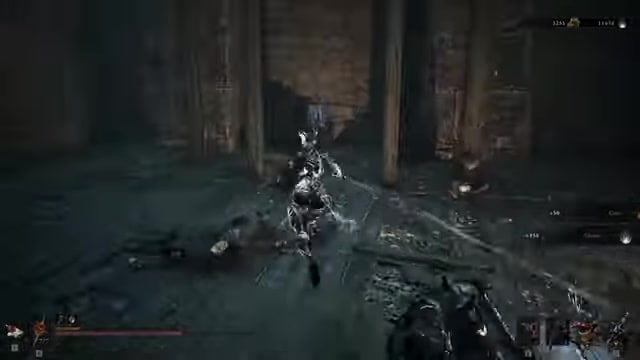
Climb the stone steps and open the large iron gate leading farther into the prison ruins.
STEP 4/21
Cross Prisoners Way
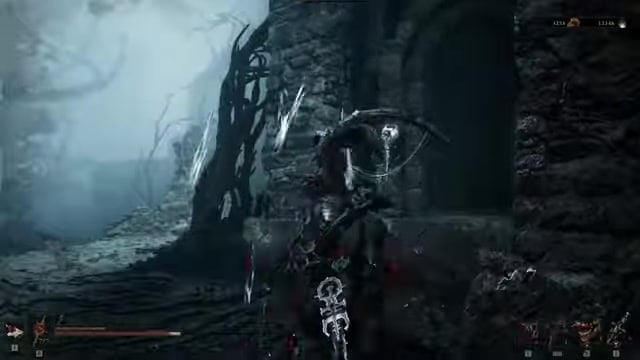
Continue past the stone tower and through the narrow ruins, chambers and connecting passages.
STEP 5/21
Find the bent grate
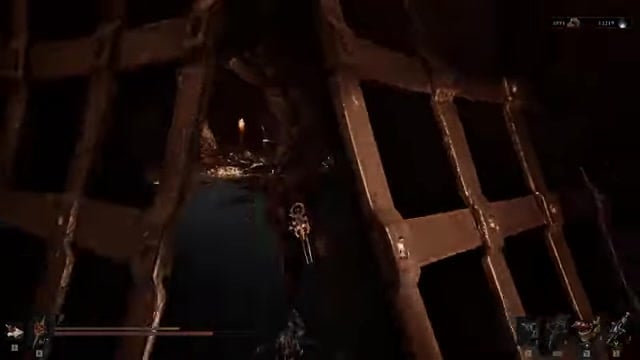
In the dark chamber with glowing roots, look beside the torch for the visibly bent grate and open it.
STEP 6/21
Revitalize Slumwater Drain

Interact with the glowing structure and choose Revitalize Beacon until the Beacon Found: Slumwater Drain notification appears.
STEP 7/21
Backtrack from the Beacon
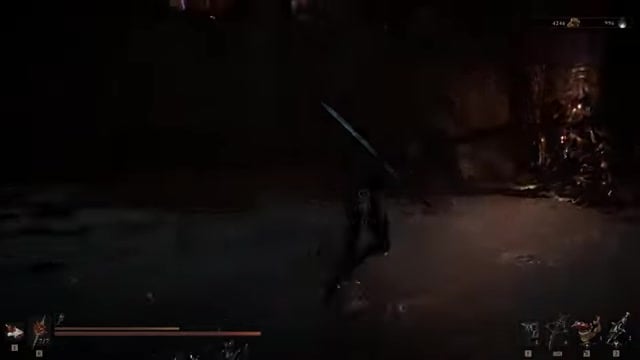
Leave the Slumwater Drain alcove and retrace the route toward the larger castle section.
STEP 8/21
Return to the courtyard
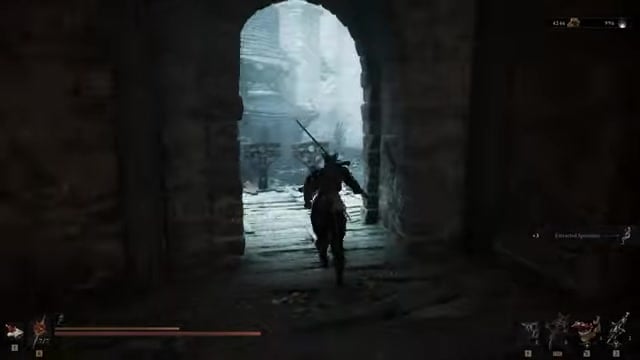
Head outside and enter the central courtyard containing the large stone statue.
STEP 9/21
Topple the statue
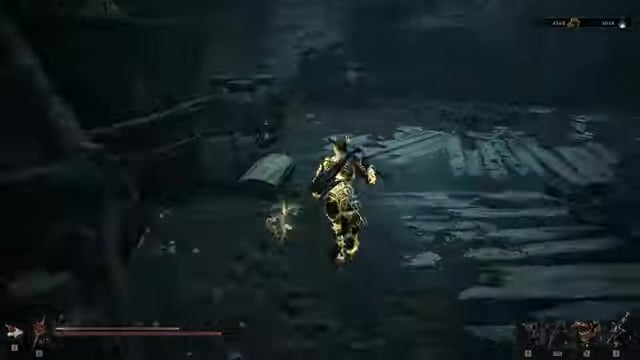
Shoot the explosive pots behind the statue, causing it to fall and form a ramp to the upper wall.
STEP 10/21
Climb the fallen statue
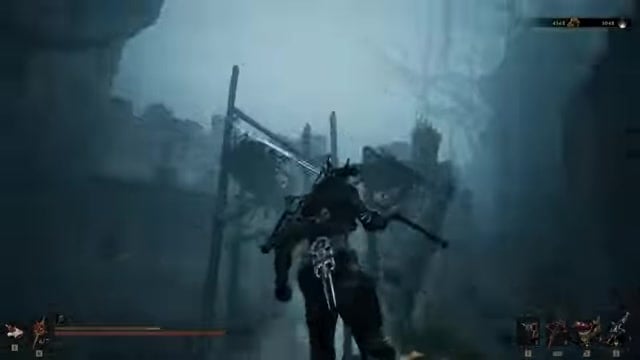
Walk up the new ramp and continue into the adjoining section of the castle.
STEP 11/21
Collect the Revered Gland
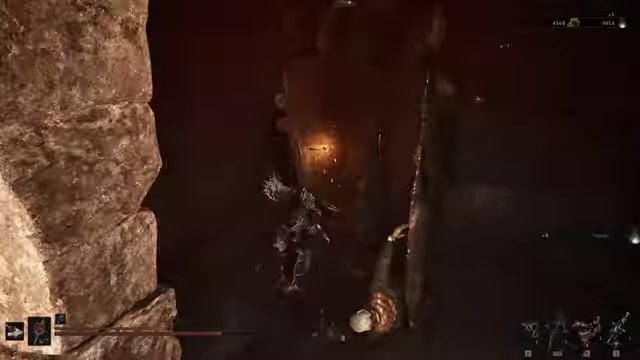
Enter the nearby room, deal with its guards and take the Revered Gland from the pedestal at the far end.
STEP 12/21
Follow the upper-wall route
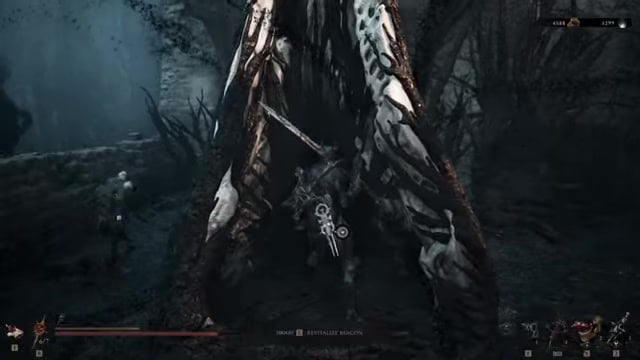
Continue along the accessible wall, follow the stairs and leave through the archway near the Beacon.
STEP 13/21
Discover Hangman’s Scaffold
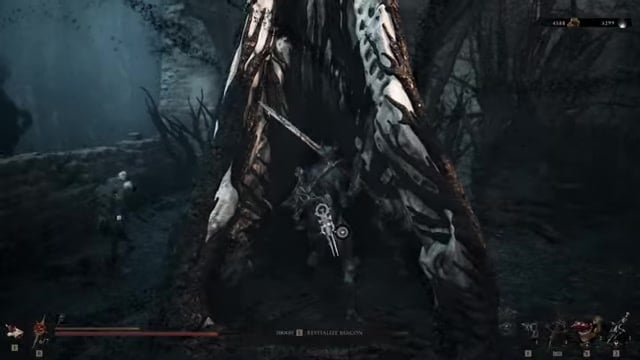
Approach the glowing structure until Beacon Found: Hangman’s Scaffold appears, then revitalize it.
STEP 14/21
Consider spending the Revered Gland
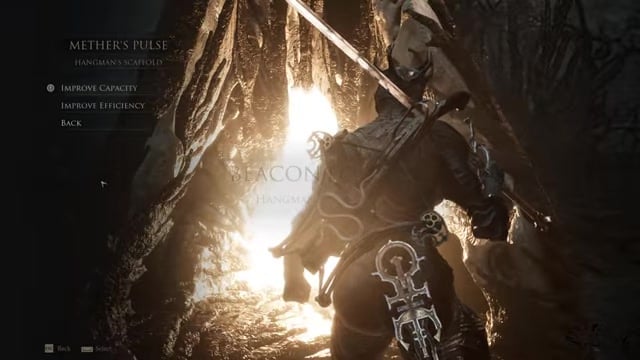
Open Mether’s Pulse at the Beacon and optionally spend the gland to permanently add another healing use before refilling.
STEP 15/21
Clear the nearby enemies

Leave the Beacon menu and defeat the enemies approaching around the wall before starting the challenge.
STEP 16/21
Select Cleanse Beacon
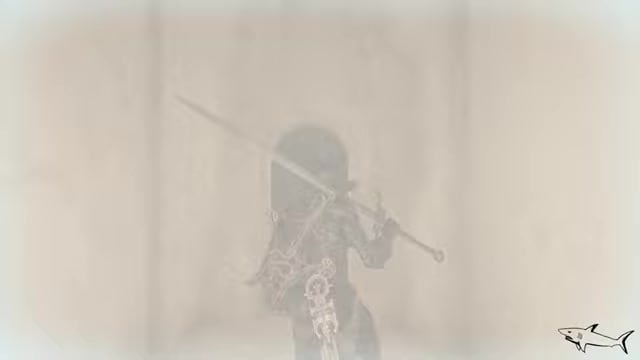
Interact with Hangman’s Scaffold again and choose Cleanse Beacon to enter its challenge dungeon.
STEP 17/21
Enter Gloomstricken Garrison
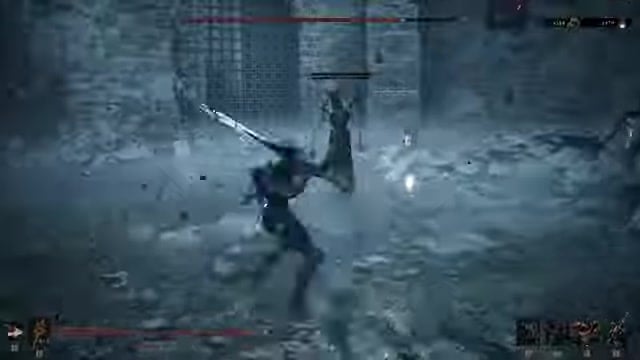
Proceed into the enclosed arena and prepare for the encounter that protects the corruption core.
STEP 18/21
Defeat the Gloombound Legion
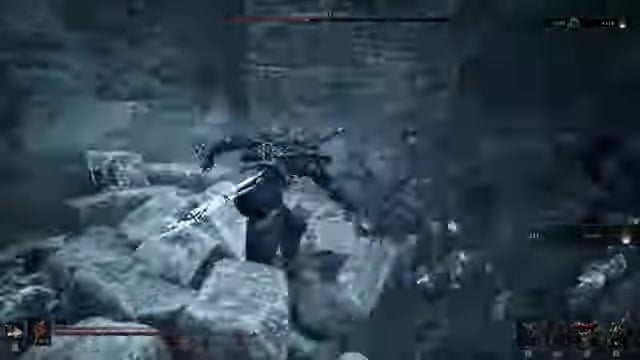
Clear every wave identified by the Gloombound Legion health bar until the arena becomes safe.
STEP 19/21
Cleanse the corruption core
Approach the exposed structure after the battle and use Cleanse Corruption to finish the challenge.
STEP 20/21
Obtain the Ovum
Collect the reward when the New Ovum Found prompt appears and the return transition begins.
STEP 21/21
Verify the cleansed Beacon

After returning outside, look for Beacon Cleansed: Hangman’s Scaffold to confirm completion.
Video help
Hangman’s Scaffold rewards and completion checks
Receiving the Ovum and seeing the Beacon Cleansed: Hangman’s Scaffold notification are the two completion checks. The Beacon is now fully cleansed rather than merely revitalized.
If you spent the Revered Gland, its benefit persists beyond this dungeon: Mether’s Pulse can restore health one additional time before it needs refilling. Saving the gland does not prevent you from clearing Gloomstricken Garrison, and it can still be spent at a Beacon later.




Leave a Reply