

Executioner’s Pulpit is beyond the Nochtean Corrupted Gate: follow the Beacon route through Slumwater Drain and Hangman’s Scaffold, climb to Executioner’s Pulpit, then clear its Central Sewers mechanisms and cleanse the corruption at the end.
Key Inside Prisoner’s Way, Beacon discoveries are your clearest checkpoints because there is no map to follow. Most enemies and side pickups can be bypassed, but the mechanisms controlling statues, bridges, and gates must be triggered.
Start at the cleansed Nochtean Gate Beacon

You must cleanse the Nochtean Gate Beacon before you can pass through the Corrupted Gate. Go through once the corruption is removed to enter Prisoner’s Way and begin the route toward Executioner’s Pulpit.
Use Slumwater Drain as the first landmark and Hangman’s Scaffold as the second. From Hangman’s Scaffold, the remaining route climbs through wooden scaffolding, bridges, and stone ruins.
How to reach and cleanse Executioner’s Pulpit in Mortal Shell 2
Follow the Beacons in order, complete each required route mechanism, and continue through Central Sewers to the final corruption.
STEP 1/16
Pass through the Corrupted Gate

Leave the cleansed Nochtean Gate Beacon, pass through the Corrupted Gate, and follow the interior path into Prisoner’s Way.
STEP 2/16
Reach Slumwater Drain

Revitalize the Slumwater Drain Beacon, then continue on the longer route; the nearby stairs are only a shortcut involving a miniboss.
STEP 3/16
Lower the statue

Detonate the explosive barrels beside the mechanism to bring the statue down and open the way forward.
STEP 4/16
Find Hangman’s Scaffold

Continue through the stone rooms and outdoor path until the Hangman’s Scaffold Beacon appears.
STEP 5/16
Begin the scaffold climb

Leave the Beacon and follow the elevated wooden walkways around the towers, bypassing enemies that do not block your movement.
STEP 6/16
Lower the wooden bridge

Use a ranged attack on the distant lever, then cross the bridge created by the mechanism.
STEP 7/16
Cross the upper ruins

Keep ascending over the wooden bridge and stone stairs, passing the large enemy to stay on the route.
STEP 8/16
Discover Executioner’s Pulpit

Follow the final cliff path and revitalize the Executioner’s Pulpit Beacon.
STEP 9/16
Enter Central Sewers

Interact with Executioner’s Pulpit and enter the Beacon dungeon, then descend into the opening corridor.
STEP 10/16
Activate the cell plate
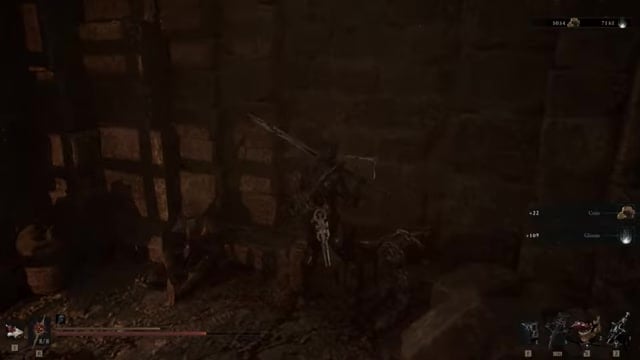
Enter the accessible cell and press the floor plate inside before returning to the corridor.
STEP 11/16
Break through the obstruction

Destroy the wooden crates blocking the passage and proceed through the newly accessible doorway.
STEP 12/16
Detonate the sewer barrels

Shoot the explosive barrel before entering the tiled room, then create enough space to reach its mechanisms.
STEP 13/16
Shoot the wall switch

Aim a ranged attack at the elevated wall switch to raise the iron gate ahead.
STEP 14/16
Open the next gate
Press the subsequent plate in the tiled hall and pass through the gate it controls.
STEP 15/16
Collect the Squall Stone

Approach the white pedestal and take the Squall Stone before leaving the chamber.
STEP 16/16
Cleanse the final corruption

Return to the central corruption structure, interact with it, and wait for the Beacon Cleansed: Executioner’s Pulpit message.
Video help
Executioner’s Pulpit pickups and cleanse rewards
| Item or reward | Where to get it |
|---|---|
| Revered Gland (optional) | Inside the iron-maiden room before reaching Hangman’s Scaffold. |
| Devotee’s Chalice (optional) | On a wooden platform during the climb from Hangman’s Scaffold. |
| Squall Stone | On the white pedestal beyond the Central Sewers gate mechanisms. |
| Beacon cleanse reward | Granted after interacting with the final corruption in Central Sewers. |
The Squall Stone is a Level 1 Tarstone that can be slotted into your combat build. It is separate from the collectible associated with cleansing the Beacon.
The associated collectible is referred to as Ova or Ovum; the completion state to look for is Beacon Cleansed.
Use the Revered Gland at any Beacon to permanently increase Mether’s Pulse capacity.




Leave a Reply