


If you want to get more out of your build in Mortal Shell 2, upgrading Tarstones is an important progression system to understand early. Tarstones can provide different effects and abilities that help shape your character, making their upgrades particularly useful once you have settled on a preferred playstyle.
| Quick overview | Details |
|---|---|
| Game | Mortal Shell 2 |
| Upgrade item | Etching Needles |
| Location | Sunken Village |
| NPC | Rock |
| Upgrade location | Marrow Keep |
| Forge NPC | France |
| Main requirement | Maximum Tarstone XP |
| Early cost | Gold/coins |
| Later material | Tar Cores |
| Main benefit | Stronger Tarstone progression |
How to get the Etching Needles in Mortal Shell 2
The Etching Needles are located in Sunken Village, and you need to progress through this area before you can collect them. Start from the Sunken Village Beacon and follow the route across the bridge toward the mini-boss area.
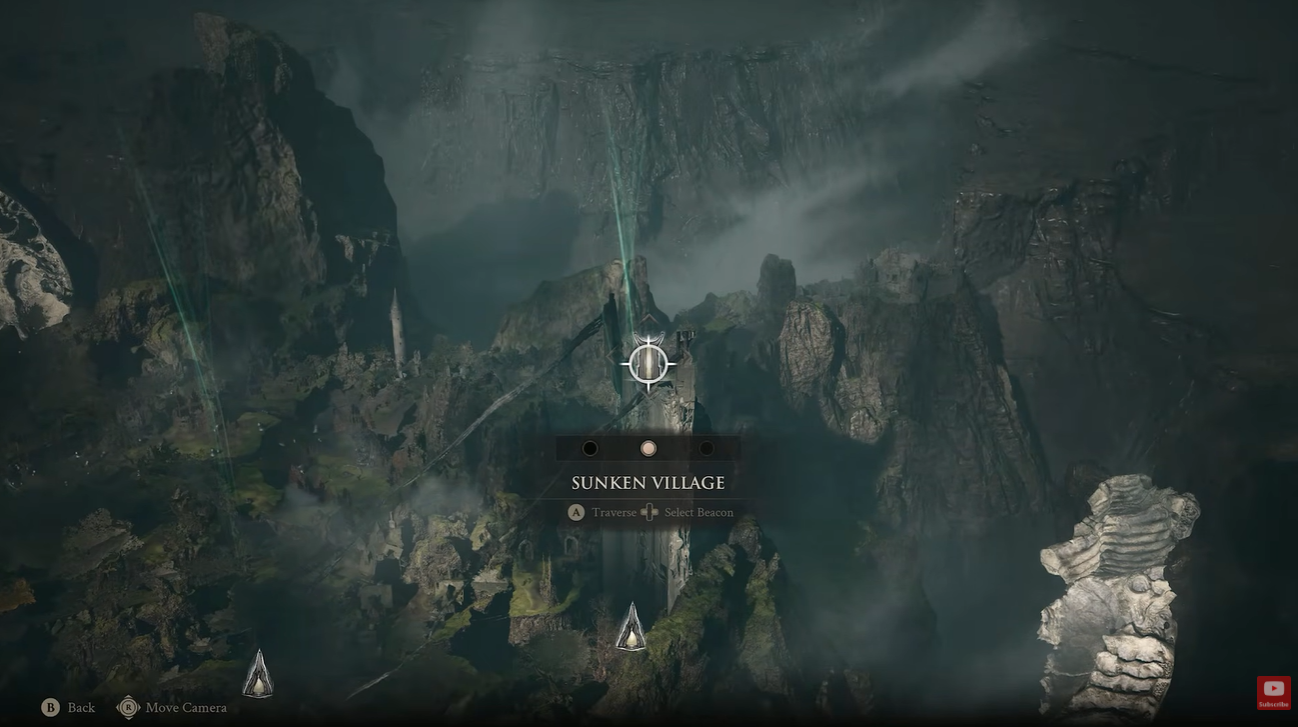
Step 1
Reach the Sunken Village Beacon. Progress through the game until you unlock the Sunken Village Beacon. This is the main landmark you need for the Etching Needles route.
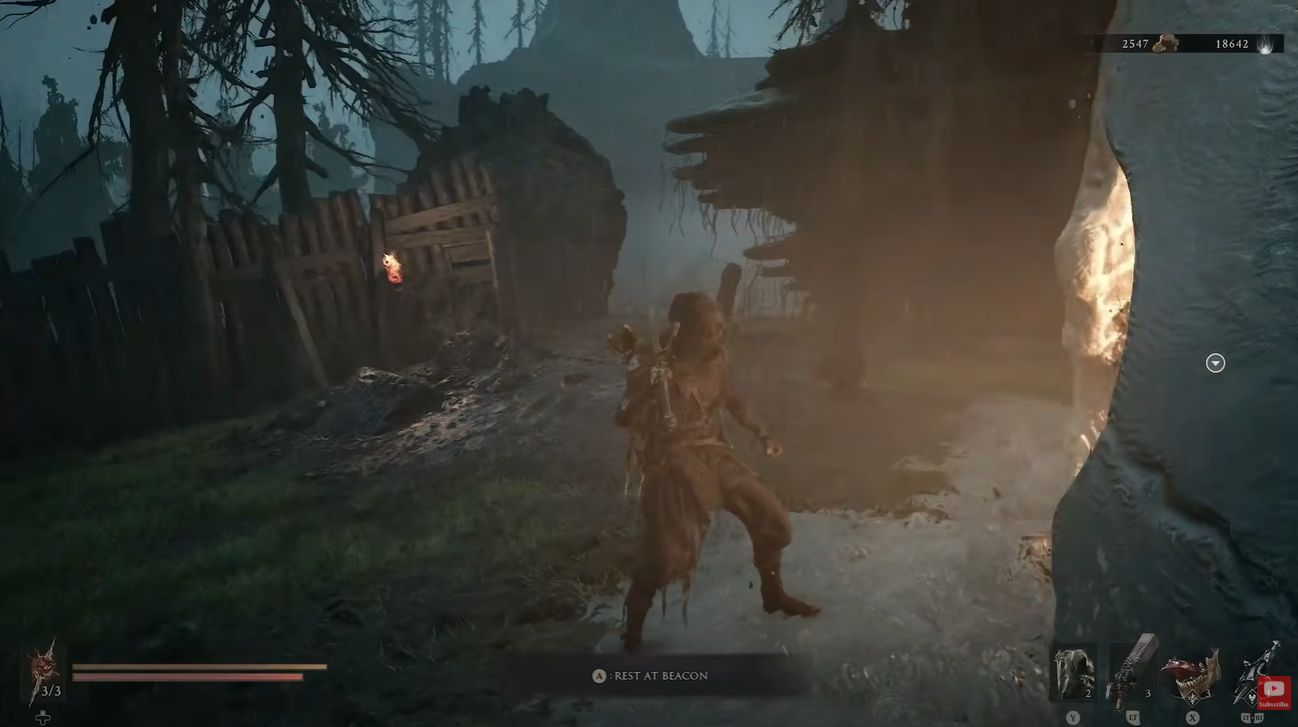
Step 2
Follow the path across the bridge. From the Beacon, continue along the path and cross the bridge leading deeper into the area.
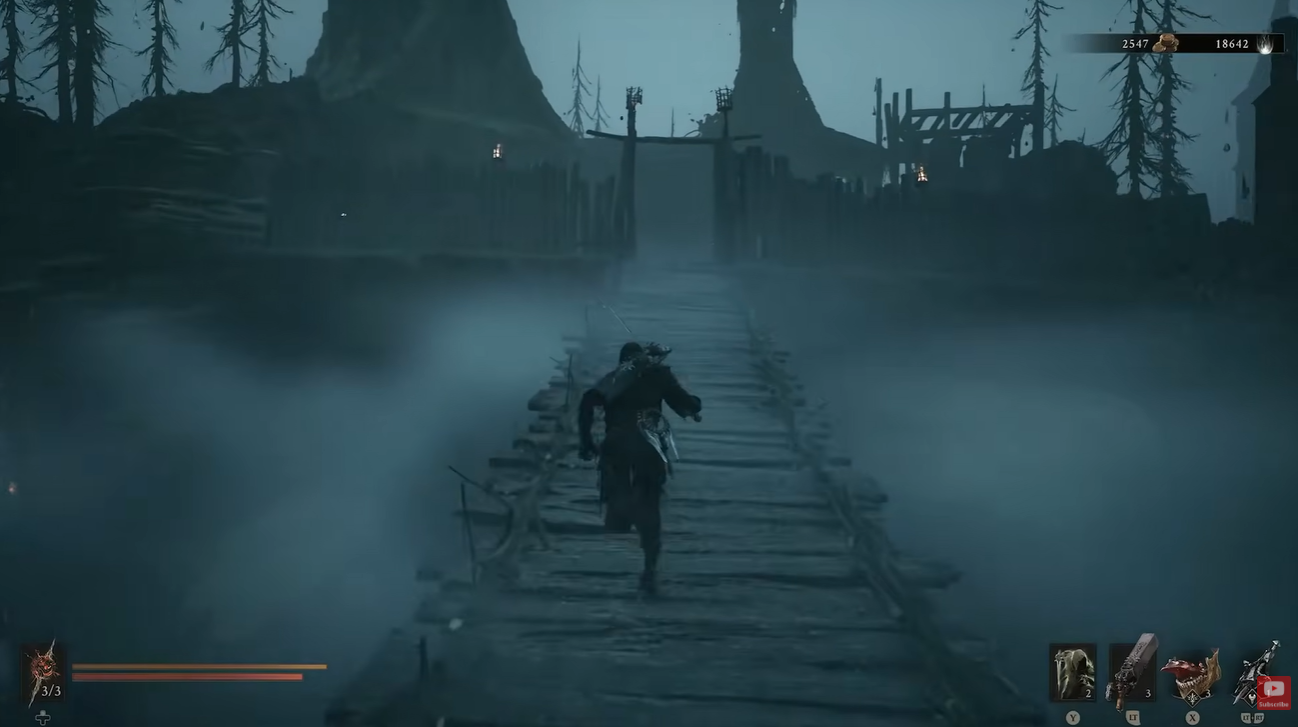
Step 3
Continue past the mini-boss. Follow the route through the mini-boss section and keep progressing once you have cleared the encounter.
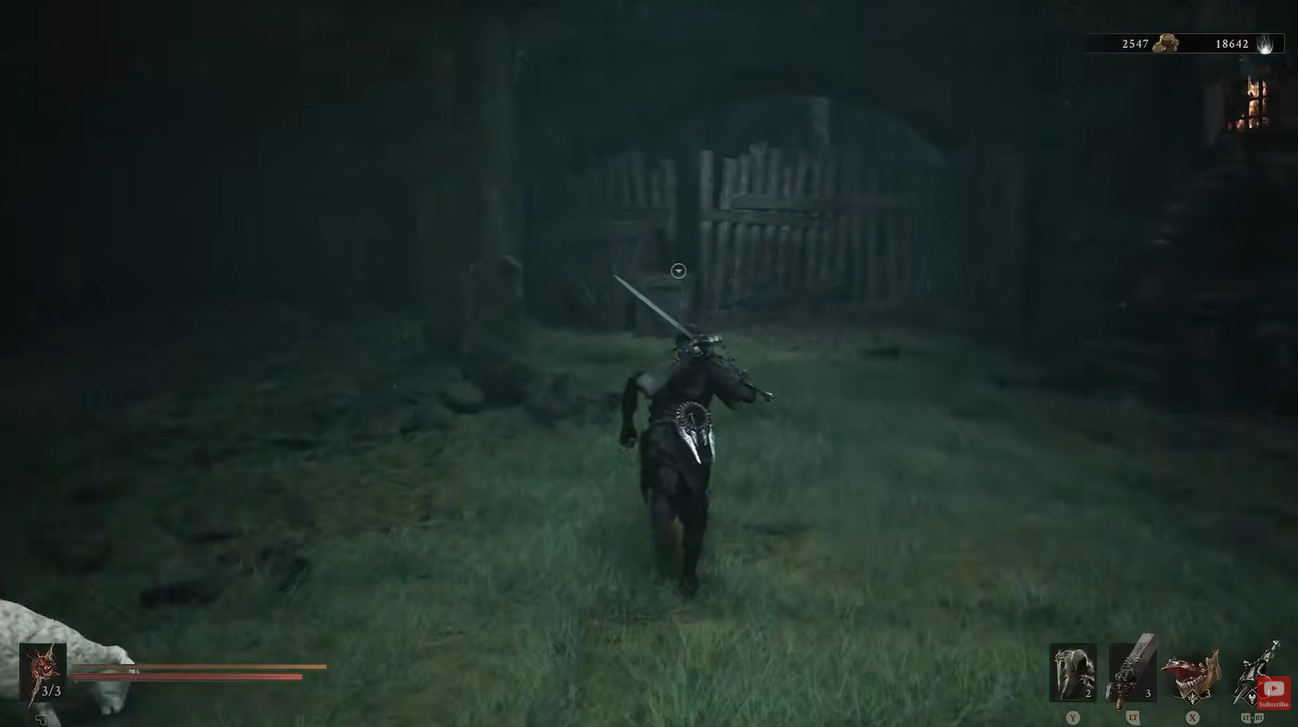
Step 4
Go through the small gap. Continue forward until you reach the narrow opening that leads toward another bridge.
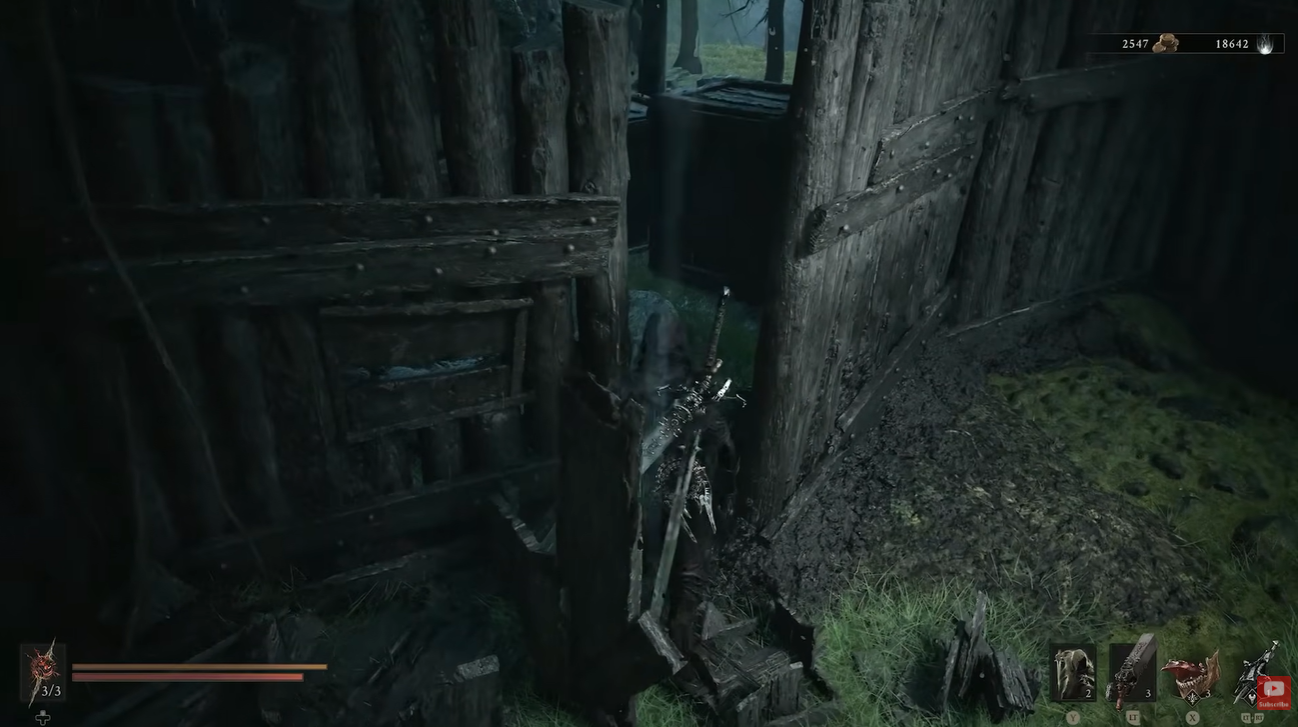
Step 5
Cross the second bridge. Follow the path across the bridge until you reach the area where Rock is located.
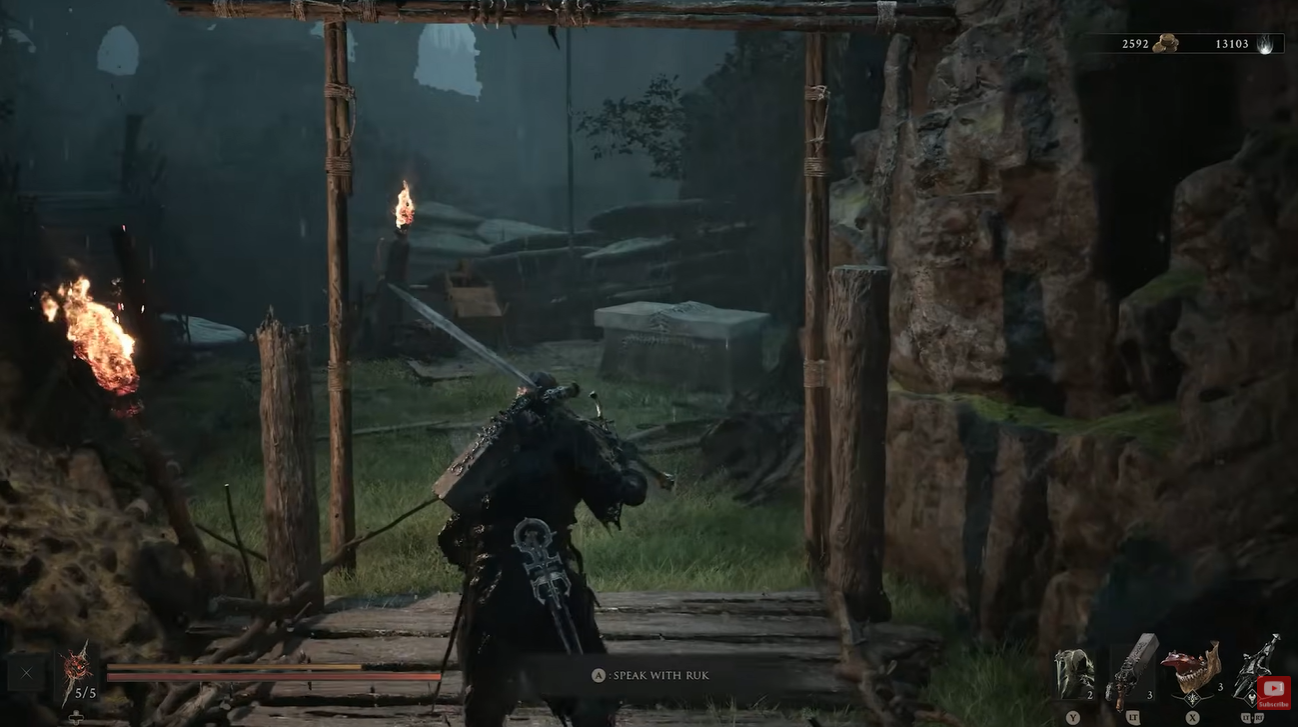
Step 6
Find Ruk. Look for Ruk near the end of this route. You do not need to interact with him to obtain the upgrade item.
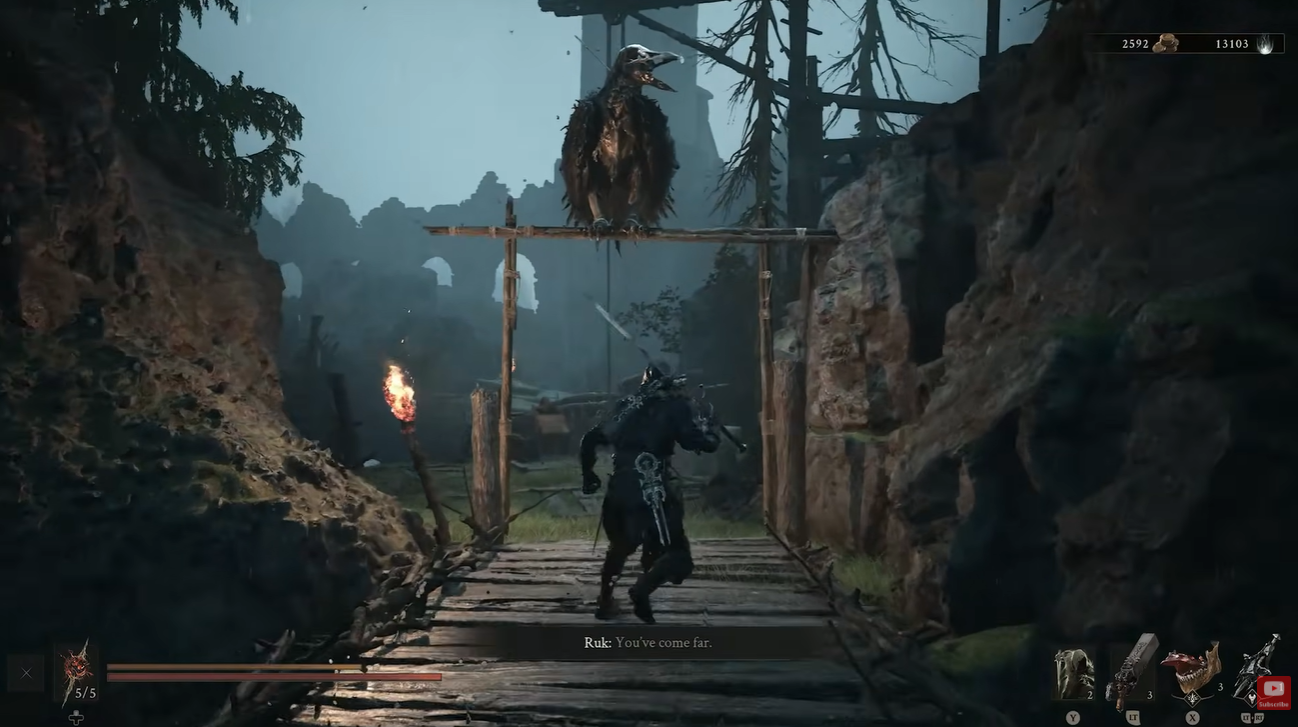
Step 7
Open the chest behind Rock. Check directly behind Rock and open the chest to collect the Etching Needles.
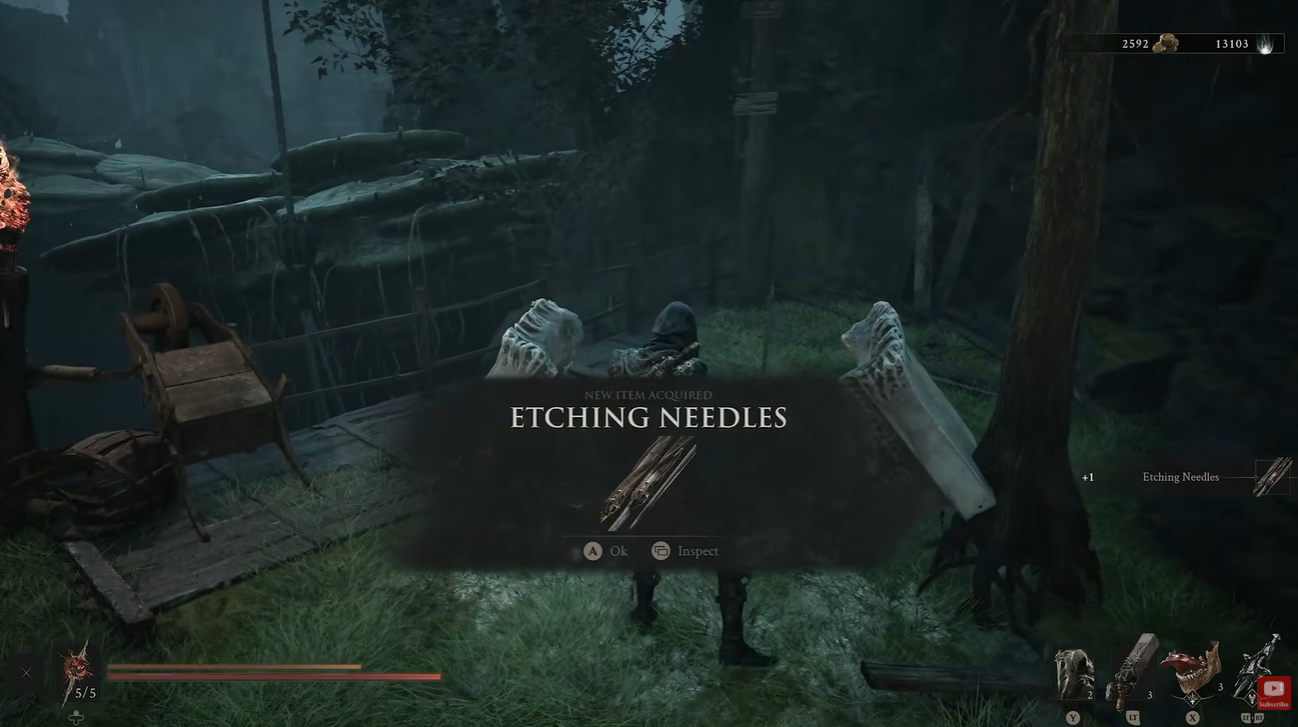
How to unlock Tarstone upgrades at Marrow Keep
Once you have the Etching Needles, return to Marrow Keep. The needles are the key item needed to begin the Tarstone upgrade process.
Head to the forge and speak with Franz. Give France the Etching Needles to unlock the ability to upgrade your Tarstones.
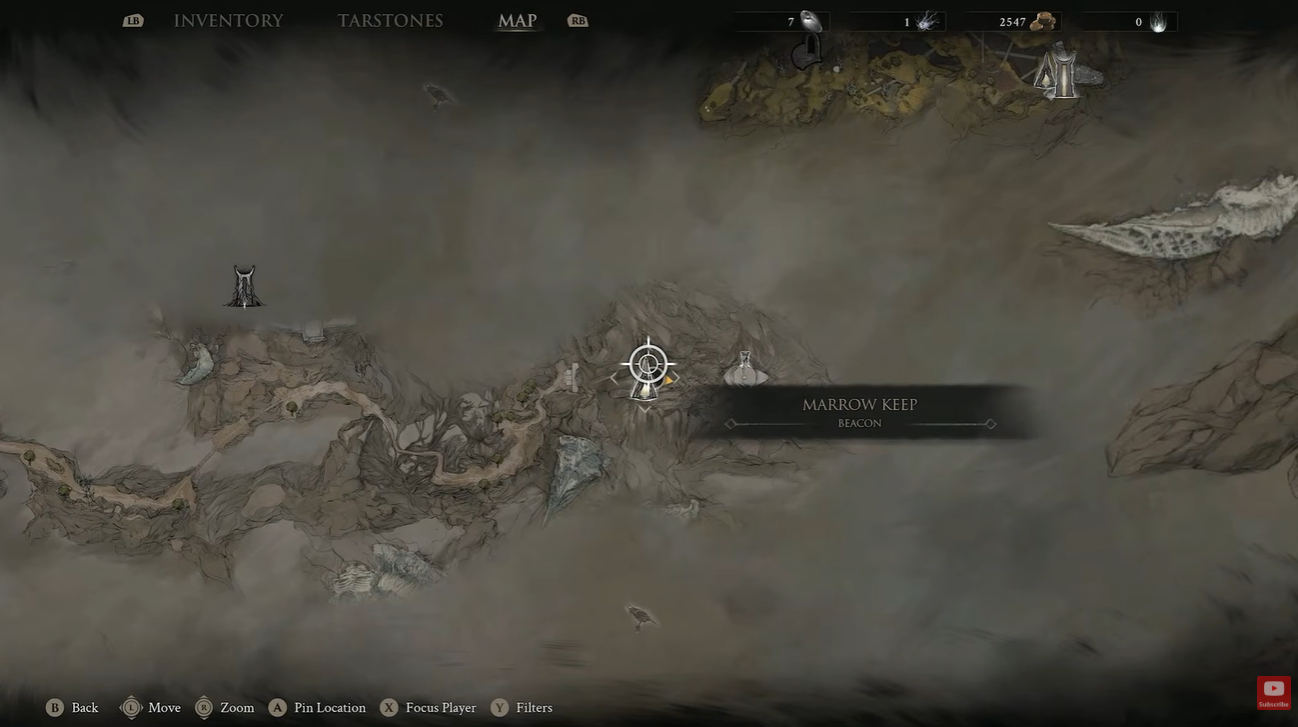
The item does not immediately upgrade your equipment. Instead, it unlocks the progression system that allows you to improve Tarstones once they have accumulated enough XP.
Here is how to upgrade your Tarstones in Mortal Shell 2:
Step 1
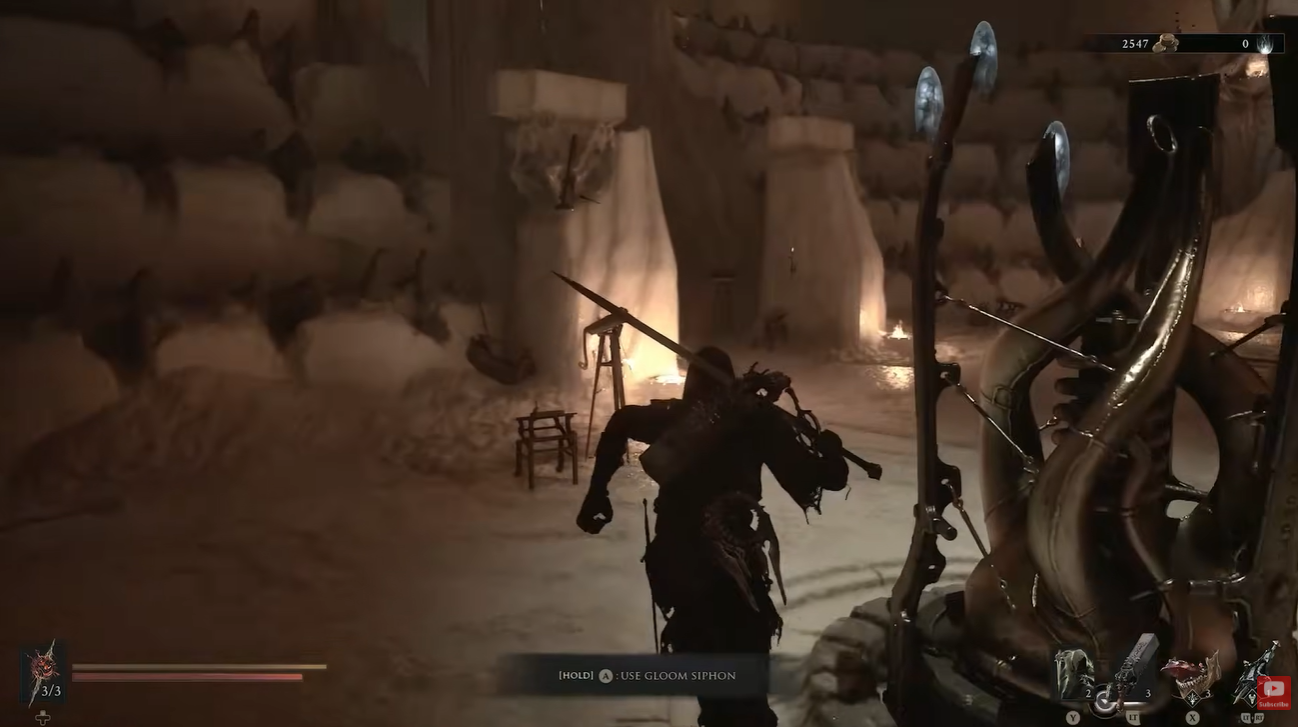
Return to Marrow Keep. After collecting the Etching Needles, travel back to the main hub. Visit the forge. Make your way to the forge where France is located.
Step 2
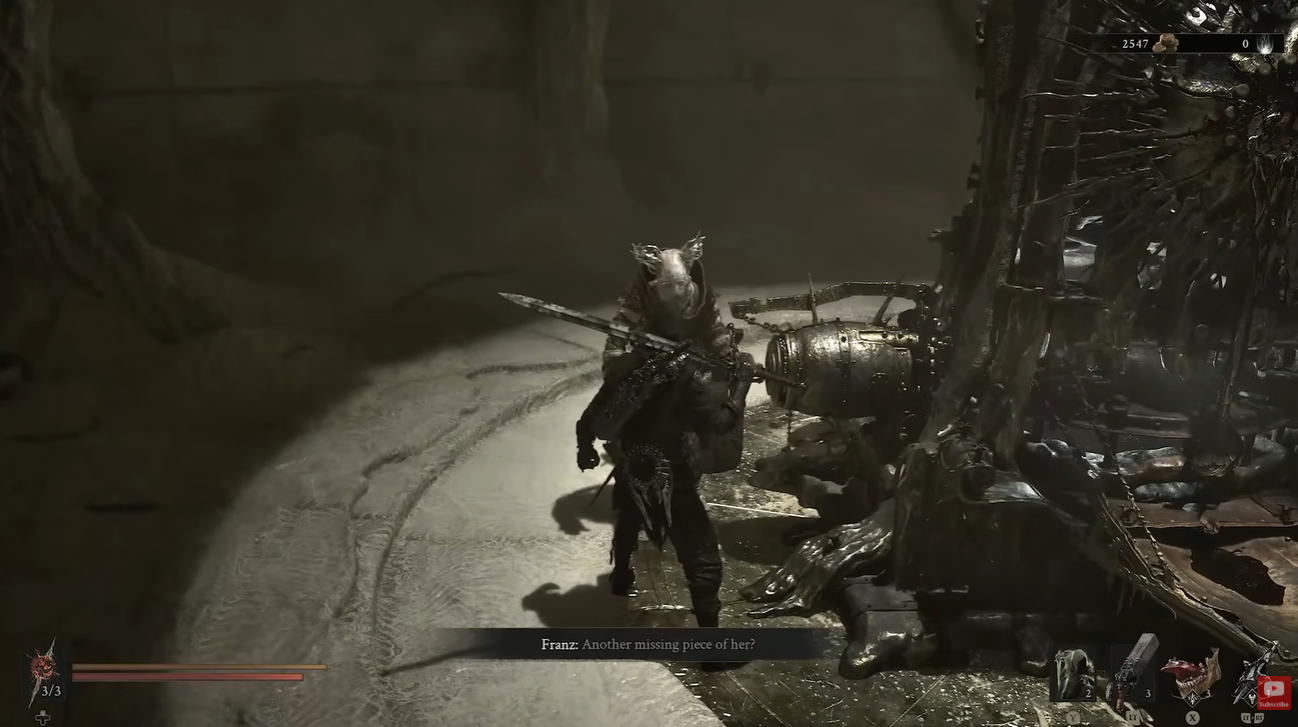
Give the Etching Needles to Franz. Interact with France and hand over the needles to unlock Tarstone upgrading.
Step 3
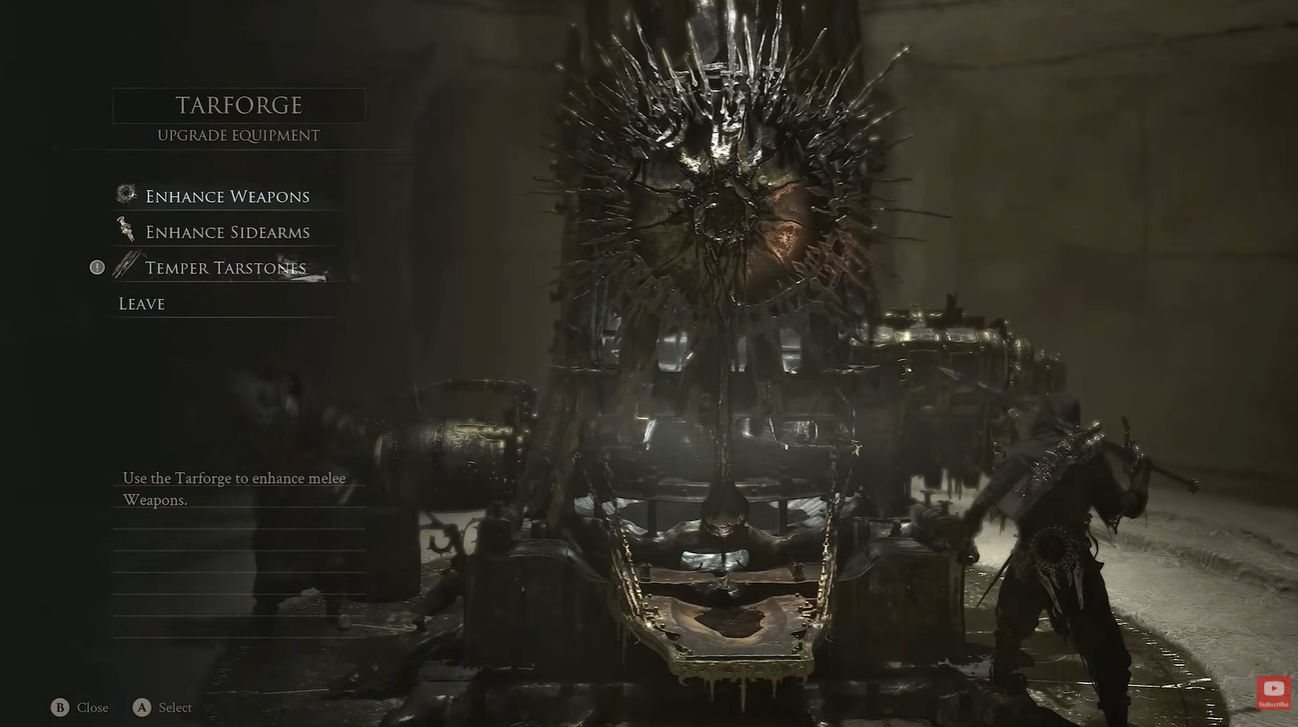
Max out your Tarstone XP. Before attempting an upgrade, make sure the Tarstone you want to improve has reached its maximum XP.
Step 4
Pay the upgrade cost. The first upgrade from tier one to tier two requires gold or coins, making the initial upgrade relatively straightforward.
Continue upgrading for higher tiers. Later Tarstone upgrades require additional resources, including Tar Cores. Continue progressing through the Tarstone system to unlock these higher-level improvements.
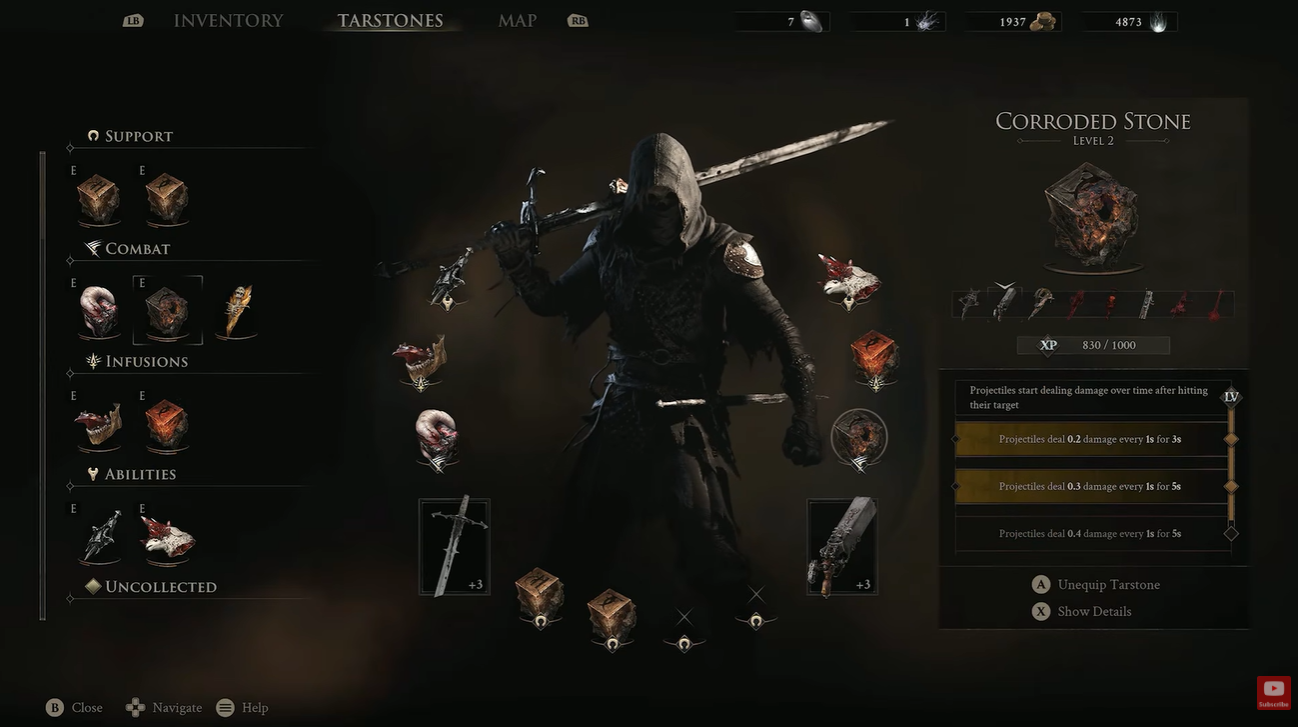
How Tarstone XP and Tar Cores work together
The important thing to remember is that Tarstone XP and upgrade materials serve different purposes. XP allows the Tarstone to reach the point where it is ready for an upgrade, while currency and other materials are used to actually perform the upgrade.
For the first upgrade, you mainly need a Tarstone at maximum XP and enough gold or coins. As you progress toward higher tiers, Tar Cores become an increasingly important part of Tarstone progression.
This means you should keep an eye on the XP of Tarstones that you regularly use. Leaving a frequently equipped Tarstone at maximum XP for too long means you are effectively delaying the next improvement to that part of your build.
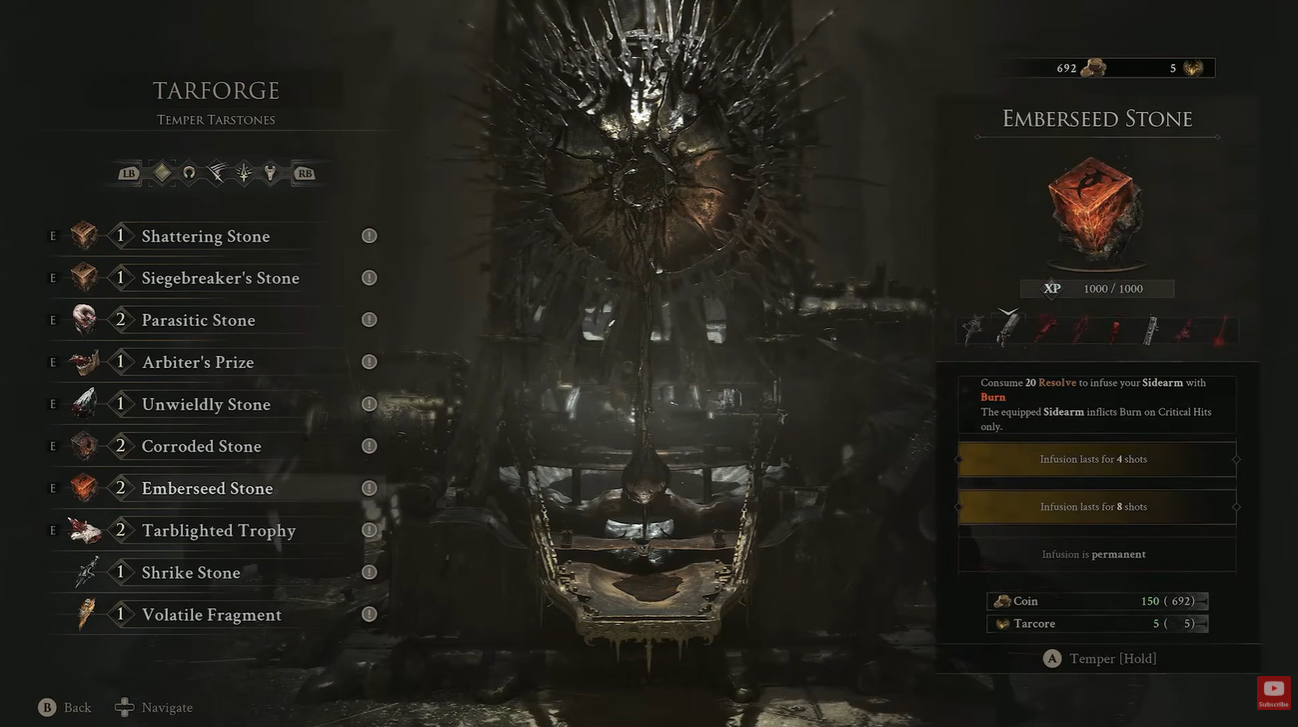
Why Tarstone upgrades matter for your build
Tarstones are an important part of character customization in Mortal Shell 2. Rather than relying only on weapons or equipment, you can use Tarstones to shape how your character performs in combat.
Different Tarstones can complement different approaches, so the most useful upgrade will depend on the build you are using. If you have already found a Tarstone that works particularly well with your preferred weapon, Shell, or combat style, upgrading it can be a better investment than constantly changing your setup.
Unlocking the upgrade system early gives you more opportunities to improve the Tarstones you actually use.
| Progression | Requirement | Action |
|---|---|---|
| Unlock system | Etching Needles | Find the chest behind Rock |
| First upgrade | Maximum Tarstone XP + gold/coins | Upgrade at France’s forge |
| Higher upgrades | Maximum XP + additional resources | Continue Tarstone progression |
| Advanced upgrades | Tar Cores | Use Tar Cores for higher tiers |
How to make the most of Tarstone upgrades
Once the system is unlocked, focus your resources on the Tarstones that actually fit your build. There is little reason to prioritize a Tarstone you rarely use when one of your main setup pieces is already at maximum XP and ready for an upgrade.
You should also consider the cost of higher tiers before spending resources elsewhere. The first upgrade is relatively simple, but later improvements require additional materials. Planning which Tarstones are central to your build can help you avoid wasting resources.
Video help:




Leave a Reply