
Before you leave the Mortal Shell 2 prologue, sweep the opening path, both cleanse-beacon dungeons, the side routes around the second beacon, and the hub training area so you do not miss early upgrade materials, healing items, currency, seals, maps, and vendor unlocks.
Useful loot starts behind your initial spawn and continues through side paths, corruption chambers, breakable growths, and a hidden wall inside the Keep. The route below follows those finds chronologically while keeping story details light.
- Early prologue pickups at a glance
- Prologue route boundaries and stopping point
- Opening spawn and Harros area pickups
- First beacon dungeon and fork-side loot
- Bridge, second beacon, and Tainted Vestige route
- Jump pad transition and the road to the Keep
- Keep secrets, seals, and weapon upgrades
- Frequently Asked Questions
Early prologue pickups at a glance
| Item | Where to find it |
|---|---|
| Troll Weed | Directly behind the opening spawn |
| Ventrium | Left of the first-shell obelisk |
| Gloom growth | Behind boxes after the first mandatory drop |
| Gold pouches | Ahead and right of the first drop area |
| Ventrium | Along the short route from the drop area |
| Gloom growth | Beside the short-route Ventrium |
| Ventrium | Right of the firearm tutorial stairs |
| Meridian Actuator | Chest inside the first beacon dungeon |
| Ventrium | Behind the cleared corruption route in the first dungeon |
| Weltcap | Left of the first beacon after returning to the surface |
| Common Moonshine | Top of the hill along the left fork |
| Gloom growth | Past the left-fork Moonshine route |
| Weltcap | Cove behind the exploders on the right route |
| Gloom growth | Slightly beyond the exploder-path Weltcap |
| Gold pouch | Ahead after the first outdoor mini-boss |
| Common Moonshine | Right of the post-mini-boss path |
| Weapon-upgrade material | Break the bony root farther along the route |
| Two Gloom growths | Bat-creature area beyond the bridge |
| Weapon-upgrade item | Behind the corruption point in the second beacon dungeon |
| Burnt Effigy | Dropped by the Tainted Vestige |
| Gloom growths and Laterite | Around the Tainted Vestige side route |
| Gold stash | Secret room with crab-like box enemies |
| Ventrium | Behind the approach to the jump pad |
| First ore pickup | Communing point after the Tar Golem transition |
| Ruk’s Map | Collected after the communion teleport |
| Coin of Mammon | Behind the arrival point after obtaining the map |
| Devout Chalice | Building on the left before entering the Keep |
| Ventrium | Inside the Keep training room |
| Infinite Seal | Reward for completing Cester Genessa’s training |
| Chained chalice | Behind the breakable training-room wall |
| Slayer Seal | Along the path beyond the hidden chalice room |
| Forgotten Crossbow map location | Given by Merrick inside the Keep |
| Weapon-upgrade machine access | Give the Meridian Actuator to the upgrade vendor |
Repeated currency pouches and Gloom growths are grouped when they appear together. Use the local checklists below for the turns and return paths that are easiest to overlook.
Prologue route boundaries and stopping point
This route begins when movement first unlocks, continues through claiming Harros as your first shell, and covers the first beacon, bridge, second beacon, jump pad, Tar Golem transition, and the journey into the Keep.
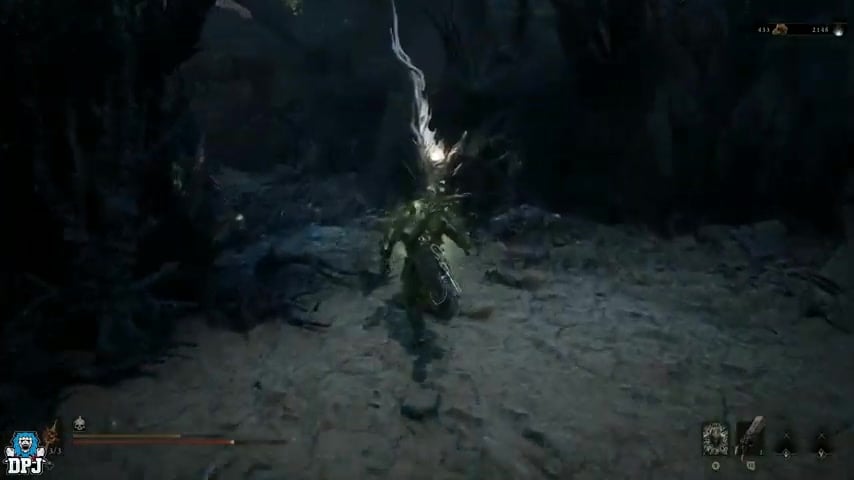
Key Stop after exploring the Keep’s training room, hidden chamber, vendors, seals, and upgrade machine. That is the last preparation area covered here before you choose a path into the open world, and following this order keeps backtracking to a minimum.
Opening spawn and Harros area pickups
| Pickup | Route cue |
|---|---|
| Troll Weed | Turn around as soon as you can move and collect it behind the spawn point. |
| Ventrium | After claiming your shell, check the left side of the nearby obelisk. |
| Gloom growth | Make the required drop, turn left, and break the growth hidden behind boxes. |
| Gold pouches | Collect one ahead of the landing and another to the right. |
| Ventrium | Follow the short path branching from the initial landing. |
| Gloom growth | Break the second growth along the same short route. |
| Ventrium | Climb the firearm tutorial stairs, defeat the three enemies, and check the right side. |
The tutorial immediately encourages forward movement, but your first find is behind you. Troll Weed has a deliberately strange description that asks for 999 more and lists immunity from all damage, making it an early curiosity rather than something to build your route around.
Once you possess Harros and equip your weapons, begin collecting Ventrium. It is used for weapon upgrades, and several pieces are hidden before you ever reach the first beacon.
Breaking a Gloom growth awards Gloom for character progression. These growths return after you use a beacon, so collecting them now does not exhaust them permanently.
First beacon dungeon and fork-side loot
| Pickup | Route cue |
|---|---|
| Meridian Actuator | Open the chest near the entrance of the first cleanse dungeon. |
| Ventrium | After clearing the corruption, double back and collect it before using the return point. |
| Weltcap | Return to the surface and check immediately left of the beacon. |
| Common Moonshine | Head right from the beacon, take the left fork, and climb to the top of the hill. |
| Gloom growth | Continue around the path beyond the Common Moonshine. |
| Weltcap | Return to the fork, drop down right toward the exploders, and search the rear cove. |
| Gloom growth | Advance slightly beyond the second Weltcap and break the next growth. |
| Gold pouch | Defeat the mini-boss and collect the pouch directly ahead. |
| Common Moonshine | Check the right side of the path after the mini-boss. |
| Weapon-upgrade material | Continue until you reach a bony root structure, then break it for the drop. |
Interact with the first beacon and choose its cleanse option to enter the dungeon-like corruption chamber. Open the entry chest, ride the lift down, clear the enemies, and press the floor plate to lower the gate. After cleansing the corruption, turn around instead of immediately returning to the surface.
Back outside, the route divides at a fork. The upper left path holds a healing item and Gloom, while the lower right route passes explosive enemies that inflict poison if their blasts catch you. Strike them, move clear of the explosion, and check the cove behind them.
A Weltcap can actively restore 20% health over 30 seconds or passively refill health up to 20%. Common Moonshine instead restores 30% health when active or supplies 3% damage reduction as a passive.
The outdoor mini-boss summons smaller creatures that explode. Keep space between you and those adds, remove the boss, and complete the nearby currency and upgrade-material sweep before moving toward the bridge.
Bridge, second beacon, and Tainted Vestige route
| Pickup | Route cue |
|---|---|
| Two Gloom growths | Clear the bat creatures after the bridge and break both growths in their area. |
| Weapon-upgrade item | Cleanse the second dungeon and search behind the corruption point. |
| Burnt Effigy | Take the left route from the beacon and defeat the Tainted Vestige. |
| Gloom growths | Sweep the side area around the Tainted Vestige encounter. |
| Laterite | Break the material-bearing root along the same side route. |
| Gold stash | Return to the beacon, follow the left secret path, and defeat the crab-like box enemies. |
| Ventrium | Take the right route toward the jump pad, pass or defeat the spawning enemy, then turn back on yourself. |
Cross the bridge without taking the tempting halfway drop. At its far end, jump into the bat-creature area, deal with the attackers, and sweep the ground before approaching the second beacon.
Cleanse this beacon by pushing through the smaller enemies, squeezing through the narrow wall, and defeating the larger enemy. The weapon-upgrade pickup sits behind the point where you remove the corruption, so search that rear space before leaving the dungeon.
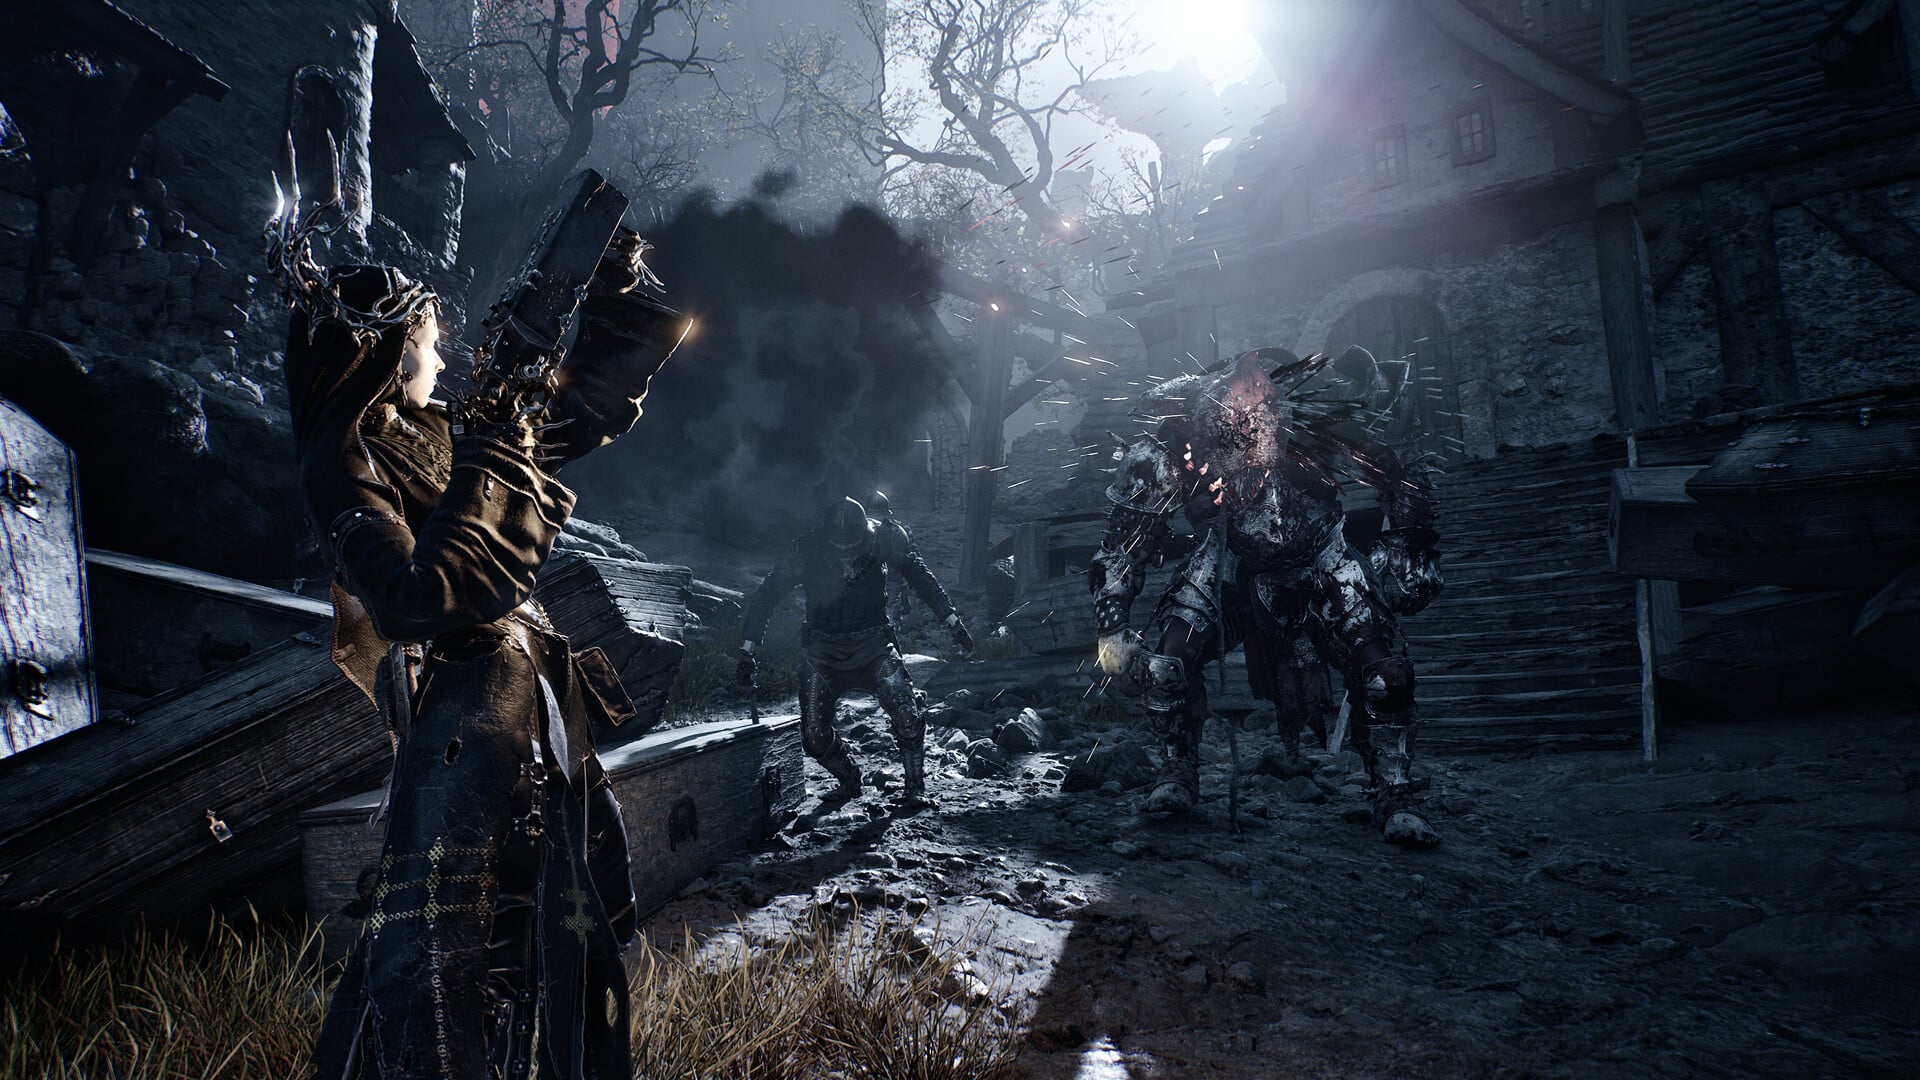
From the restored beacon, take the left-side route to the Tainted Vestige. Its grab can remove nearly all your health, but the creature is slow enough to punish from its sides. Afterward, return to the beacon for the secret gold branch, then approach the jump pad without activating it immediately.
The Burnt Effigy cures burns and grants 50% burn mitigation for 30 seconds when used actively. Equipped passively, it supplies 15% burn mitigation.
Jump pad transition and the road to the Keep
| Pickup | Route cue |
|---|---|
| First ore pickup | Follow the post–Tar Golem route to the communing point and collect it to continue. |
| Ruk’s Map | Collect the map after arriving through the communion teleport. |
| Coin of Mammon | Turn behind the map arrival point and follow the rear path; it trades for 500 coins. |
| Devout Chalice | Check the building on the left before the Keep; it trades for 100 coins. |
Use the jump pad only after collecting the hidden Ventrium, then continue until you enter the Tar Golem encounter. Once that sequence ends, follow the available path to the first ore-like pickup and interact with the communing point to trigger the teleport.
At the destination, take Ruk’s Map and turn around before moving deeper into the area. The rear path leads to the Coin of Mammon, while the left-side building farther ahead holds the Devout Chalice. Continue forward from there to reach the Keep.
Keep secrets, seals, and weapon upgrades
| Hub find | What |
|---|---|
| Shell-location NPC | Spend Glimpse to reveal shell locations around the world. |
| Gloom beacon | Use the beacon to spend the Gloom accumulated during the prologue. |
| Egg room | Remember the room when collecting eggs in the open world; returned eggs yield Gloom. |
| Ventrium | Follow the route from the beacon into the training room and collect it. |
| Infinite Seal | Speak to Sester Genessa and complete her training challenge. |
| Hidden chalice room | Strike the breakable training-room wall, enter, and inspect the chained chalice. |
| Slayer Seal | Find it beyond the chalice route, but leave it unequipped if achievements matter. |
| Forgotten Crossbow map location | Find Merrick from the beacon and speak with him to mark the weapon’s location. |
| Weapon-upgrade machine | Give the Meridian Actuator to the upgrade vendor to activate the machine. |
The first large bird-like NPC inside the Keep displays shell locations, but revealing those locations requires Glimpse. The nearby beacon is where you spend accumulated Gloom on progression.
Explore the surrounding rooms before leaving. The egg room introduces an open-world loop in which collected eggs can be returned for Gloom, while the training room contains an immediate upgrade material and a valuable training reward.
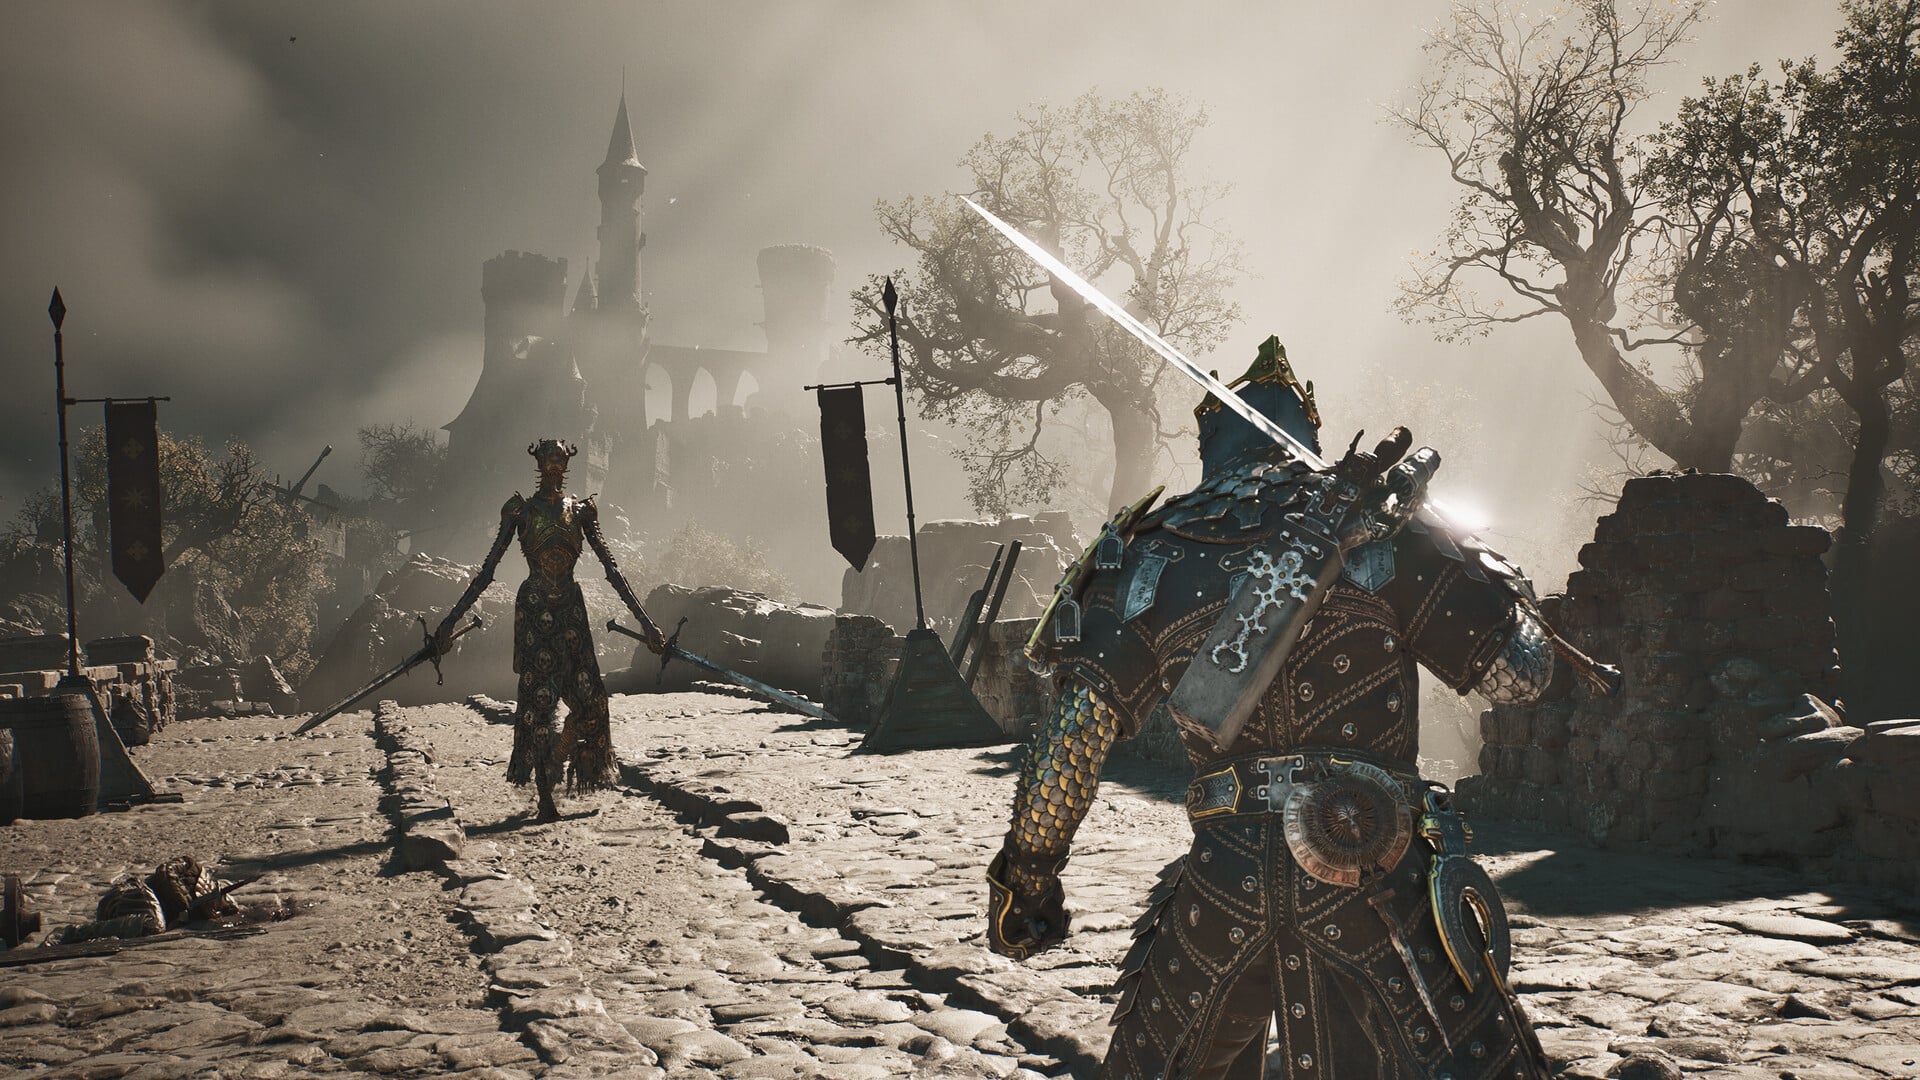
The Infinite Seal is a high-risk, high-reward option tied to parrying. In the adjacent secret room, break the four chains around the pedestal before interacting with the chalice. It damages you at this stage and may later serve as transport to a dungeon, but that later function is not established.
The Slayer Seal offers an easier-game option, though its achievement warning makes it a poor choice for an achievement-focused save. Merrick’s marker and the activated upgrade machine can both be secured without committing any weapon materials.
Keep your early Ventrium and other upgrade materials until you have chosen the weapon you expect to carry into the open world; activating the upgrade machine does not force you to spend them.
Frequently Asked Questions
Does the Slayer Seal permanently disable achievements?
The permanent effect is unclear. The available warning is secondhand: equipping the Slayer Seal may trigger an autosave that disables achievements on that save even if you never use the Seal. Avoid equipping it unless you are willing to risk that save’s achievement eligibility.
Do you have to defeat the Tar Golem during the prologue?
No. The route continues after losing the encounter, so defeating the Tar Golem is not required to reach the communion sequence and the Keep.
Does the prologue contain exactly 30 unique secret items?
An exact total of 30 unique items is not established. Treat this as a 20-plus-find sweep: it includes repeated Gloom growths, Ventrium pieces, currency pickups, named consumables, seals, map rewards, and hub unlocks rather than 30 distinct item names.
Video help




Leave a Reply