

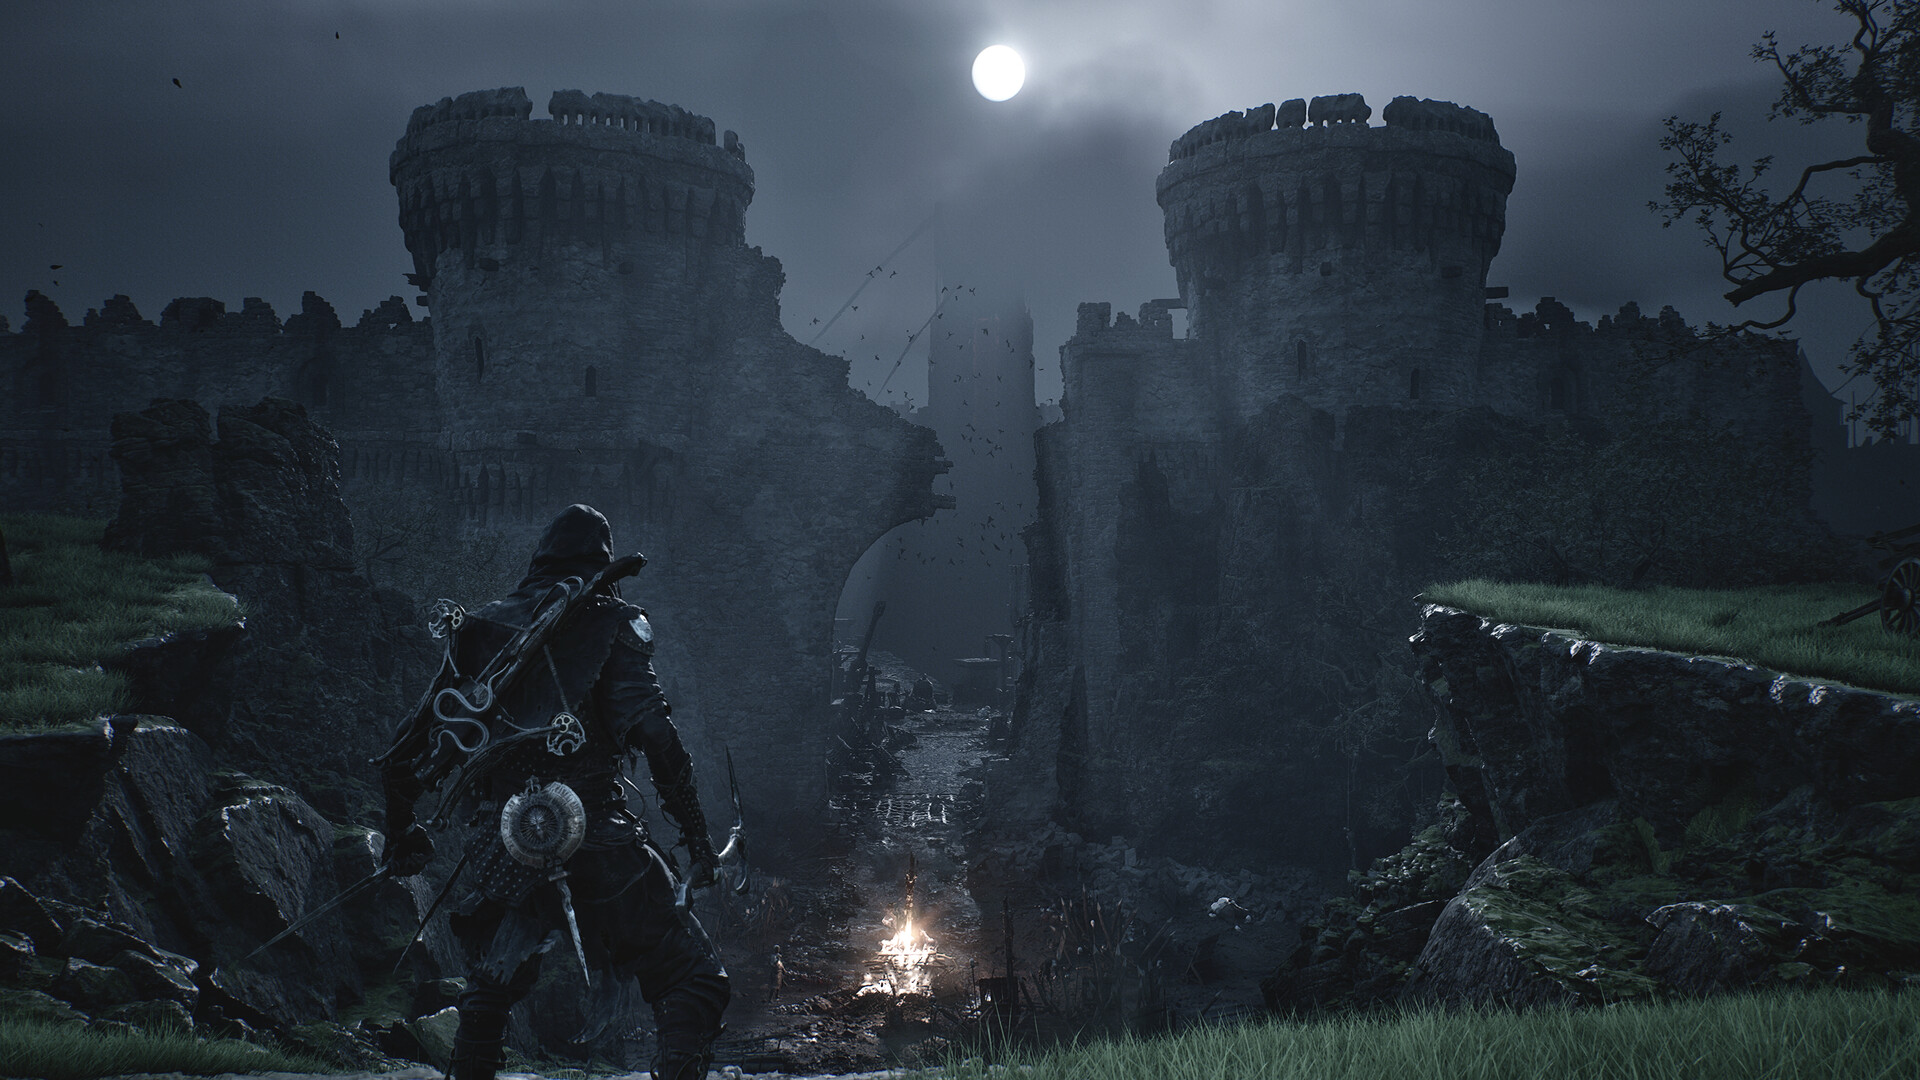
The Ballistazooka is one of the more specialized sidearms you can obtain in Mortal Shell II. Unlike an item that can simply be picked up during normal exploration, this weapon is tied to a dungeon boss, making the journey to it part of the challenge. You need to reach Sentry’s Grave and defeat the Subjugated Guardian on its lowermost level to claim the Ballistazooka.
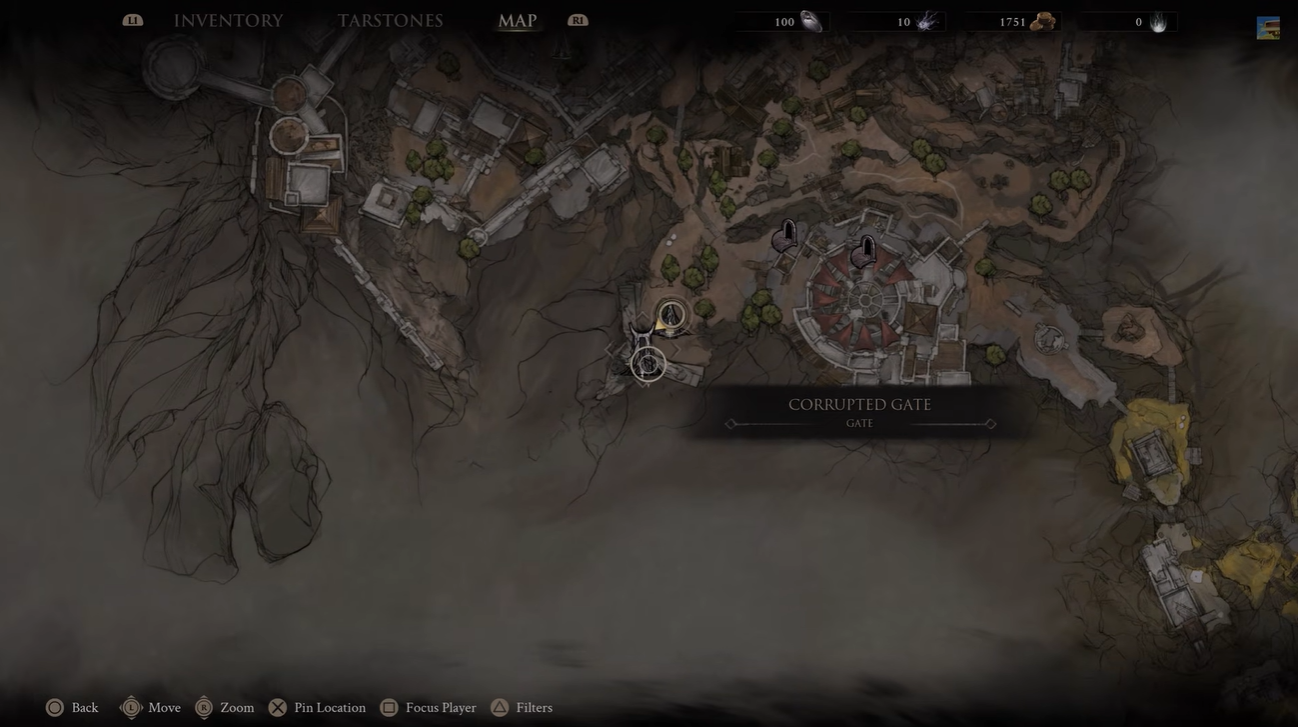
The route to the dungeon can initially be confusing because Sentry’s Grave is accessed through a portal rather than being reached directly from the overworld. Starting at Corrupted Gate, you need to make your way to Lonesome Spire and use the portal there. From Sentry’s Grave, the objective is straightforward: descend through the dungeon until you reach its deepest level and face the Subjugated Guardian.
Ballistazooka quick overview
| Feature | Details |
|---|---|
| Weapon | Ballistazooka |
| Type | Sidearm |
| Style | Heavy ranged / ballista |
| Acquisition | Defeat the Subjugated Guardian |
| Dungeon | Sentry’s Grave |
| Boss location | Lowermost level |
| Starting landmark | Corrupted Gate |
| Route | Corrupted Gate → Lonesome Spire → Portal → Sentry’s Grave |
| Handling | Heavy and unwieldy |
| Main purpose | Heavy ranged attacks |
| Customization | Tarstones |
| Upgrade system | Tarforge |
Mortal Shell II’s sidearms are part of a broader combat system built around customization. Tarstones are divided into Support, Combat, Infusions and Abilities, with different categories affecting your main weapon and sidearm.
How to reach Subjugated Guardian Boss in Mortal Shell 2
Step 1
Start at Corrupted Gate and begin following the route toward Lonesome Spire. Use the surrounding landmarks to keep yourself oriented as you move through the area.
Step 2
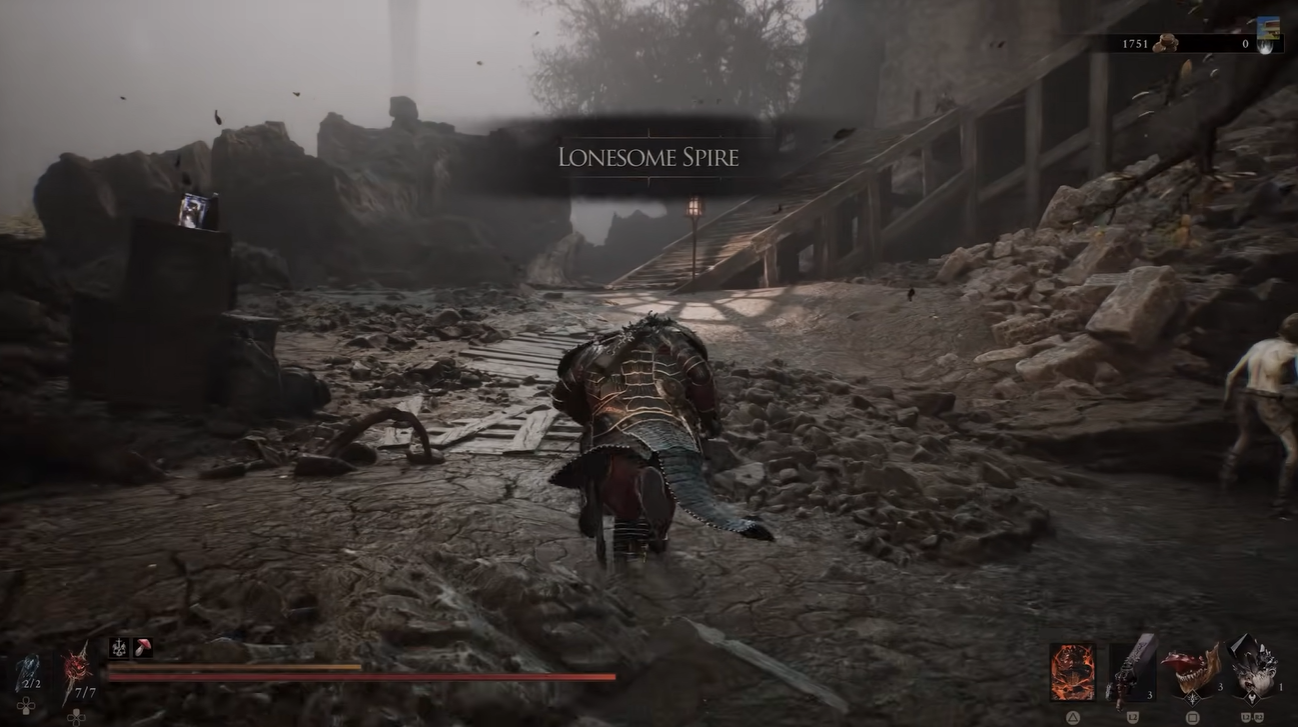
Continue through the connecting paths until you reach Lonesome Spire. Mortal Shell II places a strong emphasis on exploration, with weapons, Shells, Tarstones and other equipment spread throughout its interconnected world. Players have also reported that the game contains numerous dungeon and interior discoveries that can be easy to overlook.
Step 3
Once you reach Lonesome Spire, look for the portal that leads to Sentry’s Grave.
Step 4
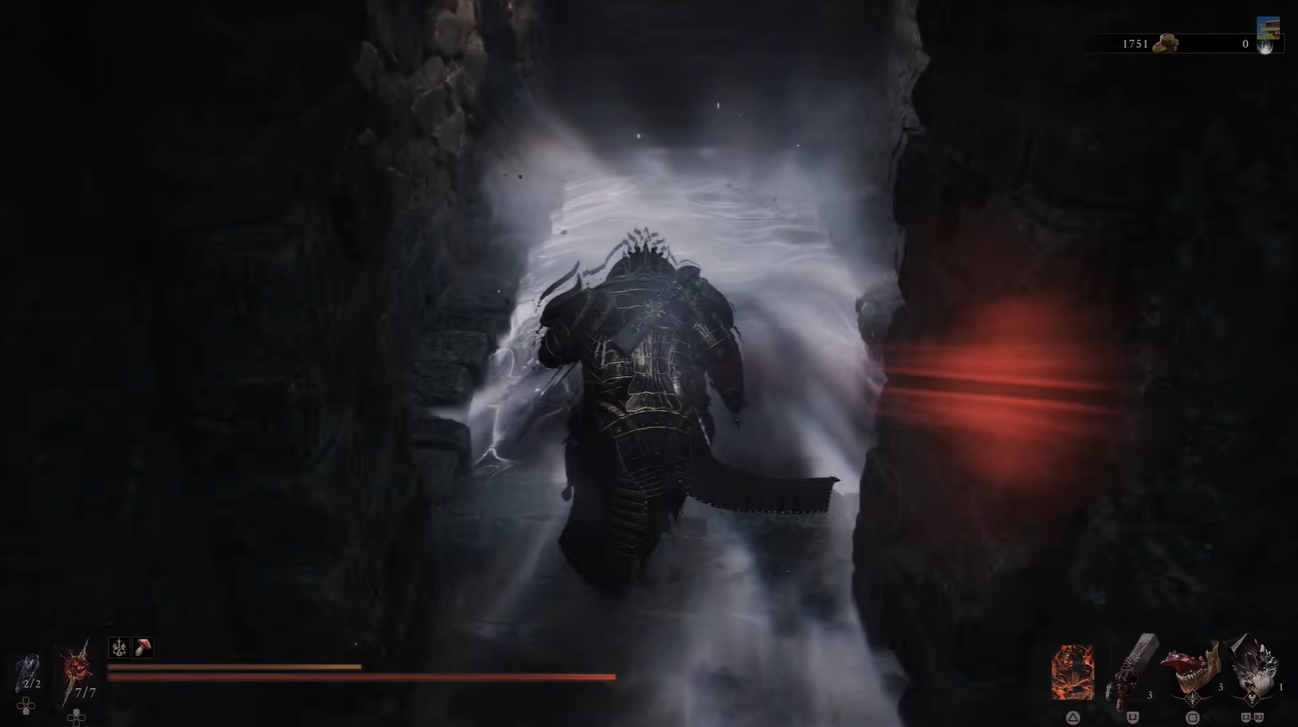
Enter the portal to travel to Sentry’s Grave. This is the important transition point in the Ballistazooka route.
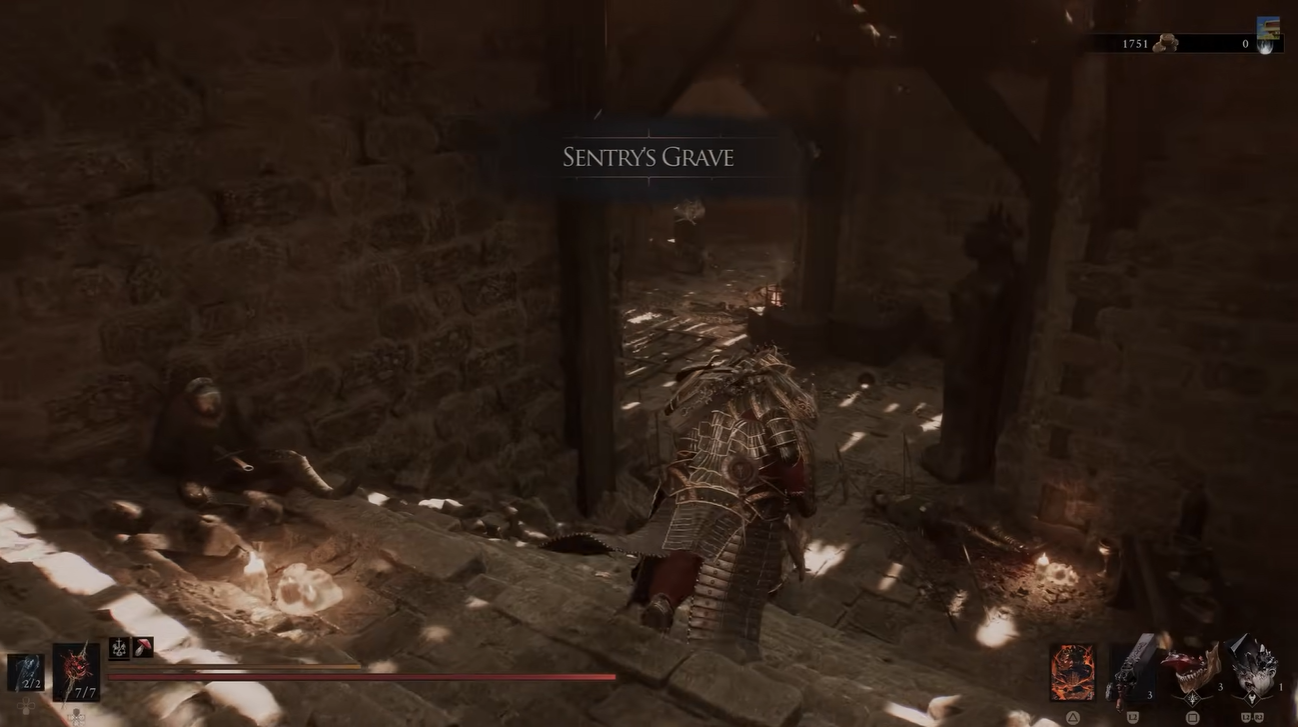
Step 5
After arriving in Sentry’s Grave, start descending through the dungeon.
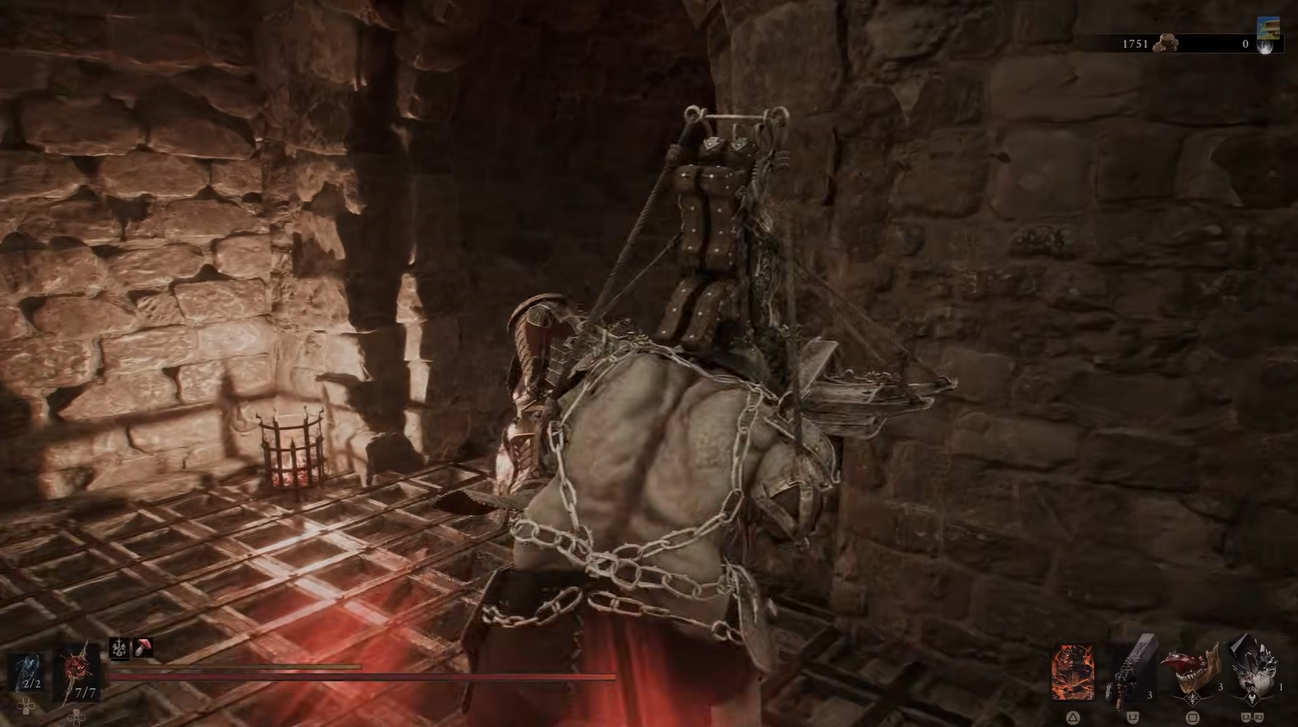
How to find the Subjugated Guardian
The Subjugated Guardian is found at the lowermost level of Sentry’s Grave. Your objective is therefore to keep pushing downward rather than searching the upper sections for the weapon.
Sentry’s Grave is part of the type of dungeon exploration that makes Mortal Shell II’s world rewarding. The game has numerous interiors and dungeons containing equipment and upgrade-related discoveries, and the community has been mapping these areas separately because many interiors do not have conventional maps.
When you reach the bottom, you will find the arena for the Subjugated Guardian. Defeating this boss is the requirement for obtaining the Ballistazooka.
How to defeat the Subjugated Guardian and obtain the Ballistazooka
Step 1
Enter the Subjugated Guardian’s arena and take some time to understand its attack patterns before committing to long attack strings.
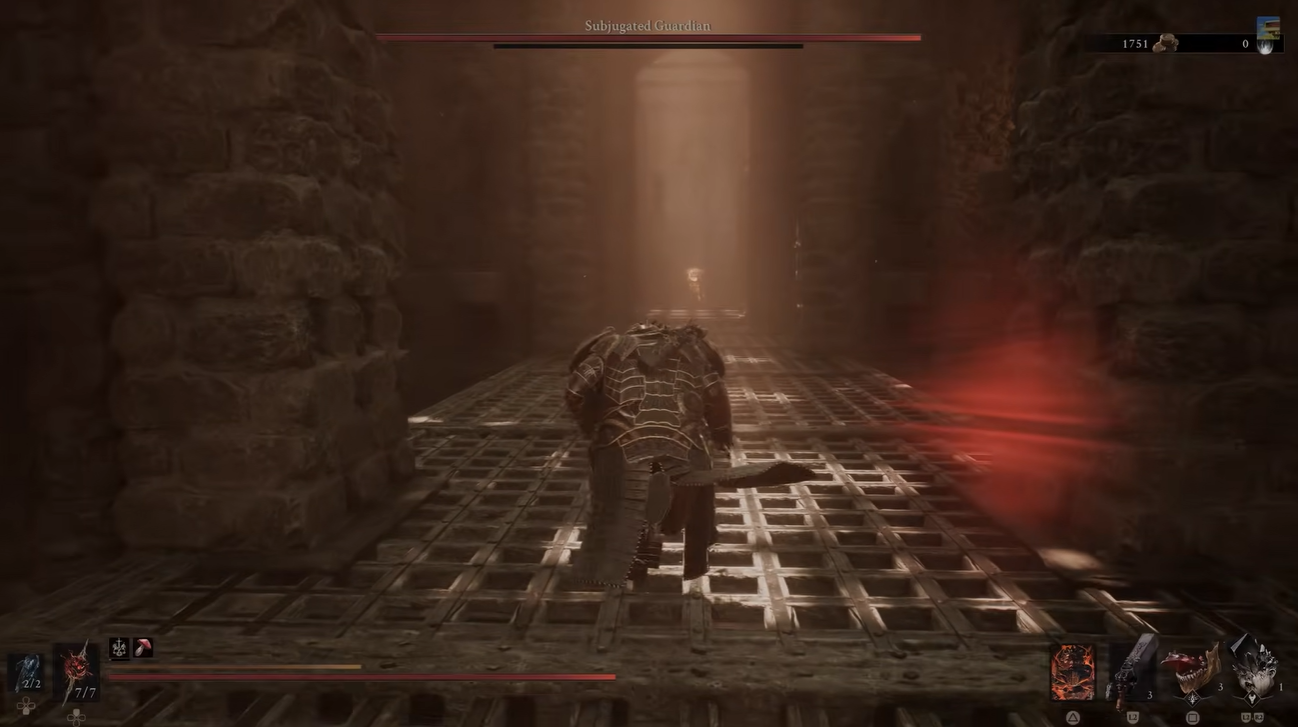
Step 2
Use your preferred melee weapon and Shell abilities to deal damage. You do not need the Ballistazooka for this fight because the boss is precisely what you need to defeat to acquire it.
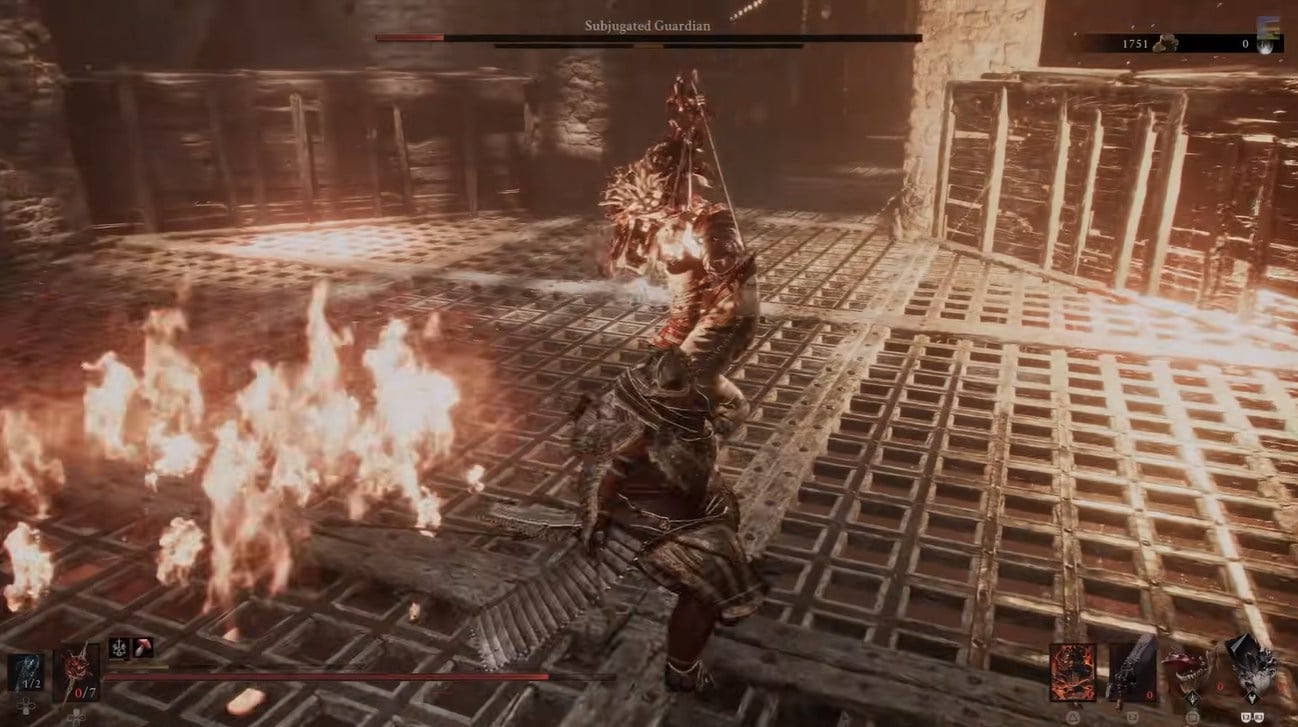
Step 3
Continue the fight until the Subjugated Guardian is defeated. Once the boss is dead, collect the Ballistazooka reward. This completes the weapon’s acquisition.
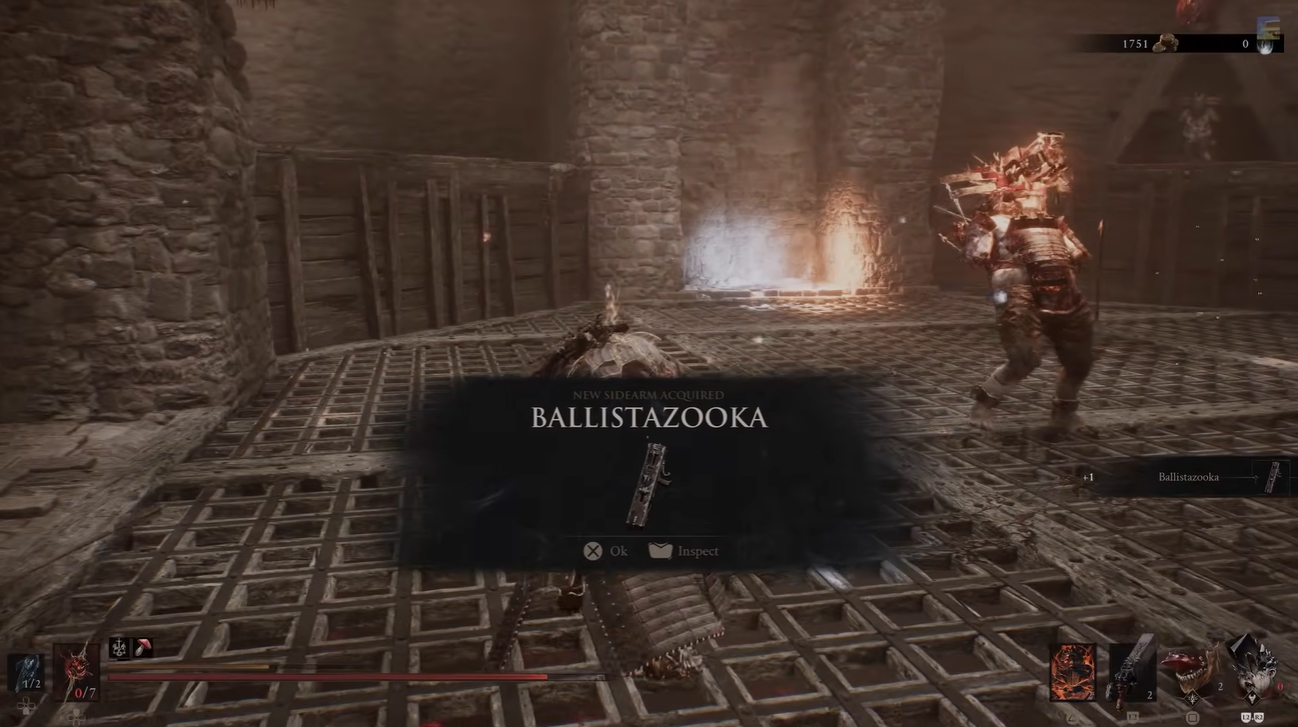
What the Ballistazooka does
The Ballistazooka is designed as a heavy and unwieldy ranged sidearm. That description is important because it tells you how the weapon should be approached. It is not intended to function like a lightweight weapon that you constantly fire while moving around enemies.
Instead, it works best when you create a safe opportunity, line up your attack and use the weapon to apply ranged pressure.
This makes it useful for several situations. You can soften an enemy before entering melee, punish an enemy after it commits to an attack, or finish a weakened target without having to immediately return to close quarters.
The weapon is therefore best viewed as a complementary ranged tool rather than a replacement for your primary weapon.
Ballistazooka stats and characteristics
Exact numerical damage figures should be treated cautiously because publicly available information does not currently provide a complete, reliable stat sheet for the weapon. Community discussion around the beta also noted that weapon and character statistics were not always presented clearly in-game.
| Characteristic | Ballistazooka |
|---|---|
| Category | Sidearm |
| Attack type | Ranged |
| Weapon identity | Heavy ballista |
| Handling | Heavy and unwieldy |
| Combat role | Deliberate ranged damage |
| Best situation | Safe ranged openings |
| Customization | Tarstones |
| Upgrade potential | Tarforge system |
Rather than focusing on an unverified damage number, the most useful way to judge the Ballistazooka is by its role. It gives your loadout a powerful, deliberate ranged option when your primary weapon is built around close combat.
Is the Ballistazooka worth getting?
The Ballistazooka is worth collecting if you want another ranged option for your build. Mortal Shell II puts considerably more emphasis on sidearms and customization, and recent player discussions have highlighted sidearms, Tarstones and build variety as important parts of the sequel’s combat.
Its biggest advantage is also its biggest limitation. The Ballistazooka is powerful precisely because it is a heavy, deliberate weapon, but that means it is not ideal for players looking for a quick ranged sidearm.
If you already have a strong melee setup, however, the Ballistazooka can give you an additional way to approach difficult encounters. It lets you create distance, punish openings and finish enemies without committing to another melee exchange.




Leave a Reply