
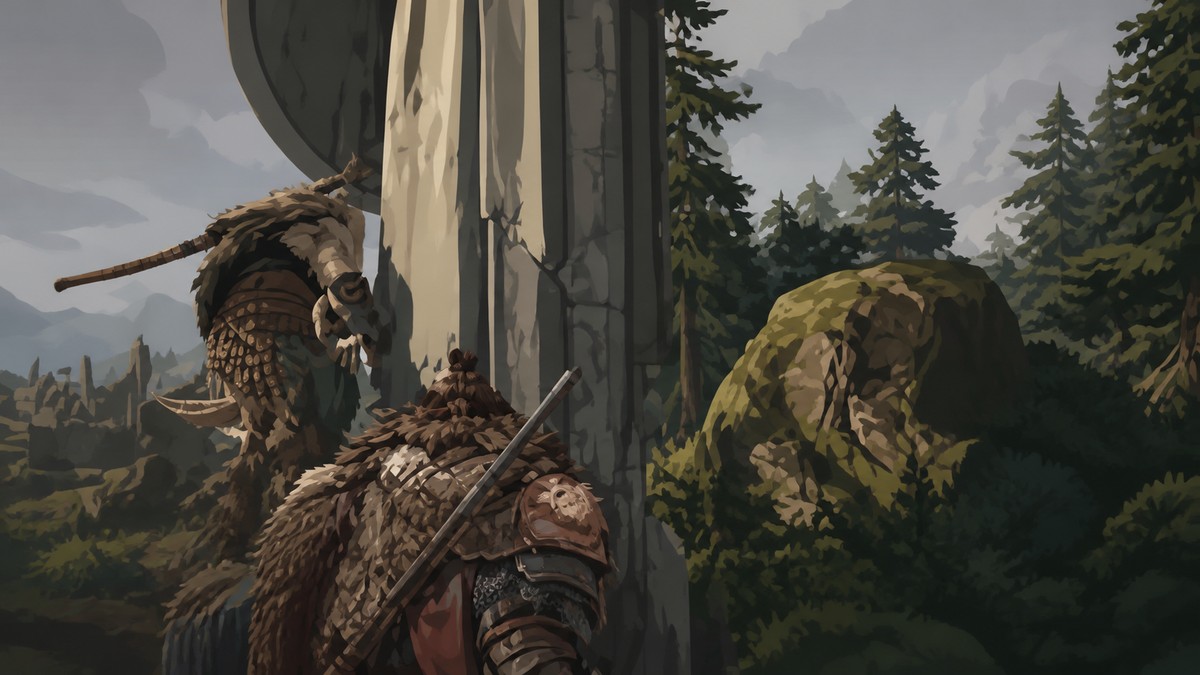
To start the secret Woodlings and Goddess questline in Mistfall Hunters, climb onto the Windrest camp statue, face the Goddess Velvar statue, press F to bow, then speak with Twig and Soekja to continue the hidden side quest.
The secret starts in Windrest camp, on the large statue near Sigrid’s Tavern. Once the bow prompt triggers, the hidden side quest appears in the Goddess/Woodlings side-quest area and opens a Woodling-focused chain that later sends you into expedition maps.
Secret Woodlings and Goddess quest start location
| Part | Details |
|---|---|
| Start location | Windrest camp, at the large statue near Sigrid’s Tavern. |
| Trigger action | Reach the statue’s upper section, face Goddess Velvar, then press F when Bow appears. |
| First NPCs | Speak with Twig, then go to Soekja, the White Crow. |
| Known objective areas | Refugee Camp in northern Hallowgrove, then the Prison POI in western Brandrgarde. |
| Main reward | The Hallowgrove Woodling Head bell helmet is tied to turning in Born of the Same Root to Twig. |
KEY!
This is a hidden side quest, separate from the normal extraction loop. You are looking for the climbable statue in Windrest, then the right angle toward Goddess Velvar so the game gives you the Bow interaction.
How to start the goddess bow in Mistfall Hunters
Use the statue climb in Windrest to reach the bow prompt and accept the hidden quest.
STEP 1/10
Crouch under the shield
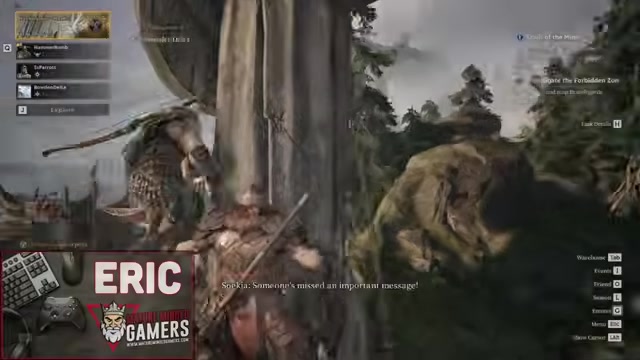
Start by crouching underneath the statue’s shield so you can line up the climb.
STEP 2/10
Get onto the twig
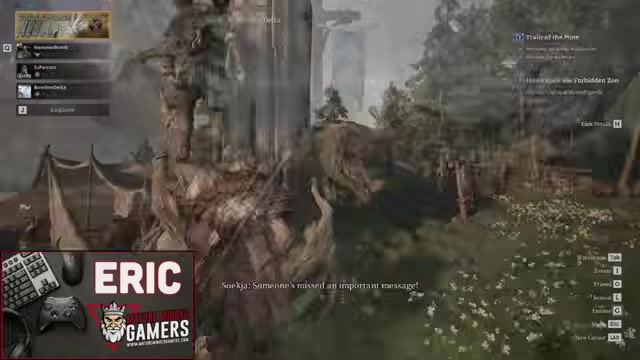
Move to the very top of the twig wrapped around the statue.
STEP 3/10
Jump toward the shield
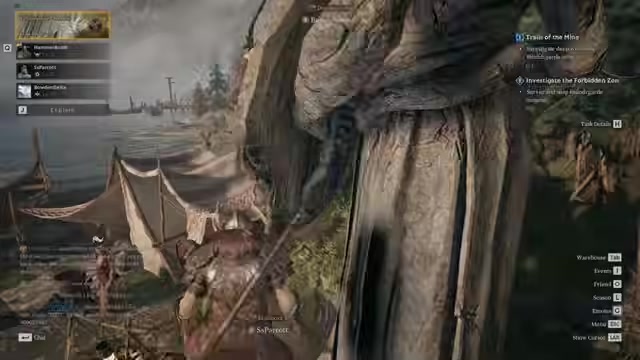
Jump from the twig toward the shield and land on top of it.
STEP 4/10
Back up on the shield
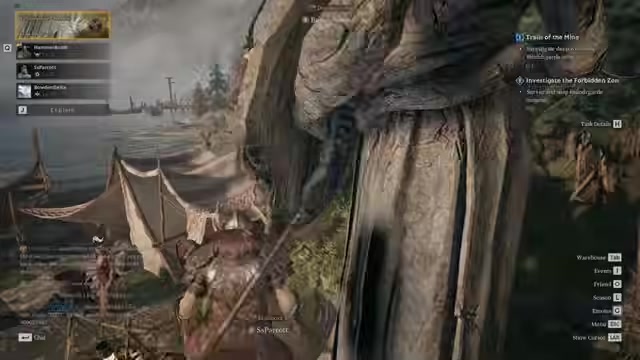
Adjust backward a little if your character is not lined up for the next jump.
STEP 5/10
Jump higher on the shield
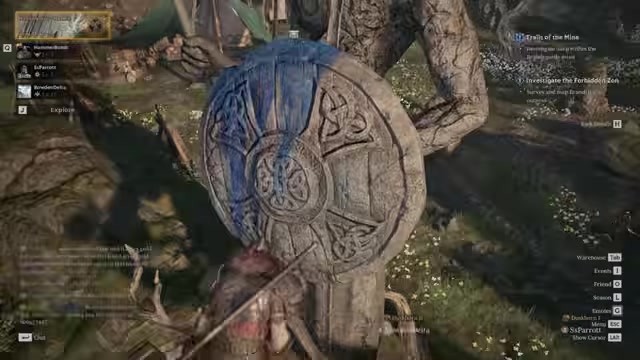
Jump again onto the top of the shield and stay there.
STEP 6/10
Shimmy right toward the horn
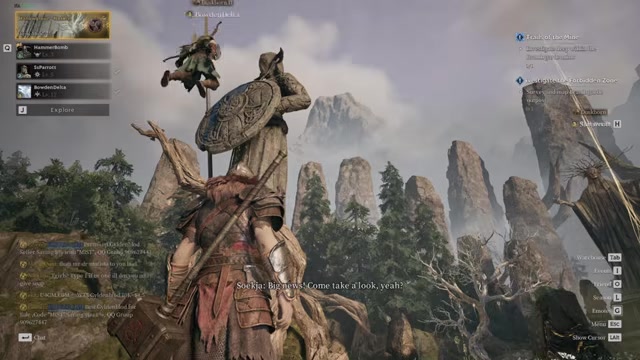
Move right while staying on the shield and face the blue horn.
STEP 7/10
Jump onto the blue horn
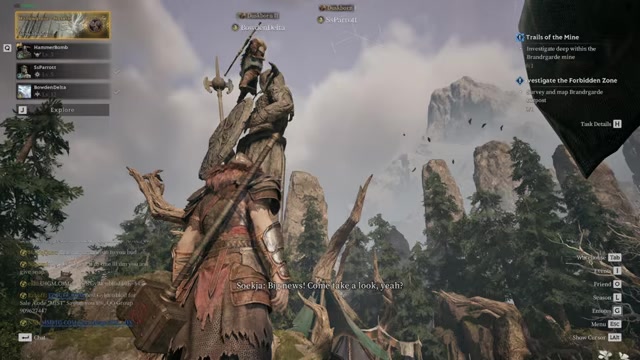
Jump onto the horn once your character is lined up with it.
STEP 8/10
Face Goddess Velvar
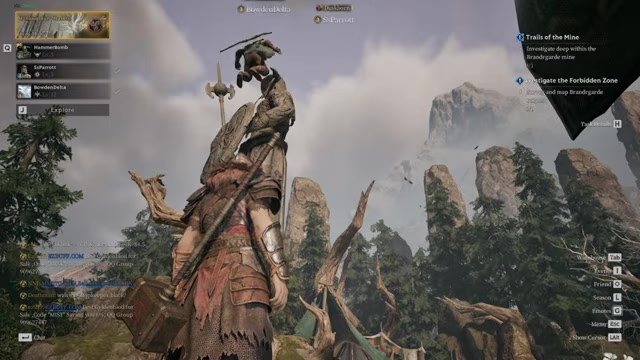
Turn toward the larger Goddess Velvar statue at the back of camp.
STEP 9/10
Wait for the music and prompt
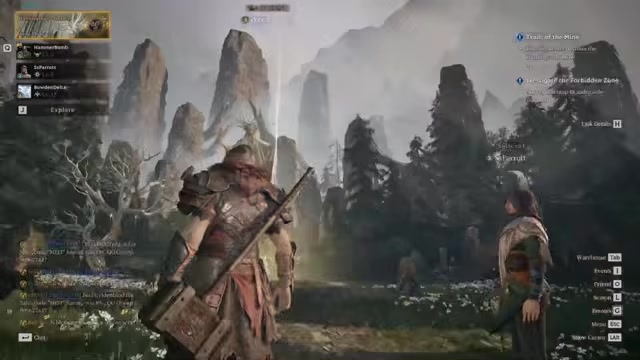
When the odd music starts and the F prompt appears, press F to bow.
STEP 10/10
Accept the task
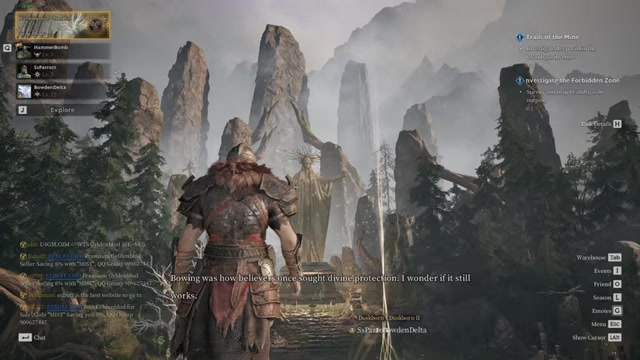
Once the interaction works, the game accepts the secret quest task.
If the Bow prompt does not appear, stop moving and re-face Goddess Velvar from the statue’s top position; small backward or sideways adjustments usually fix the angle.
Video help
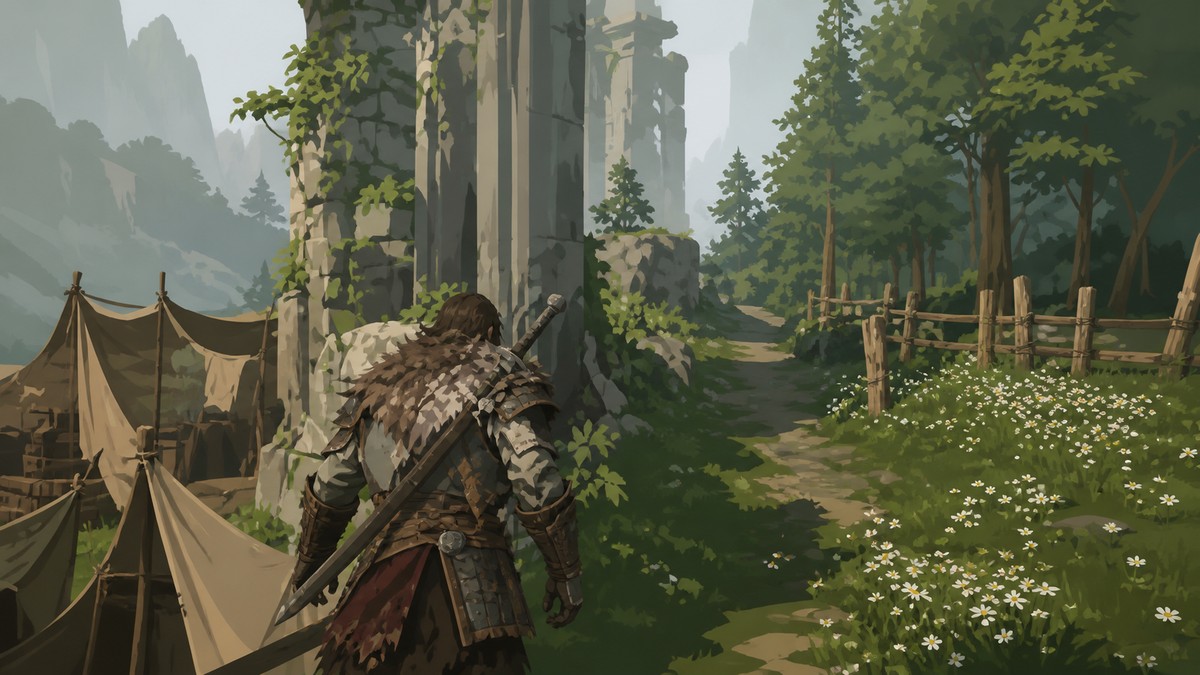
After the bow is accepted, go to Twig. Twig asks about the story of Goddess Velvar and sends you to Soekja, the White Crow in Windrest.
The quest-log wording can vary between Woodlings and the Goddess and Goddess and Woodlings. Treat those as the same hidden side-quest chain when you are checking your side-quest list.
Known expedition objectives in the questline
| Objective | Where to go | What to check |
|---|---|---|
| Where are the Shinies | Refugee Camp in the northernmost area of Hallowgrove. | Search the camp area for the quest’s shiny-related objective. |
| Later treasure objective | Prison POI in western Brandrgarde. | Go to the lowest level and check the room with horse effigies and poison smoke. |
KEY!
Once the chain moves out of camp, the known objectives point to specific expedition POIs. The full sequence after these stages is still being filled in by players, but these locations are the important early route checks.
Woodlings and Goddess quest rewards
The questline is worth doing because it leads into exclusive legendary items and construction material rather than only giving routine camp errands. The standout cosmetic reward is the Hallowgrove Woodling Head, a bell-style helmet connected to turning in Born of the Same Root to Twig.
Returner Woodlings are a different system
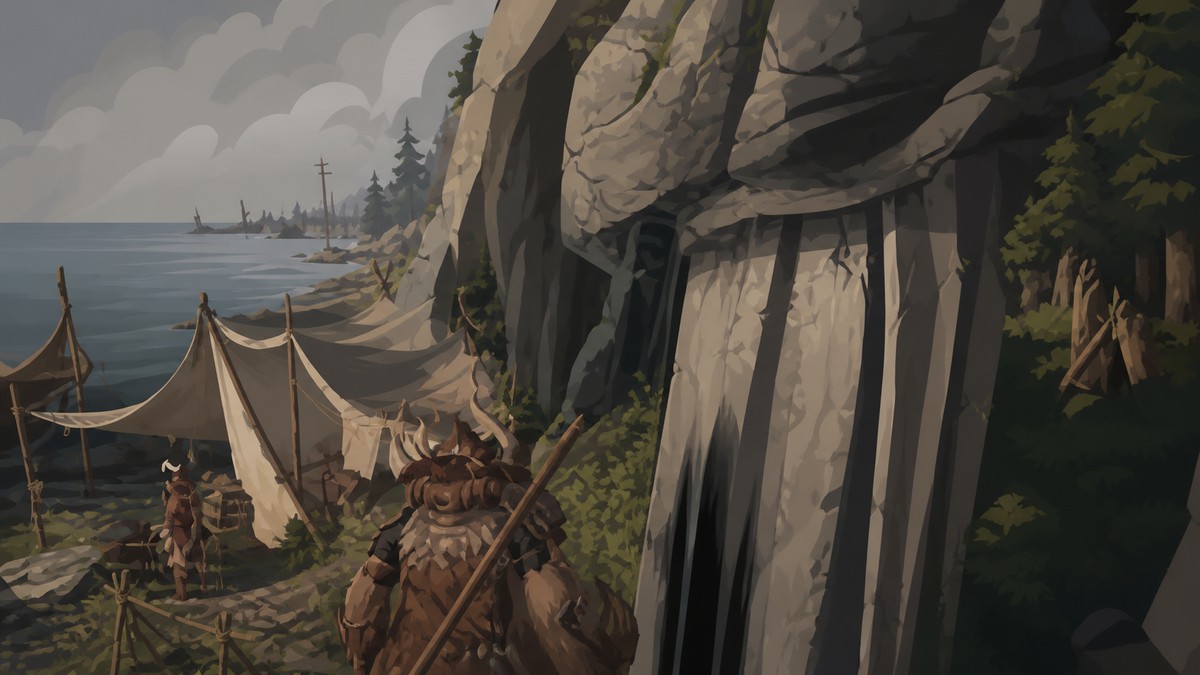
Returner Woodlings, Soul Trees, and Soul of Return extraction belong to the normal Woodling extraction route. That system uses Return Chime icons, a timed blue portal, a Returner Woodling fight, and a Soul Tree escape path; it is not the same thing as the secret Windrest bow questline.
Related Mistfall Hunters guides
Frequently Asked Questions
What should I do if the Bow prompt does not appear on the statue?
Make sure you are facing Goddess Velvar from the statue’s upper position, then adjust your footing until the music and F prompt appear.
Is the Returner Woodling extraction route part of this secret questline?
No. The extraction route is a separate Woodling-related mechanic for banking gear and Gyldenblod through Soul of Return.
What is the difference between Goddess and Woodlings and Woodlings and the Goddess in the quest log?
They refer to the same hidden side-quest area, with wording that may appear in either order depending on the quest-log entry.






Leave a Reply