
Doctor Doom’s featured solo combo starts with Medium into Heavy, routes through Quick Skill extensions, ground bounce and wall splat, then ends with Heavy into Latverian Legion for about 66,000 damage in a single showcase run.
This Doctor Doom route in Marvel Tokon: Fighting Souls is a solo damage route built around clean hit confirms, forced movement, and Doom’s wall-splat conversion. The button names below use controller-agnostic labels, so map Light, Medium, Heavy, Quick Skill, and Unique to your own layout before drilling the route.
Doctor Doom full combo notation
Read the route as one continuous sequence. The most important thing is that the middle air section is not meant to be tested as an isolated raw link; it connects properly when the launch, ground bounce, and wall-splat states are already in place.
| Part | Input |
|---|---|
| Starter | Medium > Heavy |
| First extension | Forward + Quick Skill + Heavy > step forward > Heavy |
| Ground bounce | Back + Quick Skill + Medium > Medium > Down + Heavy |
| Wall splat | Medium > Heavy > Forward + Quick Skill |
| Air extension | Medium > Heavy > Quick Skill + Heavy |
| Finish | Heavy > Forward + Unique + Quick Skill |
How to do the Doctor Doom combo in Marvel Tokon: Fighting Souls
Use this route as one full sequence, from the grounded starter into Doom’s Latverian Legion ultimate.
STEP 1/9
Start with Medium into Heavy
Open with Medium into Heavy to begin the grounded confirm.
STEP 2/9
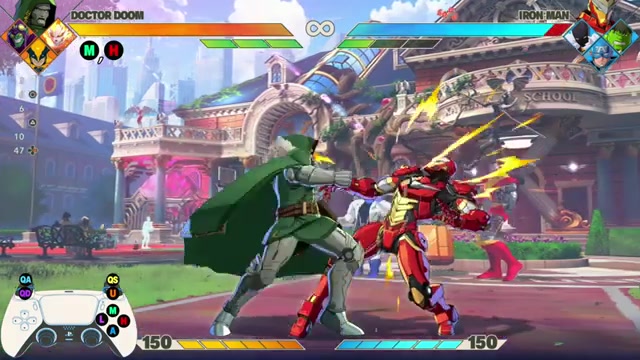
Use Forward Quick Skill plus Heavy
After the starter, press forward with Quick Skill plus Heavy to extend the route.
STEP 3/9
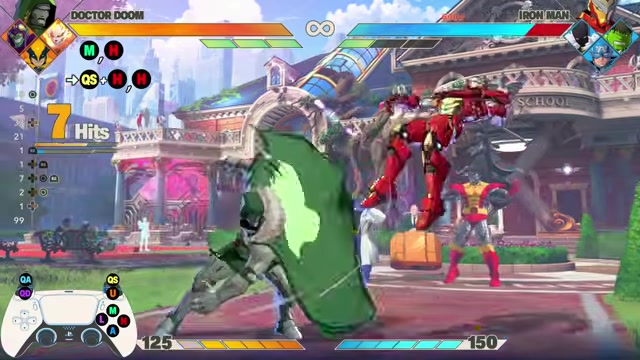
Take the small step forward
Walk forward slightly after Forward + Quick Skill + Heavy, then press Heavy again.
STEP 4/9
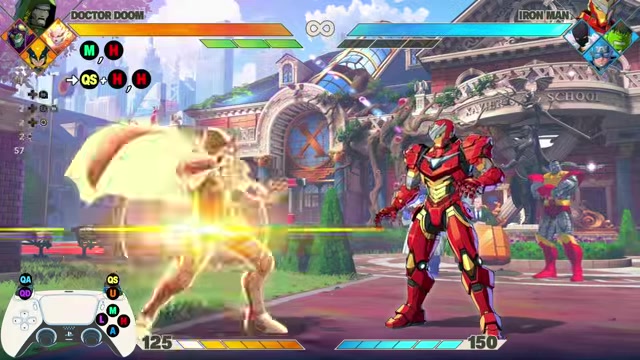
Grab with Back Quick Skill plus Medium
Press back with Quick Skill plus Medium to trigger Doom’s grab and cause the ground bounce.
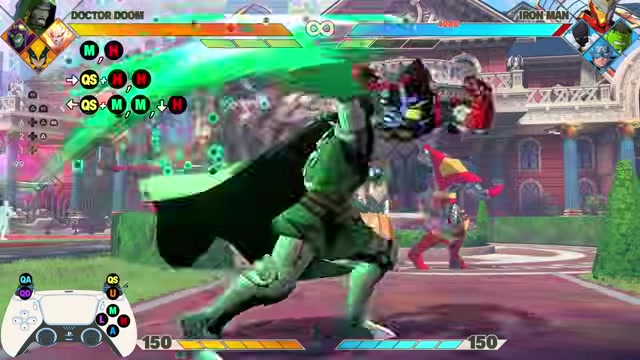
STEP 5/9
Add Medium into Down Heavy
After the bounce, press Medium, then Down + Heavy to set up the automatic jump sequence.
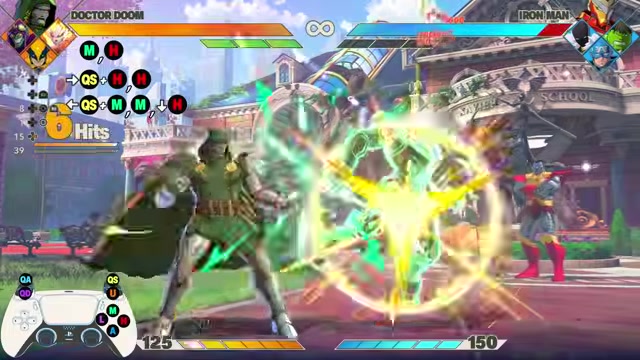
STEP 6/9
Press Medium after Down Heavy
Press Medium after Down + Heavy; during the combo, Doom jumps automatically.
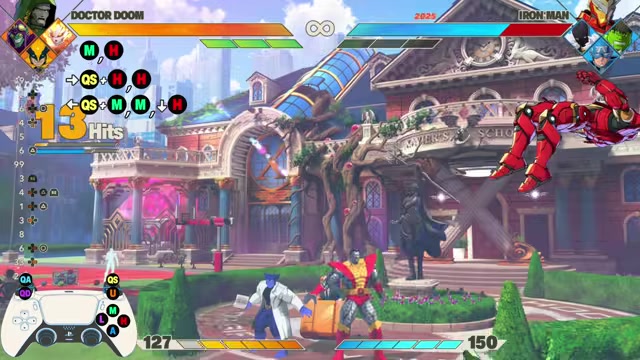
STEP 7/9
Finish the wall-splat string
In the air, continue with Medium, Heavy, then Forward + Quick Skill to cause the wall splat.
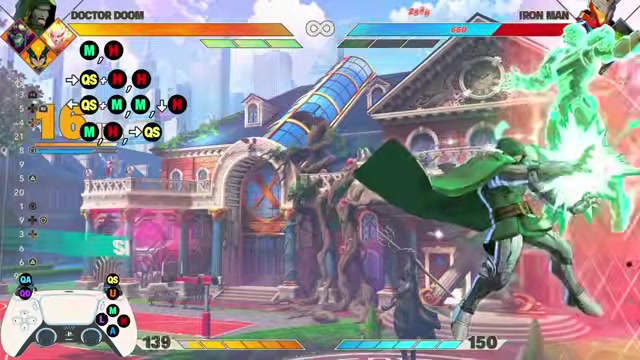
STEP 8/9
Add air Medium Heavy into Quick Skill plus Heavy
After the wall-splat route is active, use Medium, Heavy, then Quick Skill plus Heavy for the final air extension.
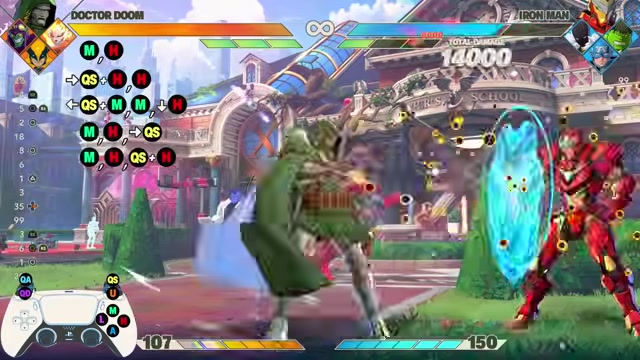
STEP 9/9
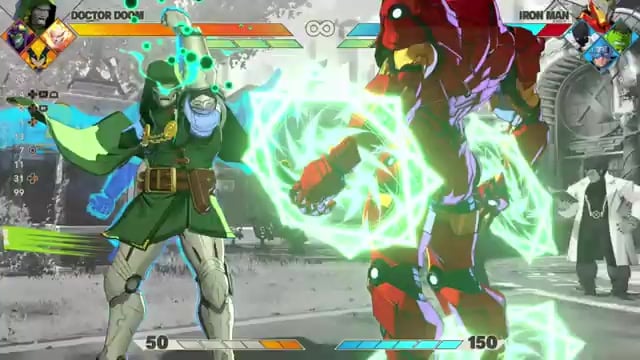
End with Heavy into Latverian Legion
Press Heavy, then activate Latverian Legion with Forward + Unique + Quick Skill together.
Video help
Doctor Doom combo timing notes
The first real execution check comes after Forward + Quick Skill + Heavy. Doom needs a tiny forward walk before the next Heavy, and you can simply hold forward during that second Heavy without breaking the combo.
Back + Quick Skill + Medium is the route’s grab section. That grab gives the ground bounce, which is why the following Medium into Down + Heavy has enough structure to carry into the air sequence.
Do not manually jump after Down + Heavy. During a combo, pressing Medium after Down + Heavy makes the character jump automatically, and that automatic jump is what lines up Doom’s Medium, Heavy, Forward + Quick Skill wall-splat section.
Hold forward through the second Heavy after Forward + Quick Skill + Heavy; it covers the tiny walk needed to keep Doom close enough for the route.
What this Doctor Doom route is for
This is a solo Doctor Doom combo, so it does not need an assist to reach its main route or the final Latverian Legion ender. Its value is reliability: it uses Doom’s own ground bounce, wall splat, and ultimate cancel instead of depending on teammate extensions.
The damage shown lands around 66,000, though that number can shift with patch changes, settings, scaling, and character conditions. Use the route as a high-damage Doom drill first, then adjust once your own match setup changes the numbers.
Doctor Doom launch roster context
Doctor Doom is part of the launch roster in Marvel Tokon: Fighting Souls, a 2D 4v4 tag-team fighter on PS5 and PC. In Episode Mode and versus play, he is part of the Knights of Doom team with Magneto, Green Goblin, and Carnage.
For this combo, the only toolkit name that really matters is Latverian Legion, Doom’s ultimate. Other Doom tools such as Auric Ray, Mystic Cage, Free Flight, and Antimatter Extrapolator matter for broader play, but this specific route is built around the listed manual sequence.
Doctor Doom combo mistakes to avoid
The most common early drop is skipping the short forward movement after Forward + Quick Skill + Heavy. If the next Heavy whiffs or pushes Doom too far out, hold forward while pressing it and keep the sequence tight.
Another easy mistake is jumping manually after Down + Heavy. The combo system already gives Doom the jump when you press Medium, so an extra jump input can change the height and ruin the air route.
Do not judge the later Medium, Heavy, Quick Skill + Heavy link by testing it raw. That section is meant to connect after the full launch and wall-splat setup. Also, avoid giving up pressure after pushback tools such as Mystic Cage or Auric Ray; Doom’s spacing tools are there to keep the route threatening, not to end your turn early.
Related Marvel Tokon: Fighting Souls guides
Frequently Asked Questions
Does this Doctor Doom combo need assists?
No. This route is built as a solo Doctor Doom combo, using Doom’s own hits, grab, bounce, wall splat, and Latverian Legion finish.
Why does Doom jump automatically after Down Heavy?
During a combo in Marvel Tokon: Fighting Souls, pressing Medium after Down + Heavy triggers the automatic jump behavior, which applies across characters.
Why does part of the combo fail when tested raw?
The later air extension needs the opponent to be in the correct combo state from the earlier bounce and wall-splat sequence. Raw testing removes that setup, so the link can fail even though it works inside the full route.






Leave a Reply