Recap videos are a great way to preserve your memories and look back at the year that went by. They also allow you to share all your special memories with your friends and family in a fun and unique way. If you are looking to create a recap video of the last year, you can use the detailed step-by-step guides of some of the great free templates we have provided below.
How to create a recap video using free templates [4 methods explained]
You can create a recap video in mainly two ways. You can either use a pre-made template from different websites and apps or choose to create your recap manually. Creating a recap manually will offer you more control over your video and allow you to create it however you want. Templates, on the other hand, lack customizability but are a quick and easy way to create recap videos. Use the relevant section below depending on the method you prefer to help you along the process.
Here’s how you can create a recap video using dedicated templates, whether using a PC or a mobile device. Follow the relevant section below, depending on your current device, to help you along with the process.
Method 1: Create a recap video using Animoto on PC
We recommend using Animoto primarily as it offers easy-to-use templates that you can use to create recap videos. Our second choice is Google Photos which offers less customizability but can be an easy solution if your photos are stored in Google Drive. Follow either of the guides below depending on the service you prefer to create your recap video.
Animoto is an online video maker that has a huge library of templates that you can use to your advantage and create recap videos. Here’s a step-by-step guide to help you along with the process.
Note: Animoto does not allow you to download videos on the free plan. You will need a premium subscription to download your videos. You can, however, choose to share them directly to your social media accounts for free.
Open Animoto using this link in your preferred browser on your Windows PC or Mac. Click SIGN UP FOR FREE in the top right corner of your screen.

Type in your credentials and click CREATE AN ACCOUNT.

You will now be signed up to Animoto. Click and choose your preferred reason for using Animoto on the next step.

Once done, visit this link and close the current tab. You can now browse and choose a template you like. We recommend the following templates to create your recap video.
- Year in Review
- Yearly Lookback
- Yearly Lookback – Vertical
- Company Year in Review

Let’s take a look at Yearly Lookback – Vertical for this example. Once you click and select, you will be shown a brief about it. Click CHOOSE TEMPLATE at the bottom.

You will now be asked to upload videos and photos you wish to use in your recap video. Click Browse files to get started.

Now click and select all the desired photos and videos from your local storage.

Click Upload (N) files where (N) is the number of photos and videos you selected.

Click Skip if you’re prompted to take a tour of Animoto.

If you wish to upload more items, you can drag and drop them in the Media Library on your right. You can also click Browse files and select files to upload manually.

Once uploaded click Design at the top.

You will now be shown different styles available for your current template on your left. Click and choose a style to view its preview on your right.

Click Close at the top once you’ve chosen your preferred style.

Start by selecting the first clip in the template. Now simply drag and drop your preferred first photo or video in the preview.

Click and select the preview to view editing options at the top.

Use the Scale option to resize your image or video. Once you click it, use the slider to adjust the scale of your photo or video.

Use the Rotate icon to rotate your image or video in 90° increments.

You can also add a grid to your preview to include more images. Click Change layout icon on your left to get started.

Scroll and choose your preferred layout.

Drag and drop another photo or video in the image placeholder in your new layout if available.

Use the Change color icon to customize colors in your first slide.

Click Background to change your background color.

You can click + at the bottom to add a custom color.

Note: Adding custom colors requires a premium subscription.
Click Accent to change the accent color used by your chosen layout.

Click and select your preferred color like we did before, or use the + icon to use a custom color.

Next, if your template has text added, click the text if you wish to edit it.

You can now type in your custom text and replace the existing text. Use the font size arrows at the top to adjust the text size.

Use the alignment icon to change the alignment of your text.

You can also change the text color using the next icon. Click Change text color icon.

Now click and choose your preferred font color.

Similarly, use the next Change text accent color icon to change your text accent color. In some cases, this might change the background color.

Click the next icon to add a Subtitle to the existing text.

You can also click the Bin icon to completely remove the text.

The length of the clip will be automatically adjusted if you’ve added a video. If you’re using images, use the + and – icons at the bottom to adjust the length of the clip.

If you wish to change the Aspect ratio click Ratio at the top.

Click and choose your preferred aspect ratio in the pop-up.

Your aspect ratio will be automatically applied to your design. Similarly, replace other clips in your template and edit them as needed, as we did above. You can also drag and drop your photos and videos in the timeline at the bottom to create and add new clips to your recap video.

Once you’ve added all your clips, click the Play icon in your timeline to view a preview of your recap video.

Click the Share icon at the top to download and save your recap video.

Select Publish and share.

Click Download.

You can also click Share and share the video to your socials if you do not have a premium subscription.

And that’s it! You will now have created and downloaded a recap video using Animoto.
Method 2: Create a recap video using Google Photos on PC
Here’s how you can use Google Photos to create a recap video using a dedicated template.
Open Google Photos in your browser using this link and click the Settings icon in the top right corner.

Click and expand Suggestions.

Click and enable the toggle for Creations.

Now click Utilities on your left.

Click Movie.

Now click and select A Year of Smiles.

Click Create Movie to get started.

Google Photos will now automatically analyze and create a recap video for your stored photos and videos. The recap video will show up in the Utilities section once it has been created.
If you wish to create a recap video manually, click Movie under CREATE NEW again.
This time select New Movie.

Click and select the images and videos you wish to include in your recap video.

Click Create in the top right corner once you have selected your images and videos.

Now click and drag the sliders for each image and video to adjust how long they are shown in your recap video. You can track the length using the blue marker in the seek bar at the bottom.

You can now enable or disable the music using the icon beside your seek bar at the bottom.

Click Theme music to change the music.

Click and select your preferred category at the top.

Now click and select your preferred theme music.

Click the X once you’re done.

Once you’re happy with the outcome, click Save.

Click Save again.

Your recap will now be created. This can take some time, depending on the number of images and videos you included in your recap.

Once created, click the 3-dot () menu icon in the top right corner.

Select Download.

You can also press Shift + D on your keyboard to download the video to your PC.

And that’s how you can create a recap video using Google Photos.
Creating a recap video on a mobile device:
If you’re using a mobile device, then we recommend using Instagram to create your recap video. Instagram offers dedicated templates with narrations from popular celebrities to make your recap video stand out. You can also use Google Photos or a dedicated third-party app to help you create your recap video. Follow either section below depending on the app you prefer to create your recap video.
Method 3: Create a recap video using Instagram Reels on Android/iPhone
Here’s how you can use Instagram to create your recap video. Follow the steps below to get started.
Open the Instagram app and tap the Reels icon at the bottom of your screen.

Now tap the Camera icon in the top right corner.

Tap Templates at the bottom of your screen.

Now scroll and find a recap template you like. If you can’t find a template you like and find it tedious scrolling through all of them, then tap the X in the top left corner.

Tap the Search icon at the bottom instead.

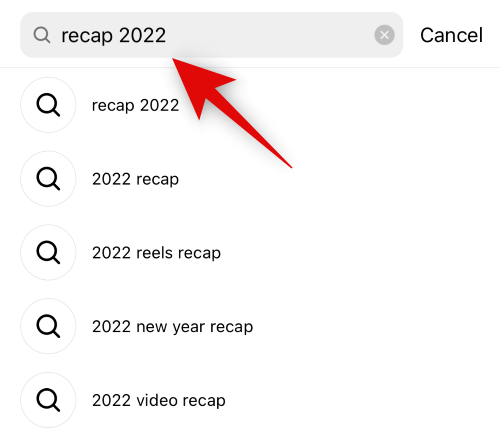
Now search for Recap 2022 in the search bar at the top.
Tap Audio at the top.

You will now be shown recap audio tracks used by Instagram users around the world. Tap and select a track you like.

You will now be shown all the reels using the selected track. Tap and select a recap reel you like.

Tap the 3-dot () menu icon in the bottom right corner of the reel.

Select Use this template.

You will now be shown all the clips included in the reel. You can replace these clips with your own images or videos to create your own recap video. Tap and select a placeholder to get started.

You can now select the photos and videos you wish to add to the placeholder.

You can also select multiple images and videos at once. The order in which you select your media is the order in which your images and videos will be added to the placeholder.

You will be shown the maximum number of images and videos you can select for the current template at the top of your screen.

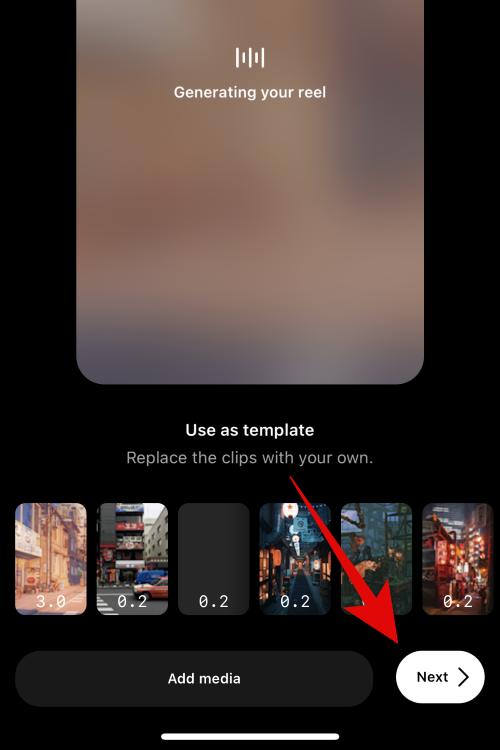
Tap the Arrow in the bottom right corner once you have selected your media.

The clips will now be replaced. Tap the Next icon once you’re done adding media to the template.
Now edit your recap video using the editing options at the top. Tap the Download icon to save the video to your mobile device.

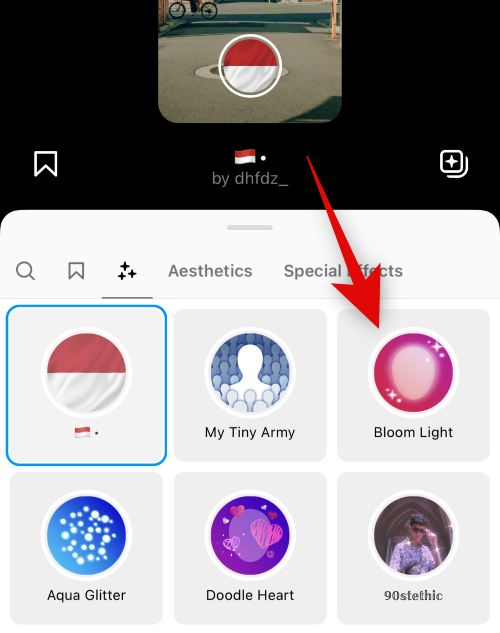
Tap the next icon to apply Filters to your reel.

Tap and select a Filter you like.
Tap the next icon to add Stickers.

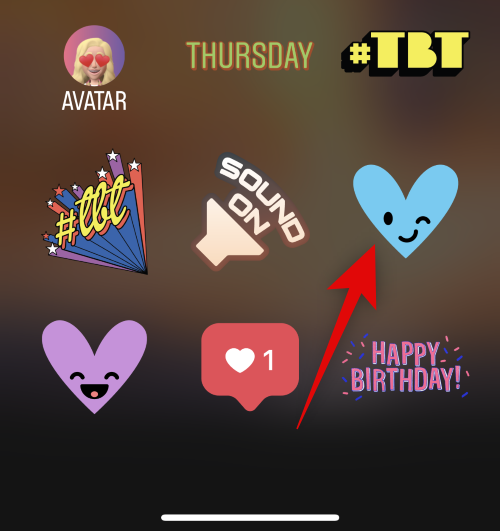
Tap and select a sticker you like.
You can also search and apply stickers using the search bar at the top of your screen.

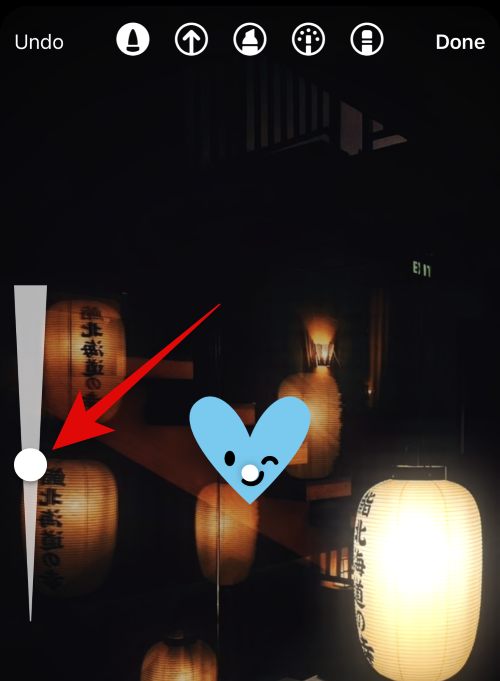
Use the next icon to Scribble on your recap video if needed.

You can increase or decrease the width using the slider on your left.
You can also change the color using the options at the bottom of your screen.

Additionally, you can switch between different tools you can use to scribble on your recap video. You get the following options at your disposal.
- Pen
- Arrow
- Highlight tool
- Glow Pen
- Eraser

Tap Done once you are happy with the outcome.
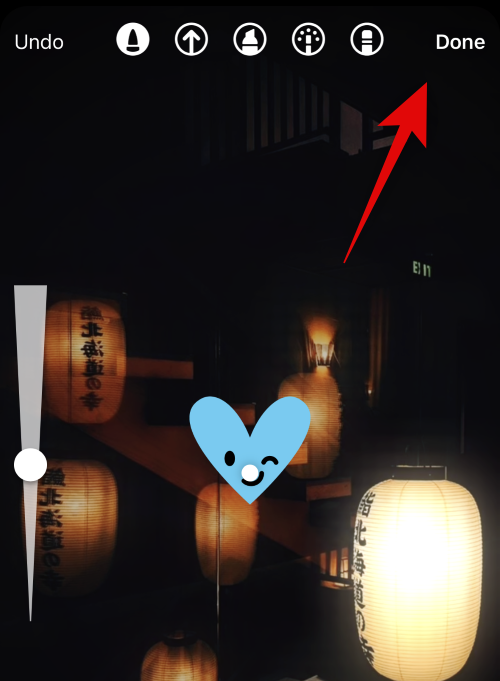
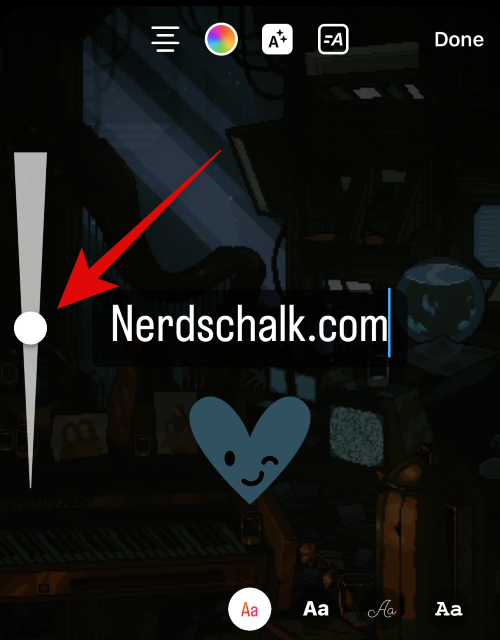
The last icon can help you add Text to your recap video. Tap on it and type in your preferred text as needed.

Use the slider on your left to adjust the size of your added text.
Use the options at the bottom to change your text style and font.

Similarly, use the first icon at the top to adjust the alignment of your text.

Use the second icon to change your text color.

The third icon can help you toggle the text background in your recap video.

Tap Done once you’re done adding text to your recap video.

Now tap the Save icon at the top to save the recap video to your mobile device. You can then share it with your friends and family using your preferred method.

You can also tap Next to share the recap video with your Instagram followers.

And that’s how you can create a recap video using Instagram on your mobile device.
Method 4: Create a recap video using Google Photos on Android/iPhone
You can also use Google Photos to create a recap video on your mobile device. You can choose to let Google create your recap video by analyzing your stored photos or create a recap video manually. Here’s how you can do that on your mobile device.
Download Google Photos on your mobile device using the links below.
- Google Photos | For iOS | For Android
Open the app and grant it access to your photos when you’re prompted. Now tap Library at the bottom.

Tap and select Utilities at the top.

Scroll down and tap Movie.
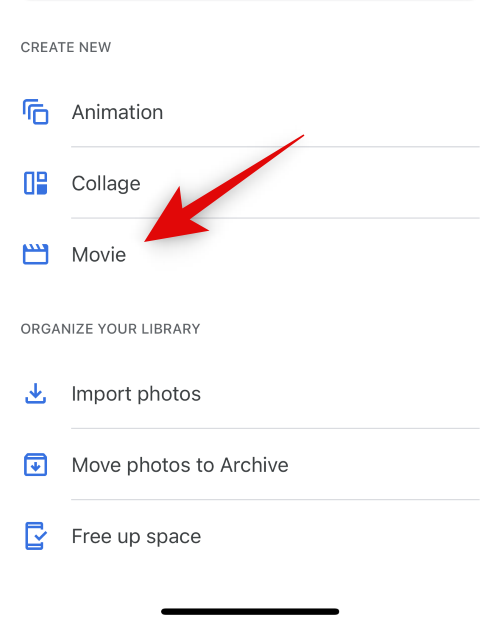
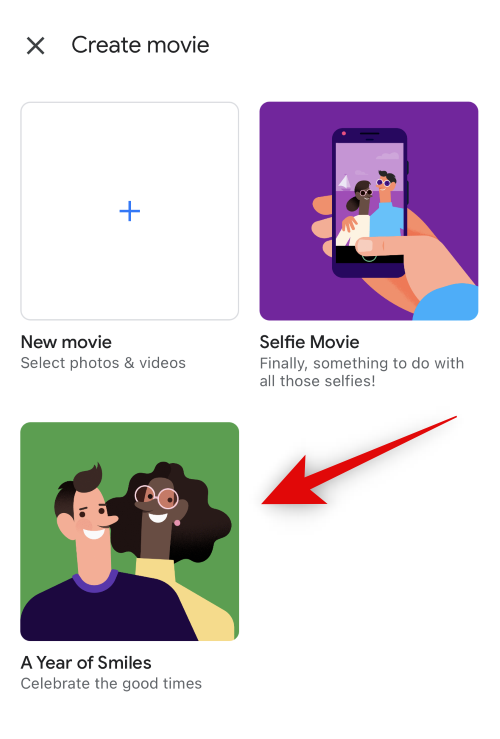
Tap and select A Year of Smiles if you wish to let Google Photos automatically create a recap video for you.
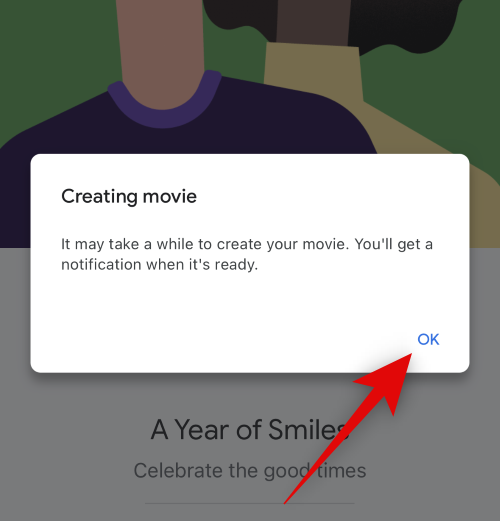
Tap Create movie.

Google will now create a recap video for you automatically. This can take some time, depending on the number of photos available on your device. Tap OK.
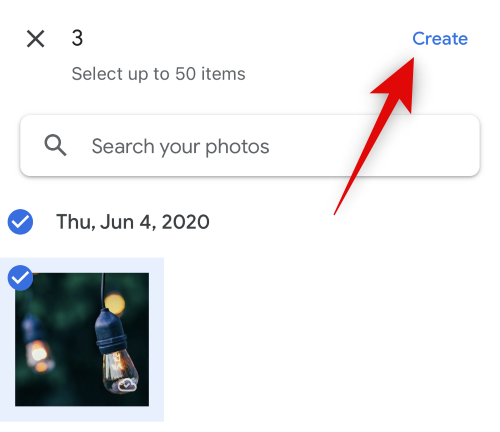
If you wish to create a recap video manually, tap New movie.

Now tap and select the photos and videos you wish to include in your recap video. Tap Create in the top right corner.
Your selected media items will now be processed and added to your recap video. Use the slider for each item to control its length in your recap video.

Tap the 3-dot () menu icon beside a clip to manage your clip.

Tap Insert clips to add a media item after the selected clip.

Tap and select the photo or video you wish to add after the selected clip,

Tap Add in the top right corner.

Similarly, you can tap Duplicate to create another copy of the selected clip.

Tap Remove if you wish to remove the selected clip.

You can also tap + Add photos and videos at the bottom to add more media items at the end of all your currently added clips.

Tap the Music note icon to manage the music for your recap video.

Tap Theme music to select your recap video music from Google’s offerings.

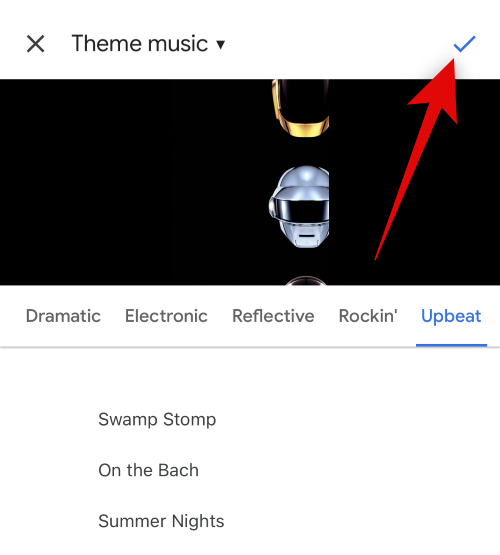
Tap and select a category you like from the choices at the top.

Tap and select the music you like from the choices at the bottom. You can hear a preview of the selected music clip in real-time.

Tap the Checkmark in the top right corner once you’ve found the music you prefer.
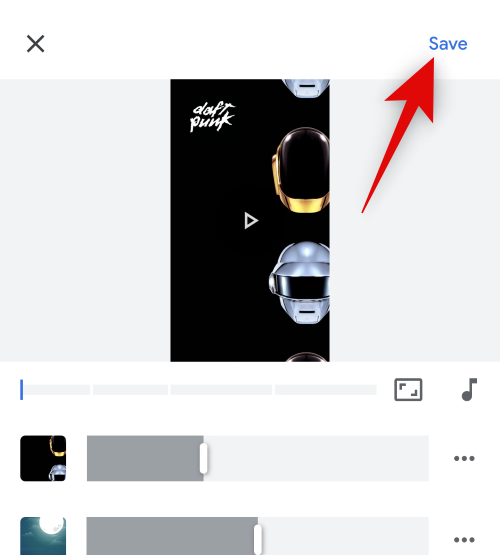
The selected music clip will now be added to your recap video. Adjust other elements of your recap video as needed and tap Save in the top right corner once you’re done.
Google Photos will now process and create your recap video. Once done, tap the 3-dot () menu icon in the top right corner.

Select Download to download and save the video to your mobile device.

The recap video will now be saved to your mobile device. You can now share it with your friends and family through your preferred means. And that’s it! You will now have created and saved your recap video using Google Photos.
More apps that offer free templates for making a recap video
Here’s a list of mobile app alternatives that also allow you to create recap videos using templates. You could use these alternatives if you were unable to find the perfect look for your recap video using the services above.
- Recap: Reels Templates | For iOS
- Vixer | For iOS
- ReelStory | For iOS | For Android
- Unfold | For iOS | For Android
- Mostory | For Android
- Mojo | For iOS | For Android
Tips to create amazing recap videos
Making a recap video — of a year or a particular event — is one of the most exciting tasks you can assign yourself. However, like every other hobby, this one, too, has some finer points to look out for. In this section, we’ll tell you some tips to keep in mind before you kickstart your recap project.
1. Organize
The most important tip of them all — is always to keep your important photos organized. You don’t want to make the whole thing haphazard and out-of-order, especially if you’re going for an organized recap of sorts. Just check the dates before adding the slides, and you should be good to go.
2. Be adventurous
When we think about making recap videos, most of us only consider still images. Using still images is pretty safe and neat, of course, but it’s also a lot less adventurous than short video clips. If you have a few relevant video clips lying around, don’t be afraid to tuck them in. They could break the monotony of the video and add a bit of spark.
3. Use some tunes
Adding excellent images is important, but photos aren’t the only tools you should be using while making a video. Don’t be shy to show off your excellent taste in music; feel free to add some suitable tunes. Since music is highly subjective, make sure to focus more on the tone of the song and the theme of the video you’re making.
4. Texts are cool
Yes, you have great music and eye-catching images at your mercy, but don’t, for once, disregard the power of text effects. You can use them to highlight specific events, set the tone of the video, and stand out effectively. Almost all video editing applications offer neat text effects, which can help make your videos more refined.
We hope this post helped you easily create your recap video. If you face any issues or have any more questions, feel free to reach out to us using the comments below.


