

What to know
- Canva’s built-in video editor offers the ability to create recap videos with tons of templates and tools to modify effects, animations, overlays, and text inside videos.
- You can use Canva’s web app on PC or the Canva app on iOS and Android to make recap videos with ease.
- Check out the post below to learn how to do it.
Recap videos are a good way to revisit a period gone by in a quick, fascinating way. Although several services let you create recap videos using templates quickly and easily, they come with limited options and lack customizability. To get better control when creating recap videos, we recommend using a video editor that lets you modify all aspects of the video like transitions, effects, animations, overlays, text, and more.
In this post, we will explain how you can manually create a recap video using Canva’s video editor across multiple devices.
How to create a recap video on Canva [2 methods]
Method 1: Using the Canva web app
You can use Canva’s free web video editor that lets you create recap videos easily. Canva offers free assets as well as paid assets that you can use to create your recap video. However, keep in mind you will need to create an account to use Canva. Creating an account on Canva is completely free, and you can use this link to sign up for Canva using your preferred method. Once you’re signed up, you can use the steps below to use Canva to create your recap video. Let’s get started.
- Open Canva.com in your preferred browser on your PC and click the search bar at the top.
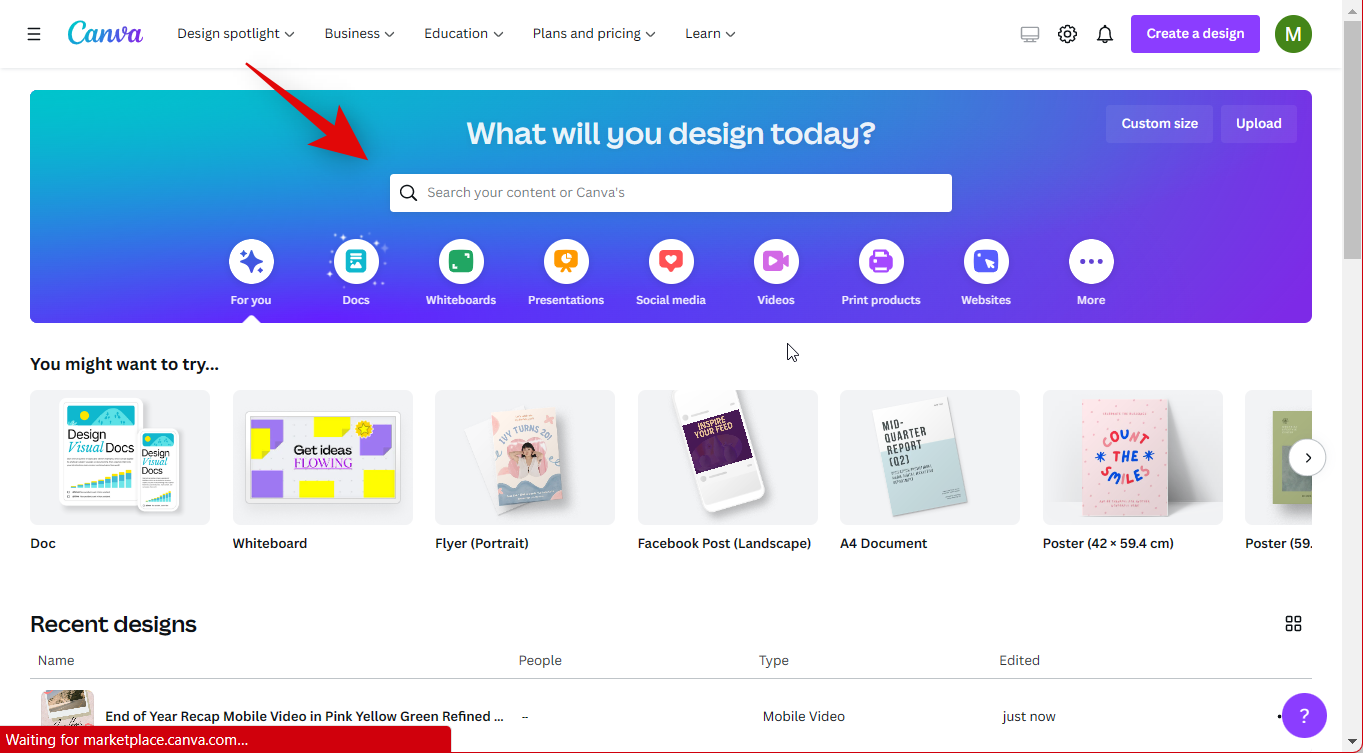
- Search for Recap video.

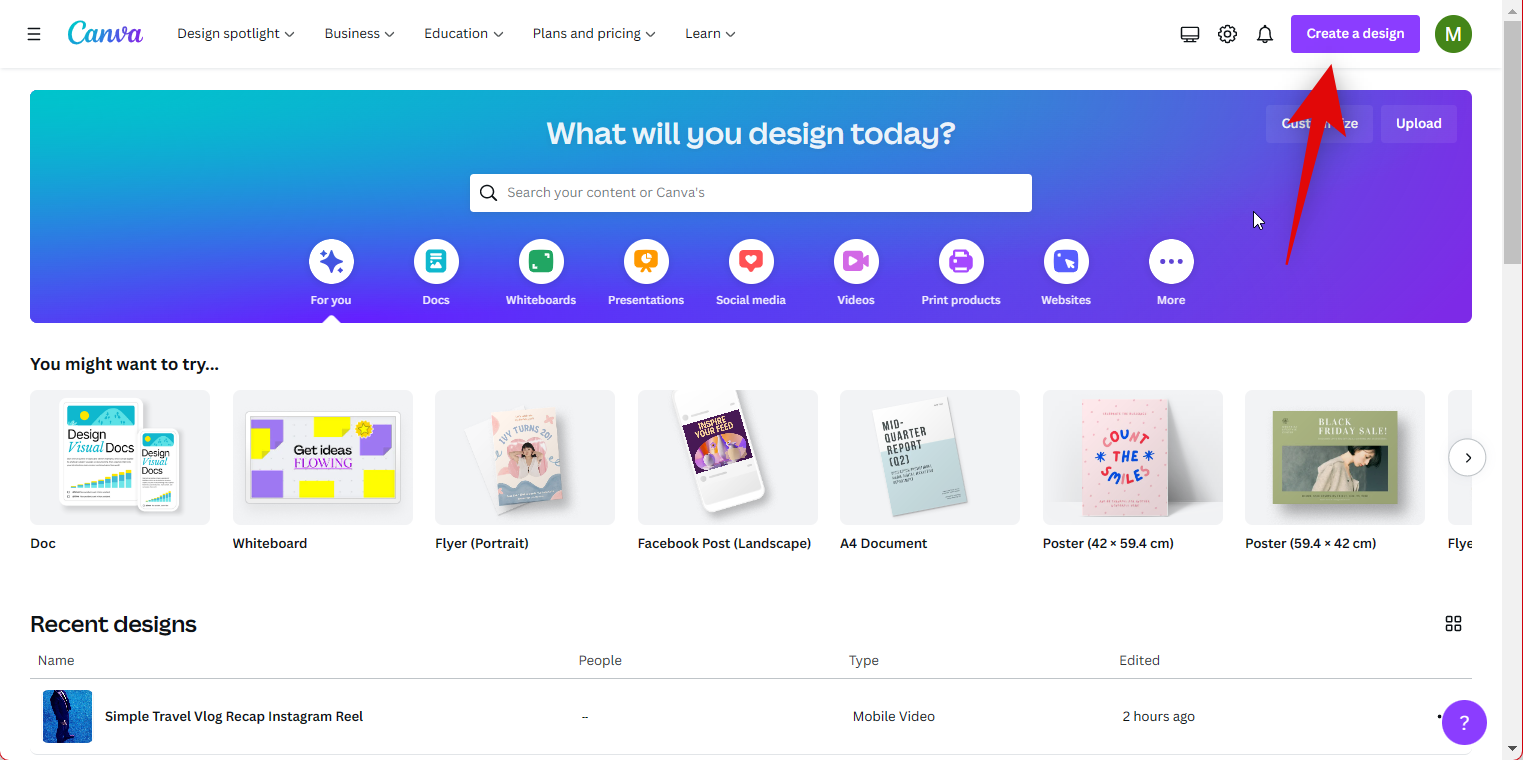
- You can also click Create a design in the top right corner and select your design type if you wish to start from scratch. However, we recommend using a template as a starting point to make the process a bit easier.
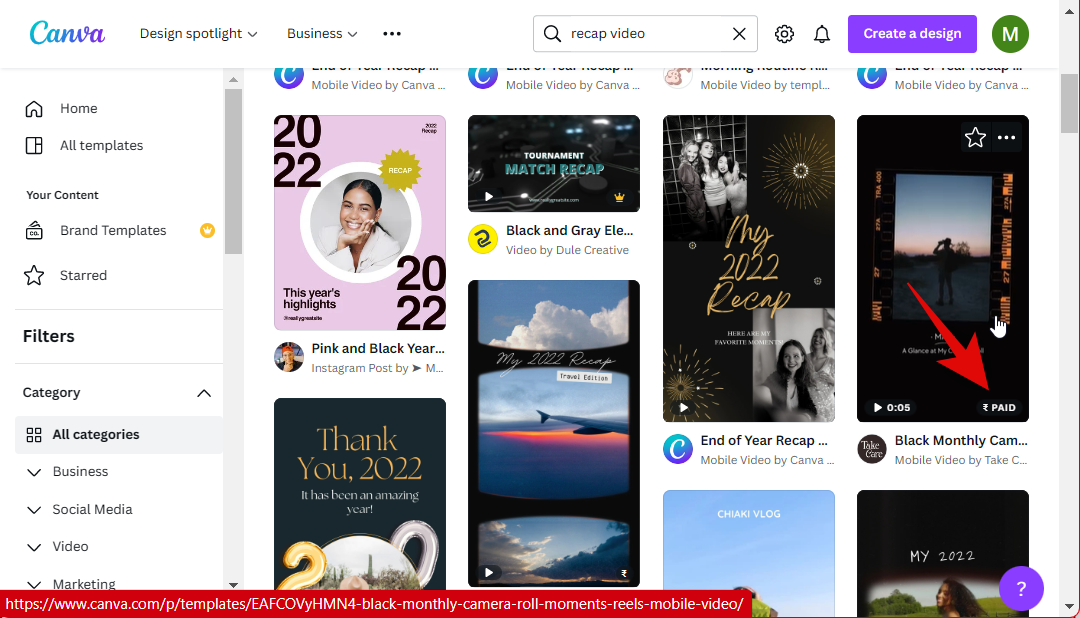
- You will now be shown tons of templates for recap videos available in Canva. Find a template you like and click on it.
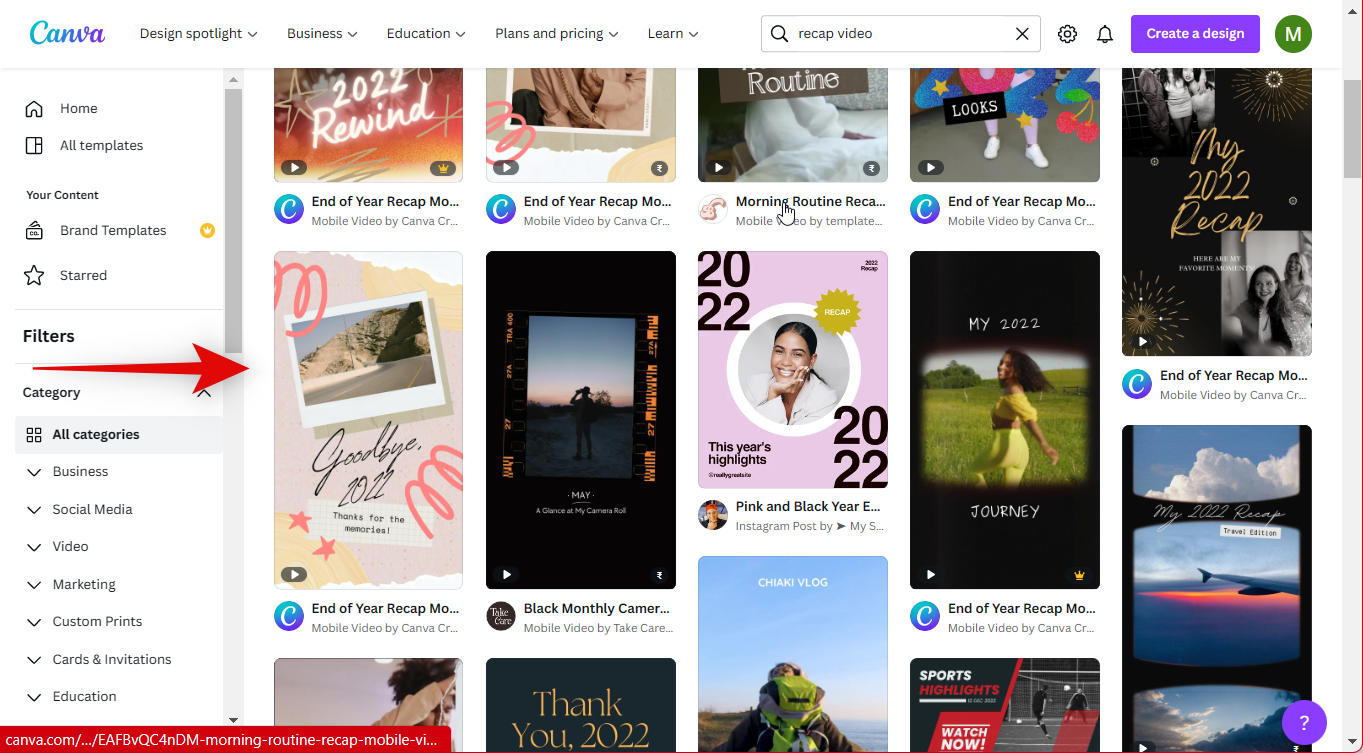
- If you wish to create your recap video only using free assets, keep an eye on the bottom right corner of each template. Once you hover over a paid template, it will either say Paid or Pro. Pro templates are available for users with a premium Canva subscription, and paid templates will require you to pay for certain assets used in the template.
- Once you click and select a template, you will be shown its preview. You also get suggestions for similar templates if you scroll down. If you wish, you can select a template from these suggestions as well.
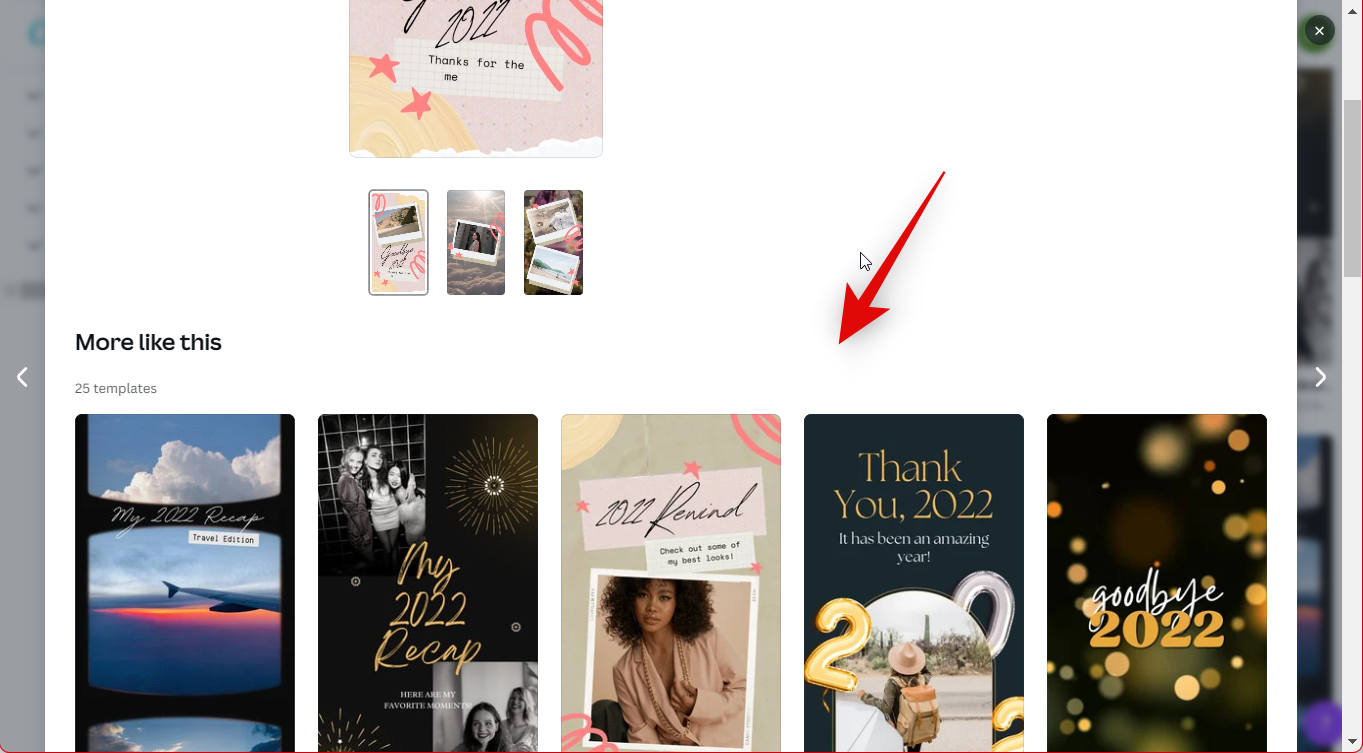
- Once you’ve found a template you like, click Customize this template.

- The template will now open up in a new tab. Start by clicking Uploads on your left.
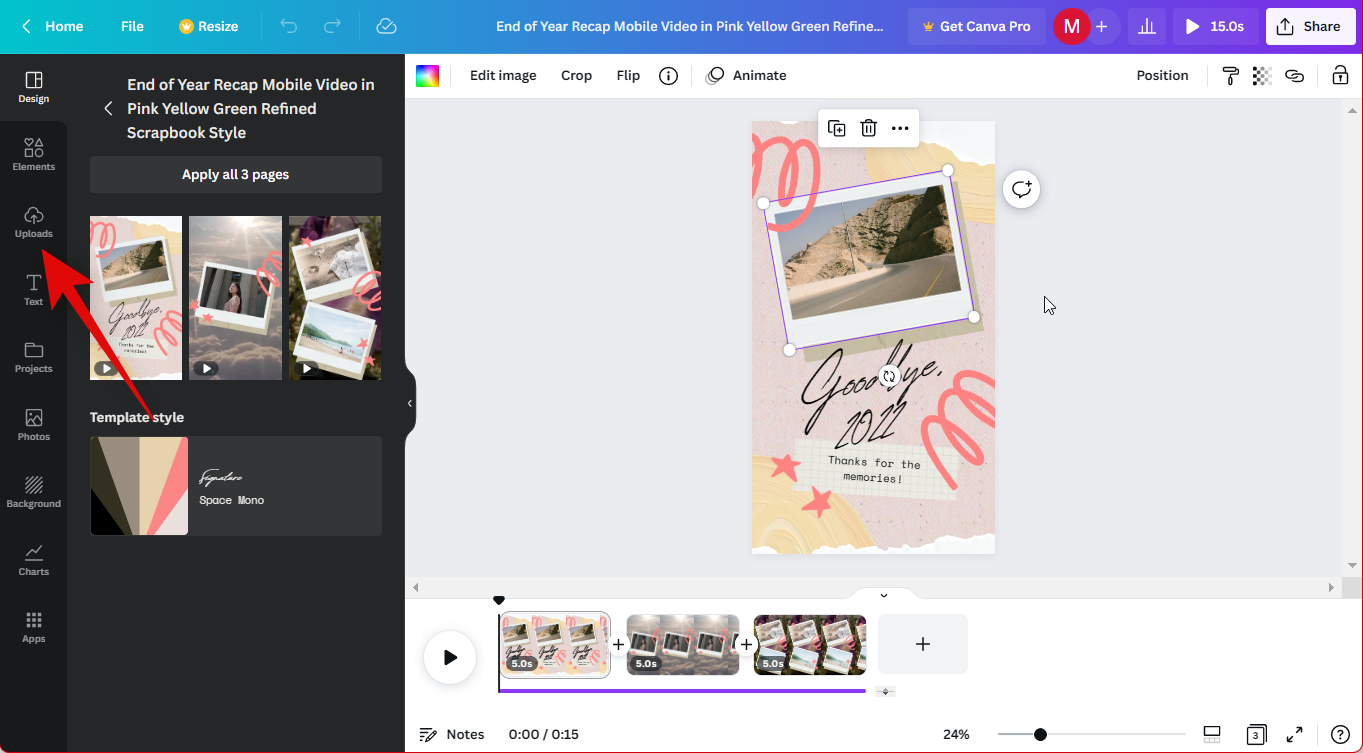
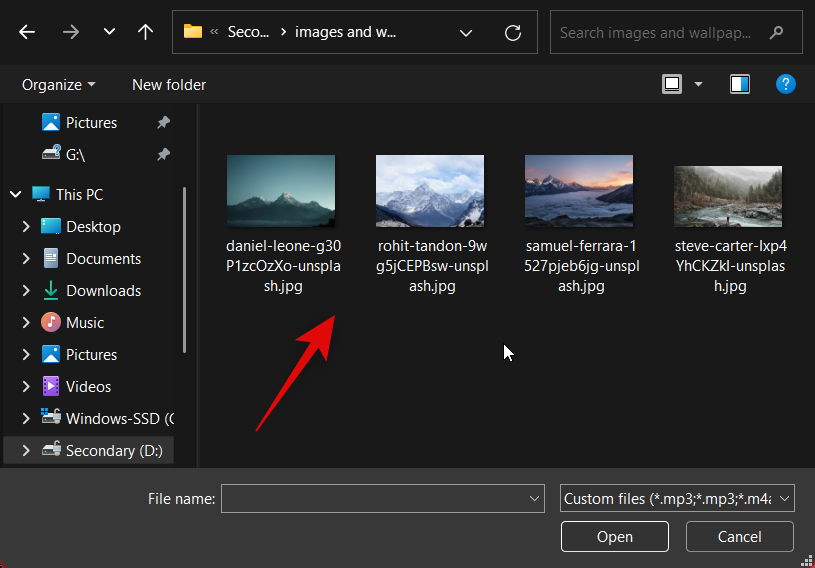
- Click Upload files.

- Now upload the photos and videos you wish to include in your recap video.
- Canva works by creating image placeholders in each template. As you can see in the example below, the following images can be replaced with your images in the selected template.
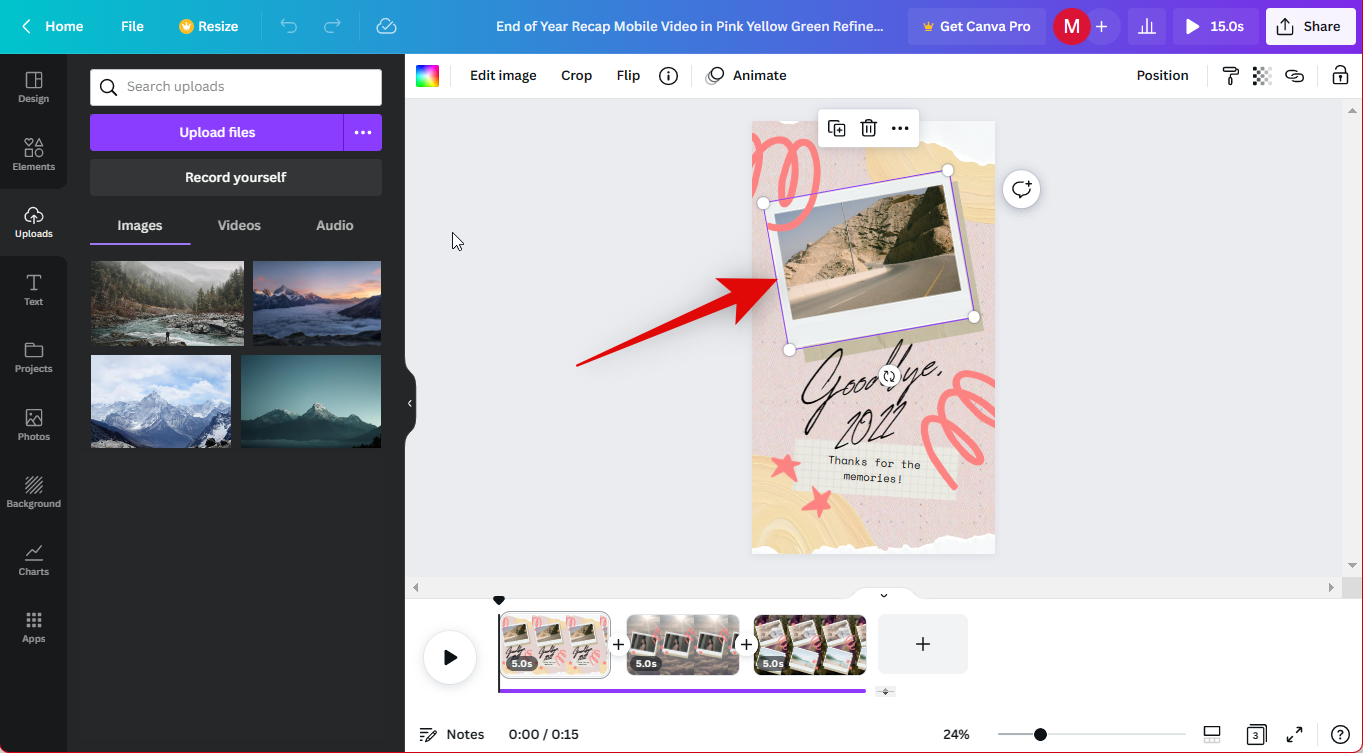
- Click and drag your uploaded image or video over the concerned placeholder to replace the image in the template.
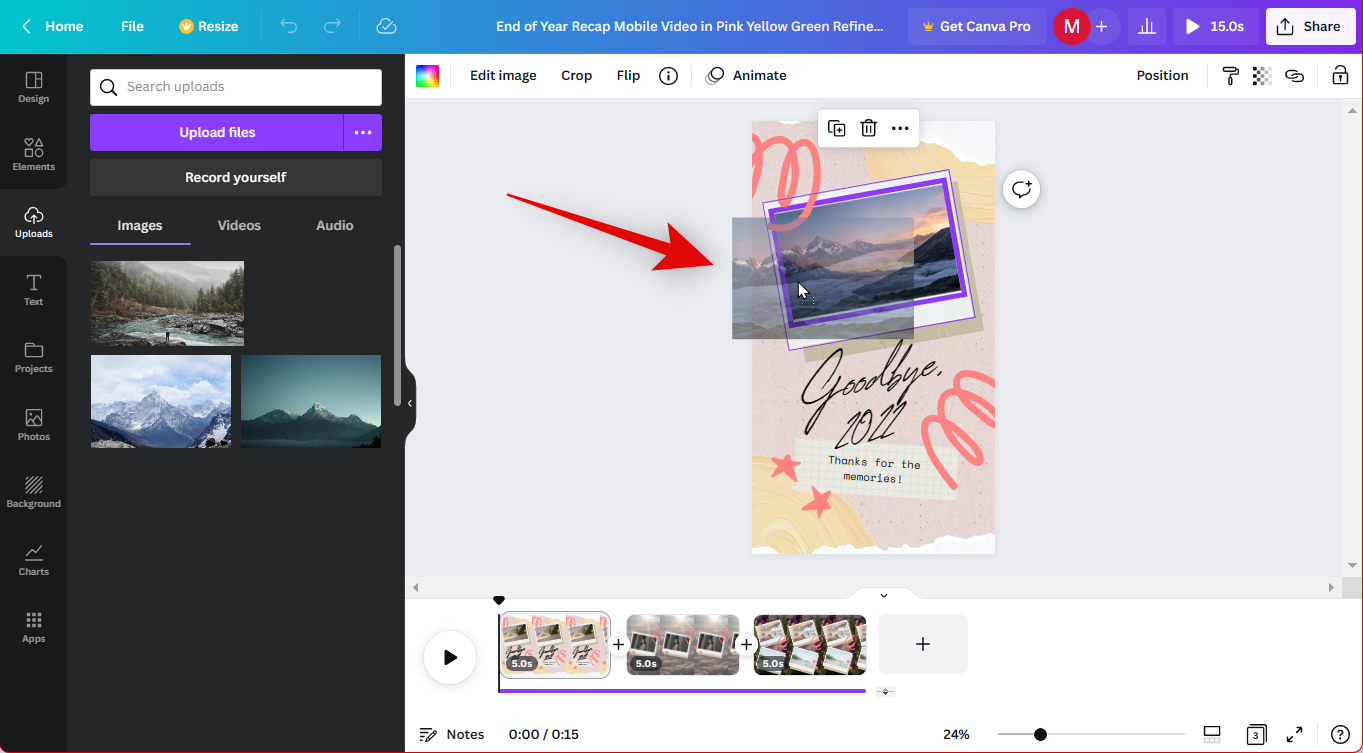
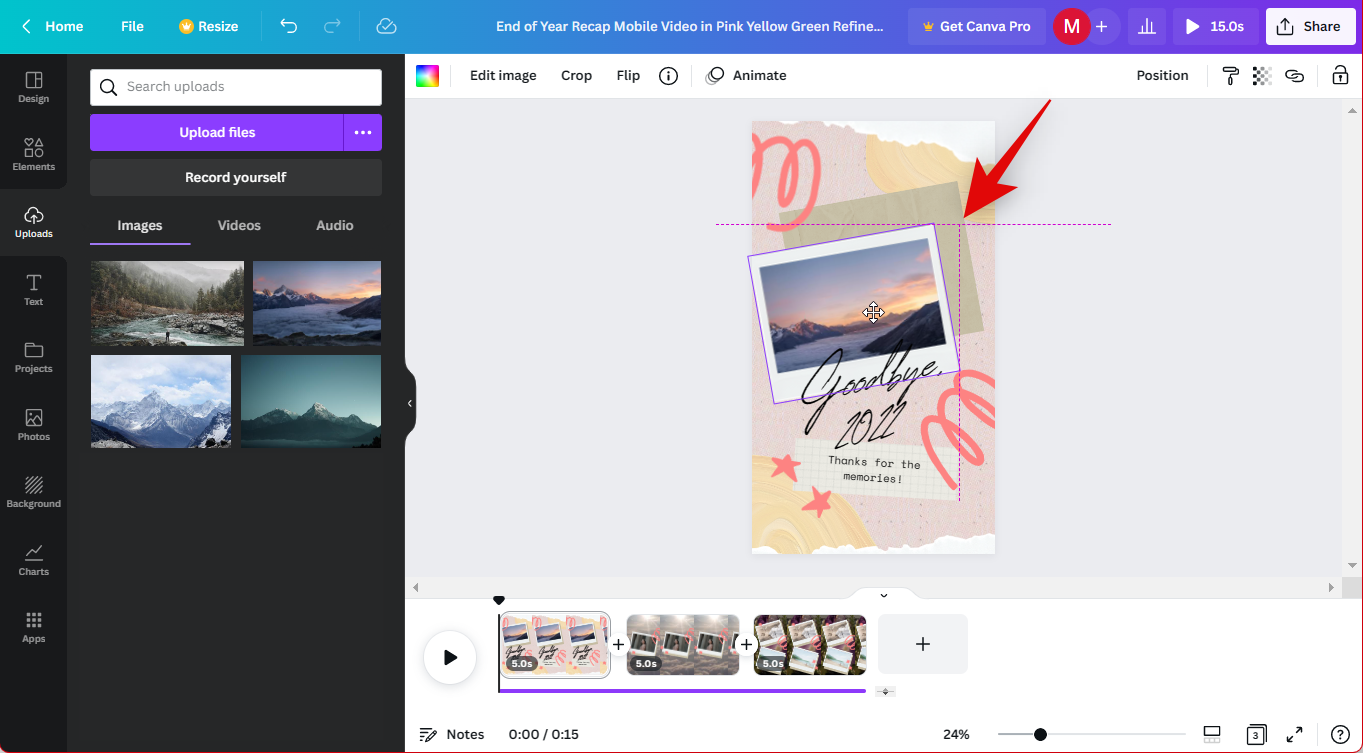
- Double-click the added image and reposition it as needed.
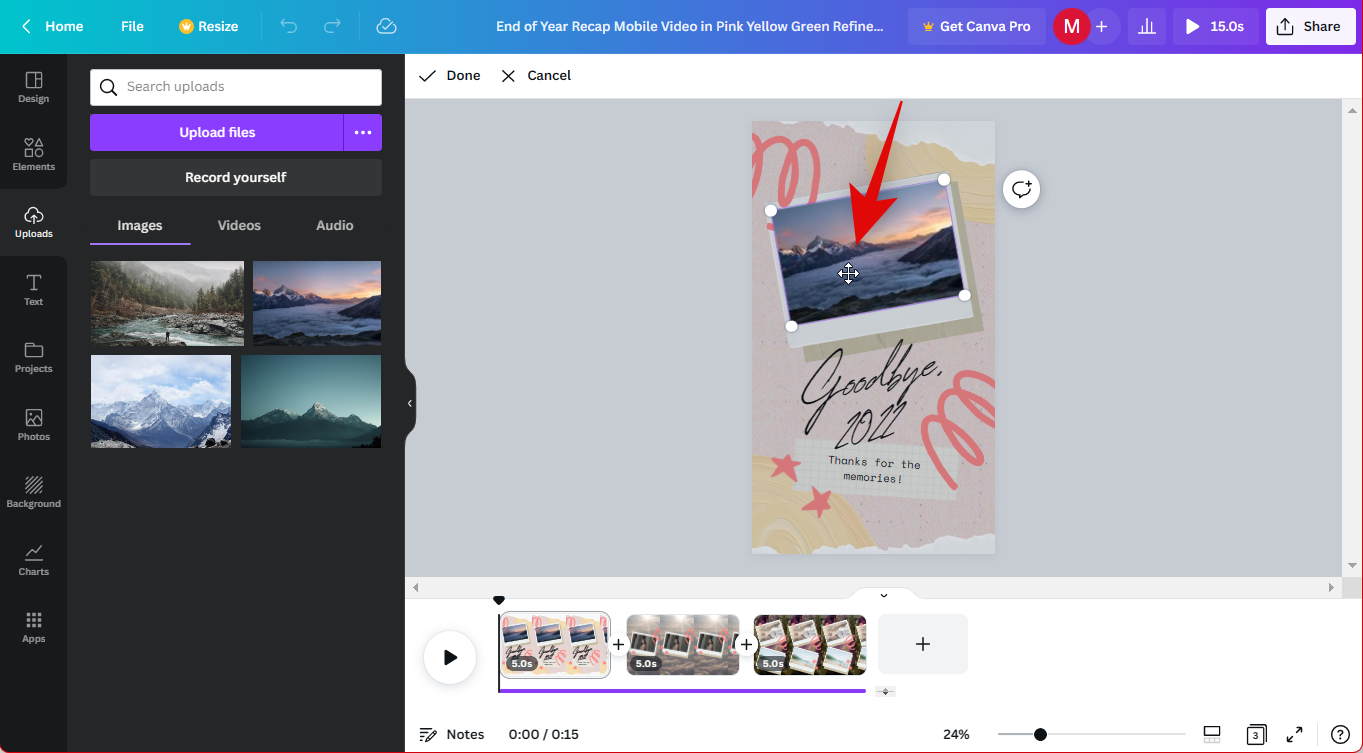
- You can also click and drag any corner to resize your image in the placeholder as needed.
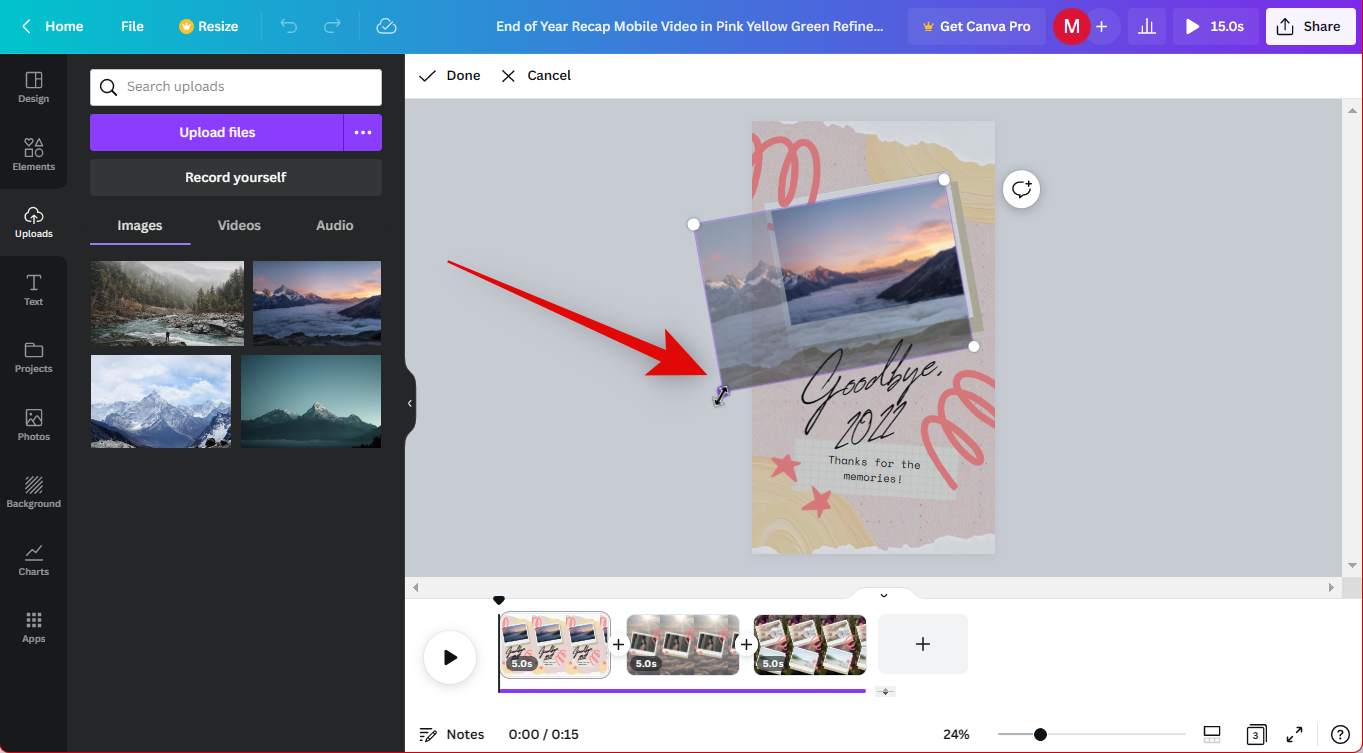
- Additionally, click and drag the image placeholder to reposition your image in your design.
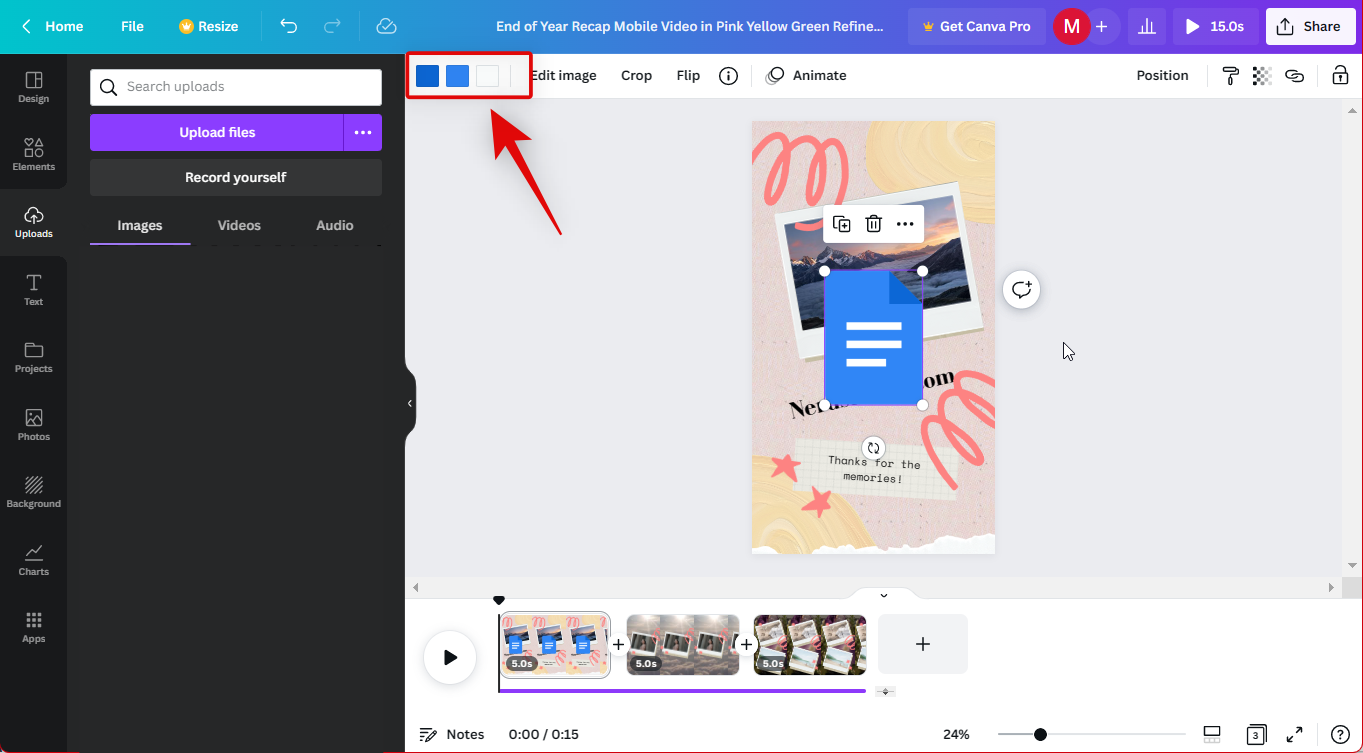
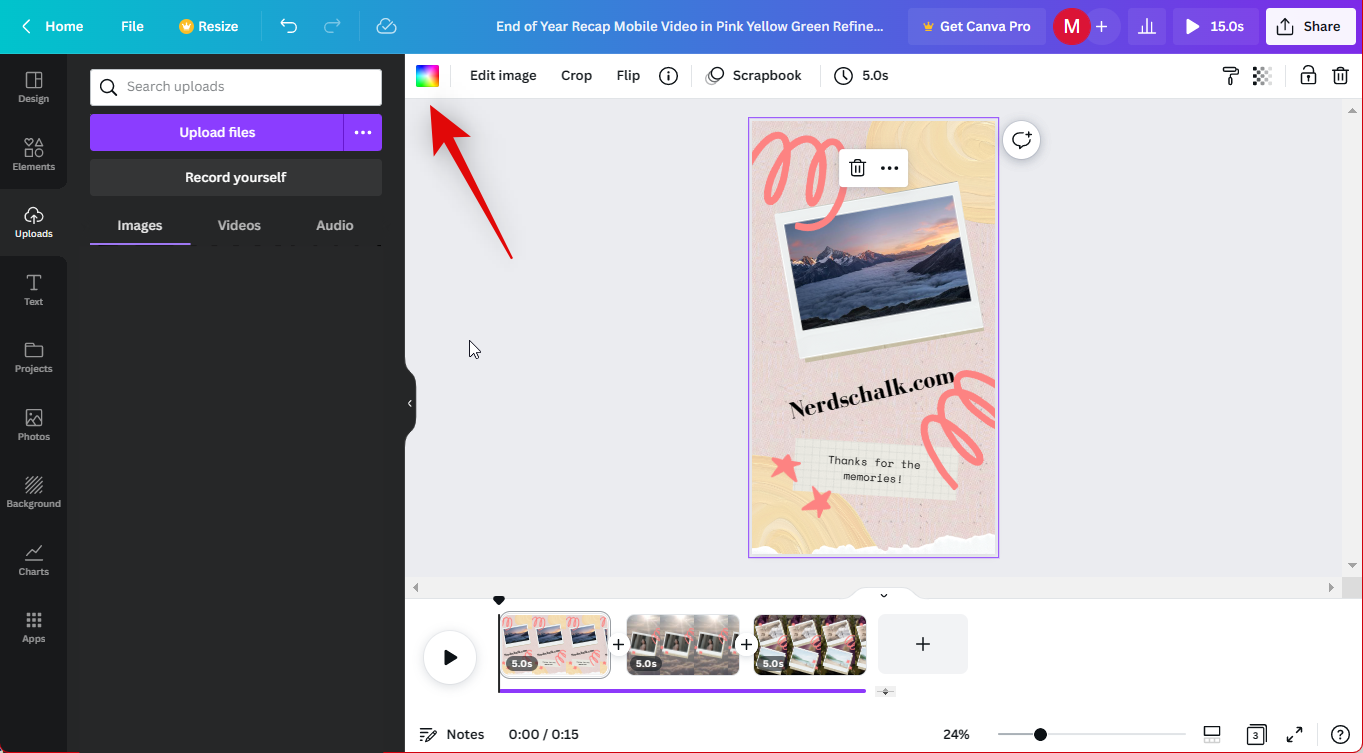
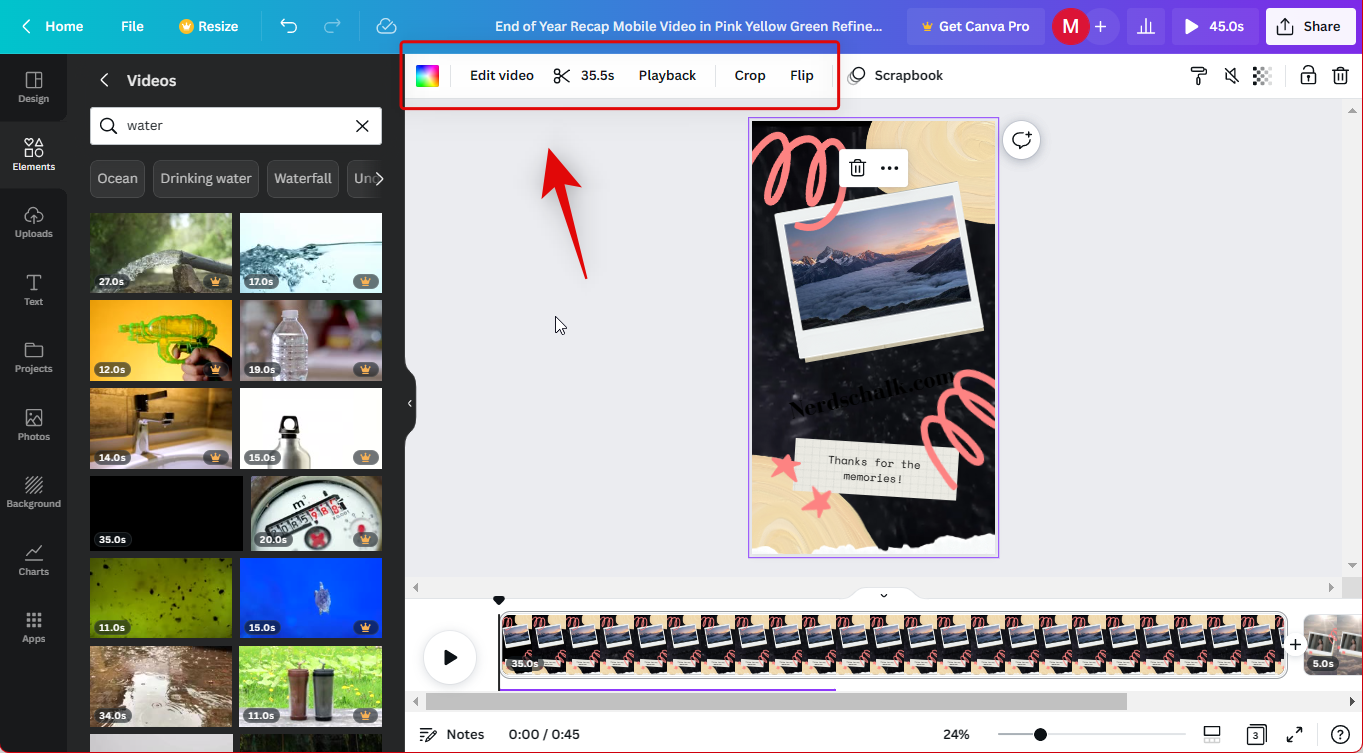
- You can also click Edit image/Edit video at the top to control the look of your image or video.

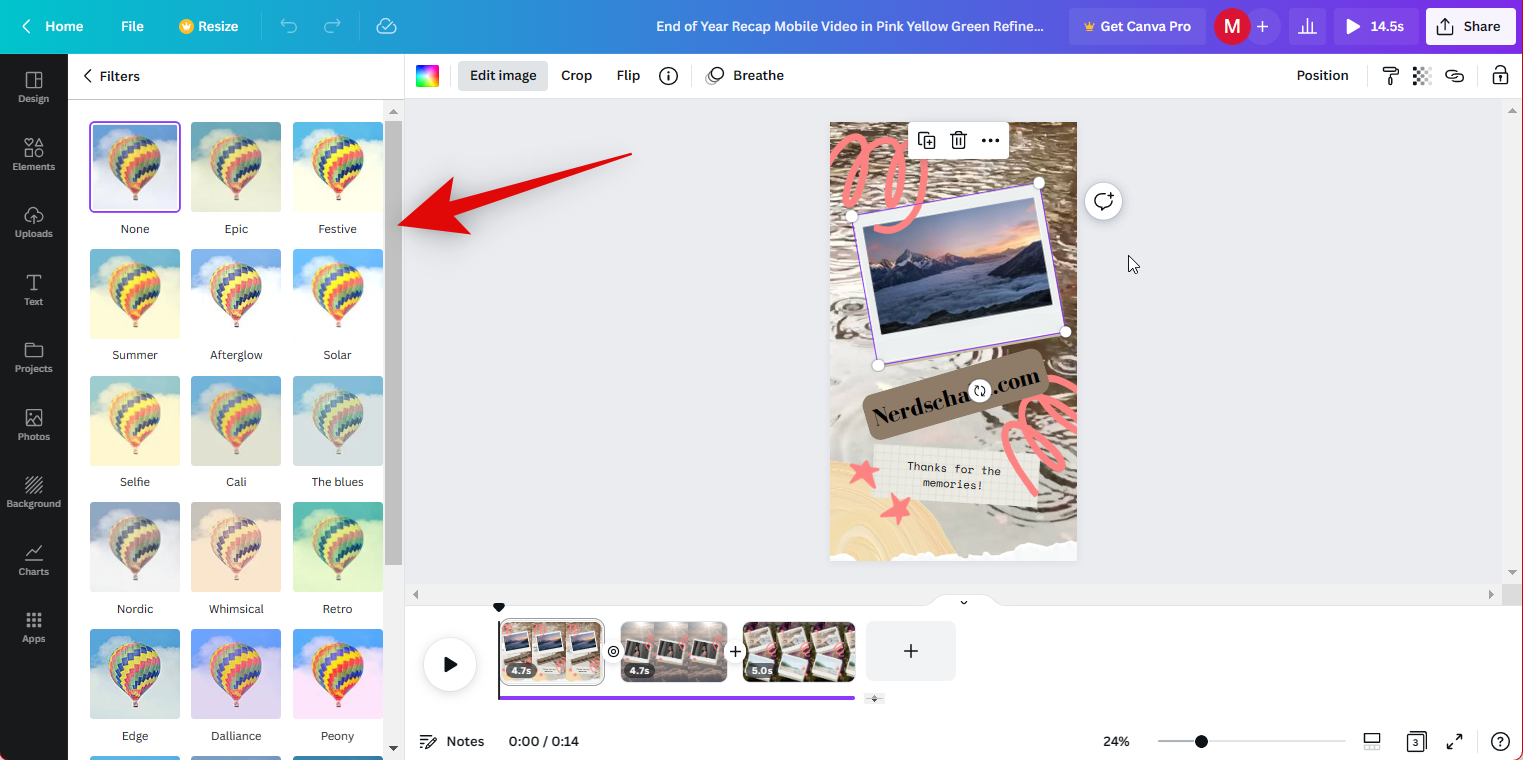
- Select Filters to apply filters to your image.
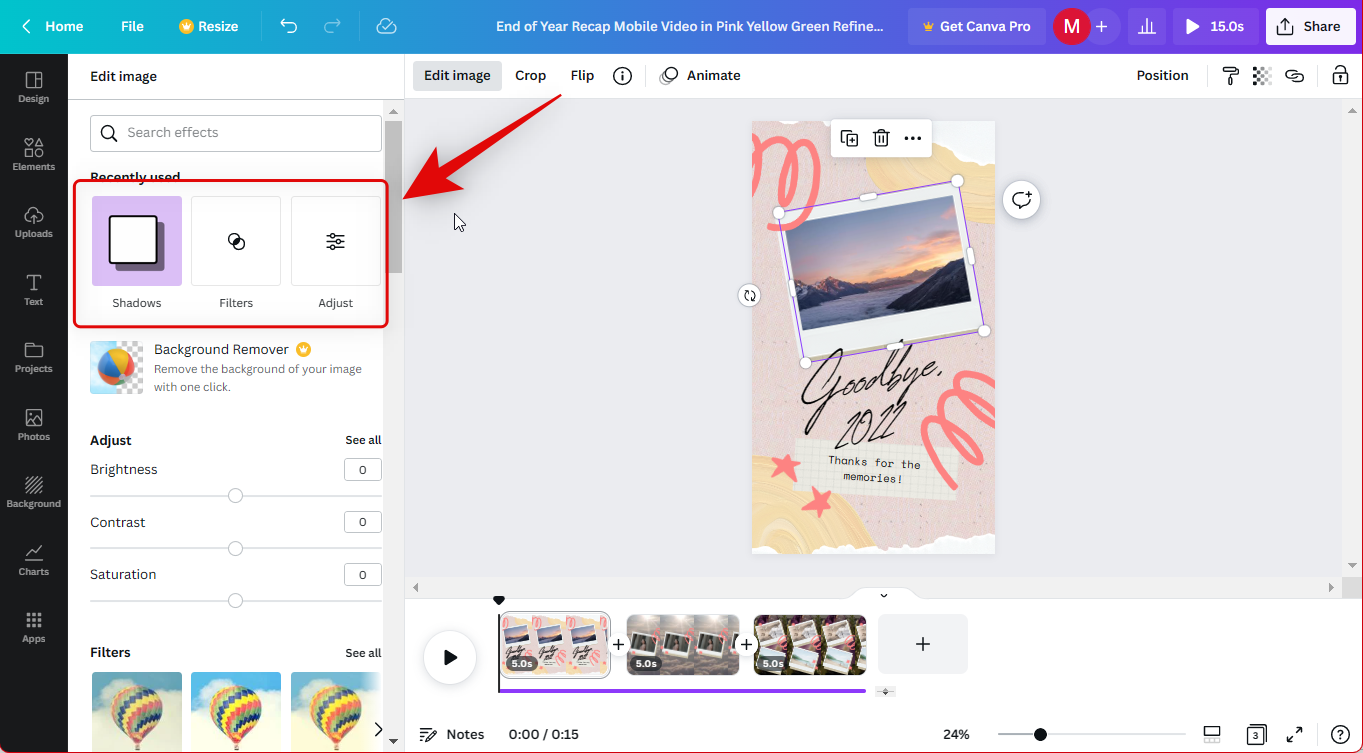
- Click and select a filter you like, and it will be automatically applied to your image.
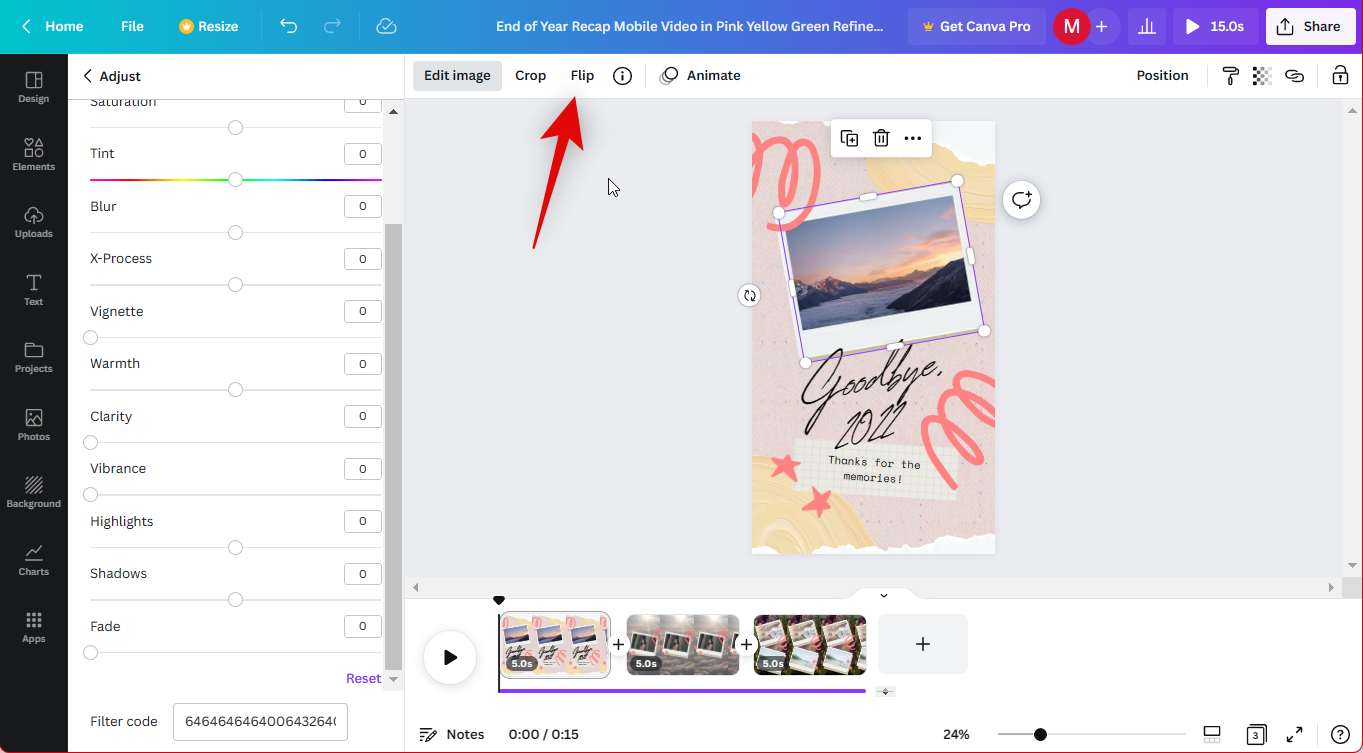
- Similarly Adjust lets you adjust different parameters of your image or video.
Note: These options will be limited depending on the media type you edit in Canva.
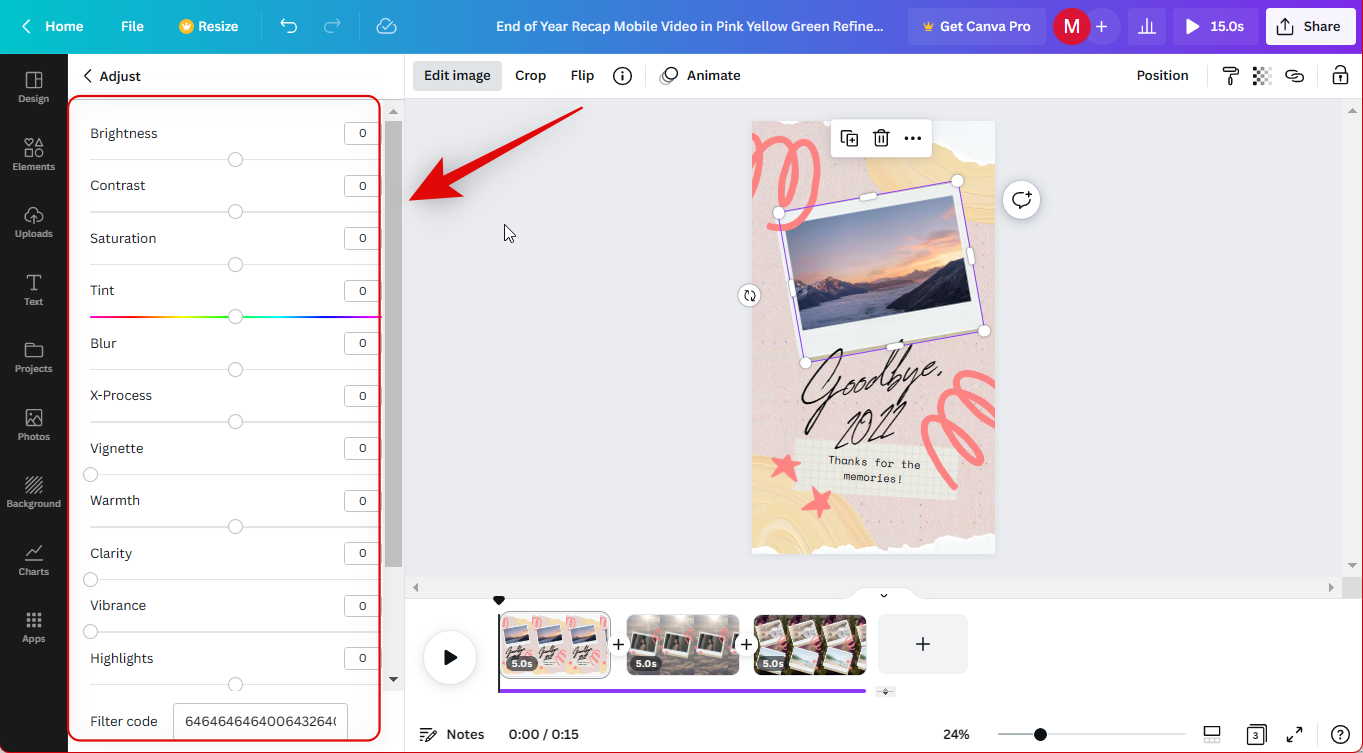
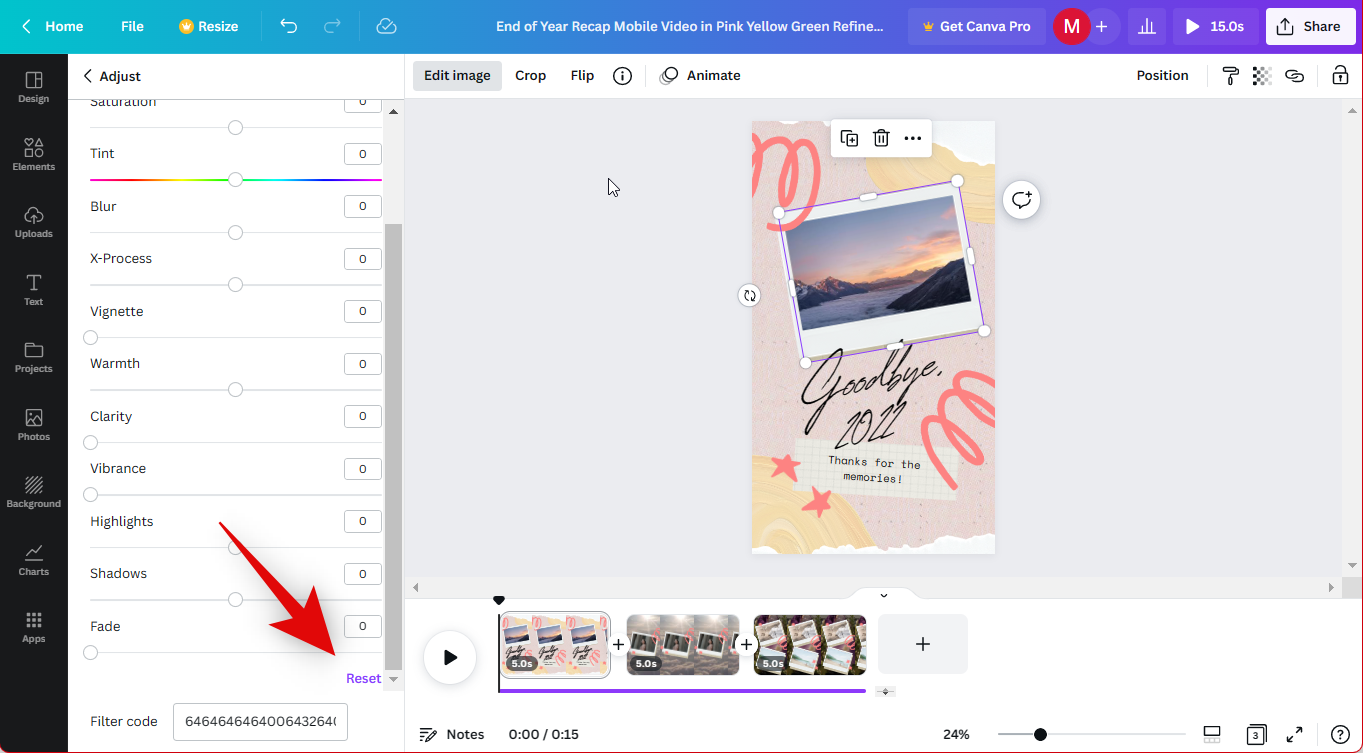
- Use the sliders to adjust the look of your image as needed. You can adjust the following parameters when editing your image or video in Canva – Brightness, Contrast, Saturation, Tint, Blur, X-Process, Vignette, Warmth, Clarity, Vibrance, Highlights, Shadows, and Fade.
- You can also click Reset at the bottom to reset all adjustments and start again.
- You can also scroll down on your right to access exclusive effects for photos and videos like Paint Effects, Duotone filters, Pixelate filters, Liquify effects, and more.
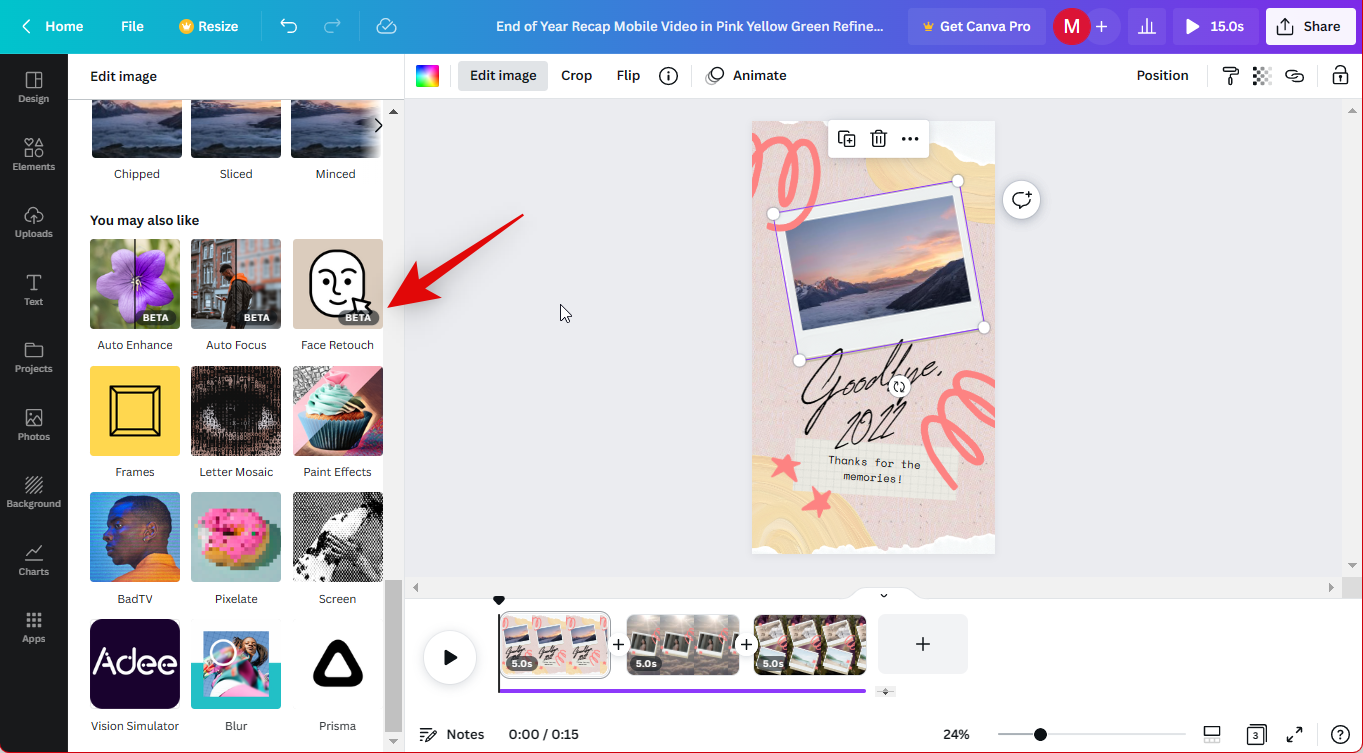
- Click on an effect you like to apply to your image or video.

- Similarly, click Crop at the top to crop your image or video as needed.

- Use the Flip option to flip your image horizontally or vertically.
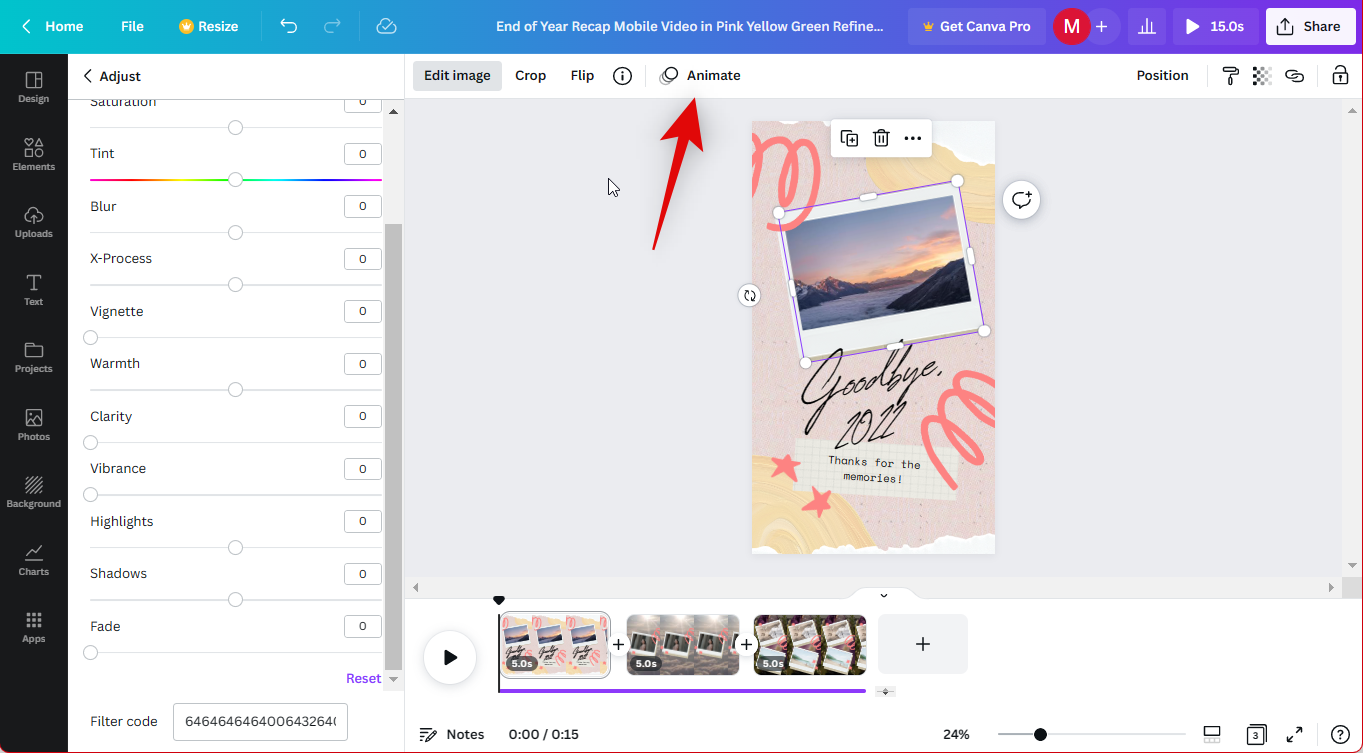
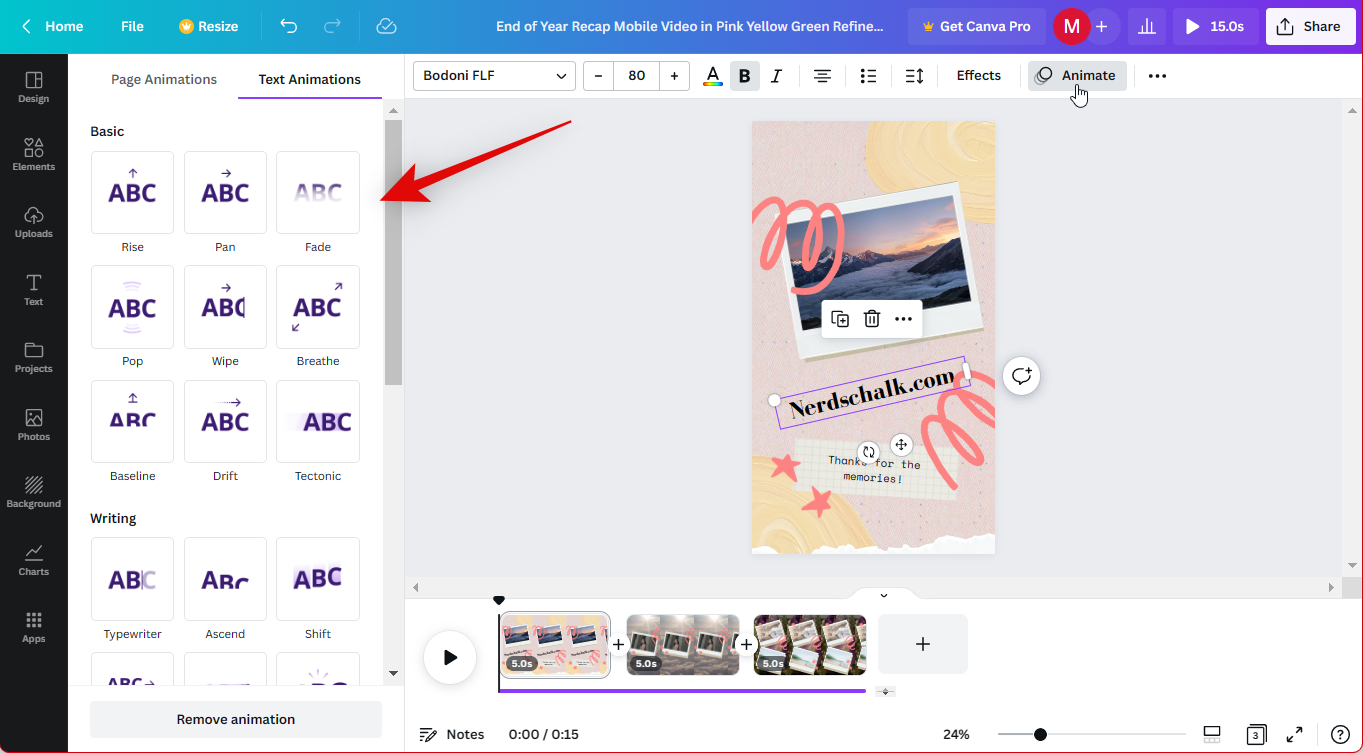
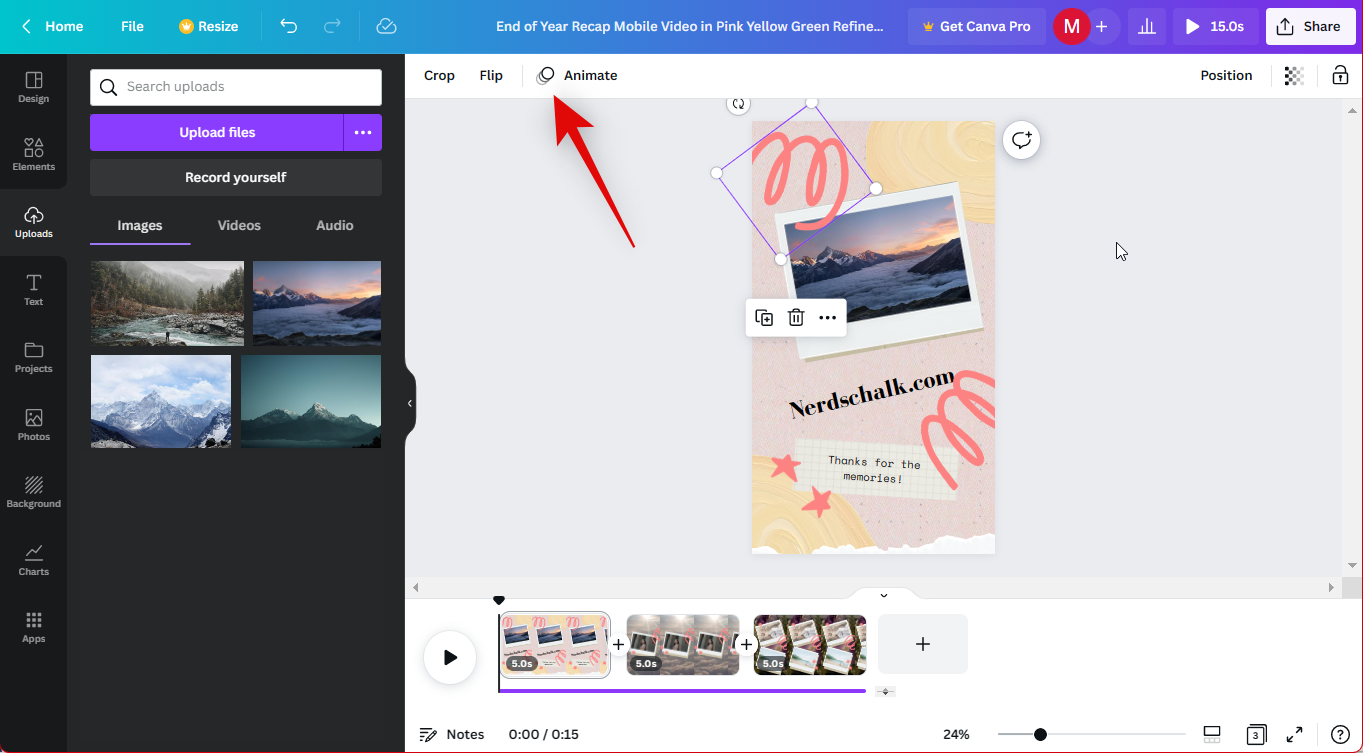
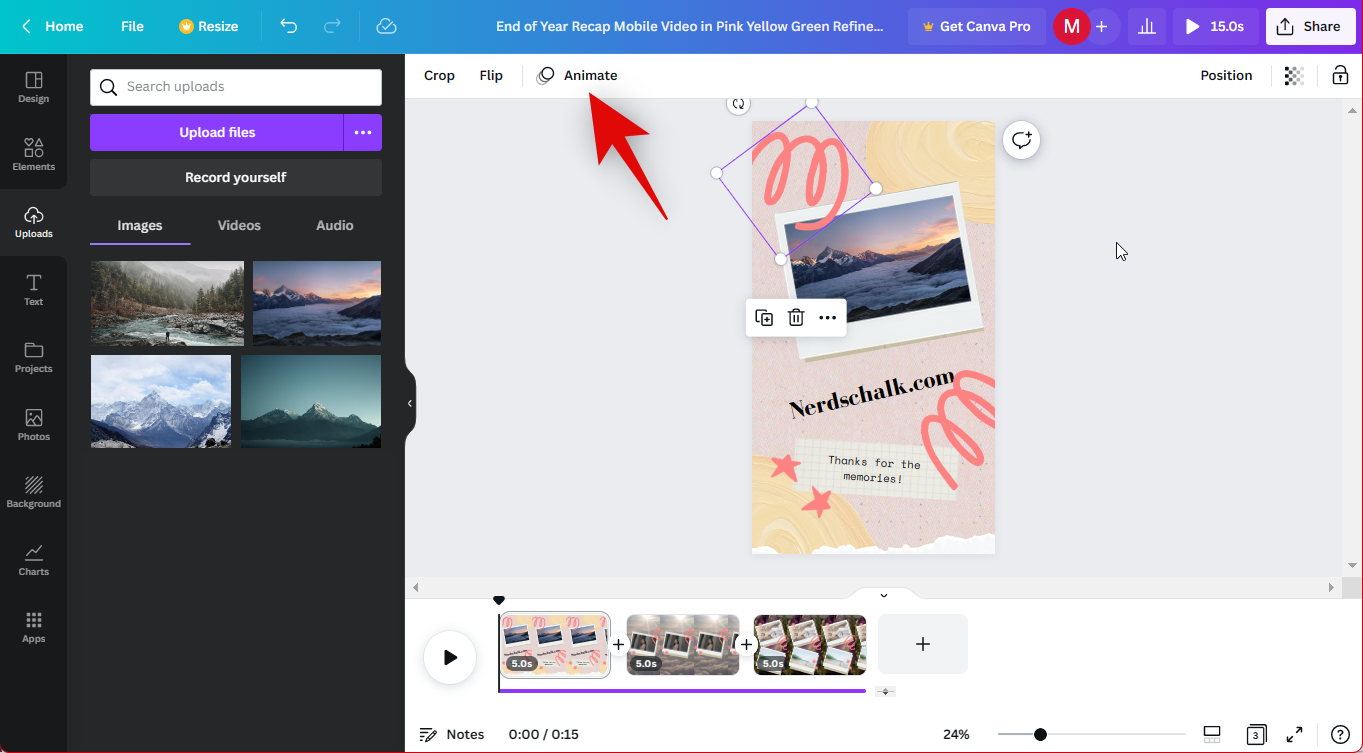
- The Animate option can help you animate static images.
- Select your preferred animation from the choices on your left. Let’s take a look at Breathe for this example.
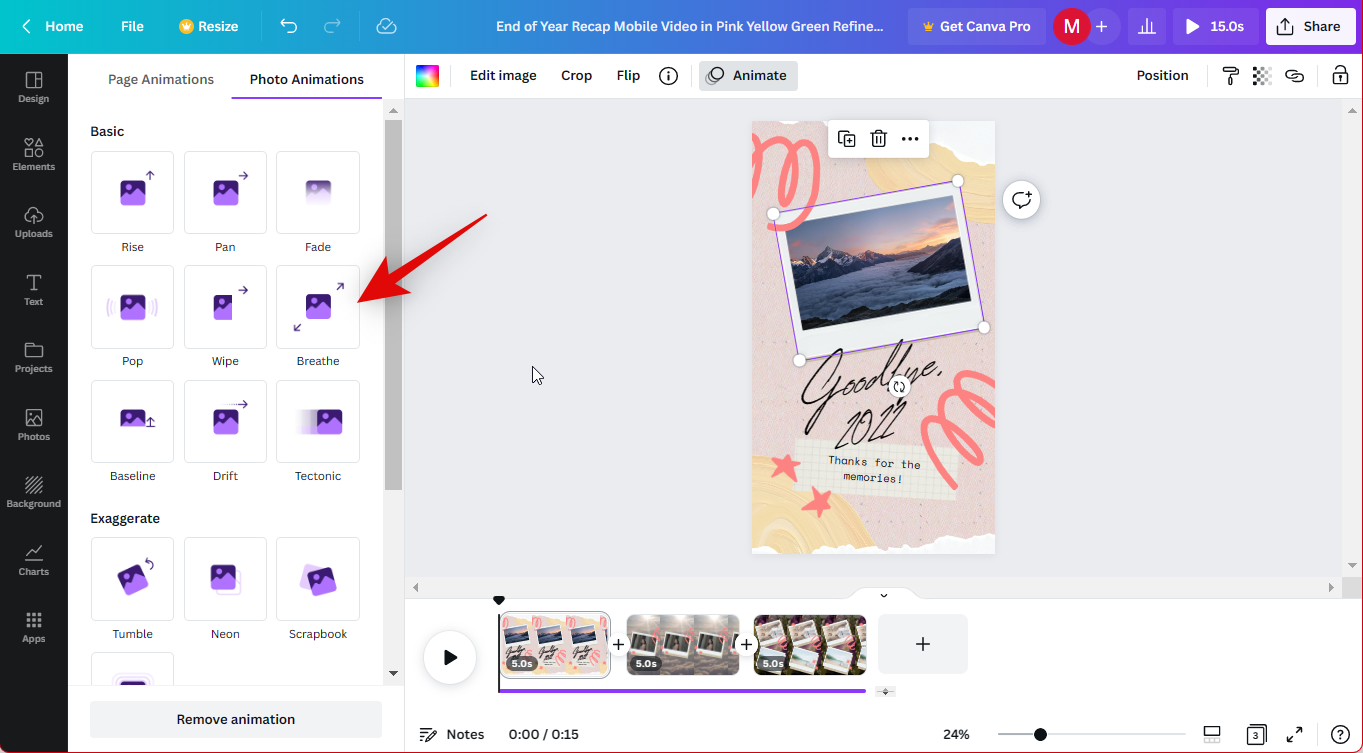
- Choose whether you wish for your image to breathe in or out by clicking In or Out.
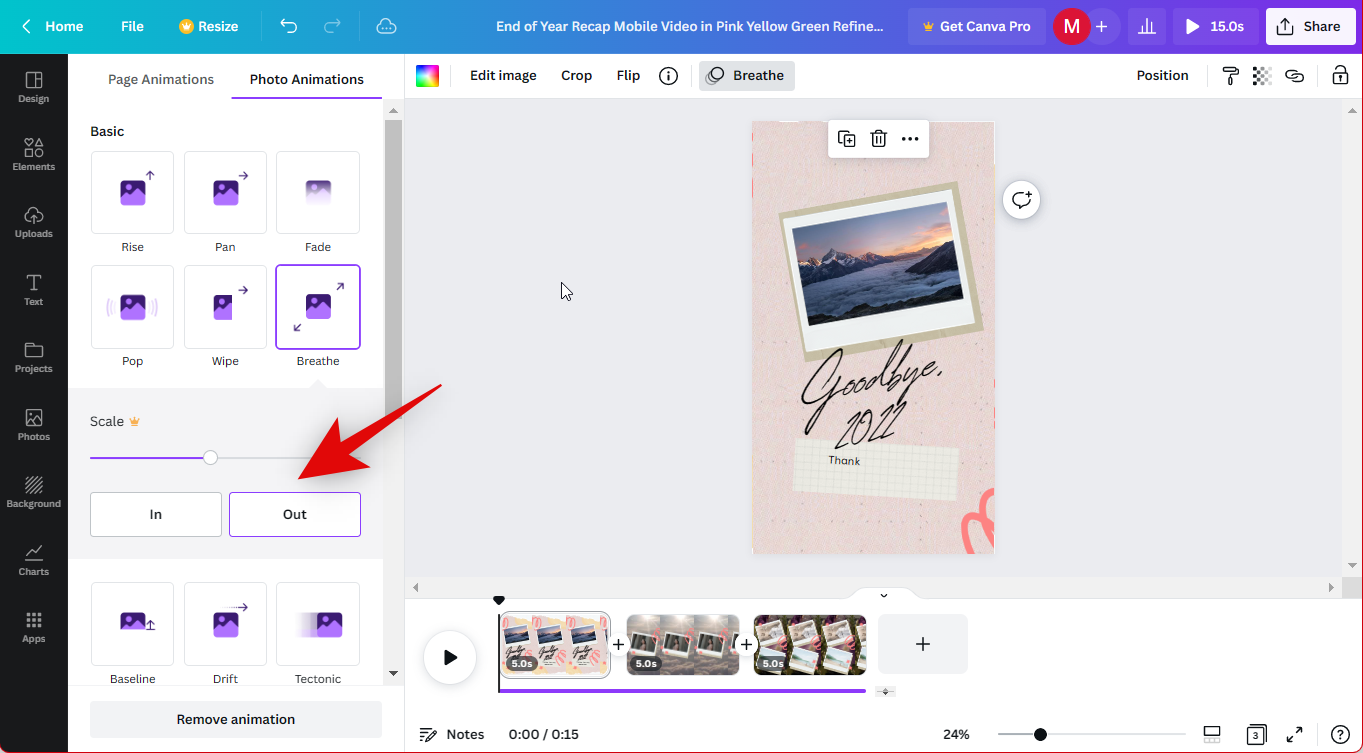
- Use the slider for Scale to adjust how far your image should be scaled when it is being animated.
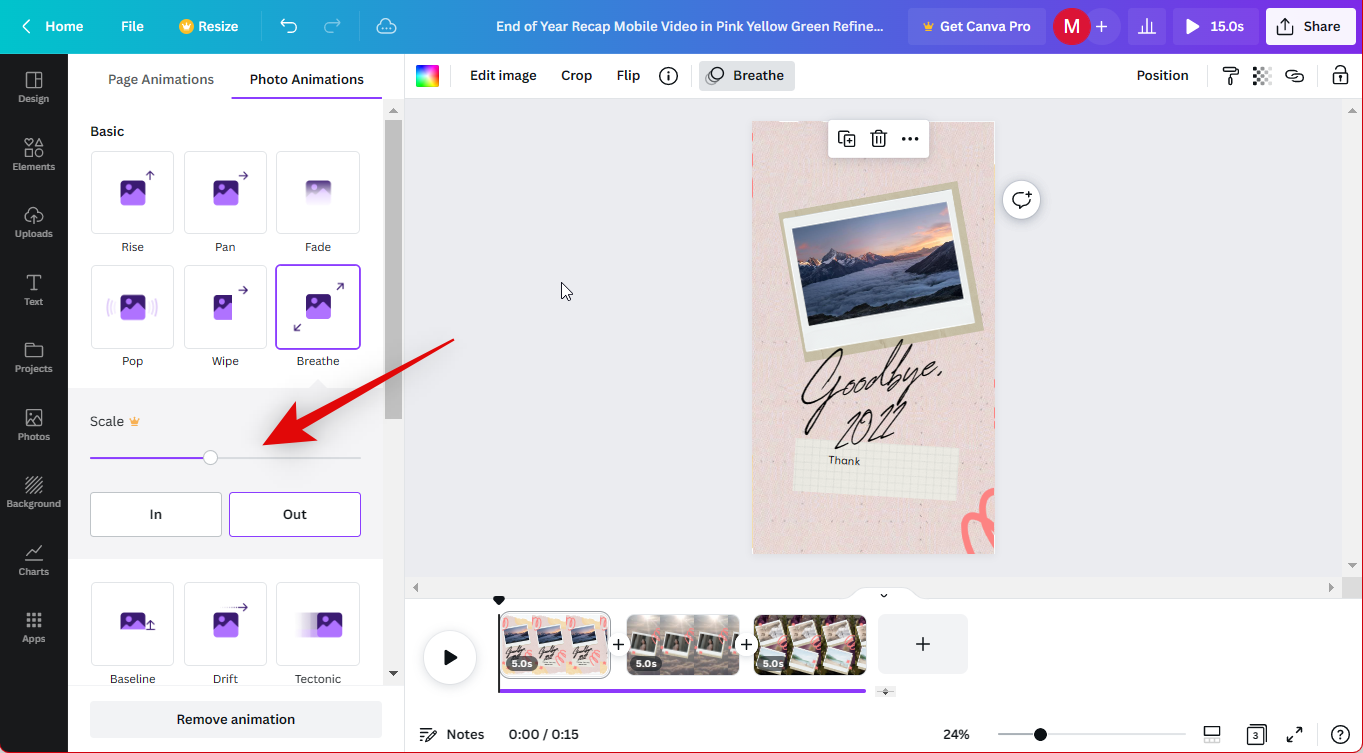
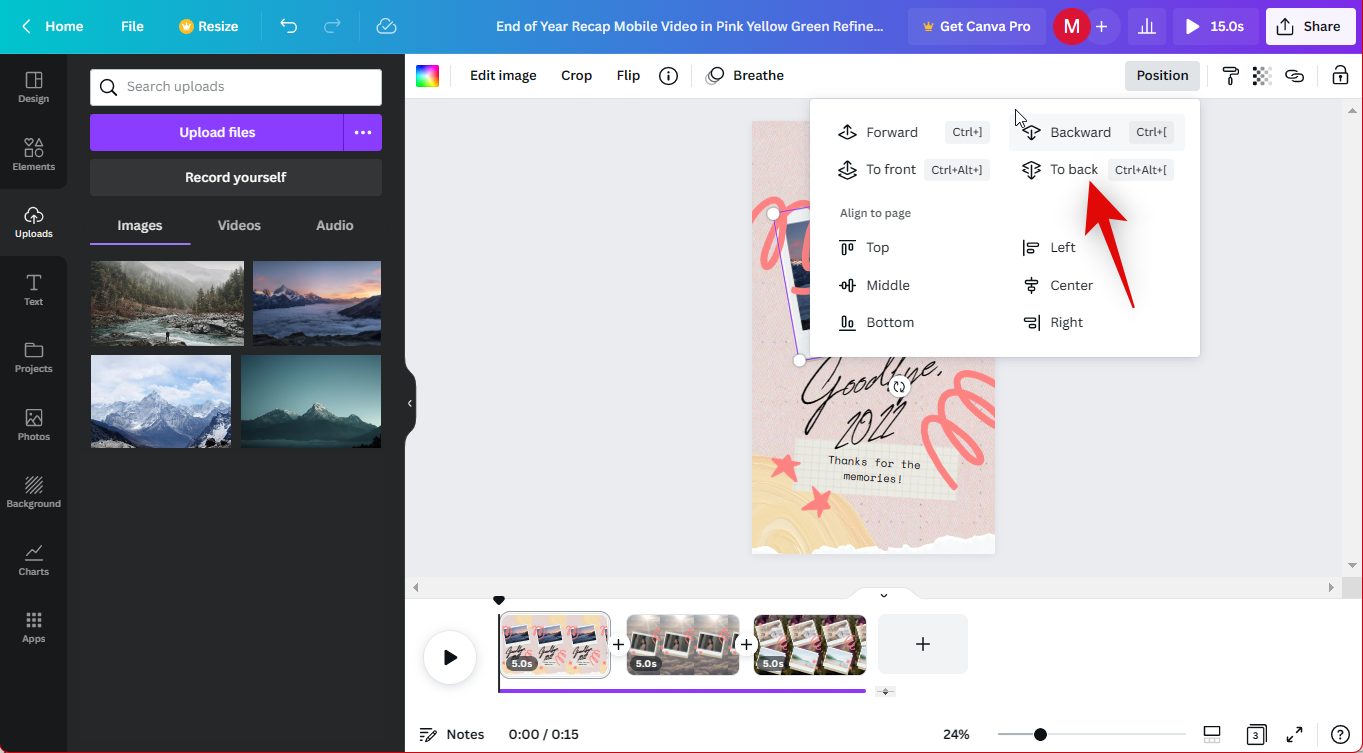
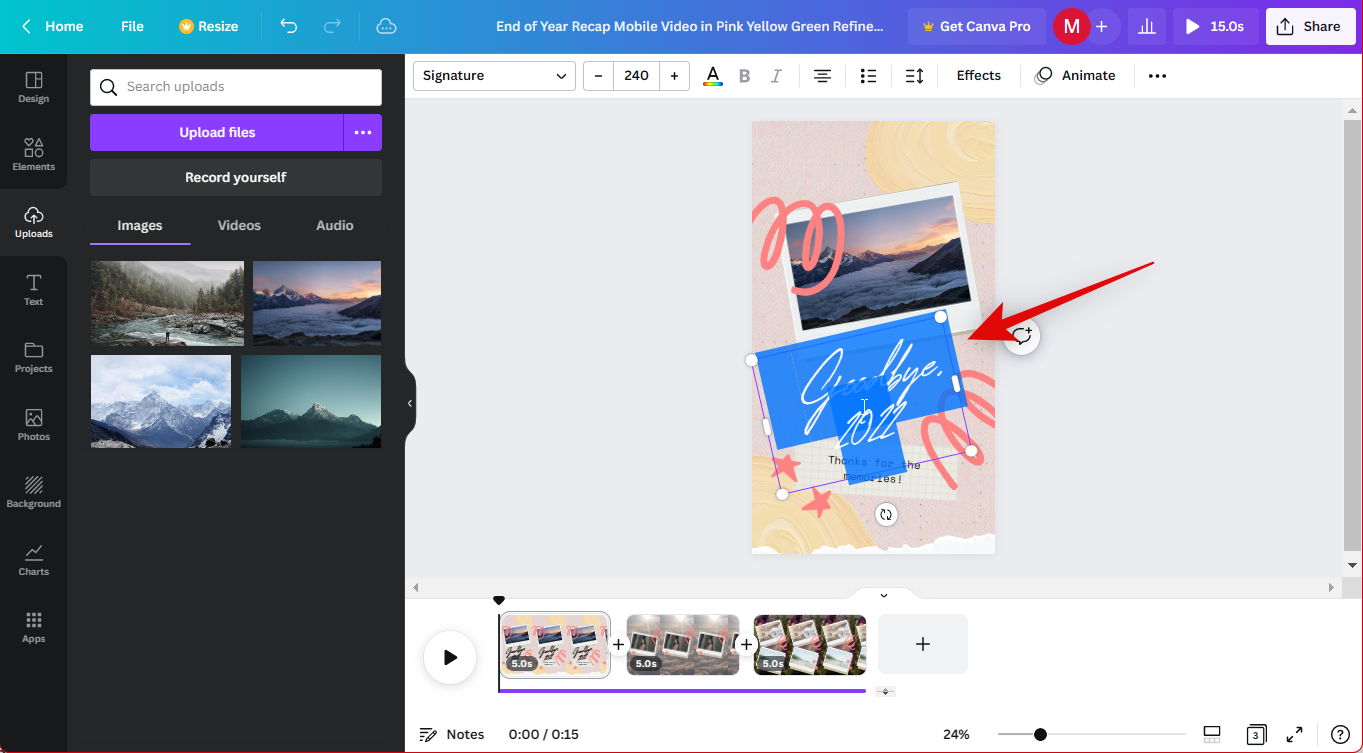
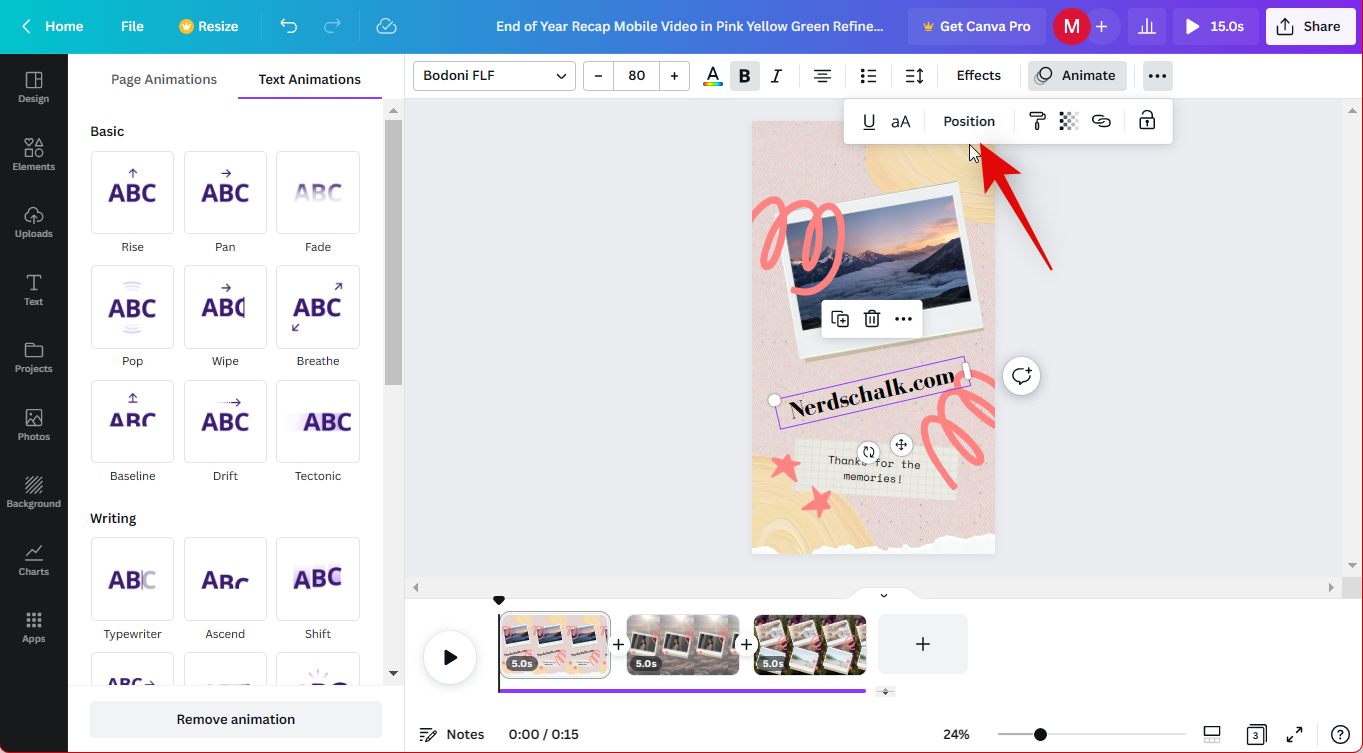
Note: Some controls for animations will be locked behind a premium Canva subscription as with the Scale slider for Breathe. You can identify the same by checking for the premium icon above certain sliders and controls. - Once you’re done animating, use the Position option to adjust the position of your selected image or video. This option can help you place the image in front of or behind other elements in your design.

- Click Forward to bring the image or video above other elements in your design in order.
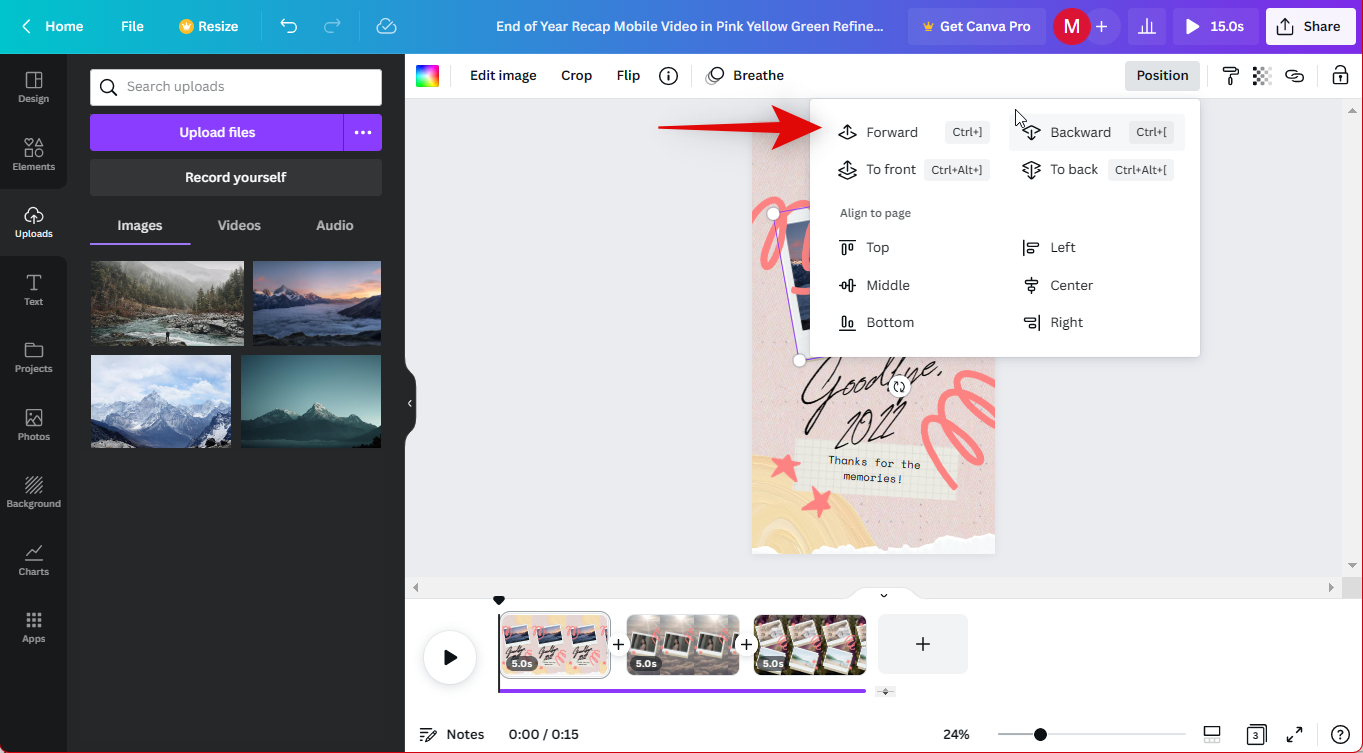
- Use Backward to place your image or video behind other elements in your design.
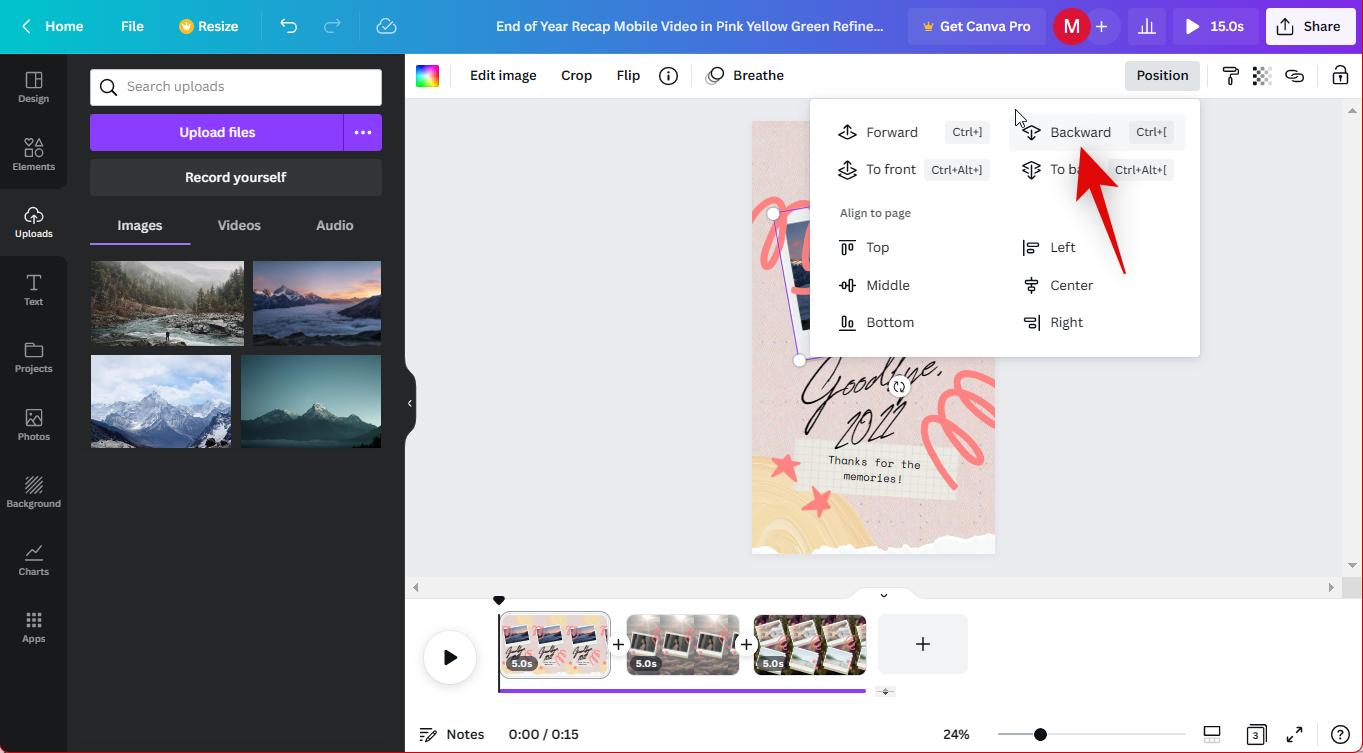
- Similarly, you can use To front to place the image or video above all other elements in your design regardless of their order.
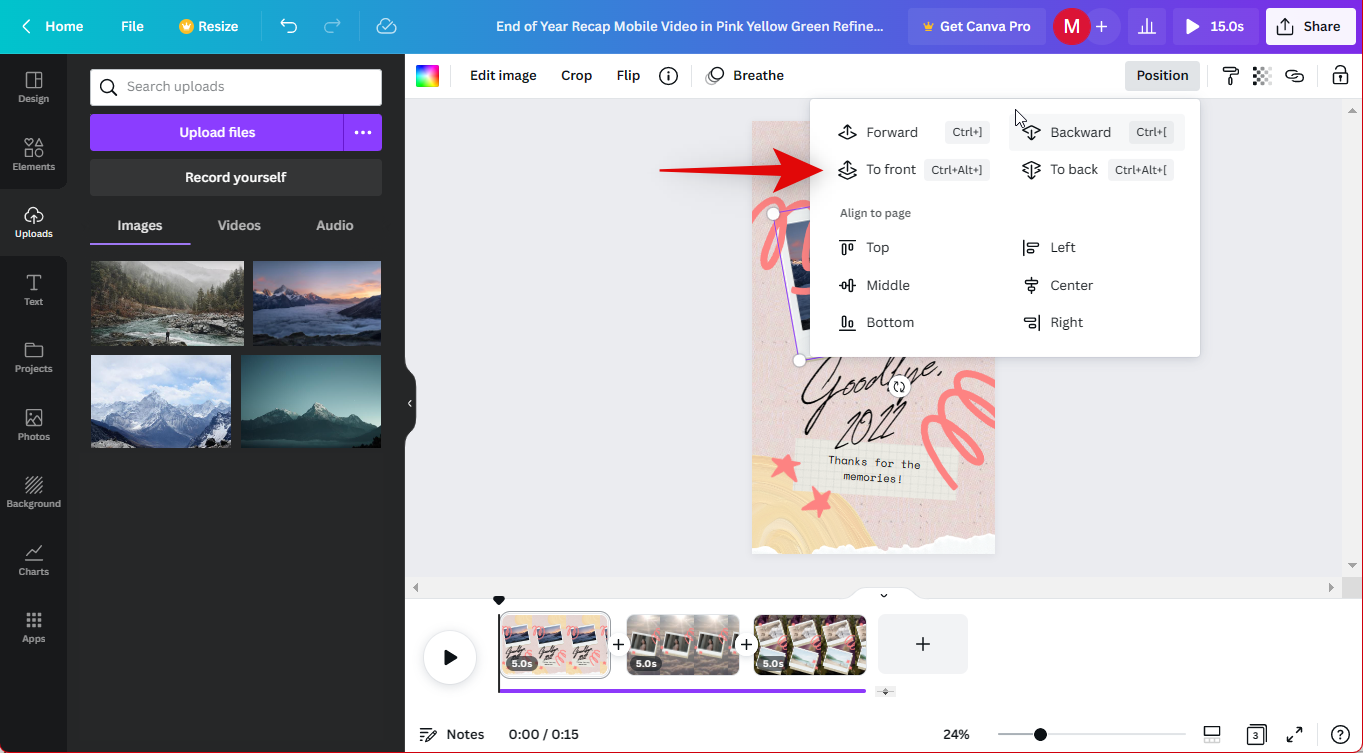
- To back can help you place the image or video behind all elements in your design.
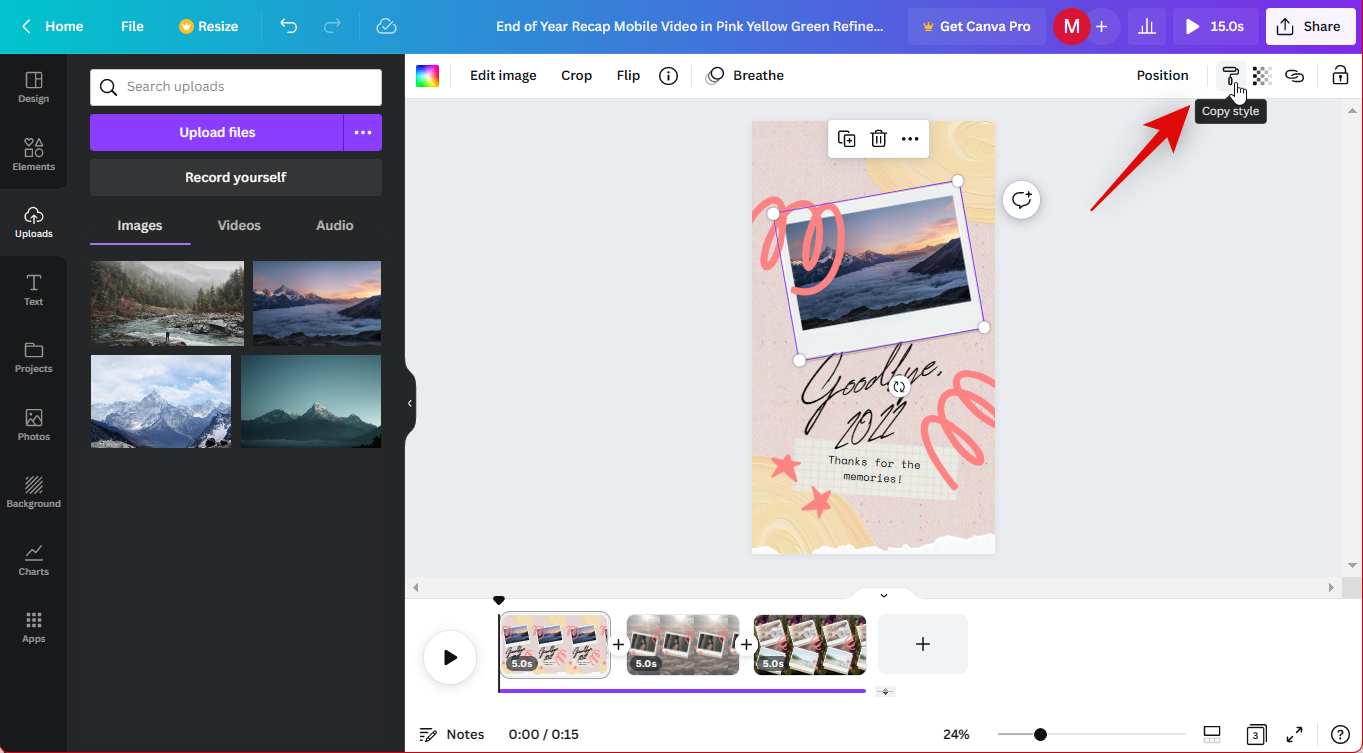
- You can also click the Copy style option to copy all adjustments you made to the selected video or image. You can then paste it on any other video or image so that it can match the style of the selected image or video.
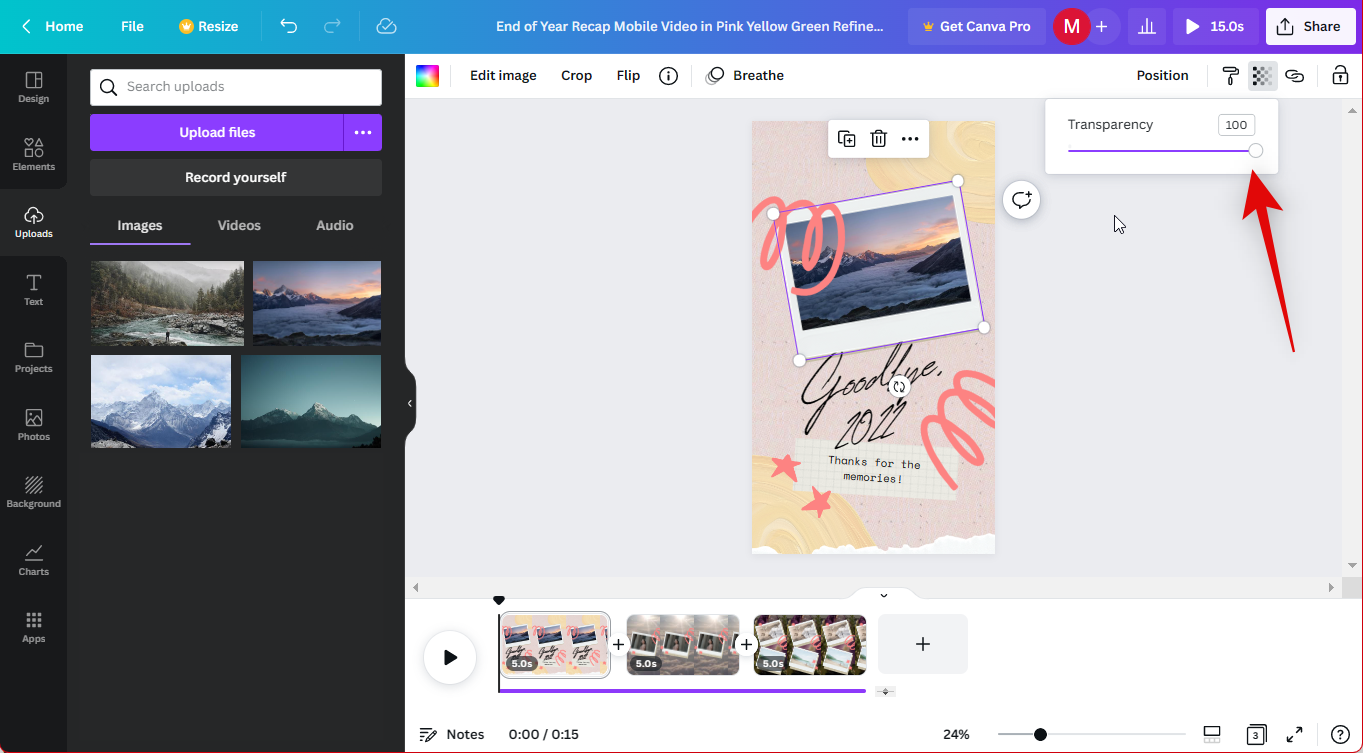
- Next you have the Transparency option. This can help you adjust the opacity of any selected element. This option is available for all elements in your design, be it images, videos, graphics, text, overlays, and more.
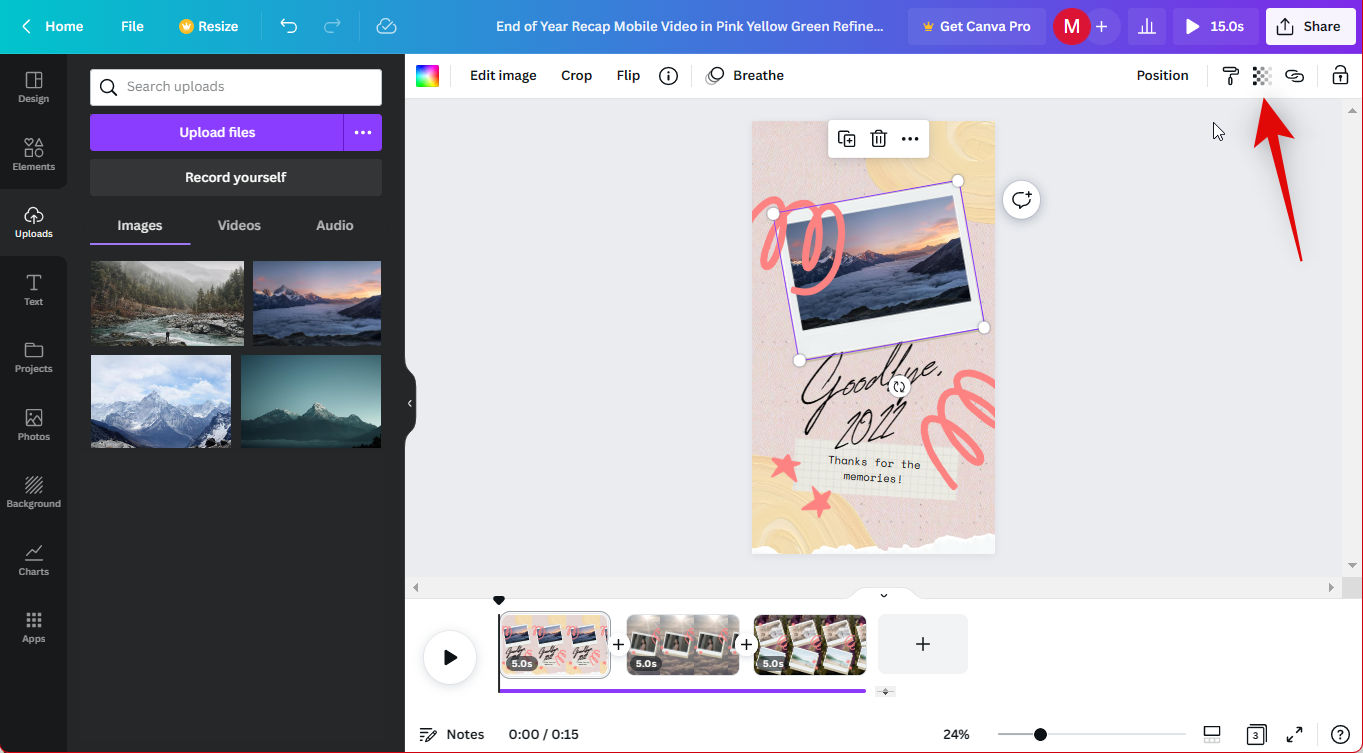
- Once you click this option, use the slider to adjust the opacity of the selected element. You can also choose to manually enter values in the text box at the top. This can help you match the overall look of your entire design.
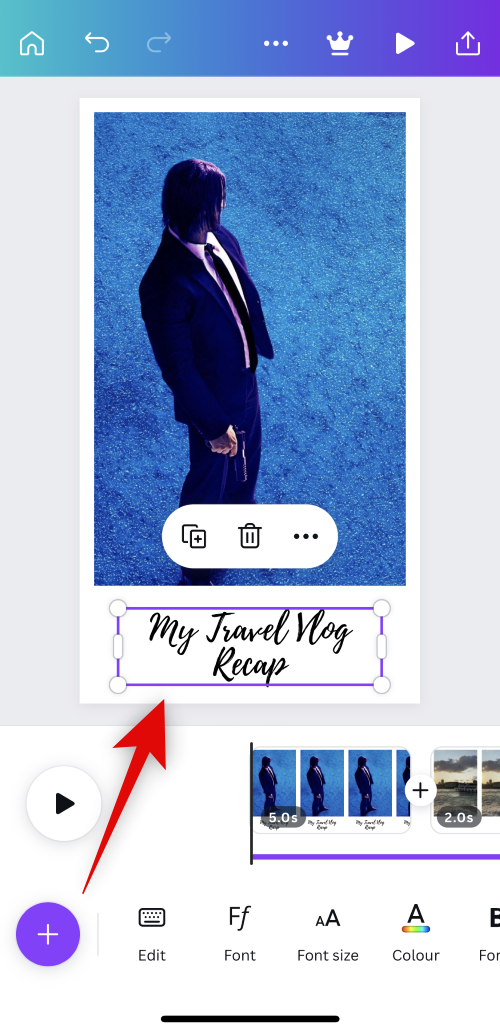
- Now click on any text to edit it in the template. You will get various options to adjust your text in the toolbar at the top. Let’s first help you edit and enter the text you like.

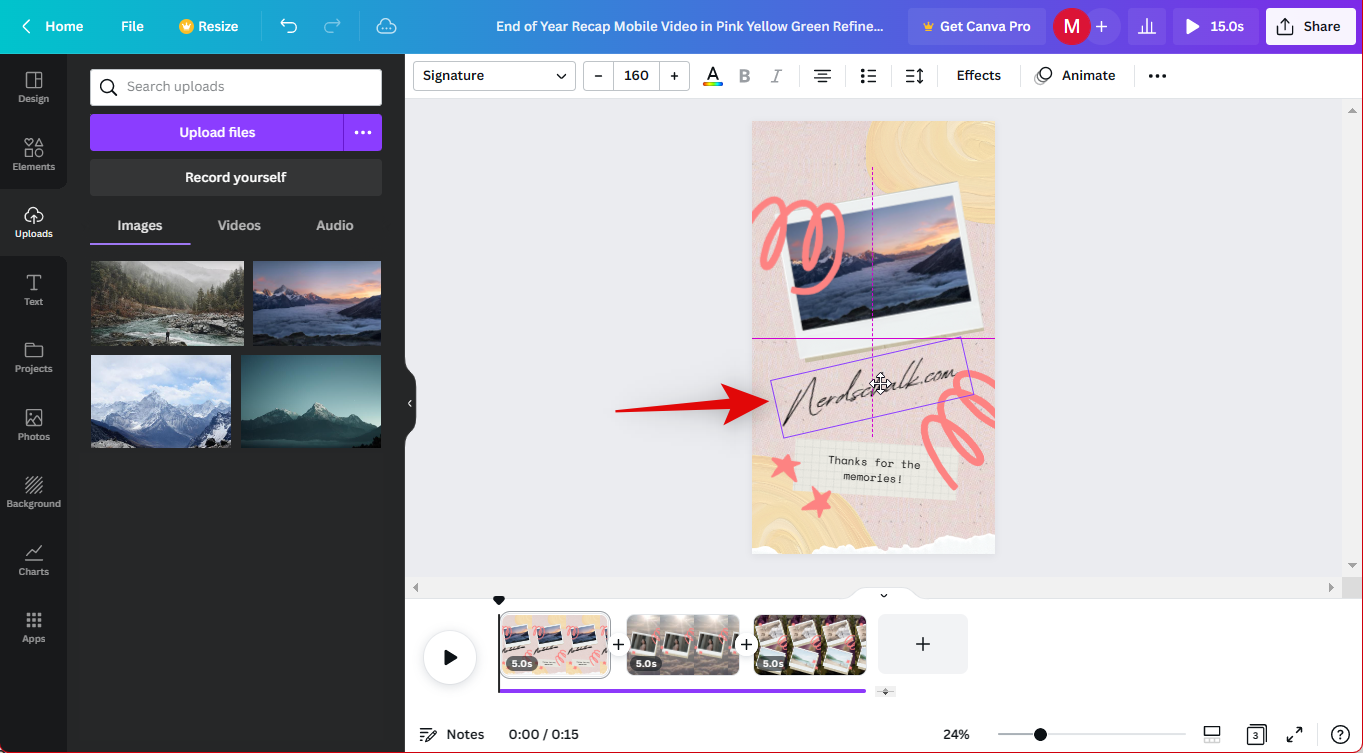
- Double-click a text in your design to edit its contents. You can now delete the template text and add your preferred text to the design.
- Click and drag the text placeholder to reposition the text in your design as needed.
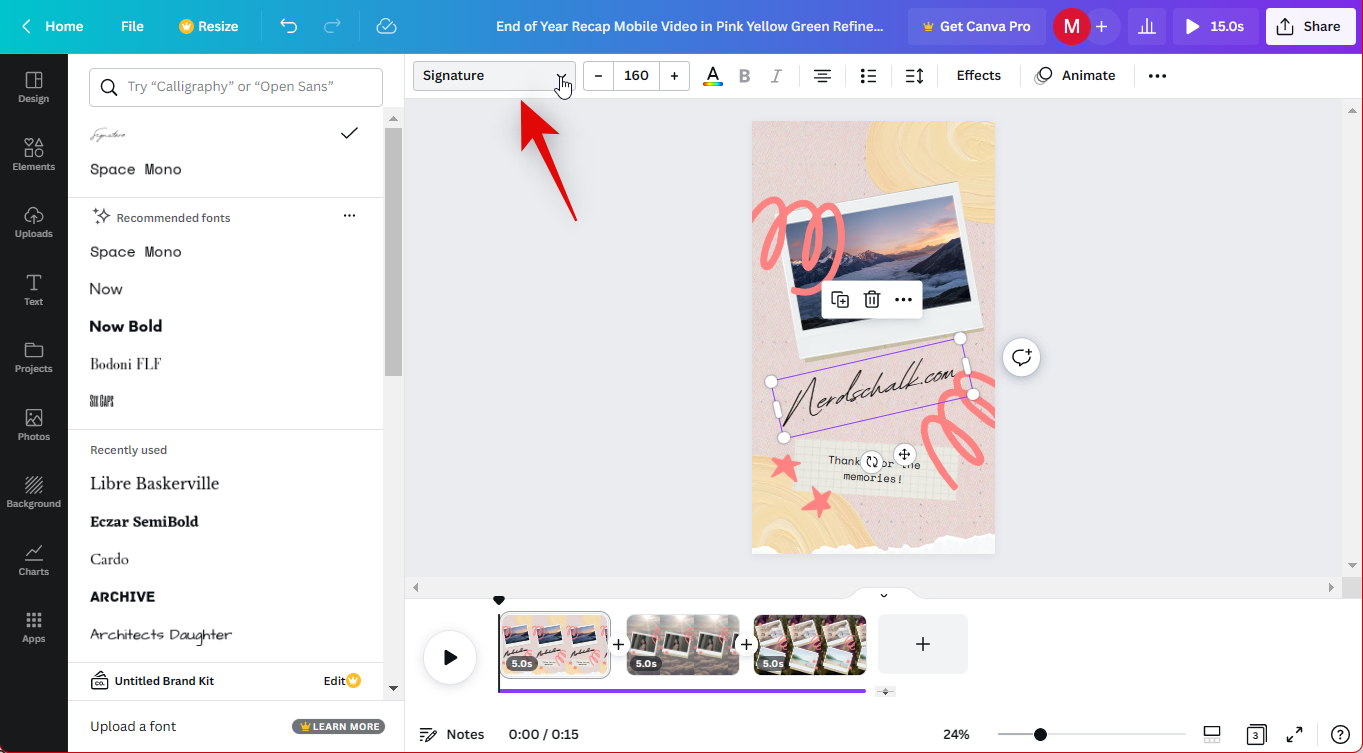
- Use the drop-down menu at the top to change your Font as needed.
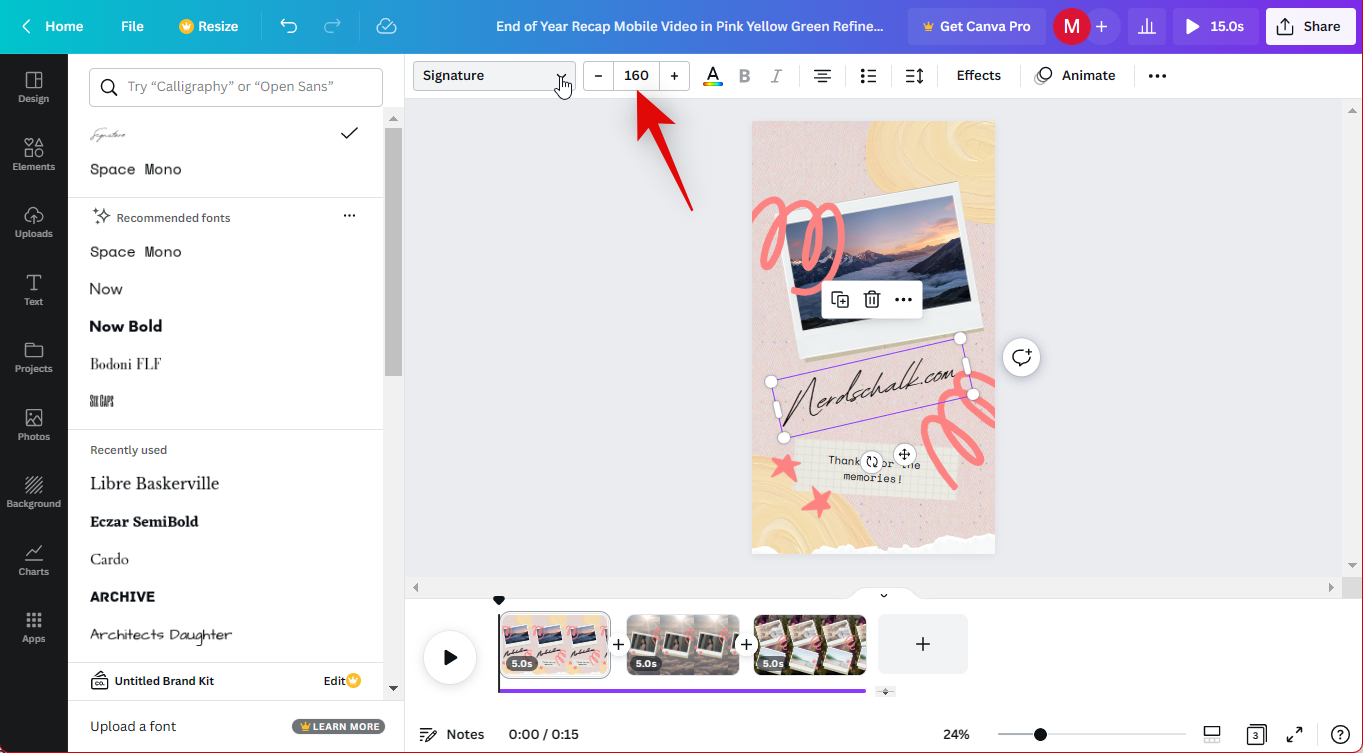
- Use the + and – icons beside the font choice to adjust the text size.
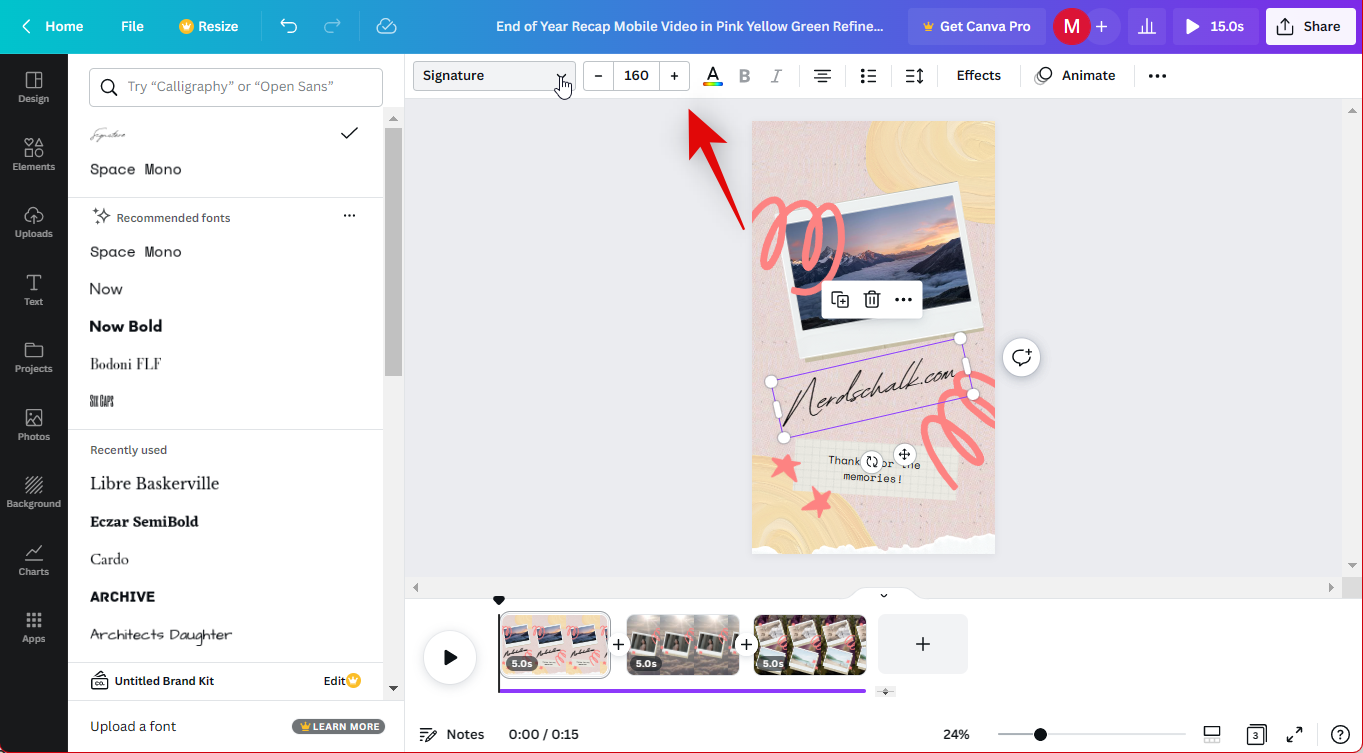
- You can also manually enter your text size in the dedicated text box between the + and – icons.
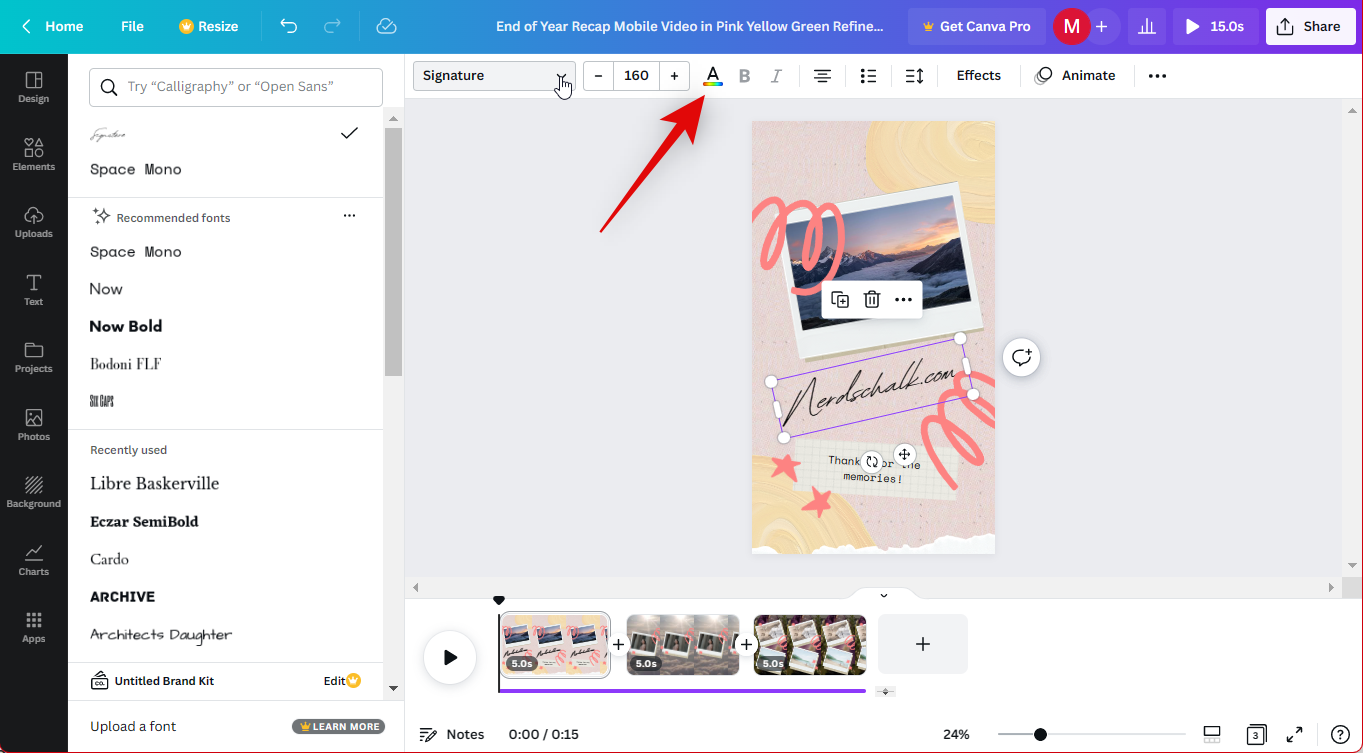
- Use the next icon to change your Font color.
- Click and select a color from the choices on your left. You will find suggested colors based on the overall look of your design under Photo Colors.
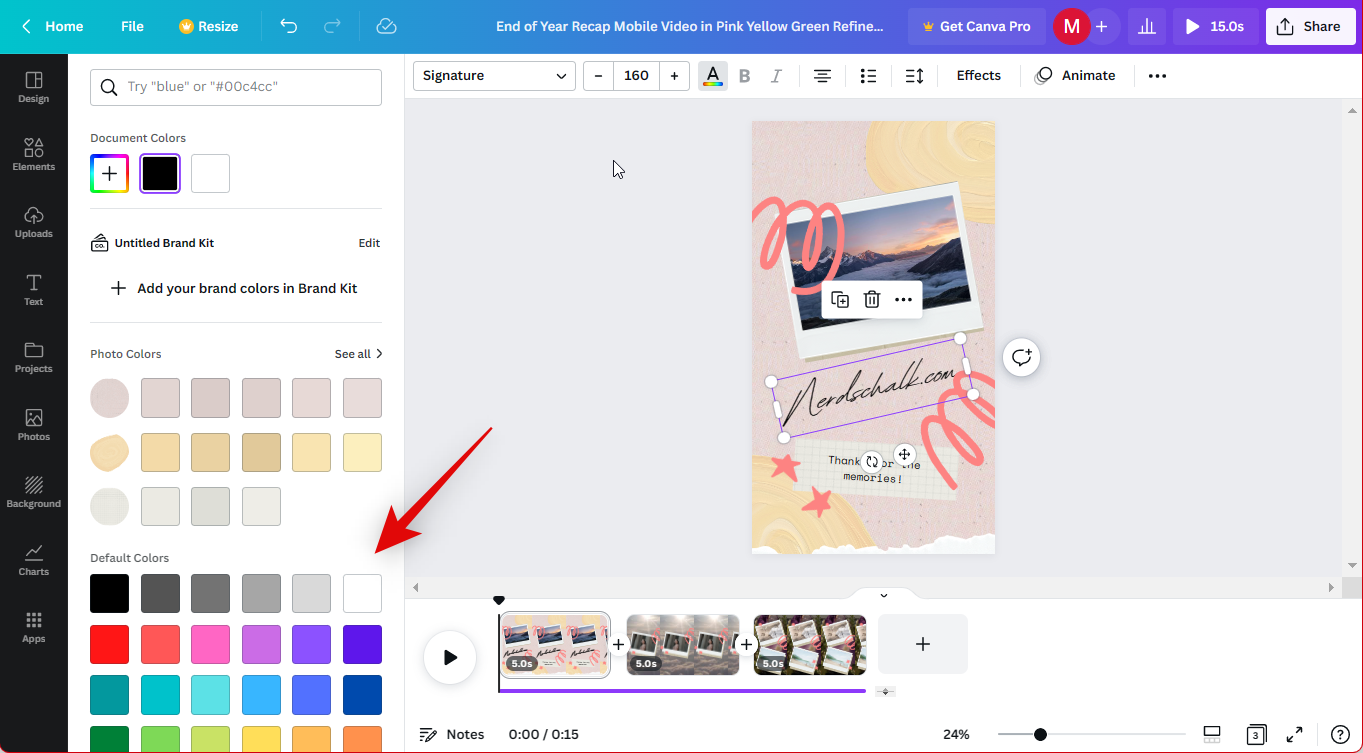
- You can also click the + icon at the top to use a custom color.
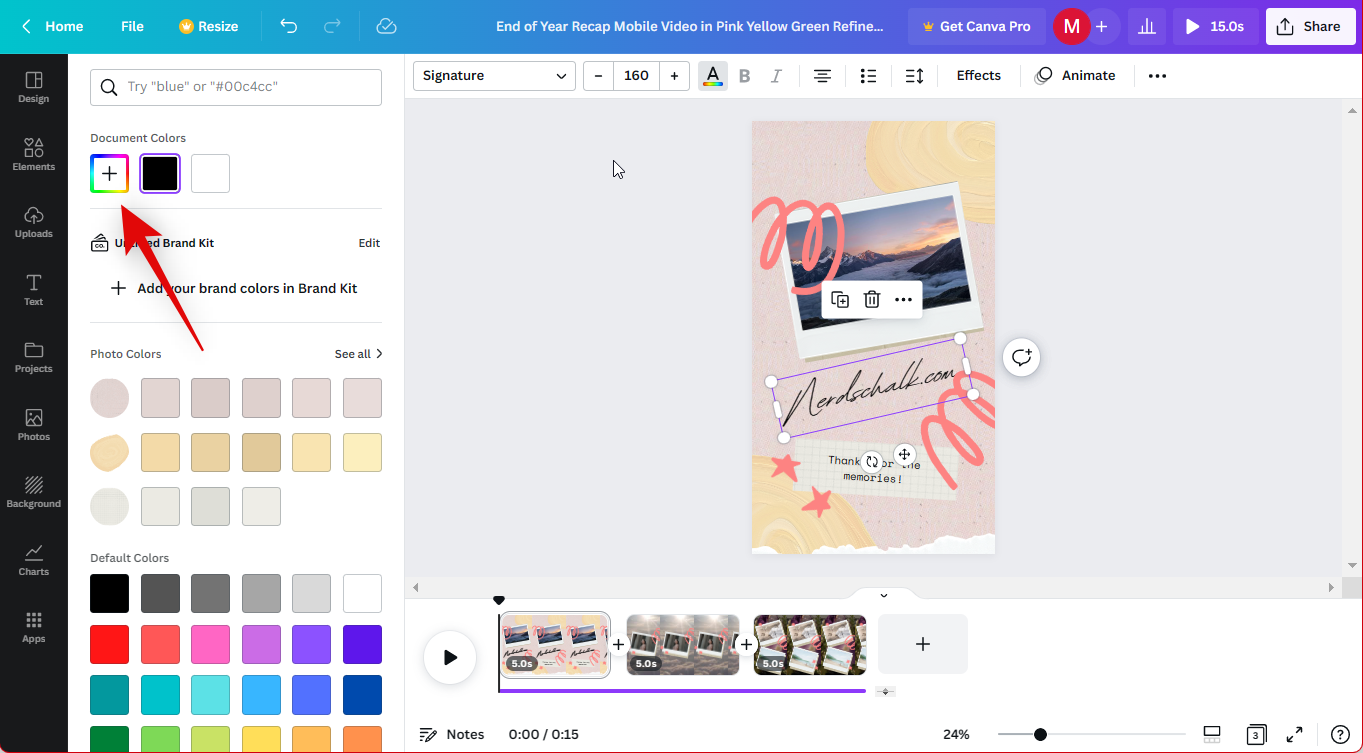
- You can manually adjust the hue and saturation by clicking and dragging the marker in the spectrum at the top and in the slider at the bottom.
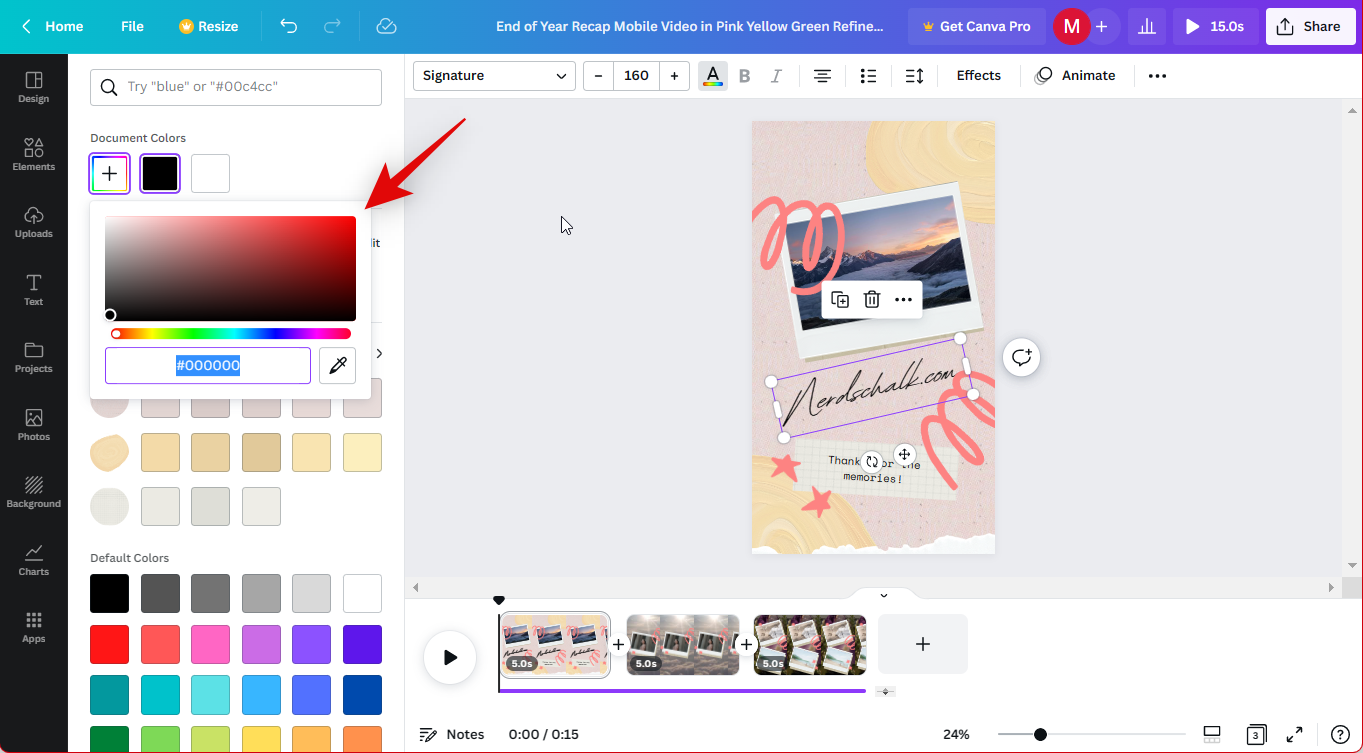
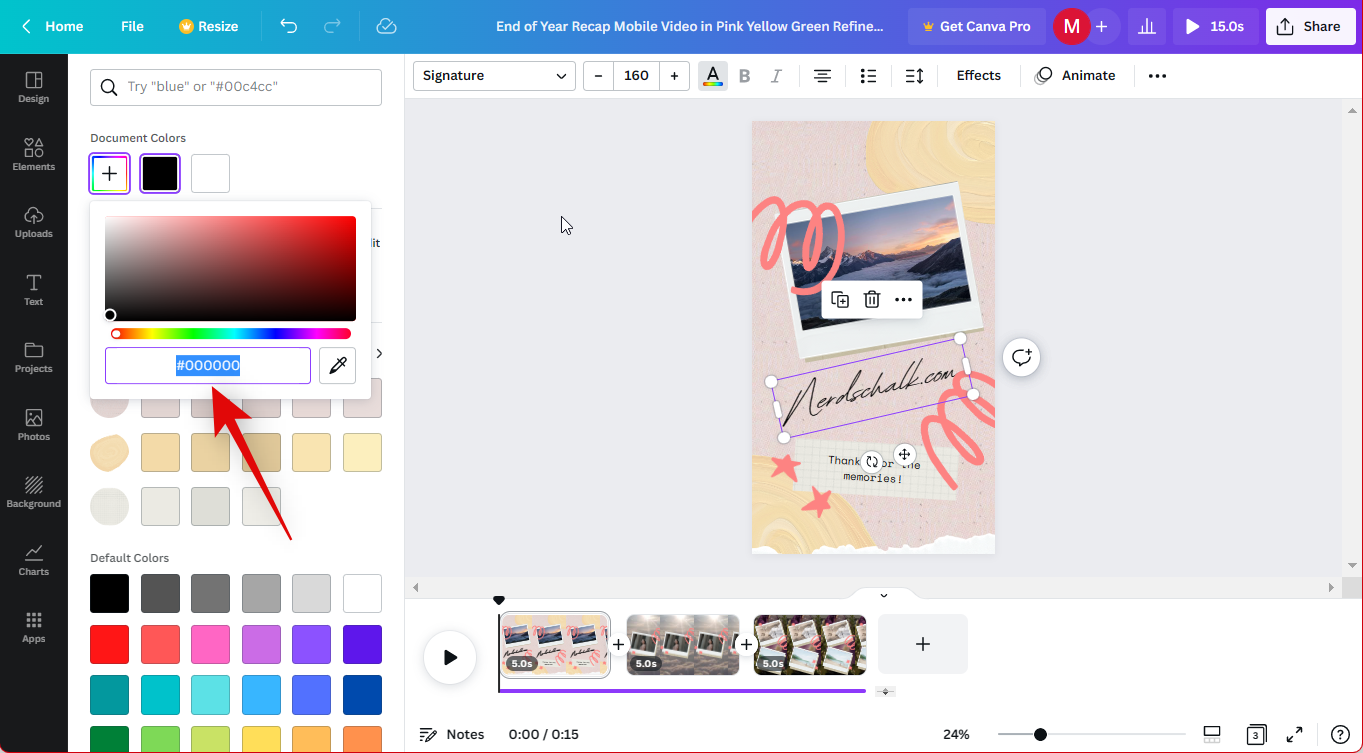
- You can also enter custom HEX values in the text box at the bottom.
- Once done, you can click the Bold, Italicize, and Underline icons to change the look of your text as needed.

- Use the next icon to change your text alignment.

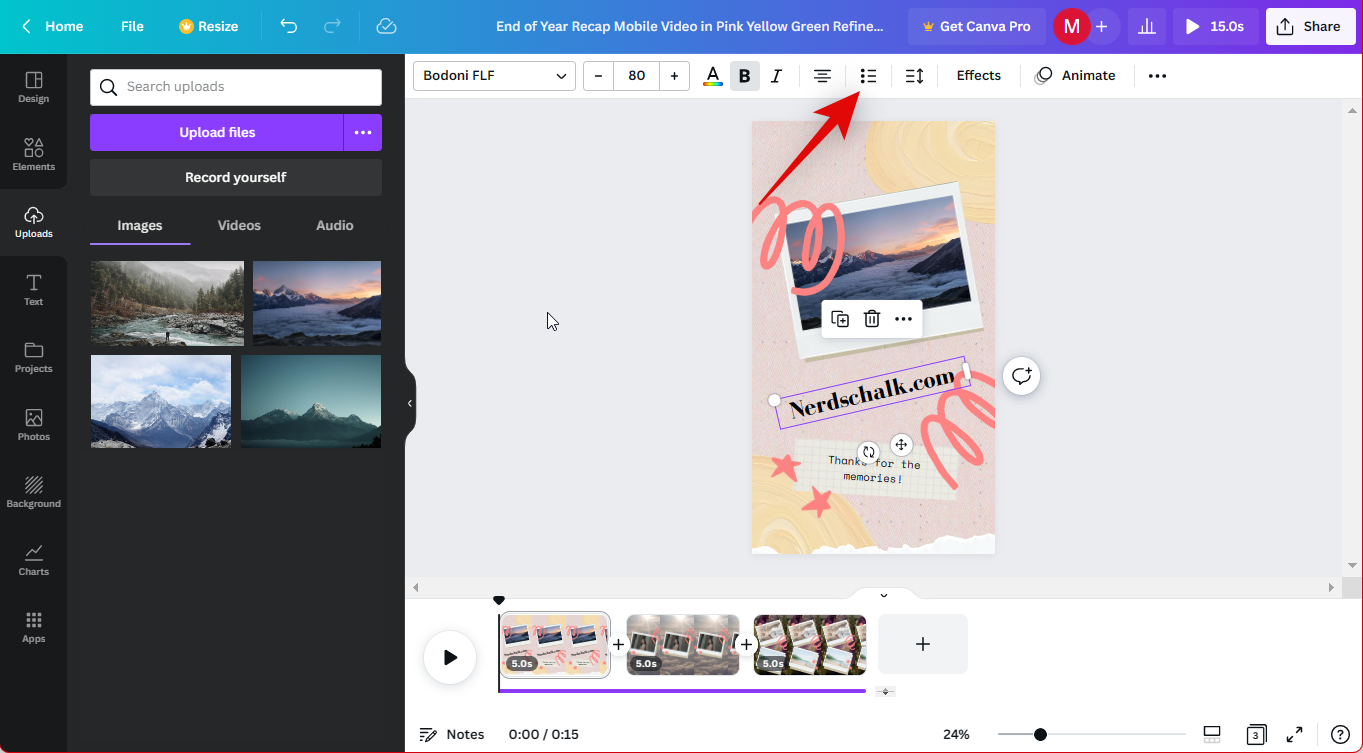
- The next icon can help you change the text to a Bulleted or Numbered list.
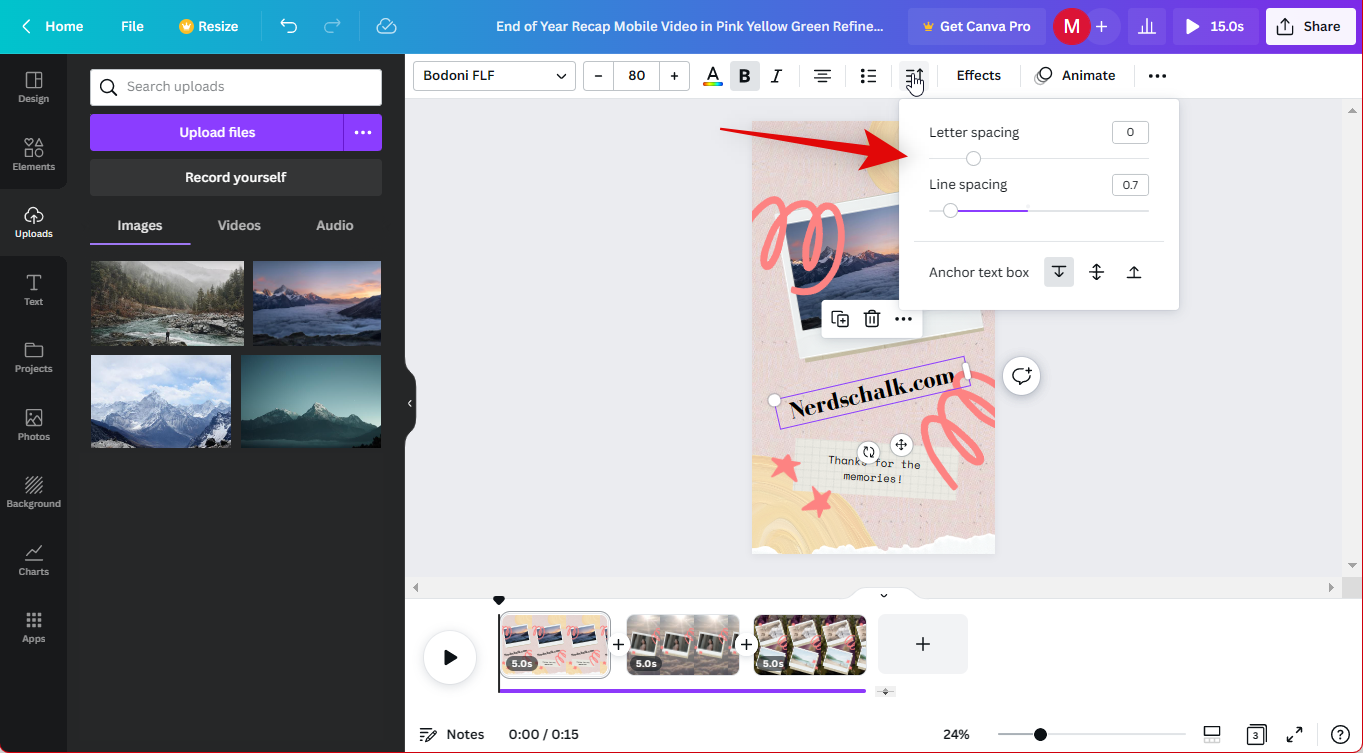
- Use the next icon to adjust your text’s line and letter spacing as needed.

- You can adjust the spacing using the sliders or type in spacing values manually in the dedicated text boxes. Additionally, use the Anchor text box option to adjust how the text is placed in the text box in your design.
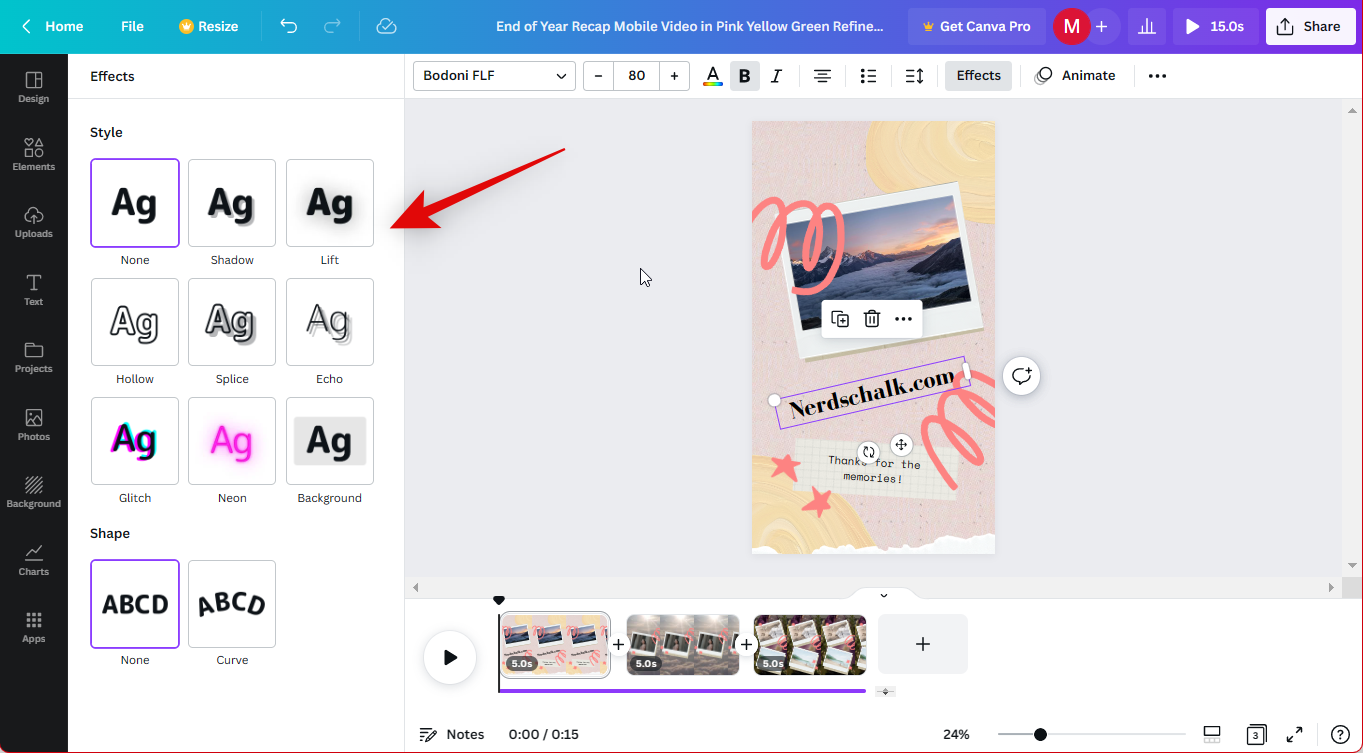
- Next, click Effects to apply effects to your text.
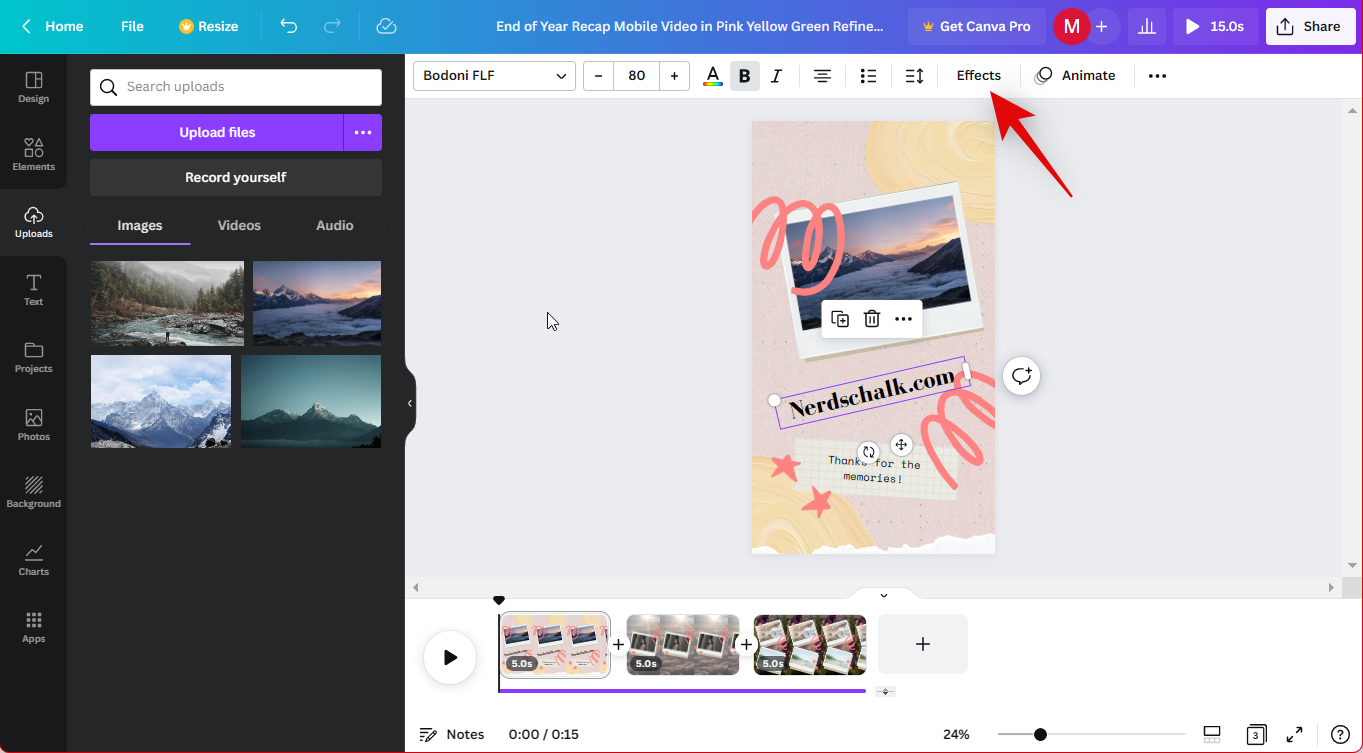
- Click and choose a text effect you like from the choices on your left.
- Next, use the Animate option to animate the text in your design.
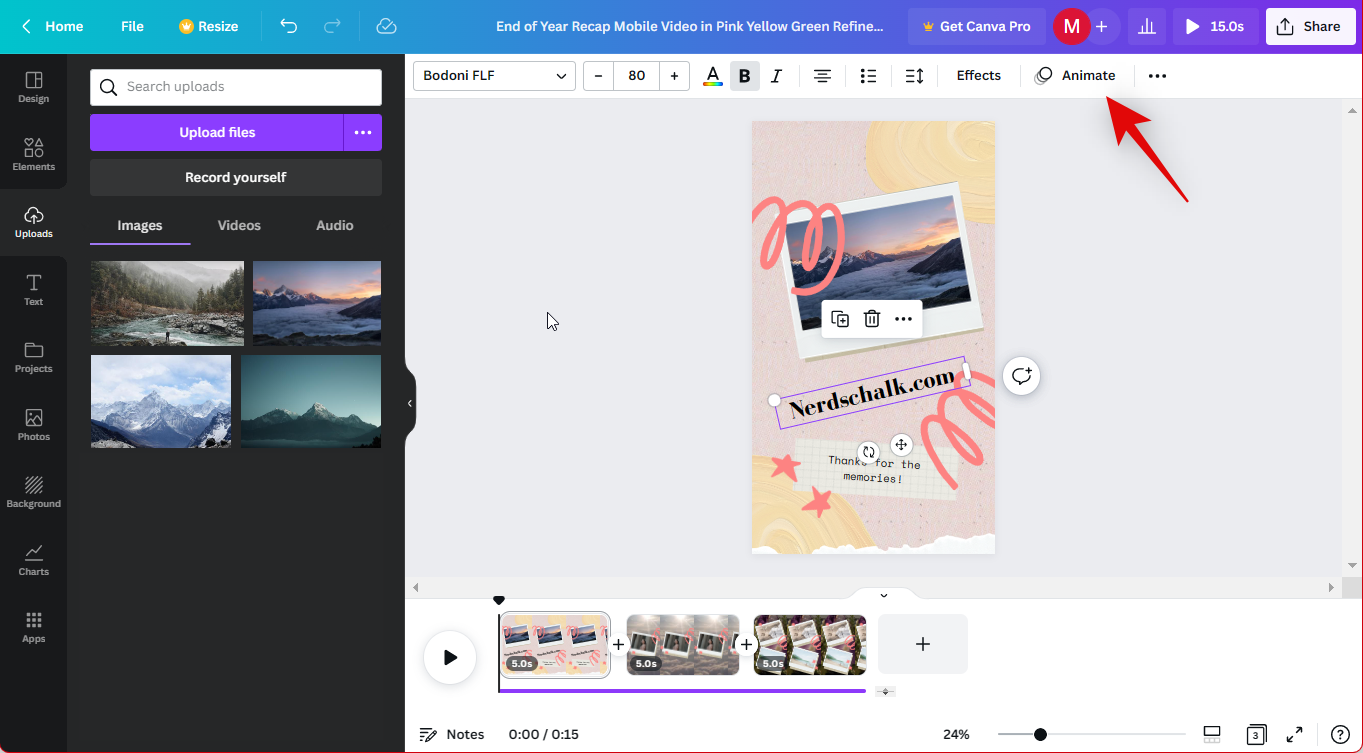
- You can now use the choices on your left to animate your text, as we did with the images and videos above.
- Similarly, you can adjust the Position and Transparency of the text like we did with the images and videos above.
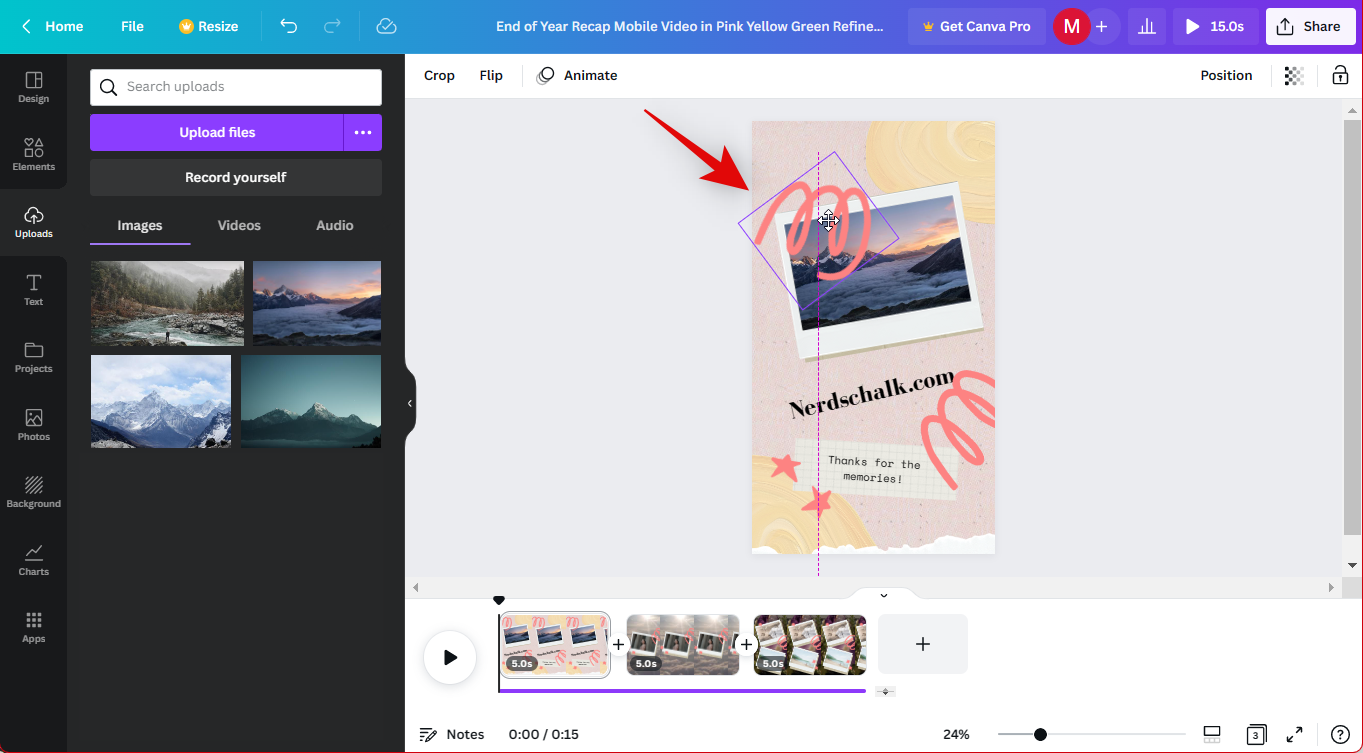
- Now click and choose a graphic in your template to adjust it to your liking.
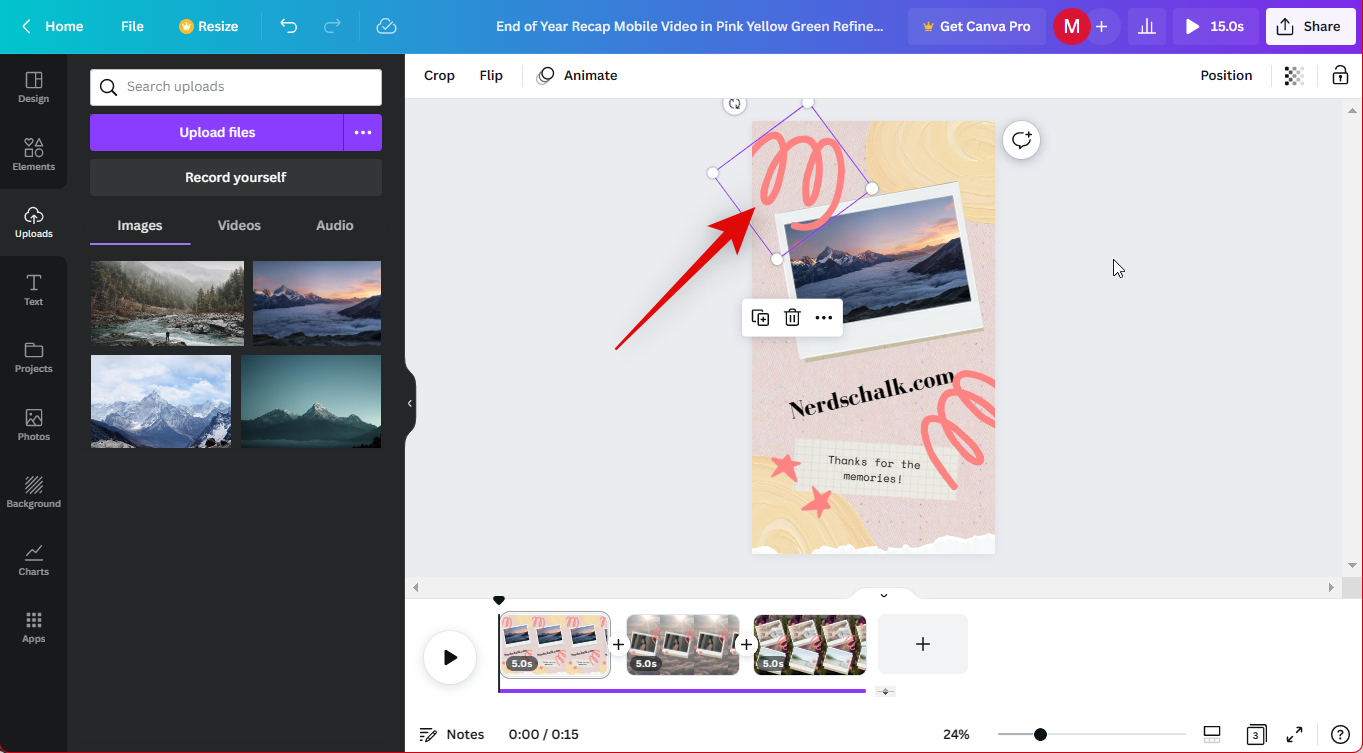
- You can now click and drag graphics to reposition them in your design.
- Static graphics can be edited just like images, and you will get similar image editing options as we got when editing images in the guide above. Use the options available in your toolbar to edit your graphics as needed.
- Static graphics uploaded as .SVG files will also allow you to change and adjust the color of their elements. Click a color in the toolbar at the top and choose your preferred color from the choices on your left.
- You also get the option to Animate static graphics. This can help you improve the overall look of your design.
- Lastly, click your background to change and edit your background.
- Click the Color option in the toolbar to change your background color.
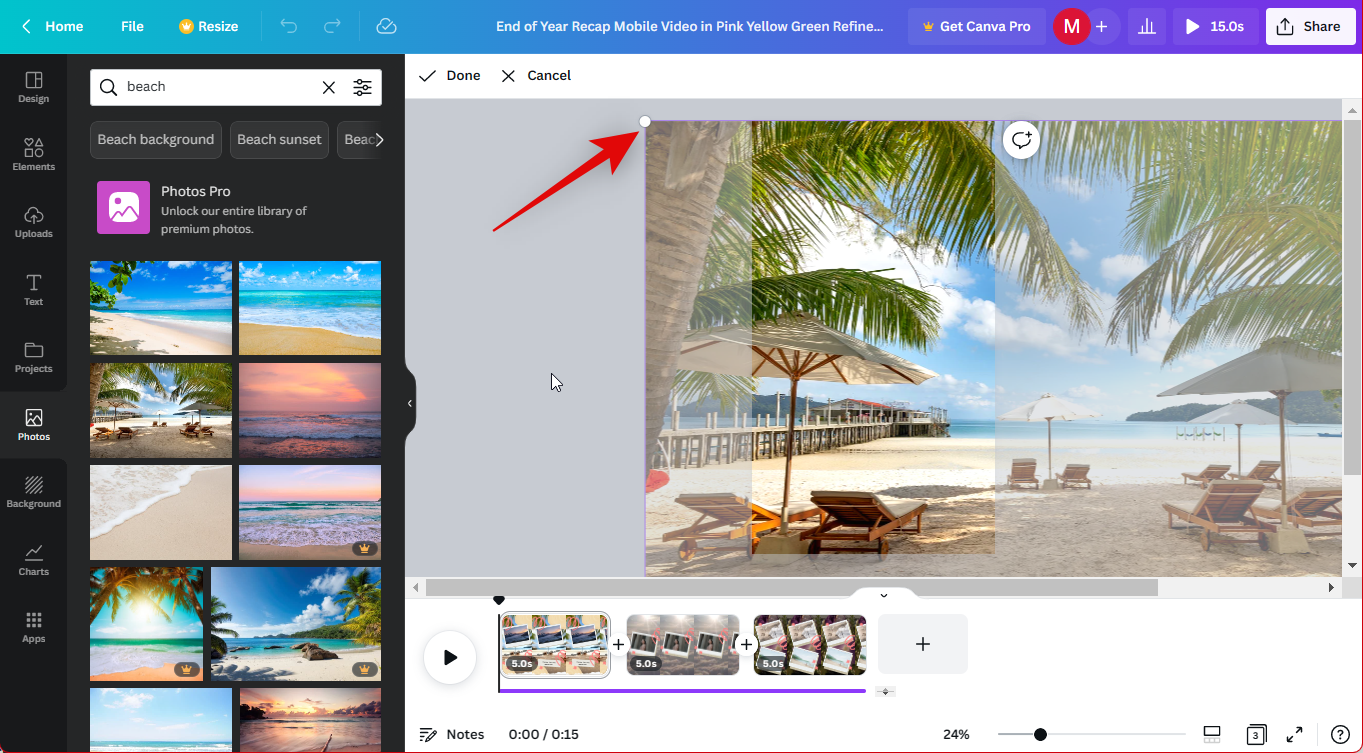
- You can also use an image or video as your background. Click Photos on your left to add a stock photo provided by Canva as your background.
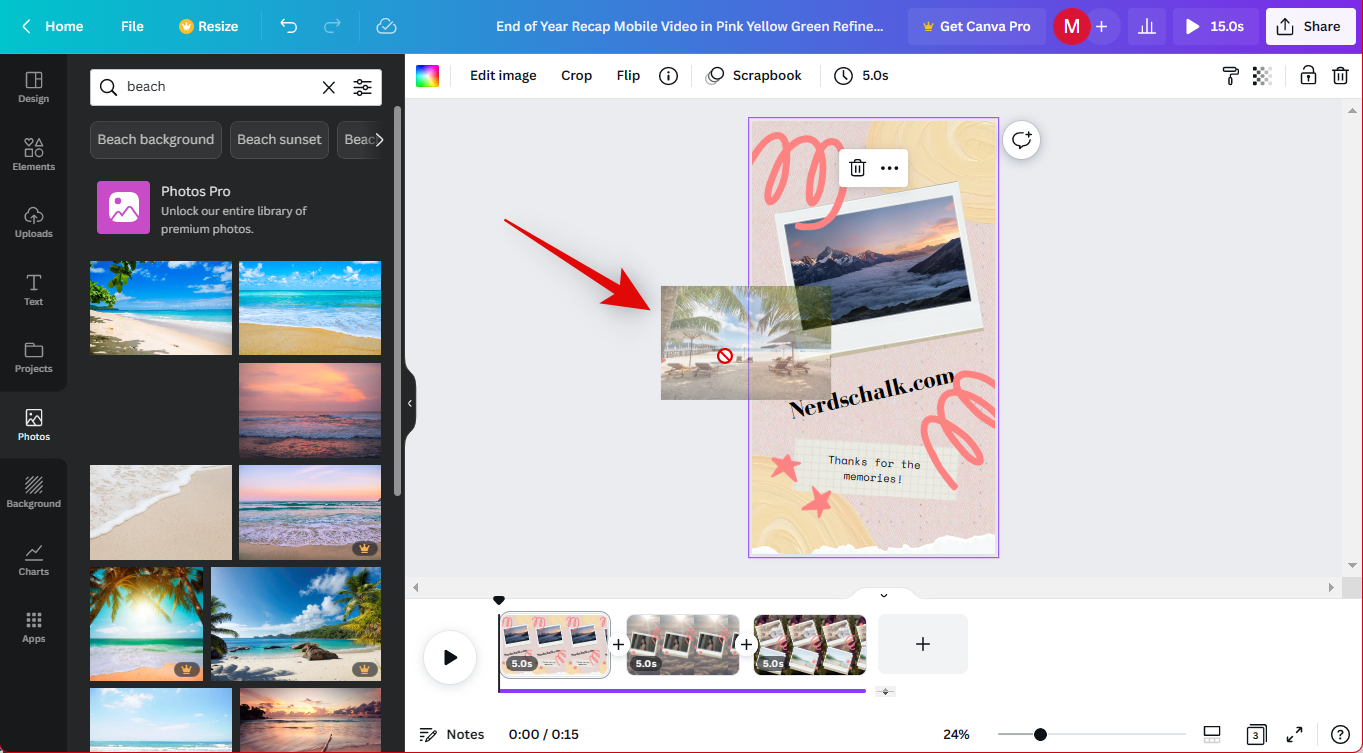
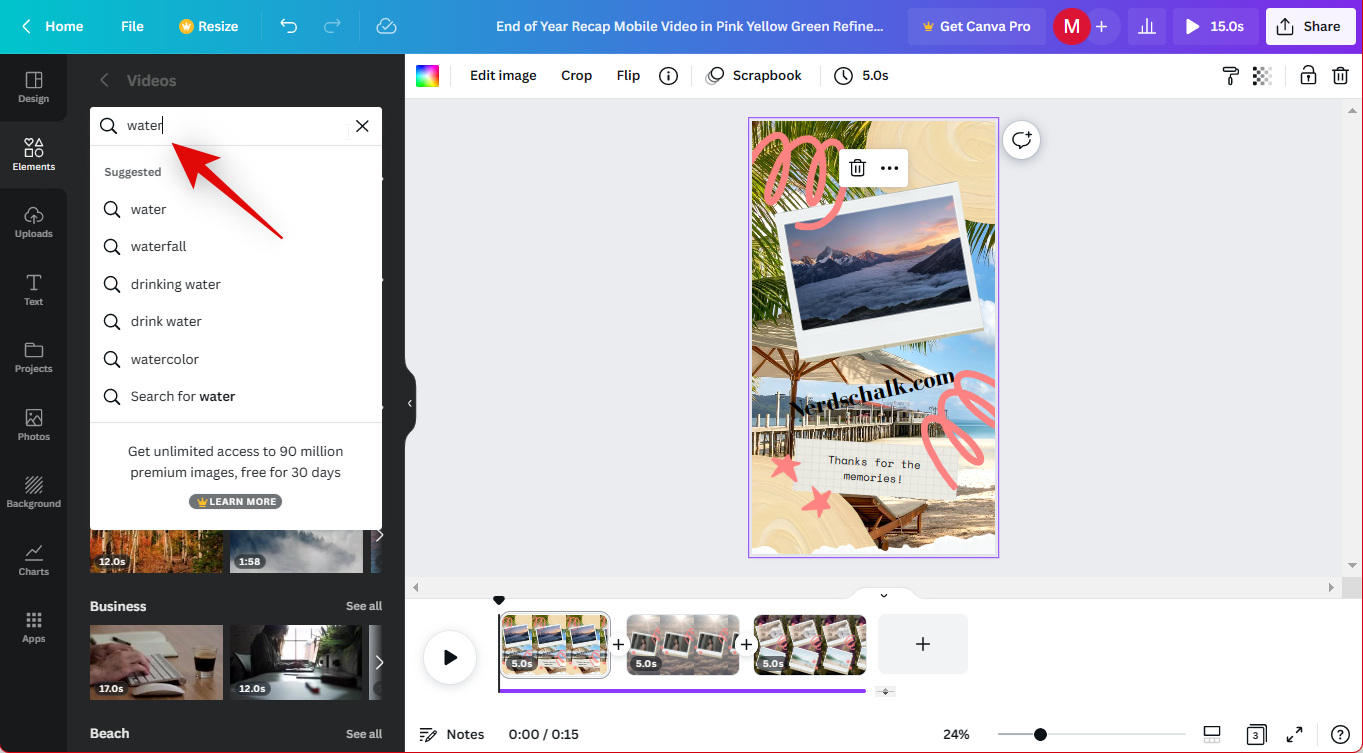
- Search for your preferred image using the search bar at the top.

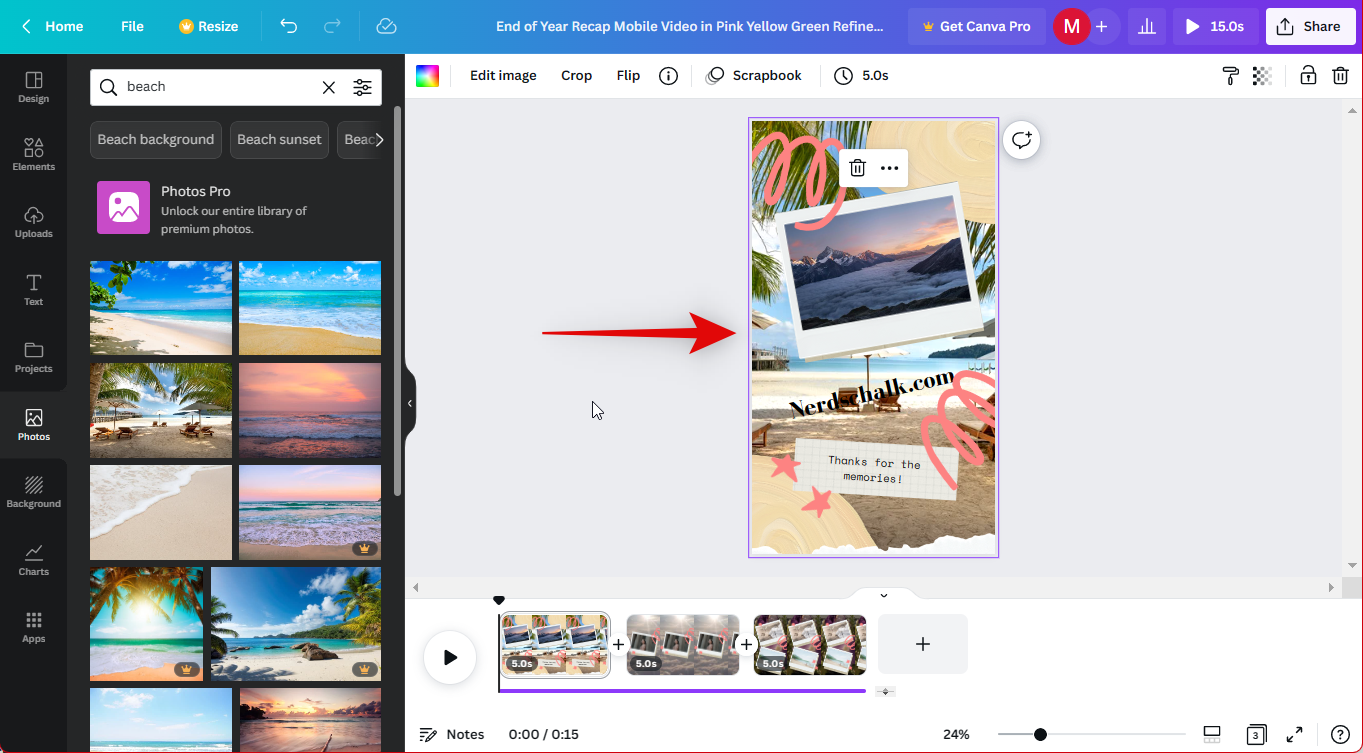
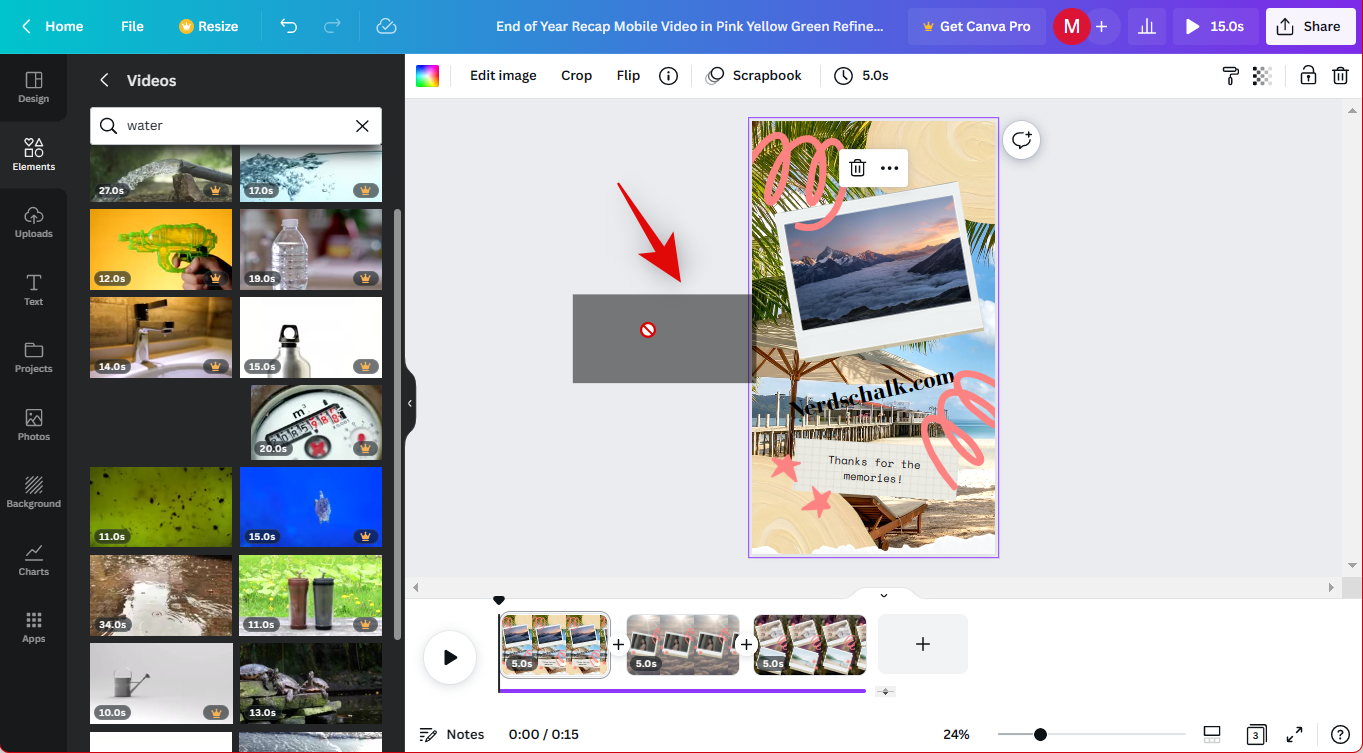
- Scroll and find an image you like. Then click and drag it to your background, and it will be automatically set as your background.
- Double-click the background and click and drag the image to reposition it.
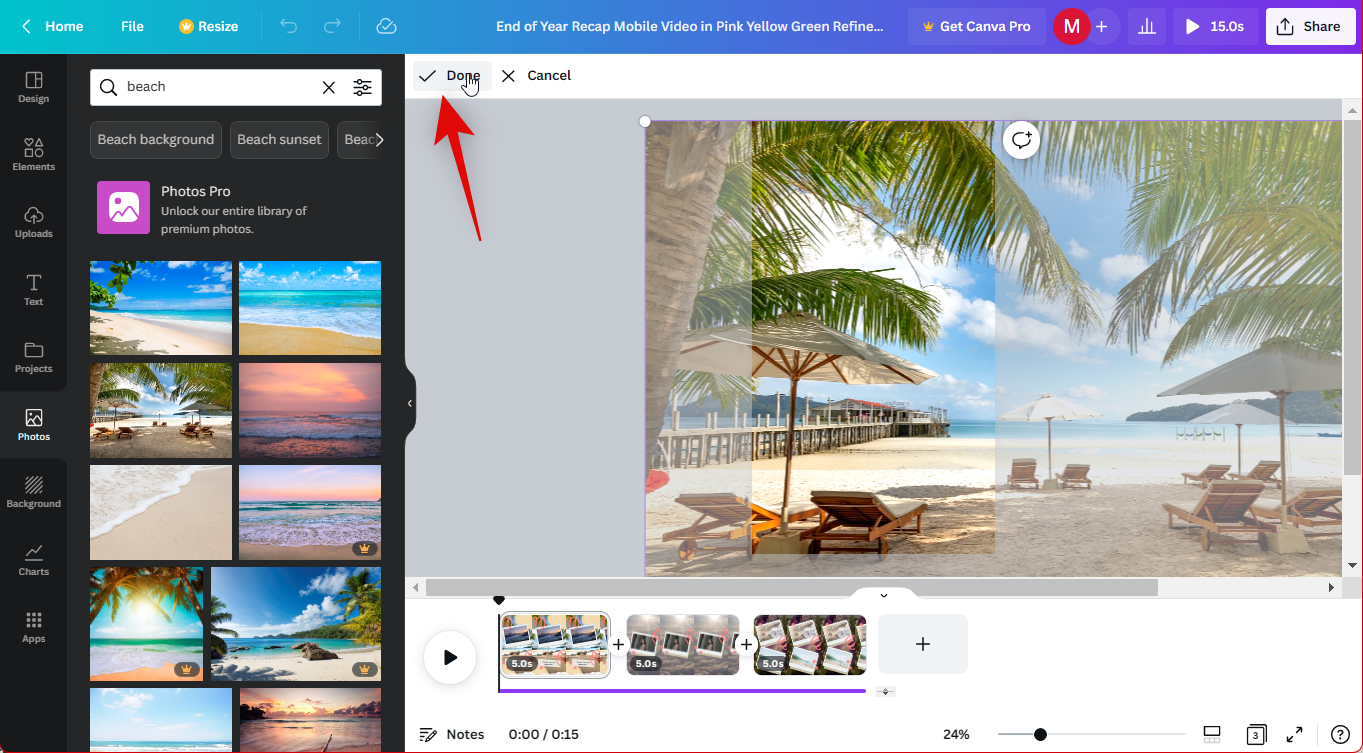
- Click and drag the corners to resize your background image.
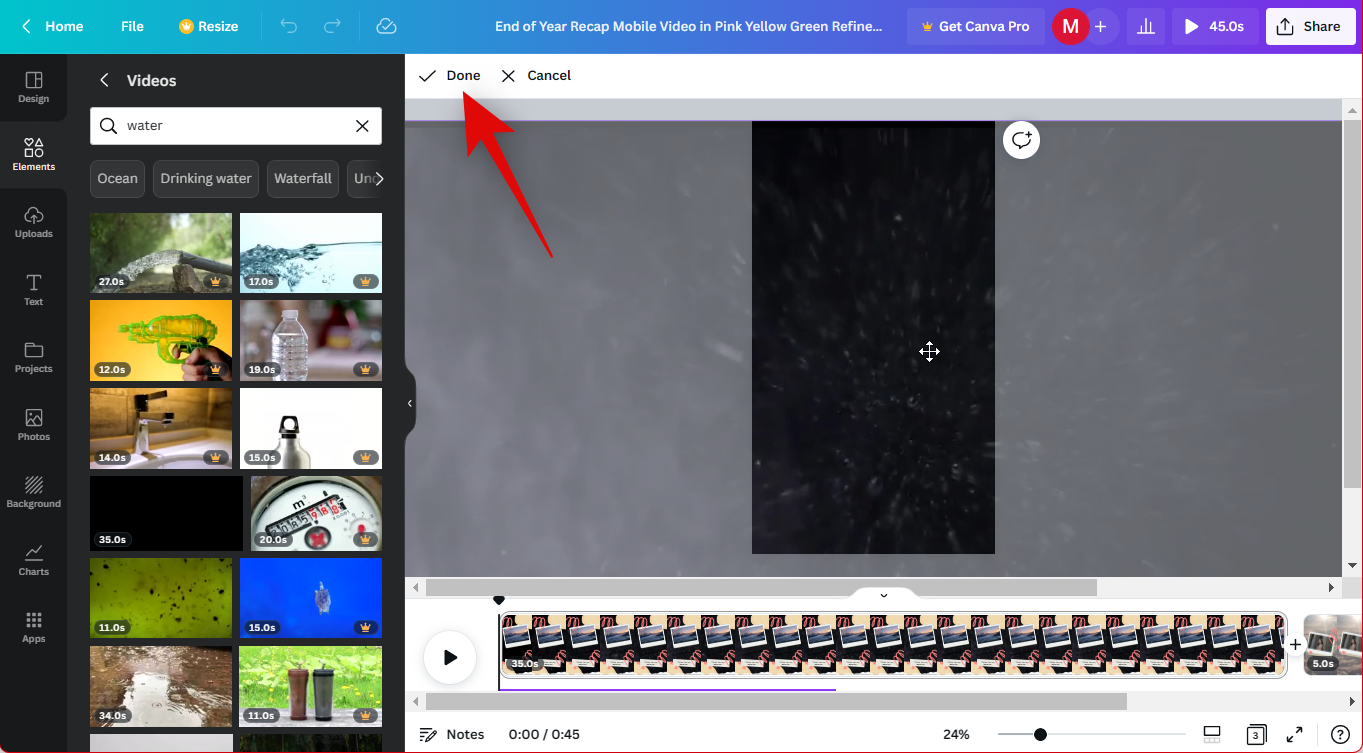
- Click Done once you’re happy with the size and position.
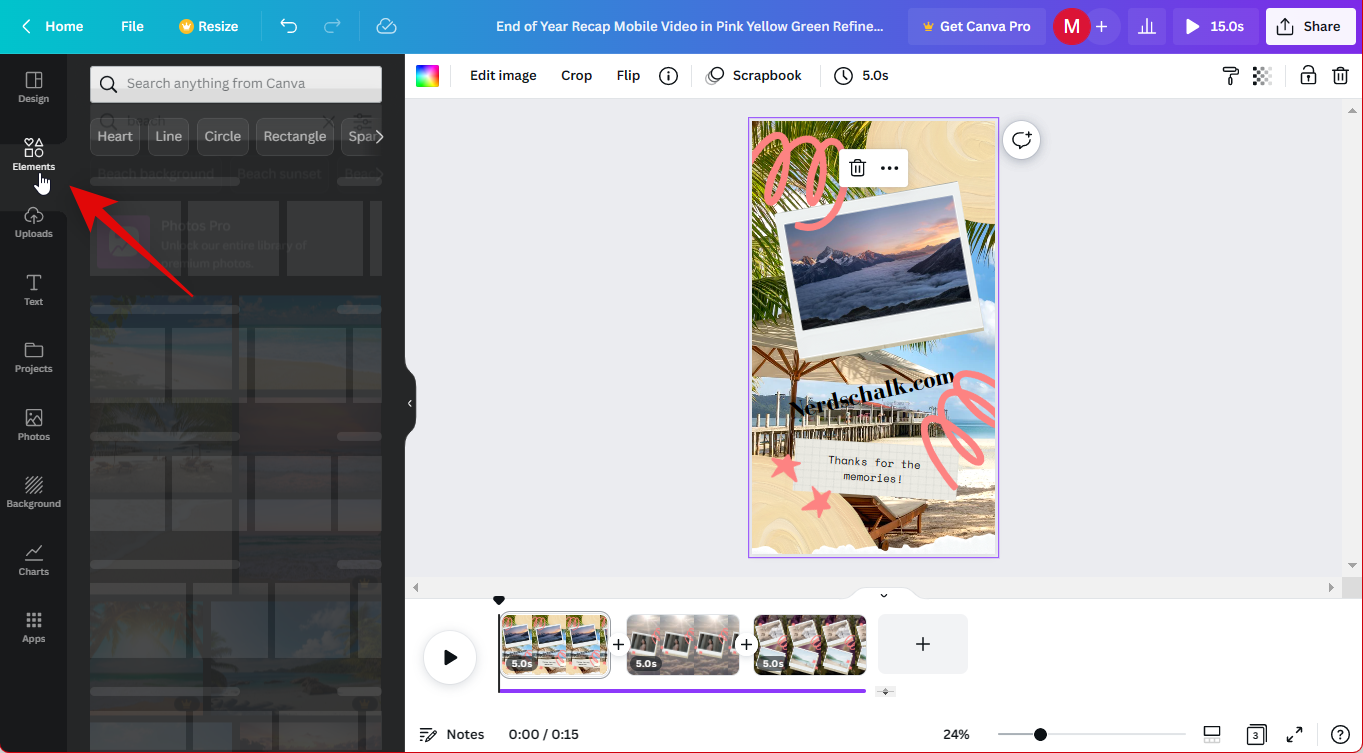
- If you wish to use a stock video provided by Canva as your background, click Elements.
- Scroll down to Videos and click See all.
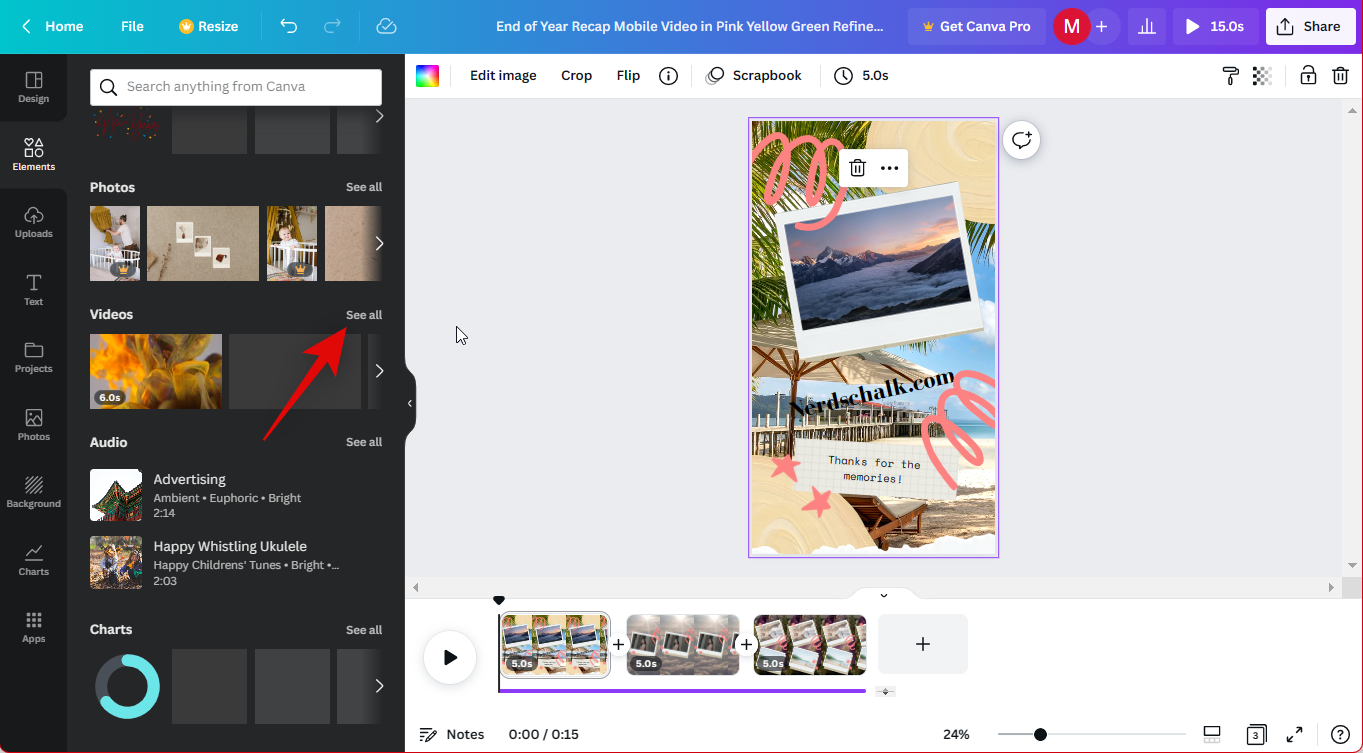
- Use the search bar to find your preferred video.
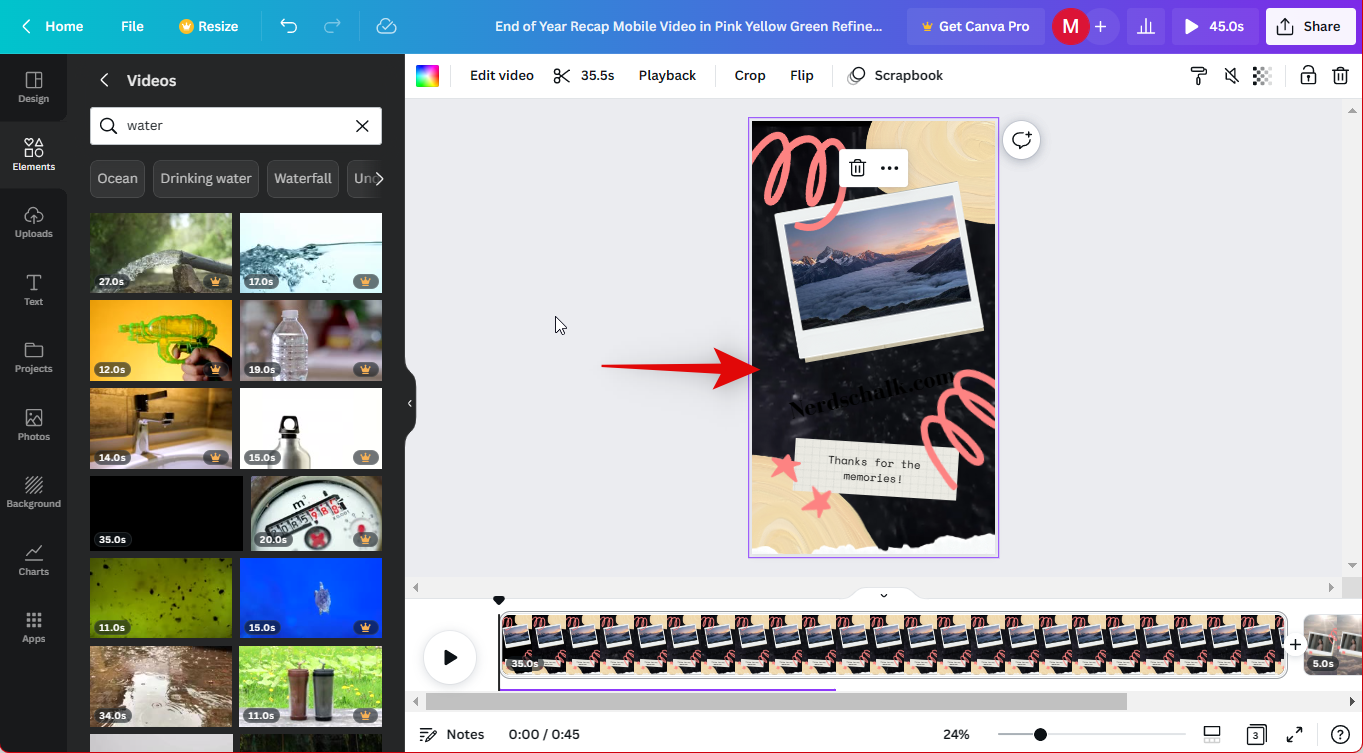
- Scroll and find the video you like from the search results. Once found, click and drag the video to your background and it will automatically replace your current background.
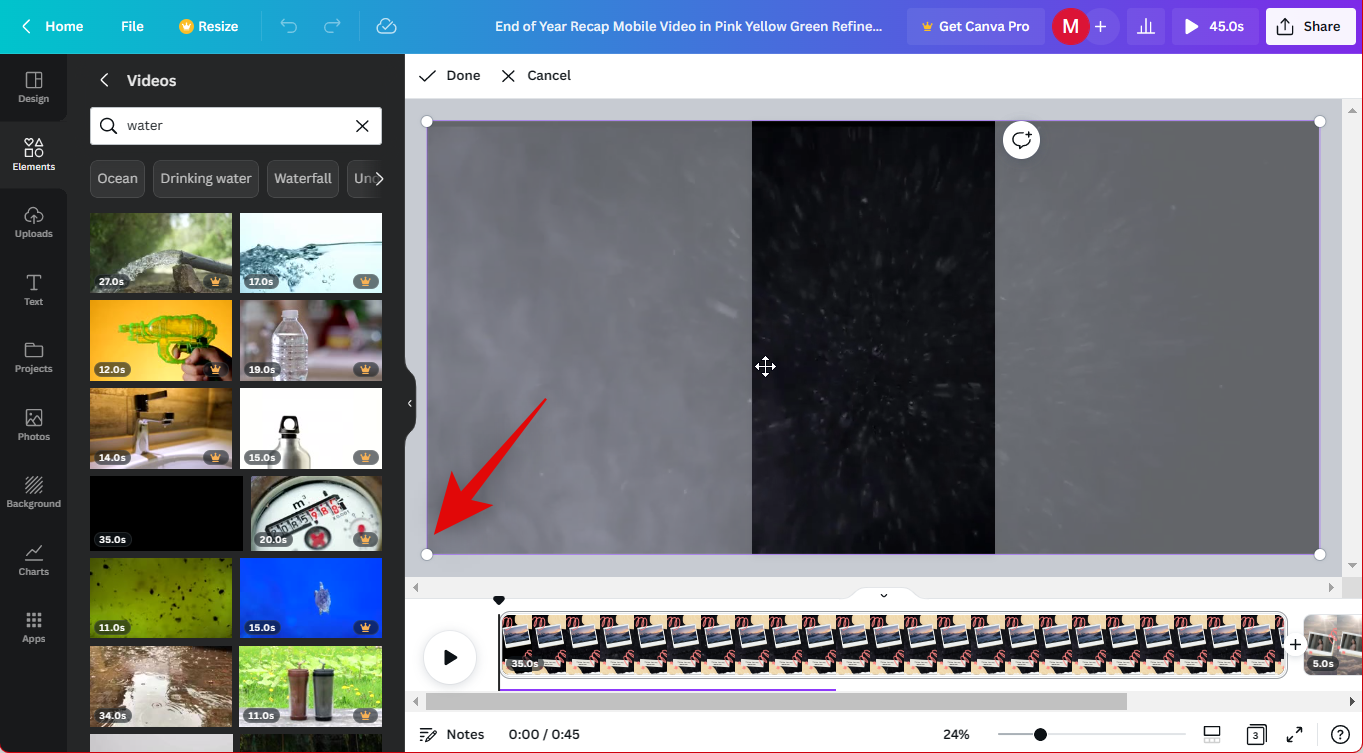
- Double-click your background. You can now click and drag the video to reposition your background.
- Click and drag one of the corners to resize your video as needed for your background.
- Click Done once you’re done.
- You can now edit your background image or video as we edited normal images and videos using the available options in the steps above.
- You also get the following options on your left to adjust and edit additional elements in your design. You can also use these options to add additional elements to your design.
- Use the left sidebar to find and add the following elements to your design.
Design: This option can help you change your current template and replace it with a new one.
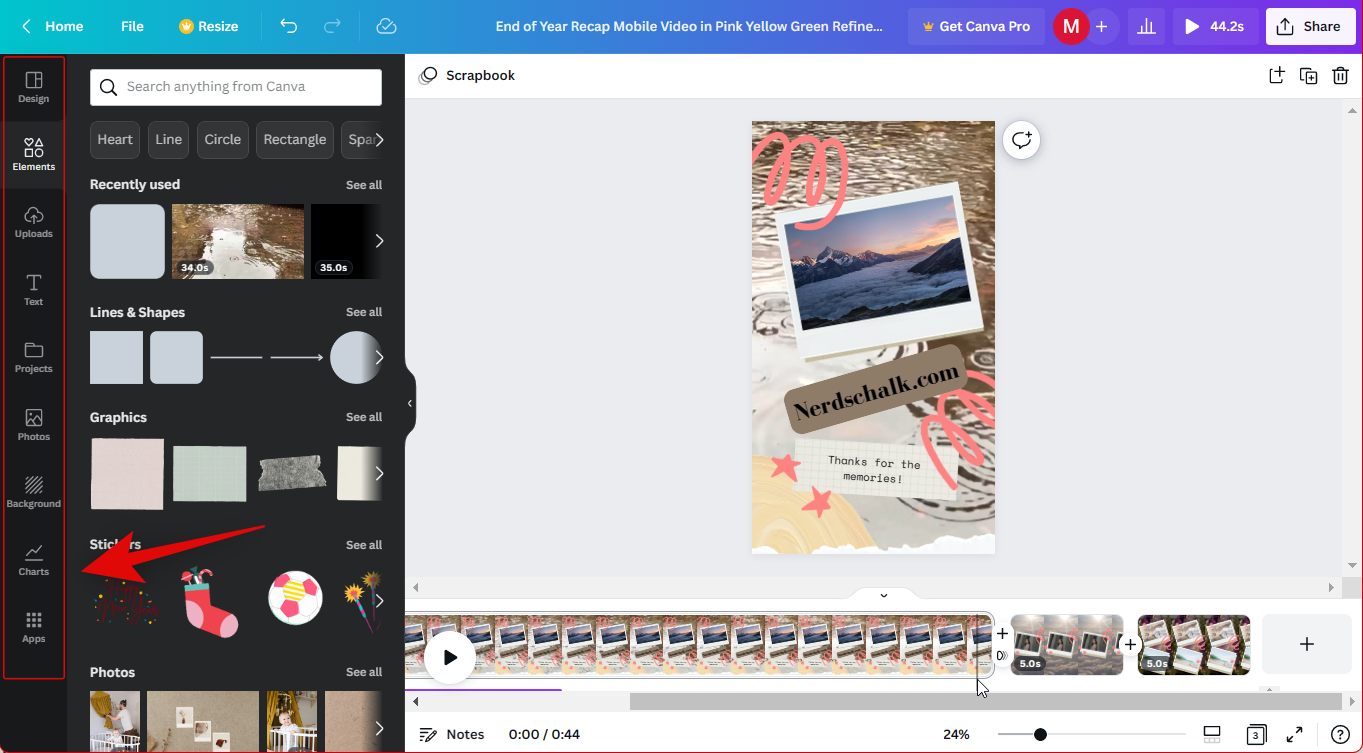
Elements: This category can help you add frames, graphics, lines, shapes, stickers, photos, videos, audio, charts, tables, and more to your design.
Uploads: This section can help you upload and add custom media items to your design.
Text: This option can help you add text placeholders with pre-made templates to your design.
Projects: If you have pre-existing projects on Canva, you can use this option to use them in your current design.
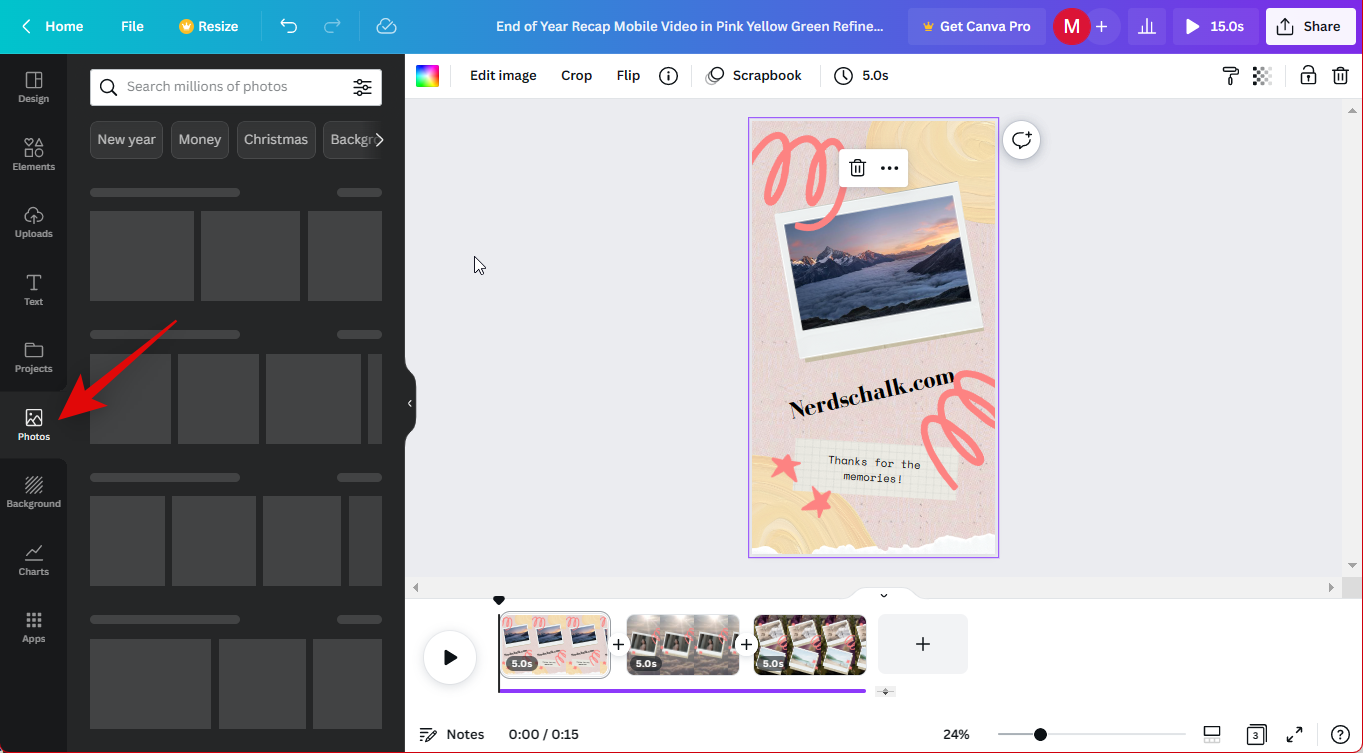
Photos: This is a dedicated section to access and use stock photos offered by Canva in your design.
Background: This is a dedicated section to access and use stock backgrounds offered by Canva in your design.
Charts: This option can help you add and use charts in your current design.
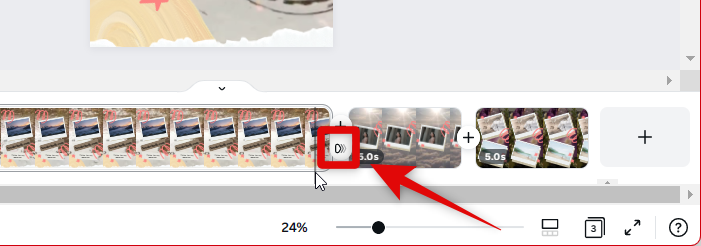
Apps: Canva allows you to integrate and use various third-party apps to access certain elements and media files in your design. These include services like Giphy, Publer, Instagram, and more. - You can now use these options on your left to further enhance your recap video. Once done, click the + icon between your first page and the second page to add or change the current transition.
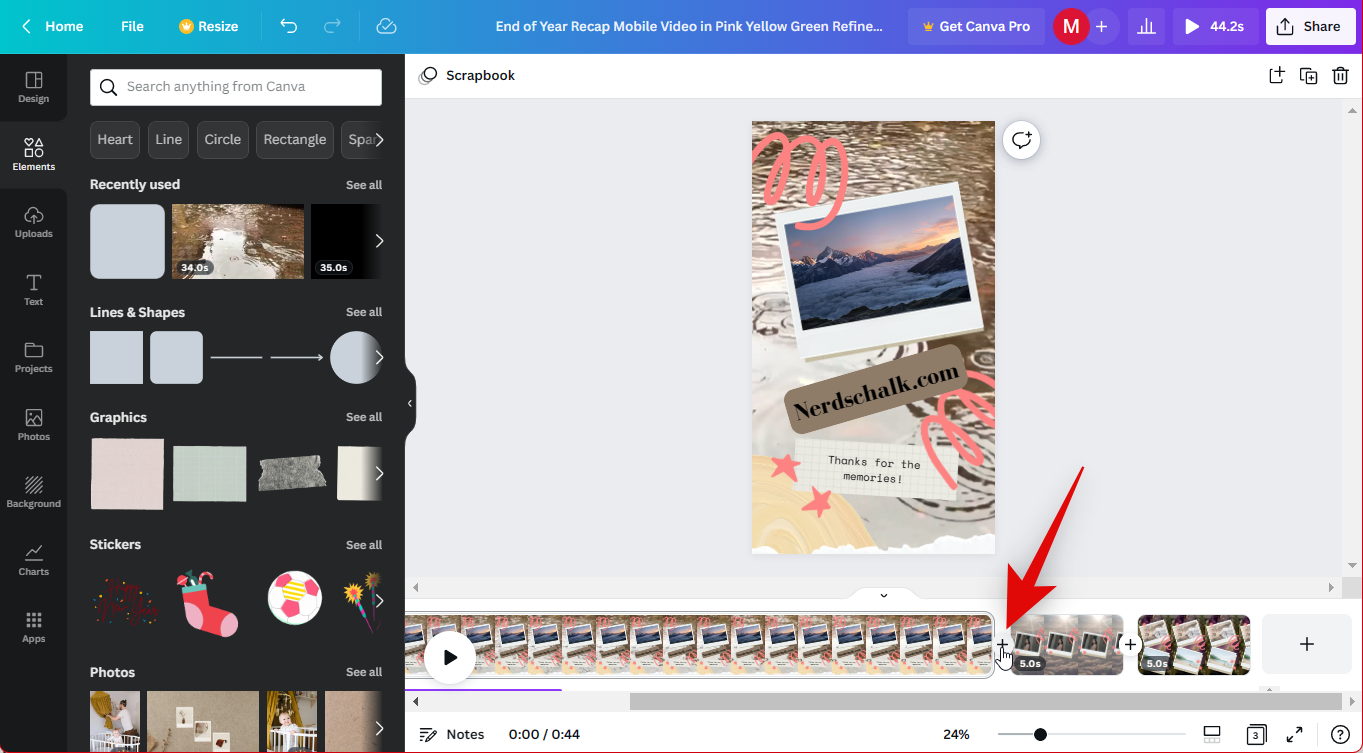
- Click + to add a new page if needed between the two pages.
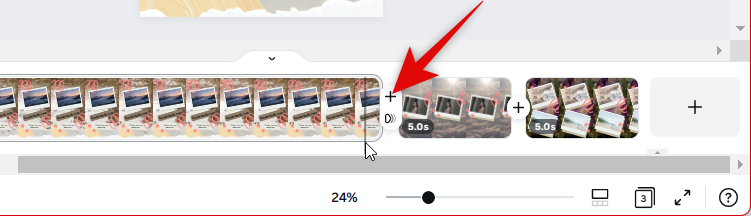
- Click the Add transition icon to add or change the current transition between these two pages.
- Click and select a transition you like from the choices on your left.
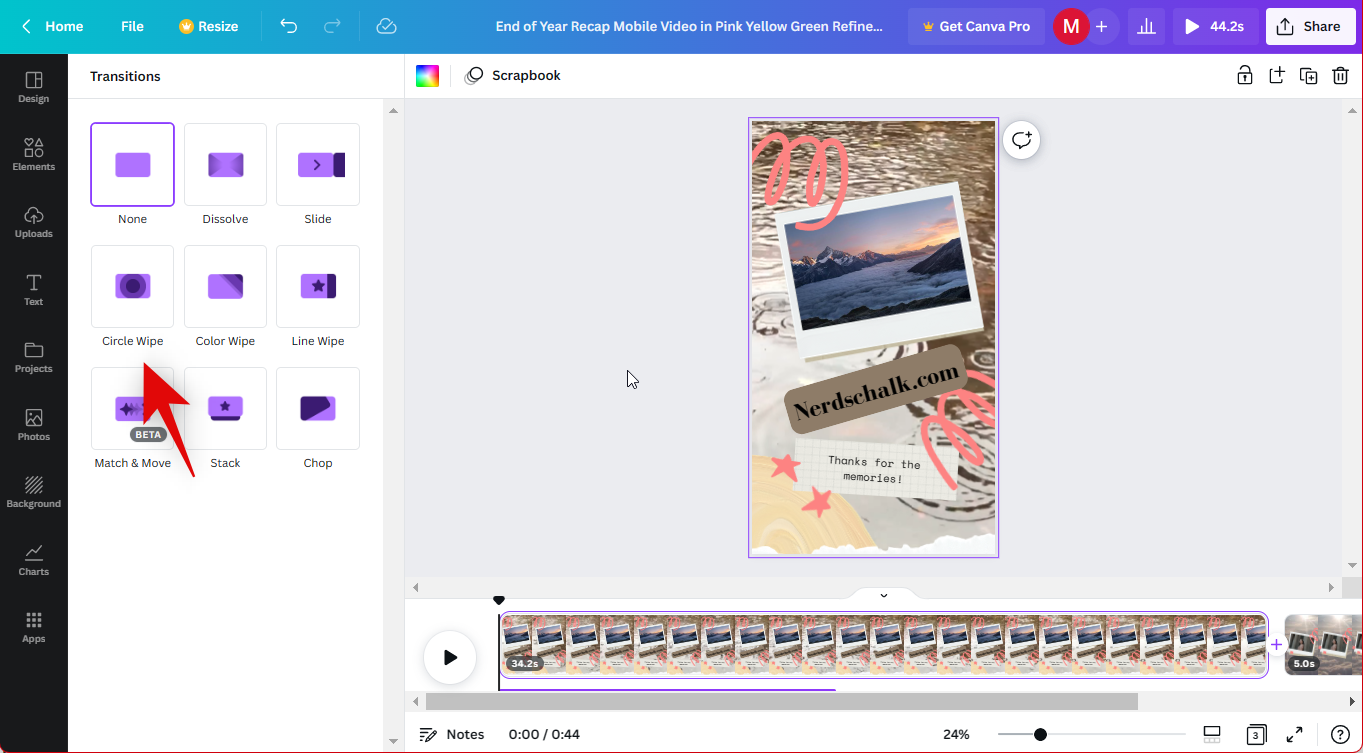
- Customize your transition using the options available at the bottom.
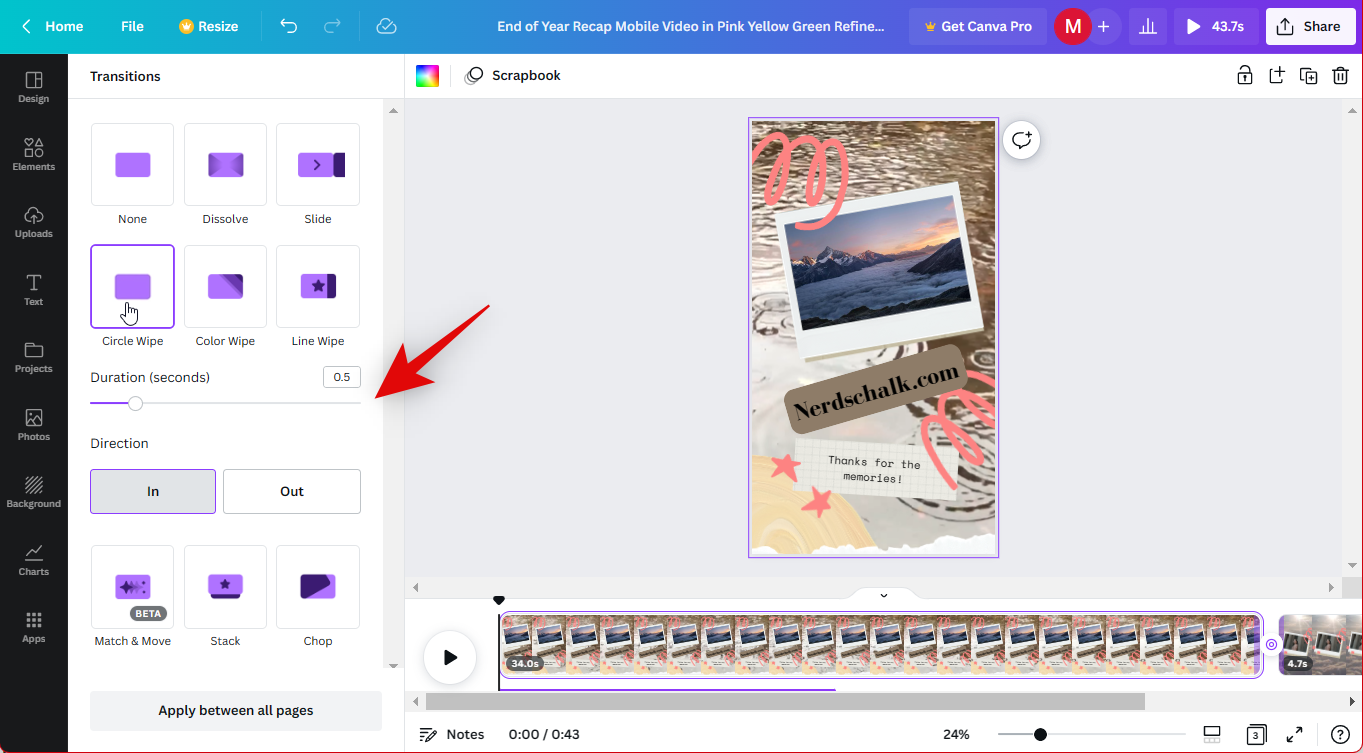
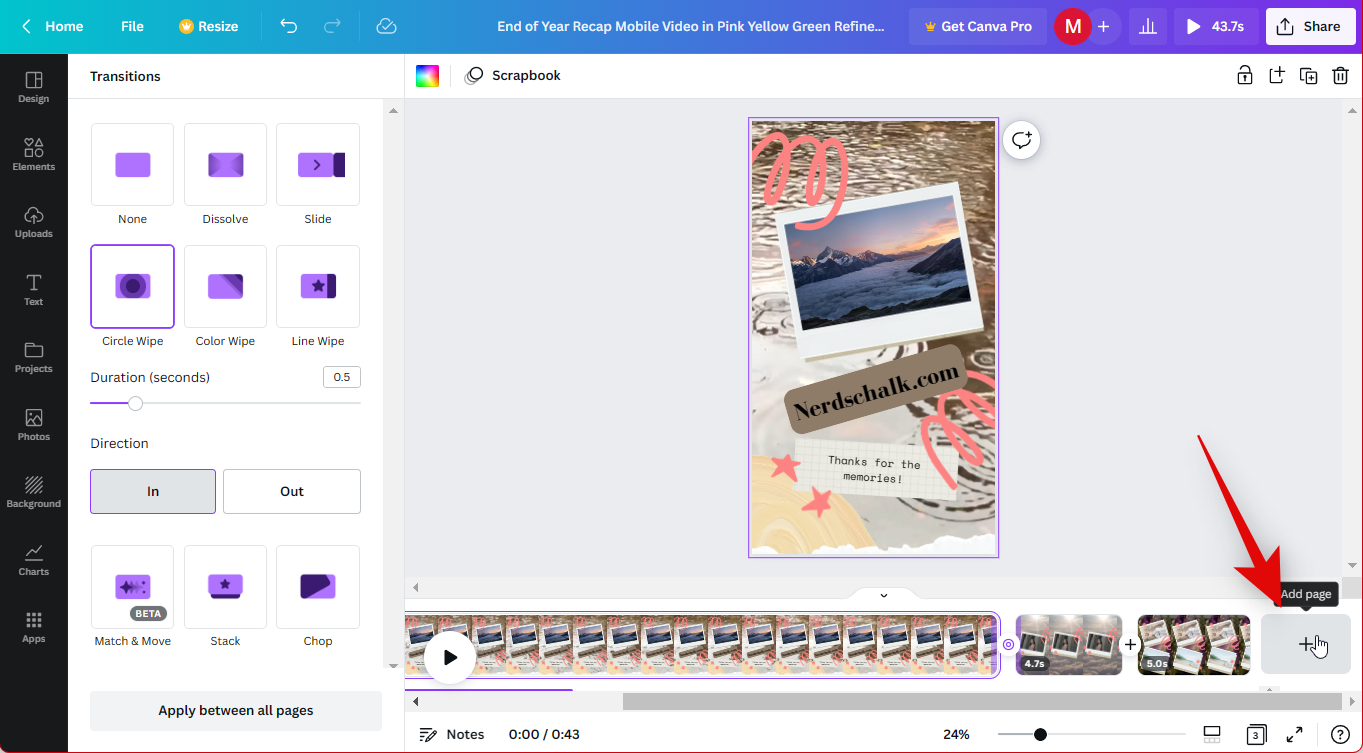
Note: These options can vary depending on the transition you choose to use. - You can click the Add page icon at the end of your timeline to add more pages to your recap video.
- Proceed to edit other pages in your template to suit your recap video as needed.
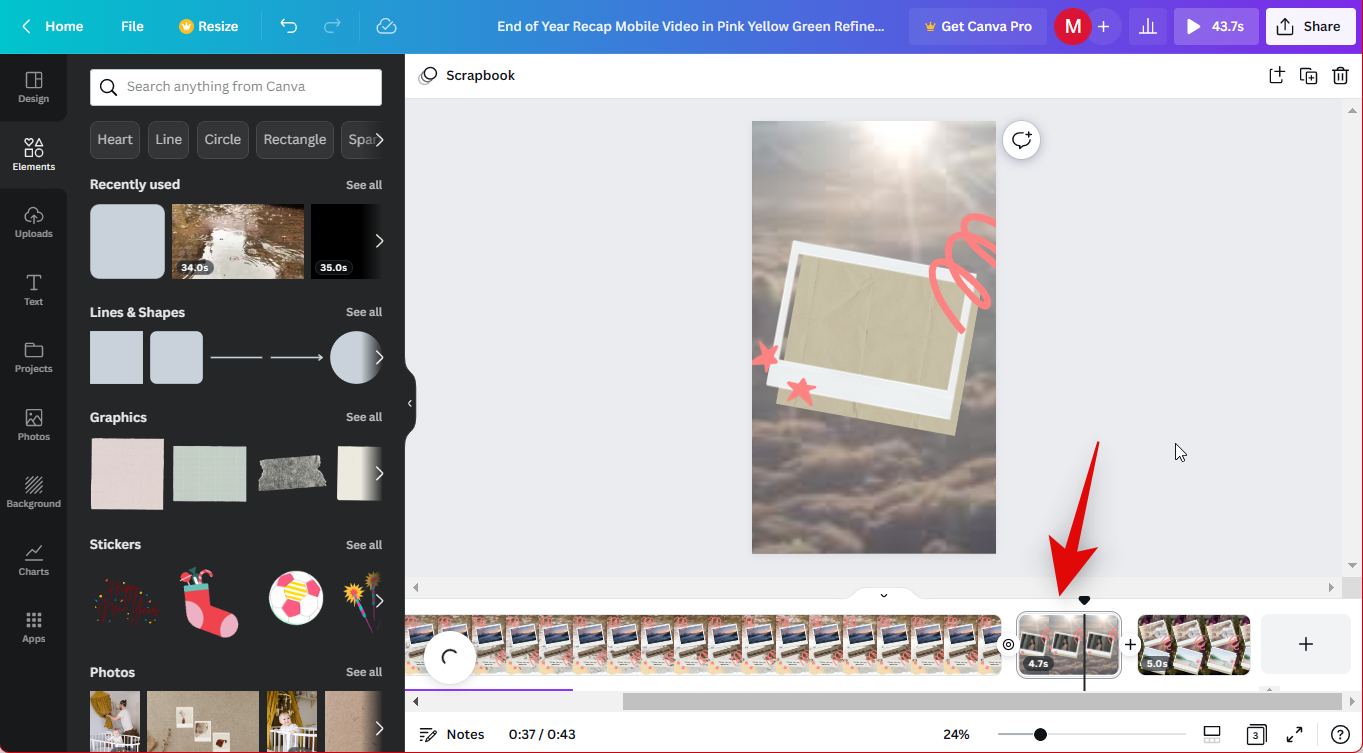
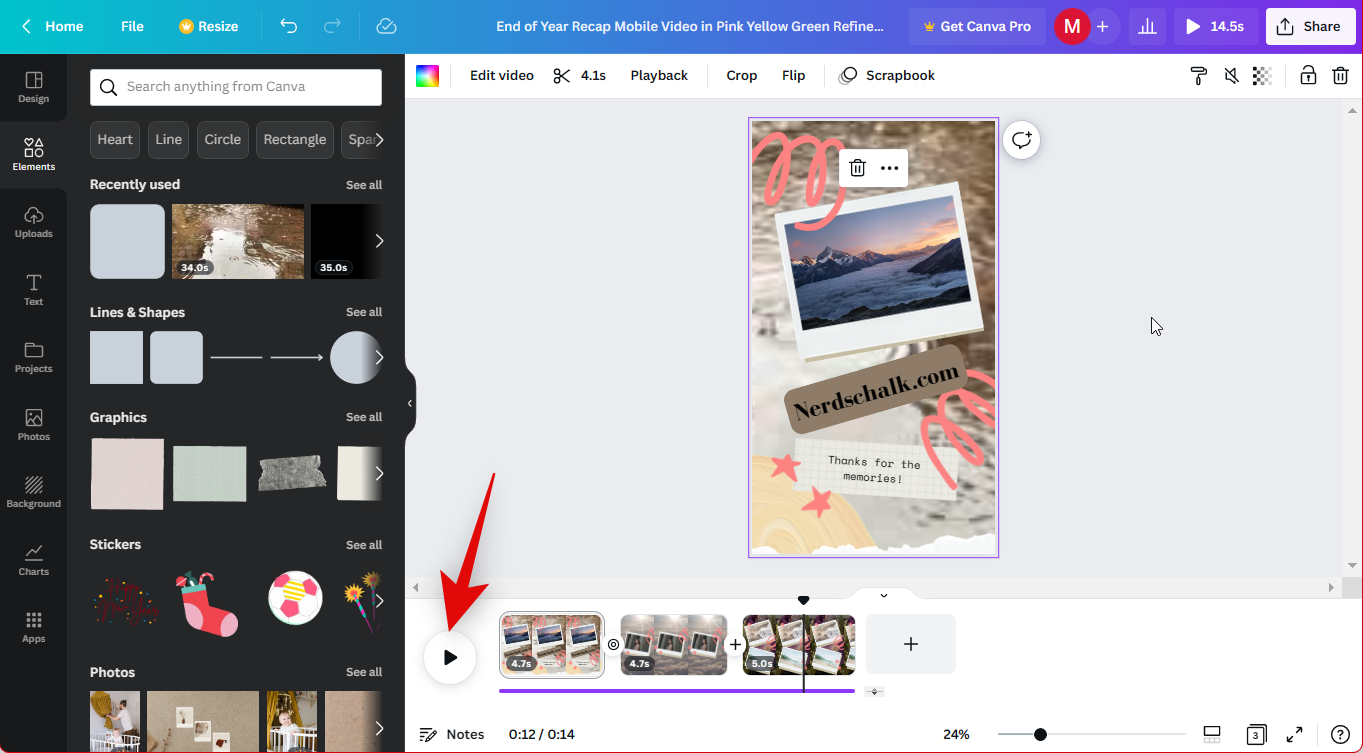
- Once you’ve created and edited all pages, use the Play icon to preview your recap video.
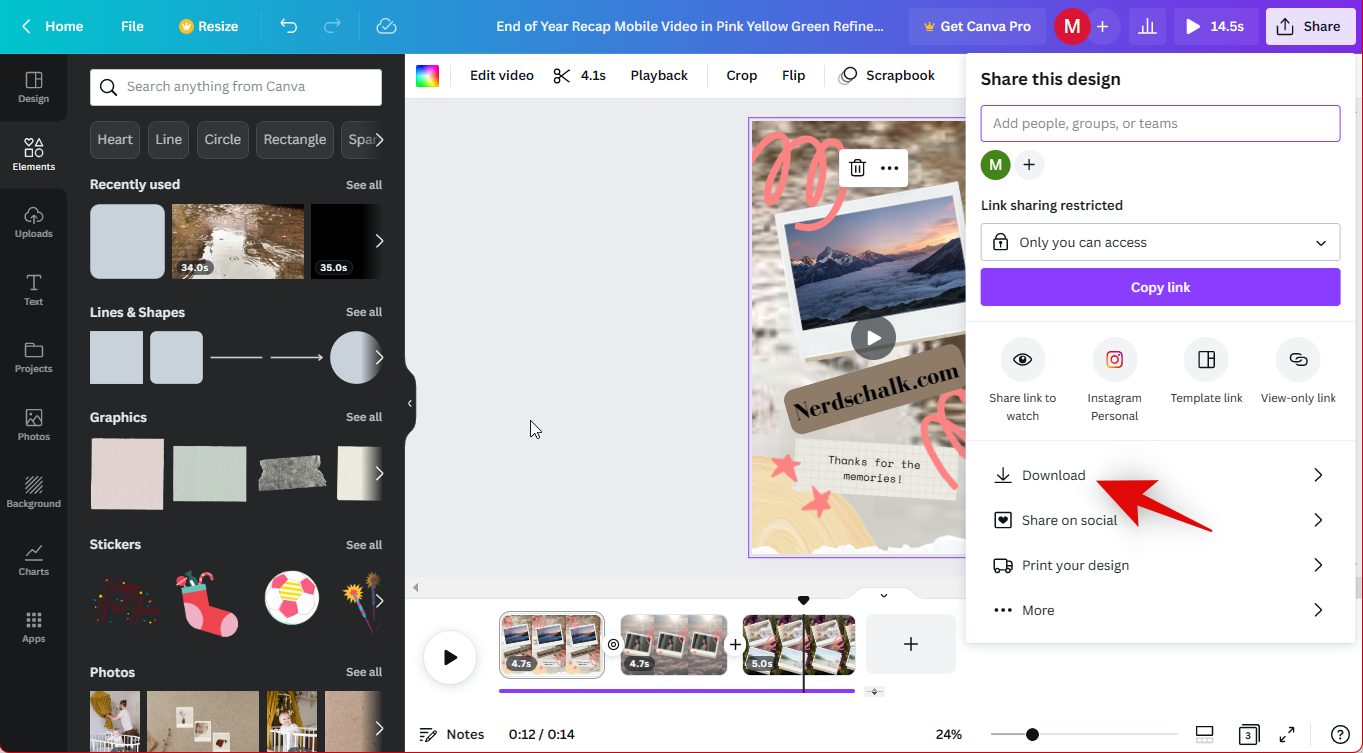
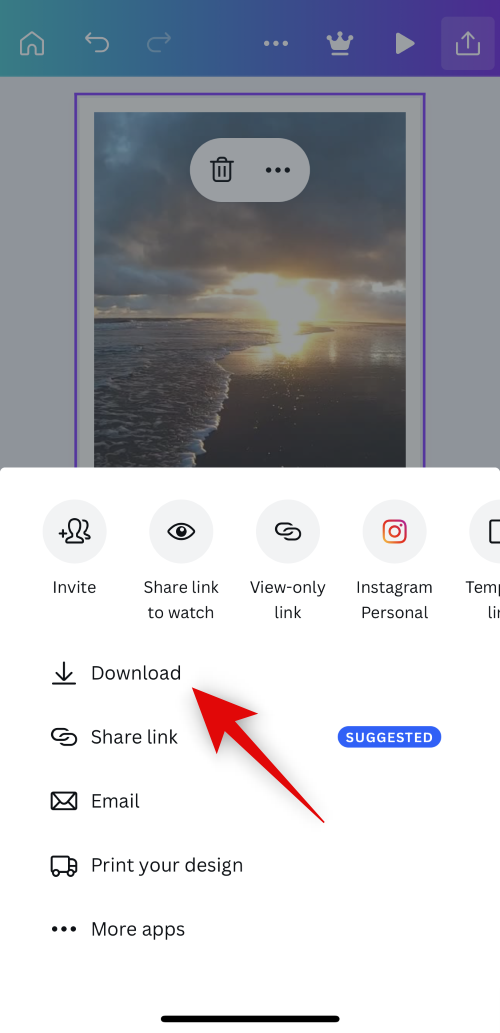
- Once you’re happy with the outcome, click Share in the top right corner.
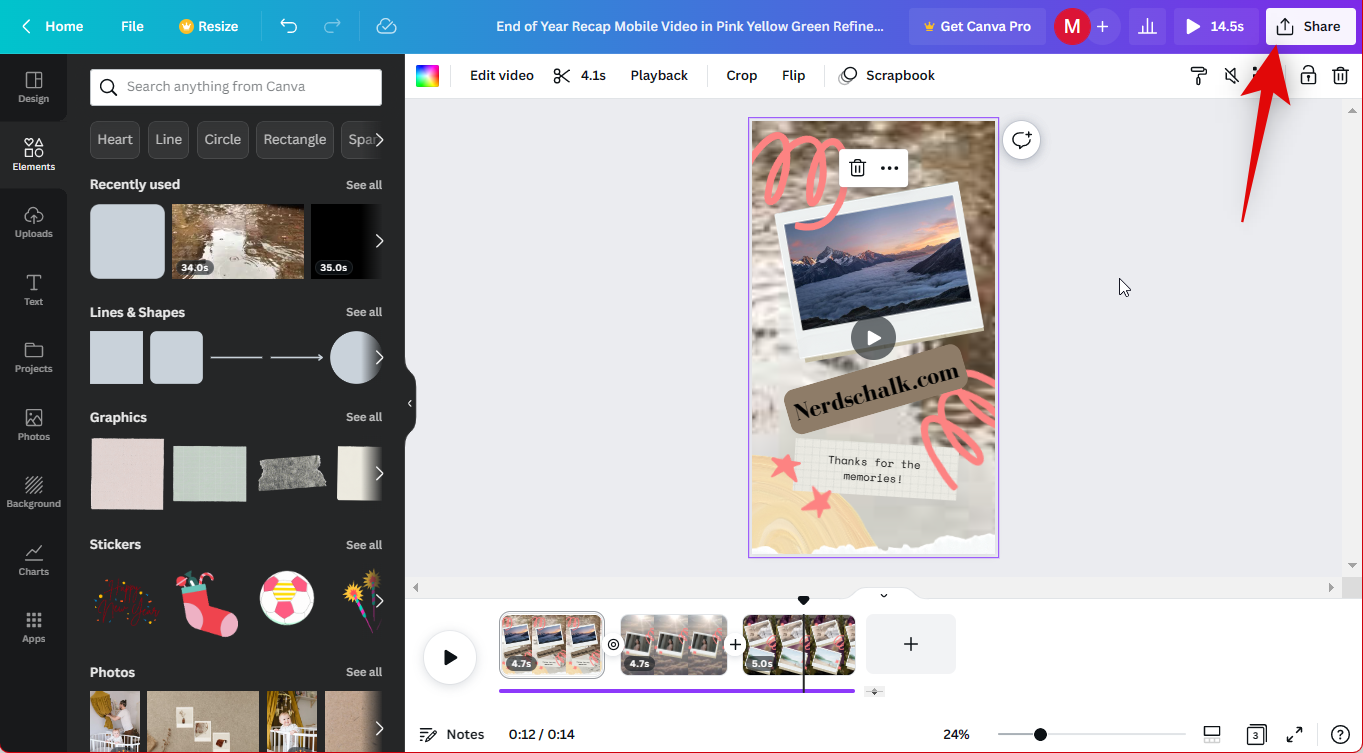
- Select Download.
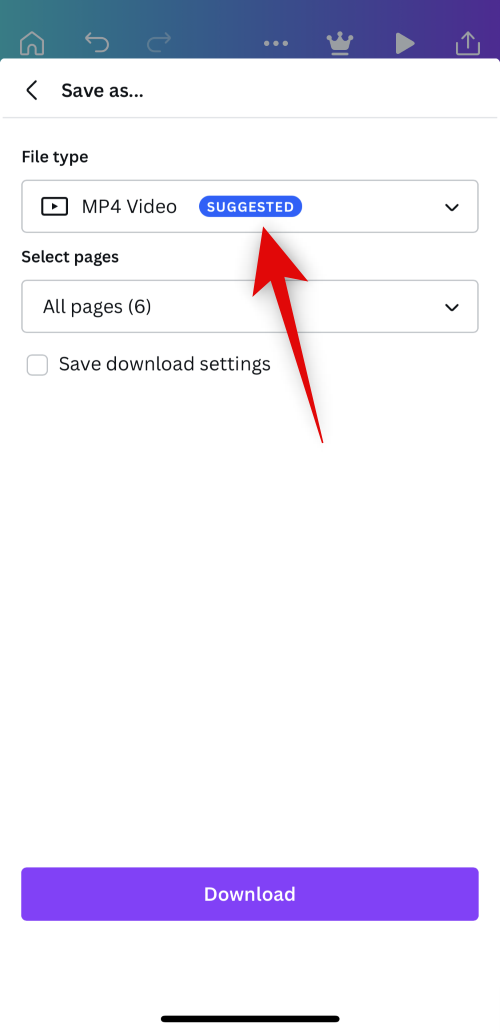
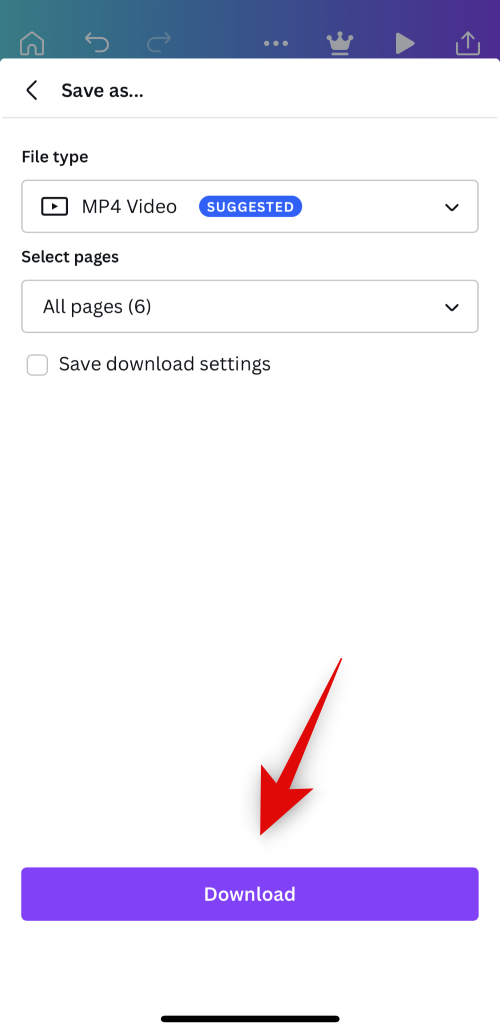
- Click the drop-down menu for File type at the top and select your preferred download format. We recommend using MP4 Video, which should be the default selection.
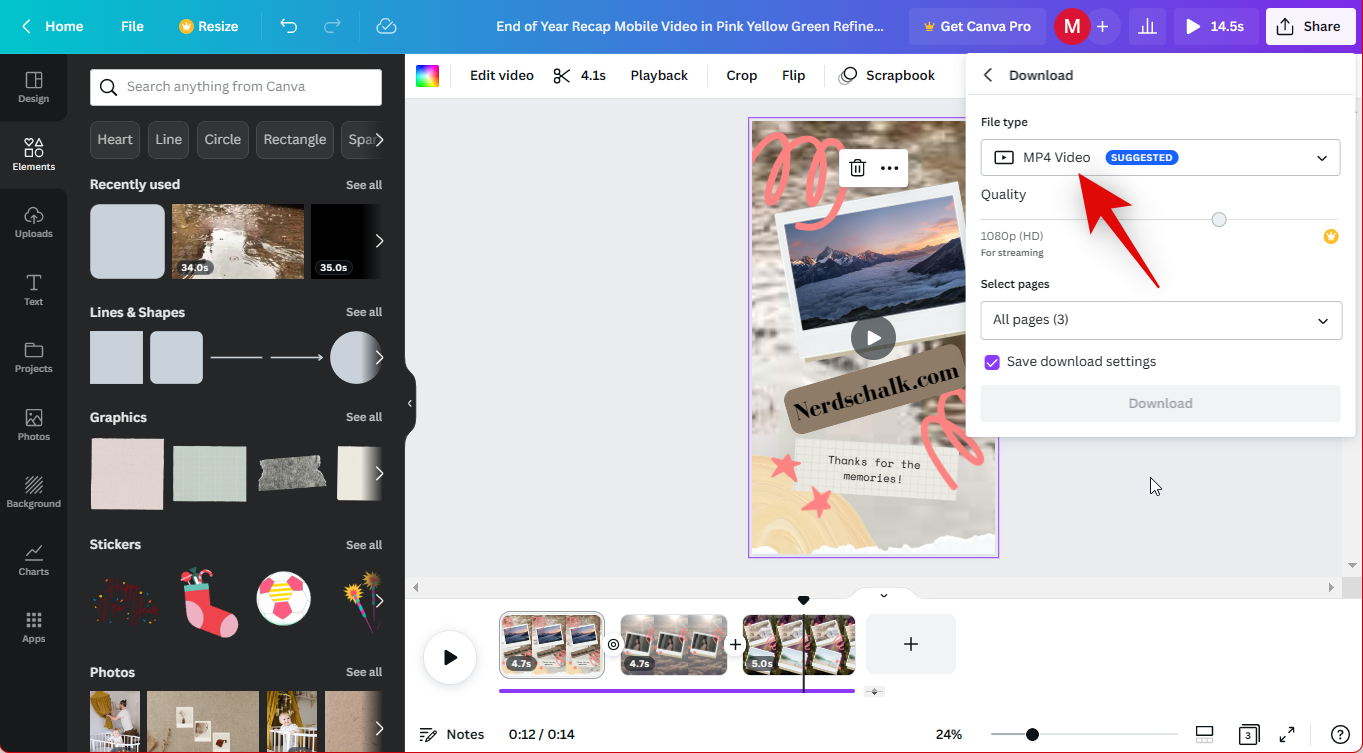
- If you have a premium subscription, you can use the slider for Quality to adjust your recap video resolution. Click Download once you’re done.

And that’s it! Your recap video will now be downloaded to your PC, and you can now share it with your friends and family using your preferred method as needed.
Other websites you can use
Here’s a list of a few website alternatives that can also help you make recap videos manually, like Canva above. If you find Canva lacking or features that aren’t available to you, then you can try one of these alternatives to see which one best fits your current needs and requirements.
Other apps you can use
There are also many desktop video editors with dedicated apps that can help you create recap videos from scratch. Here are our top alternatives for desktop apps that can help you create your recap video manually on your Windows PC or macOS device.
- DaVinci Resolve | Download Link
- ClipChamp | For Windows | For macOS
- iMovie | For macOS
- Adobe Premiere Pro (Paid) | Download Link
- Filmora | For Windows | For macOS
Method 2: Using the Canva app on iOS/Android
You can also create recap videos from scratch on your mobile device. We recommend using the Canva mobile app, but you can choose to use one of the alternatives mentioned below based on your current preferences. The editing and video creation part should be quite similar, with added features depending on the app you choose to use. Let’s get started.
Canva is a comprehensive image and video editor that can help you create a lot of content from scratch. We can use it to our advantage and create a recap video easily. Follow the steps below to help you along with the process.
Note: Canva has tons of features for the mobile app, similar to the desktop app. We recommend checking out the desktop guide above for instructions on all of these features. In this guide, we will only go over the basics of creating a recap video using the Canva mobile app.
- Download and install the Canva app on an iPhone or Android device using the App Store or Google Play Store.
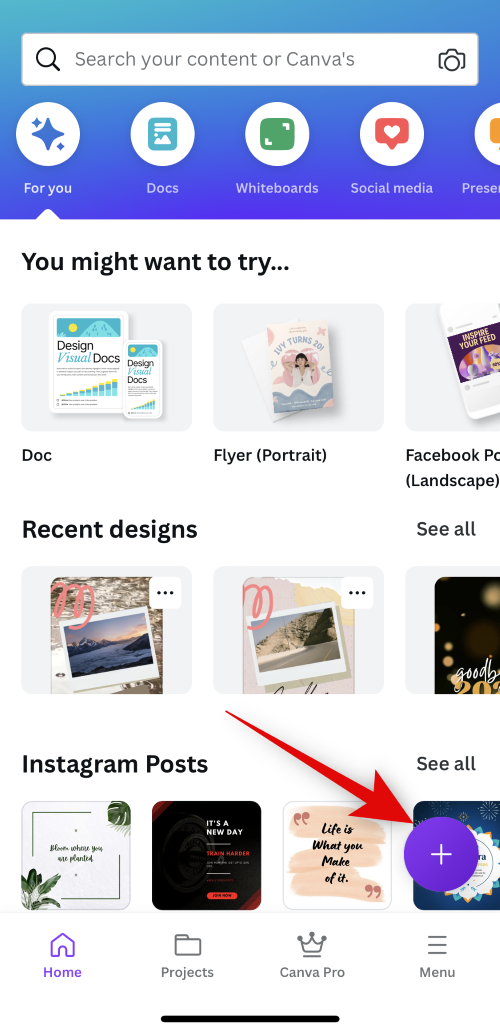
- Once installed, open the Canva app and tap the search bar at the top.
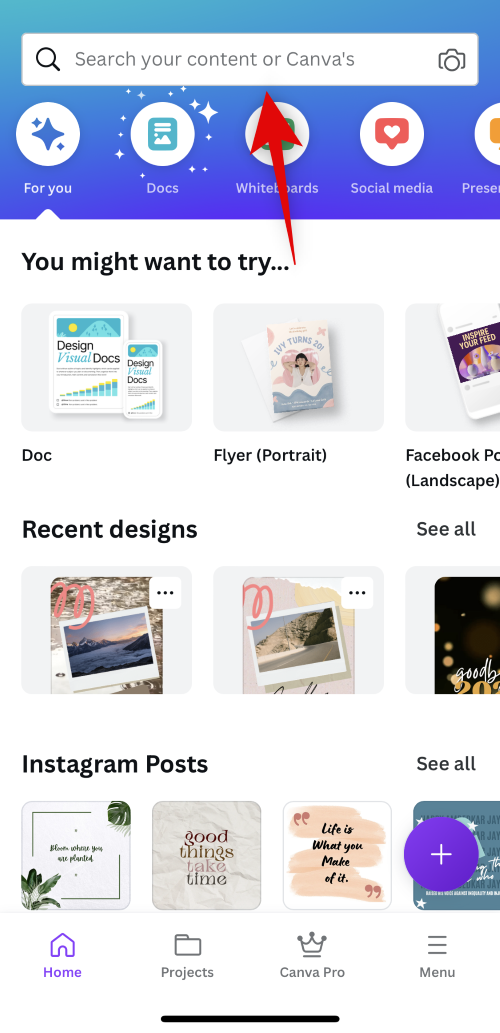
- Search for recap video.
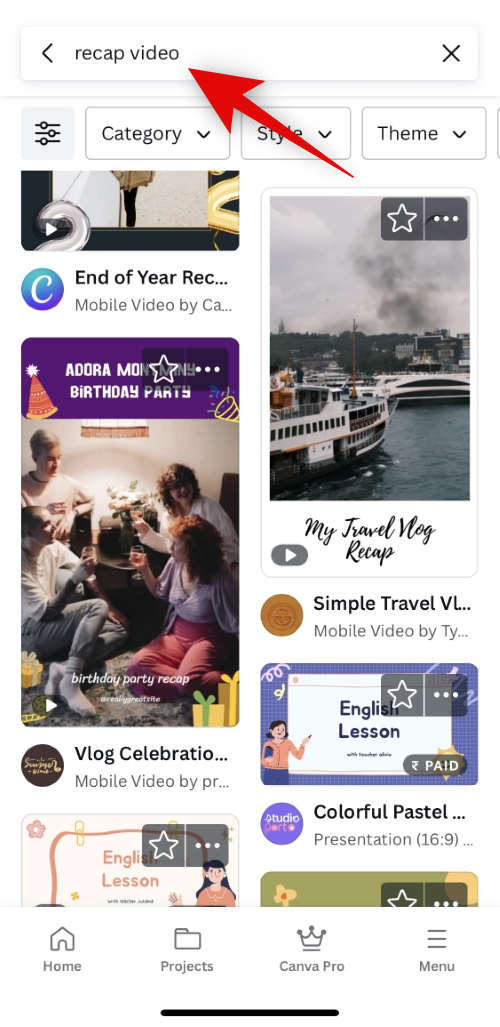
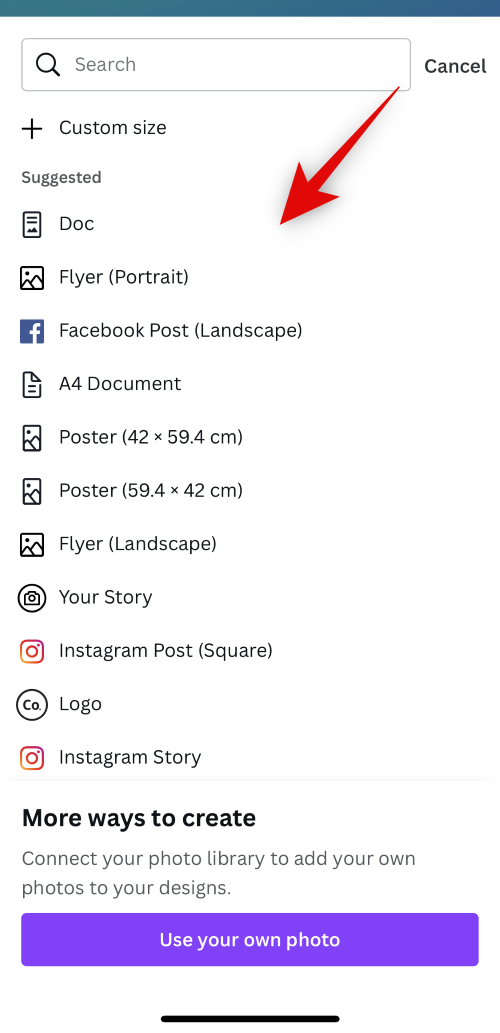
- You will now be shown various templates for recap videos. Tap and select a template you like.

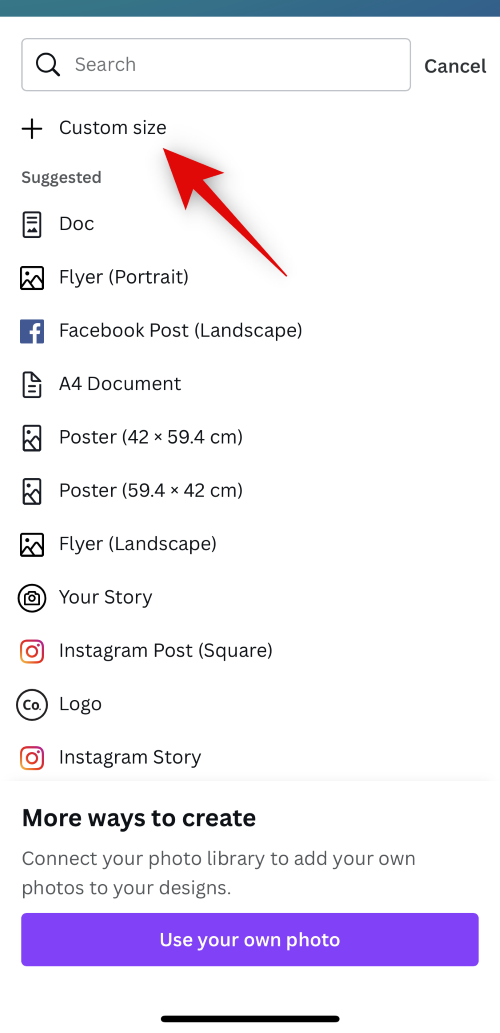
Note: If you wish to create a recap video for free, then keep an eye on the bottom right corner. Paid templates and templates using paid assets will be labeled Paid and VIP in the bottom right corner. - If you wish to start from scratch, tap the + icon in the bottom right corner of the home page.
- Tap and select your preferred style or aspect ratio.
- You can also tap Custom size at the top to manually enter the values for the preferred size of your canvas.
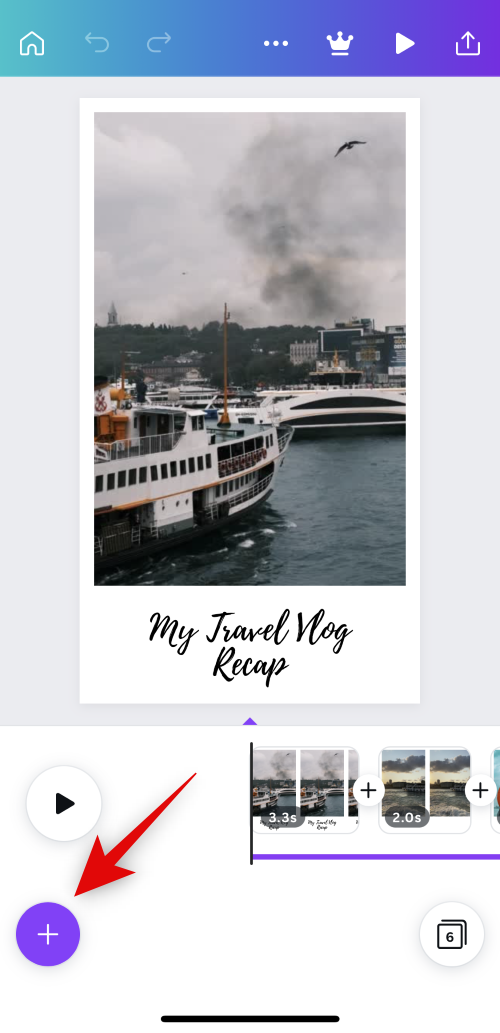
- Let’s use a template for this example. We recommend doing the same as it will be a good starting point to determine the overall look of your recap video. The selected template will now open in the editor. Start by tapping the + icon in the bottom left corner.
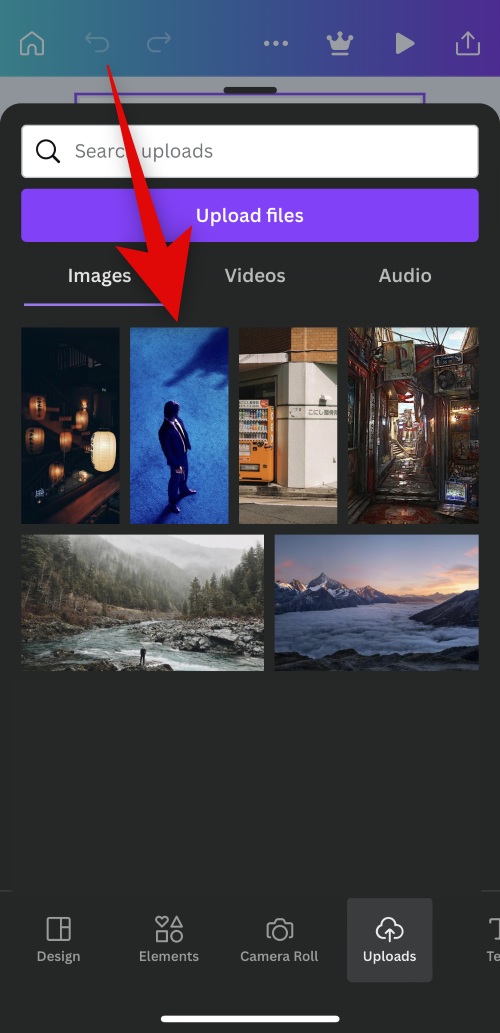
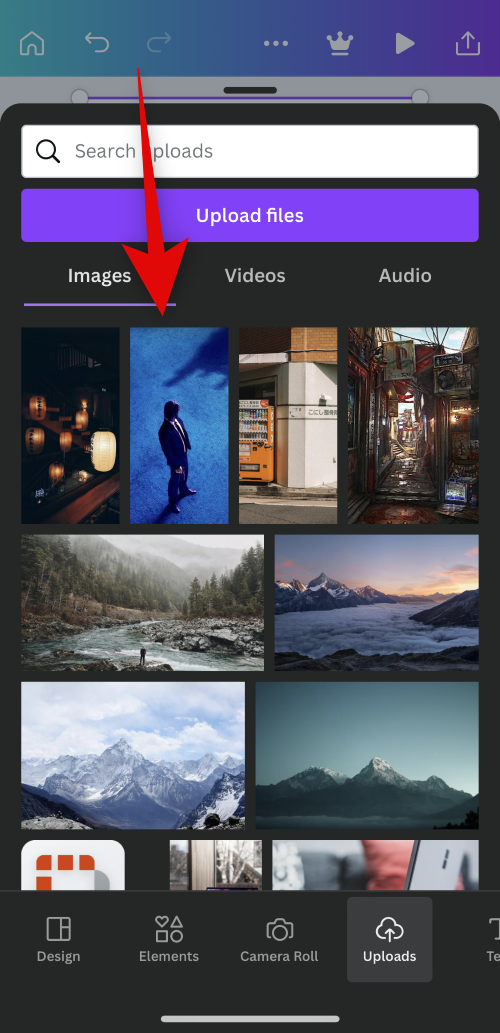
- Swipe on the options at the bottom and tap Uploads.
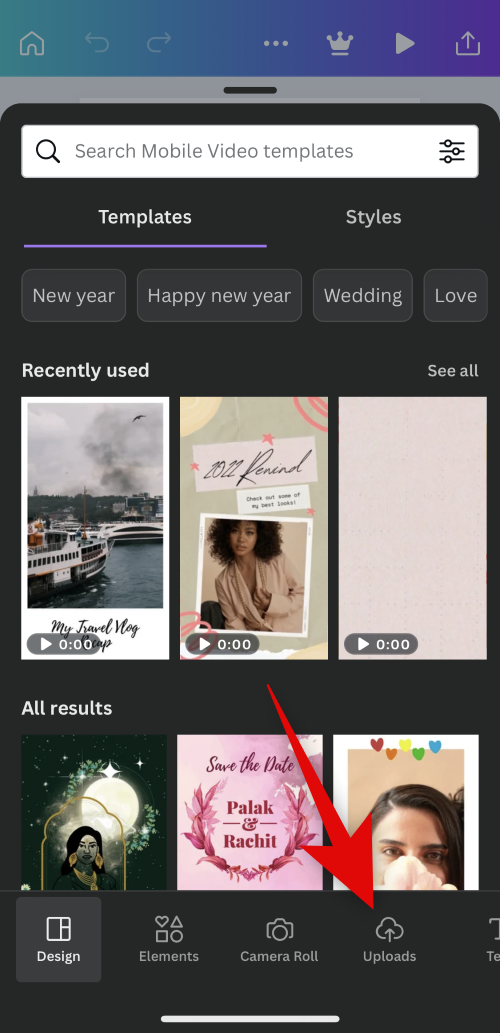
- Tap Upload files.
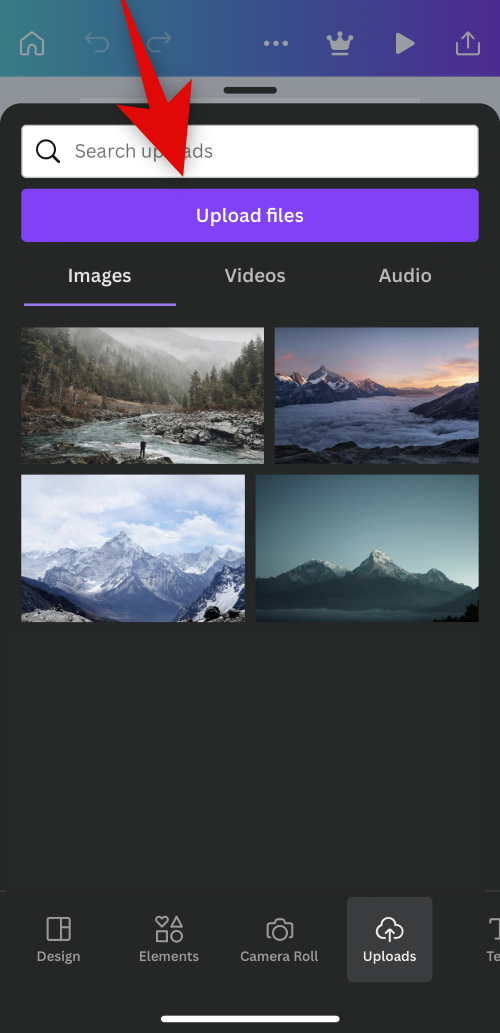
- Tap and select your preferred source.
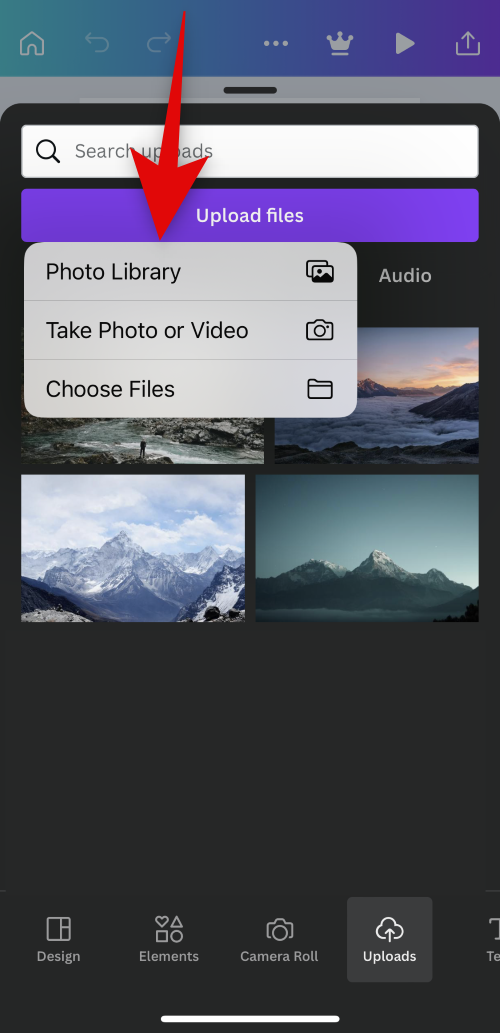
- Now select the photos and videos you wish to include in your recap video.
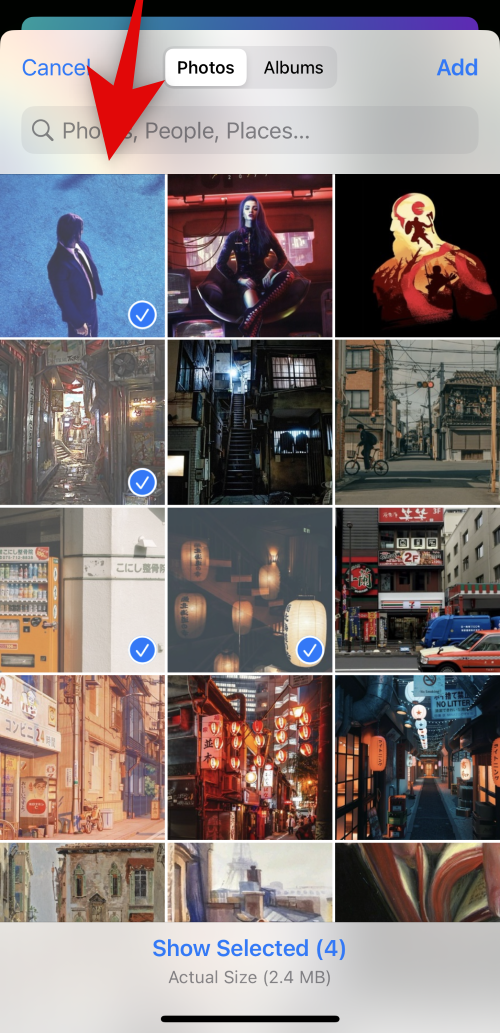
Note: You might have to tap Add or Upload depending on the device you’re using. - Once your files are uploaded, tap the first clip in the timeline at the bottom.
- Now tap your image or video to add it to your first clip.
- Once added, tap and drag the image over an existing image in your template to replace it.
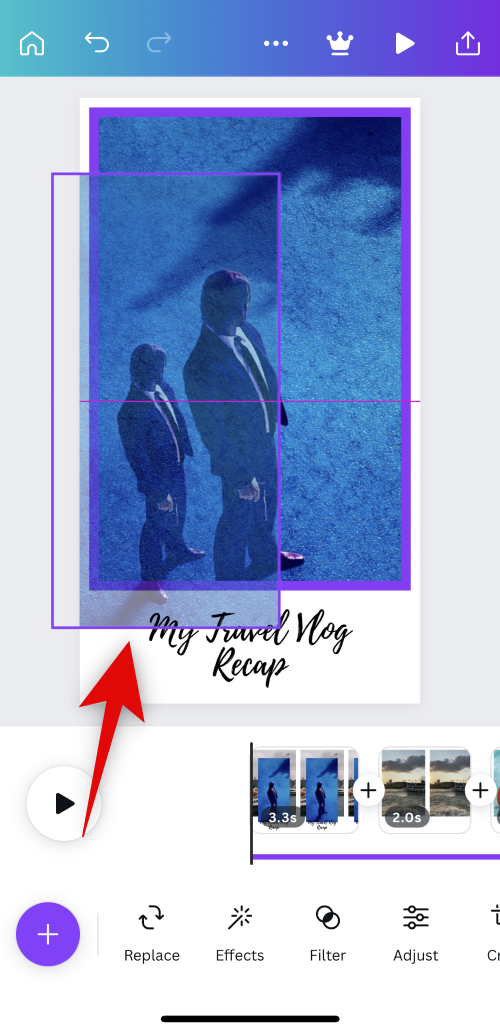
- You can also tap Replace in the options at the bottom after selecting the image in the template.
- You can then tap Uploads or permit Canva to access your photos to add them to your design accordingly.
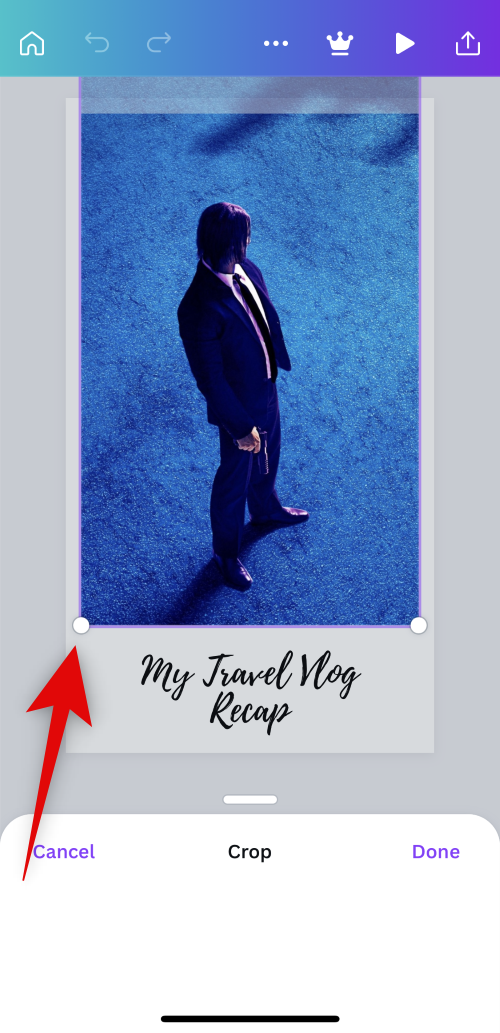
- Double-tap the image to crop and resize it.
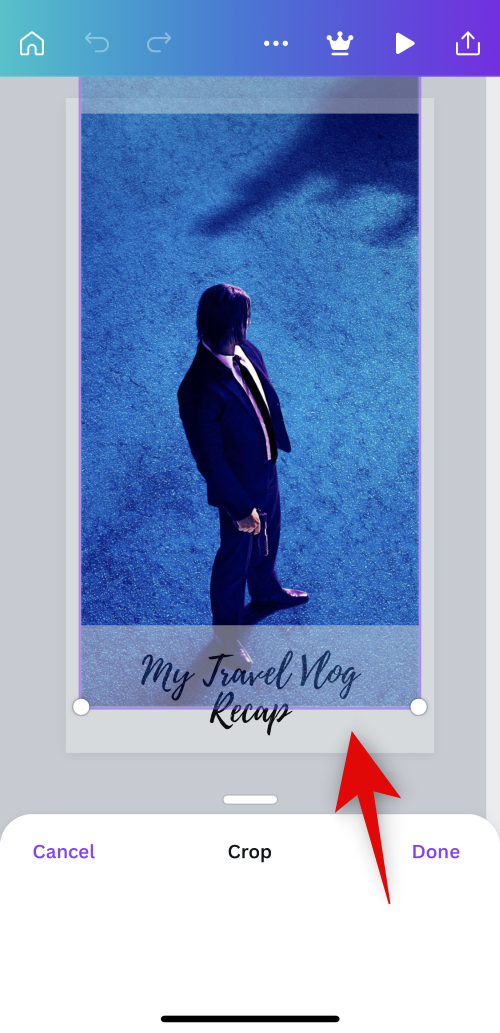
- Tap and drag either corner to resize your image. Tap and drag the image to reposition it in the frame.
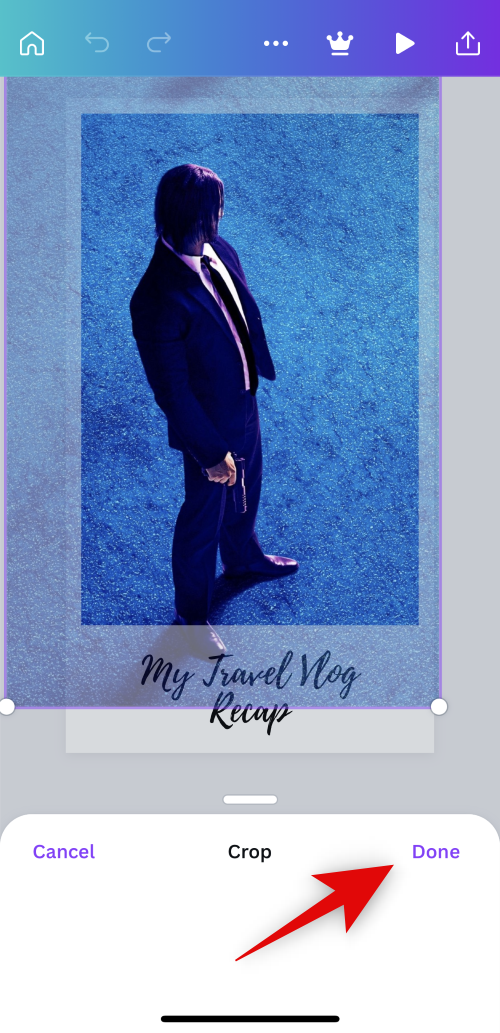
- Tap Done once you’re done.
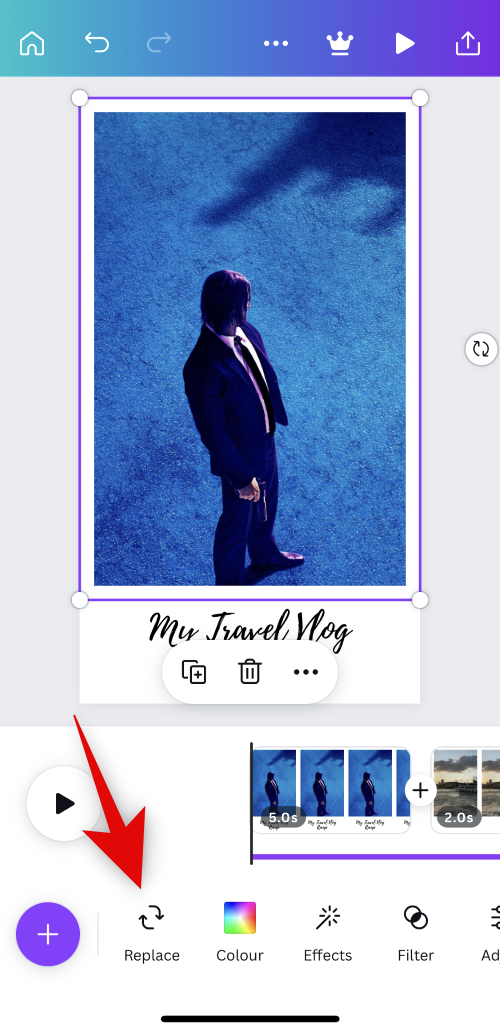
- Now use the options at the bottom to edit and adjust your image or video. These options can be limited if you’re using a video instead.
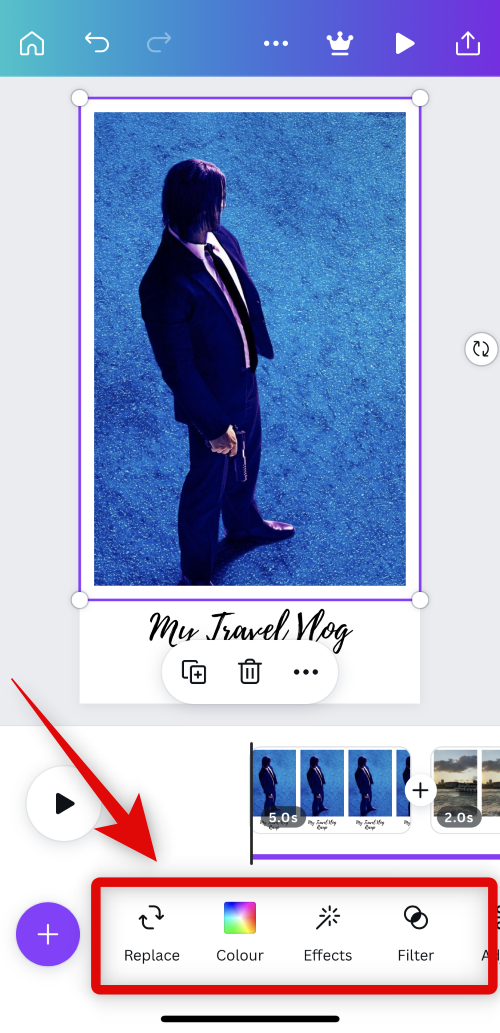
Replace: This can help you replace the image with a new image while maintaining all aspects of your design.
Effects: You can use this option to apply various effects to your images and videos.
Filters: This option can help you apply filters to your media files.
Adust: This option can help you adjust the image and video parameters to change its look.
Crop: Use this option to crop your image or video.
Flip: This option will help you flip the selected image or video horizontally or vertically.
Animate: Use this option to animate static images in your design.
Transparency: You can use this option to control the opacity of the selected media file.
Position: This option can help you move the selected media file forward and backward in terms of other elements in your design.
Nudge: This is a mobile-only option that can help you easily adjust the position of the selected media file. - You can also tap More to access additional options that can help you manage the selected media file.
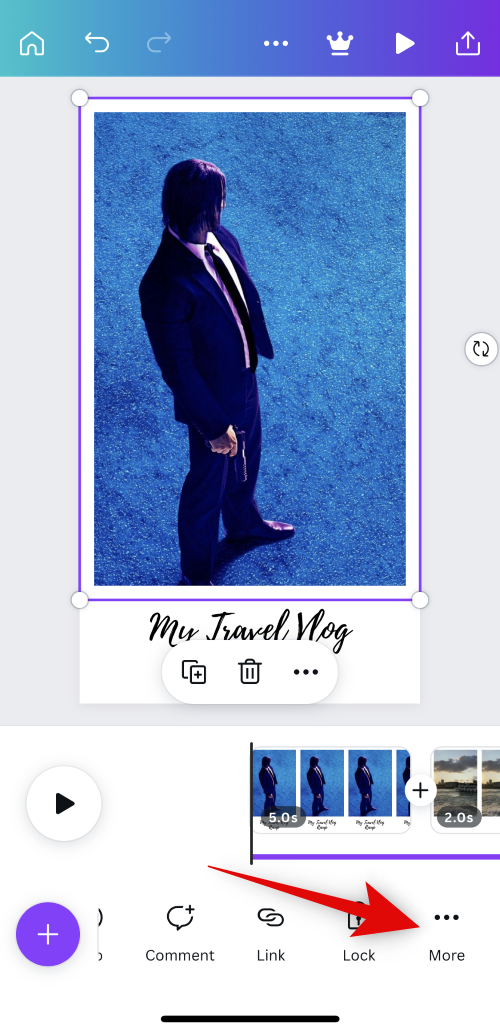
- You get the following options at your disposal.
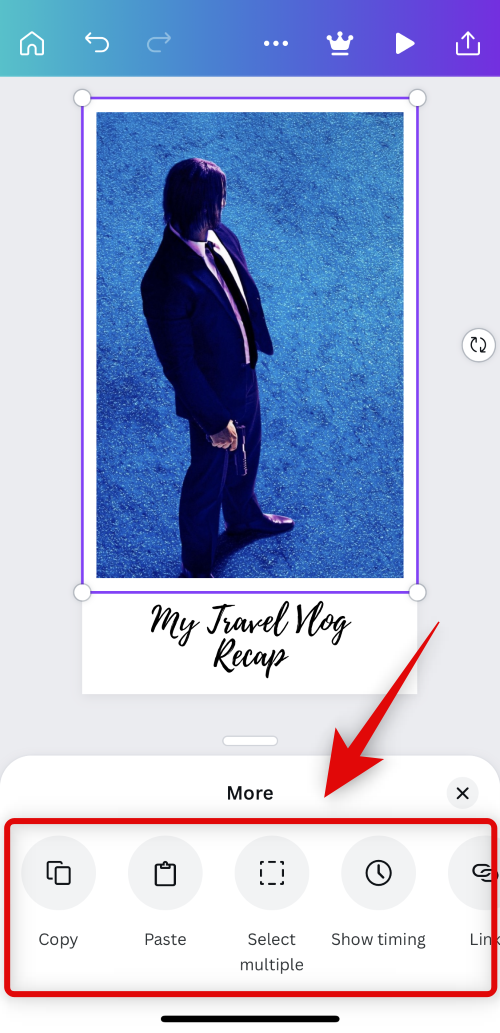
Copy: This can help you copy the selected media file to your clipboard.
Paste: Use this option to paste items from your clipboard.
Select multiple: Tap this option to select multiple elements in your design.
Bring forward: This will bring the selected media file or element forward in increments of one.
Bring to front: This will bring the selected media file or element to the front of all elements in your design.
Send backward: This option will send the selected media file or element behind other elements in increments of one.
Send to back: This option will send the selected media file or element behind all elements in your design.
Show timing: This option can help you adjust the element’s timing in the overall timeline of your recap video.
Link: This can help you link the selected media file or element to other elements in your design so that they can be manipulated together.
Lock: This can help you lock the selected media file or element so that it can’t be manipulated while editing other elements in your design.
Replace background: This can help you set the selected media file as your current background.
Apply colors to design: This option can help you automatically apply and match the colors of your design to the selected media file.
Delete: As the name suggests, you can use this option to delete the selected media file or element. - You can now tap and select other elements in your design and use the options listed above to edit your recap video to your liking.
- Similarly, tap and select other clips in your timeline to edit and add your images and videos as you like.
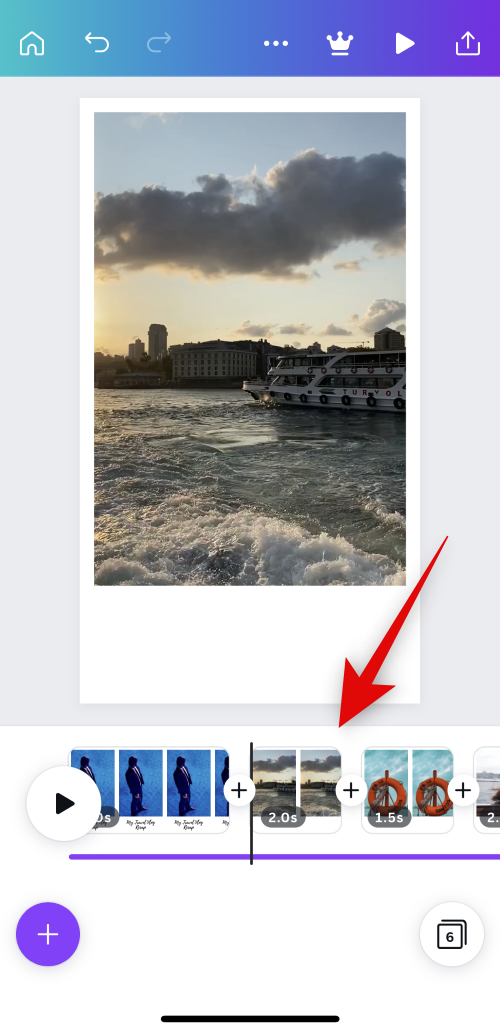
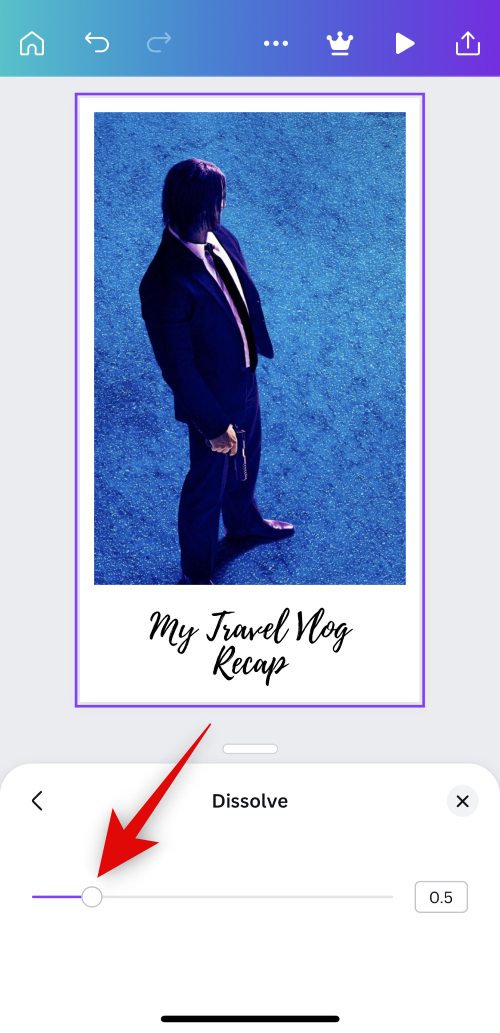
- Additionally, tap the + icon between clips to manage your transitions.

- Tap Transition.
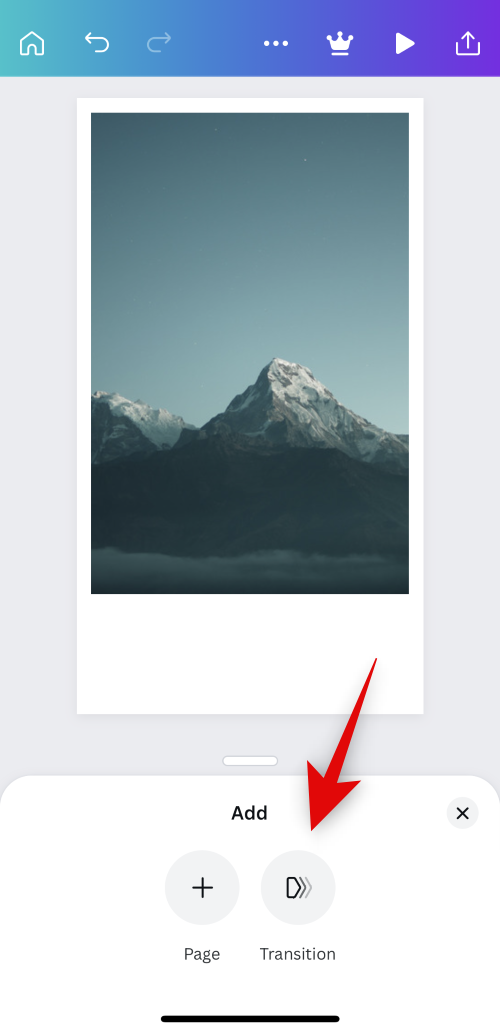
- Now tap and select the transition you like.
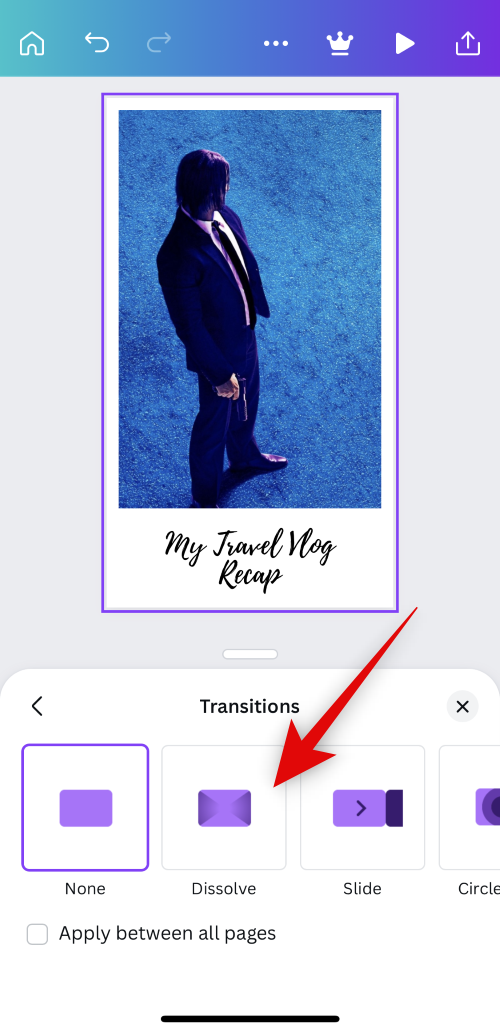
- Tap the selected transition again to manage its duration and other aspects.
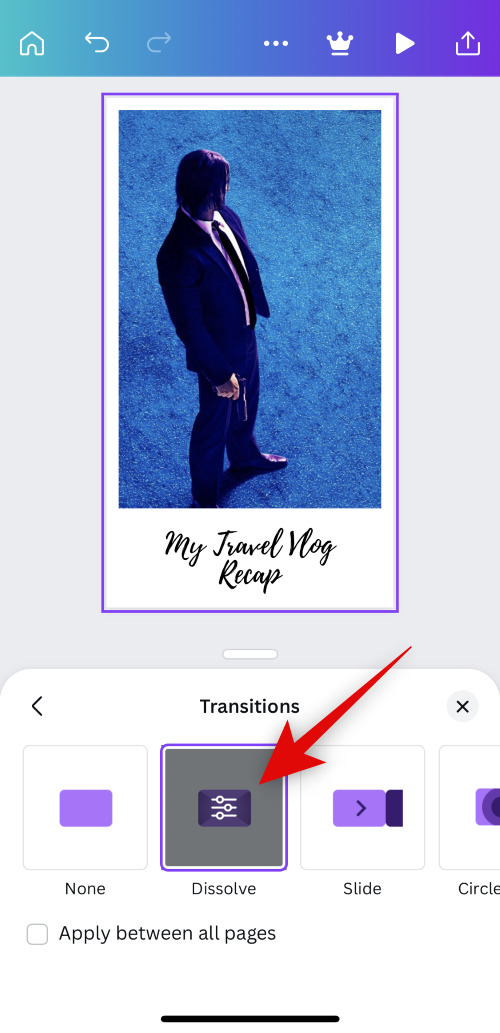
- You can also check the box for Apply between all pages to apply the selected transition to your entire recap video.
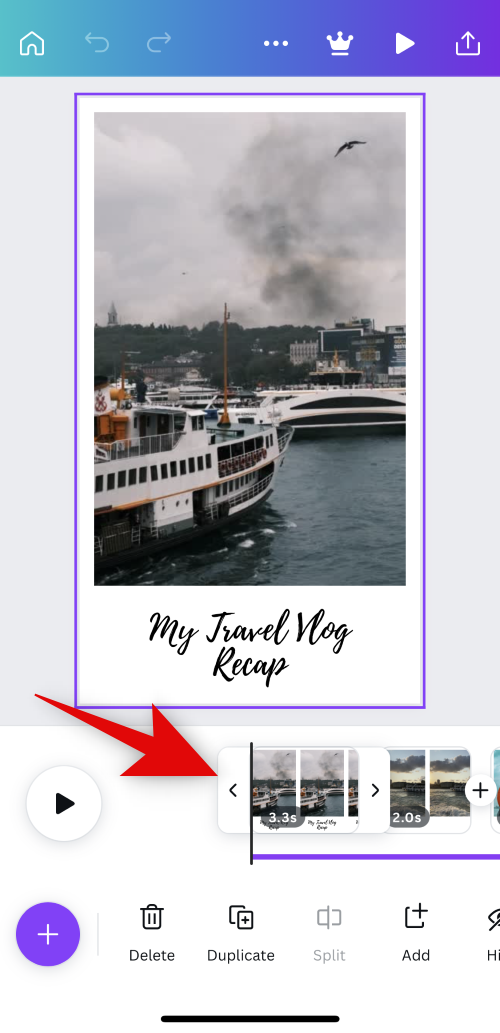
- Tap the + icon at the end of your timeline to add more clips if needed.
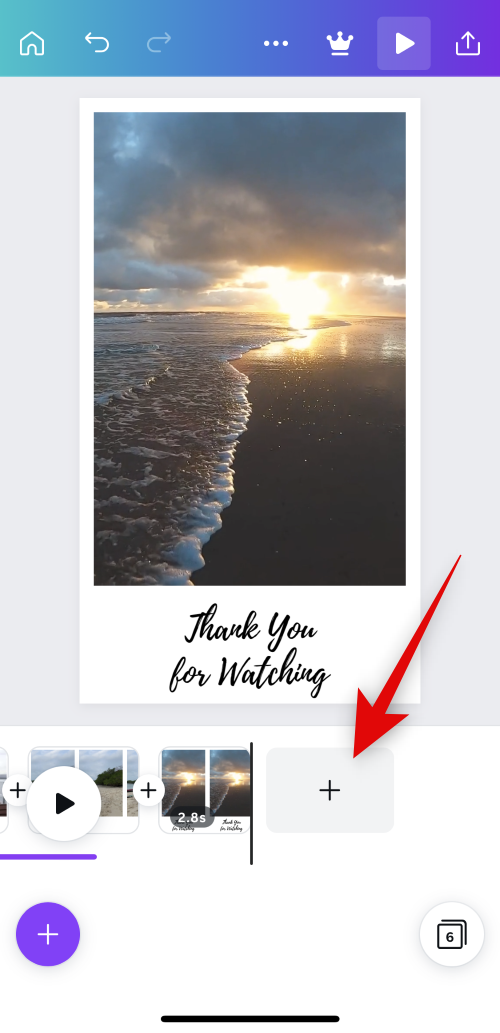
- You can now tap + in the bottom left corner to add additional elements to your recap video.
- You can add the following elements when using Canva to enhance your recap video.
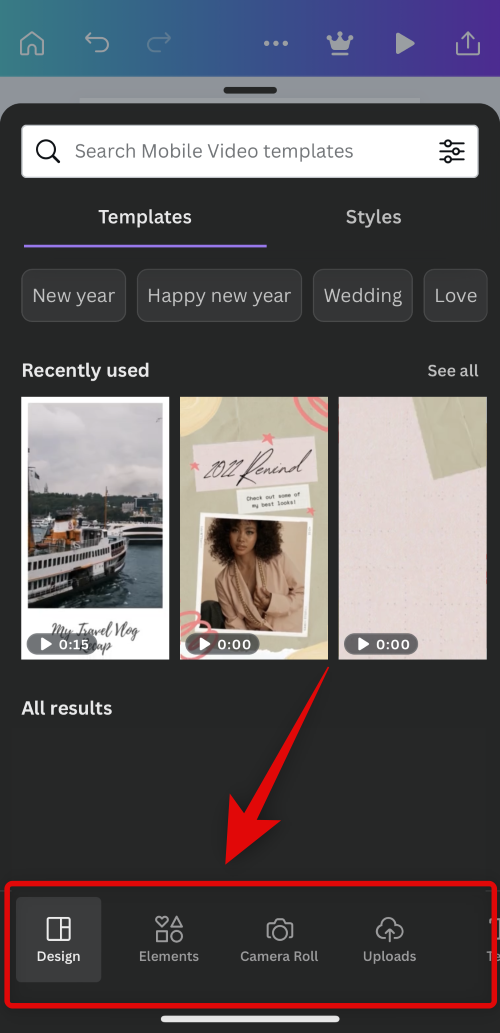
Design: This option can help you change your template and switch to a new one.
Elements: This option can help you add various graphics, overlays, frames, shapes, and more to your design.
Camera Roll: This option can help you add images and videos stored on your mobile device from your media gallery.
Uploads: This option can help you upload and add your own media files from your mobile device.
Text: Use this option to add text to your recap video.
Photos: This option can help you add and use stock videos offered by Canva to your recap video.
Background: Use this option to add selected backgrounds offered by Canva.
Charts: This option can help you add charts to your recap video if needed.
Apps: Canva offers integrations with various third-party apps, which can be accessed using this option. - Once you’ve created your recap video, tap the Share icon in the top right corner.
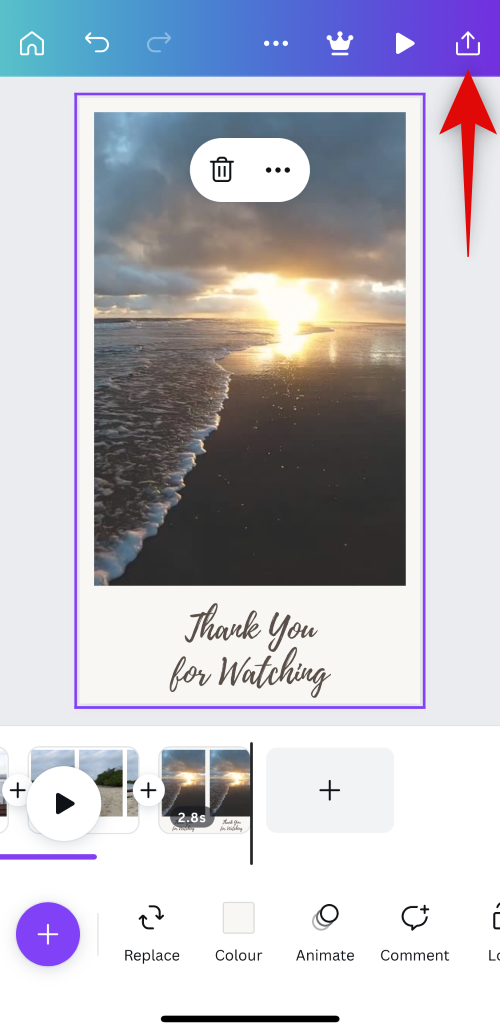
- Select Download.
- Tap and select your preferred file format using the drop-down menu for File type at the top.
- Tap Download once you’re done.
And that’s it! Your recap video will now be downloaded to your mobile device, and you can now share it with your friends and family using your preferred method.
Other apps you can use
If Canva does not fit your design needs, you can try using one of the other apps mentioned below. These apps can also help you create recap videos from scratch with additional features that might better fit your current needs and requirements.
- VideoShow | For iOS | For Android
- PowerDirector | For iOS | For Android
- Kinemaster | For iOS | For Android
- InShot | For iOS | For Android
- Quik | For iOS | For Android
We hope this post helped you easily create a recap video using your preferred video editor, whether using a PC or mobile device. If you face any issues, feel free to reach out to us using the comments below.


Discussion