Just as easy as it was to unlock bootloader of Nexus 5, it is as regards getting Nexus 5X bootloader unlock done too. You just need to enable the option in Settings, and then go ahead and actually unlock it — as we have detailed out in our guide right below.
But first, let us run you though stuff you should already know about. First up, you lose you Nexus 5X’s warranty by unlocking the bootloader. Next, if you root the Nexus 5X thereafter, you won’t be able to use Android Pay (though after unroot, you can).
That said, it gets really interesting once you unlocked bootloader on your Nexus 5X. Your device is all open to flash a custom kernel and get root access right away, which has many extraordinary uses, chief among them being Xposed framework. With Xposed, you can customize your Nexus 5X a lot, that too exactly as you’d want it to be.
And there’s more, you are also able to installing amazing tool we call TWRP recovery. With this, you can create full backup of your device, a mirror copy of current state of your Nexus 5X, which can restored later on easily if you mess up things. And TWRP also allows to install custom ROMs.
So, let’s see how to get Nexus 5X bootloader unlock process done.
Supported devices
- LG GOOGLE NEXUS 5X
- Don’t try this on any other device than mentioned above!
Warning!
Warranty may be void of your device if you follow the procedures given on this page. You only are responsible for your device. We won’t be liable if any damage occurs to your device and/or its components.
Backup!
Backup important files stored on your device before proceeding with the steps below, so that in case something goes wrong you’ll have backup of all your important files. Sometimes, Odin installation may delete everything on your device!
Bootloader Unlock Guide
Step 1. Enable OEM Unlock and USB Debugging on your Nexus 5X.
- Go to Settings > About device. Locate build no. and tap on it 7-8 times or until you get toast notification saying ‘you’re now a developer’.
- Go back to Settings, and scroll down and open ‘Developer options’.
- Locate ‘USB debugging’, and enable it using its toggle button. Accept the warning by tapping on OK.
- Locate ‘Enable OEM Unlock’ and enable this too using its toggle button. Accept the warning by tapping on OK.
Step 2. Install proper LG Nexus 5X drivers.
Step 3. Install ADB and fastboot drivers.
Step 4. Boot Nexus 5X into fastboot/bootloader mode. For this:
- Power off your Nexus 5X. Wait for 5-6 seconds after screen goes off.
- Now, press and hold Volume Down + Power button together until you see something on screen, with FASTBOOT written at top. This is fastboot/bootloader mode.
Step 5. Test whether fastboot is working alright or not.
For this, open a command window and run the command given below. (You can also copy paste the command and then use enter key to run it.)
fastboot devices
→ Upon running command above, you should get a serial no. with fastboot written after it. If you don’t get fastboot written on cmd window, then it means you need to reinstall adb and fastboot drivers, or change restart PC, or use original USB cable.
Step 6. Unlock Nexus 5X bootloader now.
Run the following command for that.
fastboot oem unlock
Step 7. Confirm bootloader unlock now on your Nexus 5X.
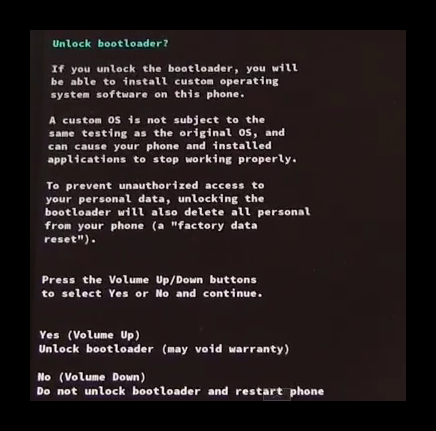
A screen will show on your Nexus 5X asking for your confirmation to unlock bootloader. Press Volume UP button to accept and confirm. Remember, this WILL DELETE everything on your Nexus 5X.

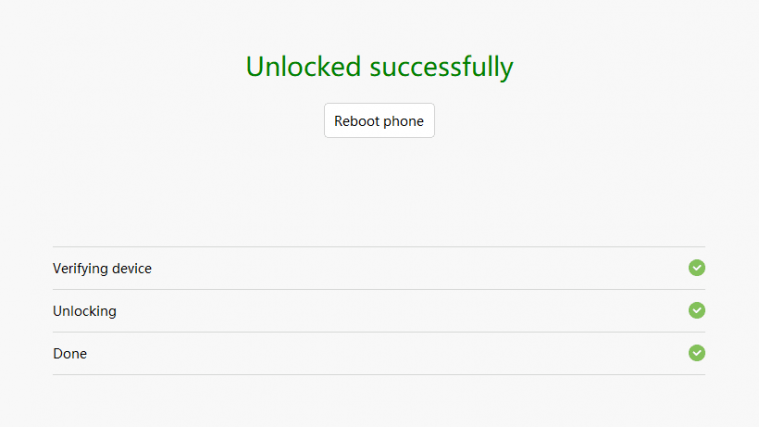
Step 8. Once you have done the above, your Nexus 5X will automatically restart, and when it has, it will be bootloader unlocked.
You can now go ahead and install a TWRP recovery, and then get root access now that fastboot allows you to flash stuff you want.
Verifying Bootloader Unlock
Do step 6 above to enter bootloader mode. It should read as ‘Unlocked’ now. Which means, the Nexus 5X is bootloader unlocked.
If you don’t see Unlocked there, then that obviously means bootloader is still locked.
That’s all about our Nexus 5X bootloader unlock. Enjoy!
Need help? Let us know where do you need any help regarding this and we will help you. Use the comments section below for help.


