
HTC U11 EYEs is no longer one of those beautiful mid-range handsets that it was when it launched as the market has changed a lot and the influx of new budget phones means we can no longer count the U11 EYEs as one of the best in the segment either. It was launched in many markets, anyway, so maybe you weren’t concerned already.
But anyway, if you have the U11 EYEs with you, woul will be glad to learn that the device now has an official TWRP recovery available. Which also means that achieving the root access on the U11 EYEs is very easy now, too.
Related: Best HTC phones [2018]
In order to root the U11 EYEs, you will first need to install the TWRP recovery on the device which in itself first requires the device to be bootloader unlocked.
We shall see all of the above in the guide below, so let’s see to it.

Warning!
Do not try anything given on this page if you do not know completely what you are doing. In case any damage occurs, we won’t be held responsible.
HTC U11 EYEs TWRP Recovery
Download the TWRP recovery file for your variant of the HTC U11 EYEs from below.
- U11 EYEs TWRP recovery: twrp-3.2.3-0-hay.img
Download the latest version of the TWR from the official page here.
Related articles:

HTC U11 EYEs Root
Here’s an easy step-by-step guide to help you install TWRP recovery on your HTC U11 EYEs as well as root the device in the last few steps.
- Make sure that you’ve unlocked the bootloader for the U11 EYEs before proceeding.
- Download the required files:
- TWRP file from above
- Root file (Magisk 16.7): Magisk 16.7.zip
- DM verity disabler: no-verity-opt-encrypt-6.0.zip
- Connect your U11 EYEs to the PC using the USB cable it came with.
- Transfer all the downloaded files (TWRP, Magisk, and DM verity disabler) to your device. Do keep a copy of TWRP IMG file on your PC too. Keep the U11 EYEs connected to PC.
- Make sure you have enabled USB Debugging on your U11 EYEs, as explained in the bootloader unlock post above (step 1). You may need to re-do it after unlocking the bootloader.
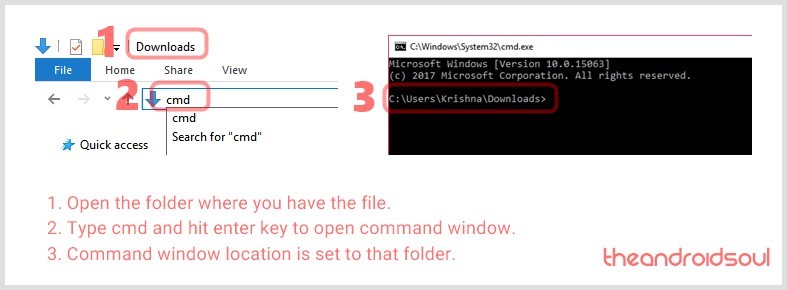
- Now open a command window inside the folder where you have the TWRP file from above. For this, go that folder, and then type cmd in the address bar of that folder’s window, and then hit the enter key. A command window will open up, and its location will be that folder.
- Boot your HTC U11 EYEs into bootloader/fastboot mode. For this run this command:
adb reboot bootloader
└ If you get a permission dialogue on your device to “Allow USB debugging”, tap OK.

- Install TWRP recovery on your the U11 EYEs by running the command below. To run a command, simply type this in the command window and then hit the enter key.
fastboot flash recovery twrp-3.2.3-0-hay.img
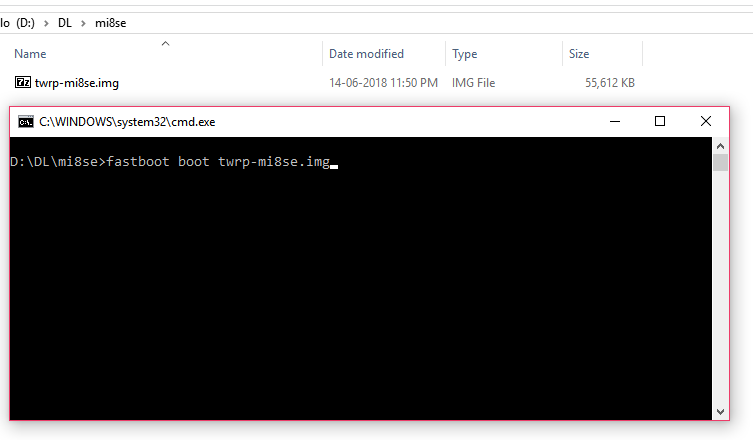
Example command (change the filename as the need be) Tip: The command contains the TWRP’s filename at the end of it, so change the command as per the TWRP file you are using.
- Careful! Hold the volume down button now, and while holding the Volume down button, run the command below to reboot into download mode successfully.
fastboot reboot
- Now, reboot into bootloader mode. When in download mode, choose the option ‘reboot into bootloader mode’ using volume buttons and select it using the power button.
- Now, reboot into recovery mode. When in bootloader mode, choose the option ‘reboot into recovery mode’ using volume buttons and select it using the power button.
- Enter the password or PIN you are using to let system decrypt in recovery mode and get to TWRP recovery. (It won’t ask if you are not using any PIN or password on the device.)
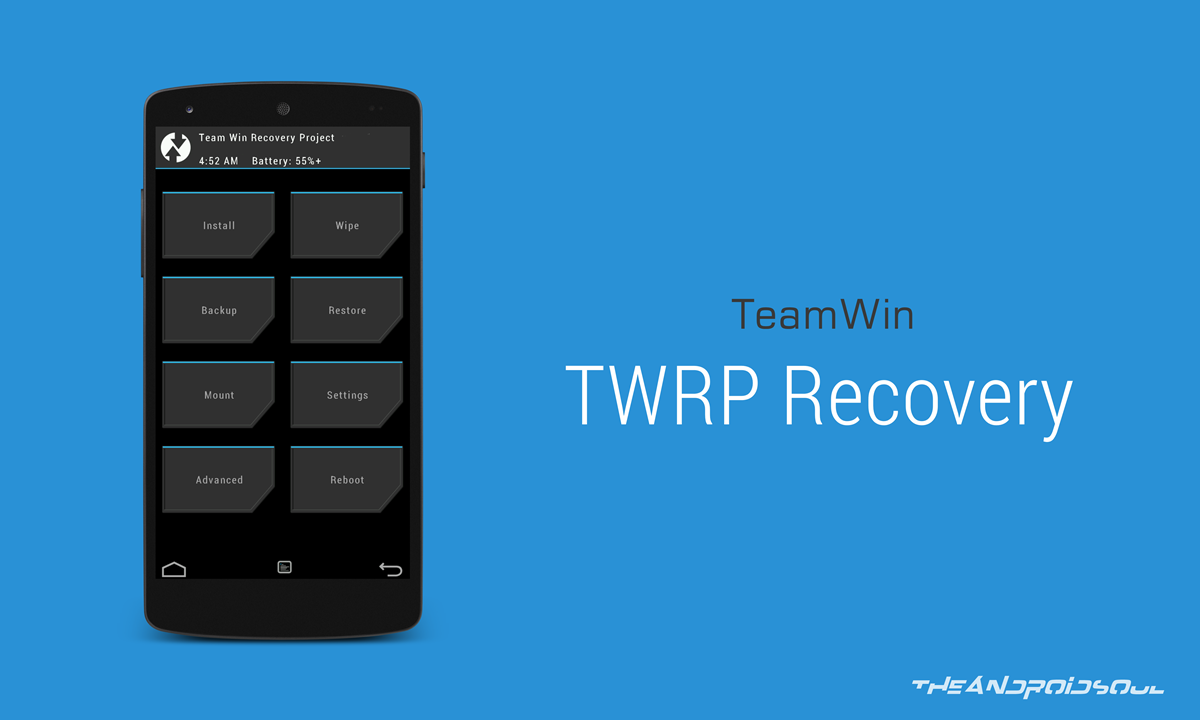
- You will see TWRP recovery now. When asked to ‘Keep System Read only?’, tap on the ‘Keep Read Only’ button to not allow for system modifications.
- Time to root the U11 EYEs! You have to install the root file (Magisk ZIP file) now. Go back to the home screen of TWRP and tap on Install, > then select the ZIP file, Magisk-v16.7.zip, and confirm on the next screen.
- In case you don’t want to root the device, be sure to install the DM verity disabler file now (in place of Magisk file) to get the U11 EYEs to boot normally (prevent from bootlooping).
- Reboot now and your U11 EYEs will start to Android and will be rooted too. You can verify root access on your U11 EYEs using a root checker app.


That’s all.
The above rooted your U11 EYEs, right? If not, ask us for help in the comments box below.


