What to know
- Windows 11 lets you use your Android phone’s camera as a webcam in any video application.
- Go to Settings > Bluetooth & devices > Mobile devices > enable ‘Allow this PC to access your mobile devices’ > click on ‘Manage devices’ > Add device and connect your Android device via the Link to Windows app.
- Enable ‘Use as a connected camera’ in the ‘Manage mobile devices’ window. Open any app that requires video and allow your phone’s camera to be used as a webcam.
It’s well known that smartphone cameras are far superior to those found on laptops, which is why, unless you have a dedicated webcam, you probably won’t get the best video feed on virtual conferences. Fortunately, Windows 11 lets you use the camera on your Android phone or tablet as a webcam for video applications such as Zoom, Google Meet, or simply the Camera app. Here’s everything you need to know to start using your Android phone’s camera as a webcam on Windows 11.
How to use your mobile’s camera as a webcam on Windows 11
The ability to use your mobile’s camera is a feature that was recently added to the ‘Manage mobile devices’ settings page on Windows 11. Before you can start using it, you’ll need to fulfill certain requirements, install an app on your Android phone, and link up your phone with your Windows 11 PC.
Requirements
- Update Windows
- Link to Windows app (version 1.24012 or later) installed on an Android device.
Link Windows with Android
- Open the Settings app. Then navigate to Bluetooth & devices > Mobile devices.

- Enable ‘Allow this PC to access your mobile devices’ and click on Manage devices.

- Click on Add device.

- Your PC will receive a ‘Cross Device Experience Host’ update. Wait for it to finish updating.

- Once updated, you’ll receive a QR code to scan for your phone.

- Launch the ‘Link to Windows’ app on your Android device and select Sign in using the QR code on your PC.

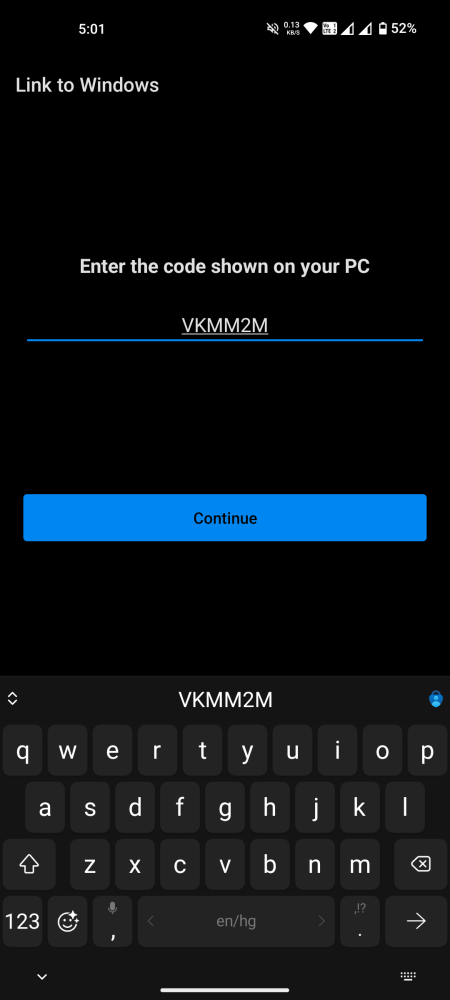
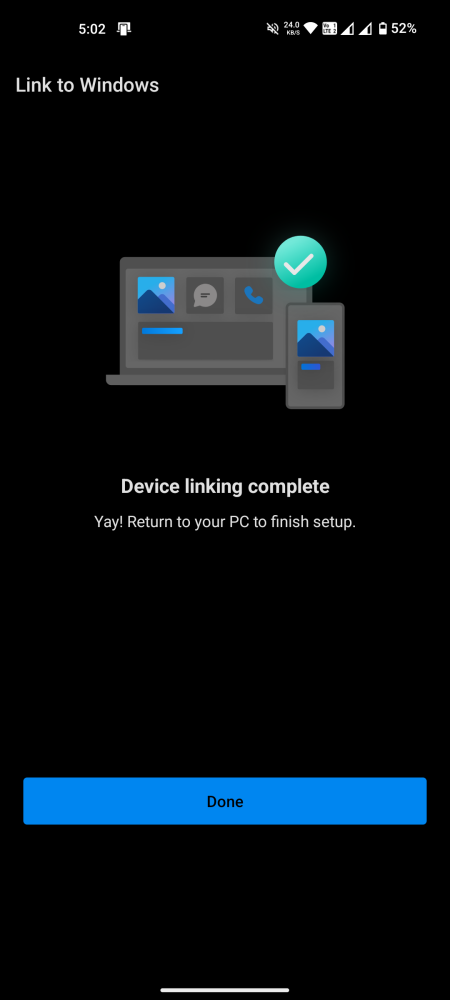
- Scan the QR code that is shown on your PC. Thereafter, you’ll be provided with a verification code on your PC. Enter this code in the app and tap ‘Done’ on your phone.
- Once connected, click ‘Continue’ on your PC.

- With your device connected, make sure the option to Use as a connected camera is enabled.

Use your mobile’s camera as a webcam
- On your PC, open any app that requires the use of a webcam (we’re using Google Meet). You’ll receive a pop-up asking you if you want to ‘Use mobile device camera’. Click Continue.

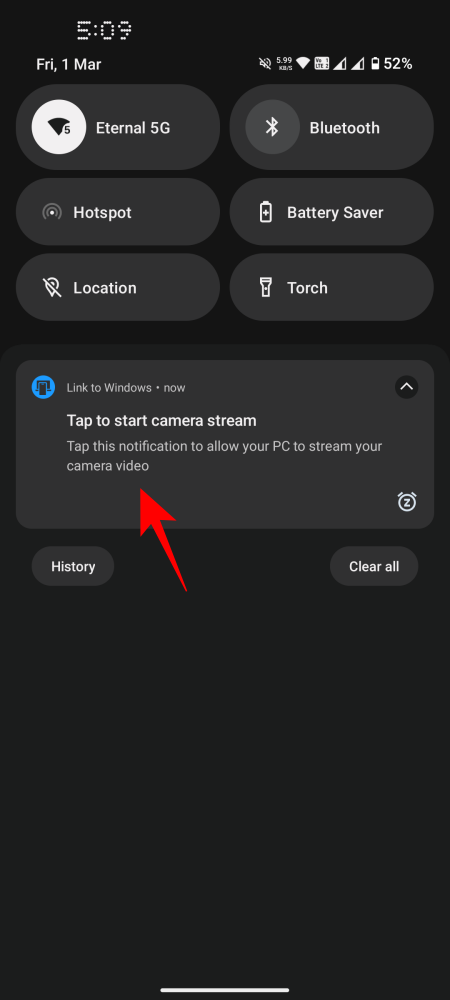
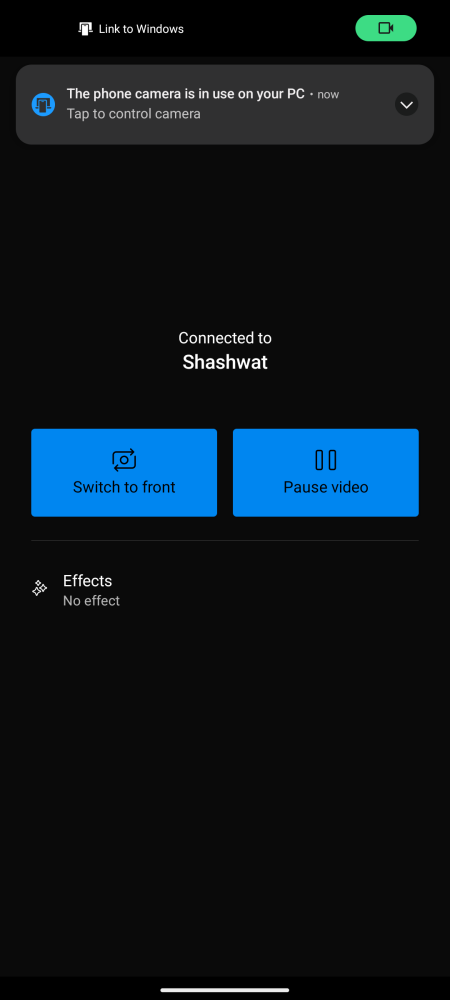
- At the same time, slide down the notifications shade and select Tap to start camera stream. Once connected, you’ll see the ‘Connected to…’ screen.
- The same window will be on your PC as well. You can select either device to control the stream.
- To change the camera, select Switch to front/back.

- To pause the video stream, select Pause video.

- To resume, select Resume video.

- Depending on your mobile device and its capabilities, you may get ‘HDR’ effects as well.

- To revert to your laptop’s built-in camera (or a separate webcam), simply close the Manage Devices window.

- Click Disconnect.

- Alternatively, you can also switch the camera from the video settings, depending on the app.

The feature is ideally suited for users who often find their video streams from in-built webcams to be of poorer quality. With the feed now being provided by the better quality camera of their Android device, it’ll allow for much clearer pictures.
FAQ
Let’s consider a few commonly asked questions about using your mobile’s camera as a webcam on Windows 11.
How can I update Cross Device Experience Host manually?
If you didn’t receive the update for ‘Cross Device Experience Host’, you can update manually from the Microsoft Store > Library > Get updates.
Using the mobile camera as a PC webcam expands upon the capabilities of the ‘Manage mobile devices’ page on Windows 11. It earlier received the ability to access Android photos and screenshots as notifications on PC, which is yet another convenient feature to check out. We hope you found this guide useful. Until next time!


