
Screen sharing is a pretty nifty utility for video conferences. You can share ideas, make presentations and even hold polls with your attendees using this utility easily. Most services nowadays allow you to share your screen during meetings including Microsoft Teams. However, it can sometimes be difficult to find this option if you are a new user.
So if you have been struggling to share your screen in Microsoft Teams then we have the perfect guide for you! Let’s take a look at how you can share your screen in Teams.
Related: Best Microsoft Teams backgrounds
Open Teams on your desktop and join a meeting as you normally would. You can also initiate a temporary instant meeting using the icon in the top right corner to temporarily test screen sharing.
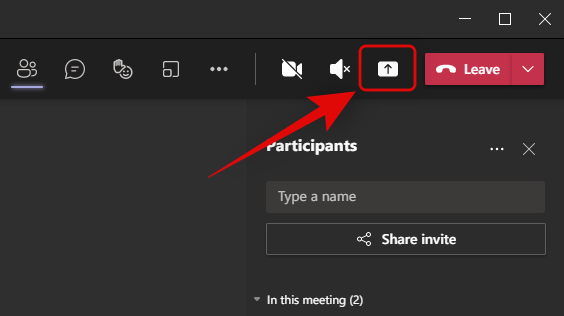
Once in a meeting, click on the ‘Present’ icon in the top right corner.

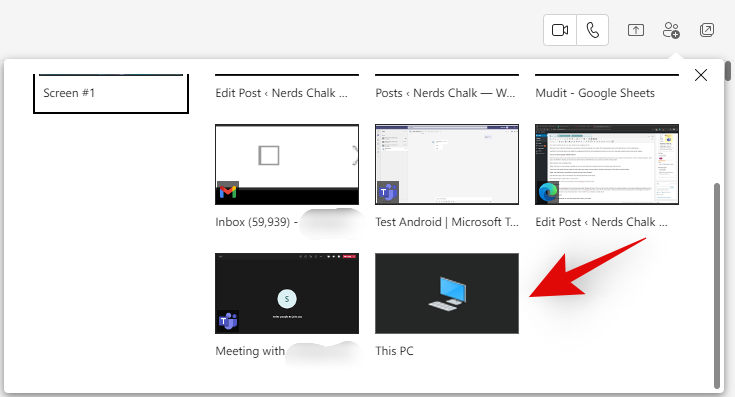
You will now be shown a list of all the active windows on your desktop. Select the window you wish to share in the current meeting by clicking on it.
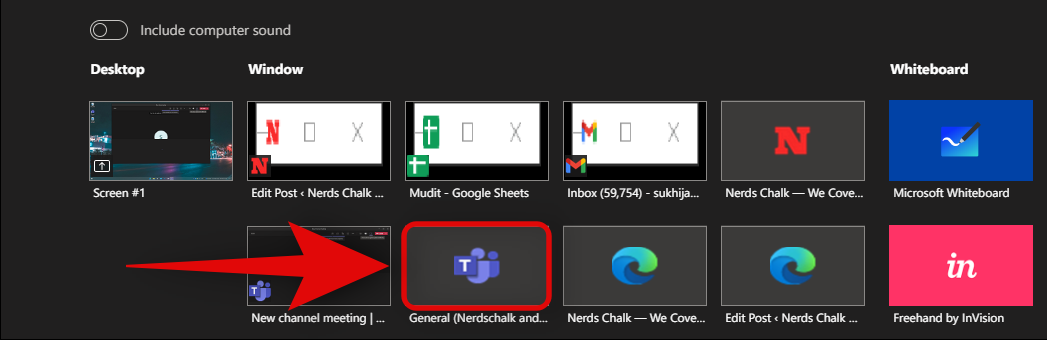
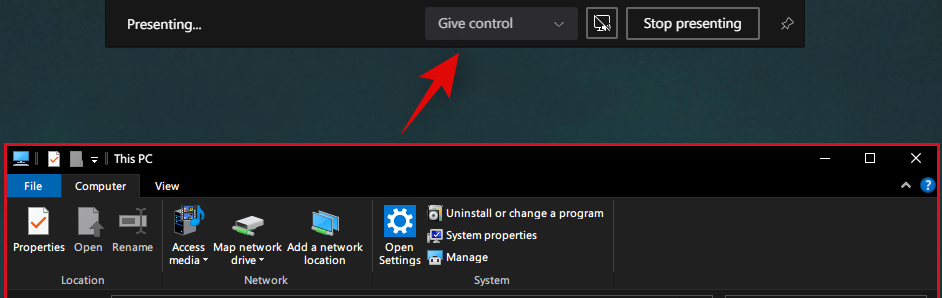
And that’s it! The selected window will now be automatically shared with all the attendees. It will also become the current window on your desktop, with a red border to denote screen sharing.
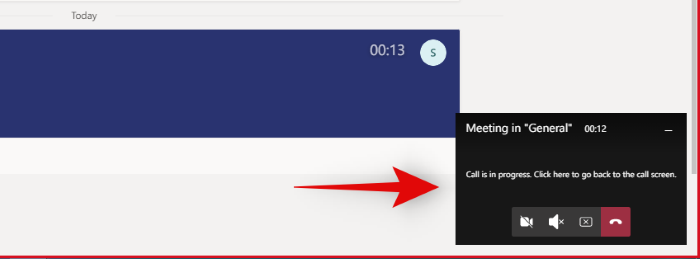
You can click on the notification in your bottom right to go back to your call screen and continue sharing your screen with the attendees.
How to stop screen sharing on PC

Tap on the ‘Present’ icon in the top right corner again to stop sharing your screen in the current meeting.
Related: How to change profile picture on Microsoft Teams
The mobile app for Teams on Android and iOS uses the same UI, so you can follow the guide below regardless of your OS.
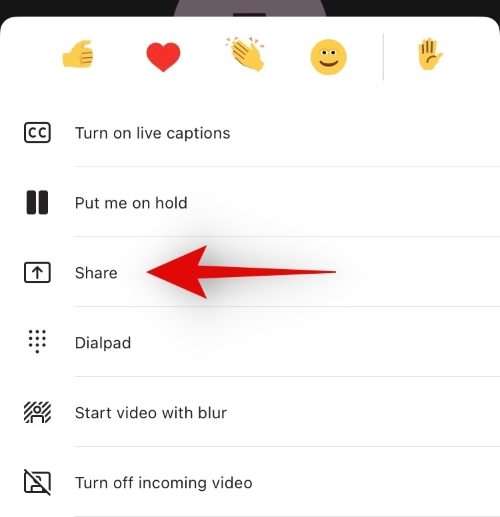
Open the Teams app and join a meeting as you normally would. Once you are in the meeting, tap on the ‘3-dot’ menu icon at the bottom of your screen.

Now tap on ‘Share’.
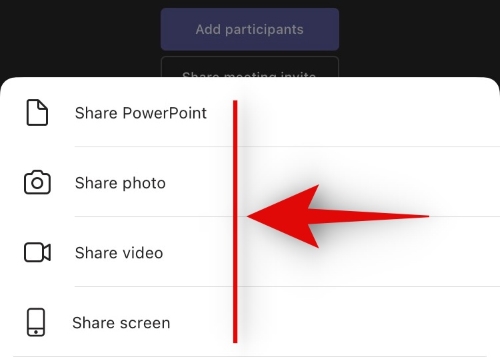
Select what you wish to share with your meeting attendees. You can share a particular presentation, image, video, or your entire screen. For this example, we will be sharing our entire screen.
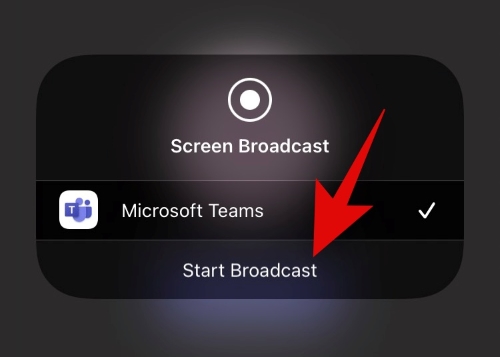
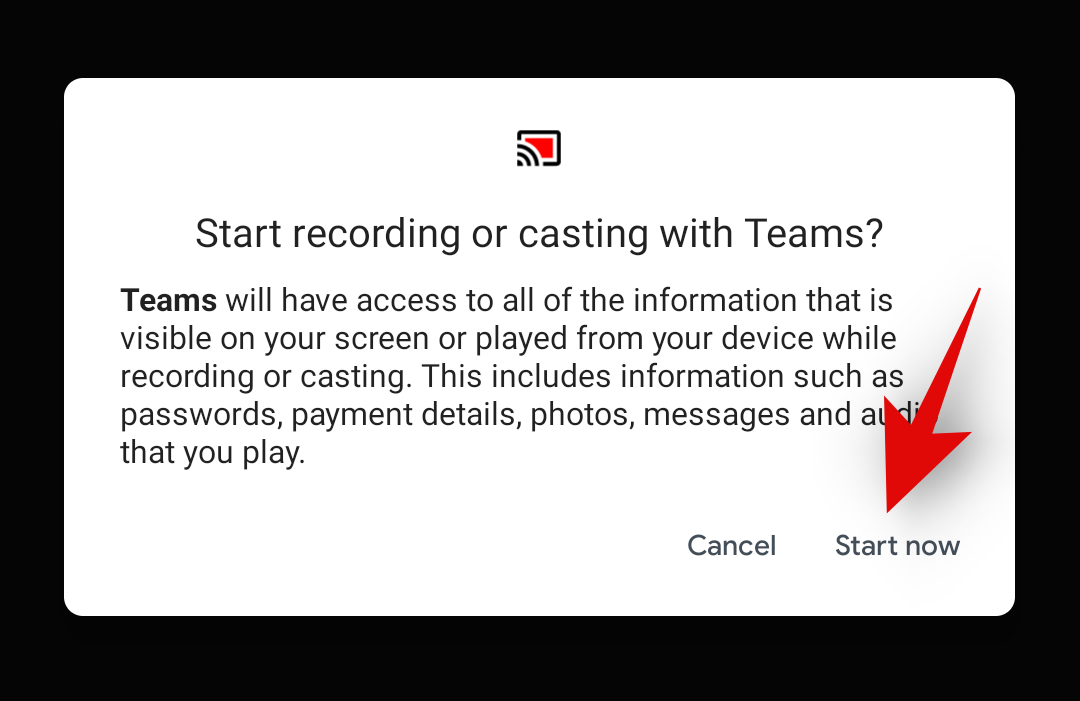
If you are on iOS, tap on ‘Start Broadcast’ to confirm your choice. Android users can tap on ‘Start now’ to confirm the same.
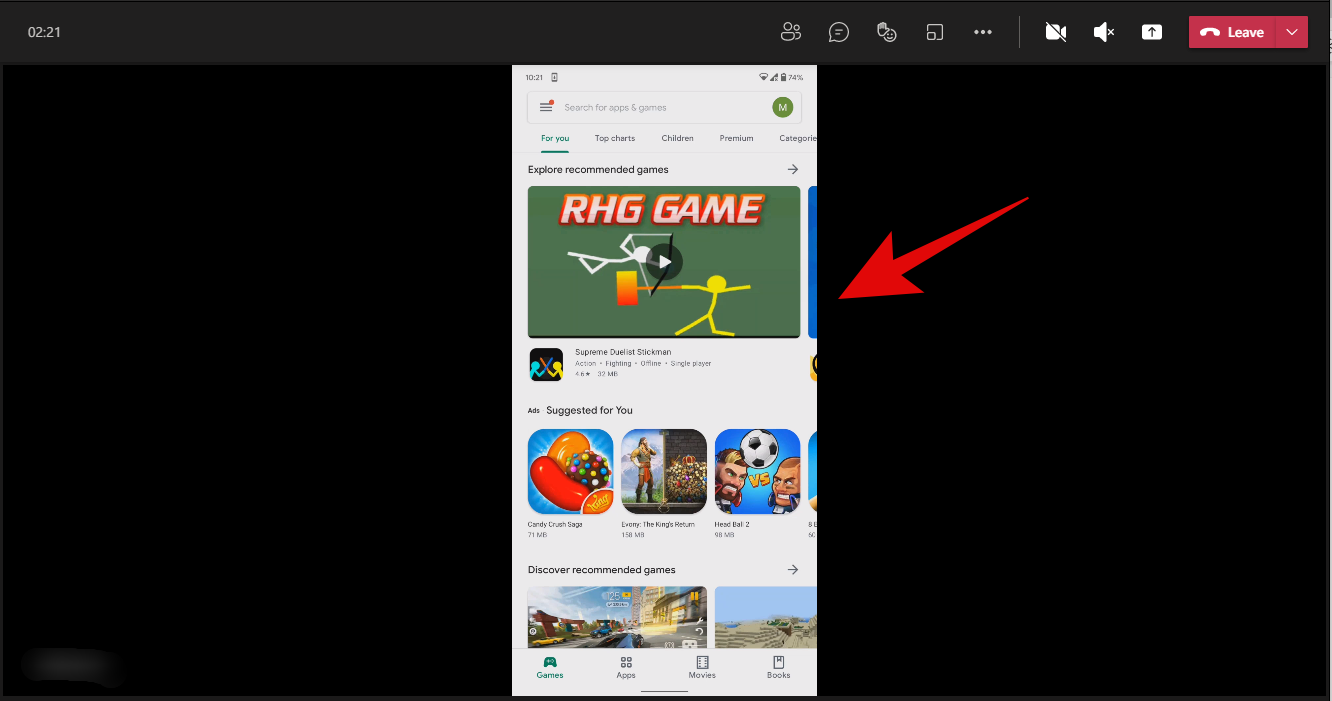
And that’s it! Your entire phone screen will now be shared in the Teams meeting.
How to stop screen sharing on phone
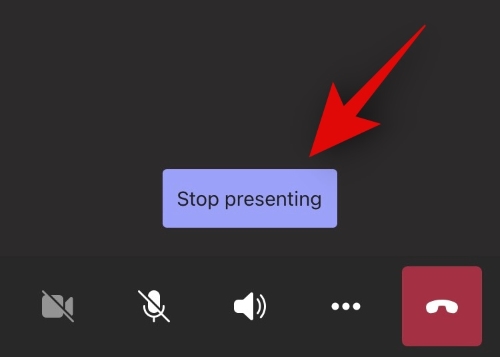
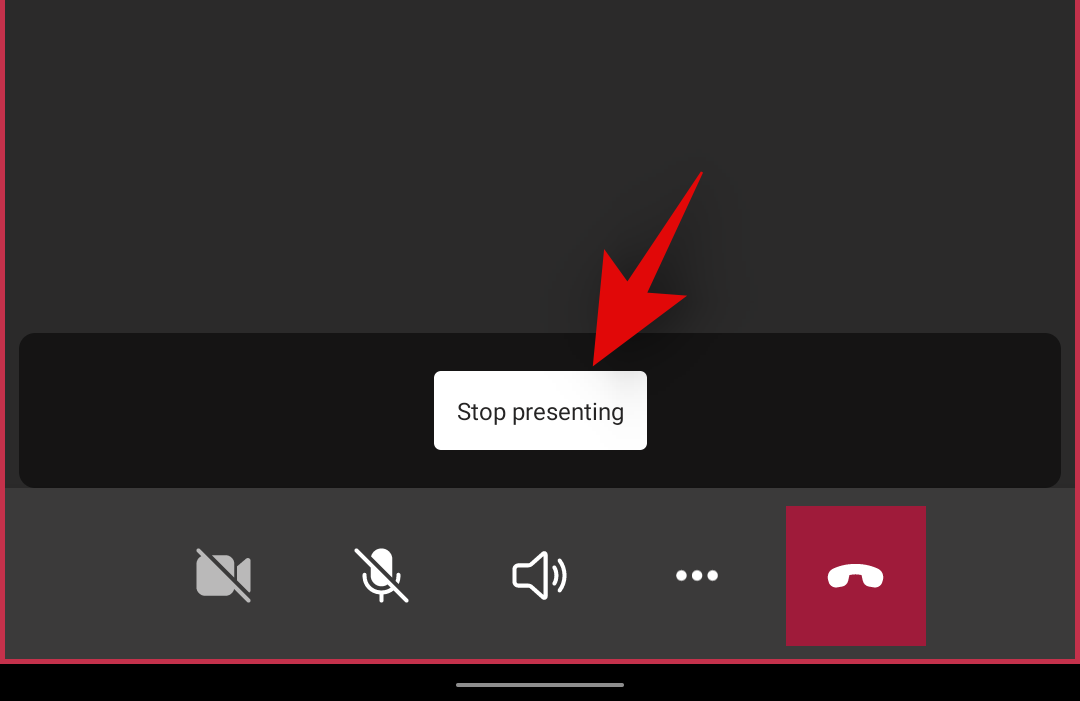
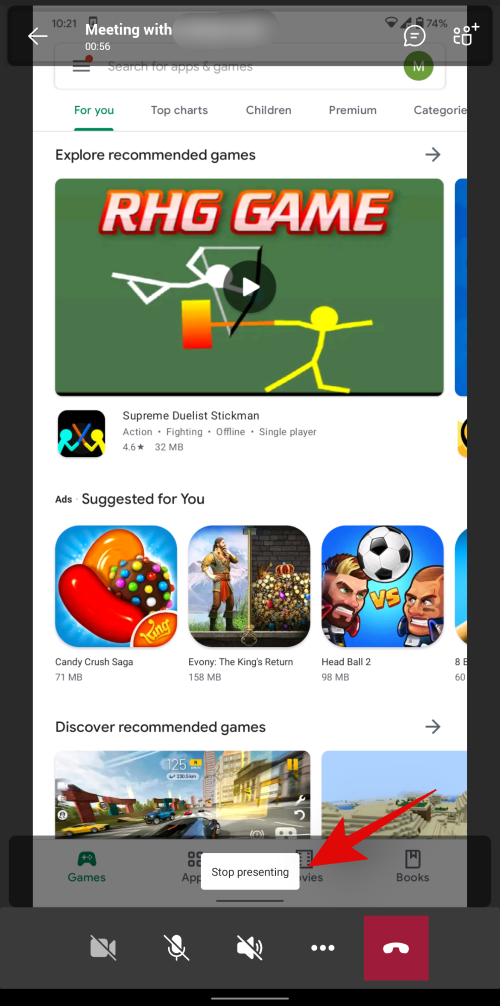
Tap the ‘Stop Presenting’ button in the Teams app on the meeting screen to stop sharing your screen with the current meeting.
Things you should keep in mind when sharing your mobile screen
- All incoming notifications will be visible in the meeting.
- Any incoming calls and messages shown in notification previews will also be presented in the meeting.
- Anything visible to you on the screen will also be visible to the meeting attendees, including but not limited to, your alarms, upcoming events, notification dots, and all apps you open.
- While your passwords will be hidden, attendees will still be able to see your inputs on the keyboard and the brief letters of your password as you type them.
As your entire phone screen is visible in a meeting when screen sharing, it is recommended that you turn on DND on your device. This will suppress all notifications and alerts in the background itself. Additionally, it is recommended that you keep apps that you wish to display open in the background for easy access and log in to any services beforehand to avoid disclosing your password.
Related: How to Pin a Message on Microsoft Teams
Tips for Screen Sharing in Teams
Apart from your normal screen sharing, Teams also offers some nifty features like sharing controls while presenting which help give you a wide range of functionality when presenting in Microsoft Teams. Here are some tips and tricks that can help you better your screen-sharing experience in Microsoft Teams.
Tip #1: Give and take control of shared content
Do you present a lot alongside other attendees in Teams? Then you might find it a struggle to present the same screen while collaborating with another individual. Teams has thought about this for you and thus we have the give or take control option. This option is available to all Teams users and allows you to assign the control of your presented material to certain attendees in the current meeting. This in turn allows attendees with control to present, control and use the whiteboard to their advantage.
This is a nifty feature for webinar hosts, teachers, and similar individuals that might need to explain concepts or host events alongside other colleagues or partners. Let’s take a look at how you can give and take control during Meetings in Microsoft Teams.
Note: While Microsoft has done its best to fix any exploits in this procedure, giving control renders your PC vulnerable to a certain extent. It is recommended that you do not give control of presentations to individuals that you do not trust.
What can attendee with control of the presentation do?
- Change presented files, or add new files.
- Help with the presentation.
- Demonstrate concepts.
- Select, edit and modify the presented content.
How to give control when sharing the screen
Open Microsoft Teams and join a meeting as you normally would. Once joined in, present your screen/window to the meeting. Ensure that the person you wish to give access to your presentation is also joined in on the meeting.
Once you have initiated a presentation, click on ‘Give Control’ in the sharing bar at the top of your screen.
Now select the concerned individual from the list.
And that’s it! You will now have given control of your presentation to the selected attendee.
How to take back control when sharing the screen

Simply click on ‘Take back control’ in the sharing bar at the top of your screen and control privileges will now be revoked for the attendee.
Related: Microsoft Teams Backgrounds Option Missing? Here’s How To Fix
Tip #2: Zoom in on shared content
Did you know you can zoom in on shared content within Microsoft Teams meetings? This can be especially useful when someone is presenting handwritten notes or hard-to-read text characters. You can also use this feature to highlight and save important details from any presentation! Let’s take a look at how you can zoom in on shared content in Microsoft Teams meetings.
How to Zoom when sharing the screen on Microsoft Teams
Method #1: Windows only
You can Zoom in or out of the presented content by using the Pinch gesture on your trackpad.
Method #2: Windows, Mac, and Linux
You can use the following keyboard shortcuts to zoom in or out of the presented content.
Zoom in: Ctrl + ‘+/plus’
Zoom out: Ctrl + ‘-/minus’
Method #3: Windows, Mac, and Linux
Hold down the ‘Ctrl/Cmd’ key on your keyboard and use the scroll up or down gesture on your scroll wheel to Zoom in or out of the presented content in Teams.
Method #4: On Android and iPhone
Mobile users can simply use the pinch gesture directly on their touchscreen to zoom in or out of the presented content. Unlike desktop shortcuts, this is the only option for mobile users to Zoom in or out of content presented in Teams.
Tip #3: Add your mobile phone as a companion device during a meeting
Another nifty feature in Teams is the ability to use your mobile as a companion device when presenting in Meetings. This allows you to essentially have two devices for the same meeting when presenting. You can use one to present content while the other one can be used for other purposes, like sending a live video feed, presenting more content, spotlight, whiteboard, and much more. Here’s how you can use your mobile as a companion device when presenting in Teams.
Required
- Teams app installed on your device: Android | iOS
- Same Microsoft account as your desktop signed in on your mobile device.
Guide
Join a meeting within Teams on your desktop device as you normally would. Once joined in, launch the Teams app on your mobile device as well.
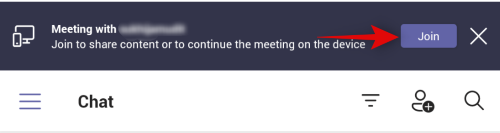
In the mobile app, you’ll get a notification to join the meeting you are already attending on your desktop. Tap on ‘Join’ to get started.
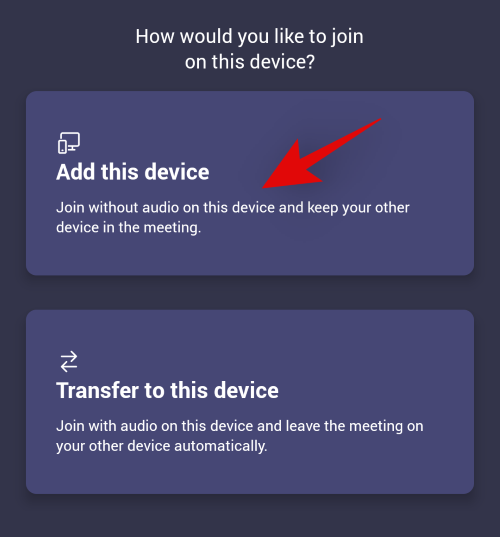
Now choose ‘Add this device’ to use your mobile as your companion device.
Microsoft will now add your mobile device as an attendee to the current meeting. Your audio will be automatically muted on the mobile device to avoid any interference.
And that’s it! Your mobile device is now added as a companion device for the current meeting. You can now use it to show video feed or present content in the current meeting.
Tip #4: Share the screen in Chats
Yes! Did you know that you can present content in Teams in Chats as well? Most video conferencing services only allow you to present your screens and windows during meetings but Teams goes a step further by allowing you to share your screen in Chats as well. Here’s how you can share your screen in Teams chats!
Note: This feature is only available to desktop users as most shared files can be easily shared from the mobile apps within the Chat.
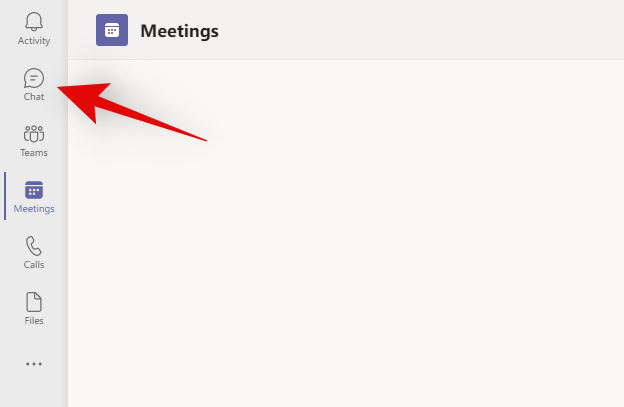
Open a chat with a group or person where you wish to share your screen. You can do this by selecting a chat from the ‘Chats’ section in the left sidebar.
Note: This functionality is unavailable for specific Microsoft Teams’ channels.
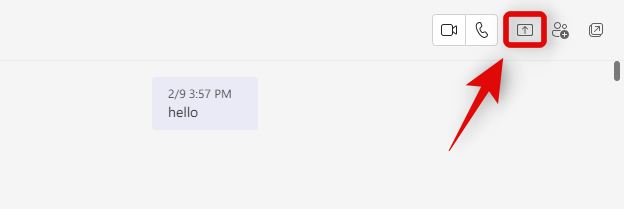
Once the chat is open, click on the ‘Present’ icon in the top right corner of your screen.
Now click and select a window that you wish to share.
And that’s it! Teams will now automatically start sharing the screen in the selected chat.

Tip #5: Manage notifications
Privacy is of the utmost importance when presenting during public Meetings in Teams. When your entire screen is visible to the meeting attendees, any incoming notifications and their previews will also be visible to them. Hence it is a good idea to turn on the Do Not Disturb mode on your device be it mobile or desktop to ensure that your presentation is not interrupted by sensitive or unwanted notifications. Use one of the guides below to turn on DND on your desktop or mobile device.
On Windows
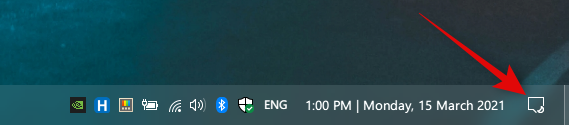
Click the notification tray icon in the bottom right corner of your screen.
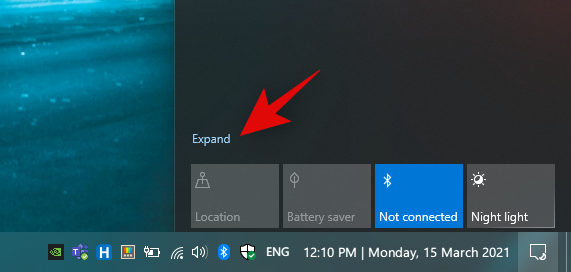
Now click on ‘Expand’.
Click on the Focus Assist icon twice to set it to ‘Alarms only’.
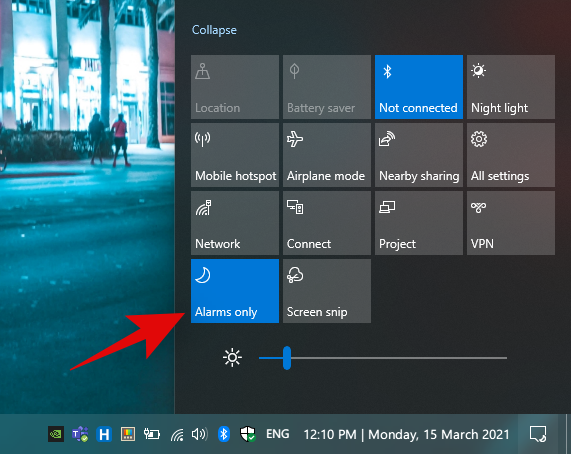
And that’s it! DND has now turned on your Windows PC. Every notification will be silenced on your Windows PC. Needless to say, you should check for any upcoming alarms as they can still bypass focus assist.
On Mac
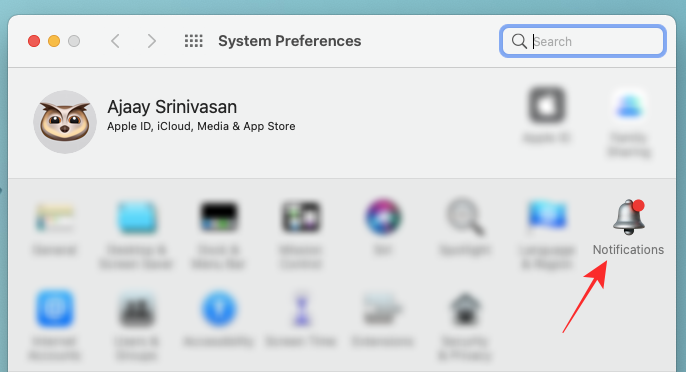
Click on the ‘Apple’ icon in the top left corner of your screen and then select ‘System preferences’.

Click on ‘Notifications’.
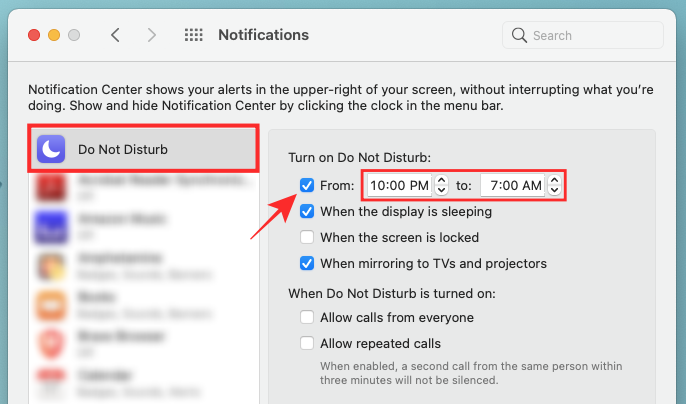
Click and select ‘Do not disturb’ from the left sidebar.
Now check the box for ‘Turn on Do Not Disturb’ and select the time period of the next few hours for good measure.
Exit the Settings app.
And that’s it! All future notifications will now be silenced on your Mac for the specified period of time.
On Android and iPhone
Most mobile devices come with a quick access DND icon for easy activation. If you are on Android, swipe down on your home screen and tap on the DND icon in your notification shade.
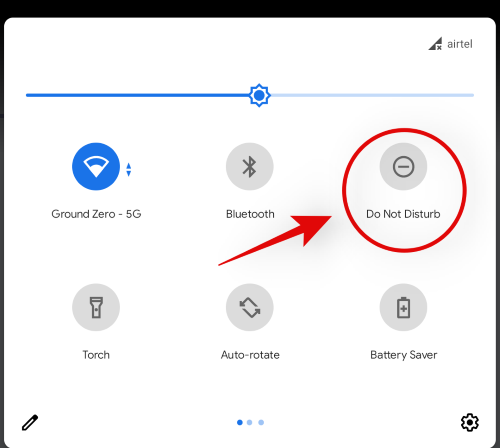
If you are an iOS user, access your Control center and tap on the DND icon.

And that’s it! All calls and messages will now be silenced on your mobile devices until DND is turned off.
Note: Depending on your device settings, some repeated calls might be let through suspecting an emergency. You can edit these settings in the DND section of your Settings app whether you are on Android or iOS.
We hope this guide helped you get familiar with all aspects of screen sharing in Microsoft Teams. If you face any issues or have any more questions for us, feel free to reach out using the comments section below.
RELATED